


 Cardboard Dream Catchers
Supplies:
Cardboard
Scissors
Compass
Paint
Paintbrush
Hole puncher
1/8″ Lacing needle
Yarn (various colors)
Wooden beads
Directions:
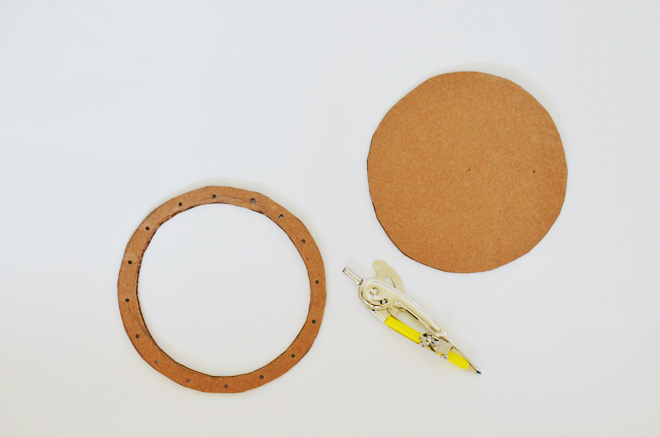
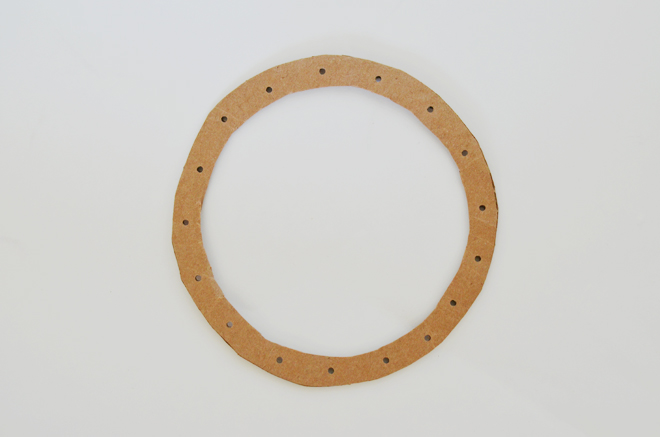
1. Choose your desired size for your cardboard hoop (the one pictured is about 6 1/2″ across), and using a compass (or freehand) create your outer circle. Make another circle within the larger one, so that the hoop is about 1″ wide all around. Cut out your cardboard hoop and punch a hole about 1″ apart all the way around.
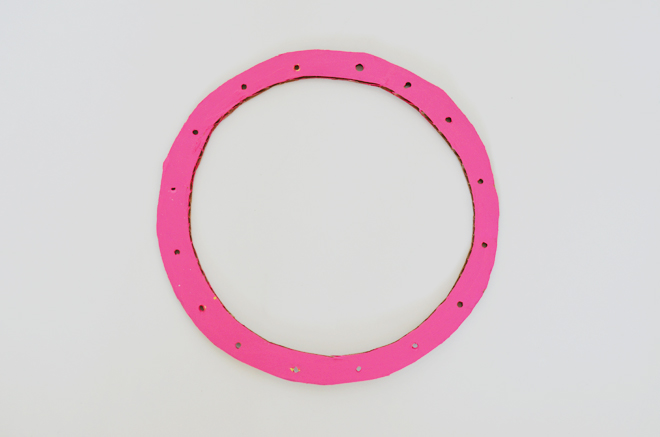
 2. Paint your hoop or just leave it as is.
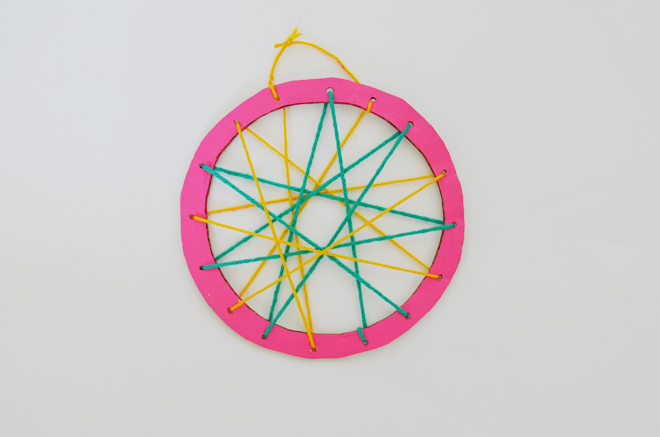
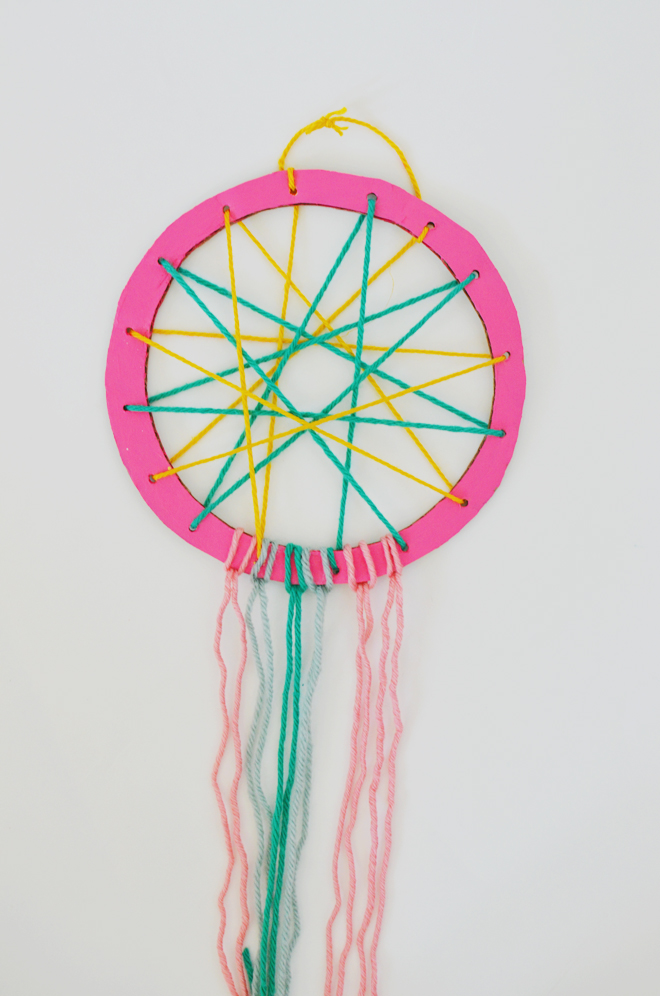
 3. With your lacing needle and a long piece of yarn, tie a knot on the back of one hole and go across the front of the hoop into another hole. Pull the yarn across the back of the cardboard into another hole, and stretch it again across the front. Go back and forth until you have gone through all the holes. Tie a knot at the back of the hoop to begin, and another knot to end and secure the yarn. If desired, pick another color yarn and repeat weaving across and back through the hoop again. There’s no wrong pattern when creating your weave, so allow your child create their own pattern by playing connect the dots with the yarn and holes. Tie a small piece of yarn at the top through two holes, so you have a loop for hanging.
 4. Attach 6 – 24″ strands (or use whatever length you desire) of yarn to the base of the hoop.
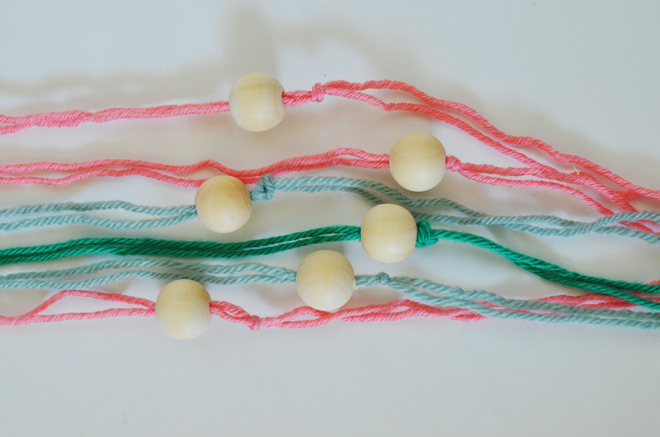
 5. Add a wooden bead to the hanging yarn, knot under the bead to secure the bead in place.

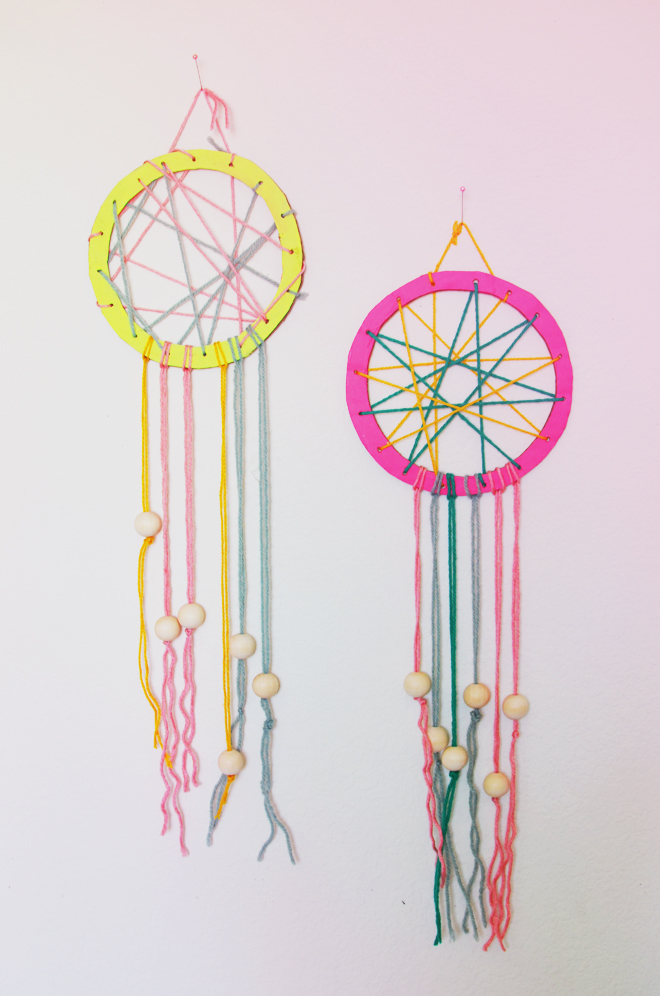 This project enables children to practice connecting the dots and their hand and eye coordination. You can make this in different sizes and maybe hang fabric strands from the bottom.


gorgeous! love this!
xxoo,
nikki
http://www.dreaminneon.blogspot.com
Very nice and looks really simple to make.
Genial 🙂
These are too cute!!
the little lion girl
Love this! Great craft idea for us tomorrow 🙂
I tried making this one! Will share with you photos as soon as I can take them. Not as pretty as yours though…
I’m sure yours came out just as great!
Wow what a neat idea!! I remember having a dream catcher when I was a child, and I loved it!
I’m pinning to make this with my daughter. Thanks!
Doing these at our family reunion in a mountain lodge! Found reversible bright colored cardboard sheets at Hobby Lobby, so no painting!
im so going to do this