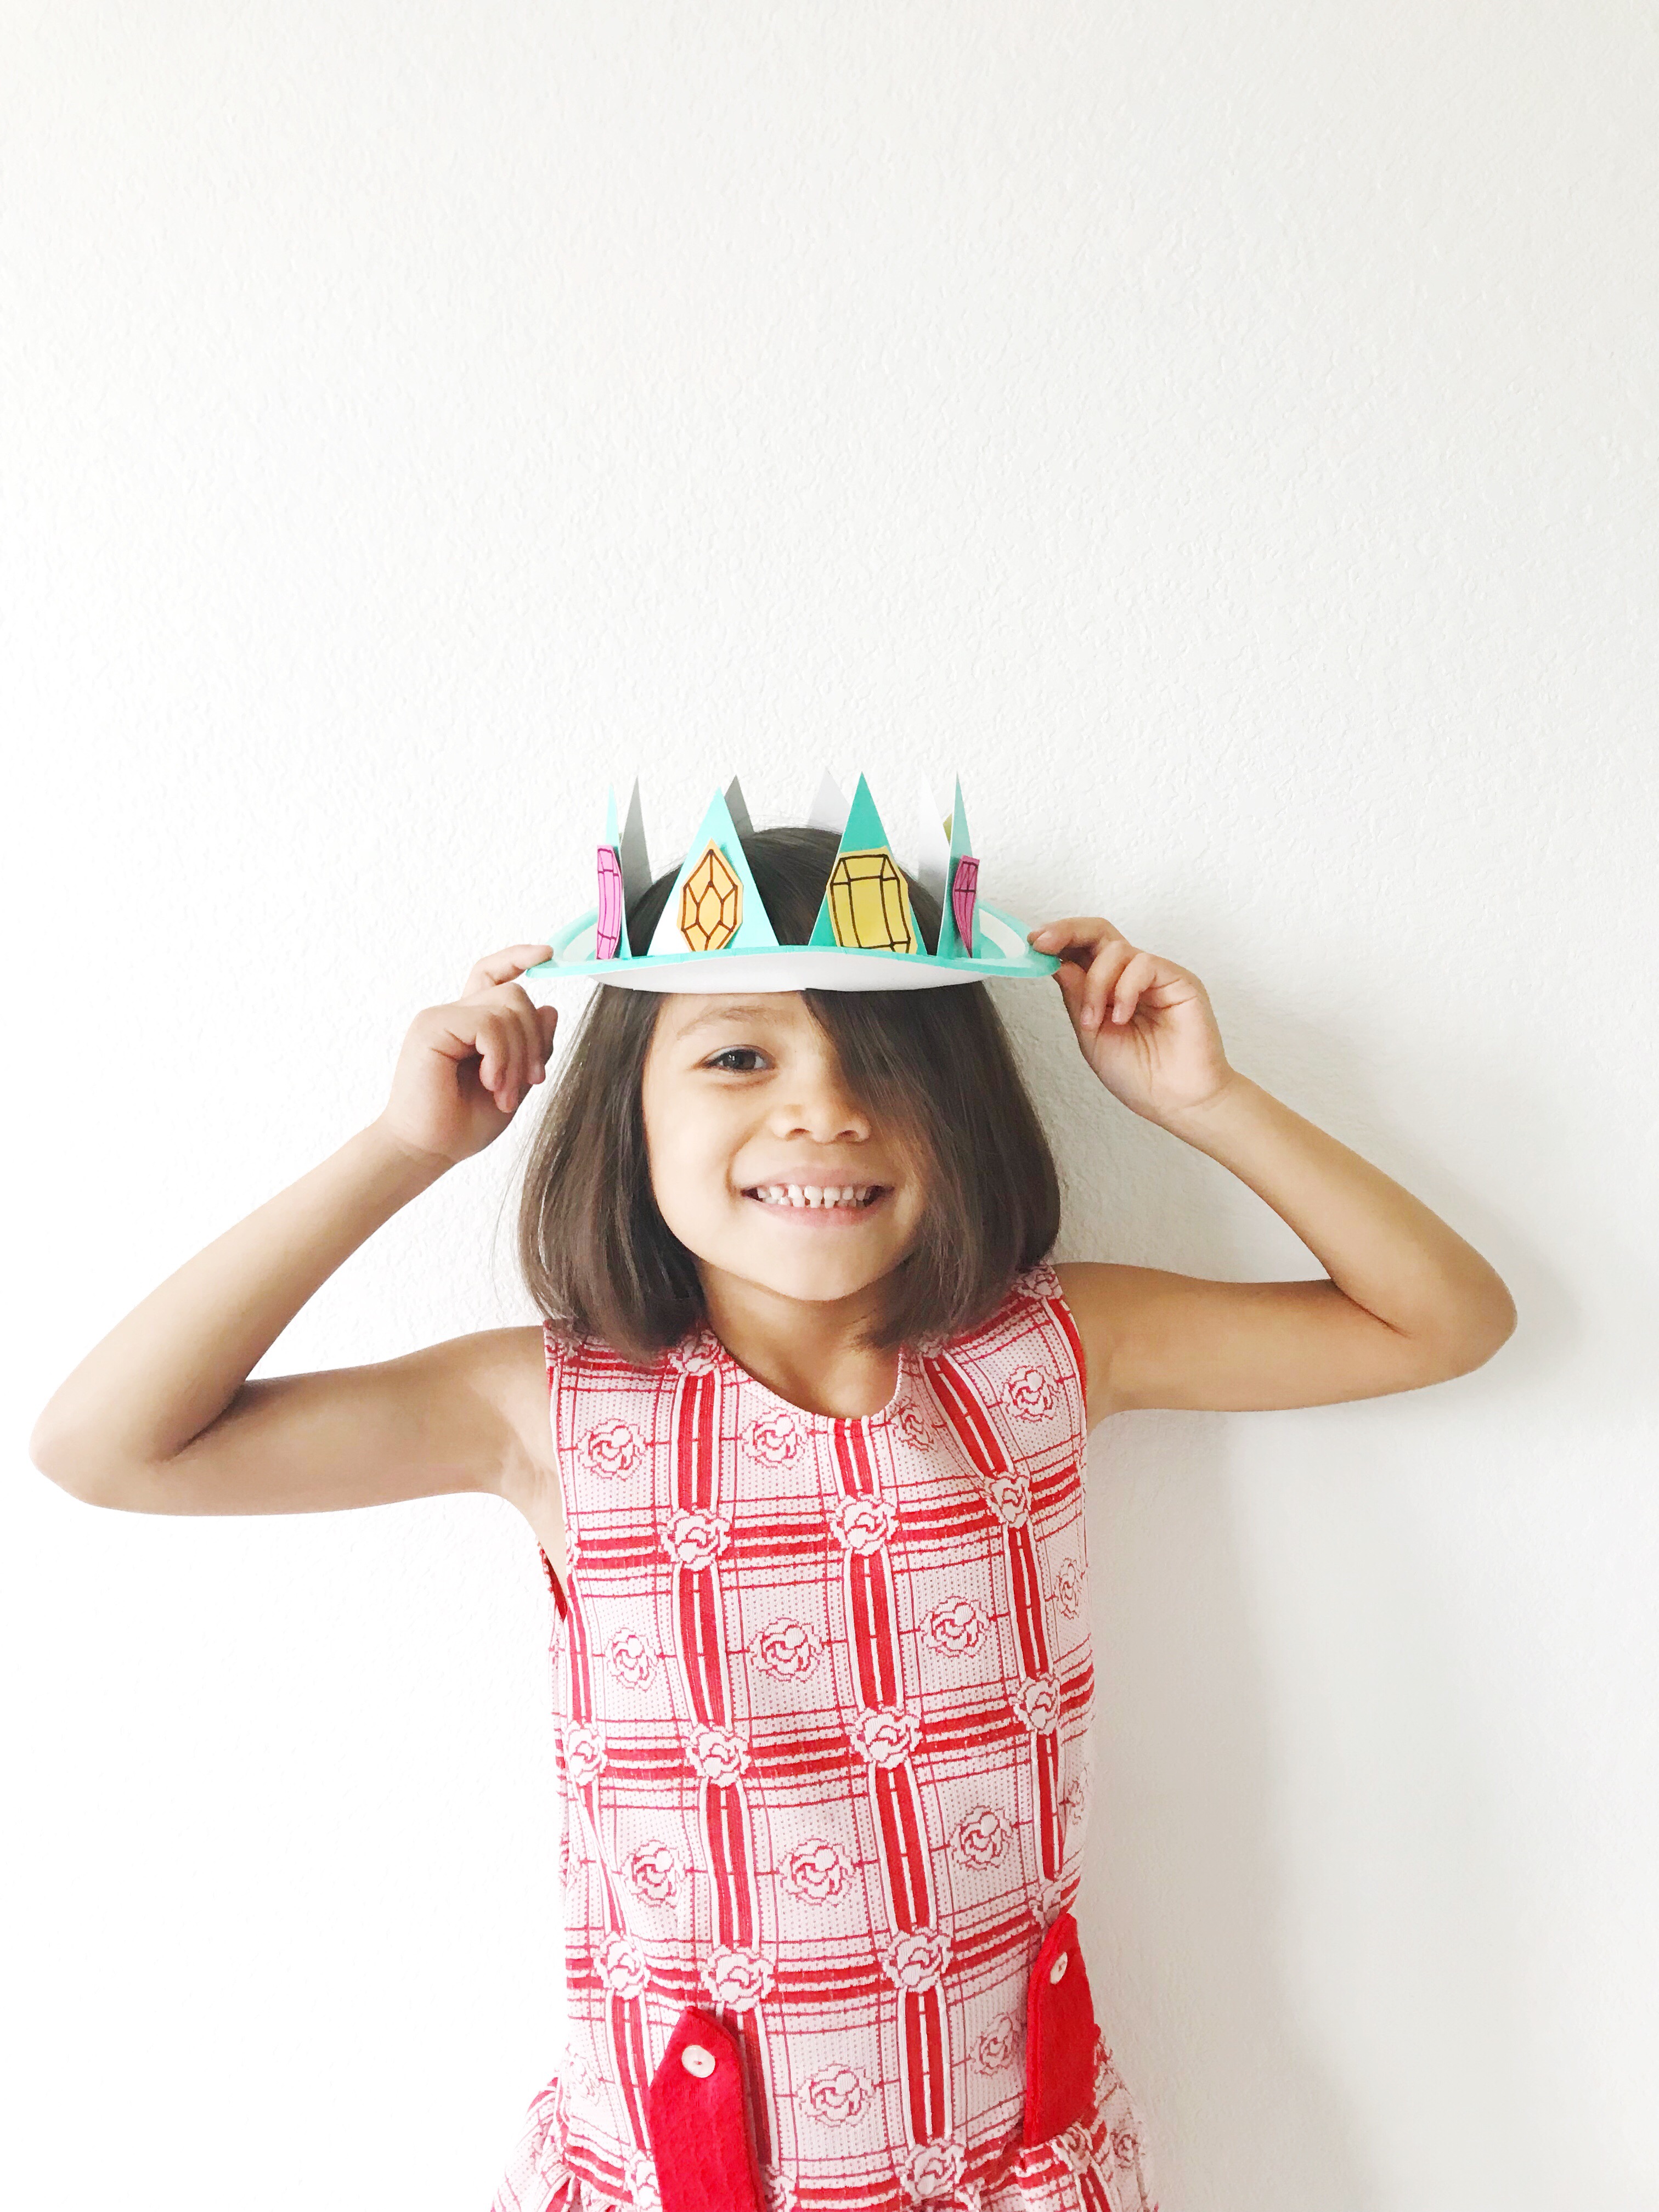
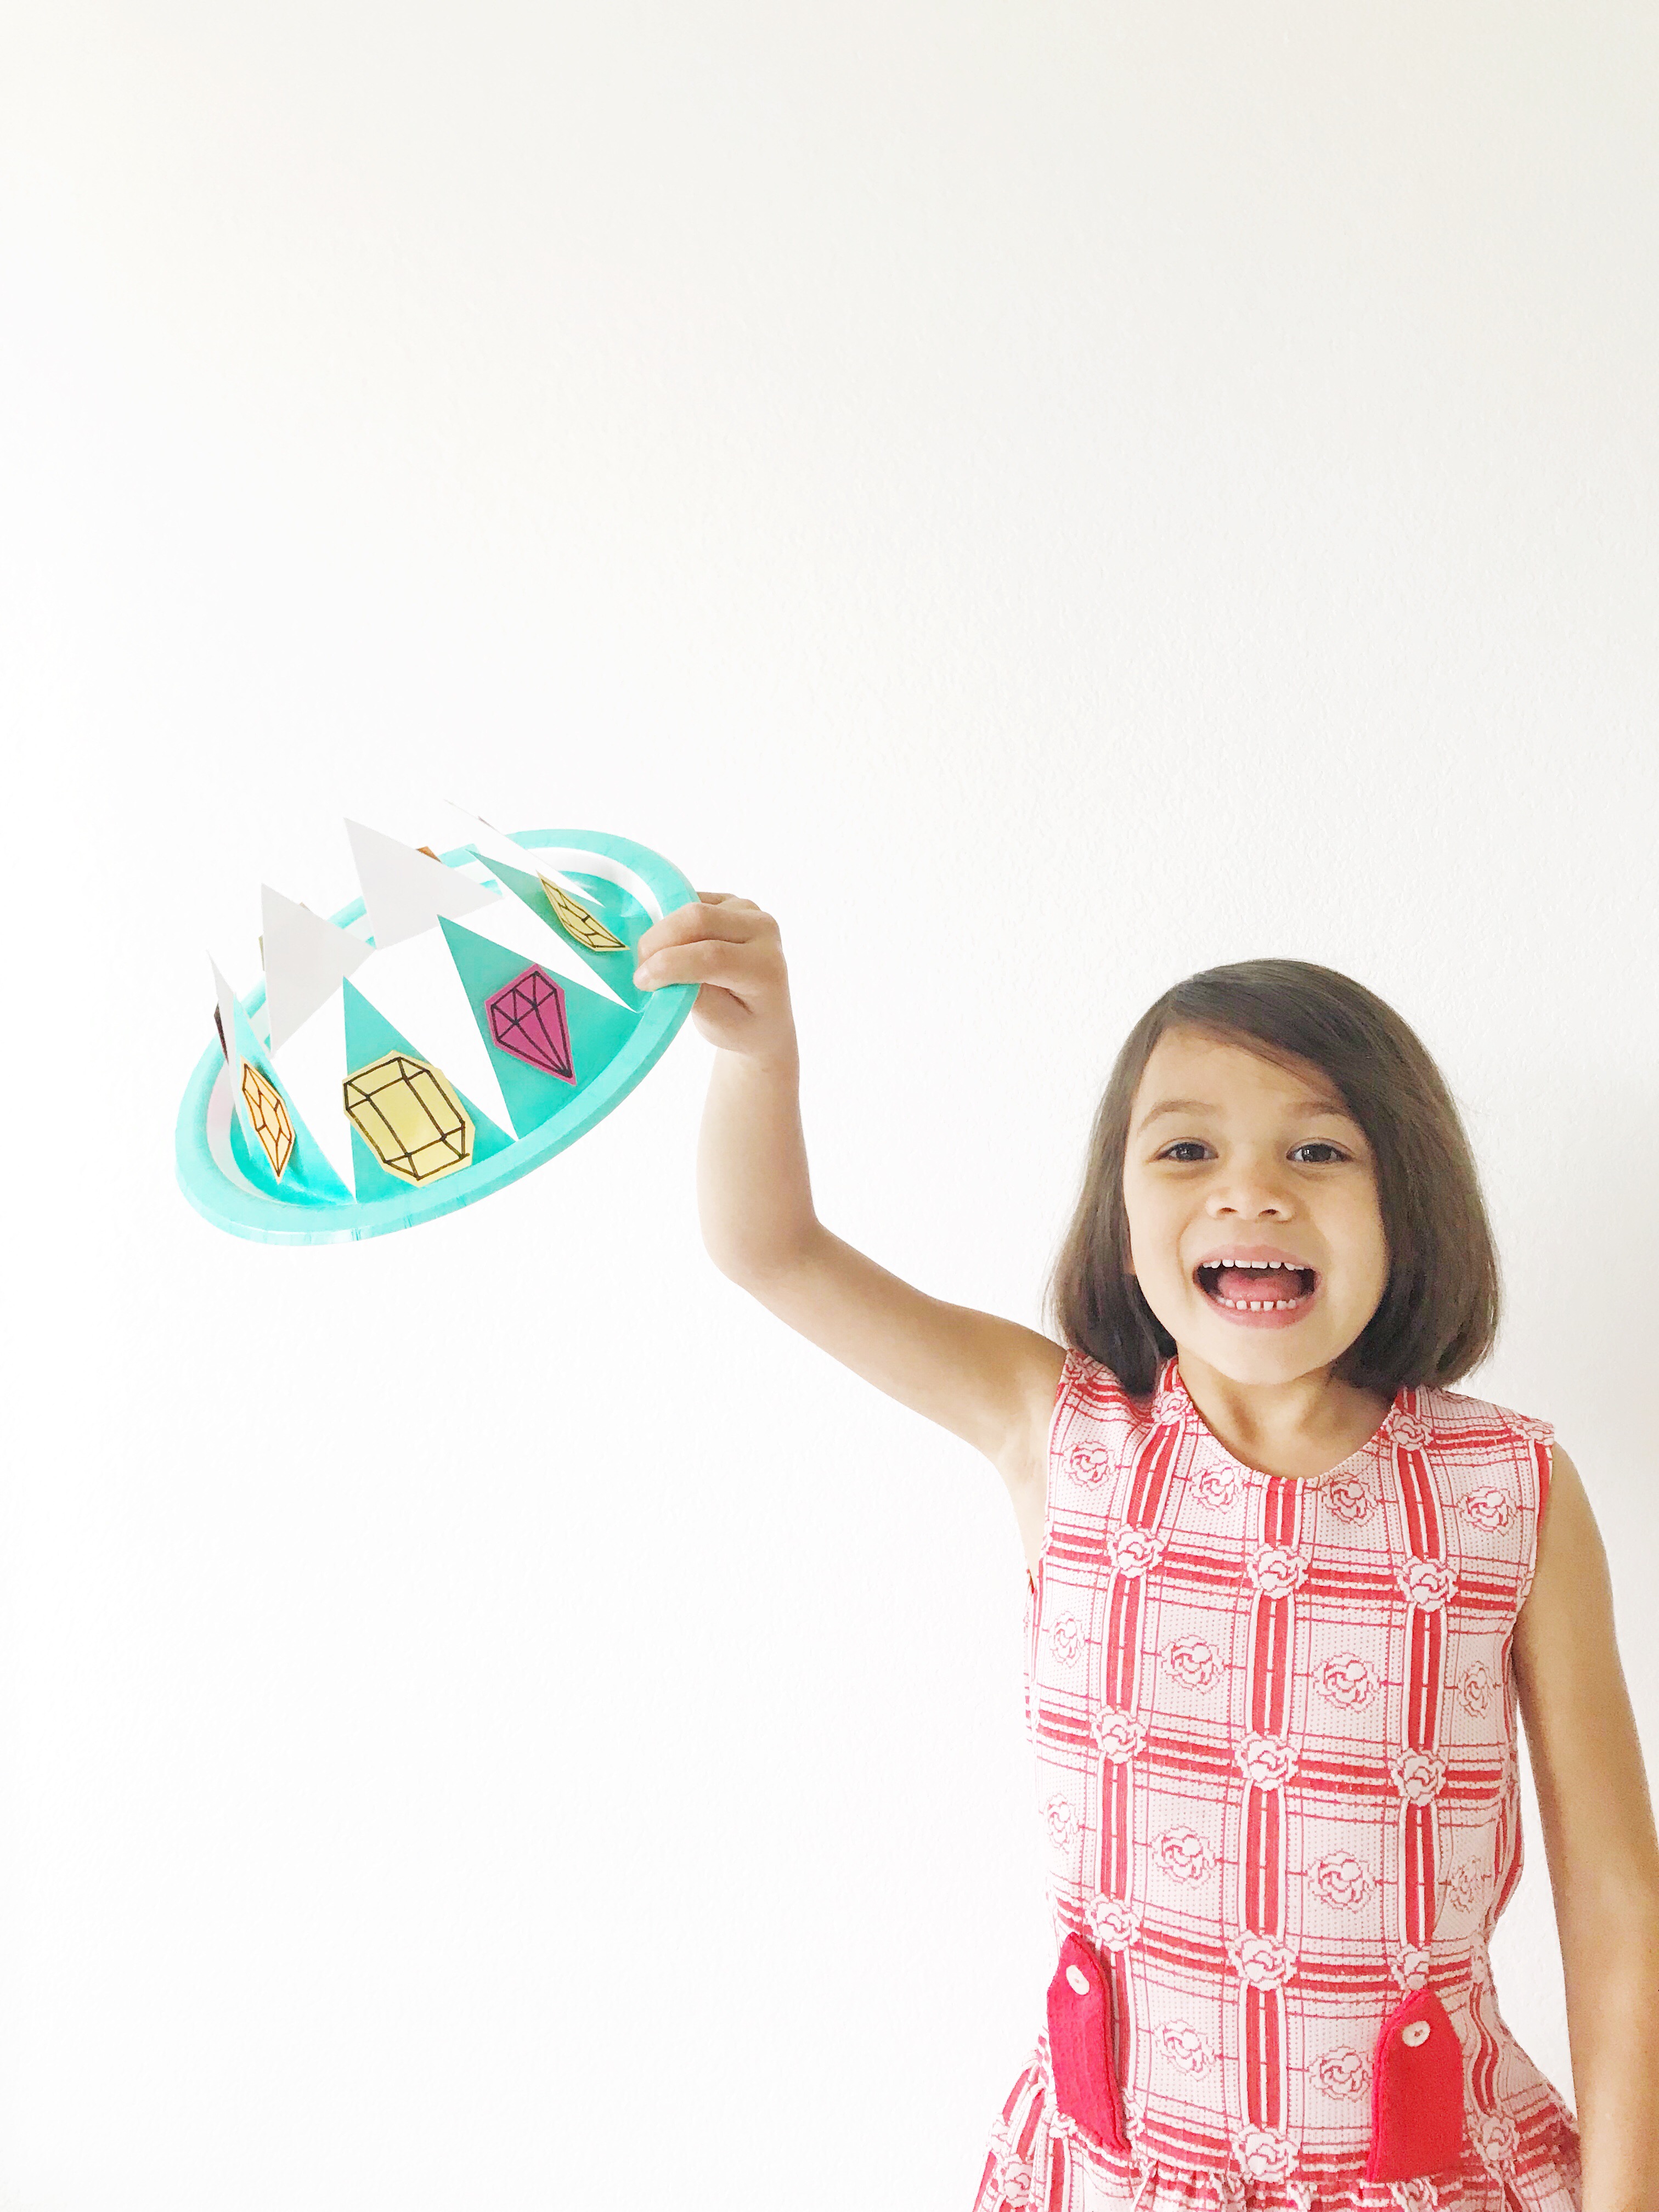
PAPER PLATE CROWN

March 22, 2018


Paper Plate Crown

Supplies:
9″ – 12″Paper plates (we used these plates)
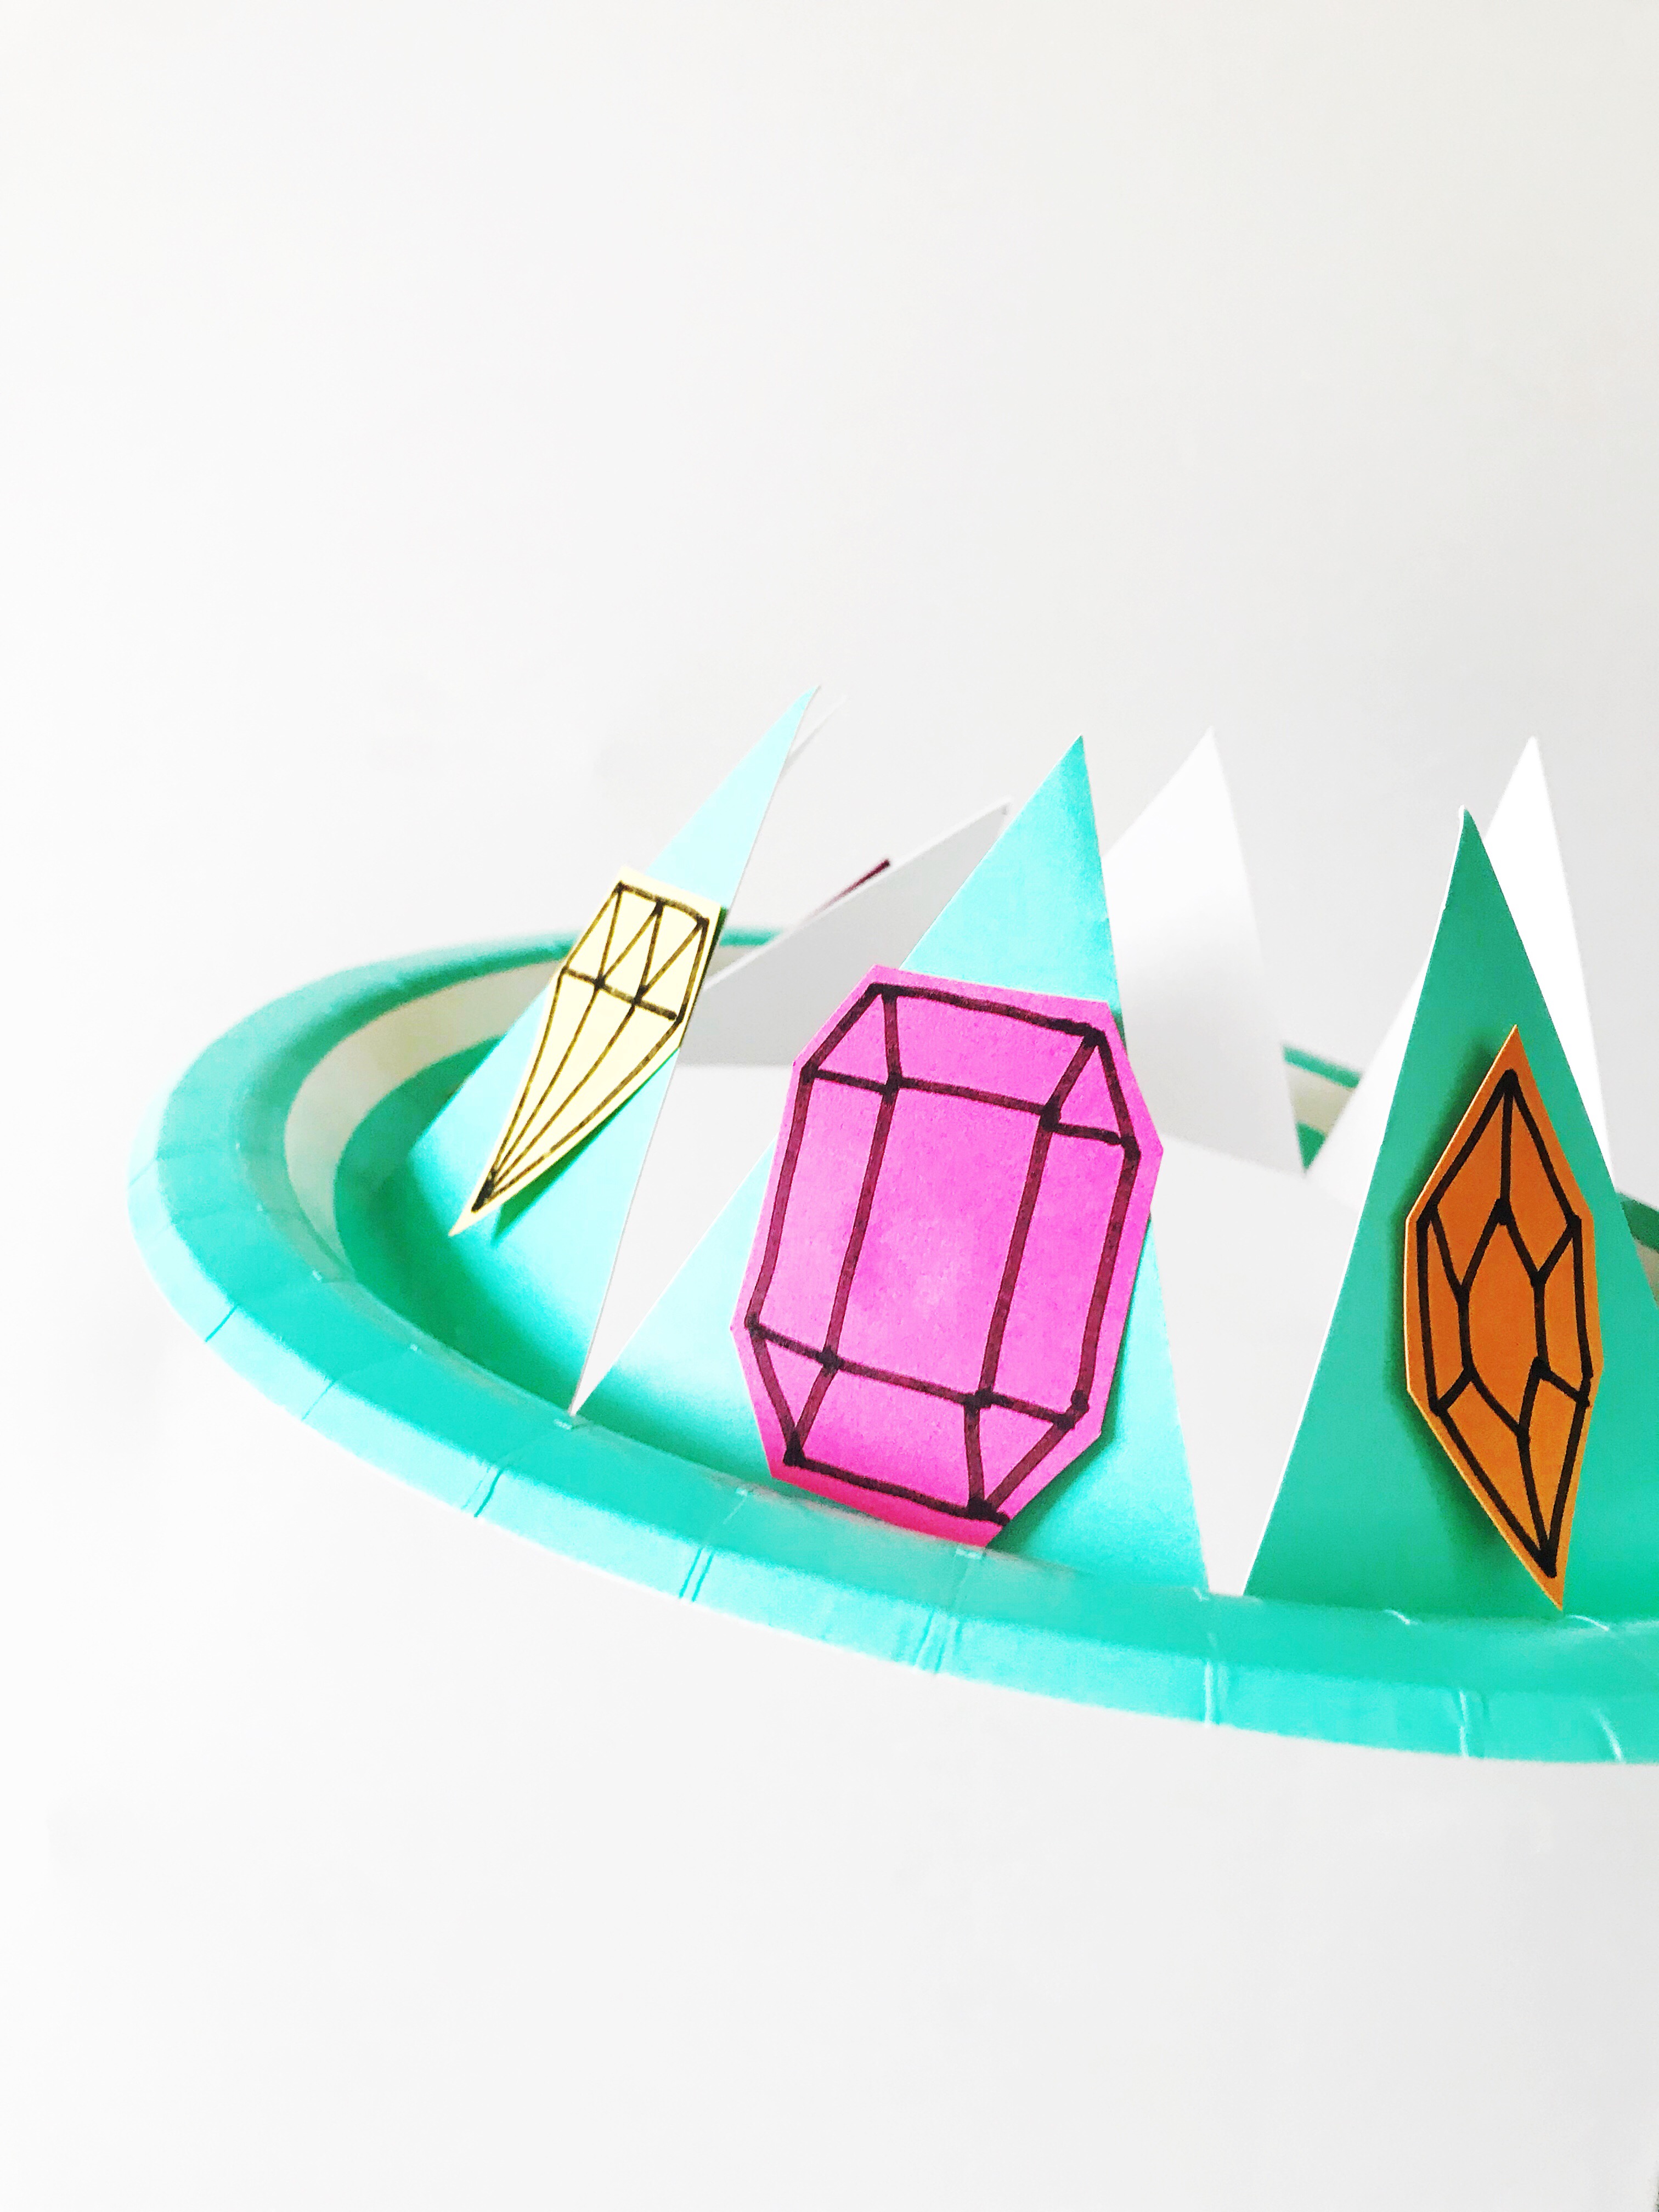
Gem templates
Card stock
Scissors
Glue

Directions:
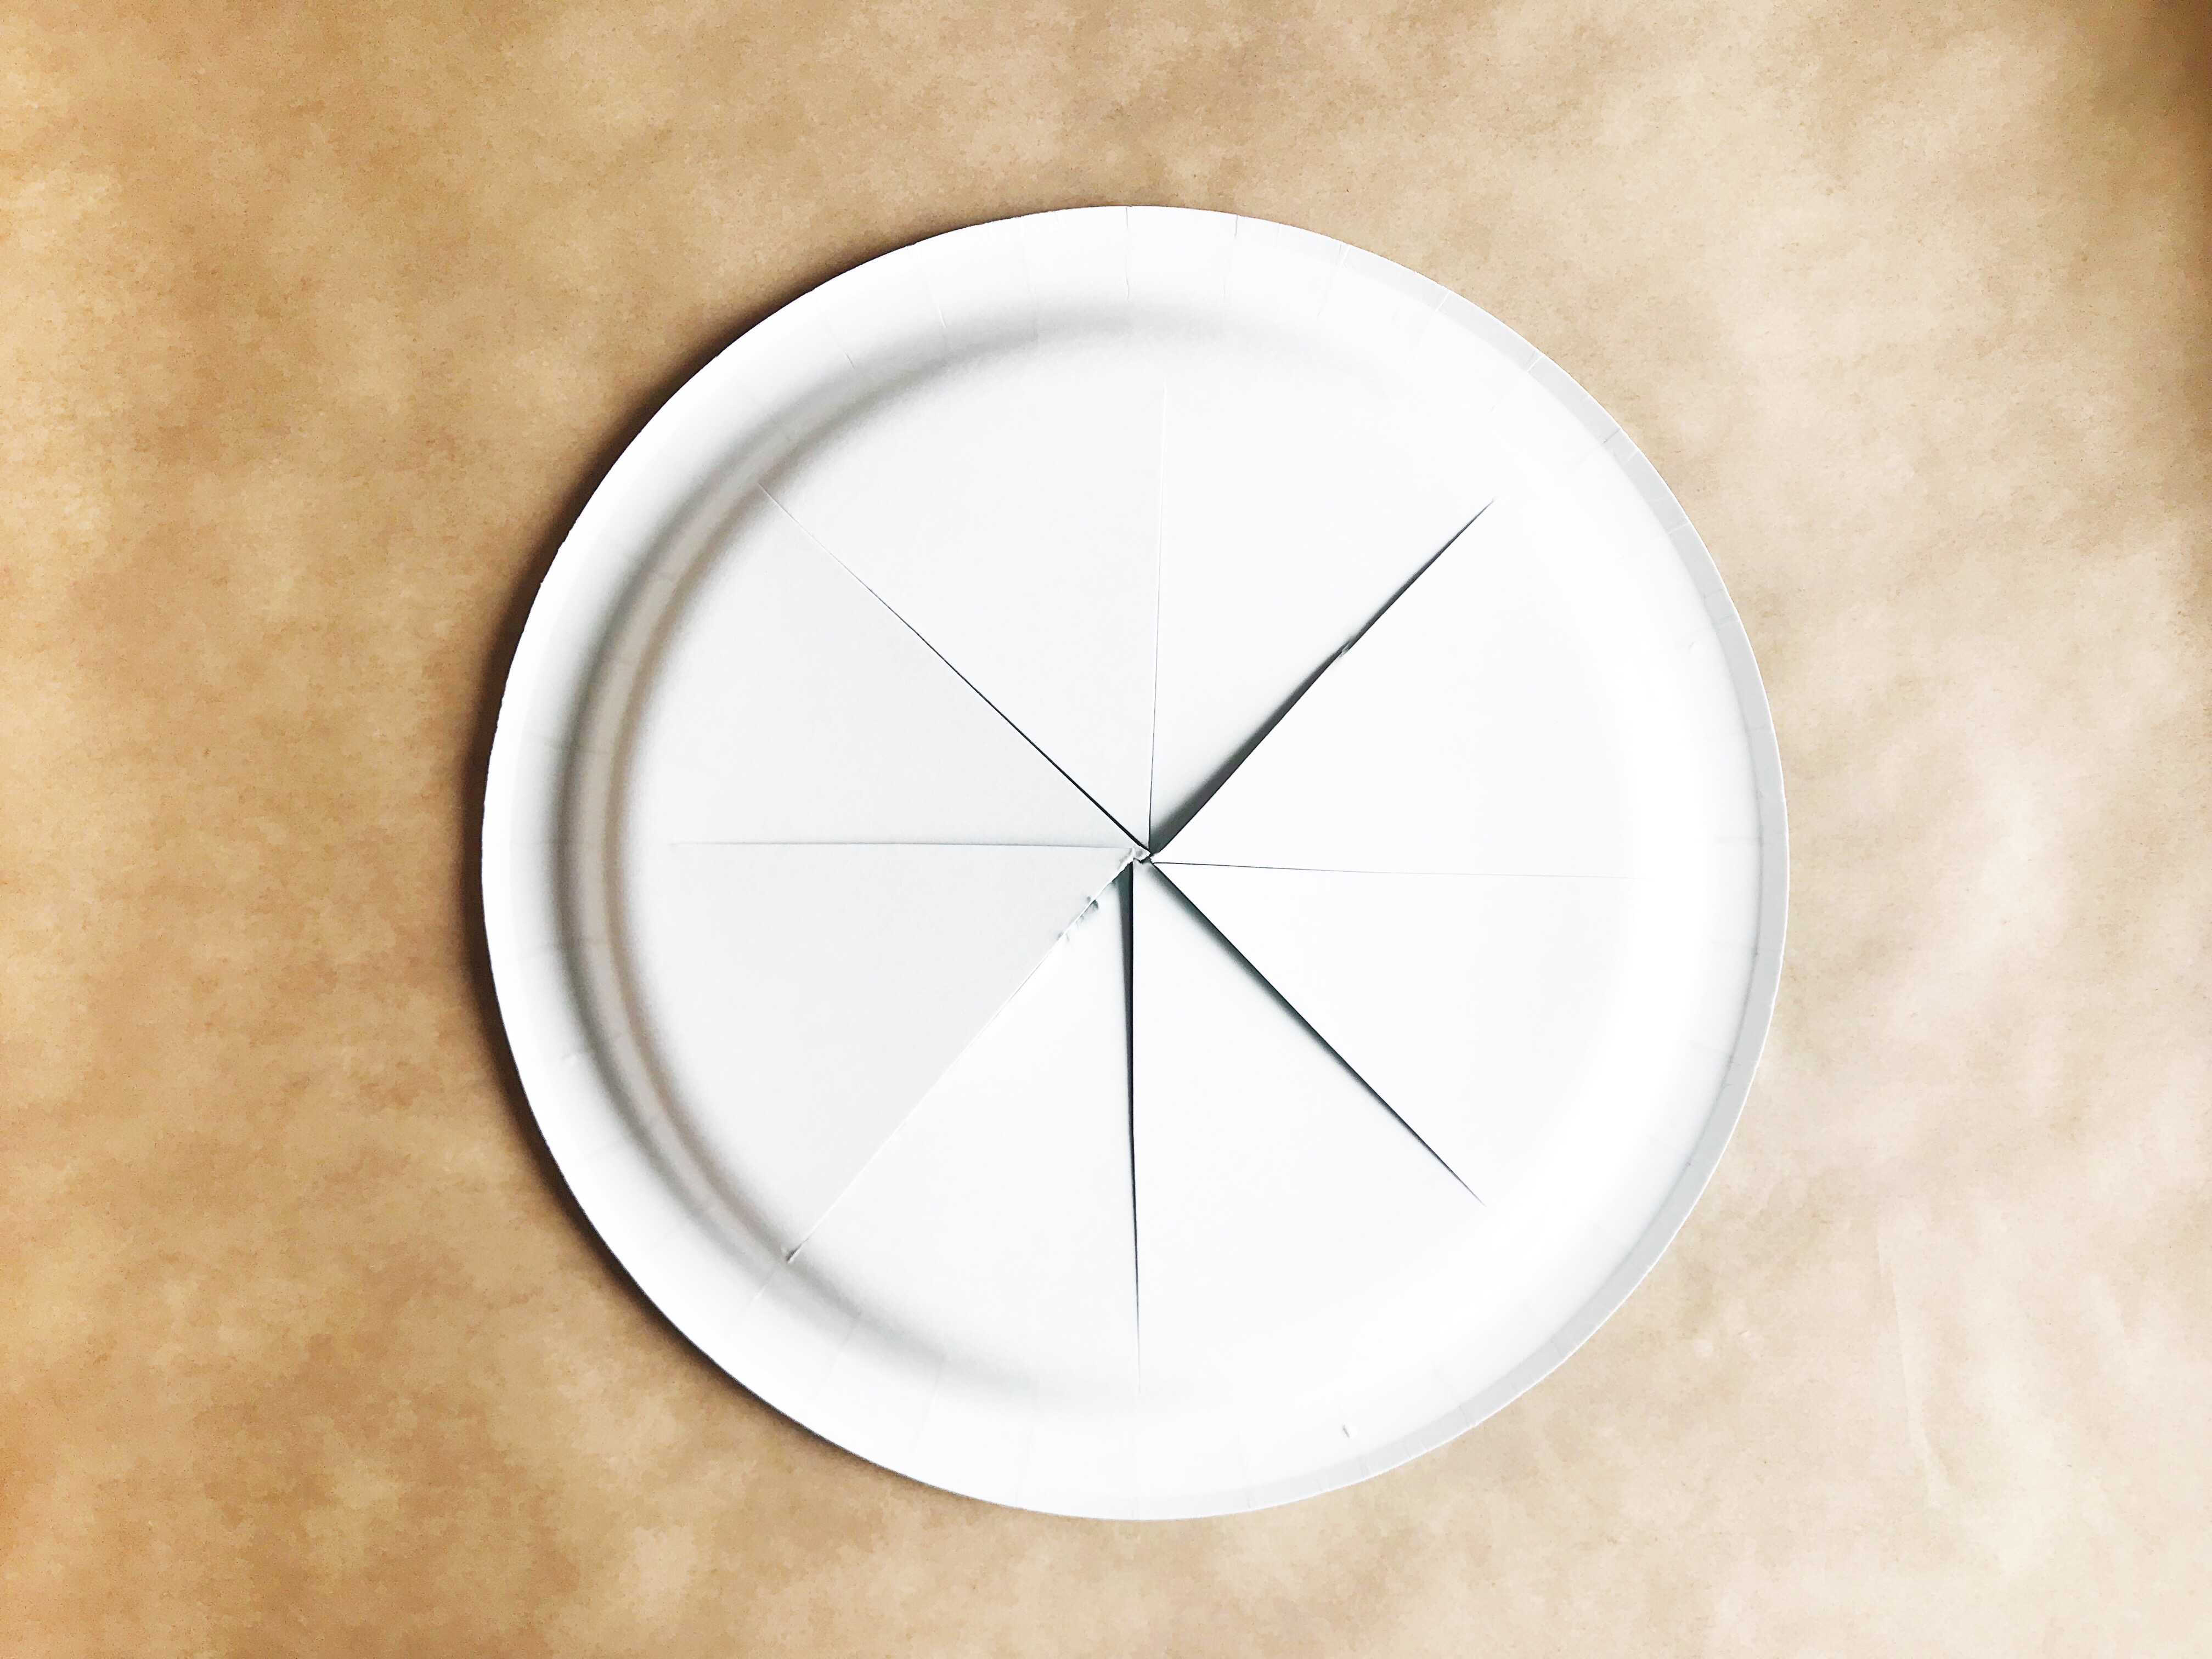
Starting at the center at the back of the paper plate, cut into 8 equal triangles. Fold each triangle up. Print out the gem template and cut out gems to be colored, or print onto colored card stock, and glue onto each triangle.

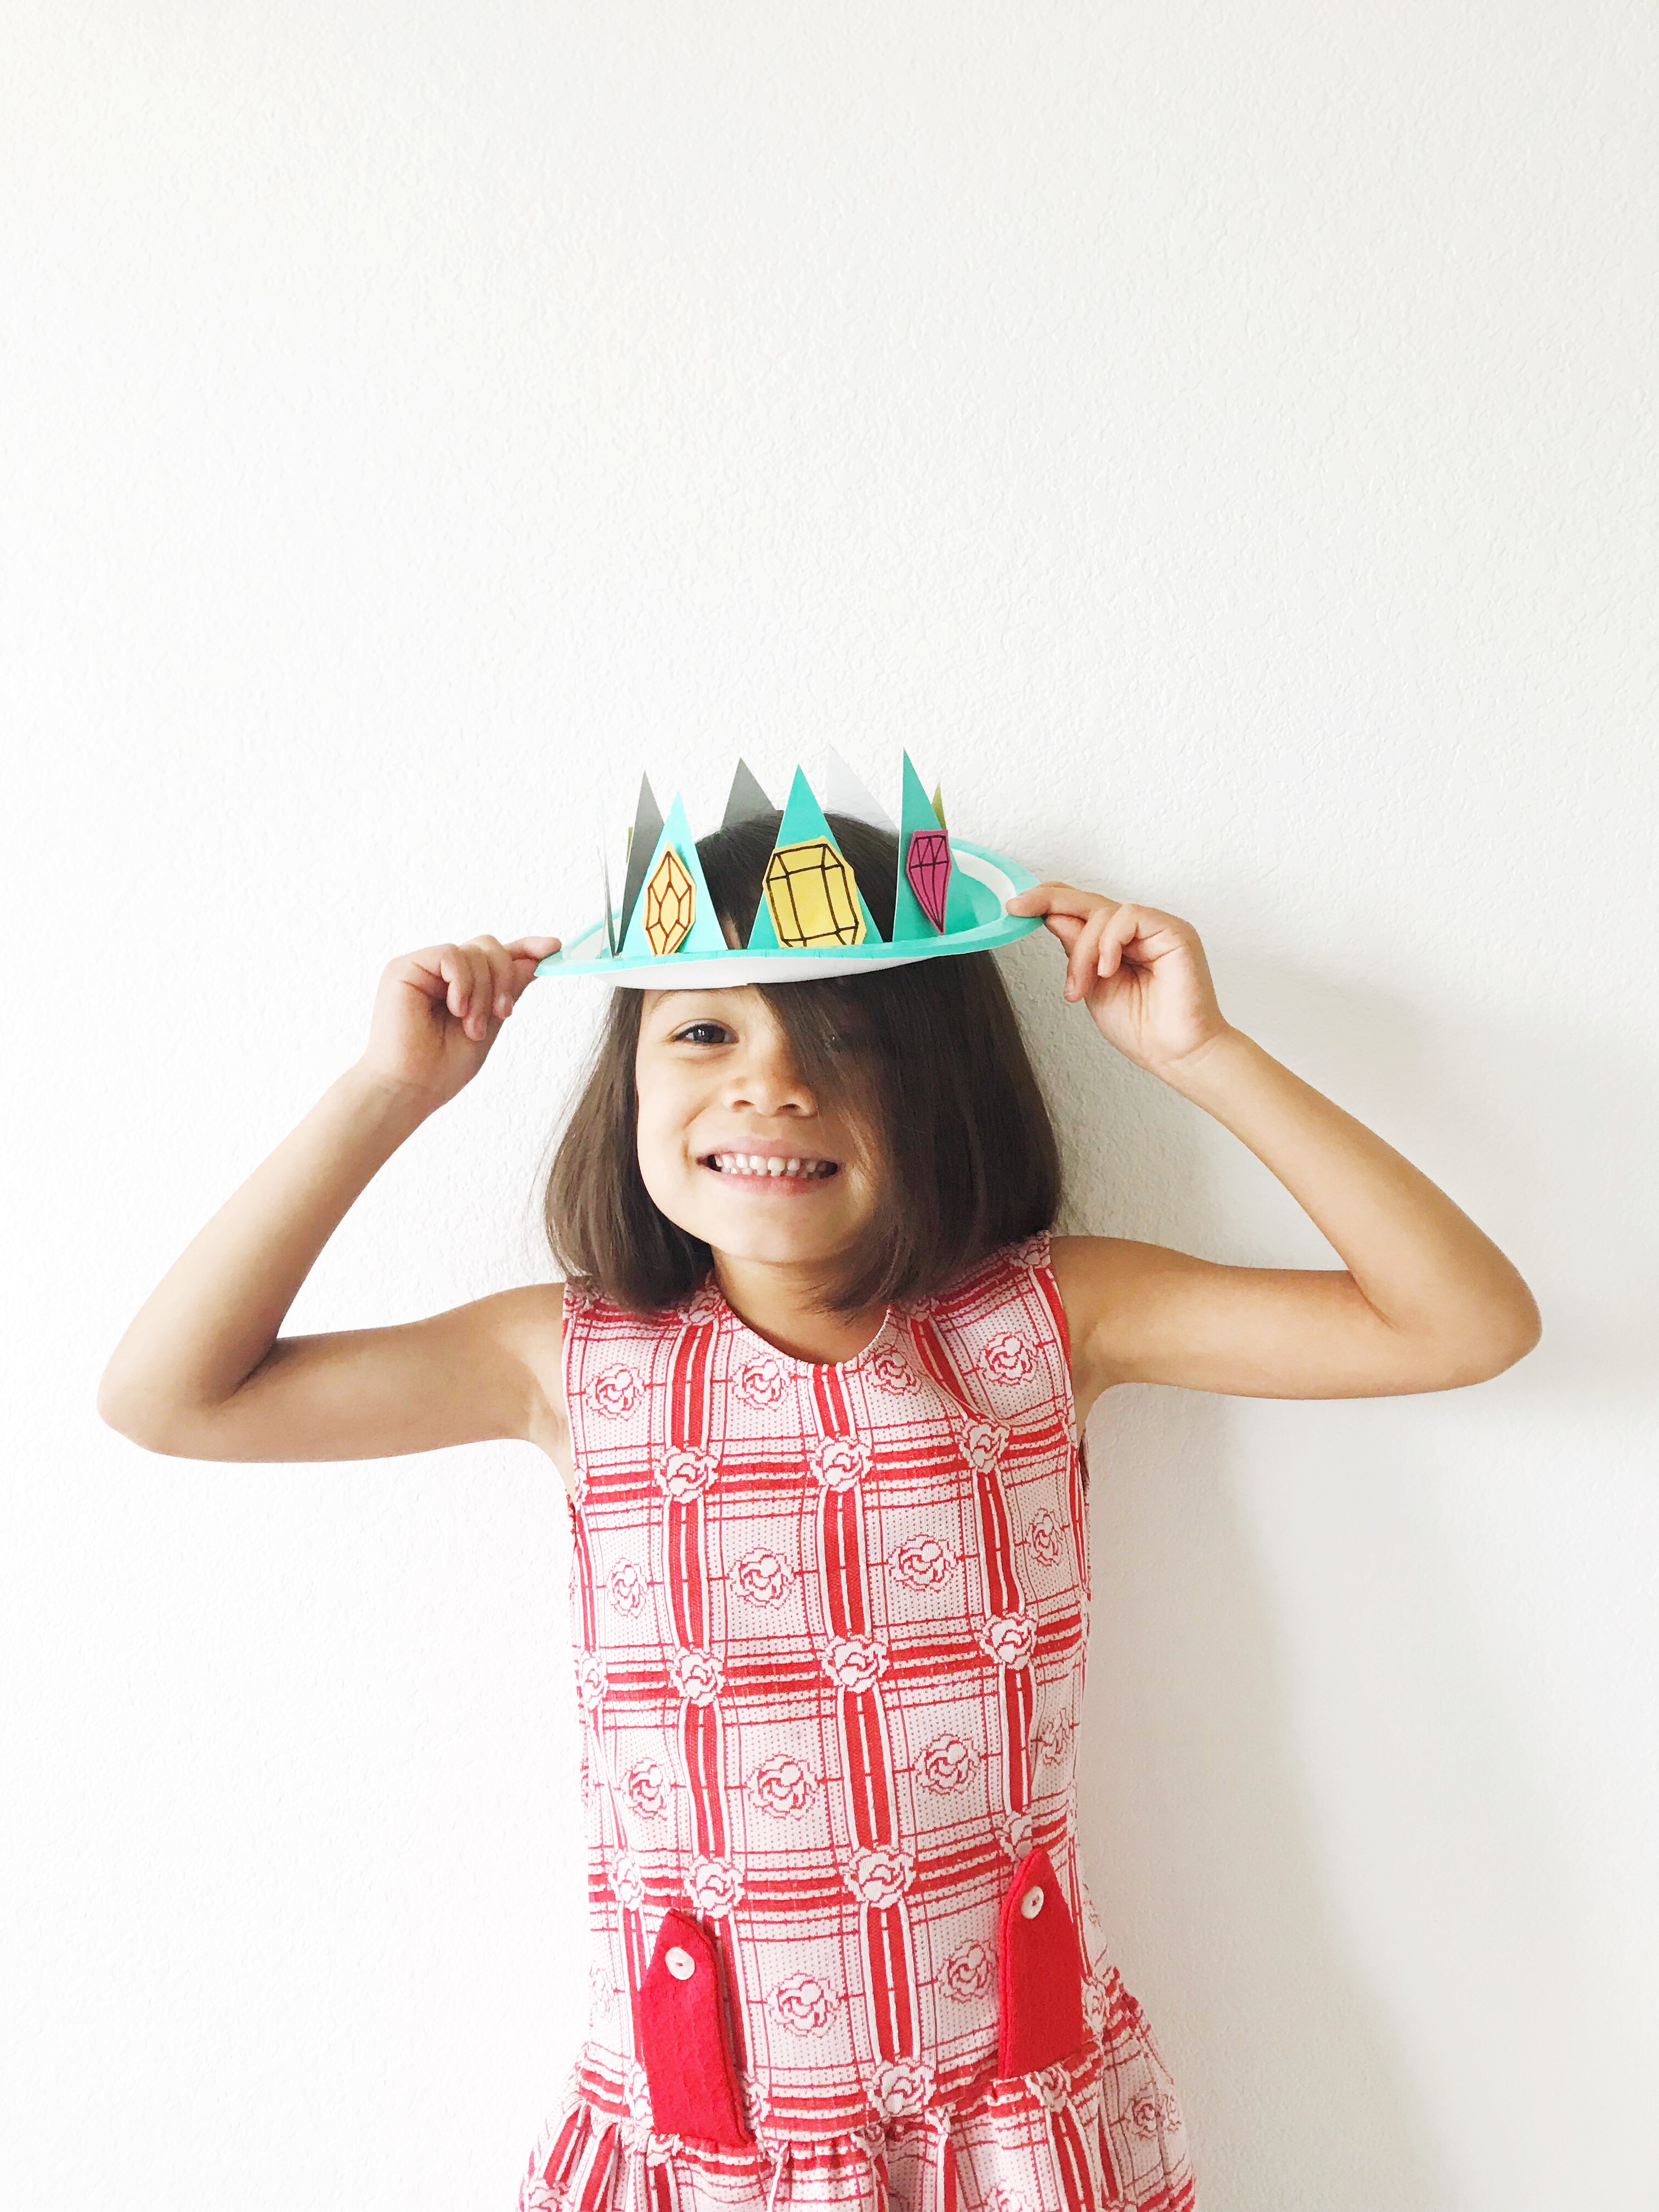
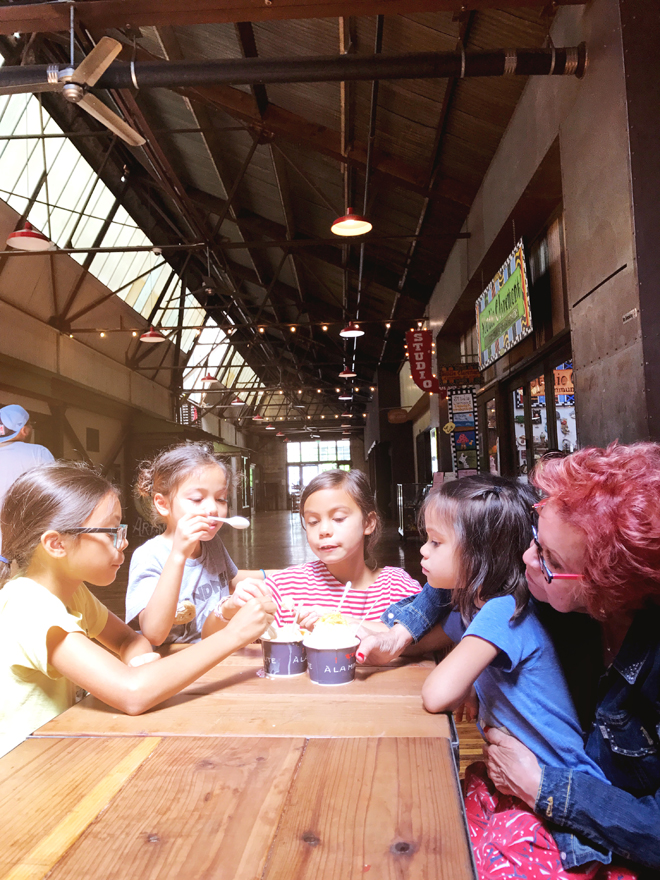
My little queen would gladly declare ice cream every day, and I don’t mind that one bit! My girls are always playing dress up, so we wanted to come up some
crowns that are easy enough to make with things probably already lying around your house.


MACRAME HANGINGS

March 13, 2018


I have a few macrame workshops coming up and I’ve been busily prepping samples and supplies for them. I love working with rope and I love being able to teach this skill to others. I’ll be at the San Diego Pinners Conference on April 13th teaching a beginning macrame wall hanging class, so if you’re available that day, sign up to get tickets to the conference here. Use the code CAKIES and get 10% off your tickets! If you’d like to host your own pop-up workshop for a birthday party, bridal shower, or just get together with friends, send me an email and let’s plan it!


FLOWER CROWN

February 21, 2018


Flower Crown

Supplies:
Bunch of fresh flowers
Floral wire
Shears
Wire cutter

Directions:
Cut out small bunches of flowers about 5′ long. Wrap wire around the bottom of the stem and continue to wrap downward to add more small bunches of flowers. Continue wrapping flowers together until desired size to fit around the head. Wrap wire to connect both ends together. Tip: Wrap wire in a downward as you continue adding flower bunches to your crown.

These could easily be made with lavender stems, herbs, vines, or other plants you have growing in your backyard, which is how we made the other crowns for our Galentine’s post.


YARN WIRE WORD ART

February 12, 2018


Yarn Wire Word Art

Supplies:
1 skein of yarn
4 yards floral decorative wire
Wire cutter
Scissors

Directions:
1. Using finger knitting (tutorial here), create a 4 yard long garland.
2. Insert the wire through the back of the knitted garland, weaving it in and out of the yarn links. Fold 1″ of each end backwards.
3. Carefully bend your yarn-wire garland to create a word.

We made our word love in honor of Valentine’s Day, but once that day has come and gone, we will change it to Soul (since it designates her side of the room) and we will make another for Glow (for her side of the room). If you want another wire word art project, try this one out!

vintage bamboo bed frame: elsie green. kantha quilt: uncommon goods


LOLLIPOP FLOWERS

February 7, 2018


Lollipop Flowers

Supplies:
Lollipops
Card stock
Crepe paper (two colors, for center of the flower and leaves)
Heart paper punch
Hole puncher
Glue
Scissors

Directions:
1. Punch out (or cut out) 4 hearts. Then, punch a hole at the bottom of each heart and fold each heart in half.
2. Wrap the lollipop head with two 4″ crepe paper (used 2 pieces to make sure lollipop was completely covered) and twist tightly at the base.
3. Insert the lollipop stick through the hole on the 4 hearts. Spread out the hearts to create the flower petals. Get the hearts as close to the base (the paper and lollipop wrapper help give the hearts a snug fit on the lollipop). Add dabs of glue if needed to secure the hearts in place.
4. Cut out crepe paper leafs and glue to the bottom of the petals.

Attach a little poem that says “Roses are red, violets are blue, if you were a flower, I’d pick you!” Also, the lollipop flowers would look really cute with a few together in a bouquet (maybe make using cake pops!) for a teacher. These would also work for Easter baskets too!


COLLECTION OF VALENTINE’S DAY CRAFTS

February 5, 2018


{no-sew heart bunting}

{felt heart clips}

{handmade tic-tac-toe}

{heart crown}

{heart headband}

{heart surprise balls}

{yarn wrapped wire sign}

{felt heart bag}

{chenille stem heart garland}

We have new Valentine’s projects to share this week and next, but here are some past ones I made to get you started.


CAKIES
©
Design by Blog Milk