Boy was I a ball of nerves, but the whole crew made me feel so comfortable. The girls love watching the videos because to them I was on a “Cutthroat Kitchen” type of show since I was given a food challenge. Ben laughs during the “DIY with 5 Supplies” segment because I’m totally not using the knife safely. I was so nervous, and it was a knife I wasn’t used to using that my chopping skills there are terrible, so don’t chop like I do in that video. And as you can see in the photos above, I’m such a shorty that I had to stand on an apple box. Now, I know how Tom Cruise feels like. HA! I hope you enjoy watching the segments (it’s always interesting to hear what a blogger actually sounds like) and I encourage you to try out the recipes and projects … they are really simple and delicious!
Directions:
1. Measure the length you want your tutu, double that measurement, then add a couple more inches. This is the length you will want to cut out all your tutu pieces. For an adult tutu, I used almost 2 rolls, but if making for a child, 1 roll should be sufficient. Set aside about 4 feet of tulle for your headpiece.
2. Measure the waist with the elastic and then cut it about 5″ less than the waist measurement. This keeps it nice and snug on. Hand sew the short ends of the elastic together with with a straight stitch. Can also leave it the length of the waist, and then adjust after you have all your tulle pieces on.
3. Attach each piece of tulle on to the elastic using a slip knot. Fold the tulle strip in half, put the folded end under the elastic, pull the the other ends through it, and tighten around the elastic. Be sure to keep the elastic flat and not tighten it so much that it bunches up. Repeat until you have reached your desired fullness for your tutu.
4. Paint your craft sticks to resemble your favorite sprinkle colors. I only did one side, but you can do both if you’re feeling ambitious. Once that dries, glue pins to the back of each wooden stick.
5. On your brown paper, create a circle with a 20″ diameter. If you’re using a grocery bag, you may need to make it smaller. Cut out your circle, then cut out 1/4 of the circle out. This gives a nice visual of the shape of the paper needed to make your cone. Roll your cone and glue the edge to keep the cone in place.
6. To creator the “fascinator” part of the cone, cut out two 24″ strips of tulle. Lay them on top of each, then tie the ends together with a small string or thread. Glue it inside the cone and adjust how you’d like it to spread out on the head.
7. Pin your cone in place with bobby pins. It’s best to pin where the tulle is and cut a tiny slit on the other side of the cone, and insert another bobby pin to affix that side to your head.
8. Pin on your sprinkles everywhere!
I wore a white dress with my tutu, otherwise a white top and white slip under the tutu would work too. Ya’ll know me, I love any excuse for ice cream!
This costume was inspired by this tutorial. A friend of mine asked if I could help her make it, and I excitedly said yes because… well, ice cream! The skirt they used is store bought, so I figured we could make our own using tulle. It’s really so easy to make a tutu. Their idea of using popsicle sticks as sprinkles is pretty genius, so there was really no need to change that. I did add some tulle to the cone because I thought the headpiece needed a little something more. I can’t wait to pass this costume over to my friend and see her in it!
This costume would definitely be adorable for little ones too! Maybe you can do black and white tulle to make cookies and cream ice cream and figure out a way to put Oreo looking chunks all over. Or do lots of different colors for the tulle and be a scoop of rainbow sherbet. There’s just so many costume ideas you could use this easy no-sew tutu for!
Hello! It’s True and I wanted to share with you about our Picasso inspired project and his Rose Period. Picasso studied African masks and those things influenced his creation of cubism, so we wanted to make our own African Mask. We also learned about his Rose Period, so it was fun to mix the two ideas together.
Brave’s was the one that looked most like an African mask, and mine was wearing bows. The Rose Period sort of reminds me of Valentine’s Day! I had so much fun making it! It is so fun to do art and I love it because we get to play with colors. I love art so much that I want to be an artist!
I have long admired weaving since it popped into the crafting scene, but hesitated actually trying it. After the Michaels Makers Summit, and learning from Anabel, I was completely smitten with this craft. I find the movement of weaving the yarn through the loom very relaxing, and it makes it really hard to put down the loom once I get started. My new found love for weaving is probably what motivated me to clean my craft space, so that I could have a place to display my yarn. I have a few different looms, this one is the one we were given at the summit to learn on, I have a beautiful one from Lost Pond Looms that Anabel so graciously sent my way, and then I followed her tutorial on CreativeBug to make my own loom. I want to make a bigger loom, and maybe order this large one from Lost Pond Looms. I have no idea what to do with the weavings I make (I can only hang so many in my home), so my friends better be prepared to receive a weaving for their birthday or any special occasion that may come up.
Supplies: Chenille pipe cleaners, various colors (we made our pumpkins in pink, yellow, and orange!)
Scissors
Pencil
String, optional
Directions:
Use about 6 pipe cleaners (or as many pipe cleaners as you’d like!) for the pumpkin body, twist the ends together to form a circle. Cut a green pipe cleaner in half, gather the orange circles together, and attach together with the green piper cleaner (the leaves) and twist the green stem in place. Use a pencil to make the pumpkin curls with the green pipe cleaners. Cut out a 5″ brown piece for the stem of the pumpkin, twist that onto the top, and curve the top of the stem like a hook. We made it like a hook so we could hang all our pumpkins on string to make a garland. Lastly, bring some of the circles through the other hoops, and spread them out to create the shape of a pumpkin. Once you have the circles spread out just the way you like, flatten it a bit to give it that squatty pumpkin look.
It’s the first of September and we are ready to bring in some fall vibes, even though it’s scorching hot outside. Thus, these colorful pumpkins were just the thing to kick off the autumn projects. I taught True how to make one pumpkin, and she took off from there, then she taught the rest of her sisters. After they made all the pumpkins, they continued making flowers and fruits with the pipe cleaners. I was pretty amazed at all the things they were making! They should probably do their own tutorial for the piper cleaner flowers and fruit!
If you have some chenille stems lying around, this project is perfect to do with the kids. They will have fun celebrating the coming season with this simple project!
Supplies for this project were provided as part Michaels Makers Series. Make your own type of craft pumpkin with Michaels and let your imagination run wild with all the different types of ways to make a pumpkin and celebrate fall!
One week of school almost down and many more to go!
For our art program, we are going through the Getting to Know the World’s Greatest Artistsseries and we are currently focusing on Pablo Picasso. This week we discussed his blue period and cubism, so we mixed the two together into one art project. We are using this book as a supplement; we’ve done parts of the book before, so we are going back and pulling project ideas from there.
To make this project, each girl painted her own portrait in blue. We discussed cubism and geometric shapes, and once their painting was dry, they cut it up into geometric shapes. Lastly, they used the shapes to recreate their face. I loved how each one turned out and I want to scan it and get it printed together into a large poster! My girls’ art is my favorite type of art to put up in our home.
This first week of homeschooling went fairly well. I think I had a better handle of math and the girls are excited about school. We have our new daily schedules taped up all over the house, which helps all of us stay on task. With the four kids, I have to keep things really organized, otherwise, we’d all lose our marbles!
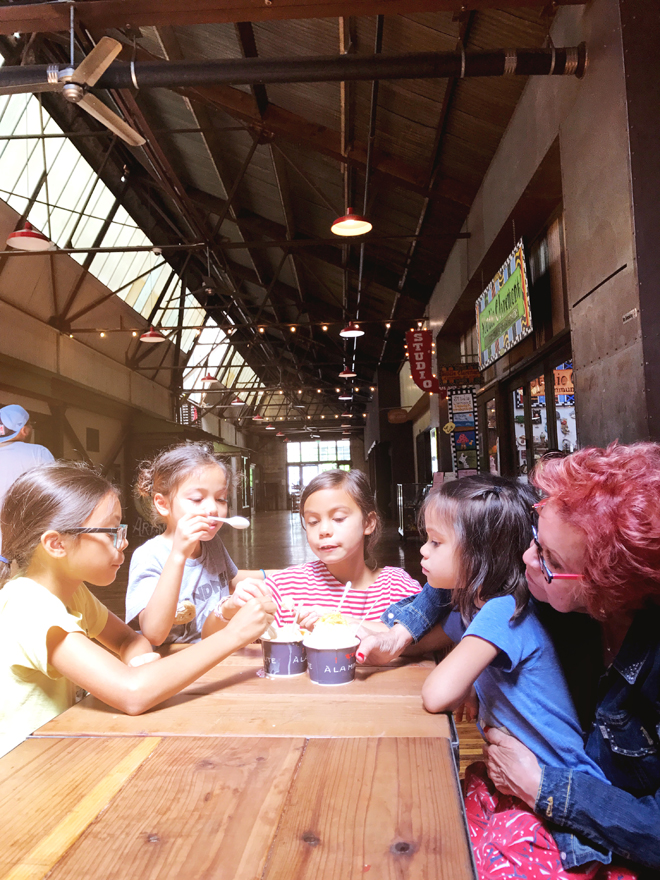
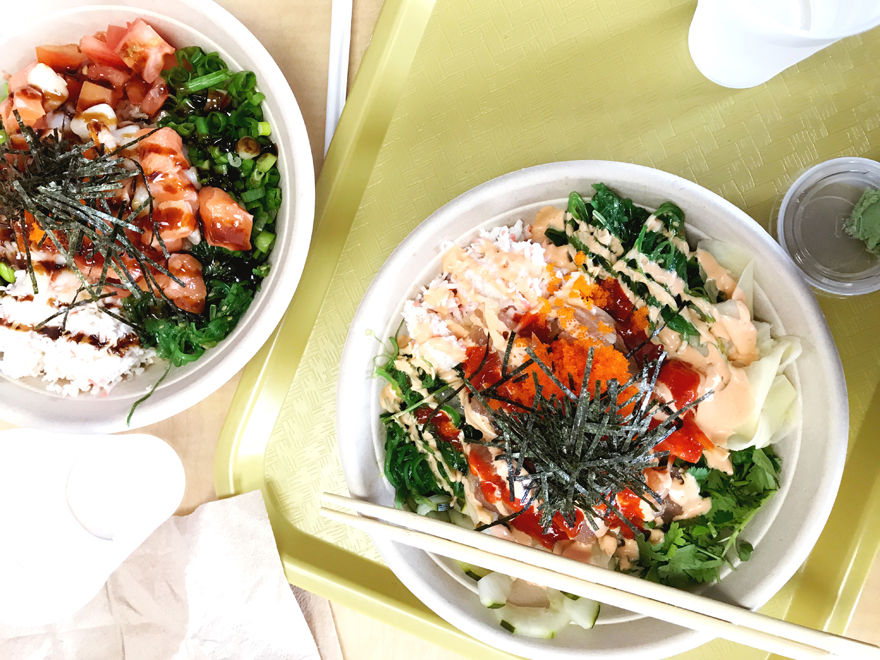
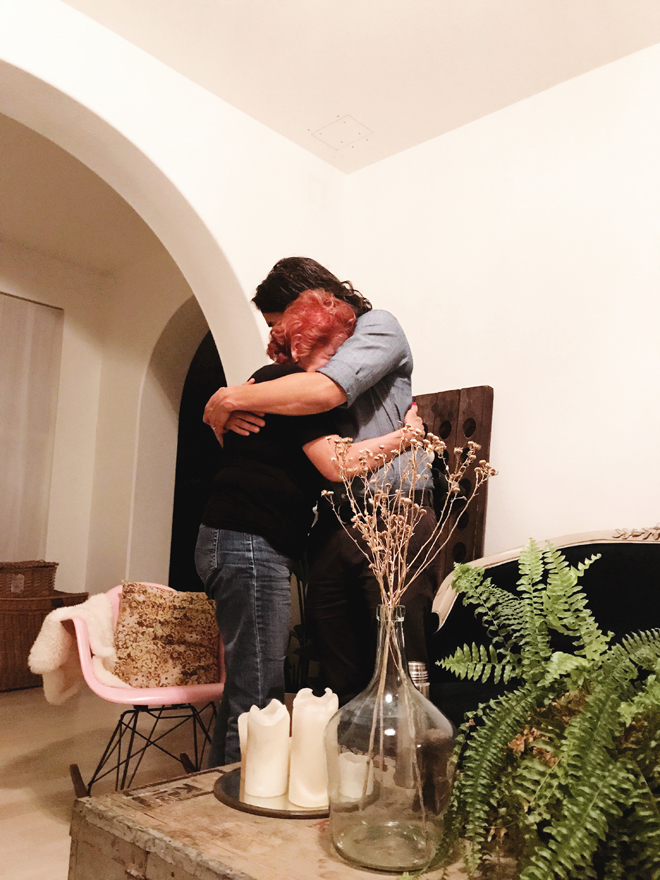
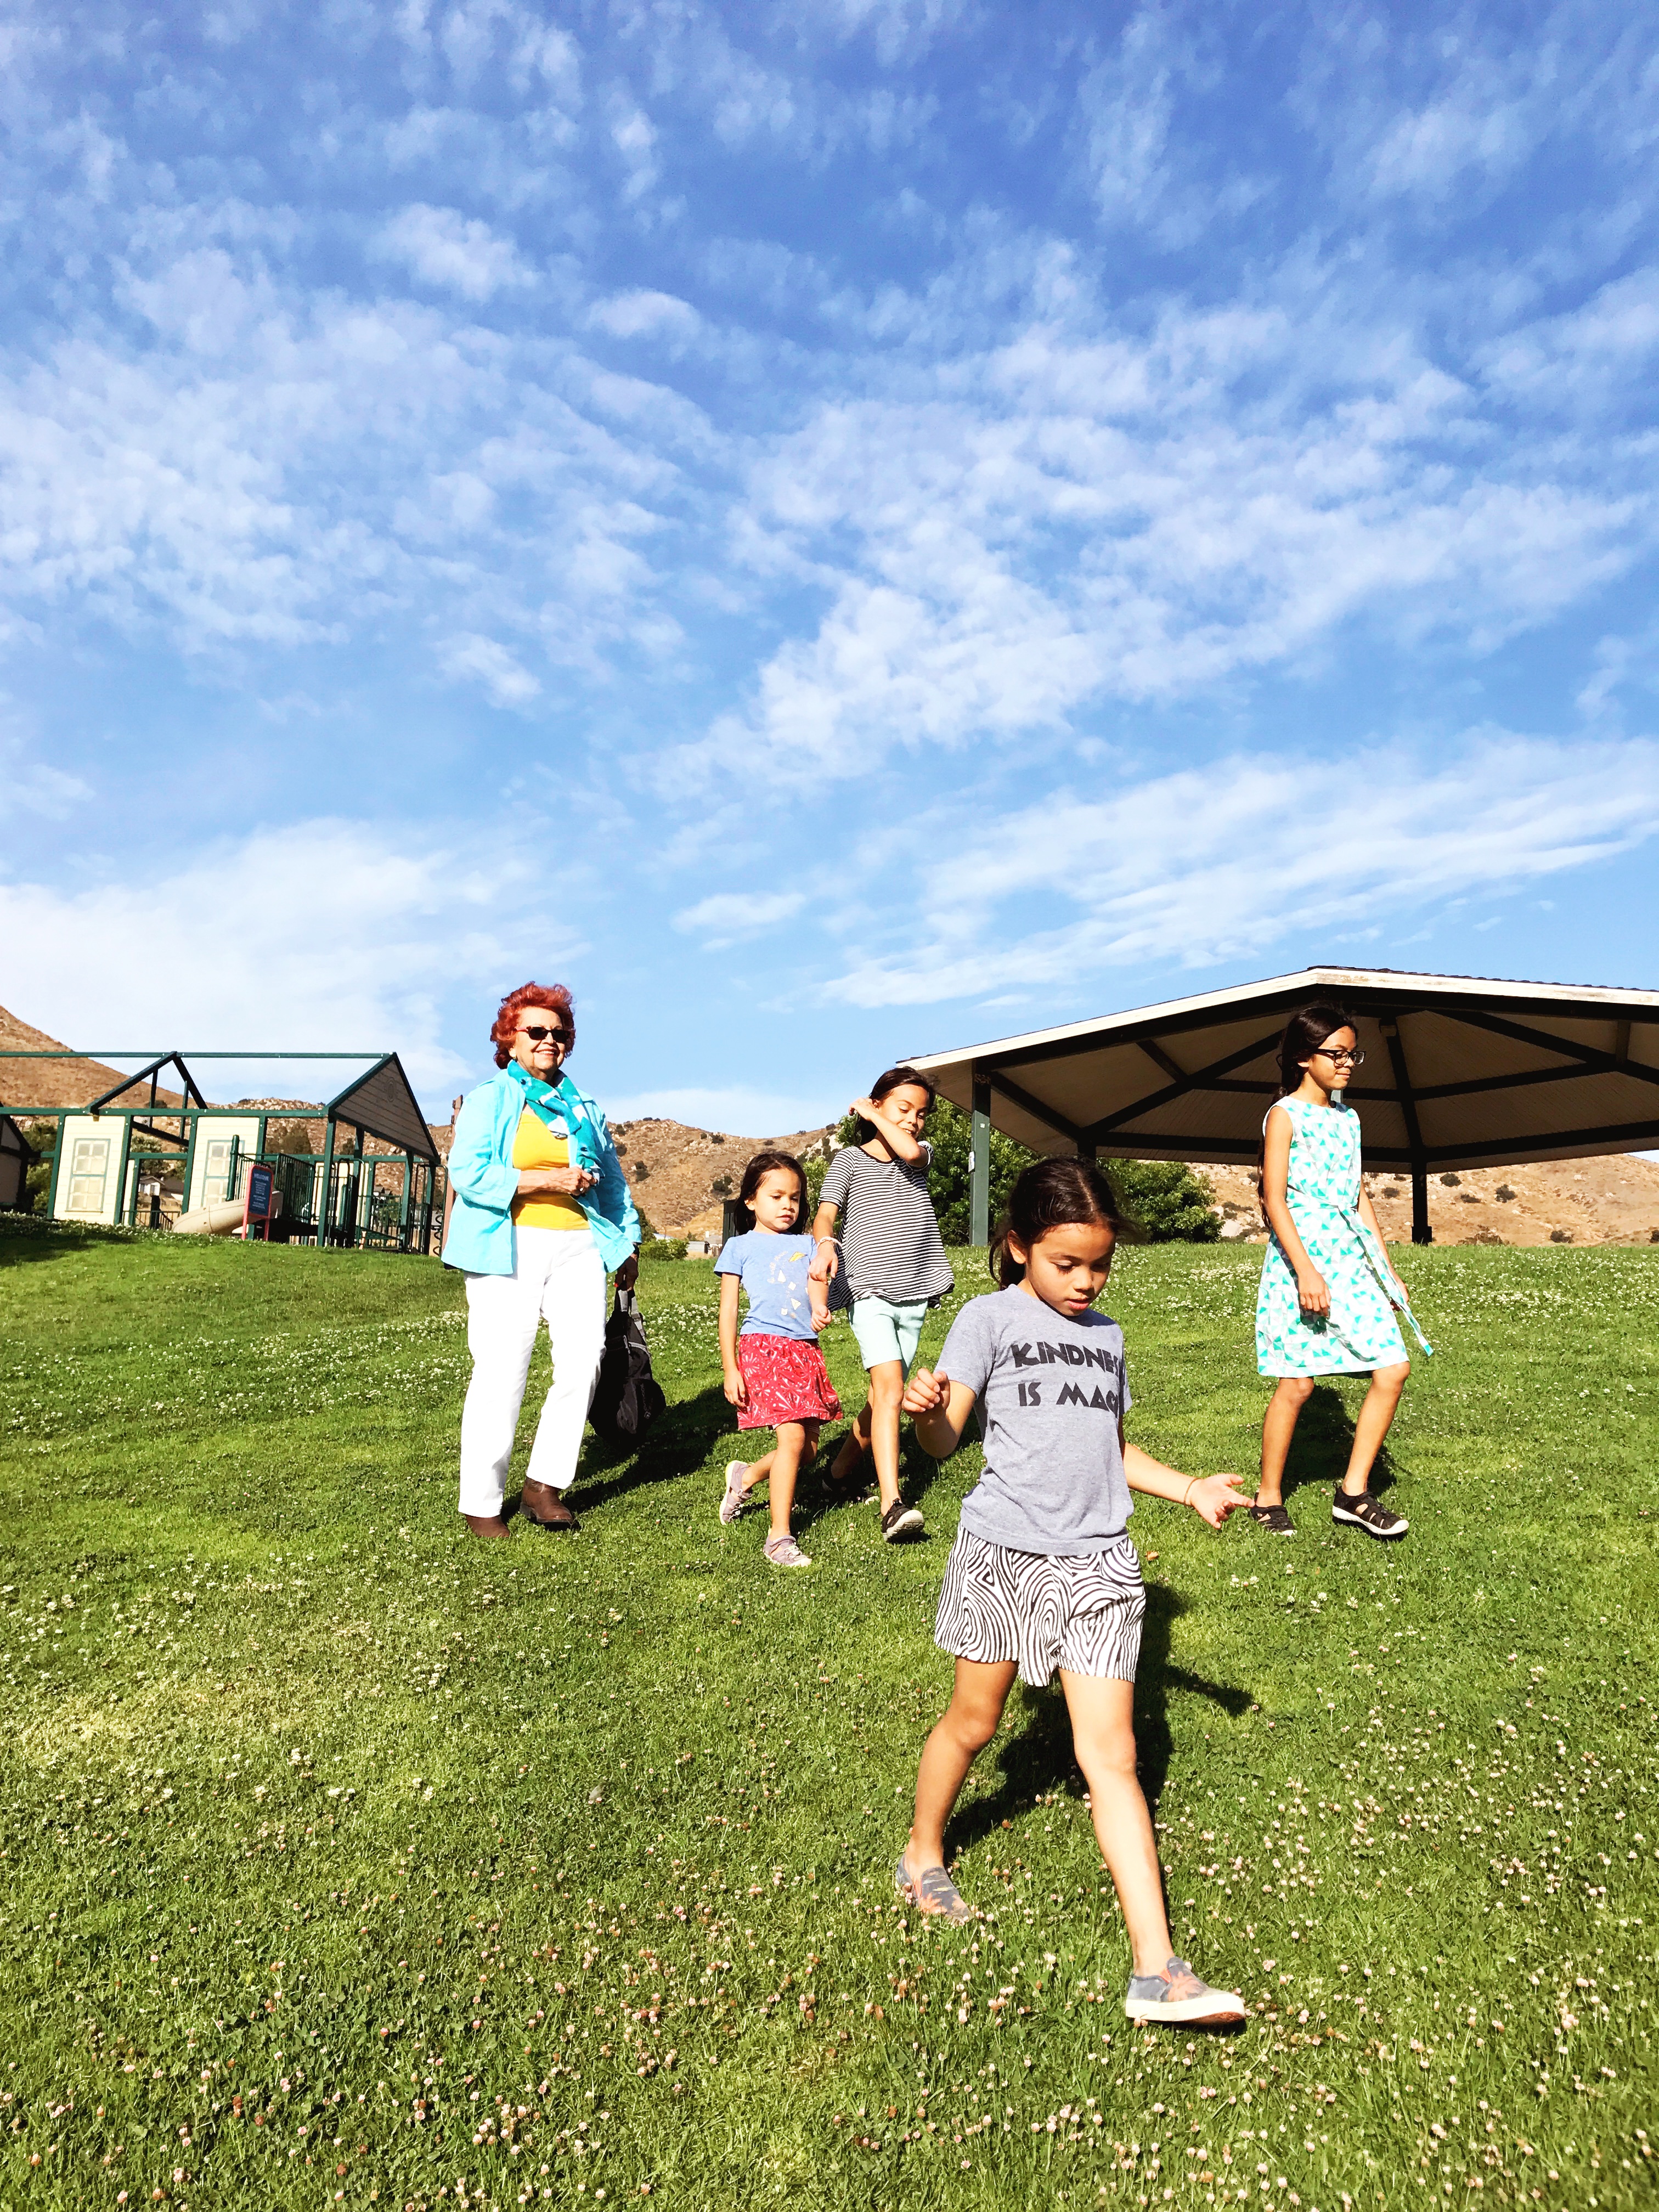
Last week has been special because Ben's mom and sister were in town (they haven't been here in a few years), so we were relishing our time together. There was a lot of special grandmama time with the girls, and a lot of sister bonding time between Ben's sister and me. We saw them in Texas this past Christmas, but it's been awhile since they've been on our turf, so we are having fun hosting and cooking them some of our favorite foods. If you know us, well, more the girls and me (not Ben), the first thing on the agenda was take them to our favorite ice cream place, A la Minute. His mom and sister agreed that their ice cream is pretty terrific and the best they both ever had. There wasn't much on our agenda during their stay except spend quality time together. We did have plans to go to the Lavender Festival, but Ben's mom and sister got sick the last two days, so we had to scrap that idea. Thankfully, the festival will be going on next weekend, so Ben and I are hoping we can still take the two little ones. It was a fast 5 days with them and we look forward to seeing them again in July when they come back to drop off the big girls.
SaveSaveSaveSaveSave


 A couple months ago, I filmed a couple food segments with FM in the AM and wonderful host Susie Meister. They segments are live now, so you can learn how to make paper plate cake plates, or watch me conquer a “DIY with 5 Supplies” challenge and come up with a “Chocolate Fix in 46.”


 Loading InLinkz ...


