our homeschooling space

September 17, 2014


homeschooling spacehomeschooling spacehomeschoolinghomeschoolinghomeschoolhomeschoolhomeschoolhomeschooling spacehomeschooling spacehomeschooling spacehomeschooling spacehomeschooling space
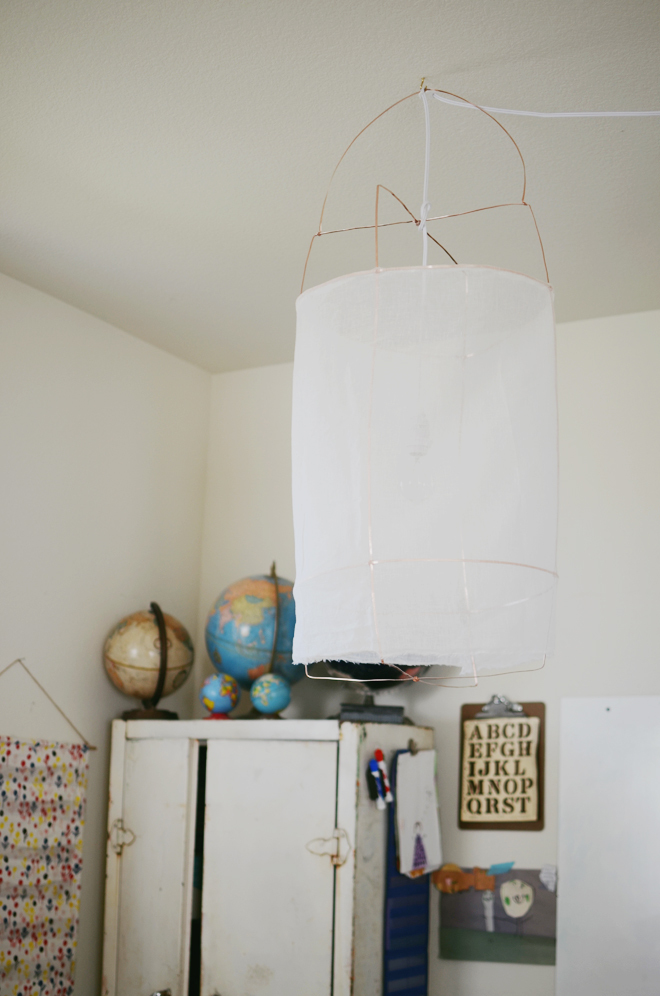
Welcome to our homeschooling space! The major change we did for this year is switching out the table for a round one , which I scored on craigslist, and this was to accommodate Soul (and eventually Glow). See previous set up here and here. Additionally, we added chairs and removed the bench, and I switched out the 3 hanging halo lights for one Koushi inspired one. I feel our space is functional and pretty.

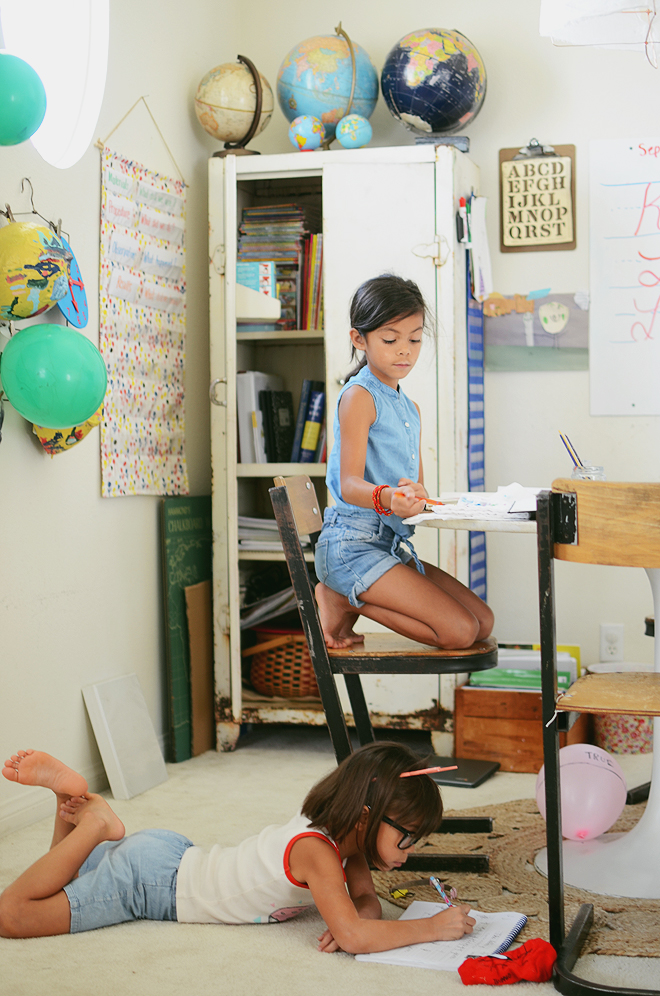
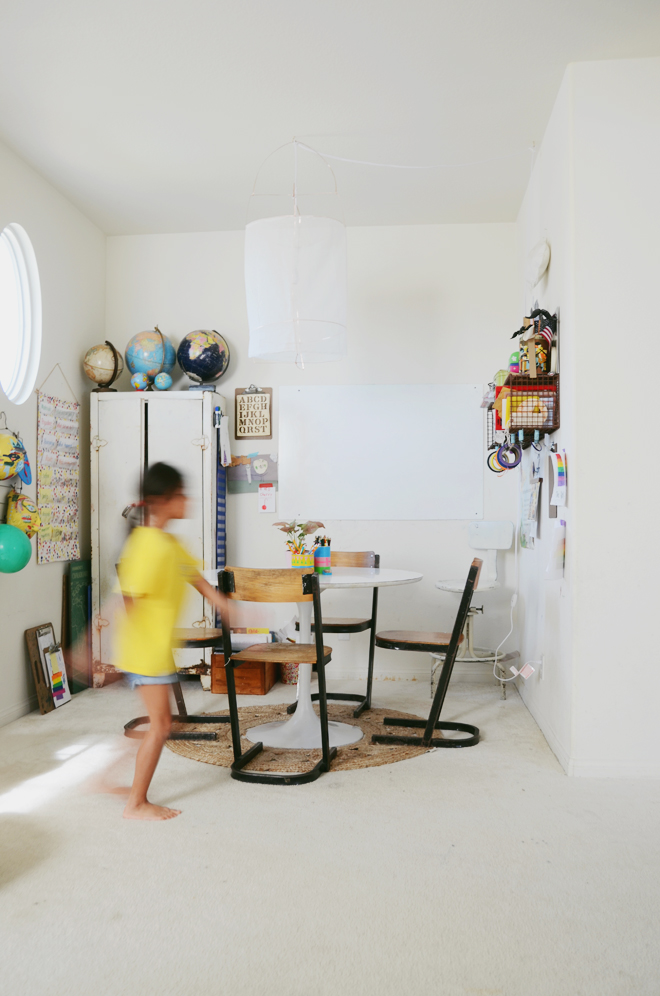
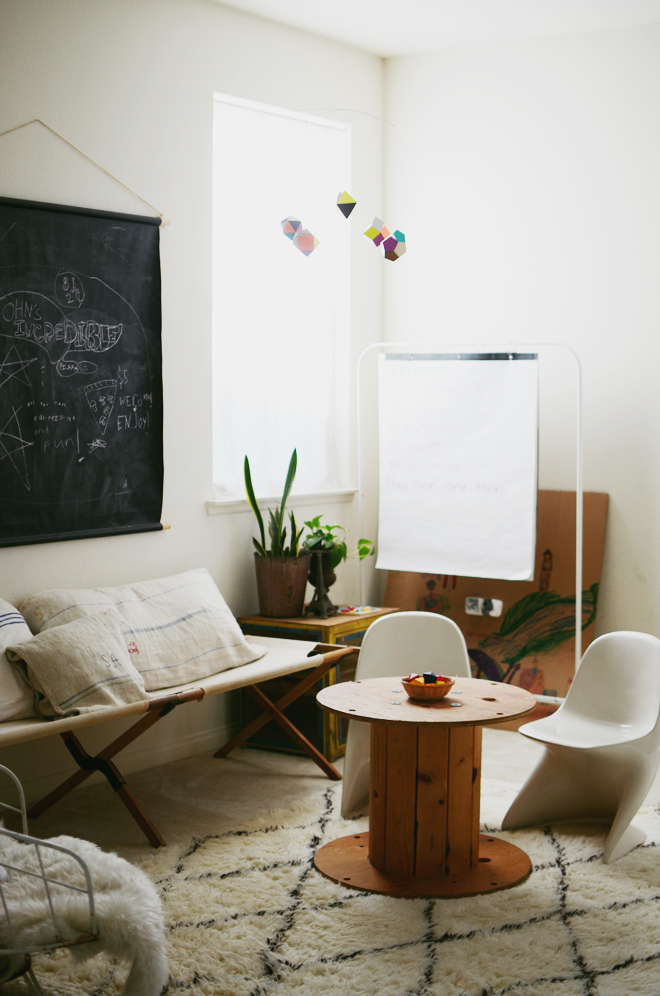
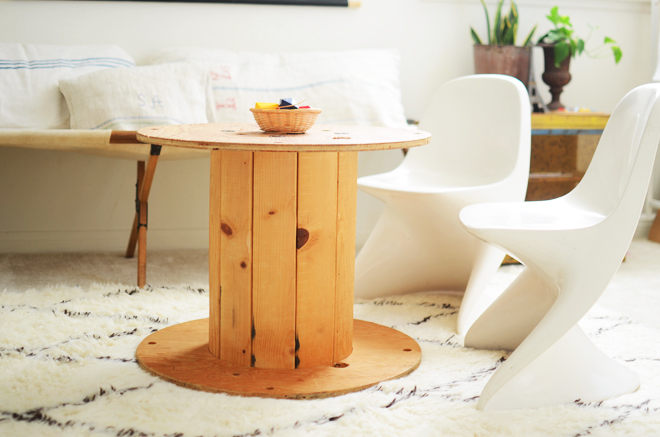
The round table now gives everyone a spot at the table. Soul used to work, more like play, on the small spool table, but I find she’s more interested in learning now that she has an official spot. Glow is still napping during our school time, so she doesn’t sit at the table yet. The chairs are found items from Anthropologie and I love the interesting shape of them; I also love the school chair vibe they have, and apparently they were from Belgium in the 1960’s. I have had my eye on those chairs for a few years now and wanted them for dining room chairs, but Ben wasn’t feeling them for that purpose. Though when we switched out the table, I knew these chairs would be perfect for this spot, and Ben agreed.

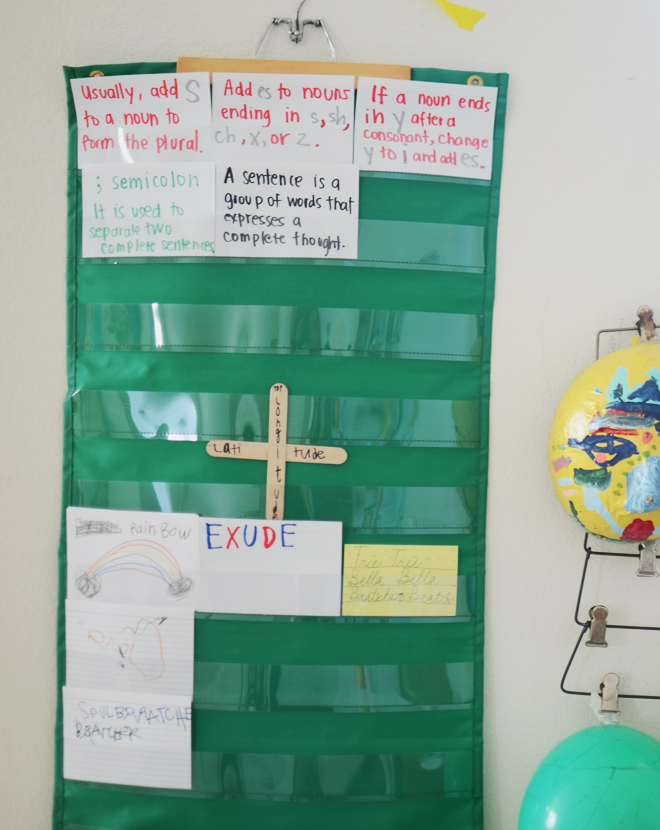
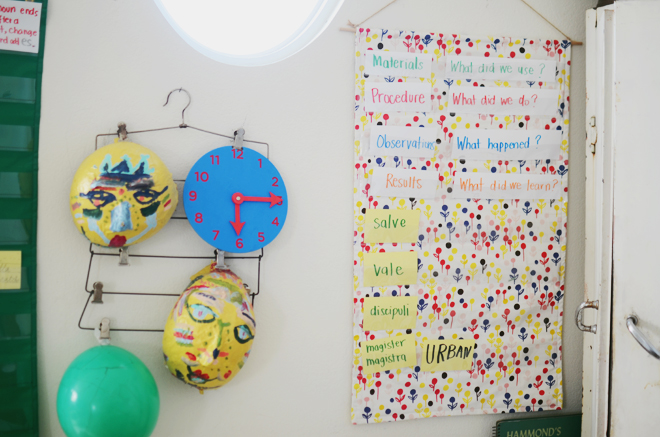
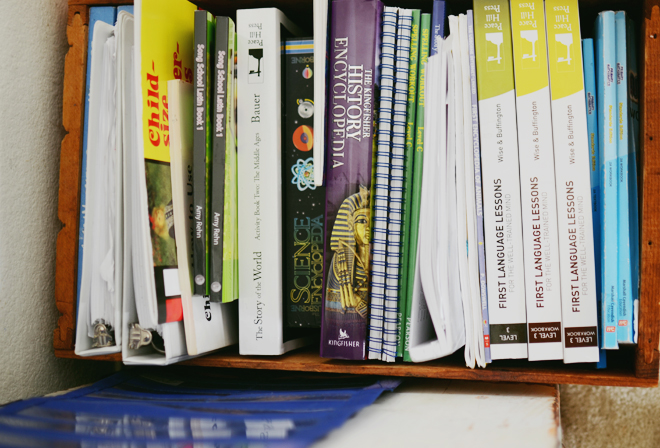
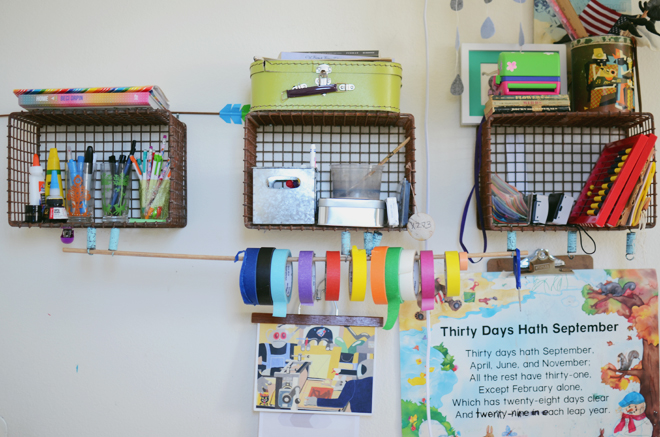
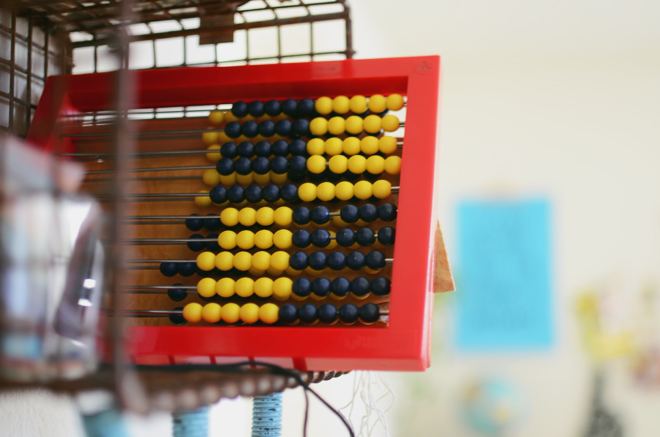
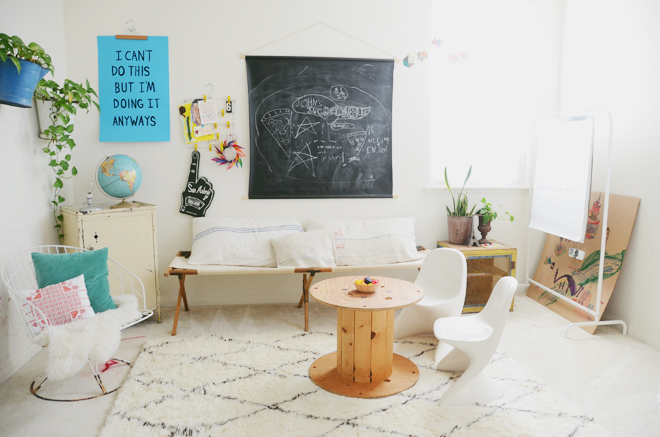
The girls sit at the table for our lessons and discussions. I use the white board to draw and write on and I love that it feels like our own mini classroom. The metal cabinet houses paper, lots of books, math manipulatives, school supplies, but all our current teaching guides and workbooks sit in a wooden crate right next to it, I just pull it out when I need it. We have pocket charts to hold our flash cards and such, one was bought when I worked as a public teacher, and the fabric printed one is from my book, Let’s Sew Together (you can get the instructions on how-to make your own in there!). We have metal baskets hanging to house pencils, pens, markers, and additional craft supplies.

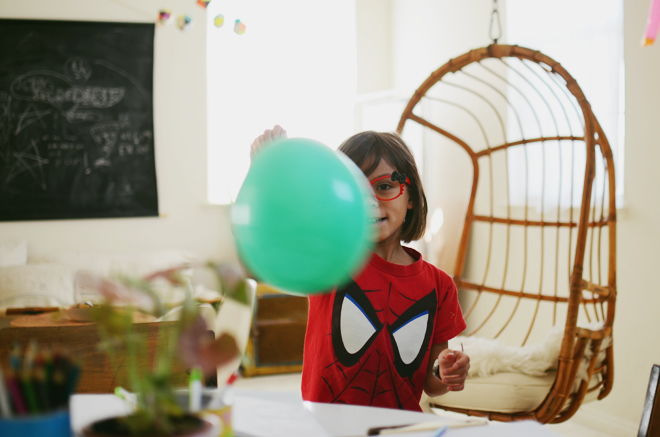
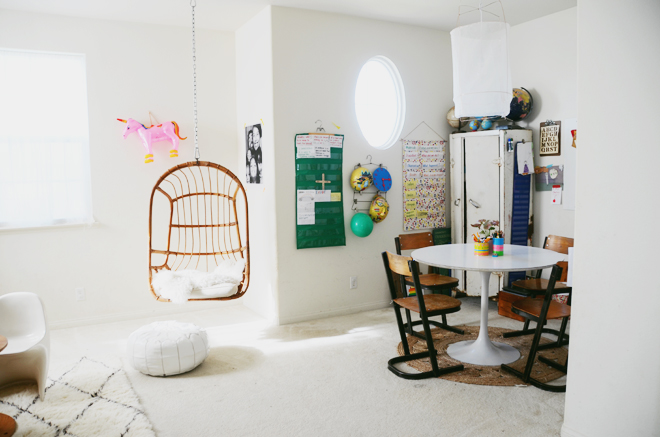
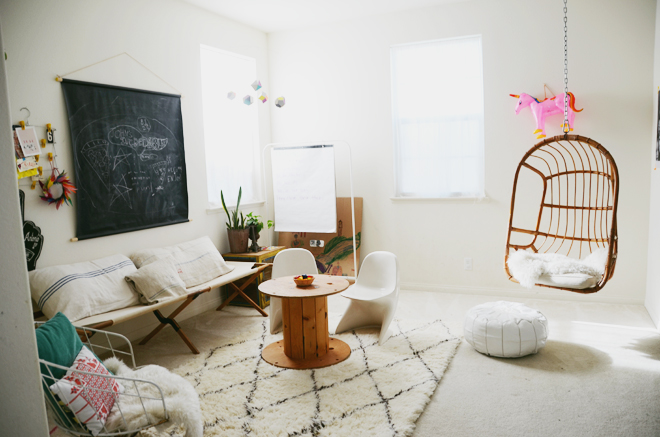
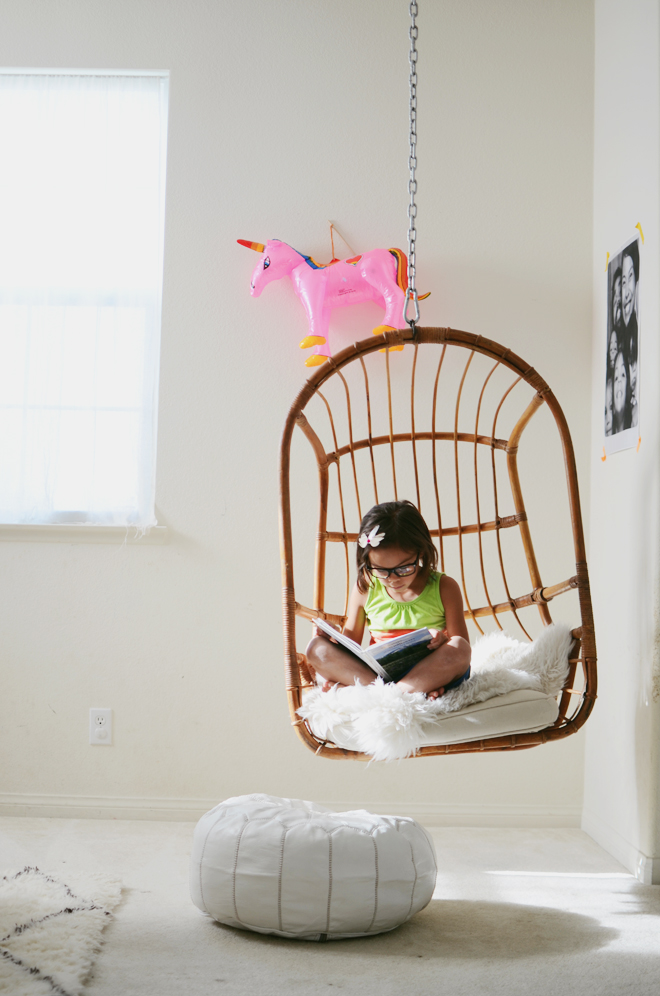
On the other side, there’s the hanging basket chair, which I scored on craigslist for $30, but from a New Jersey listing. Coincidentally, my friend happened to be road tripping through, picked it up for me, and grey hound shipped it to Southern California. Great friend, right?! The girls love to read in that chair! We have a cot (scored on ebay) and the girls love to lounge there too. This side is more where they play, do projects, and read, it’s a nice comfy area. I got the rug recently from Rugs USA. I’ve loved that style for awhile, but wasn’t sure where to get it, but then over labor day it was 80% off, so I purchased it. That space looked like it was missing something to pull all the furniture together, and it was all just floating on carpet, so I think the rug brings it together nicely, even if it is still on carpet. The texture is different, so it works for me. The hanging chalkboard is another project found in my book, and the girls change up the drawings on it from time to time.

We use an IKEA clothes rack to hang our giant tablet paper, and we use that to write our poems or do diagrams. I drag that rack over closer to the round table when we need it.

This room has been loved (I have four kids after all), so the carpet is really worn, there’s plenty of stains on the carpet, and the walls aren’t really white, more like a cream-grey with lots of fingers prints and crayon/marker drawings all over the place. If you look closely, you’ll see some of it (note: the red lipstick drawings on the carpet). I love our set up though, it’s a happy and bright place for learning, and I’m thankful to have this spot in our home to do our homeschooling.

If you missed my curriculum post, you can ready about that here.

room details: burke tulip table, craigslist. chairs, found from anthropologie. jute rug, home goods. hanging light, shared here. hanging chairs, craigslist. pouf, ebay. clothing rack, ikea. cot, ebay. moroccan rug, rugs usa. themis mobile, uncommon goods. pocket chart and hanging chalkboard, projects from my book. spool table, local electrical shop. vintage alexander begge kid chairs, ebay.


inspired by the koushi lamp

September 16, 2014


homeschoolI shared in this post how how I liked this light fixture and asked if anyone knew the designer. Someone kindly shared it was called the Koushi Pendant, so I set off in search of it. Evidently, it was made by Mark Eden Schooley, but I couldn’t find where it could be purchased, but that specific one I liked was by Nelson Sepulveda for Aye Illuminate. Apparently, both artists are friends, one uses wire and the other bamboo. I contacted Aye Illuminate for the cost of the light, and they directed me to two shops in Santa Monica. I called them for availability and cost, and they said they would get back to me, but they never got back to me. I tried one more time, and still never heard back, so what did I set off to do?! Make my own.

I liked both the wire and bamboo one, but wasn’t sure how to get bamboo all bendy, nor had the patience since I was itching to put something in this space quickly. I took trips to the hardware and craft store to come see what materials I could find to make one of them work. I ended up making mine with flat, copper wire strips and it took some tweaking to get it rounded. For the cover, I had some cheesecloth in my fabric stash, and I used that to cover the frame. I used the light I had from the previous hanging light. Mine isn’t as nice as the designers, but what I really love about the light is how airy and ethereal it looks, so I think I got pretty close.

In my research about the lamp, I came across Bodie and Fou and the lamp they made inspired by the Koushi Lamp. The outcome of their creation is just as gorgeous as the original. Here’s another pin of that dreamy bamboo lamp. While, I would have loved to have the real deal, this made by me one works well too. I love seeing it hanging in our homeschooling space (more to share about our space soon)!


diy: chalk finish recycled bottle

September 15, 2014


chalk finish recycled bottleChalk Finish Recycled Bottle

Supplies:
Glass/plastic bottle (I used our Simply Grapfruit bottle)
Chalk paint
Paintbrush
Dried flowers, optional (for decorating)

chalk finish recycled bottlechalk finish recycled bottleDirections:
Make sure to clean your container completely and remove any stickers. Add a coat of paint and allow to dry completely before adding a second coat of paint. On my container, I did 3 coats of paint, and made sure to allow each coat ample time to dry before adding another. When done, decorate with pretty fresh (or dried) flowers!

chalk finish recycled bottlechalk finish recycled bottlechalk finish recycled bottlechalk finish recycled bottleA few years ago, I saw some painted recycled plastic bottles sold as vases in some online shop. It appeared to be painted with this chalky looking paint, and I always wondered what paint was used to make them. I saw these paints at Michael’s a few weeks ago and thought it might be it. Now, I never bought those vases I saw, so I can’t say for sure if it’s exactly the same, but it looks reminiscent to it, so it works for me. These chalky paints are kind of fun and I want to try painting some candlesticks with it. I really like the matte finish and the pastel colors they come in.

chalk finish recycled bottleThis project is part of the Michael’s Makers Series.

michael's


family photo booth strips

September 12, 2014


family Photo Booth stripsThese were the photo booth strips we took at the OC Fair. We pretty much only go to the fair to take these photos. I love these pictures so much. All our photo booth and polaroid pictures are just extra special to me, especially since I rarely print out photos (I’m just so bad at it). Oh and it was so hard to get all the girls in their own photo for that strip on the right. It goes so fast, and you’re trying to switch them out quick (and keep them close at the same time), it’s a feat I tell you!

I feel like my days are fuller than ever, and I’ve been trying to set more evenings aside to relax. I did get caught up on most my emails this week (high-five!), and I think I answered most of your blog comments back (if it warranted a reply), and with the girls gone on vacation with my parents next week, I’m hoping to cross lots of things off my to-do list. I always have a to-do list, but really, who doesn’t?!

I’ve been thinking a lot of how motherhood can feel so isolating sometimes. If you’re a working mom, stay home mom, or work-at-home mom, it’s still a lot of work and pressure no matter how you slice it. Your heart (and mind) is all over the place trying to love on everyone and do everything, but the busyness can be overwhelming. I’m trying to serve my kids well, love them well, feed them well, and teach them well (oh and of course Ben too), but sometimes I lose sight of grace and Jesus, and then I end up not doing so well after all. I’ve been reading the book, Treasuring Christ When Your Hands are Full, and listening to this sermon on “Grace Filled Parenting,” and both have been a really good rebuke and encouragement to my heart.


cookie butter pretzel chocolate balls

September 10, 2014


cookie butter pretzel chocolate ballsCookie Butter Pretzel Chocolate Balls
makes approximately 18 cookies

Ingredients:
3/4 cup Trader Joe’s Crunchy Cookie Butter
1 1/2 cup crushed pretzels
1/2 cup milk chocolate chips

Directions:
In a medium bowl, combine the cookie butter and crushed pretzels together. Chill for about 10 minutes, then using tablespoonfuls, form into 1″ balls onto a baking pan lined with parchment paper. Place the pan in the freezer for about 30 minutes. About 5 minutes prior to removing from the freezer, melt all your chocolate chips, so it is warm and gooey, and ready to coat your pretzel balls. My preferred way of melting chocolate is to use the double boiler method. Remove the pretzel balls from the freezer, and quickly dip each one in the melted chocolate to coat, then place back on the parchment paper. Put all the pretzel balls coated in chocolate back in the freezer or another 30 minutes, or until set.

cookie butter pretzel chocolate ballscookie butter pretzel chocolate ballscookie butter pretzel chocolate ballscookie butter pretzel chocolate ballsOh this is so delicious, but I’m easy please when it comes to dessert. The girls and I made this together and it is inspired by this recipe. I changed it because True is allergic to peanut butter, and I thought cookie butter would be a good substitute. Also, since I made the switch to cookie butter, I decided to leave out the sugar and butter the Martha Stewart recipe called for because it just didn’t seem necessary, and indeed in my version it definitely wasn’t needed. These cookies are totally not healthy, but they are so good! If you want to indulge in a little bit of “low-nu” (low nutrition), make these!


some homeschooling things

September 9, 2014


homeschoolinghomeschoolinghomeschoolinghomeschoolingWeek two done and onto week three… whew! Days are much busier with homeschooling the three (we’ve sort of added Soul to the mix), or as they have progressed in grade, their learning material takes more time. Soul’s preschool age, but I’m not one to push kids to learn everything so early. I think children need a lot of play (they learn a lot through that) and when it’s time, and they seem ready, then we can tackle all that vowel, consonant, and number stuff. We’ve changed things up in our homeschool area to accommodate for her though, so she can feel part of it. Most of her “work” consists of coloring and drawing, but we’re slowly going through the vowels. The important thing is now she feels like part of the team, and she likes being right there next to her sisters as they learn. I’ll have a homeschool space tour for you soon, but for now, let’s talk about why (I’ve shared this before and it really hasn’t changed) and what we use.

I’ve tackled some of the whys we homeschool here, but basically, it’s what we feel is best for our family right now. That’s the same reason I gave in the previous post too. We live in an area with a good school district, and while I don’t doubt the teachers there are excellent, we still feel it best to homeschool our children. I have my bachelor’s degree in Child and Adolescent Development, and went on to get my California Multiple Subject Credential, and I used to teach 4th grade at a public school. I loved being a teacher to thirty, fun loving (most of them) fourth graders, and while my career as a public school teacher wasn’t that long, I think that experience really helps enrich my daughters’ homeschooling.

I find teaching my three daughters (still mostly two though) is much more difficult than managing a class of thirty, but it’s infinitely more rewarding (and did I mention hard?!). In addition, these days there’s a lot of pressure for teachers to “teach to the test” because of the standardized testing and what those scores mean for schools. While we still participate in the state testing, I’m free to teach my children with what I feel is best, not just in preparation for the test. We actually get to fully explore science, history, and art, which is something some schools may not be able to do as much due to class sizes, time constraints, and budgets.

While I advocate homeschooling, it may not be the best thing for your family and your situation. Every situation is different and we are all making the best choices we feel would best suit our family. I’m also thankful for the public school system. I still have many friends who are still public school teachers and they are so darn good at what they do. In regards to homeschool, private school, or public school, I don’t think one is particularly better than the other, but it’s to each their own. There are some parents who shouldn’t be homeschooling and they are some teachers who shouldn’t be teaching, you’ll find good and bad ones in both areas.

We mostly follow Classical Education, and while it really emphasizes facts, memorization, and language-based learning, especially in the early grades, I tweak and change it to what fits my kids best, and I give them plenty of opportunities for creativity. The structure of Classical Education is something we do well with, and I believe the learning of facts as a base is very important, but we always extend beyond the lessons to include creative projects. My children are visual learners, so I accommodate for that in our lessons.

Here is our curriculum information…
Math: Singapore Math
Reading: We go through different books through the year, but currently it’s Old French Fairy Tales since we’re focusing on the Late Renaissance/Early Modern period.
Grammar: First Language Lessons Level 3
Writing: Writing with Ease Level 3
Spelling: Spelling Workout Level C
Cursive: New American Cursive
History: Story of the World Middle Ages (almost done with this)
Science: Adventures with Atoms and Molecules with support from Usborne Sciecne Encyclopedia
Latin: Song School Latin (this our first year)
Art: Child-Size Masterpieces

It’s a lot of stuff, but listing it out looks more than it feels when we are doing it. I will have to break down how we tackle all this stuff, but history and science are taught on alternating days, same with Latin and art. In addition to what we do at home, they go to a full day school once a week (9am-3:30pm) and take a class on the American Girls, Geography, Spanish, and Theatre. They also get to interact with other homeschoolers there. The extra-curricular things they are involved in are hip hop, piano, and swim classes. Our days are full, I feel crazy most of the time, but we all try to find our rhythm together.

Technically, True is in third grade and Brave in second, but we do all third grade curriculum and Brave keeps up just fine. She scores especially high when it comes to informational text (she loves reading informational texts and encyclopedia type books!). I make accommodations for areas where I think they may be different, but they are so similar developmentally, that having them using material at the same level works great for the girls. It will be interesting when Soul joins next year for Kinder (and then Glow the year after) because I will have to become a better juggler. It will be a multi-age school house in our home!


CAKIES
©
Design by Blog Milk