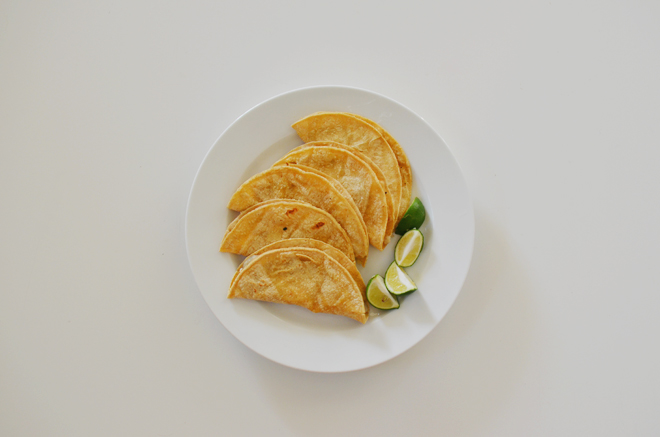
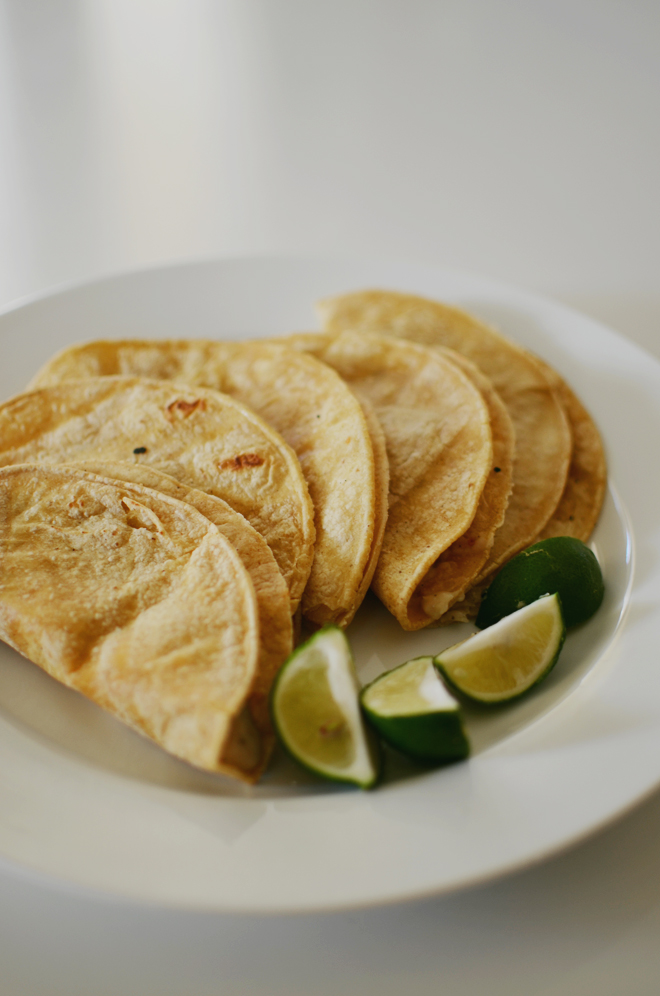
Hummus Quesadilla. I wanted to make this, so I made hummus, but forgot to get avocados, so the meal was pretty boring. This week was insanely busy, so making this is the cooking I did for the week. The other nights were macaroni and cheese, sandwiches, and leftovers. Sometimes, this is what life looks like and it’s all good.
Week of 6/16 – 6/20
Monday: Seafood Pasta
Tuesday: Leftovers
Wednesday: White Bean Chili
Thursday: Leftovers
Friday: Sushi
And to show you how the girls ate their quesadillas while Ben and I were running around the house trying to take care of things…
Not at the dinner table and in front of the iPad. Probably didn’t even need to blog a “Family Meals” post this week since it was kind of ho-hum, but this is what life looks like sometimes.
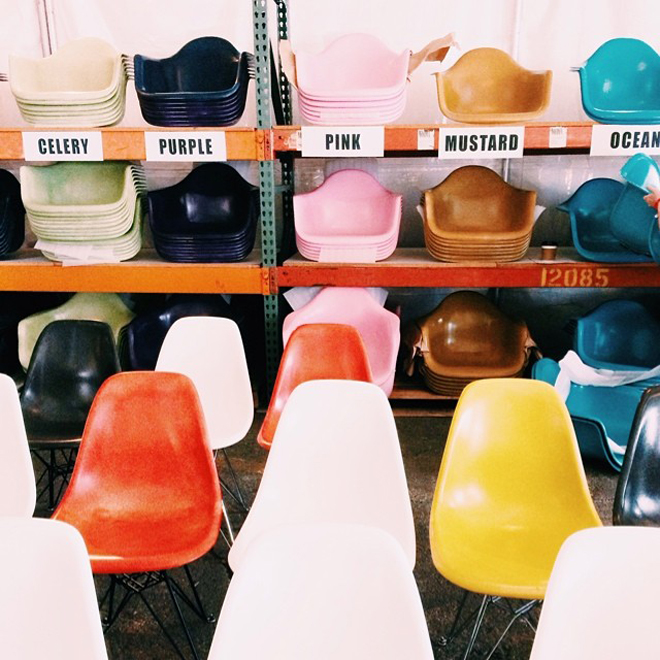
I went to the Modernica factory sale, but I didn’t go for a chair, I went for a light. I wanted one last year, but it wasn’t in the budget that time, but this year it was, and I came home with one. Woot! At $150 off regular price, that’s a pretty good deal! Now, we just need to put it in one of the rooms.
This week’s learned, links, and thankfulness…
I’ve never been a fan of carnations (and baby’s-breath), but this garland full of them is pretty.
I’m definitely going to make a wrap tank following this DIY.
Singapore, I’m headed your way soon and we added a pajaki making class to the schedule (see here). Hope to meet some of you there!
My brain is fried, my to-do list is daunting, laundry is everywhere, and my bathroom is embarrassingly messy, and I’ve yelled at the girls way too much this week. On the bright side, we completed another school year (hip, hip, hooray!), the Spurs are up 3-1 against Miami (#gospursgo), and all the fruits and vegetables plants in the backyard are looking good, so it’s not all bad here. How are things in your neck of the woods?
Directions:
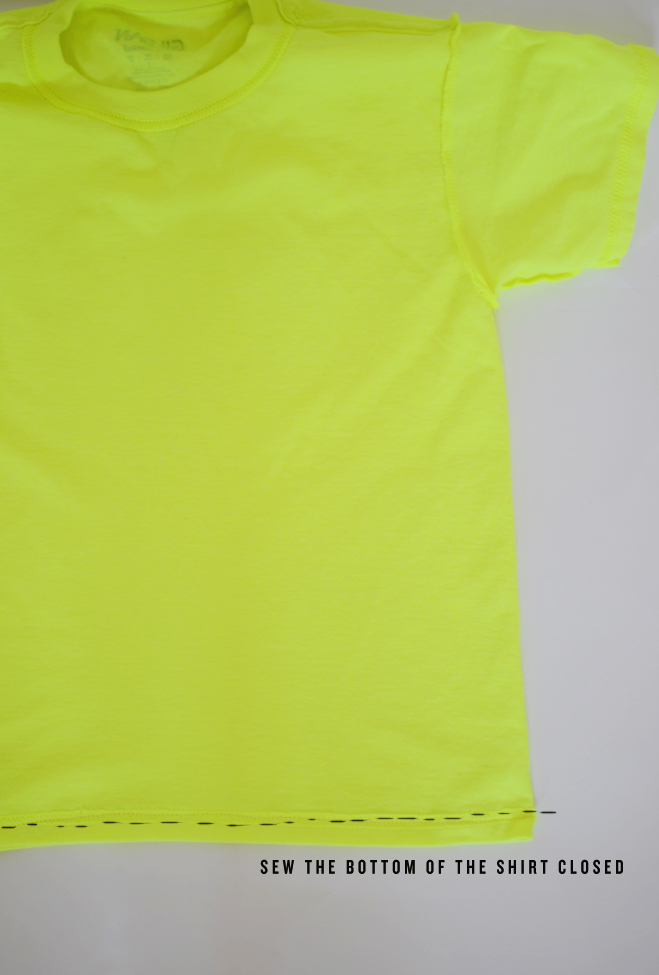
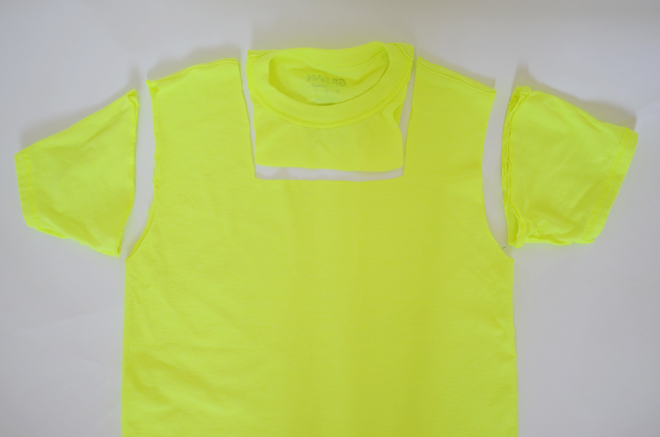
1. Wash and press the shirt. Turn wrong side out and sew the bottom opening closed.
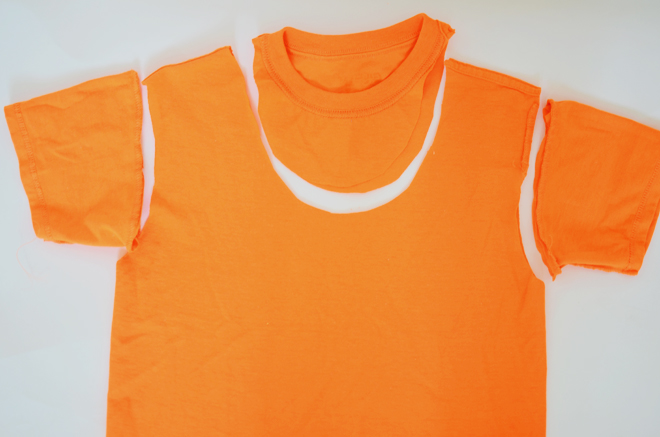
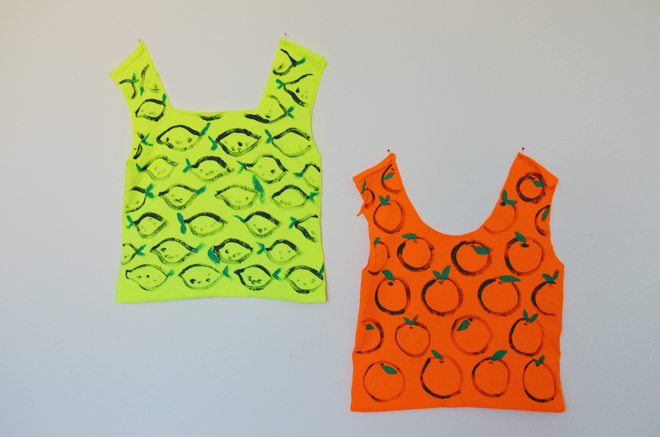
2. Cut off the sleeves and neck. We cut a square neck off one shirt and a rounded neck off another. I liked the rounded neck better. Reinforce the top of the shirt by sewing along the shoulder seam. Otherwise, since you cut the sleeves, the seam will be weak and the threads will come undone when you use your bag.
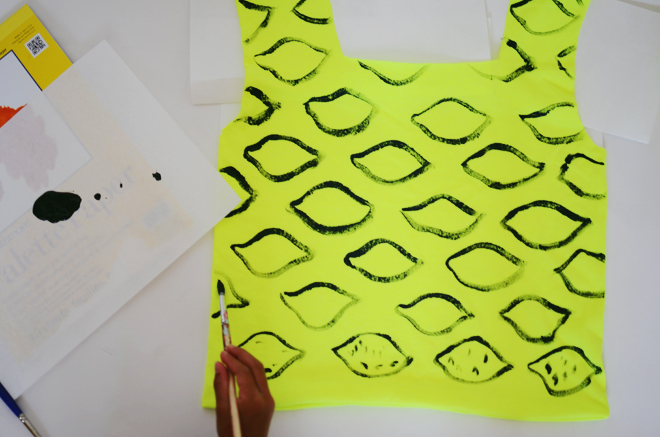
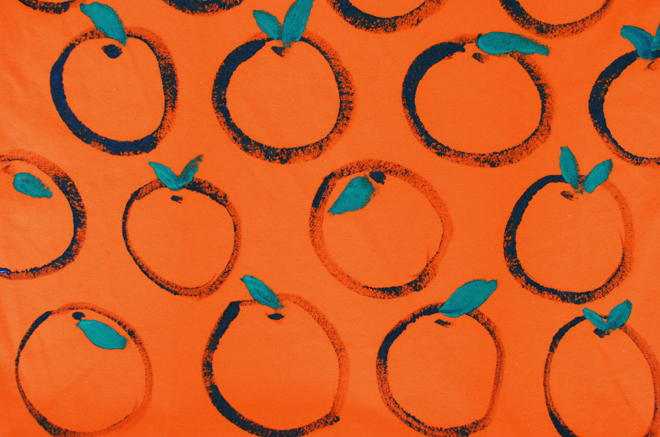
3. Turn the shirt right side out, insert palette paper between the shirt’s layers, and paint your design on. Allow one side to dry completely before flipping over to paint the other side.
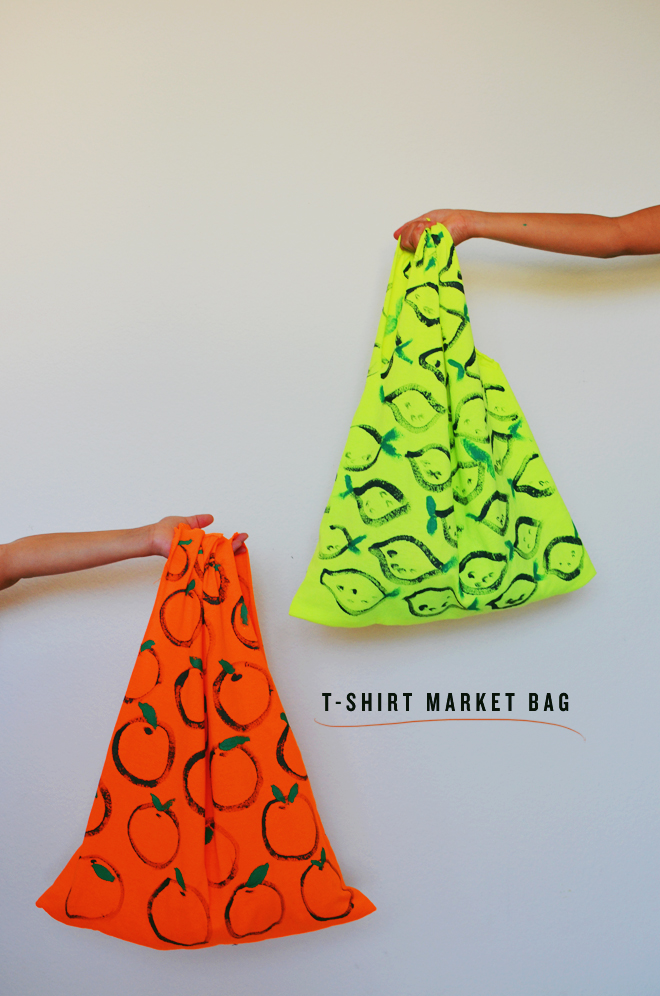
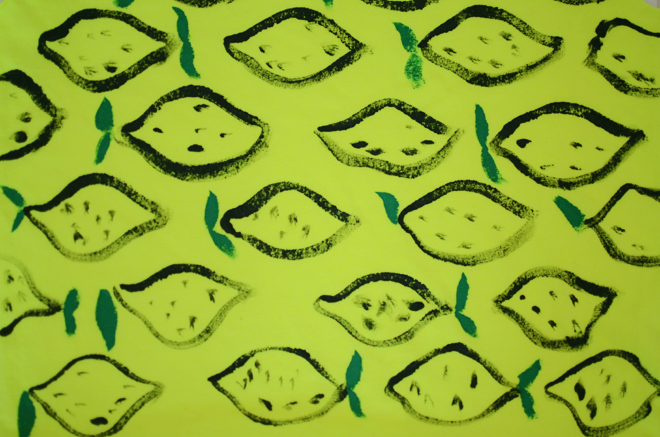
We chose to paint oranges and lemons because the shirts’ bright colors just called for something fruity.
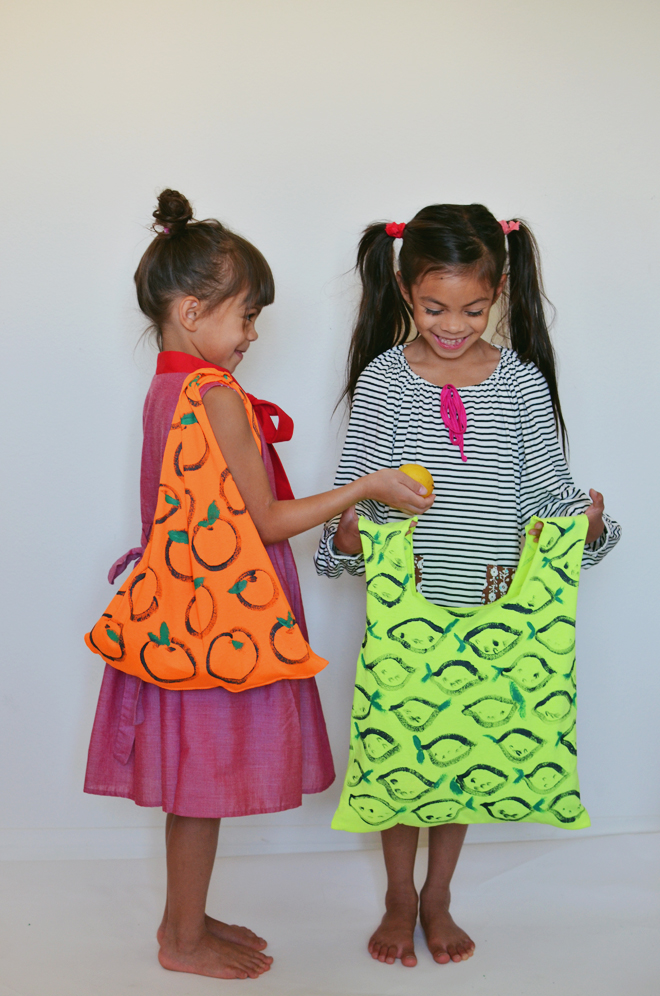
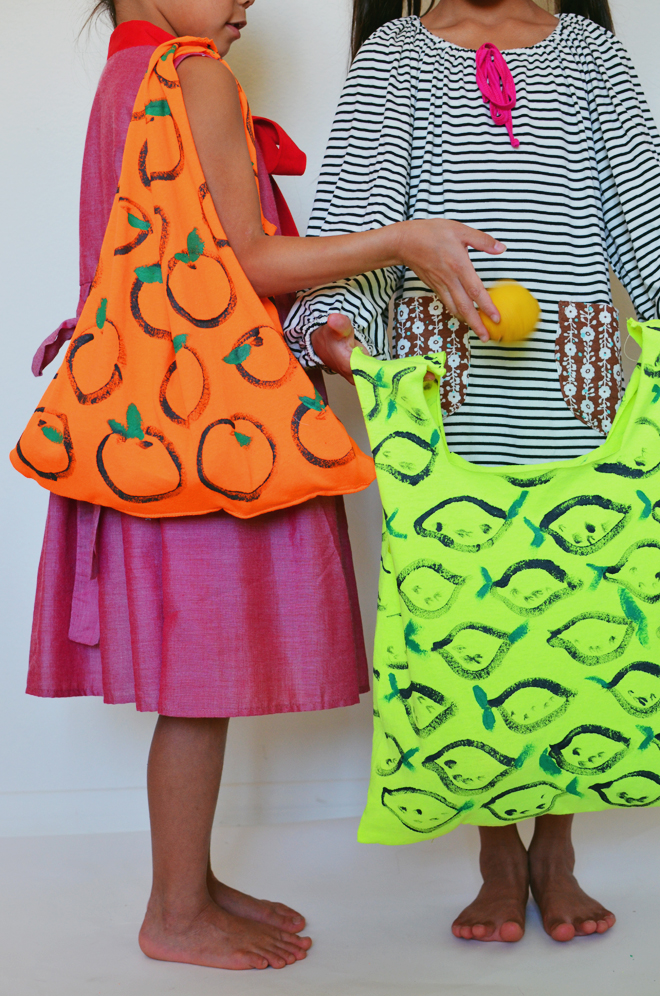
The girls loved making it and they’re excited to start using it. It’s such an easy bag to make; use a new shirt or an old shirt, paint something on it or not, but who knew a simple t-shirt could be a cool market bag?!
I’m excited to be one of the Michael’s Makers Bloggers, since it’s my go-to place for craft supplies. Thankfully, they have a shop five minutes away from me, but if they aren’t that close to you, Michael’s now has online shopping available! They have projects on their new site, along with a supplies list and directions; you can even one click purchase all the items you might need for those specific projects. This market bag project is taken from their site (see it here) and the girls and I had a lot of fun working on it together. This is the first of the Michael’s Makers challenge, and I’ll have another one to share with you next month!
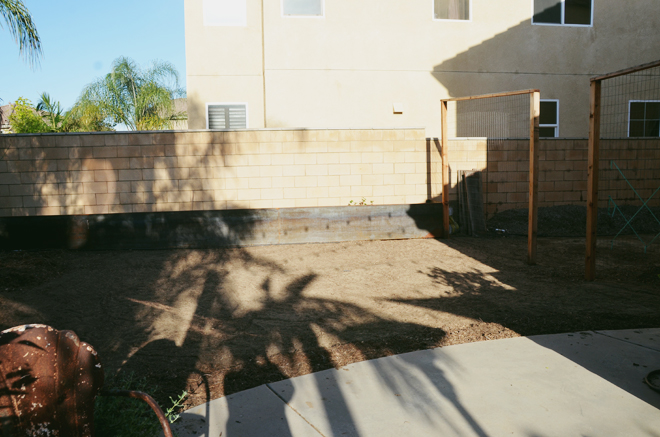
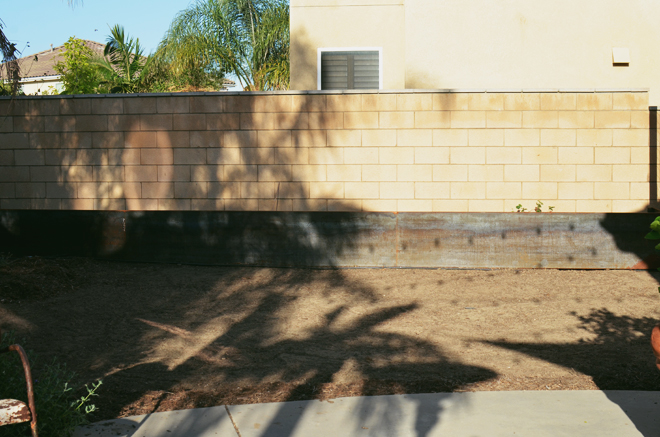
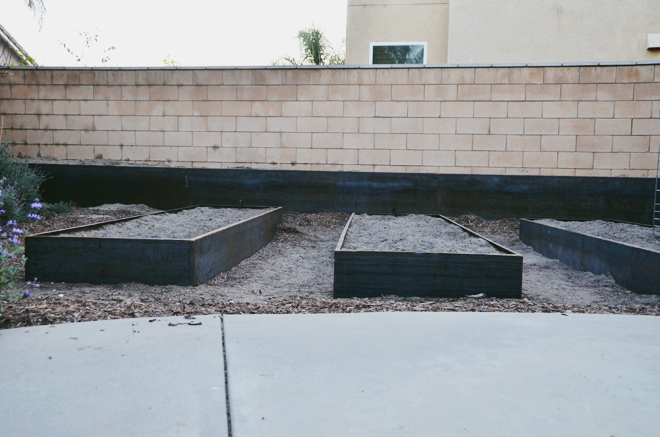
Part 3 was almost exactly a year ago and it took a year to figure out that we needed to sort of start again. Actually, we pretty much knew by the winter, but we didn’t get to put the plan in place of how to adjust for our backyard orchard until this spring. We uprooted the handful of trees that survived, put them in 15 gal pots in the meantime, awaiting their move to their final destination (hopefully). We learned our soil wasn’t draining like it’s supposed to, so too much water was collecting at the base of the roots and essentially, suffocating them to death. After having a specialist come out, help diagnose the problem and offer solutions, we decided it would be best to lift the roots of the trees up higher and put them in raised beds. Can you tell we’re quite serious about our gardening?
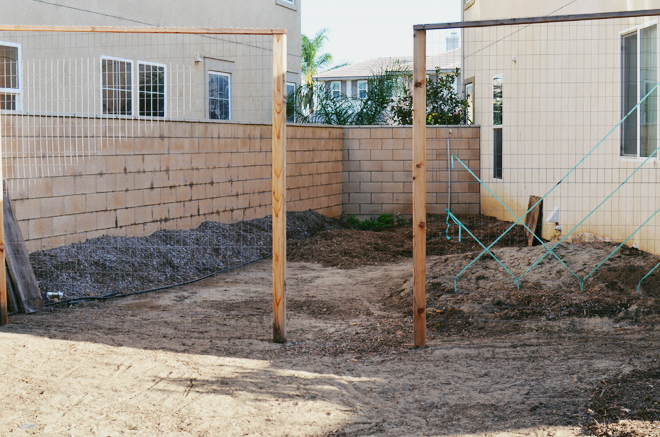
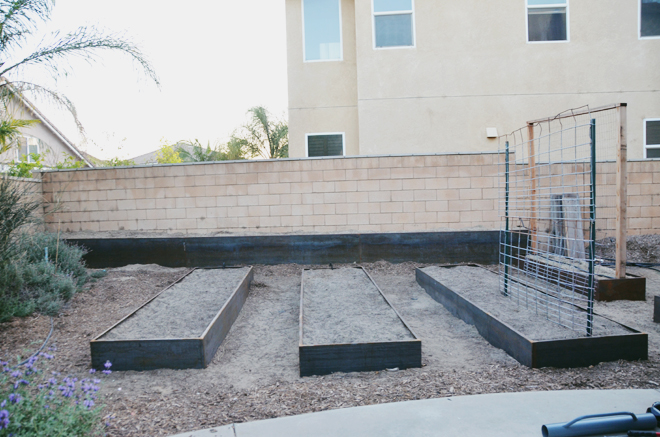
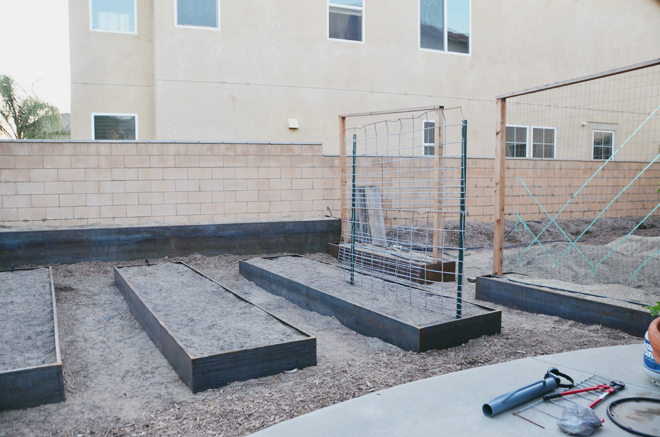
In the photo above, the trees will go against the wall at back left and in the beds at far right with the trellis system on the right with the wood posts (where we will train pears and apples into espaliers). Immediately in front and left of these beds was where the trees once were; in their place, we now have three, 3 x 13 ft cor-ten steel raised beds and this is where all the seasonal vegetables will be planted (in the photo above, you can see where Ben has already started another trellis system for our tomatoes).
Every year we get better at gardening and learn from our mistakes (make more and learn from those too!). Some have been costly mistakes and some we’re glad we made, because things have turned out better. We research as much as we can, Ben especially, and talk to as many experts we can, but these things still happen. I’m excited about how everything is situated now and things already look so much better from just a couple months ago. It feels good to finally be moving forward with our garden. There were a few months where we just weren’t quite sure how to troubleshoot problems, but things are looking much better now, and hopefully everything keeps flourishing.
I wrote a post about our cor-ten steel beds here and I will have an updated post about how that side is coming along. Cor-ten steel beds are a bit of an investment, but putting money into our garden and house is important to us, and we hope one day to be able to have fruits and vegetables coming out the wazoo in our own backyard. We’ve done pretty good with vegetables in the past, so we can only get better, right?!
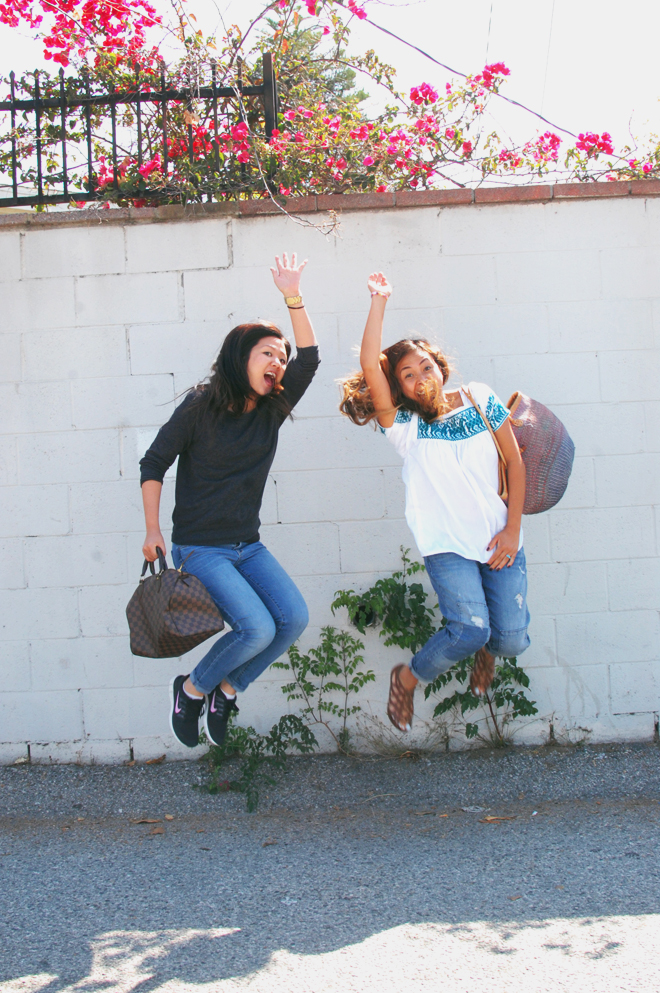
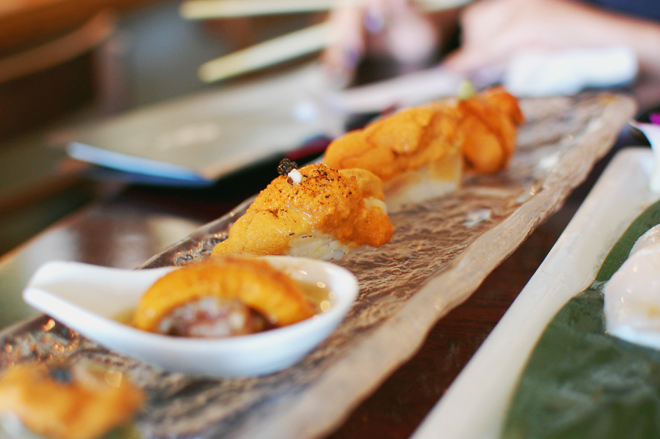
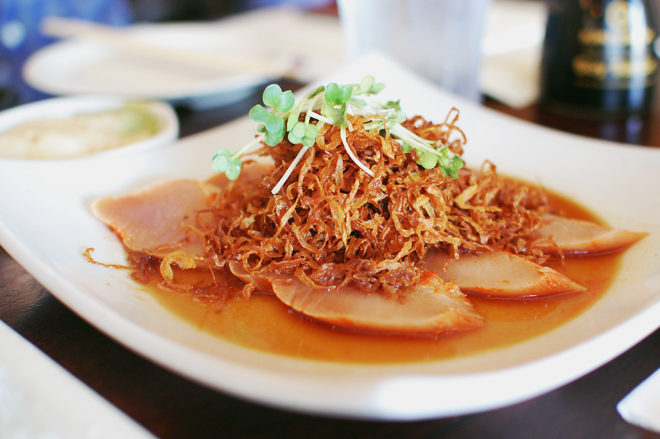
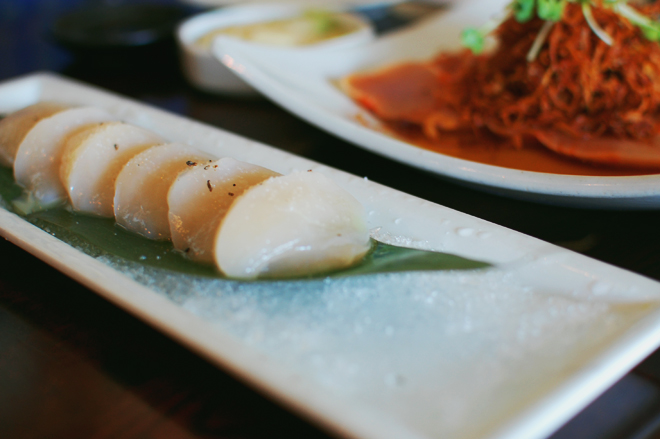
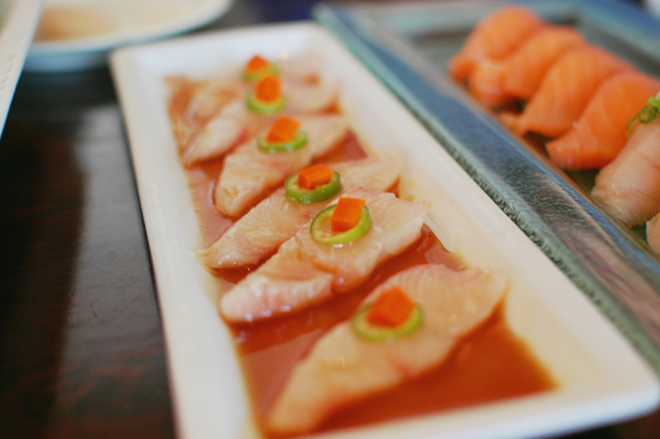
Coincidentally, the BFF and I had planned to go on a double date this past Sunday, which happened to also be National Best Friend Day! I had no clue there was such a day until that morning while checking instagram, so I guess it was appropriate that we had something planned that afternoon. We went out for sushi at Kanpai and oh. my. gosh. It’s the best sushi I (and Ben) have ever had! The scallops and uni were my fave, and the ramen was awe-mazing, I’ve been craving it everyday since!
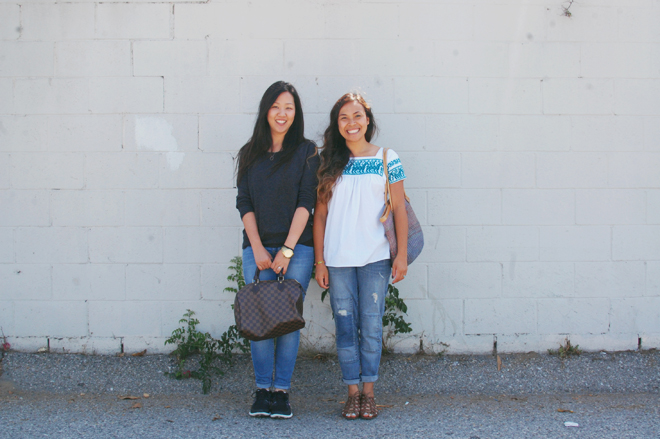
Linda and I met while I was working at the Gap (I worked here throughout college and met Ben here too!), and she was a new hire. It was an instant friendship and we discovered she was the Korean version of me, and I was the Filipino version of her. We’re both pretty square, went to the same college and had the same major, went to the same hair stylist, and all these other random (and strange) things that were oddly similar. After that, we started planning all our classes together, then we went off to study abroad together, and we were pretty much inseparable. All our roommates would joke that we were RubyandLinda, with no space between our names. We’ve helped each other through break ups from our previous boyfriends, and all the highs from getting romanced by our new boyfriends to engagements and weddings, and so on. There are also things we never imagined we’d face now that we’re “grown-up” and we’ve just gotten closer as the years go by, and our friendship has become even more Christ-centered, though we still do often talk about useless things like shopping. We’ve only had 1 official fight from over 10 years of friendship, and our husbands think we talk way too loud when we’re together. Funny thing is our husbands are so much alike too; we say they’re wanna-be BFFs. Linda and John are like a second set of parents to my girls, and sometimes I think they prefer them over us. At least I know Soul does, and she says it’s because Auntie Linda doesn’t get mad. HA! The other day, I was hugging Soul and asked, “Who do you look like?” She said, “You and Auntie Linda.” Clearly, Auntie Linda is quite loved.
I’m thankful for the best friendship Ben and I share with Linda (and John). We do a lot of sharing each others joys and bearing each other’s burdens and they’ve taught me so much about generosity and selflessness. Anyway, when we’re together we’re still as silly as we were back in college, except now our jokes are about needing rogaine for women and neck cream. Thanks BFF (and John) for the wonderful lunch date!!! I’ve been craving scallops and ramen everyday since!
I had a best friend contest on my instagram a couple weeks back (see here), and I loved reading all the wonderful things people were sharing about their BFFs. I think we should let the ones we love know why it is we appreciate them so much. On Sunday, at our church family gathering, I was convicted on how much I need to love and pray for those who annoy me (less than a handful of people came to my mind). It’s easy to love people we like, but we also ought to love people we don’t like so much too. I was totally convicted.
By the way, we tried to get John and Ben to jump for a picture too, but they weren’t too keen on that idea. I guess it would be weird to have them jumping together. LOL.
on me: shirt, vintage from mikasa su casa. patchwork boyfriend jeans, old navy. shoes, kohl’s (3 years ago). bag, thrifted.
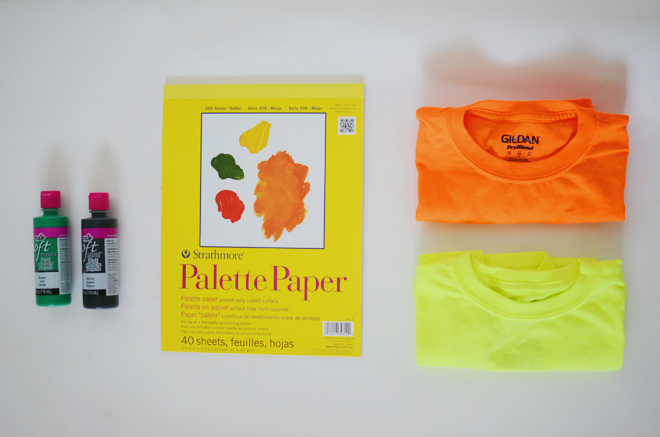
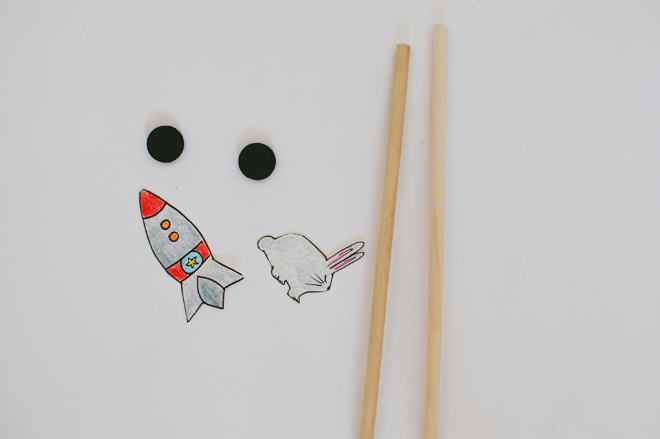
Supplies: Paper Plate Magnet Maze Template (print the bunny/space shuttle on card stock)
Paper plate (I think a regular white one would work well, but we had brown ones on hand, so that’s what we used)
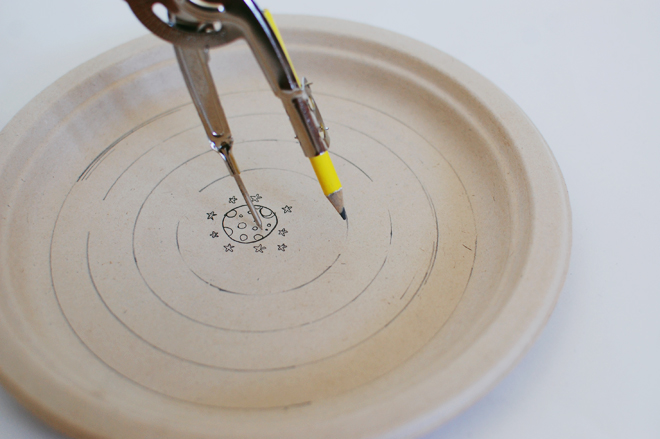
Compass
Pencil
Markers (fine and thick)
Colored pencils 3/16″ x 12″ dowel 1/2″ button magnets (2 per maze/plate)
Glue gun & glue stick
Directions:
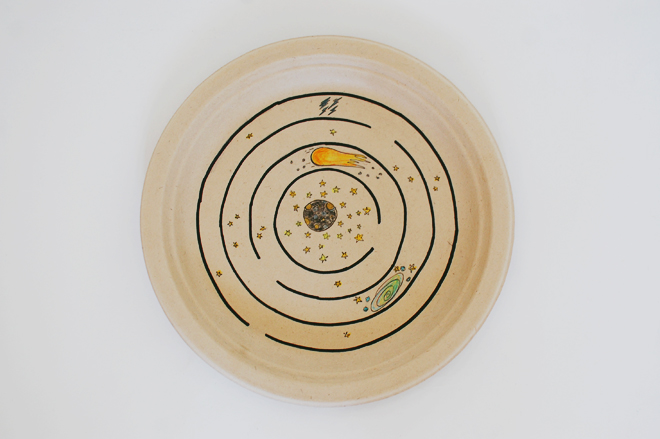
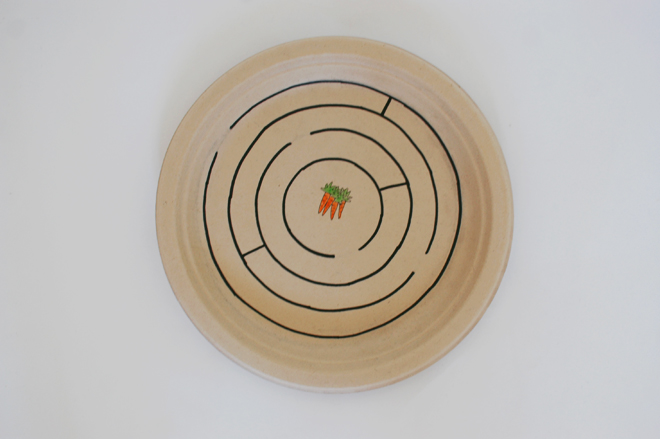
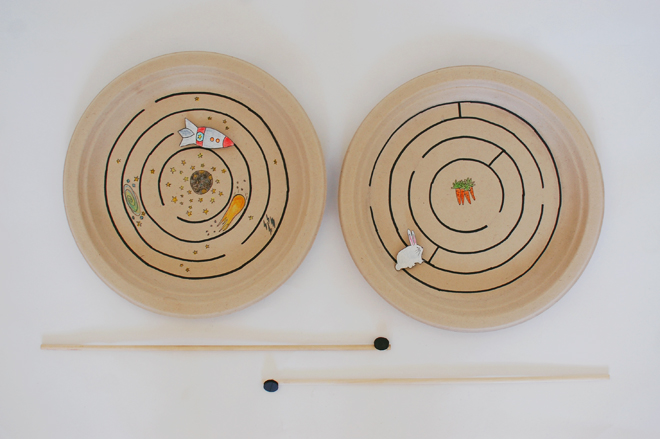
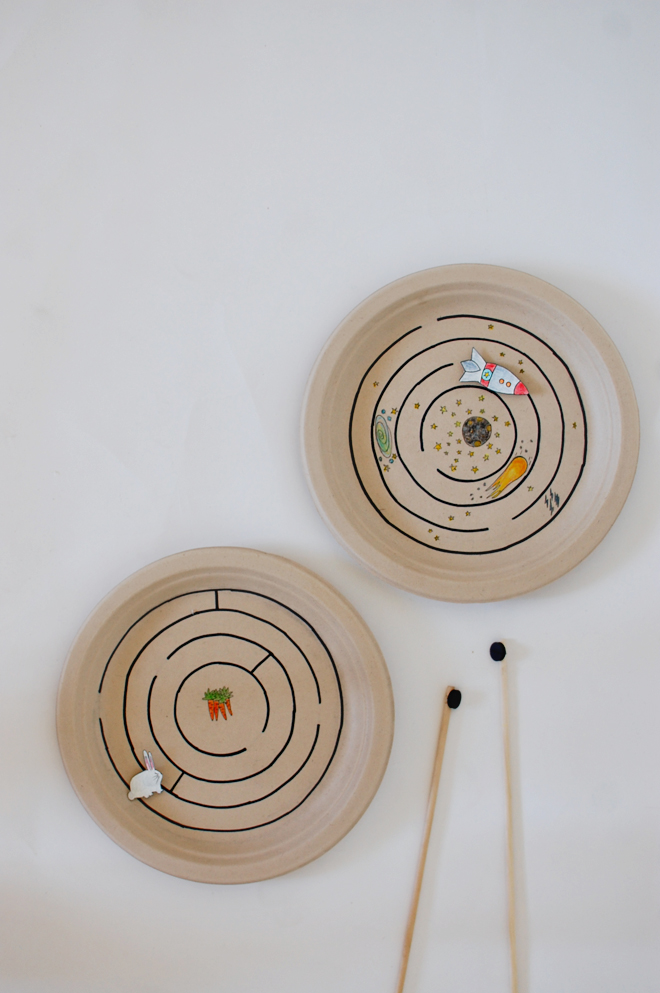
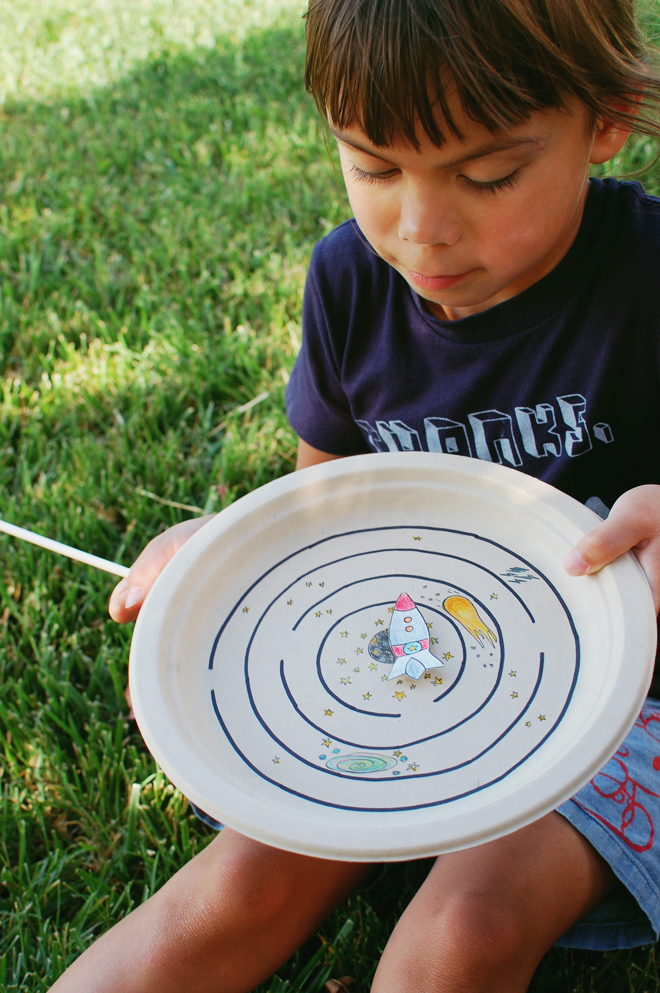
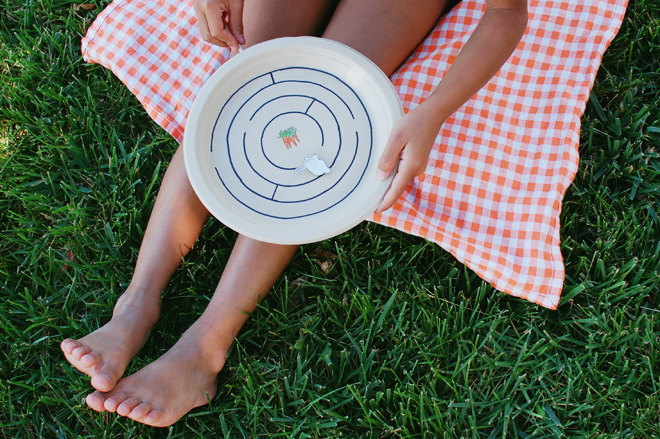
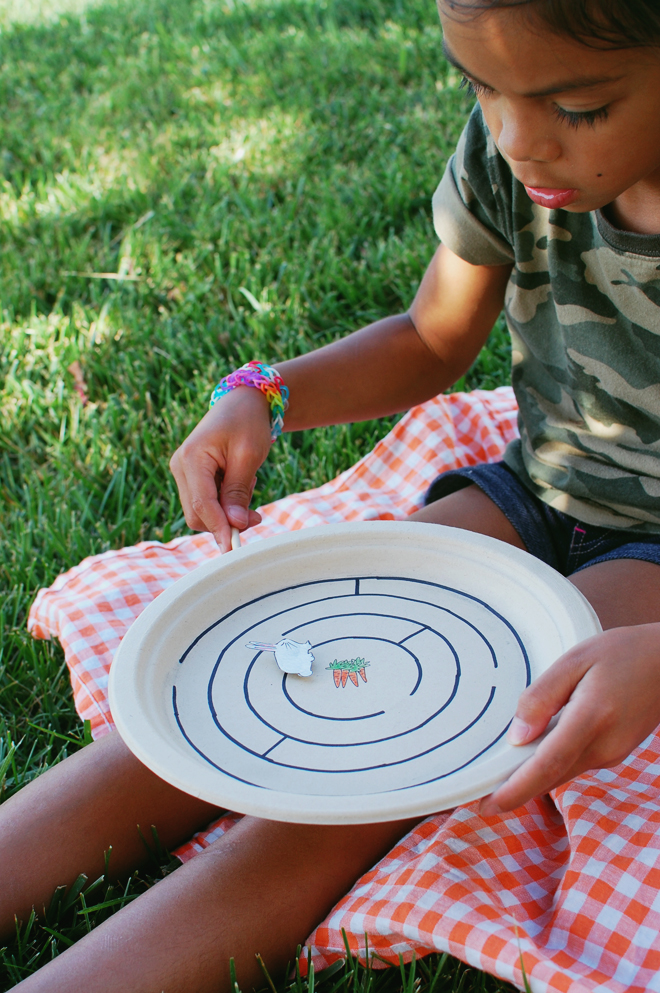
1. The template has a sample maze to use, or you can easily just make your own with a compass; use the bunny or space shuttle on the template, or make your own (e.g. car to a finish line, superhero to a damsel in distress, fish finding its way to a school of fish). If using a compass, make 4 circles lessening 1″ with each smaller circle. Each circular row, should have one opening to the next, and a barrier somewhere along the row as well. Go over the maze lines with a marker. Draw the moon or bunch of carrots (or whatever you choose for the winning destination) in the center and color.
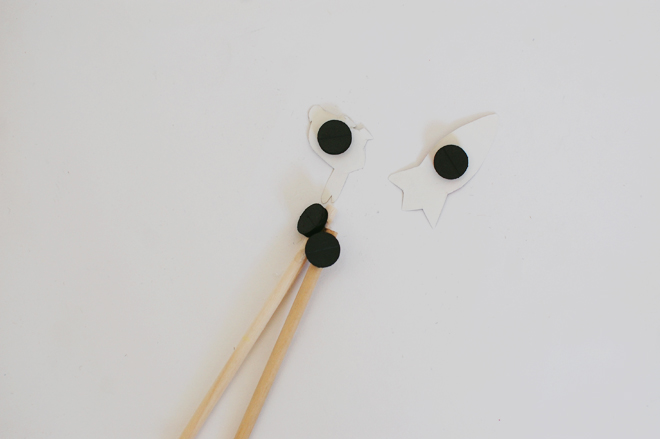
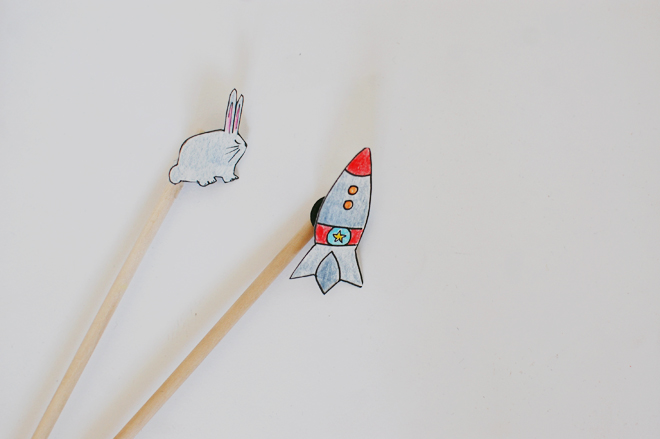
2. Color the bunny/space shuttle and cut out. Glue a magnet piece behind the bunny/space shuttle, and another on the end of the dowel to make the magnet wand. Make sure the opposite magnets are facing each other, so they will attract and be able to work together on the maze.
Hold the magnet wand under the plate and direct your bunny/rocket ship to the center of the plate!
I have a large growing pile of fabric scraps. I refuse to throw them away because I am sure they can be used for something. I have been seeing different types of interesting necklaces made of buttons, beads, and fabric. Then, I figured why not make one out of my scraps...
I think it made my white shirt a little less boring. This was so quick and easy to make.
How to make a recycled scraps necklace (which is very similar to the straps on my braided tablecloth bag):
1. Take your scrap fabric, I cut a .5''-1'' snip and tear the rest of the fabric down for a nice frayed edge. Used 3 different fabrics for each strand.
2. Take 3 of the torn pieces and tie the ends together with a rubber band.
3. Braid the 3 pieces together and tie ends together with rubber band when done.
4. Repeat steps 2 & 3 for more strands. Remember you can make the strands any length you want, if run out of fabric, just weave more into the braid.
5. Once all the strands you want are braided, gather one end of each strand together and straight stitch together with sewing machine. Repeat for the other ends of the strands. Snip off any excess.
6. Gather ends of the necklace and sew together (snip excess) or a ribbon can be sewn at the ends to be able to tie the necklace closed, but I just sewed both ends together.
7. Voila! A nice way to make use of all your lovely scraps.
Sorry if the directions get you a little lost, but it really is easy. I promise. Maybe I should put some in the shop. Please share any other good ideas you may have of things that can be made with scraps. I would love to hear (read) them!

 Hummus Quesadilla. I wanted to make this, so I made hummus, but forgot to get avocados, so the meal was pretty boring. This week was insanely busy, so making this is the cooking I did for the week. The other nights were macaroni and cheese, sandwiches, and leftovers. Sometimes, this is what life looks like and it’s all good.
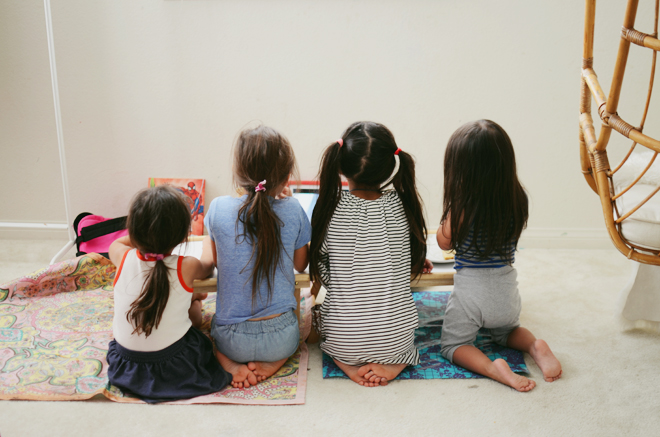 Not at the dinner table and in front of the iPad. Probably didn’t even need to blog a “Family Meals” post this week since it was kind of ho-hum, but this is what life looks like sometimes.