camp home: decorating clothes

June 16, 2014


p.s. they made this!
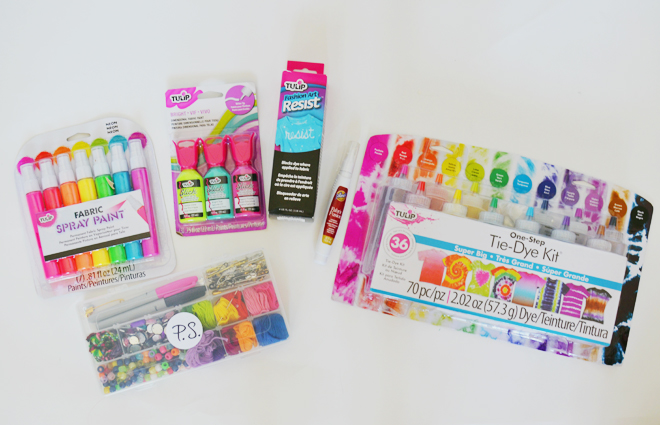
Old Navy teamed up with P.S. I Made This and sent us a box of summer pieces to decorate with tie-dye, fabric markers, beads, and puffy paint. If you have my book, Let’s Sew Together, then you already know (and probably from this blog too) that I’m all about letting your kids have fun with drawing and painting on clothes. I love seeing their excitement in creating and their joy when they have their finished product. I have many fond memories of summers  spentadorning my clothes with puffy paint, which is so 80’s, but my girls had the same fun with it, so who cares?!

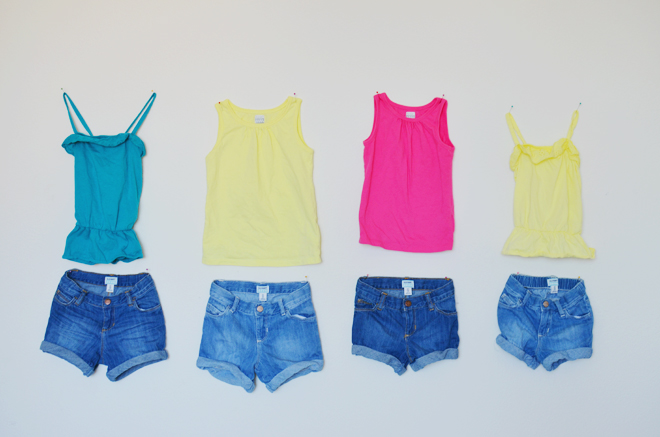
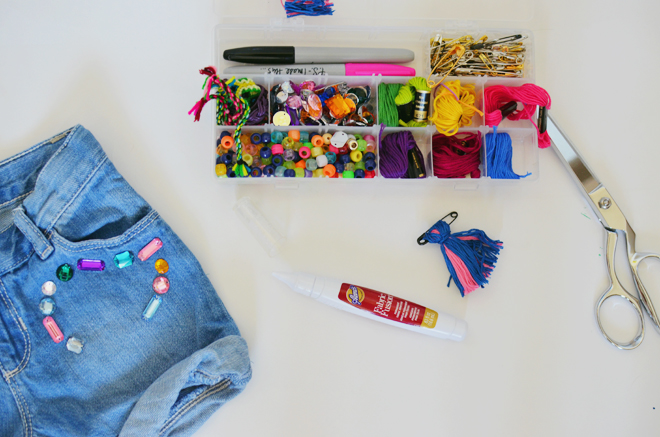
All you need are clothes to decorate and lots of fun things to decorate with!

p.s. they made this!p.s. they made this!p.s. they made this!p.s. they made this!p.s. they made this!p.s. they made this!p.s. they made this!

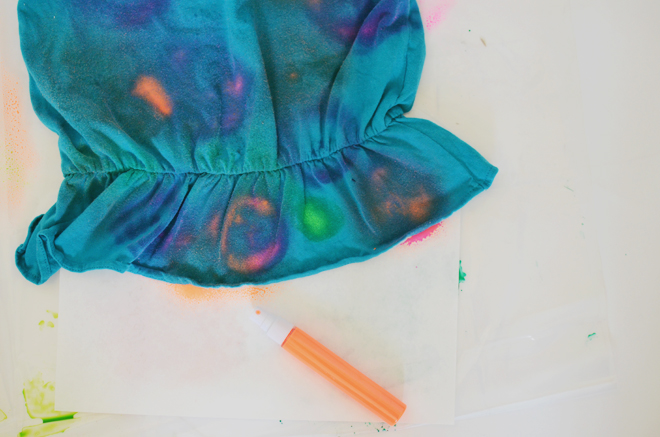
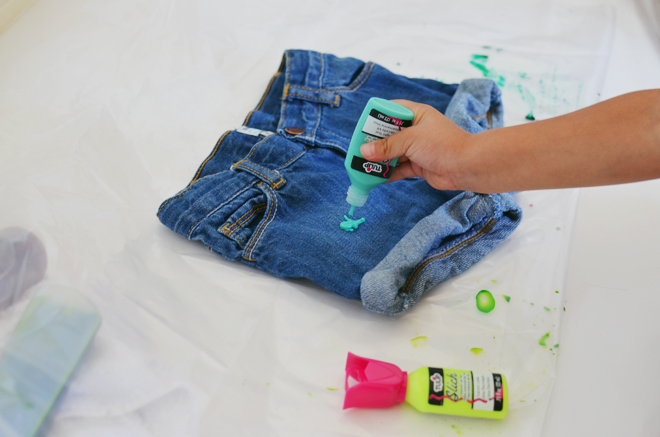
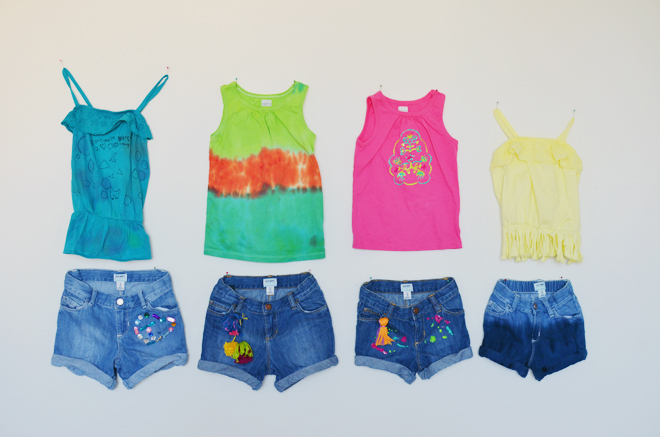
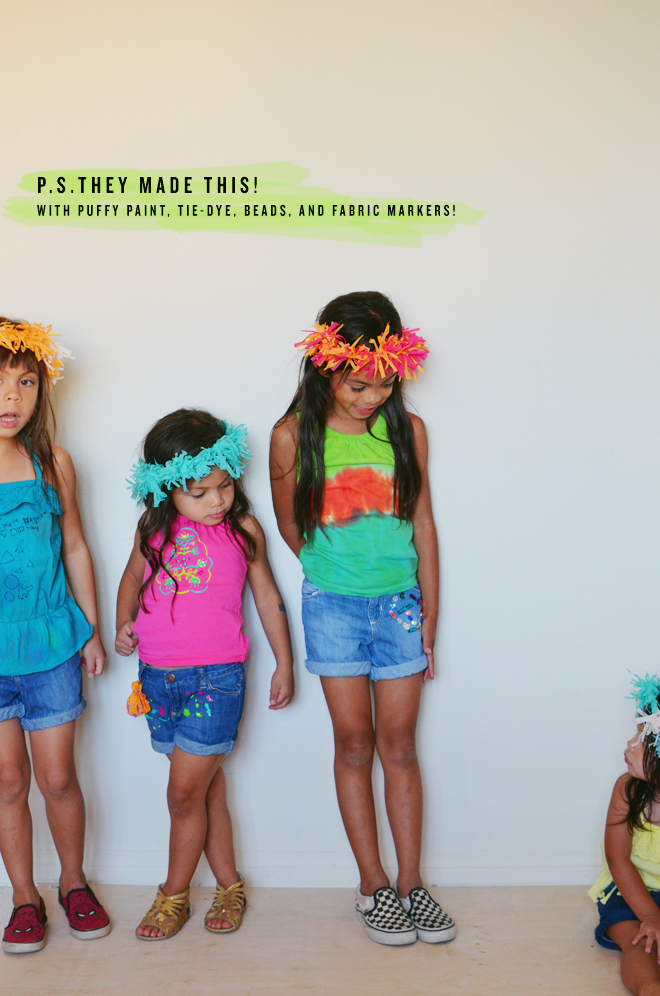
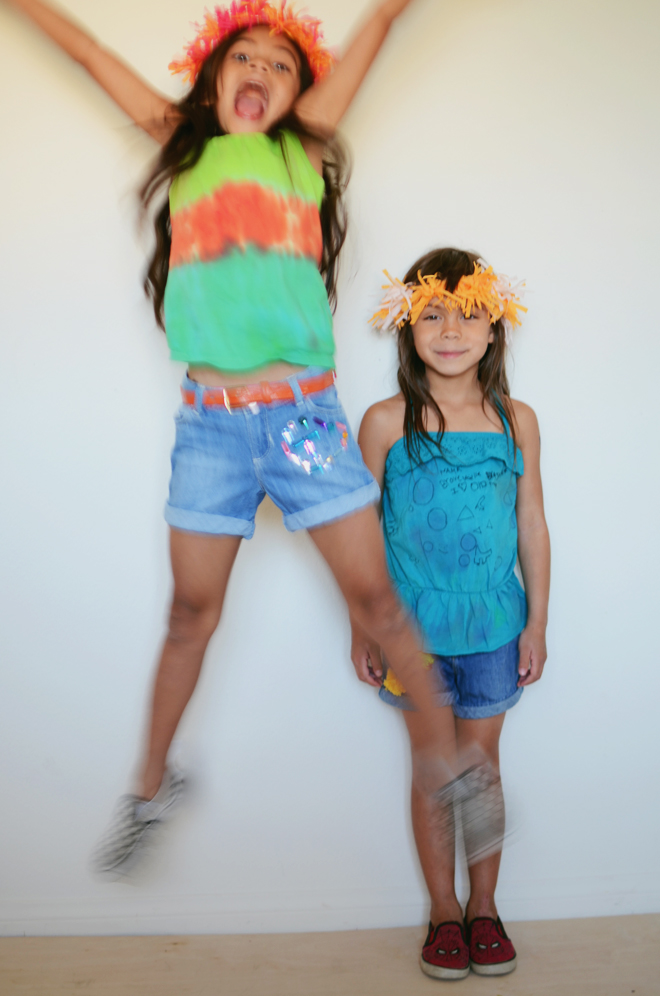
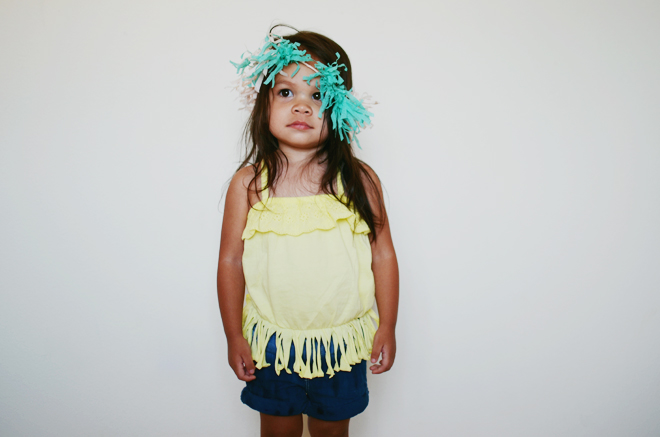
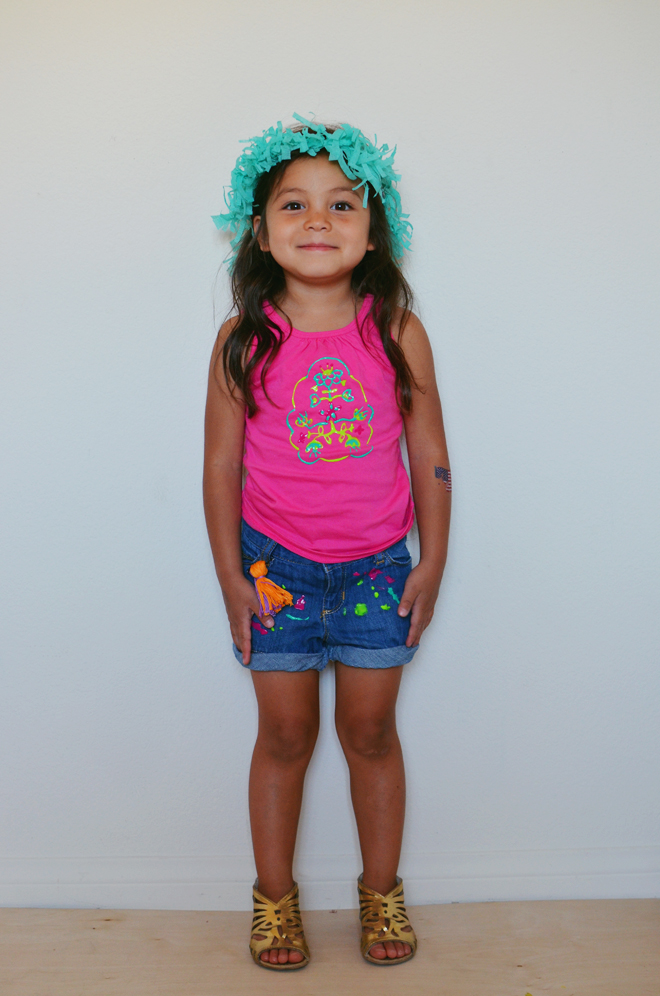
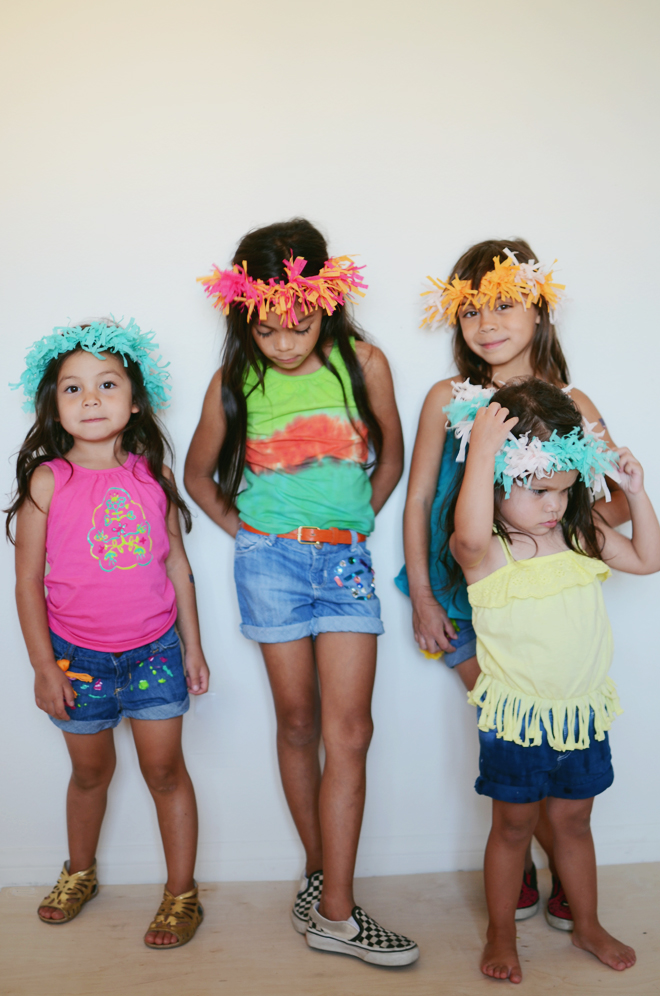
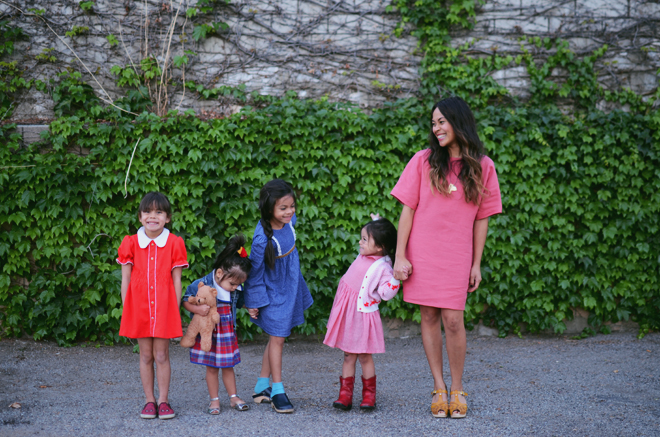
The clothes were colored, so the fabric spray paint didn’t stick too well, but I imagine if we used white shirts, that would have showed up fine. Brave ended up wanting to draw on hers with fabric marker. True went for tie-dye and adding beads to her shorts. Soul was all about the puffy paint; I helped her with her shirt and she did the shorts completely on her own. True and I did Glow’s together and tie-dyed her shorts and gave her some fringe on her top. We made some tassels and pom poms out of embroidery floss, attached those to a safety pin and added those on. Once everything was washed, dried, and ready to go, and they put them on, it looked like they were going to some music festival. Thus, in true festival style, we made some crowns to go with their outfits too.
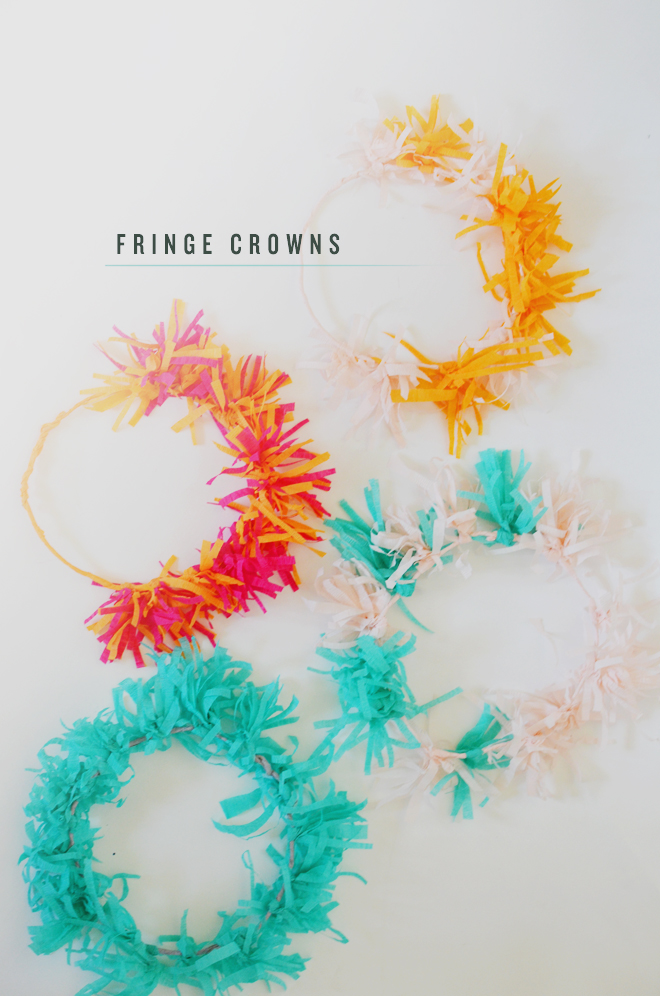
p.s. they made this!Fringe Crowns

Supplies:
22-26 gauge floral wire
Wire cutter
Scissors
Glue gun & glue stick
Crepe paper streamers

Directions:
Cut the wire in a length appropriate for your child’s head. Add a dab of glue at one end, wrap the crepe paper around and continue down to wrap the entire length. Add another touch of glue at the end of the wire to secure crepe paper on, and twist the ends of the wire together to form the wire crown. Cut 30-40 – 6″ strips of crepe paper streamers. Layer 2 or 3 together, cut slits toward the center but not all the way through, and repeat for opposite end. Pinch together and twist onto the wire crown. Repeat until the entire crown is covered in your desired amount of fringe.

p.s. they made this!p.s. they made this!p.s. they made this!p.s. they made this!p.s. they made this!p.s. they made this!
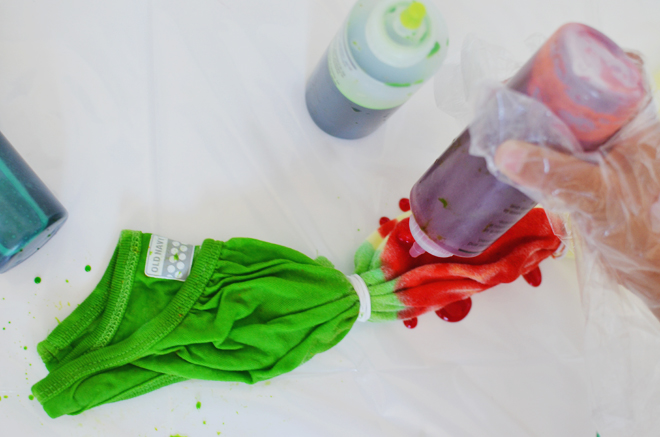
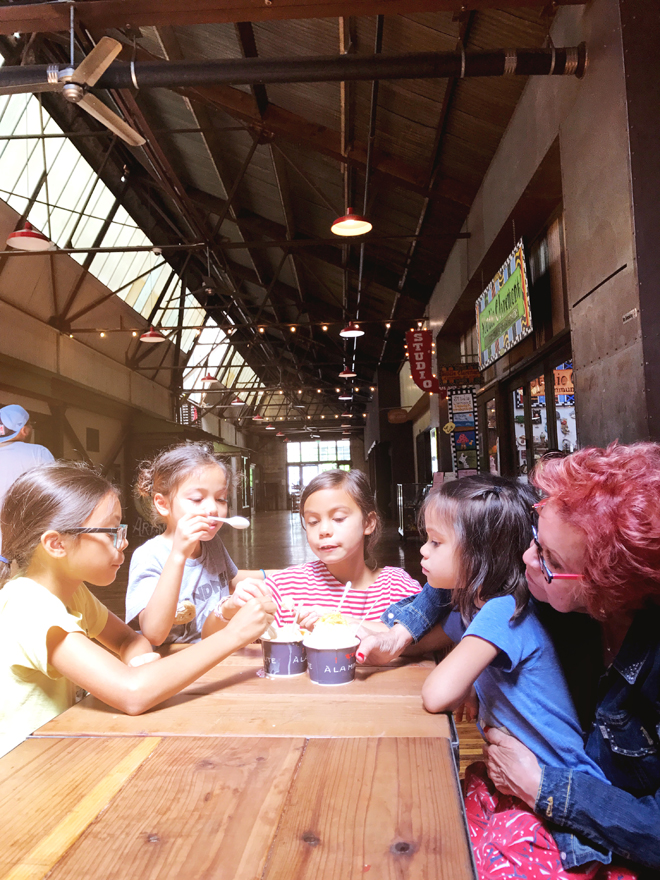
It’s the perfect “Camp Home” activity, and we are all having so much fun making things together. It does get messy, so make sure you have a space you can get messy in. We had a large piece of plastic down and worked in clothes that could get stained in case some of the dye and paint ended up elsewhere. Make sure you wash clothes beforehand, and you’ll also have to be patient and give clothes ample time for dye to set and paint to dry, so keep that in mind too.

I was intimidated by the tie-dye at first, but it ended being quite easy. We will probably try our hand at getting a little fancier with tie-dye patterns on a home sewn dress soon.

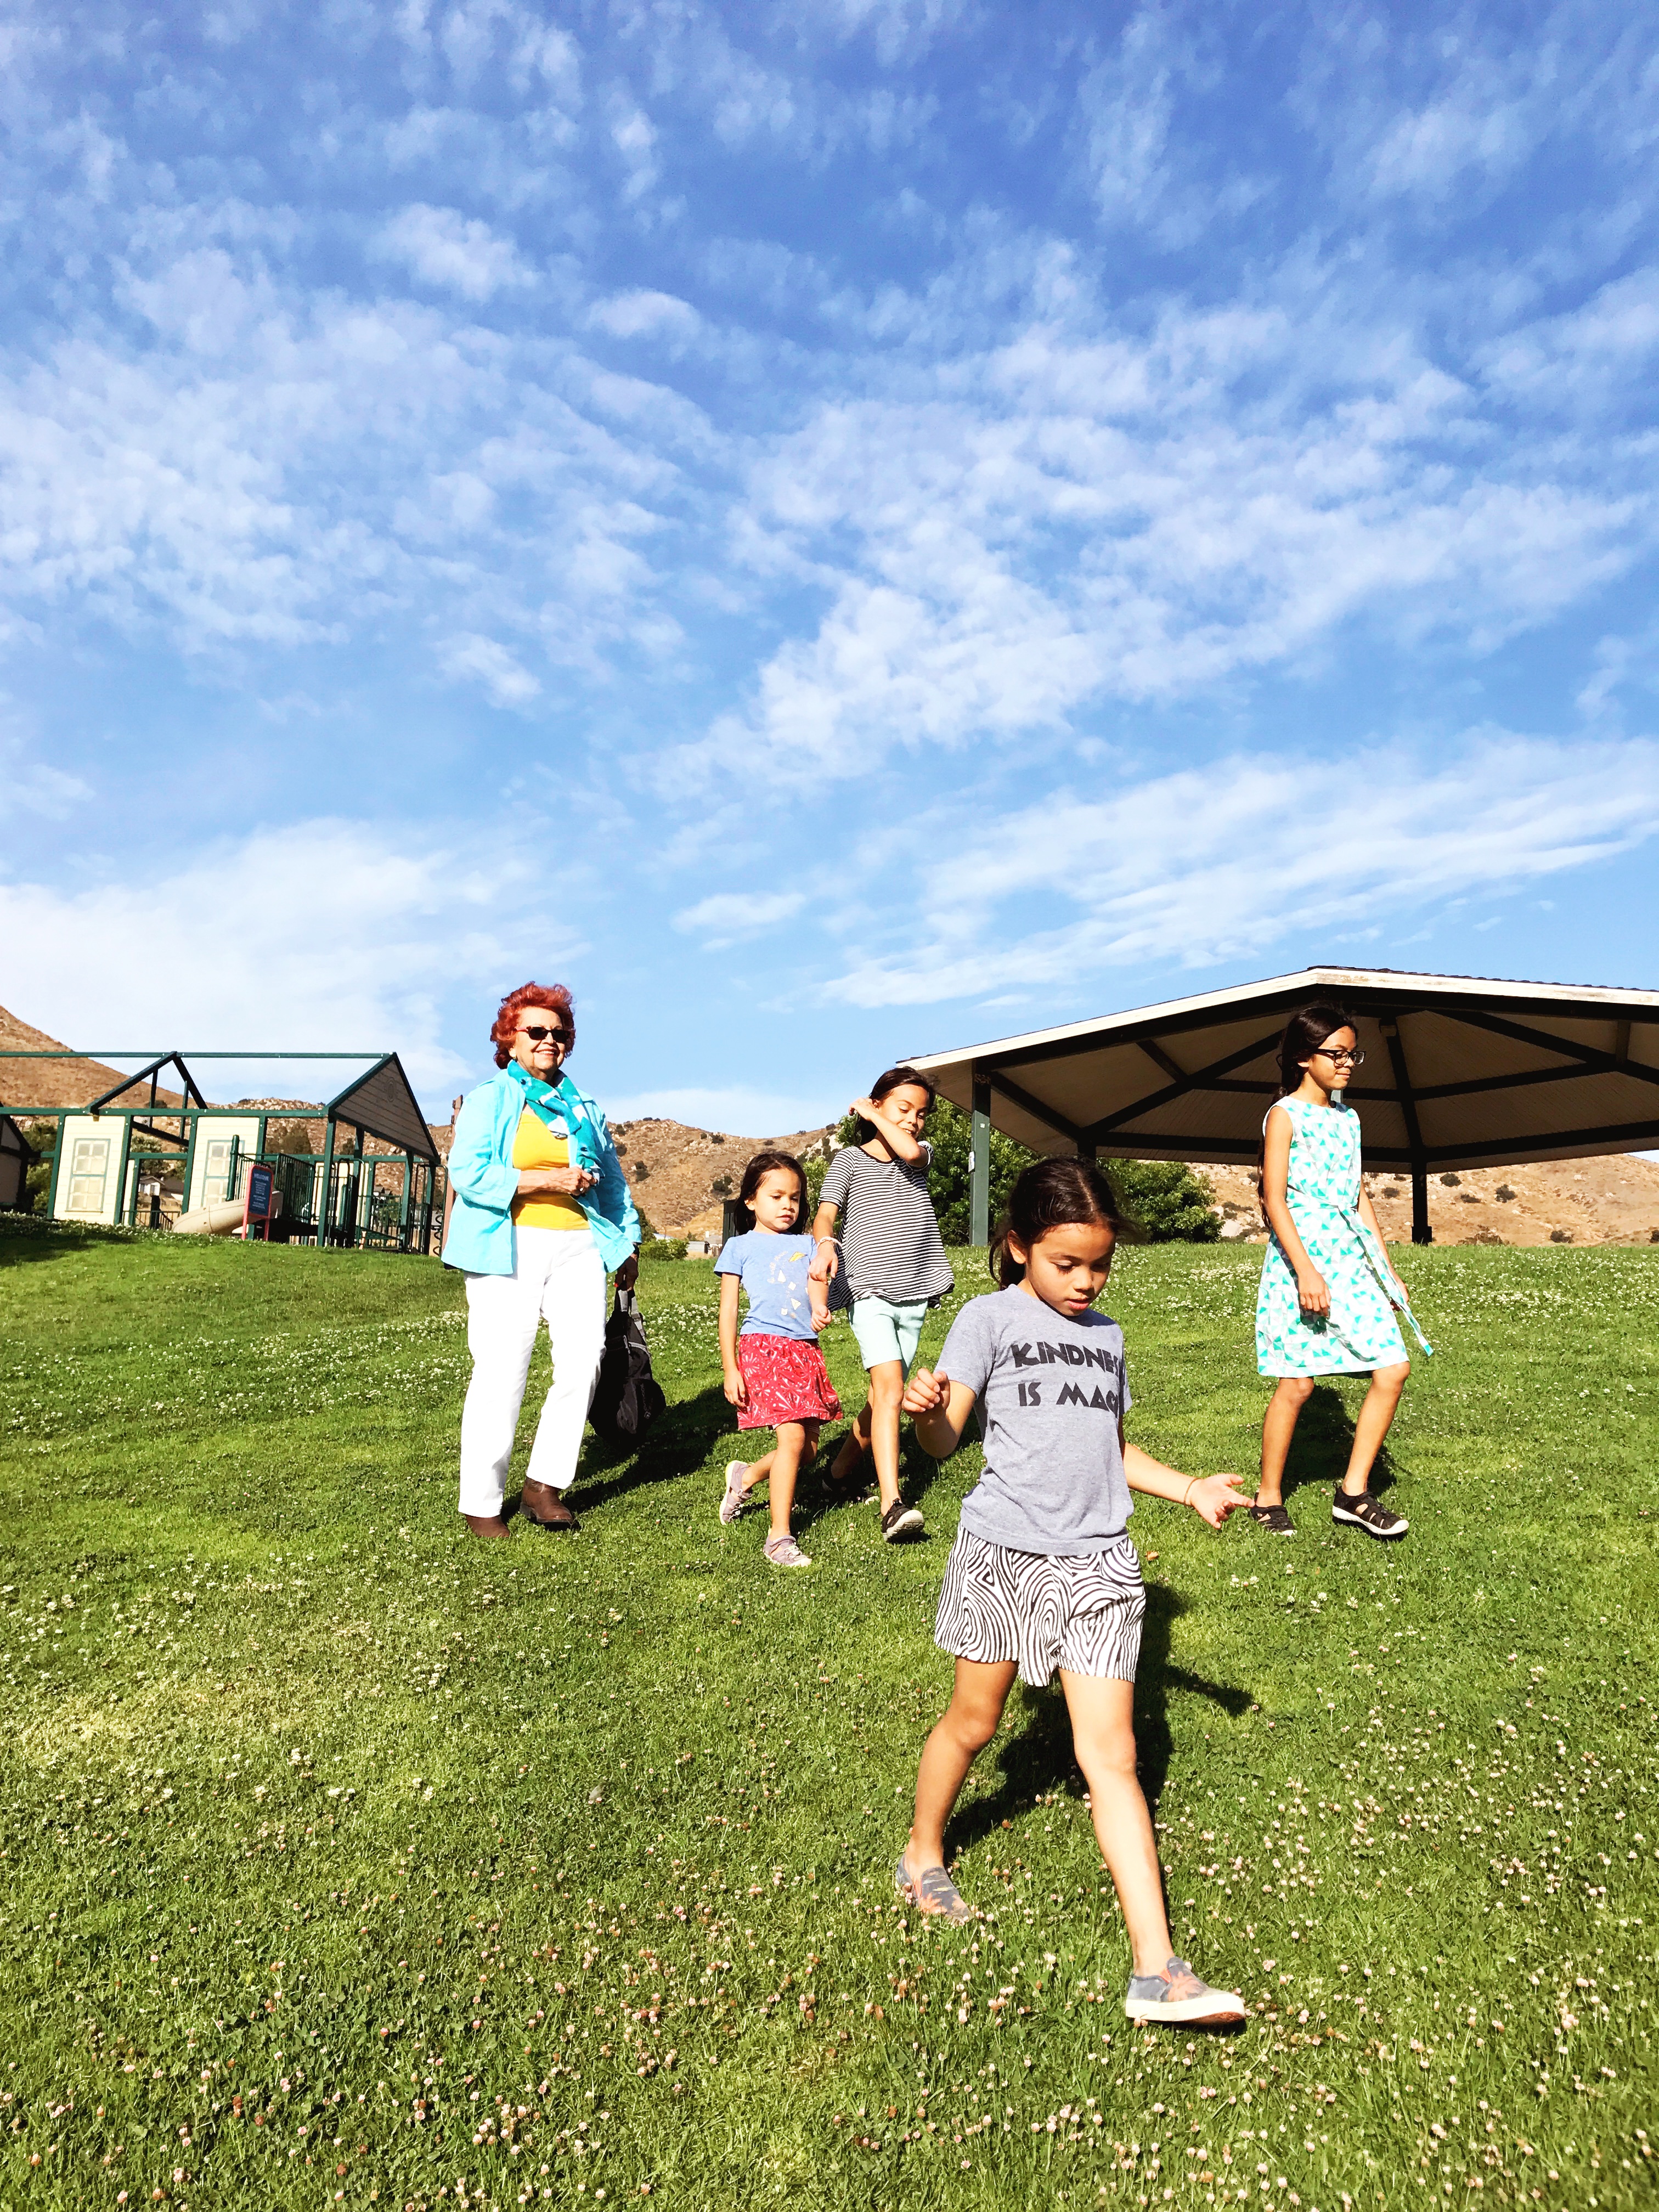
on the girls: jersey tanks, ruffle tanks, denim shorts, all c/o old navy.

This post is sponsored by Old Navy. Thank you for your continuous support of me, this space, and the companies I decide to collaborate with! xoxo


camp home: paper plate magnet maze

June 9, 2014


paper plate magnet mazePaper Plate Magnet Maze

Supplies:
Paper Plate Magnet Maze Template (print the bunny/space shuttle on card stock)
Paper plate (I think a regular white one would work well, but we had brown ones on hand, so that’s what we used)
Compass
Pencil
Markers (fine and thick)
Colored pencils
3/16″ x 12″ dowel
1/2″ button magnets (2 per maze/plate)
Glue gun & glue stick

Directions:
1. The template has a sample maze to use, or you can easily just make your own with a compass; use the bunny or space shuttle on the template, or make your own (e.g. car to a finish line, superhero to a damsel in distress, fish finding its way to a school of fish). If using a compass, make 4 circles lessening 1″ with each smaller circle. Each circular row, should have one opening to the next, and a barrier somewhere along the row as well. Go over the maze lines with a marker. Draw the moon or bunch of carrots (or whatever you choose for the winning destination) in the center and color.

paper plate magnet mazepaper plate magnet mazepaper plate magnet maze2. Color the bunny/space shuttle and cut out. Glue a magnet piece behind the bunny/space shuttle, and another on the end of the dowel to make the magnet wand. Make sure the opposite magnets are facing each other, so they will attract and be able to work together on the maze.

paper plate magnet mazepaper plate magnet mazepaper plate magnet mazepaper plate magnet mazepaper plate magnet mazeHold the magnet wand under the plate and direct your bunny/rocket ship to the center of the plate!

paper plate magnet mazepaper plate magnet mazepaper plate magnet maze


camp home: clothespin paper doll

June 2, 2014


clothespin paper dollsClothespin Paper Dolls

Supplies:
Clothespin Paper Doll Template (best printed out on card stock)
Crayons
6 spring clothespins (I used 2 1/4″ clothespins)
Paint & paintbrush
Glue

Directions:
Color the paper dolls and cut out. Paint one side (or both sides) of the clothespins (2 per doll) and allow to dry completely. Glue the shoes onto the tip of the arm of the clothespin. Insert the doll into the pair of jaws on the clothespin, and there you have your clothespin paper doll.

clothespin paper dollsclothespin paper dollsclothespin paper dollsclothespin paper dollsclothespin paper dollsIt’s summer, well, not officially, but some kids are already out of school and ready to begin the summer fun. “Camp Home” will be a series of projects kids can do with things you might already have around the house (or won’t be that difficult to run out and get). My goal is to share a project a week and I will try my darnedest to stick to it throughout the summer. The girls and I made these on Friday, but they are already wanting to make more; I see a larger clothespin doll family in our future!

What are some of your go-to summer projects to do with kids?


our first camping adventure

September 20, 2016


We went camping with friends on Labor Day weekend and we had such a good time. While Ben and I both grew up camping (he went pretty much every summer), this is the first time we’ve taken our own family on a camping adventure. Our friends have this beautiful property a few hours away, so that was the special spot we got to experience our first camping trip. We were armed with a super large tent, a bucket for all our potty needs, sleeping bags, chairs, and cooler full of food. Thankfully, we were able to borrow all the gear from friends and family. Not knowing how it would go, or if we’d like it, we didn’t want to invest in things from the get go.

The weekend was spent hiking, eating, chatting, playing (we rode quads for the first time!), eating some more, and a whole lot of relaxing. In case you thought we were just eating cold cut sandwiches all weekend, we certainly were not. Our friends do this sort of gourmet camping and we stuffed ourselves with so much delicious food. I was inspired by how they got this camping thing down and do it in style. They are legit and they’re even building their own tiny house for weekends just like this when they want to go “off the grid.”

I was just in awe at the beauty that surrounded us, from the early morning sun peeking through the mountain and casting the most perfect golden light, to the bowl of stars shining brightly over our head at night. Clearly, nature was declaring God’s glory. The first night the girls looked up and said, “Mommy, the stars look fake.” On the second night, I spotted 3 shooting stars. THREE! These are things we miss out on due to all the light pollution out in suburbia.

The girls came home with treasures (rocks, sticks, and wildflowers) and a whole bunch of pictures captured on their Fuji Instax. Ben and I were so thankful to our friends for opening up their second home like that and allowing us to experience it. It was a such a magnificent weekend and I didn’t mind roughin’ it one bit. As long as I have my own bucket for our potty business, I am good to go. We’ve got one camping adventure under our belt, and I’m ready for another!


a wedding and another home sewn dress

July 1, 2014


wedding readyOur friends got married a couple weeks ago and I used the occasion to sew myself a dress. I had this blush-tan linen that I wanted to use, I did a V-neck front and I kept it all simple (it’s been the preferred dress style of late). I sewed bust darts, but didn’t like how it looked, so I took it out. I did a blind stitched hem to make it feel slightly more dressy, and just like that, I had myself a new dress. Sewing your own clothes always feels pretty great. It’s like bargain shopping, but better!

wedding readywedding readywedding readywedding readywedding readywedding readywedding readyThe girls were in awe as the bride walked down the aisle and they had so much fun running in the grass with their friends. I thought they were going to have fun boogying down on the dance floor, but they were acting shy and didn’t really let loose. They did let loose on all the dessert though, and boy did they come home on a sugar high. That’s all part of wedding fun though, don’t you agree?!

on me: dress, home sewn. shoes, miss selfridge (bought over 10 years ago when I studied in London). stone necklace, lisa leonard. on true: dress, fab kids (worn for this party). vans, shoebuy. cat headband, hello shisoon brave: tee, gift from misha lulu. wing clip, hello shisoon soul: dress, anthropologie (bought a long time ago when True was 2). shoes, old navy. bead bow headband, hello shisoon glow: dress and shoes, vintage. tulip clips, hello shisoon ben: shirt, aa. bow tie, forage haberdashery.


homesewn dress

May 5, 2014


dusty rosedusty rosedusty rosedusty roseI love the shapeless, loose dresses that have been popping up lately. I can do without spanx underneath and those dresses are just so comfortable. Sure they aren’t super flattering, but whatever, I like them. Now, the ones that have been popping up are like oh-my-freakin-guacamole-expensivo, so while I have bought a $400 pair of shoes once (this is full disclosure with a story behind it, and not my proudest moment, but hey! I wear them a lot and they’re my faves), I can’t pay that much for a shapeless dress. 1) It’s shapeless, so it’s not that hard to sew. 2) I’d rather buy nice shoes, than a dress, probably because I sew. I’m sure the dresses that go for that kind of Benjamins are handmade with love in the USA with the finest of fabric (and I’m all for small businesses, so I’m glad people support them), but hey, mine is handmade with love too (in the USA) and with linen, which is nice fabric, and only cost me $20, so that works for me.

I’m pretty happy with how my dress turned out, and seriously after you sew yourself a dress, it feels like you just went shopping without spending any money, especially if you have had the fabric for awhile. I have no pattern for you, but I have this sketch that you can use as a guide to make your own. It’s only two pieces (front and back) and it’s loose, so just use one of your looser dresses as a sizing guide, and I made the cut of the bottom portion more cocoon-like, and I did a wide band at the sleeves. It’s easy, I promise, just try it! My book won’t teach you how to make this dress, but it will teach you enough about sewing that you will eventually be able to make this dress and many more other things.

dusty rosedusty roseI also got to be part of Lisa Leonard’s lookbook, so I’m wearing her gold love banner necklace (sorry it’s sold out now). The girls love that I have a necklace with their letters, they declare this one their favorite necklace of mine.

Are you yea or nay on loose shapeless dresses? Would you try and make your own?

on me: dress, handmade by me (duh!). necklace, c/o lisa leonard. shoes, c/o lotta from stockholm. on true: dress, misha lulu. on the rest of the girls: dresses, vintage.


CAKIES
©
Design by Blog Milk