“I Love You” Yarn Sign
Supplies:
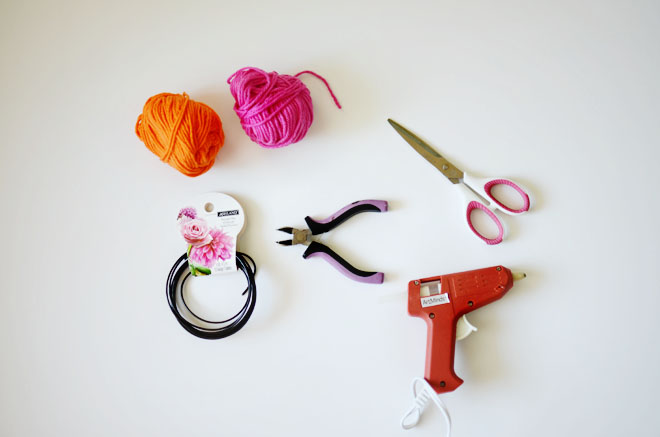
Yarn in various colors
12 gauge decorative wire (I found a roll of 5 yards in the floral section of the craft store)
Wire cutter
Scissors
Glue gun & glue stick
Directions:
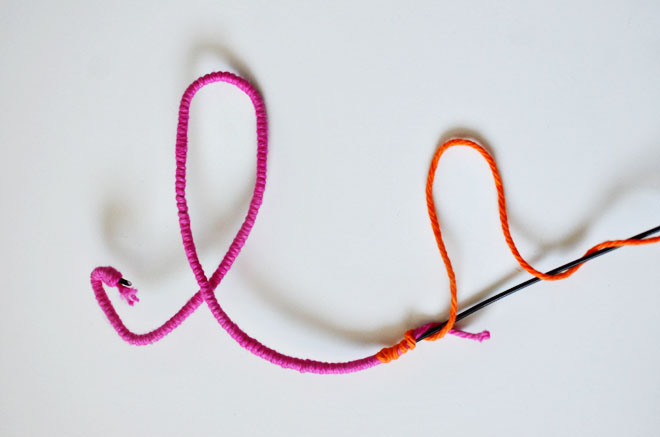
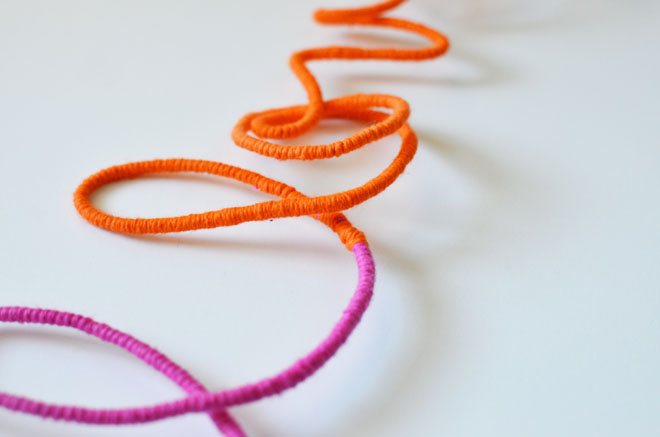
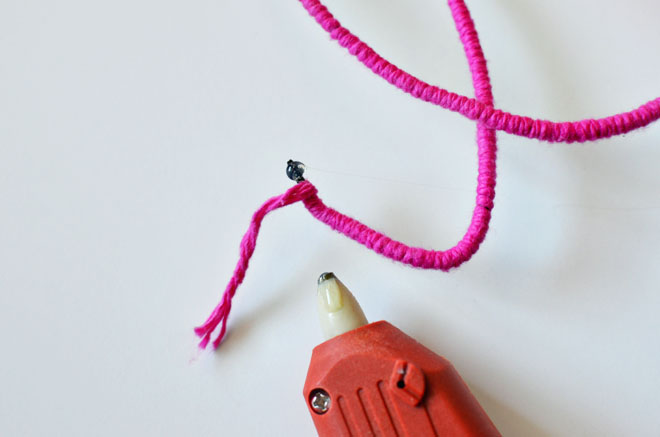
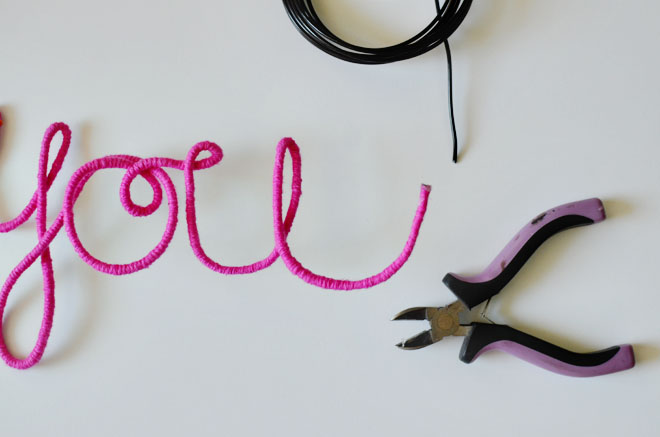
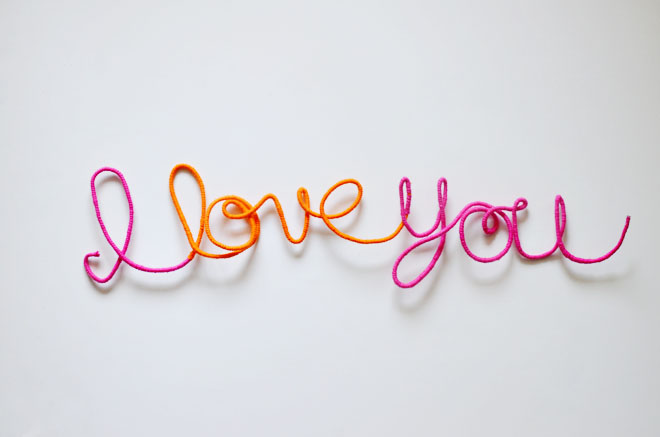
Using your glue gun, add a dollop of glue to the wire end (where the yarn begins), and start wrapping the yarn end tightly where the glue is, so it’s glued to the wire and stays in place. This helps keep the yarn secure as you wrap your wire. Continue wrapping your yarn snugly around the wire, forming the letters and words as you go. When/if you want to add in another color, just add another dollop of glue, then wrap the new color around the glue, and continue on wrapping in your new color (repeat again for another color change). Continue until you have completely formed your phrase. At the end, add another dollop of glue to finish wrapping up the end.
I found it best to form my words as I wrapped. I would complete about a 10″ section of wrapped wire, then form the letter. You most certainly could form the entire phrase first, then wrap the yarn around. Do whatever feels more natural to you… either way will work!
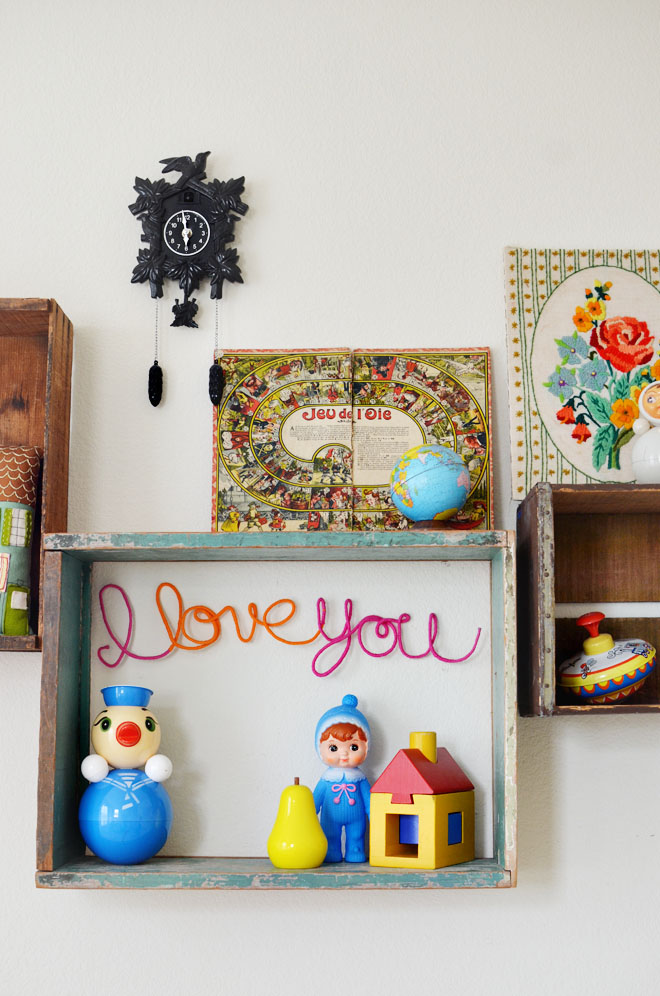
This “I love you” sign is currently sitting on top of our mantle. It’s the start of our February and Valentine’s Day decorating, which I can’t believe is already right around the corner. The girls are all about celebrating and decorating for those celebrations, so I try to think of simple little things we can do to get the house a little bit more festive.
We made a “BOO” sign awhile back for Halloween (using chenille stems) and this is play on that, but using stronger wire really helps keep its shape better, especially with the fancy little curly q’s in the letters I did. I have a few more sayings in the my head that would look really cute wrapped up in yarn. Maybe “be brave and true” for the big girls’ rooms or “let your light shine” for the little girls’ room, or maybe that will be yarn wrapped sign overboard!
I actually first made a larger “I love you” sign in the black wire and left it unwrapped and it looks pretty cute that way too. I wanted just a little more color though, so I decided to make a smaller yarn wrapped one. The sign would also make a really cute Valentine gift/message for someone you love! If Ben hadn’t already seen it, I might have hung it above his side of the bed for him to see when he woke up Valentine morning. It’s a simple gift with a sweet message. And even just looking at the first picture of this post, I think that would make cute Valentine Day cards or a sweet poster. Uh oh, I think I’m on a poster kick after making one from our rock collection.
Since this project involves handwriting of sorts, did you know tomorrow, January 23rd, is National Handwriting Day? I totally didn’t until I heard (via email) that expert calligrapher, Lauren Essl, will be doing a tweet chat with @MichaelsStores (#MeetLaurenEssl on 1/23 from 2-3pm CST) to celebrate the day. I want to join in to find out what her favorite calligraphy pen is. I took a class in high school and I try to brush up on my skills from time to time, but I’d love to know what pens she would recommend. Wouldn’t it be fun to make a wire phrase shaped into some fancy calligraphy? I’d love to try that. Sounds like a challenge, but I’m always up for it!







I’m so glad you did this! I’ve been wanting to make one for my girls room possibly over a set of hooks for their hair clips and scarves! Thank you!!!
i love this idea!! so cute and simple!
xxoo,
nikki
http://www.dreaminneon.blogspot.com
This is ADORABLE! I’m dying to make a yarn sign (or yarn balloons!?). I loveeee the colors you used and those curly-q letters!
love it!
so cool!!!
Also I love you have the doll on display!
This is such cute idea! It would be a great way to use my left over yarn!
script, color and over-sized — what’s not to love! Thank you for sharing! I’m a long fan of doing this type of letter wrapping with my kids but, don’t think I’ve written a full sentence. It’s perfect. Thanks for sharing and great to find you! Pinning!
This was awesome! So awesome, we wrote a little review on it. Thanks for passing on an easy peasy cutie pie tutorial. 🙂
Thank you!!!! I’m so glad you guys like it!
So pretty! I’ll be sharing it on The Crafty Crow later this week 🙂
is very easy and beautiful & Pretty. I have read this content it’s very cool, And the rugs concept awesome.
Nice creativity, thanks for sharing.