


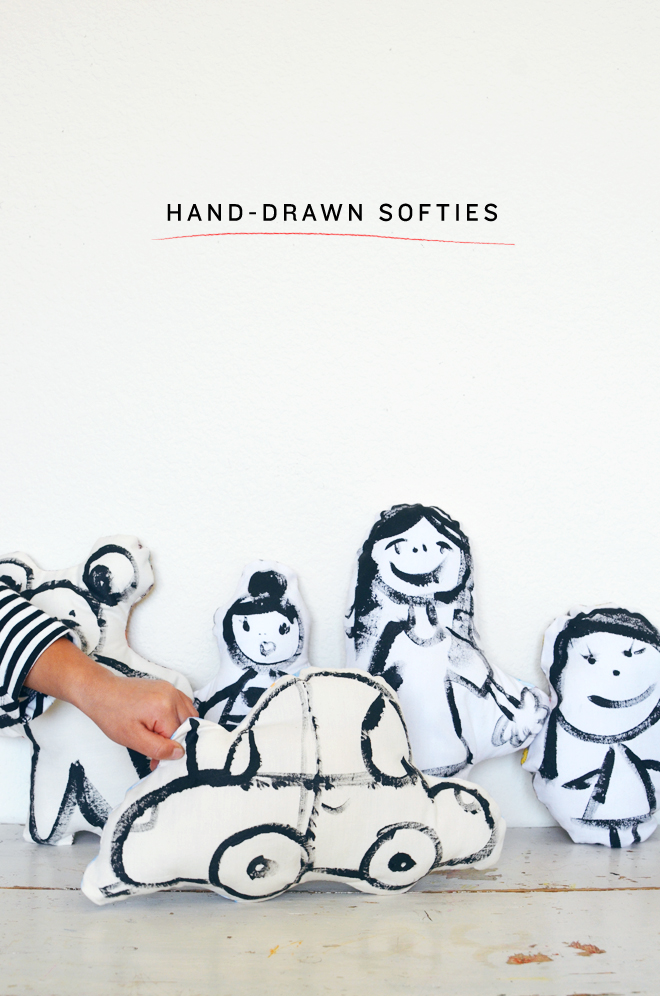
 Hand-Drawn Softies
Supplies:
1 yard of plain fabric
1 yard of patterned fabric
Coordinating thread
Fabric paint
Paint brush
Poly-fil
Hand sewing needle
Scissors
Sewing machine
Seam allowance: 1/2″
Directions:
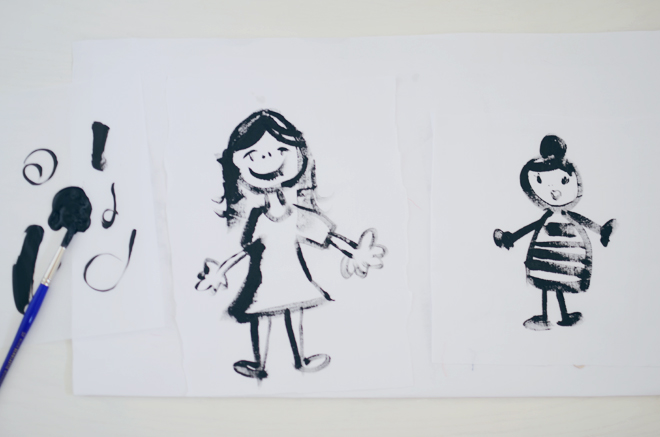
1. Paint your designs on the plain fabric. Allow to dry completely, then iron to heat set design in place. Note: I find it best to iron the image with some scrap fabric on top, just in case some of the paint comes off.
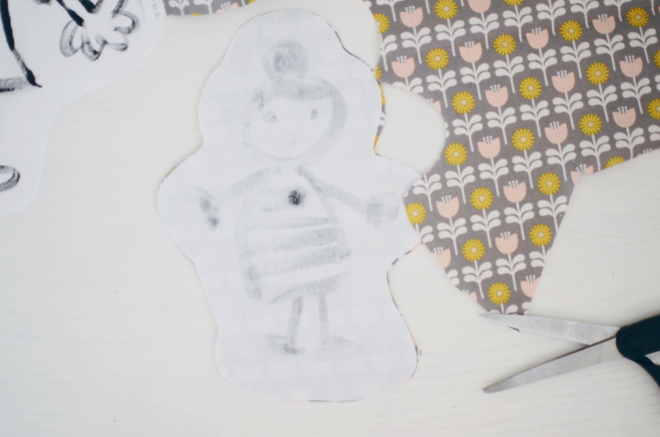
 2. Cut about an inch around the entire perimeter of the drawn image. Place on top of the backing with their right sides together, and cut out the backing fabric.
With the right sides of the image and backing fabric together, sew around the perimeter, but leave a 2″ – 3″ opening for turning. Clip any curves and corners, and turn right side out. Fill with poly-fill and slipstitch the opening closed.
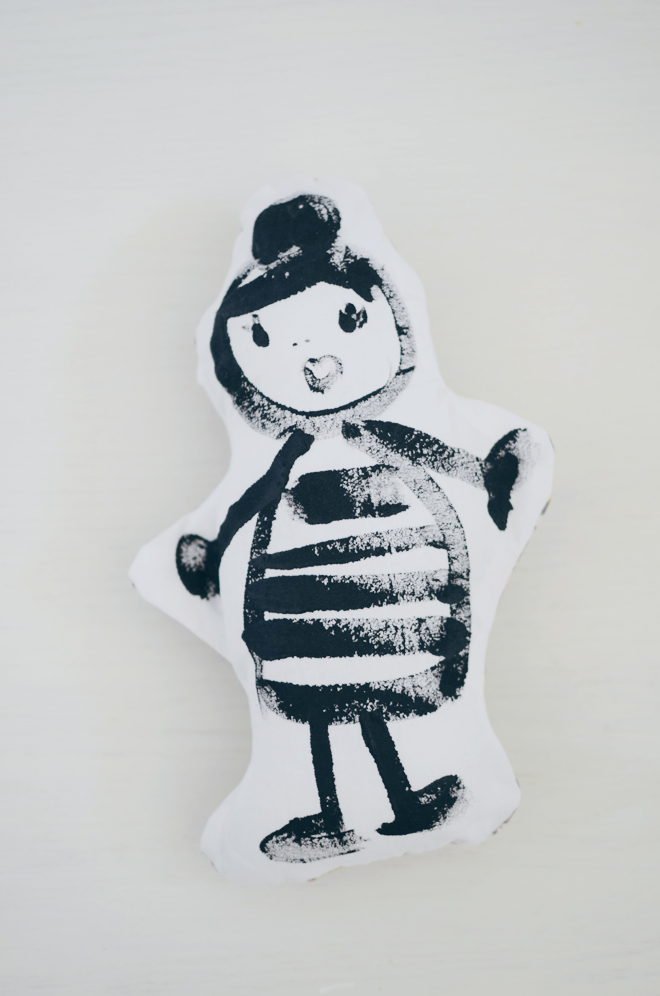
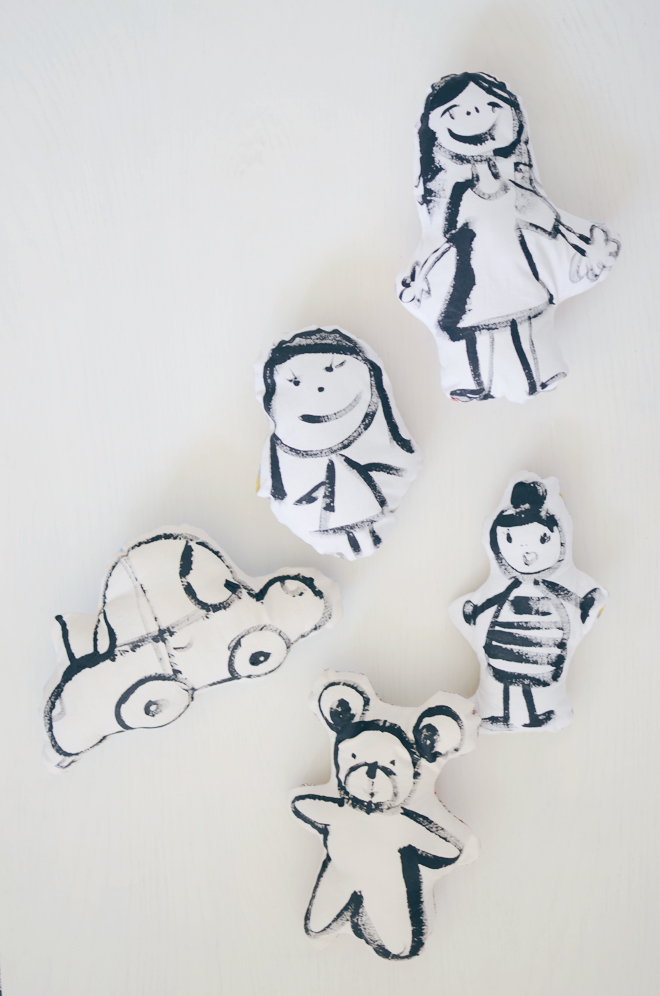
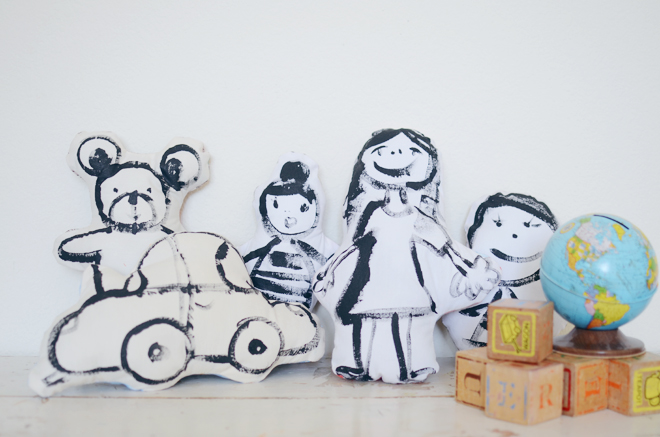 My girls drew the images, and I did the sewing. I love how striking the black and white images are, but if you want more color, just used colored fabric and colored paint. We made these for Christmas gifts (for each other and friends). I think this is a simple homemade project that kids would love doing, and they would be proud to give something they made to others!
And if you want more ideas for handmade projects to do with (and for) kids, my book, Let’s Sew Together, is filled with them! It would also make a great stocking stuffer or Christmas present for someone who wants to learn how to sew.


I love it!
I love these!!!
so precious!
xx nikki
http://www.dream-in-neon.com
So impressed! The girls have a lot of artistic talent.
Adorable, and so easy! I might have to do this for some extra Christmas presents!
xo
Kristina
http://www.eccentricowl.com
This is so brilliant! 🙂 Thank you for sharing!