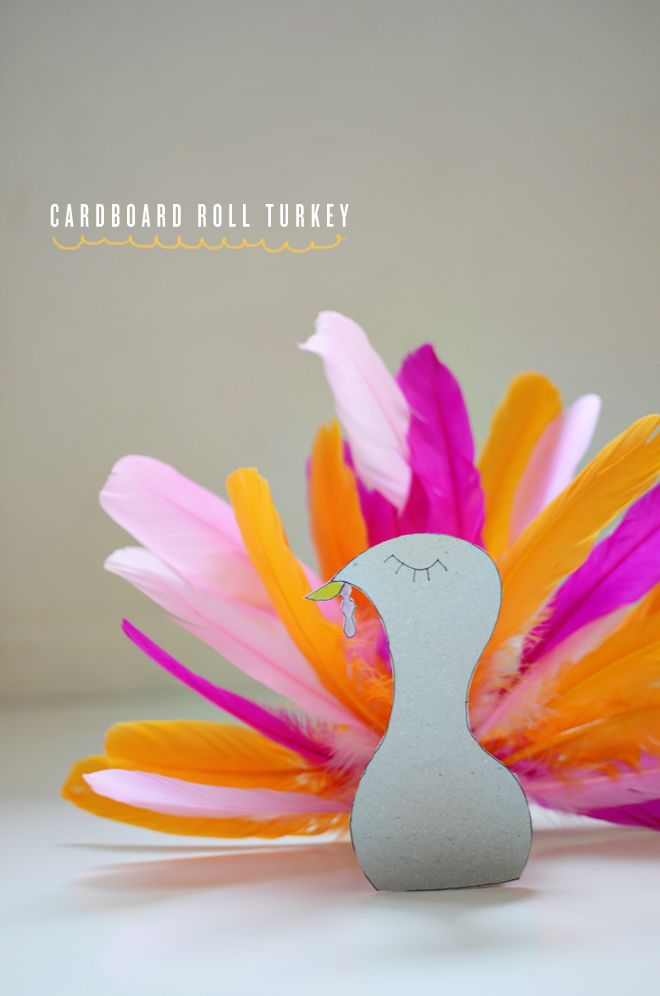
 Thanksgiving is right around the corner and turkey projects for kids are a must! Little hands will love inserting lots of colorful feathers to make this turkey tail.
Supplies:
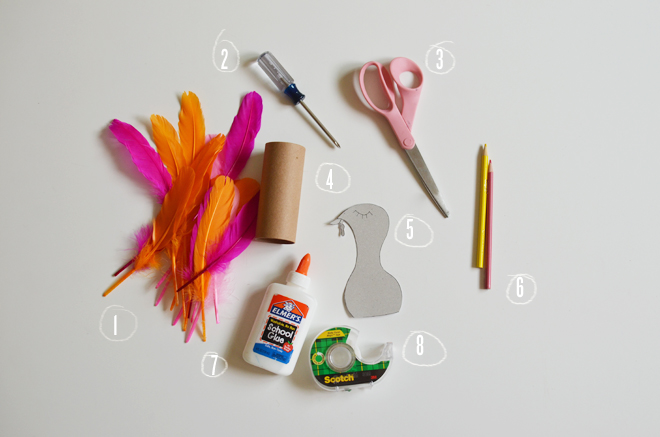
1. 20 -30 feathers (I used 3″-5″ duck feathers purchased from here)
2. Screwdriver (or pen for poking)
3. Scissors
4. Cardboard craft roll (from toilet roll or can be purchased here)
5. Cardboard Turkey Roll template
6. Colored pencils
7. Glue
8. Tape
Directions:
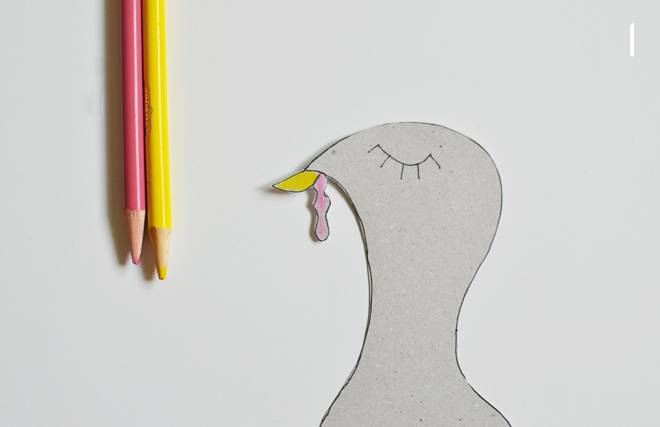
1. Print the template onto card stock (or redraw yourself) and cut out. Color the turkey. I left my body plain and just colored the bill and waddle, but when my girls make their own, I’m sure they will be coloring all over the place.
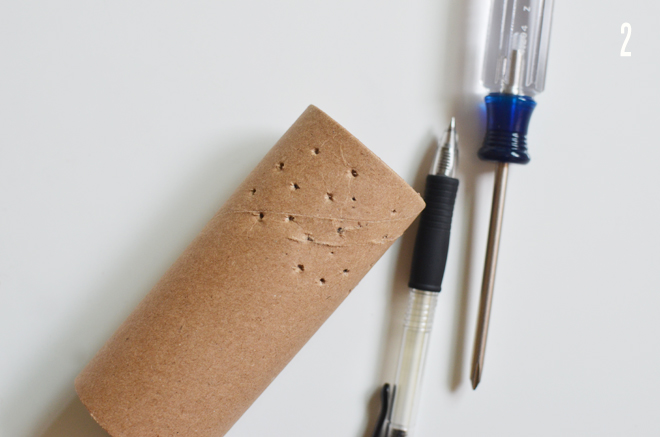
2. Poke scattered holes on one end of the roll. Be gentle and provide support on the inside with your fingers to prevent the roll from tearing when you poke. I used a screwdriver for some holes, but found the pen is sufficient as well. The amount of holes you need to poke will depend on if you want a fuller or leaner turkey tail.
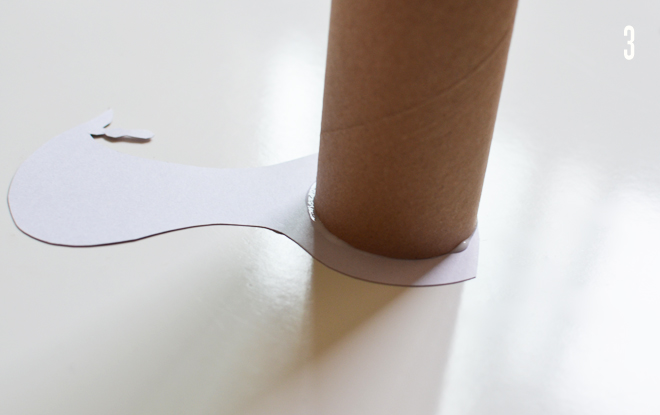
3. On the opposite end of the roll, where there are no holes, add a bit of glue around the ring of the roll and attach to the back of the turkey template. Add some tape to secure in place.
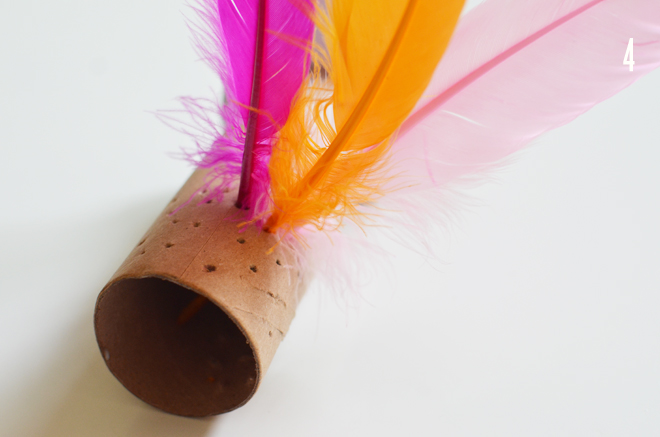
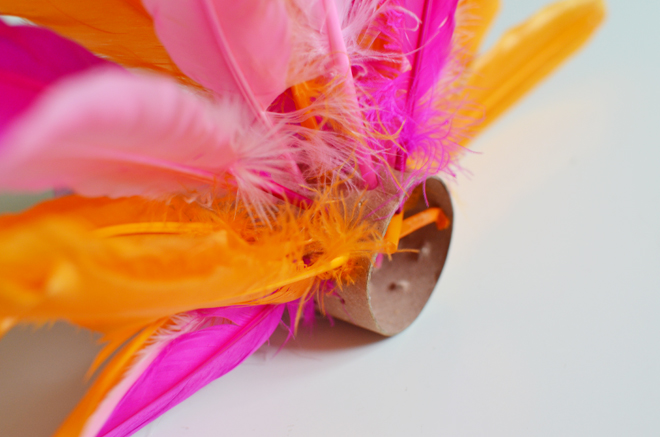
4. Insert a feather quill into each hole until all holes are filled. This activity is perfect for little hands to do. 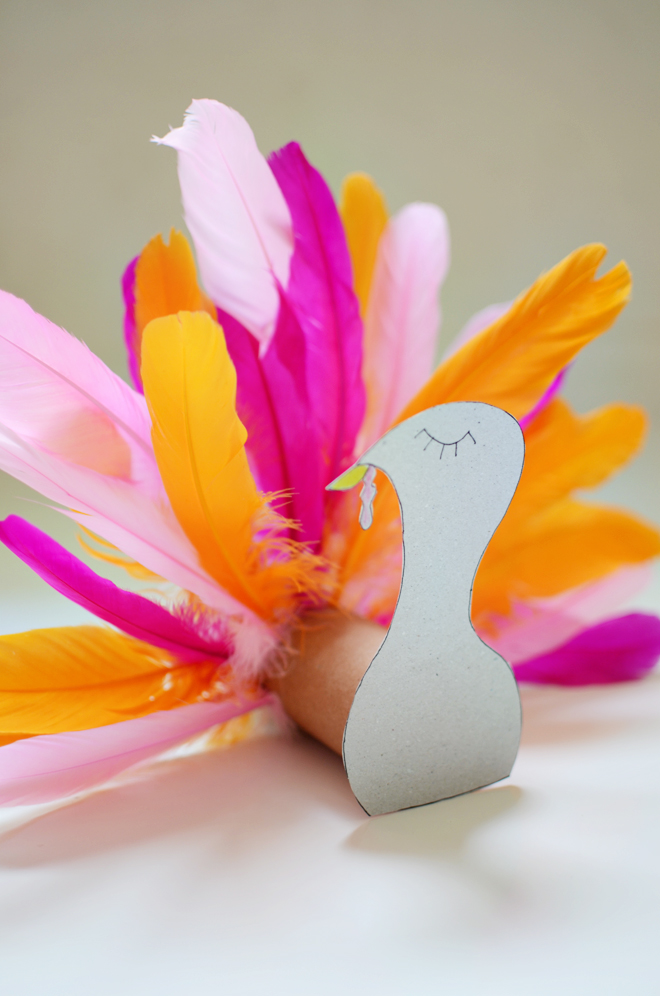
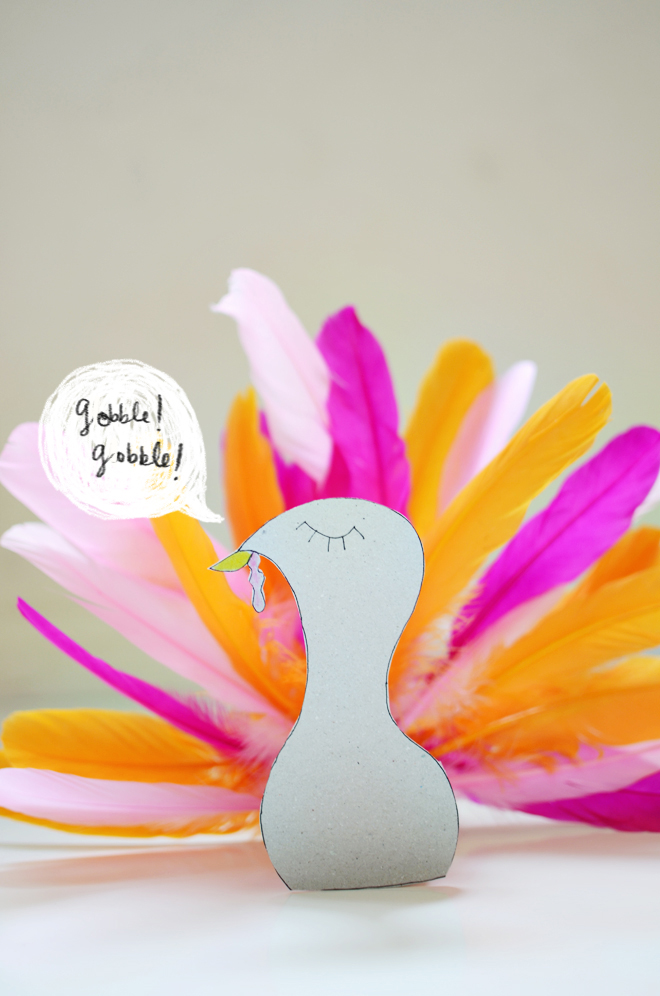 Gobble! Gobble! Tomorrow will definitely involve making more of these little turkeys with my girls. The turkeys would even be cute as a place cards for Thanksgiving dinner. Or you can make a bunch of different sizes and group them together on the mantle.





This is a great turkey day craft Ruby!! You are always coming up with such cute ideas!
Love this! It’s hard to find cute Thanksgiving crafts . . . this is perfect! Thanks for sharing.
so cute!!
xxoo,
nikki
http://www.dreaminneon.blogspot.com
Hi Ruby, this is such a cute craft! I love everything you post and admire your immense creativity. I discovered your blog recently and being a mother of two myself I have found it to be a great inspiration. But anyways I wanted to ask you how do you do the “drawn on quote bubbles” on your pictures, I LOVE them. Hope you have a wonderful weekend…..Pilar….Oxnard CA