Supplies:
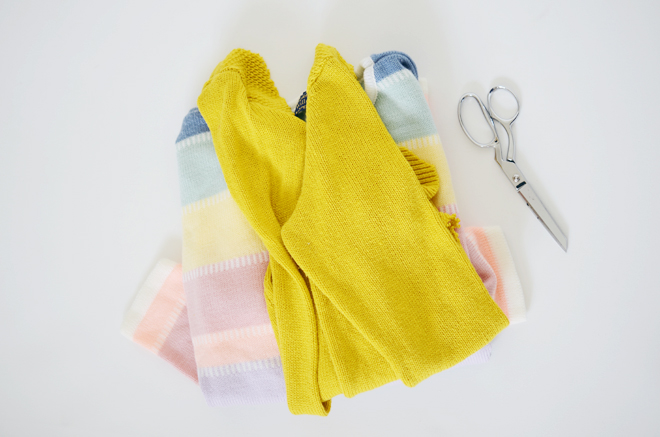
Old sweaters (I used the sleeves of 2 sweaters)
Coordinating thread
Scissors
Pins
2 buttons
Small scrap of wool felt
Poly-fil
Sewing machine
Seam allowance: 1/2″
 Directions:
1. Create your snake body from the sweaters. I used the sleeves on both sweaters and cut them open to create my snake body. Cut the head out with a large round shape, and cut other rectangle-ish shapes from the sweaters (work your way down towards the tail), tapering each piece until you get to the end of the snake body. Remember, you’ll want to taper the body down towards the tail to get that snake shape. I alternated between the two different sweaters to give the snake body some variety. Our snake ended up being about 4.5′ long.
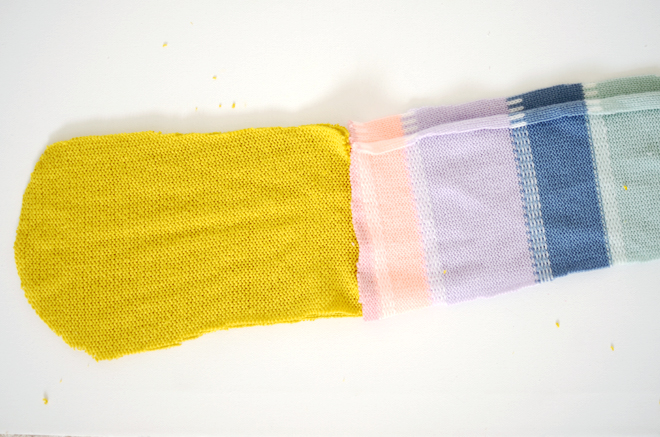
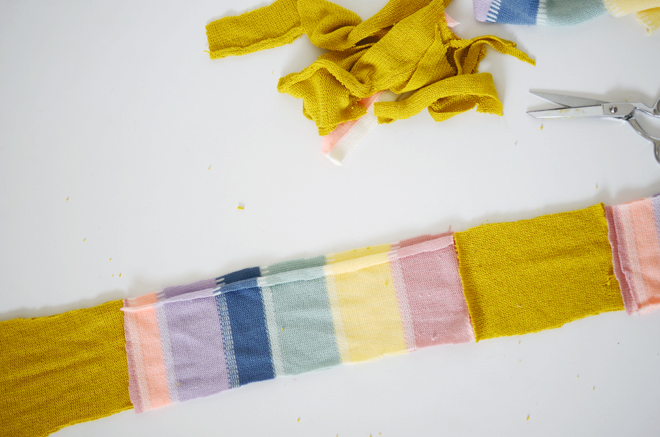
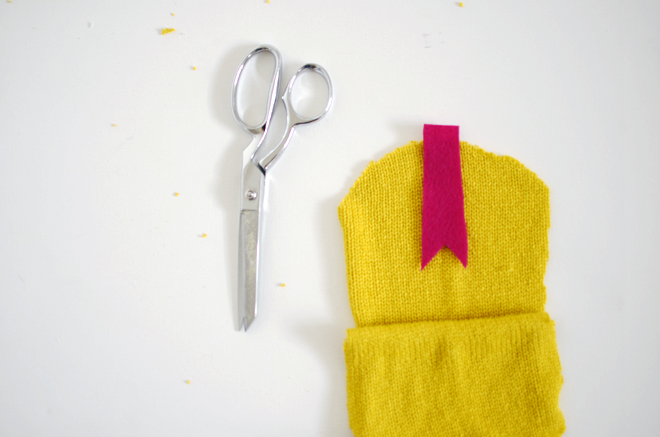
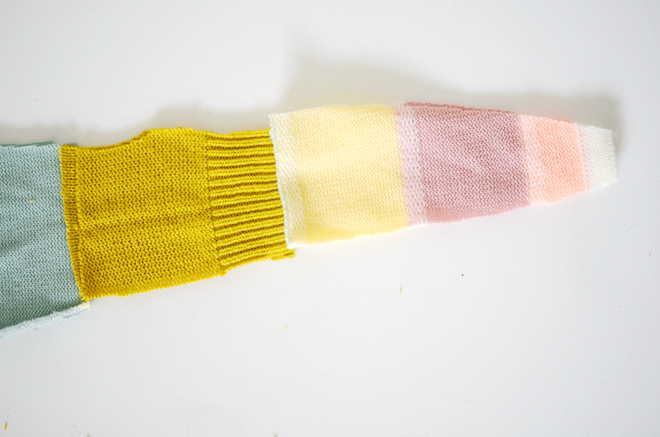 2. If alternating sweaters for the body, pin one section with the coordinating next section, with their right sides together and sew. Continue until you have created one side of the snake and repeat for the other side. Once both sides of the body have been sewn, cut out a small tongue shape from the wool felt. Place the tongue at the top of the snake, between the front and back head section, with the V towards the snake body. Place the right sides of the snake together, pin around the entire snake, and sew. Don’t forget to leave a 4″ opening for turning.
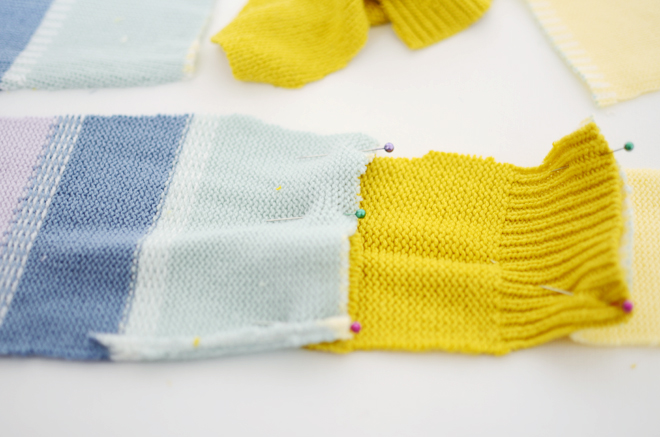
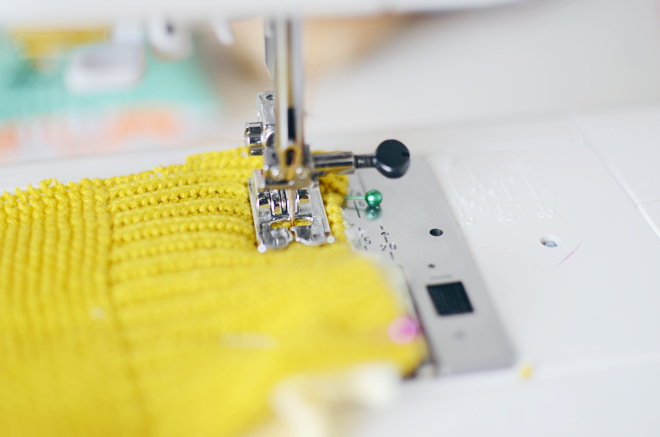
 3. Turn the snake right side out, stuff with poly-fil, and slip stitch the opening closed. It takes bit of time to make the body smooth with the poly-fil, otherwise if it looks too lumpy, it may look like your snake just had lunch. Lastly, sew eyes on the snake head.
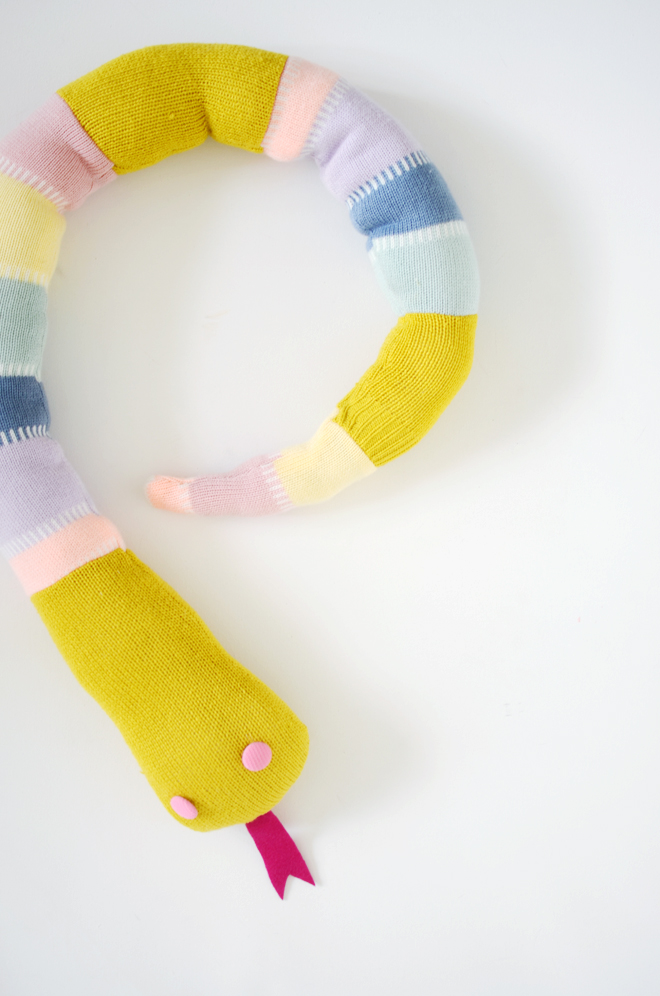
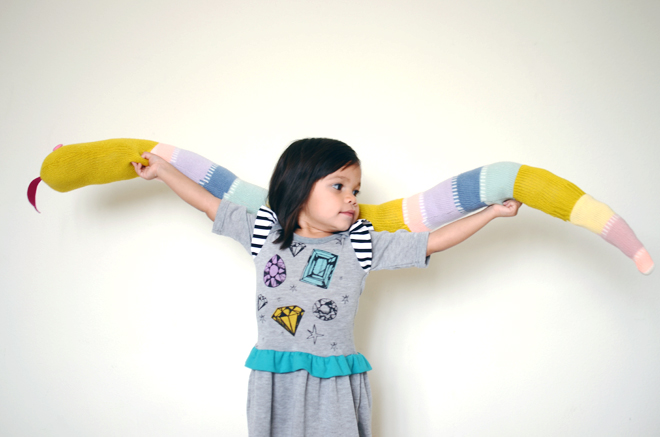
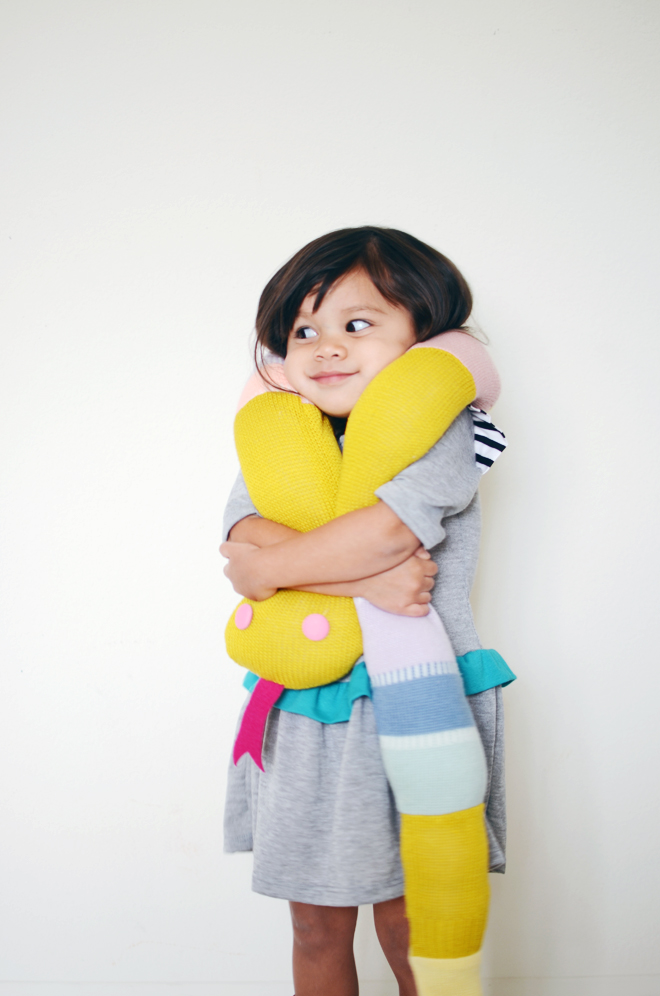 Of course, the snake softie is for Glow, our stuffed animal hoarder. She barely has any room on her bed to sleep because it’s filled with stuffed animals! I thought about adding a little jingle inside the end of the tail, but I wanted to throw the snake in the wash, so I just left the jingle out. A rattle would be kind of fun to put in there though, and would make a sweet gift for a baby (not that I’m trying to freak a baby out or anything). I like how cute a snake looks around a changing table in this room.
If you’re looking for sewing projects, my book, Let’s Sew Together, has plenty to choose from!
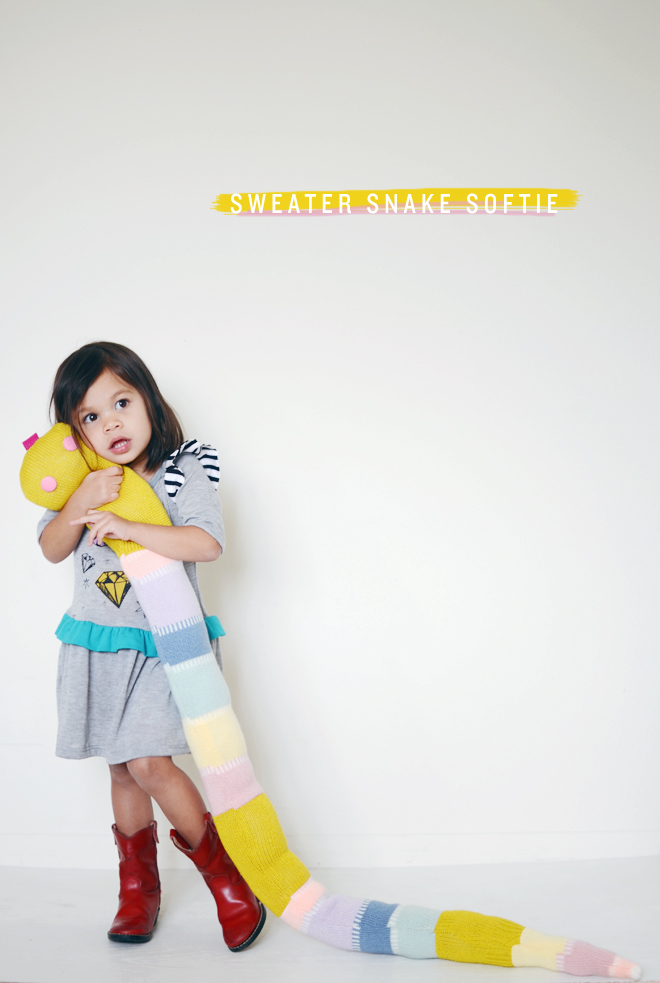
on glow: gems dress, misha lulu. boots, thrifted.





adorable- glow and the snake!! 🙂
SO cute! You are brilliant! Definitely bookmarking this post.
Circus & Bloom
I love this, but I’m not loving the tutorial! I would like it if it were more descriptive, and the photos do not help much either. Sorry! Just being honest. Not really a tutorial!
Thanks for the feedback! I usually do a template to help with cutting out size, but figured a snake shape is pretty basic. It’s pretty much just a long, skinny oval shape (sort of), so I did without the template. Basically, I used 2 – 4.5′ pieces of fabric (that’s the size I made my snake) and sewed them together making one ended larger and rounded (the head) and the end tapered (the tail). It would be the maker’s choice if they want to alternate different fabrics in to get the striped look I did, but I got extra stripey, since one sweater already had stripes and just added the yellow for more contrast.
Ruby ! Its so sweet! I wanted to make something like this and forgot all about it… now off to find the perfect sweaters!
I love this so much it’s ridiculous. Also, totally got inspired on a color scheme for my daughter Ruby’s dinosaur birthday party. I’ve been so stumped and I took one look at your gorgeous snake and said “THAT’s it!!” Continually inspired by your blog.. Thanks so much.
Yay! Glad this sparked some inspiration!
Love it! Easy and adorable!
this is absolutely adorable!
xx nikki
http://www.dream-in-neon.com
I like it !!!
I love this! This is the perfect thing to do with the old sweaters my husband was about to throw out.
One question, though. What machine stitch did you use to sew the sweater pieces together? Just a regular straight stitch?
Regular straight stitch, closer together though.
This is a super cute kids stuffie! We’ve recently moved from the midwest to Florida, so having something like this to sew with our old sewaters is a really great idea! Thanks so much!
Elaina