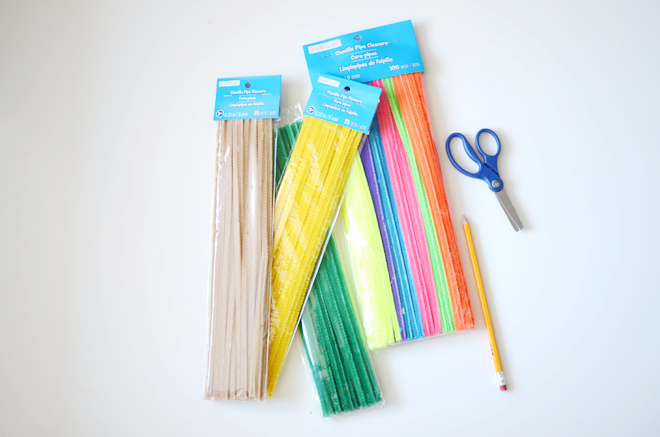
Supplies:
Chenille pipe cleaners, various colors (we made our pumpkins in pink, yellow, and orange!)
Scissors
Pencil
String, optional
 Directions:
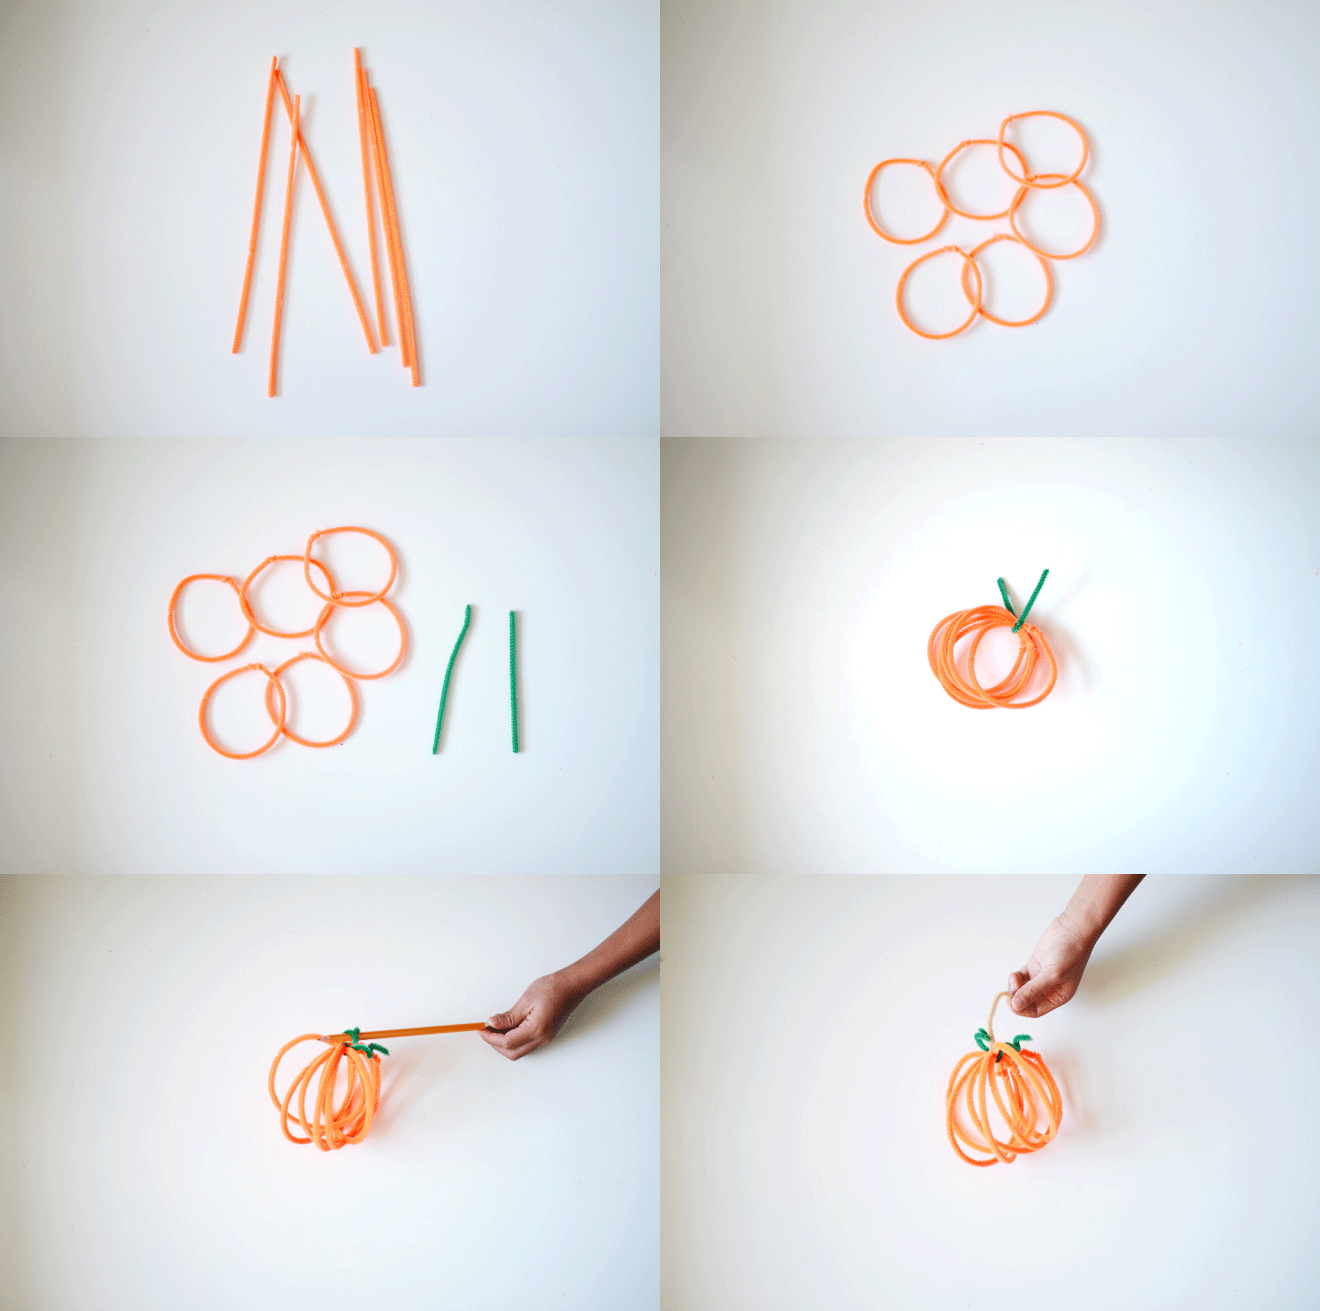
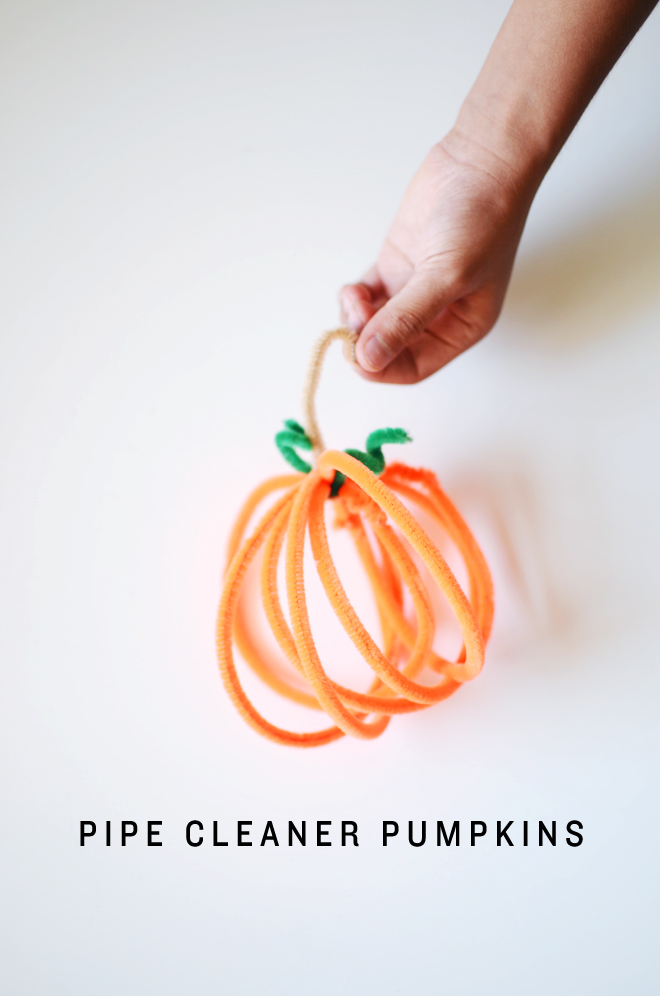
Use about 6 pipe cleaners (or as many pipe cleaners as you’d like!) for the pumpkin body, twist the ends together to form a circle. Cut a green pipe cleaner in half, gather the orange circles together, and attach together with the green piper cleaner (the leaves) and twist the green stem in place. Use a pencil to make the pumpkin curls with the green pipe cleaners. Cut out a 5″ brown piece for the stem of the pumpkin, twist that onto the top, and curve the top of the stem like a hook. We made it like a hook so we could hang all our pumpkins on string to make a garland. Lastly, bring some of the circles through the other hoops, and spread them out to create the shape of a pumpkin. Once you have the circles spread out just the way you like, flatten it a bit to give it that squatty pumpkin look.
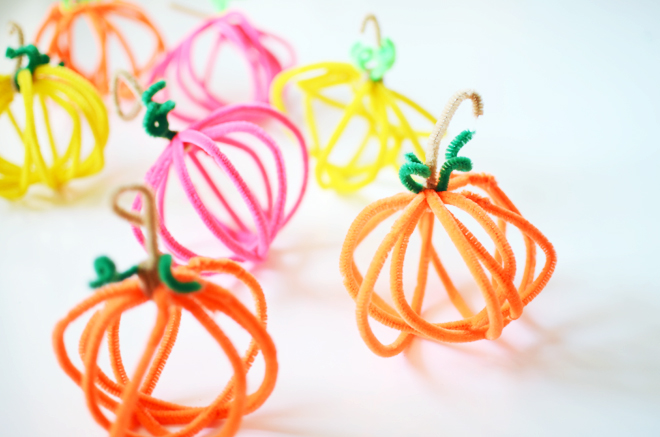
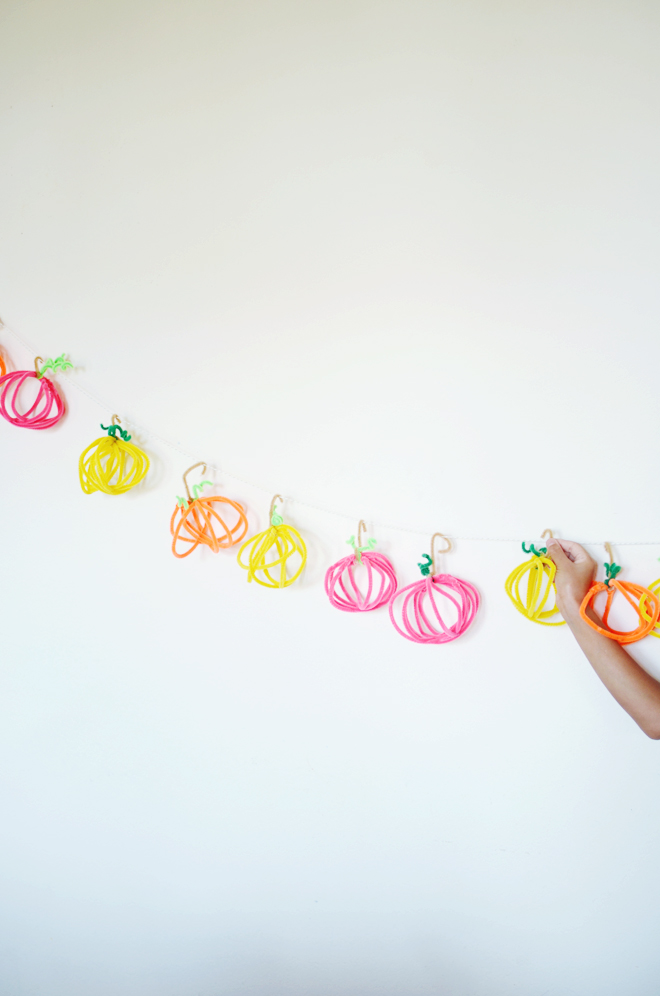
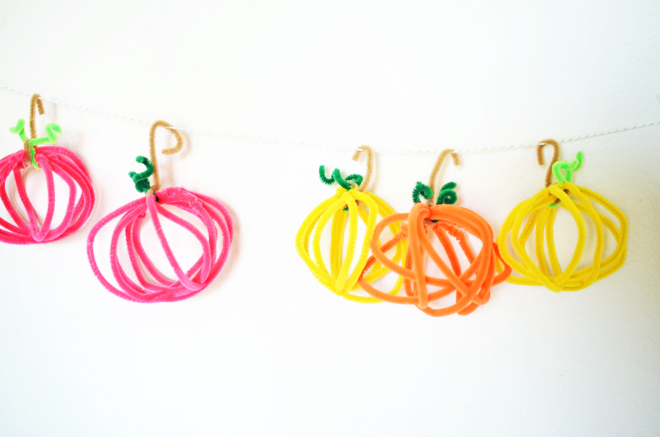
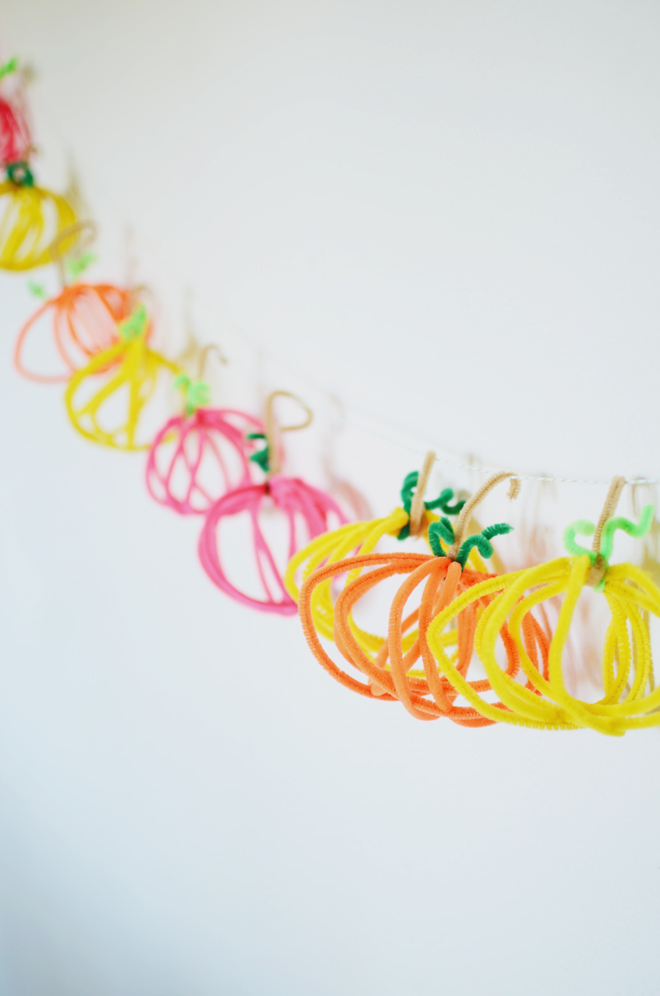 It’s the first of September and we are ready to bring in some fall vibes, even though it’s scorching hot outside. Thus, these colorful pumpkins were just the thing to kick off the autumn projects. I taught True how to make one pumpkin, and she took off from there, then she taught the rest of her sisters. After they made all the pumpkins, they continued making flowers and fruits with the pipe cleaners. I was pretty amazed at all the things they were making! They should probably do their own tutorial for the piper cleaner flowers and fruit!
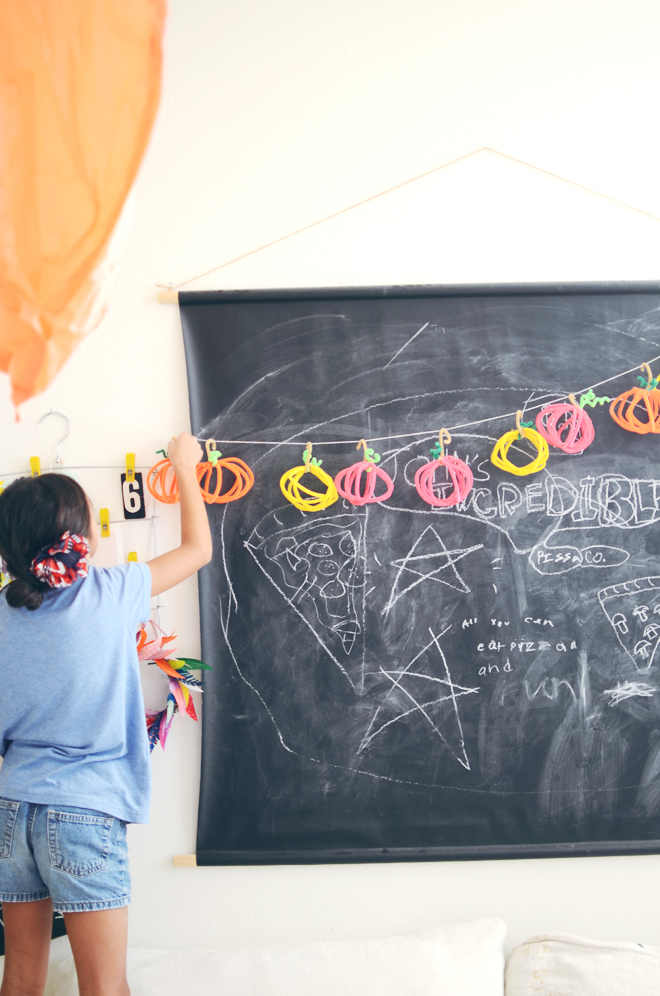 If you have some chenille stems lying around, this project is perfect to do with the kids. They will have fun celebrating the coming season with this simple project!
Supplies for this project were provided as part Michaels Makers Series. Make your own type of craft pumpkin with Michaels and let your imagination run wild with all the different types of ways to make a pumpkin and celebrate fall!
 Loading InLinkz ...





Wow these are really cute! I like the way they look!
What fun little pumpkins – kids would love these. Cute!