DIY Lightsabers
Supplies:
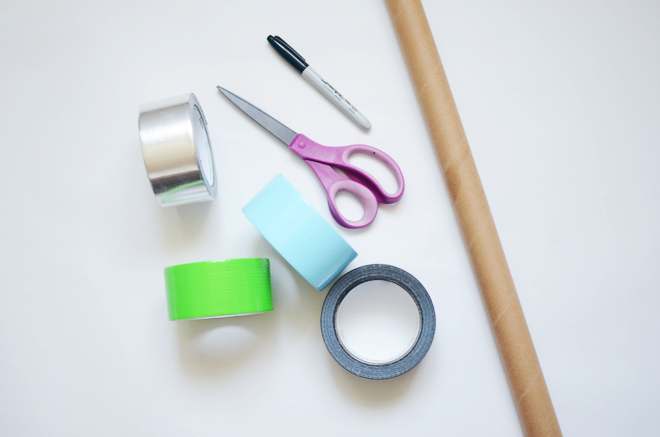
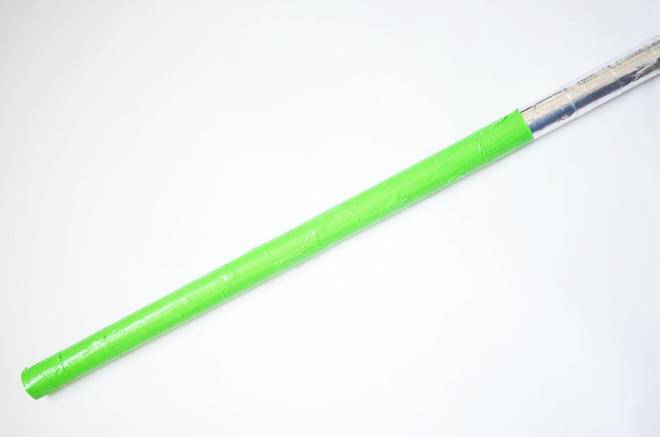
Cardboard paper roll (best from a wrapping paper roll, or paper towel rolls work for a smaller lightsabers)
Duck tape (silver & black for the base; green, blue, purple, or red for the blade)
Black Sharpie marker
Non-stick scissors
Directions:
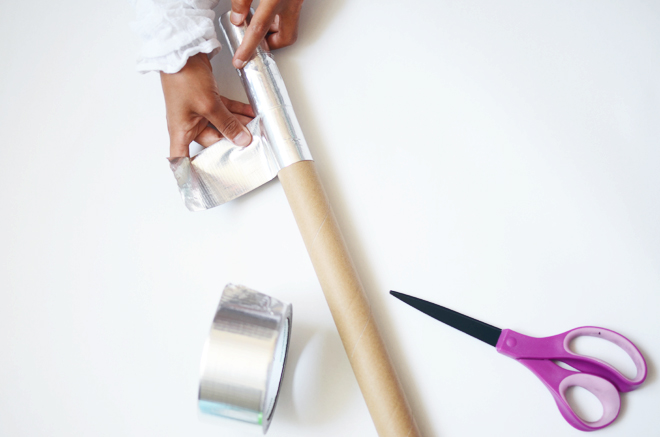
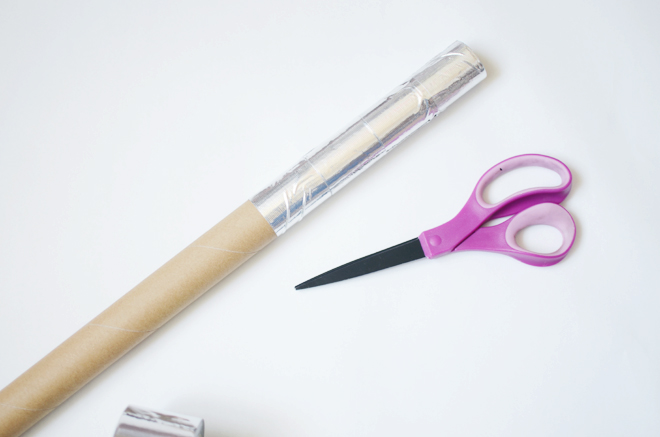
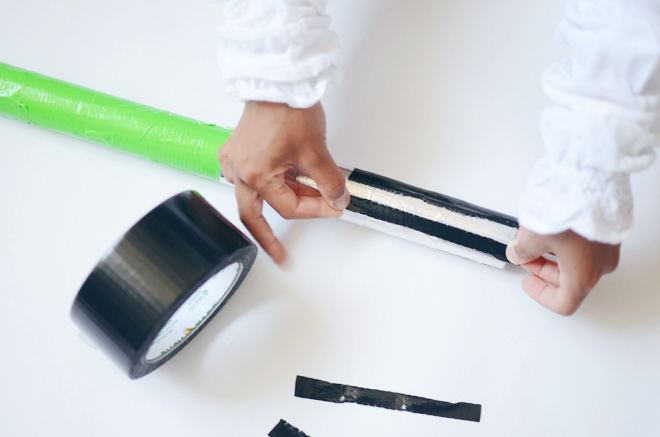
1. Wrap the base of the roll with the silver duck tape to make the lightsaber handle. Cut a strip of duck tape and wrap around. We used for 4 strips to make the handle of the lightsaber.
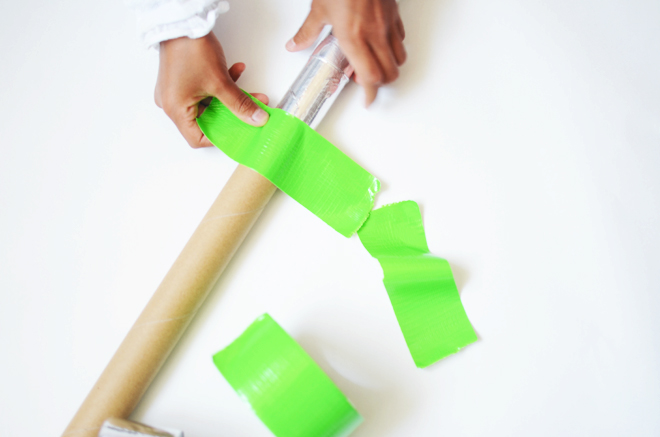
2. For the rest of the roll, cover completely with the duck tape color chosen for the blade. Lightsabers blades typically come in green, blue, red, and purple.
3. Cut out 5 thin strips of black duck tape, and space them out on the bottom of the handle to create the lightsaber power cells.
4. Lastly, draw a black circle on the handle to turn on your lightsaber. Technically, this is called the “blade length adjust button”.
This is a project my girls came up with! They first made it about 3 years ago, before they had official lightsaber toys. It’s also one of the most frequently made things in our house. I always keep cardboard rolls for them to make lightsabers. They have plenty of duels with them, and you can imagine they eventually get bent out of shape, so then they make more. If you have little Star Wars geeks in your home, I think this is a craft they would definitely love to make! If you happen to catch this post on May 4th, the girls share a little Instagram video on how to make these lightsabers. Check it out here.
May the FOURTH be with you!


