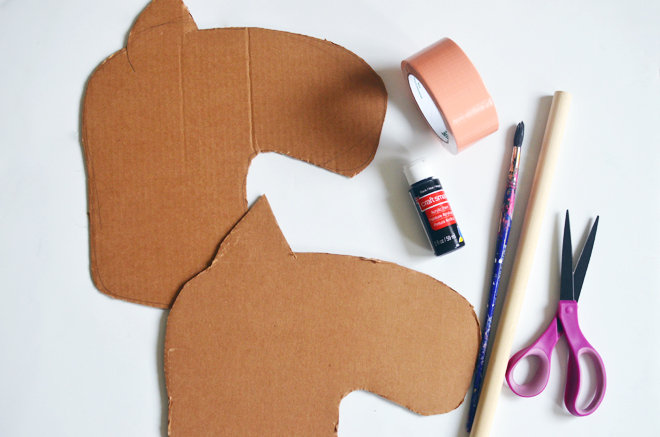
Supplies:
2 – 13″ x 13″cardboard
Paint
Paintbrush
Non-stick scissors
Duct tape
30″ x 3/4″ dowel
Hole puncher
4″ strand of yarn
Jingle bell, optional
 Directions:
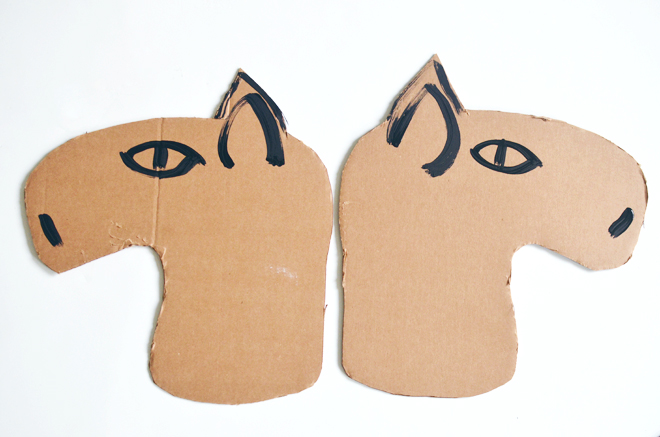
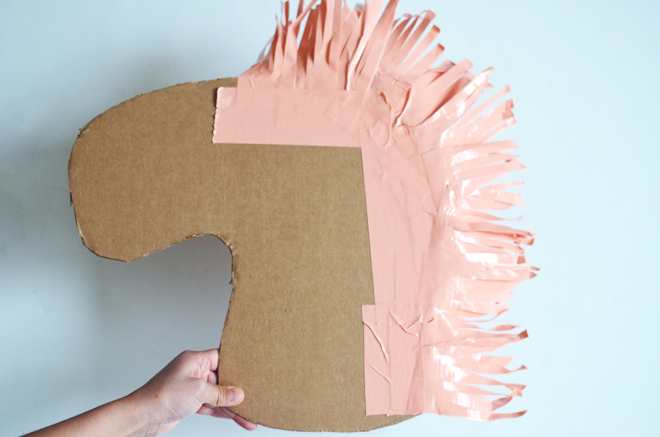
1. Draw your horse head and cut out the two horse head pieces. Paint the nose, eyes, and ears on one side of each head. Allow paint to dry completely.
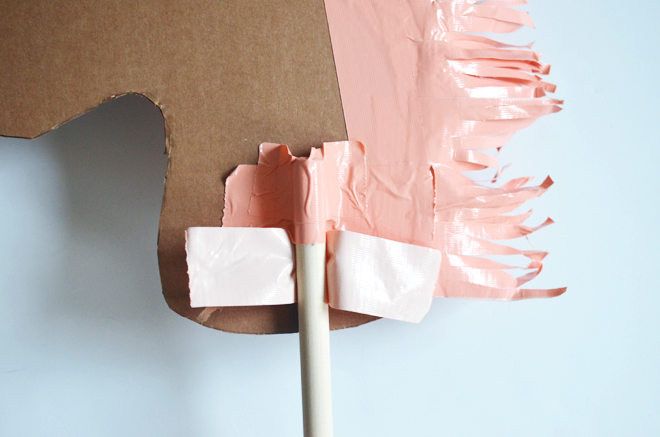
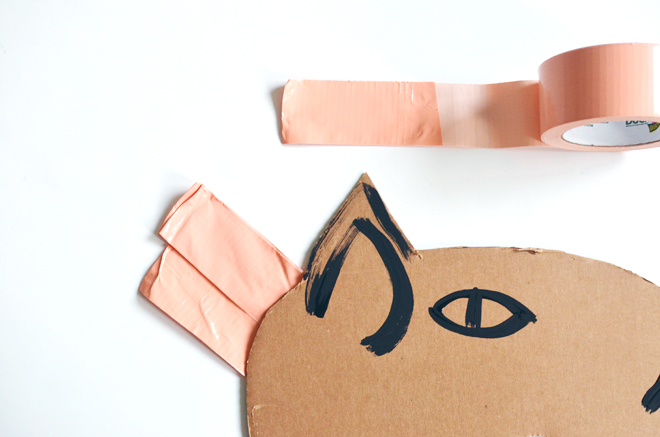
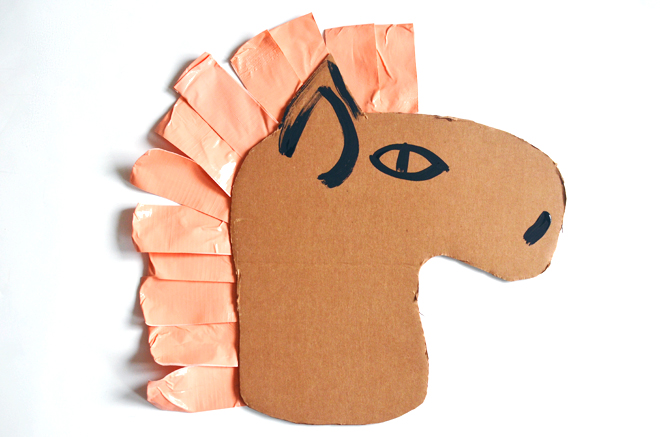
2. Cut out 10″ – 12″ strips of duct tape, fold over, leaving about 3″ of tape expose to attach the inside of each horse head. Continue until the amount of hair desired is attached onto the inside of both horse heads. Add additional duct tape on the inside to secure. Then, cut 1/4″ slits lengthwise on each duct tape piece to get the hair effect.
3. Tape the top 5″ of the dowel to the bottom center of the inner horse head cardboard piece. Place one strip of 6″ tape attaching the dowel to one head piece, and then attach another piece of duct tape attaching the dowel to the opposite horse head. Press the tape firmly in place.
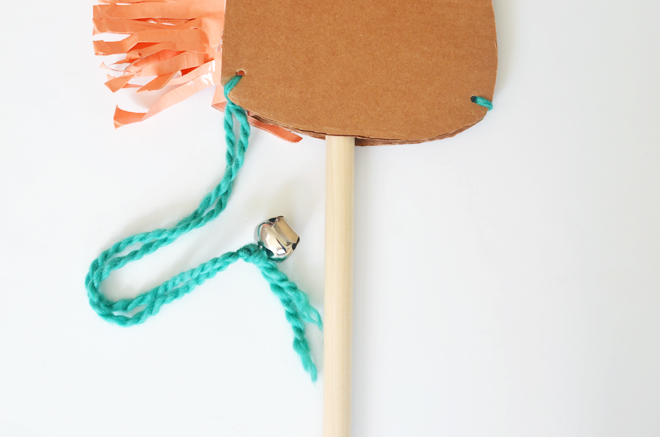
Punch holes on the bottom front and back of the horse head. Attach the yarn through the front holes of the head, and knot together tightly to secure. Bring the yarn to the holes in the back of the horse head and knot again as taut as possible. Knot the ends of the hanging strand of yarn together, and add a bell.
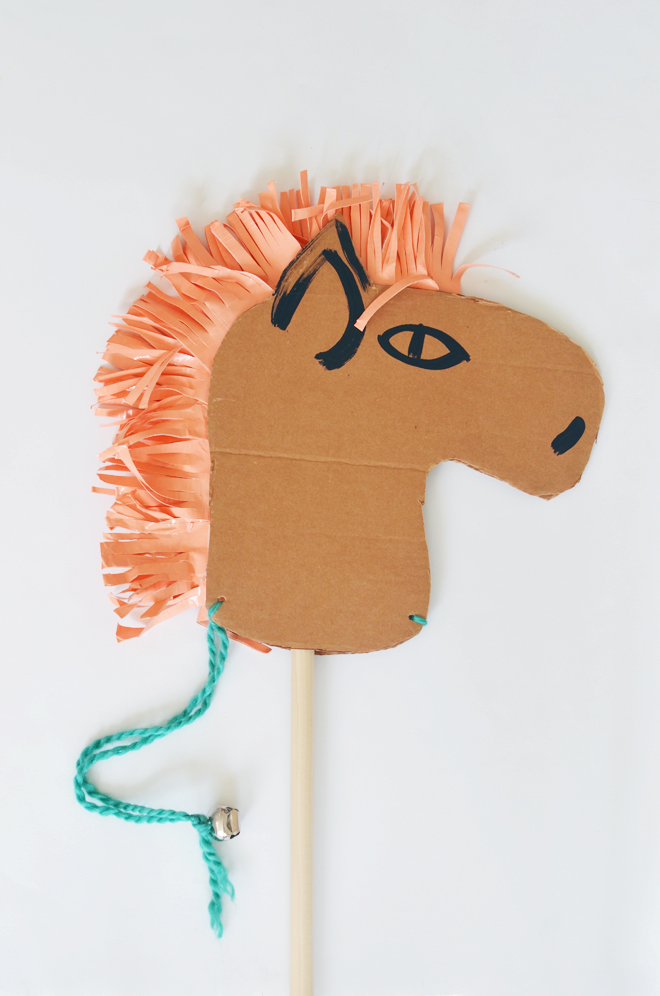
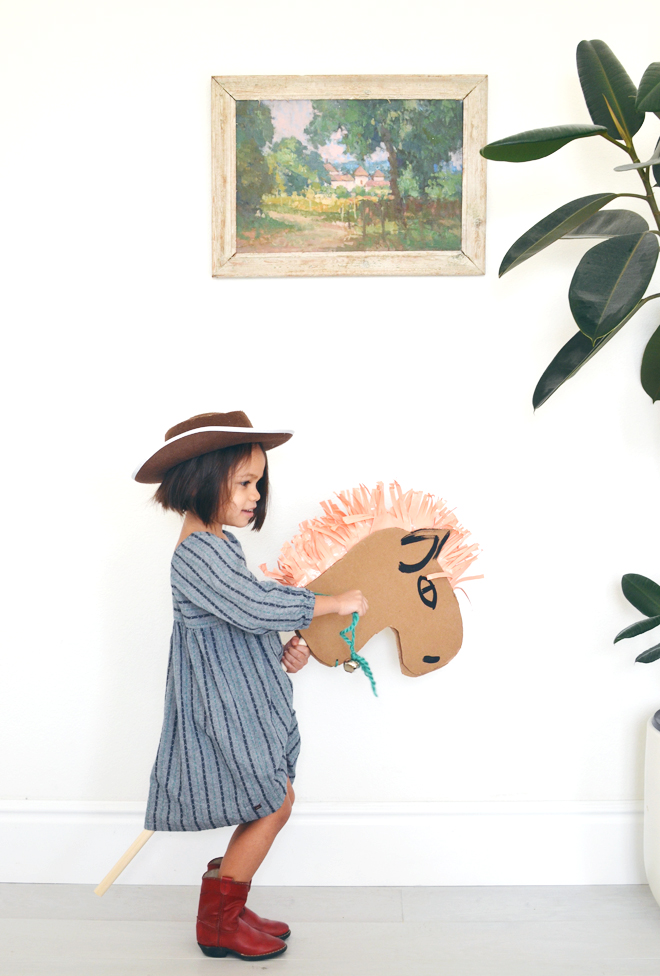
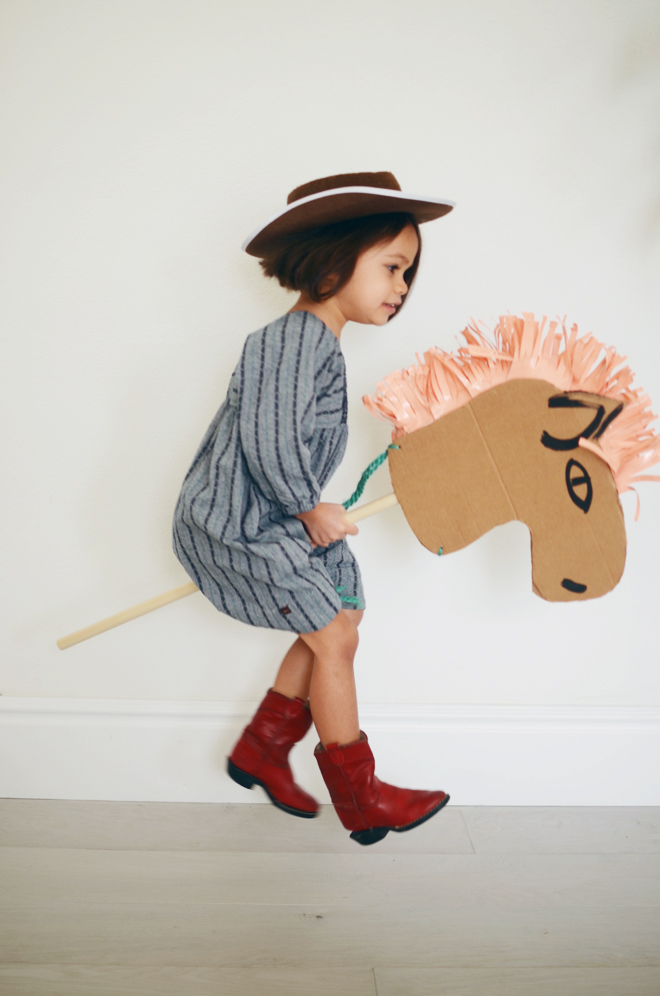
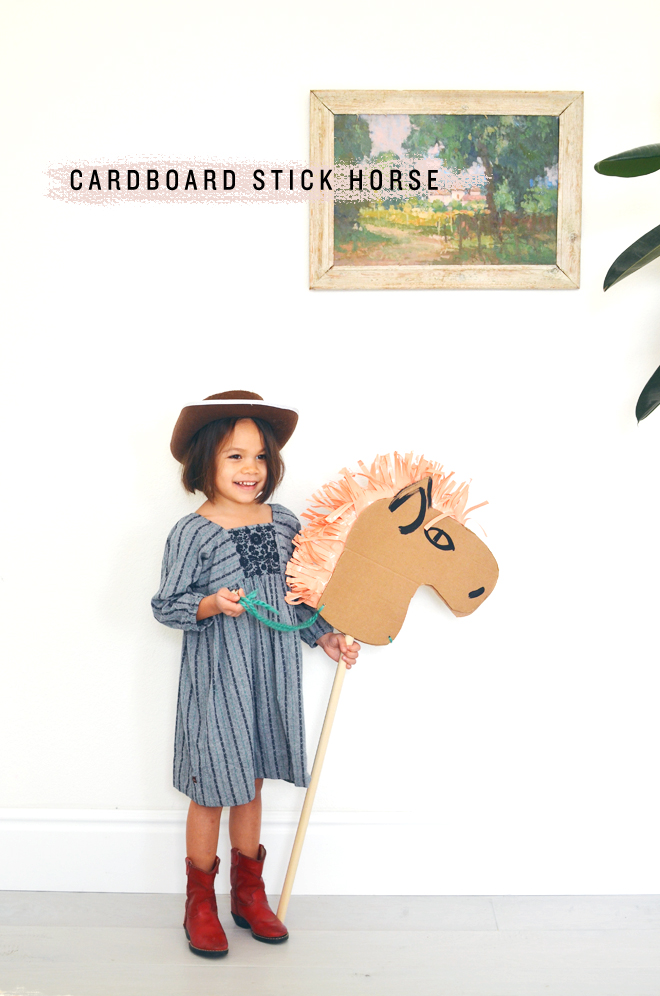
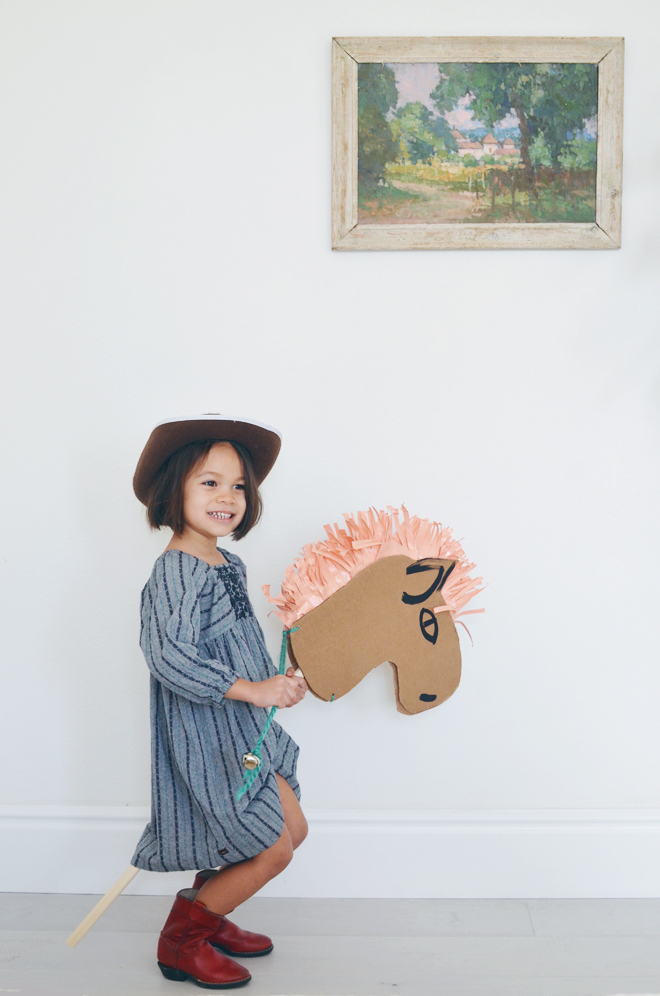 We’ve had a couple days of play with it, and the head has stayed securely on, though it may need a new piece of tape eventually. We’ve had lots of indoor play lately with all the rain we’ve been getting, so this little horsey has come in handy. Plus, it’s great to be able to recycle and make something together.
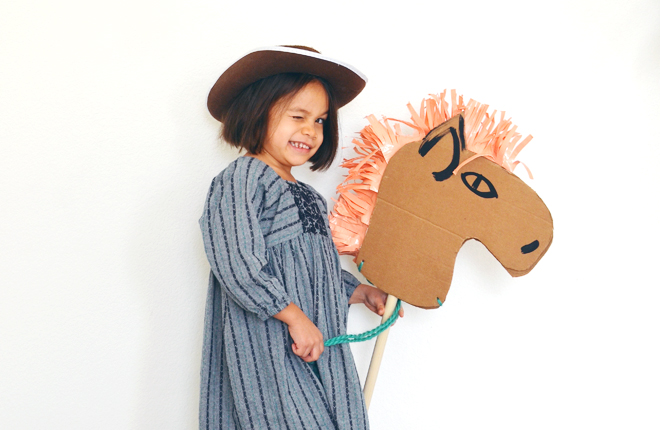
Glow is such a little ham and you can see a little bit of that silliness in her winking picture. She kept saying, “Mommy! Get me winking! Get me winking!” So we got it, and she giddy-up-ed away.







She is SO precious, Ruby! Love that she’s the star of this post. 🙂
She’s my itty baby forever. 🙂