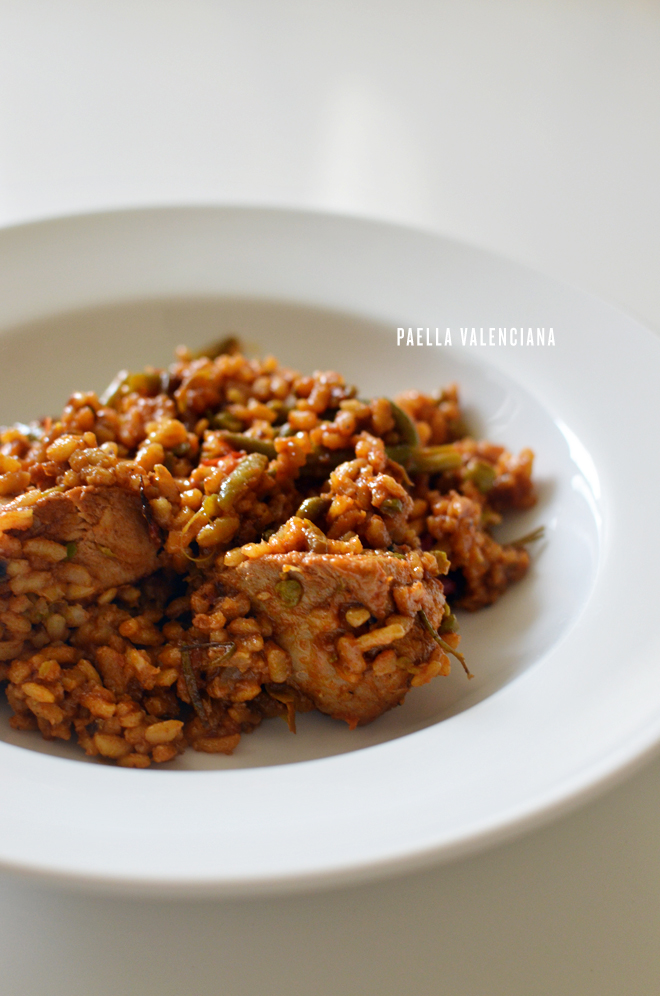
reader’s recipes: paella valenciana

December 7, 2012


paella valencianaPaella Valenciana

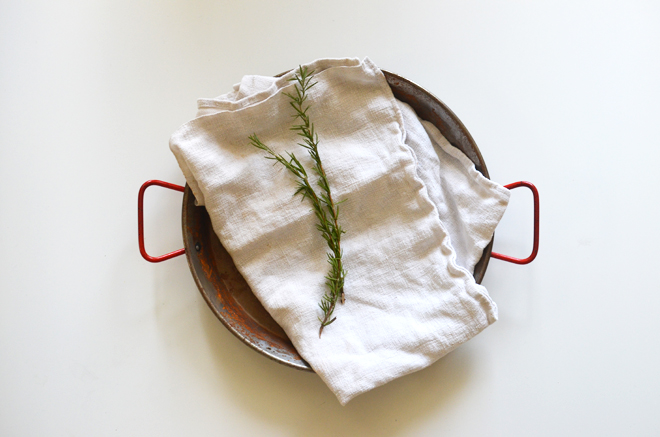
Of course for paella, you need a paella pan.

The rest of the ingredients:
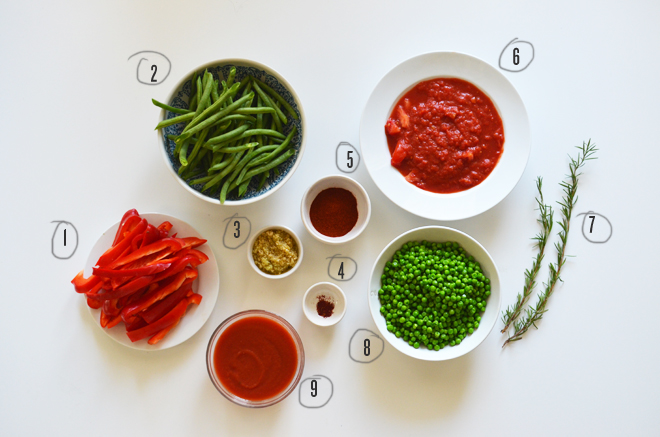
1. 1 large red and 1 green bell pepper cut into strips (we did two red bell peppers instead)
2. 1/2 to 1 lb. fresh green beans trimmed
3. 3 to 4 tbsp. chopped garlic
4. 1 large pinch of saffron threads (crushed with your fingers)
5. 2 tbsp. Spanish paprika
6. 1 – 14 oz. can of diced tomatoes drained
7. 4 to 6 fresh rosemary sprigs
8. 2 cup peas
9. 1 – 6 to 8 oz. can of tomato sauce
10. 5 to 8 skinless chicken thighs cut-up in thirds (we used about 4 chicken breasts cut up into fourths) – not pictured
12. 16 oz. (2 1/4 cups) California pearl rice (We used arborio, but just make sure not to use long grain.)
11. 1 cup or more of olive oil or canola (We used 1/2 cup of extra virgin olive oil, which is not recommended because it leaves a burned taste, but the reader who recommended this said she uses it and it comes out fine, and so we did too and we think it came out fine.) – not pictured
12. Cold water to cover – not pictured
paella valencianapaella valencianaDirections:
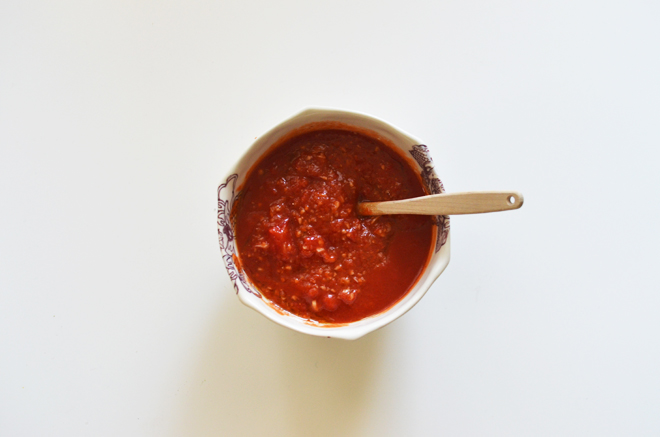
1. First, mix together diced tomatoes, tomato sauce, and chopped garlic and set aside.
paella valenciana2. Put oil in paella pan, wait until it gets hot, otherwise chicken will stick to pan more. Sprinkle some salt in outer edge of pan so that pan doesn’t burn as much.
3. Place chicken pieces in when ready, sauté for about 10 min or longer stirring frequently until chicken is medium brown. The longer you cook it, the tastier it will be at the end.
4. Next add pepper strips, peas, and green beans. Keep stirring and cook about 10 minutes or so, until they get a little limp. Once again, the longer you cook it the more “fond” you get at the bottom of the pan, which gives you the best taste results.
5. Add tomato mixture, stir a few times to mix in well, add paprika (paprika burns very quickly and it turns bitter when burned), so stir only 2 or 3 times and have your water ready to add immediately, add enough water to reach to 1/2 inch from top rim of pan.
6.Bring to boil, add saffron threads and salt to taste, add rosemary sprigs and boil for about 10 min. If after 10 min a lot of water has evaporated, add a little more. Never add water once you have added the rice, it makes it pasty.
7. Adjust salt, now you are ready to add the rice, distribute throughout the pan and don’t stir to much.
8. Boil on high the first 10 minutes, reduce heat to medium and cook another 10 more minutes. Rice takes about 20 minutes. to cook. It might take a little practice, but at the end of the 20 minutes, your broth should be gone and your rice cooked in give or take 3 to 5 min. Once cooked, let rest about 5 minutes. Serve with raw sweet onion wedges if desired.

This is the traditional, authentic paella, but for a variation add raw large shrimp on top of the rice during the last 5 minutes of cooking.
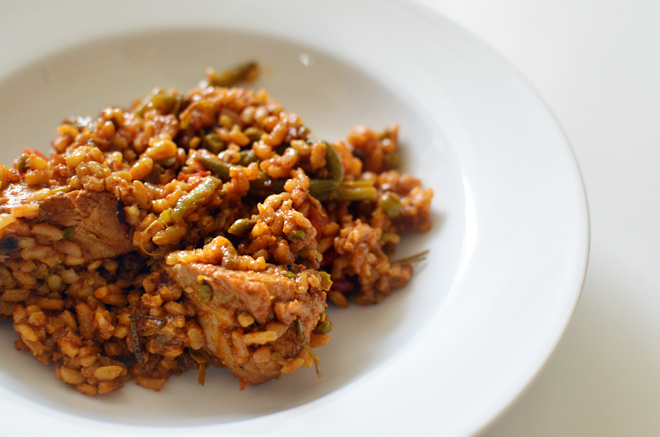
paella valencianaThis recipe is from Jordan, whose mother-in-law is from Valencia, where paella first originated. Therefore, this recipe is the real deal folks. She was wonderful enough to share it with me , let me try it out, and now share it with you. Traditionally paella is cooked over a large fire and Jordan commonly cooks this with her husband every summer over a campfire, but we don’t have a fire pit and while I was originally going to try it out in the oven, I ended up putting it over two burners on our stove and that seem to be good enough. I would rotate the paella pan around to make sure it was getting evenly cooked.

The recipe came out delicious. I went light on the salt while it was cooking, so we had to add some after it was done, and next time I will be much more generous with the salt. We used chicken breast instead of chicken thighs, and my only mistake was I added more rice than it called for. That was an accident. It took a bit longer to cook because of that and I had to put a little bit more water. Other than that, it came out fantastic. We were really loving the flavors! Also, I have to admit, since we’re spicy lovin’ people, we sprinkled on some red pepper.

Thank you Jordan for sharing this absolutely scrumptious recipe! If any of you have any recipes to share, please do let me know. I want to try and make one of your family favorites too! Wanna see other reader’s recipes? Check out the Vietnamese Pho here.

*Make sure when you clean your paella pan afterwards, don’t let it air dry. We made that mistake the first time, and the whole pan instantly became rusty. I had to put a lot of muscle into it to get rid of that before using the pan to cook in again.

DIY: tear-it-out advent calendar

December 6, 2012


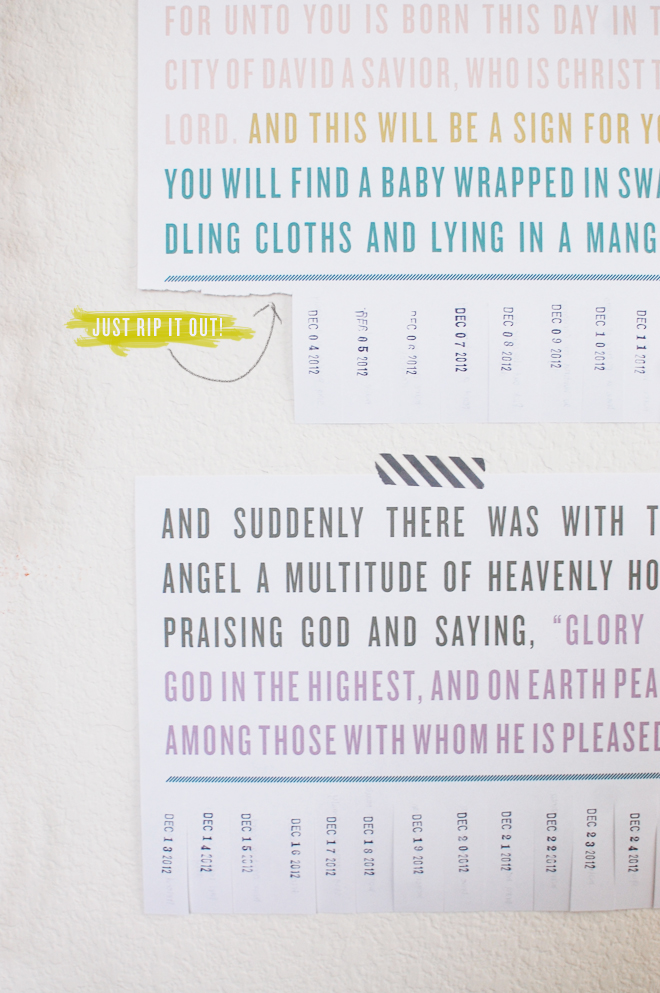
DIY: tear-it-out adventDIY: tear-it-out adventDIY: tear-it-out adventDIY: tear-it-out adventDIY: tear-it-out adventDIY: tear-it-out adventDIY: tear-it-out adventDIY: tear-it-out adventI am going to be honest. We have an advent calendar up every year and we’re horrible at being consistent about it. Heck! It’s December 5th and we just started. And I can almost guarantee that we’ll forget some other days along the way too or decide to do things out of order. That’s just the way the cookie crumbles over here.

Supplies needed:
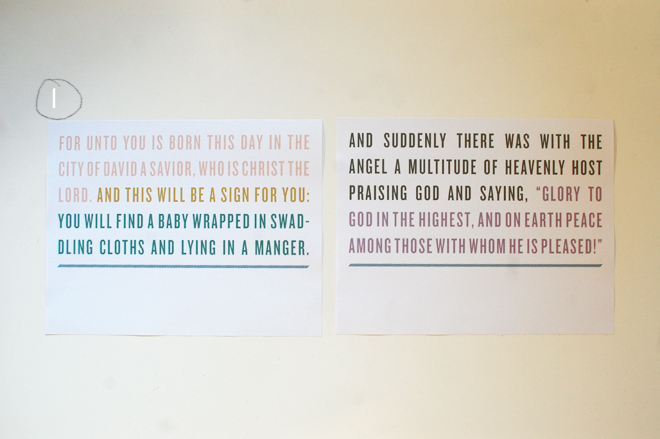
– Advent 1 and Advent 2 print outs (choose actual size when you print)
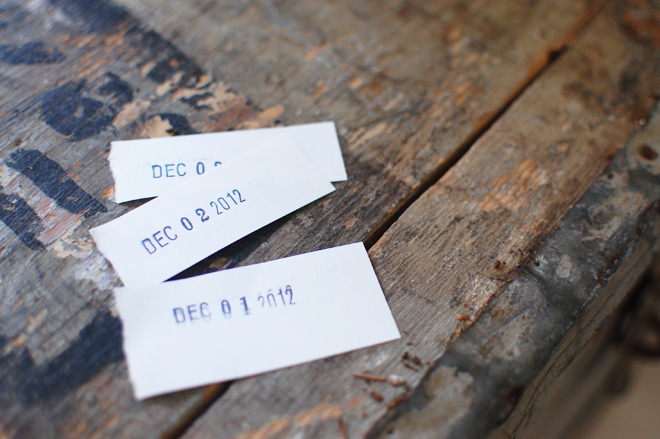
– Date stamp
– Stamp pad
– Scissors
– Pen
– Lots of little activities to write down

Directions:
1. Print out advent pages. Or you can make your own pages with your own Christmas sayings or verses.

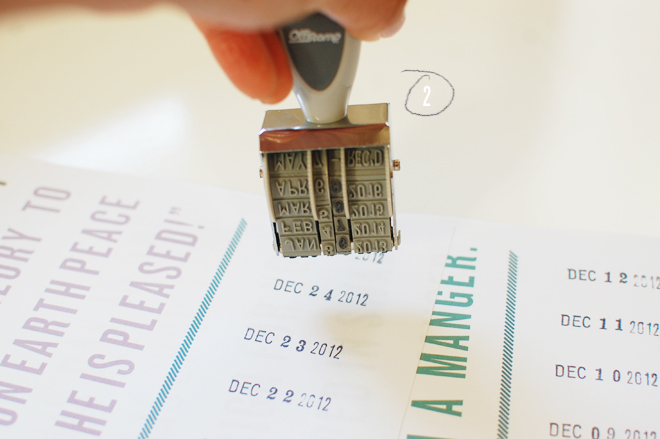
2. Stamp the dates onto your pages. One page will have 12 and another will have 13 if you go up to December 25, or you can just go to the 24th and have 12 on each page.

3. Cut slits to make it easier to tear out each day.

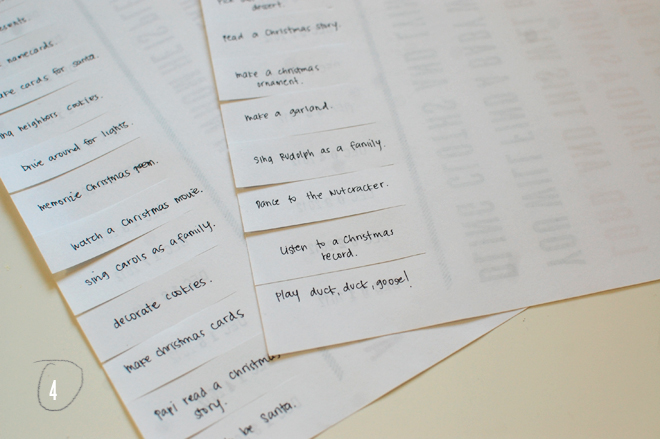
4. Write your activities on the back. Ours are pretty easy and simple things.

When you have it all written down, just find a place to tape it up! If you don’t have kids yet, maybe you could use each day to leave a sweet little message for your special person. I think 25 days of special messages make a great Christmas gift!

I’ve seen tons of great advent calendars out there. I love how engaging Rachel’s are. This one is so funky cool and colorful! This one is a kid’s dream come true with all the pretty treats! And I love how whimsical this one is. Do you do an advent calendar? If so, what do you do? Or do you tend to miss out a few days like we do too?!


DIY: chenille stem shiny garland

December 5, 2012


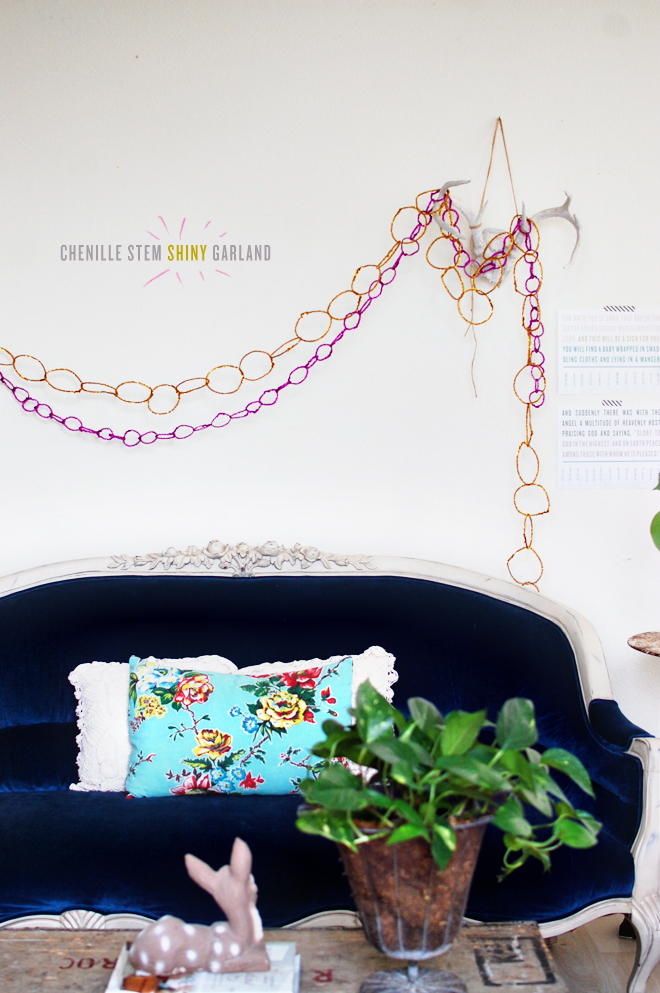
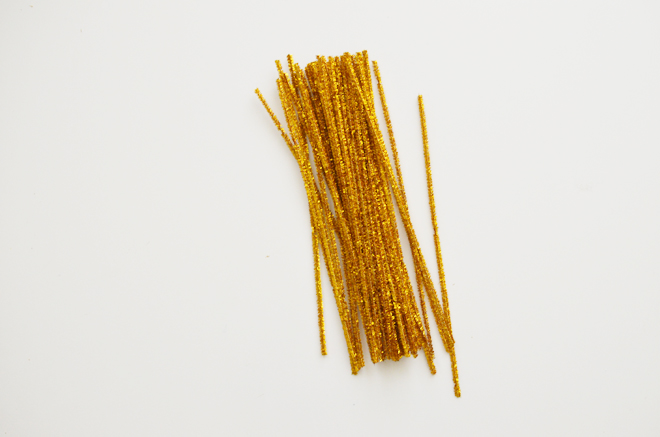
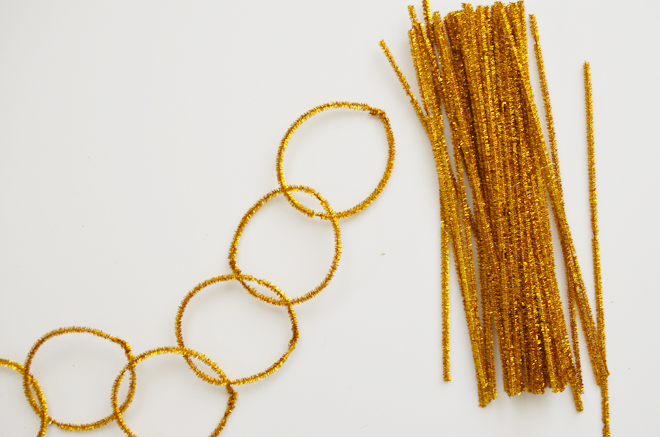
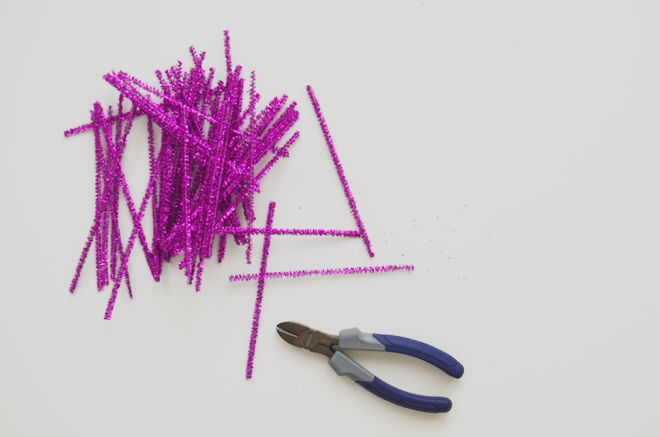
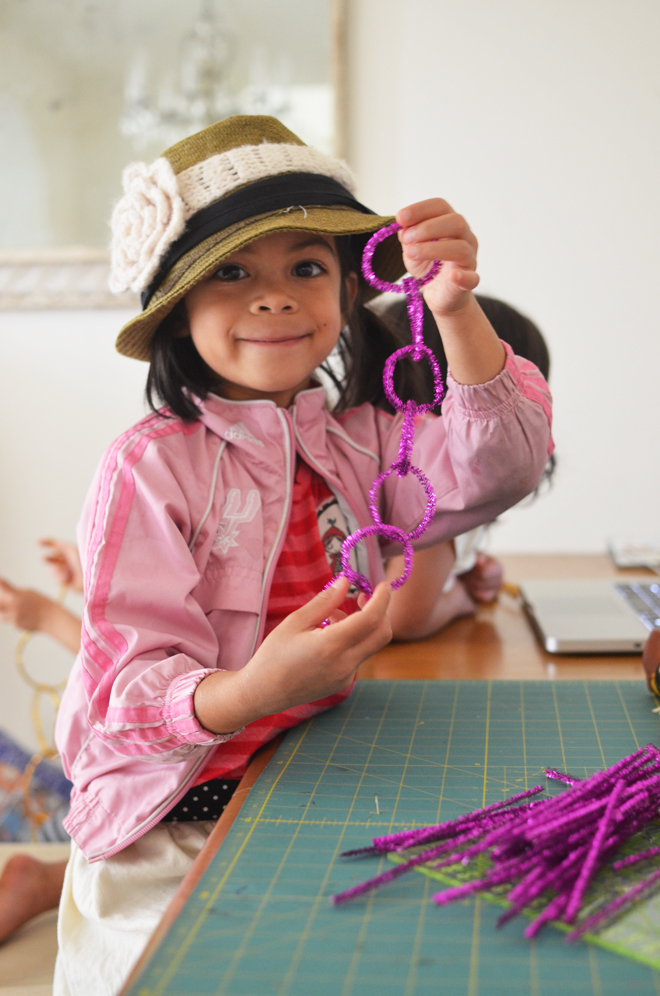
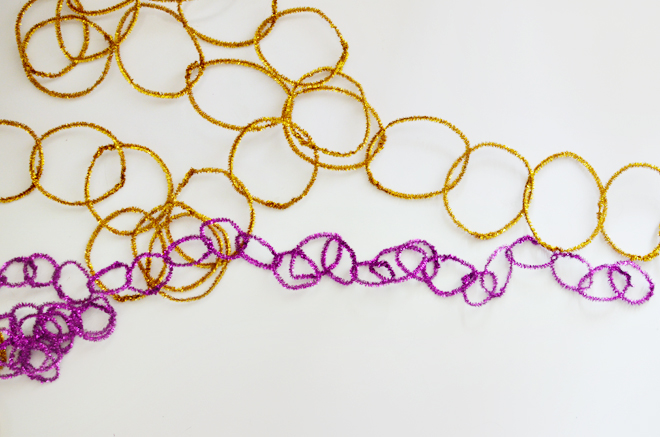
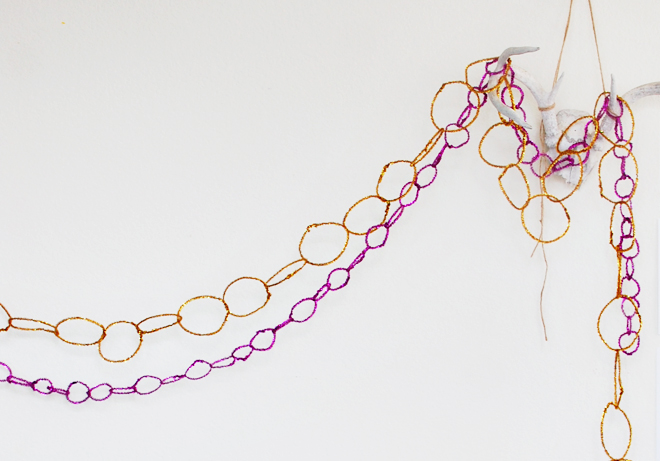
DIY: chenille stem shiny garlandDIY: chenille stem shiny garlandDIY: chenille stem shiny garlandDIY: chenille stem shiny garlandDIY: chenille stem shiny garlandDIY: chenille stem shiny garlandDIY: chenille stem shiny garlandI was totally inspired by this tinsel garland from anthro and figured a similar look could be recreated with chenille stems. So I picked some up one day, cut a bunch in half with a wire cutter and left another bunch in its full length, then the girls went to town making them. Just connect the ends together to form a circle, twist the ends together, and loop another stem through. It adds a bit of shimmer and I’m thinking of stringing up lights along with them to add a bit more sparkle. I’m thinking of picking up more chenille stems in some other sparkly colors because it is such a fun and easy decorating project for the kids.

This was the first of any sort of decorating we have done, and maybe soon we can actually get to the tree. The days of December are dwindling fast, so we better hurry up. If you want more decorating ideas, here are some we have done in the past… yarn ball ornaments, handmade tree topper, snowy Christmas scene, and a ticket chain.


their gifts to soul

December 5, 2012


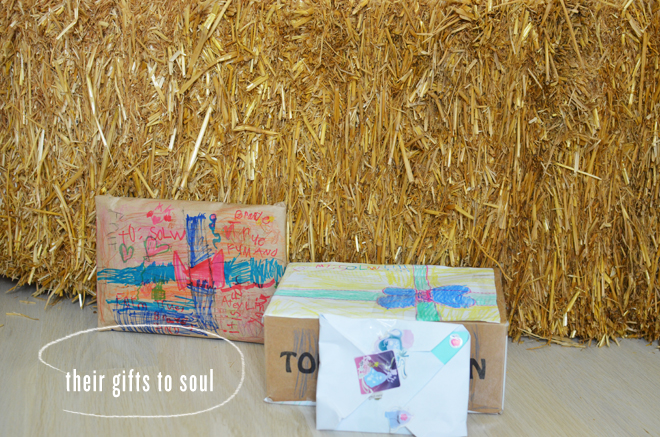
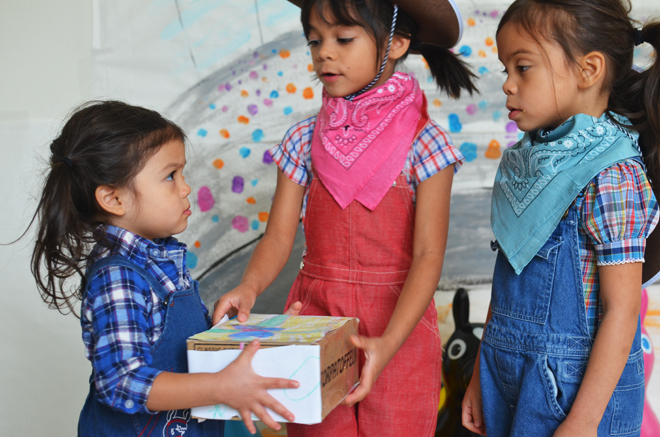
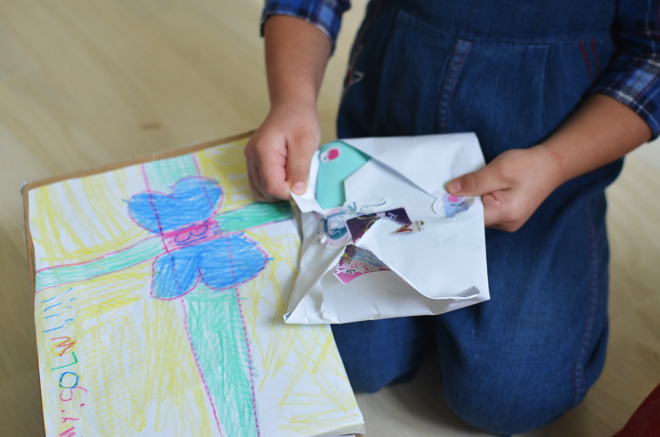
presents for soulpresents for soulpresents for soulpresents for soulpresents for soulpresents for soulpresents for soulThe big girls had little gifts they made for Soul that I thought deserved its own post. It was so cute because the night before True stayed up working in her closet, with the door closed, making stuff for Soul. We had no idea what. She did come downstairs and asked us to help tape up the box for her present. Ben and I were smiling and giggling about how cute she was being about it.

True said, “I even made her a card.”

I replied, “What did you say?”

She said, “It is the sweetest message, but I can’t remember.” These are heart melting type moments.

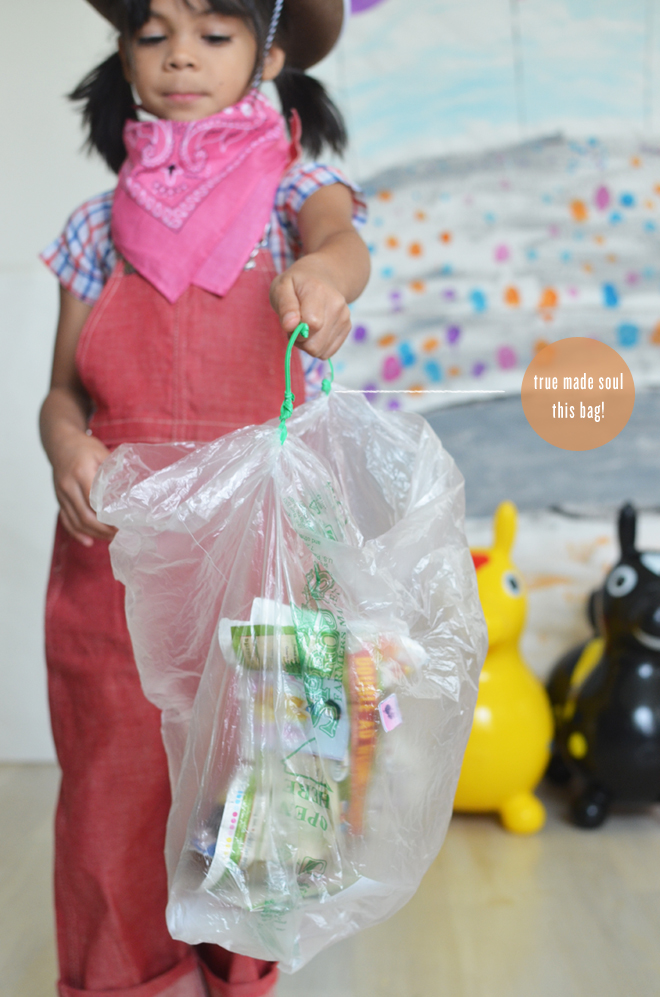
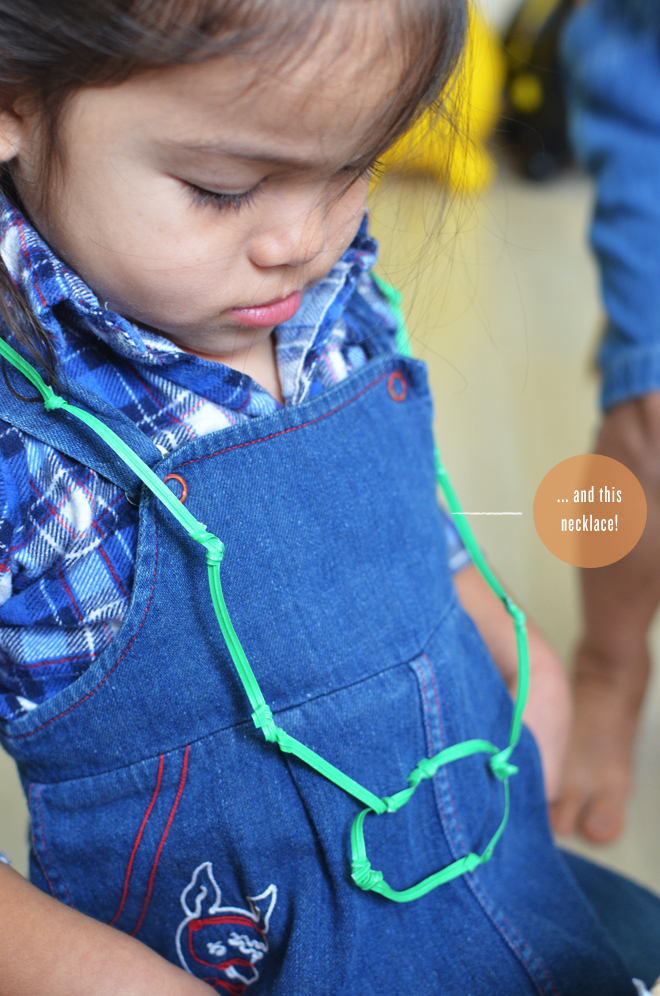
The next morning, during Soul’s Rody-O party, they presented Soul with her presents and True made her a bag and necklace! So cute! As you can see, they were made with normal things around the house, but she was so resourceful in how she made them. That girl is so clever! I feel like I may have a future craft blogger on my hands.

I like seeing my girls be thoughtful to one another. They do plenty of fighting, but they do plenty of loving things too.


Soulie’s Mini Rody-O Birthday!

December 4, 2012


soul's 3rd birthdaysoul's 3rd birthdaysoul's 3rd birthdaysoul's 3rd birthdaysoul's 3rd birthdaysoul's 3rd birthdaysoul's 3rd birthdaysoul's 3rd birthdaysoul's 3rd birthdaysoul's 3rd birthdaysoul's 3rd birthdaysoul's 3rd birthdaysoul's 3rd birthdaysoul's 3rd birthdaysoul's 3rd birthdaysoul's 3rd birthdaysoul's 3rd birthdaysoul's 3rd birthdaysoul's 3rd birthday
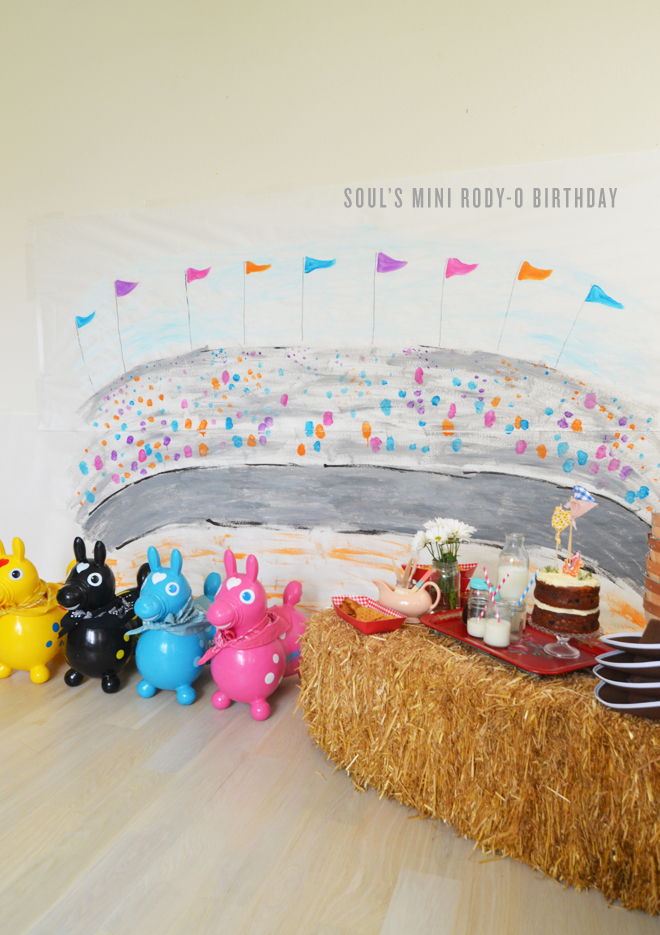
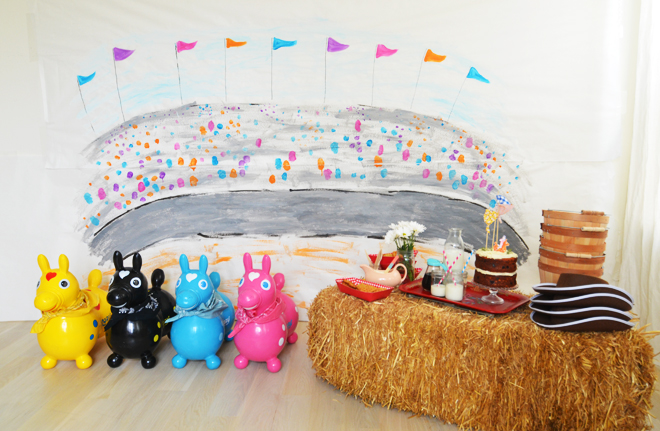
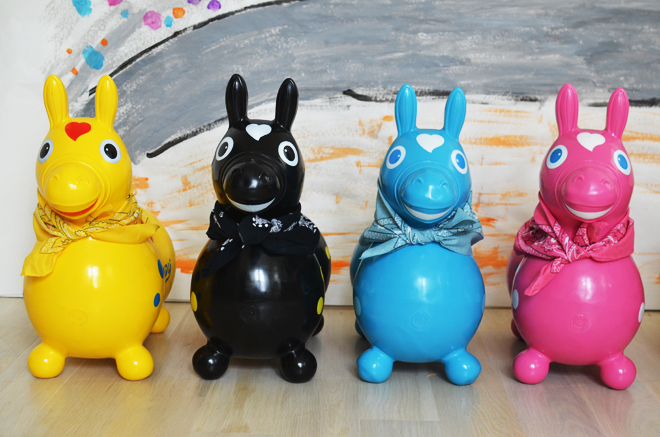
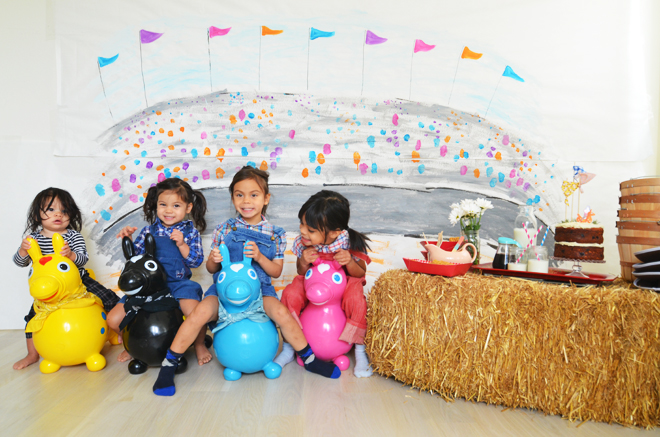
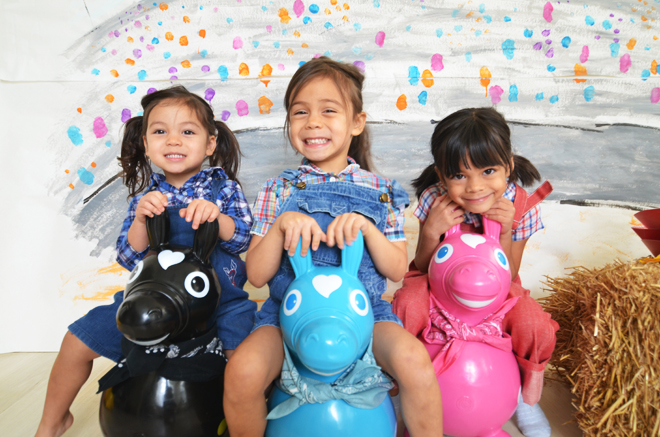
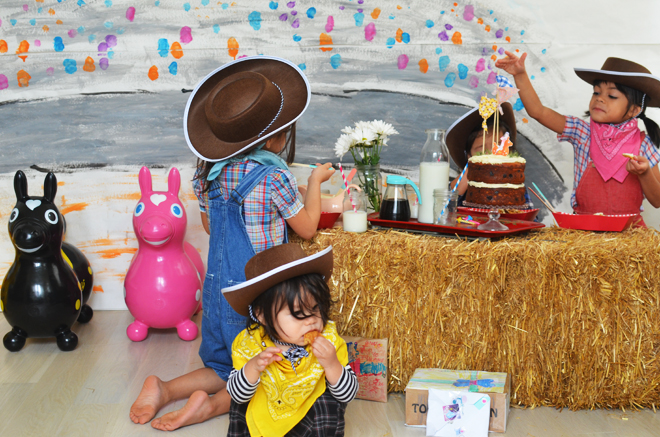
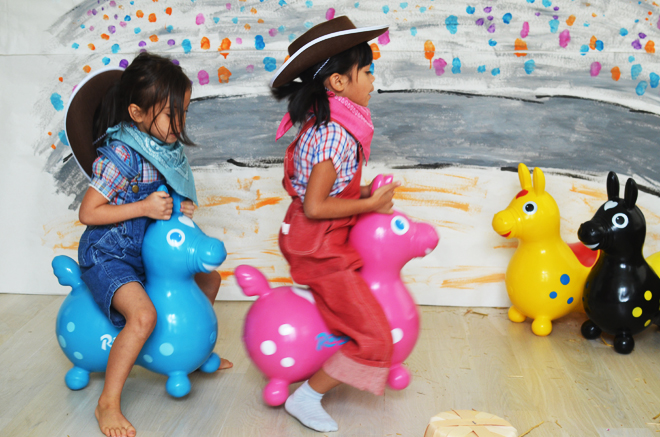
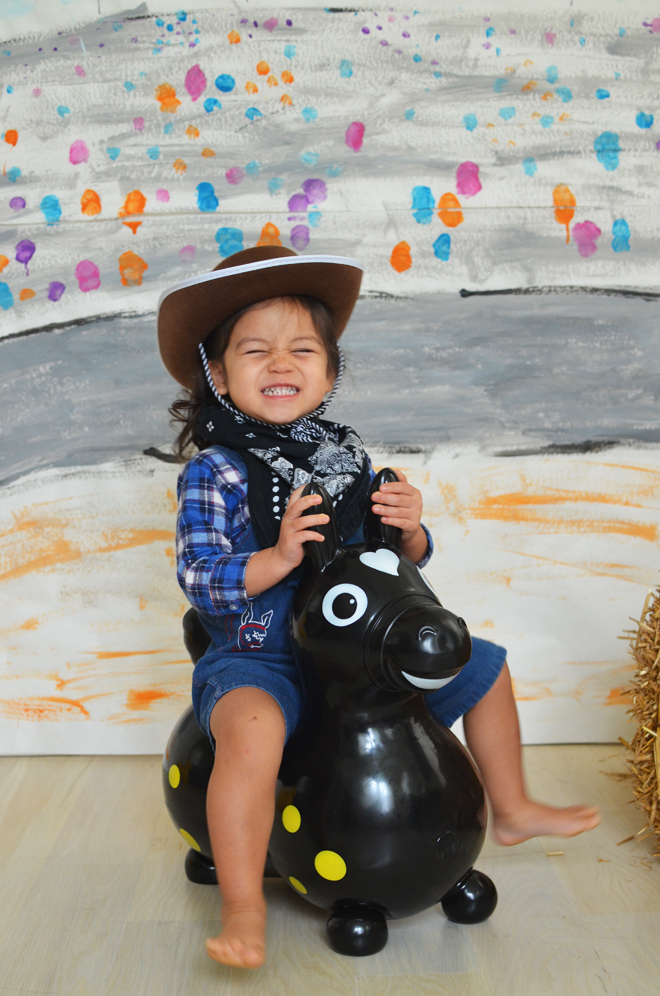
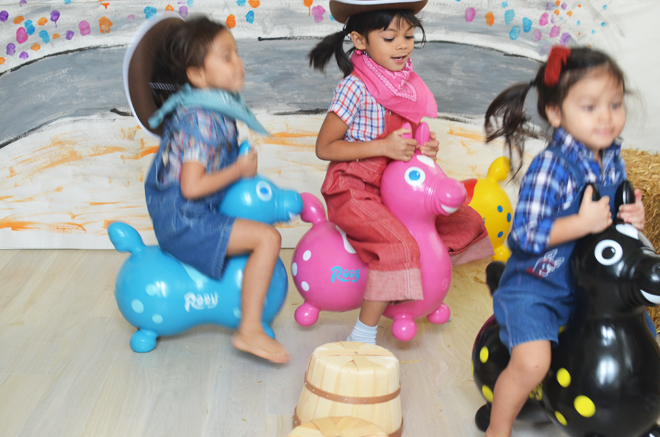
Soulie’s 3! Glow got a Rody for her birthday and ever since then, all the girls have been loving it. If you never heard of a Rody, it’s a little bouncing horse for kids. When we asked Soul what she wanted for her birthday, she said she wanted her own Rody. We showed her a picture of all the colors and she picked black. Thus, we knew throwing a mini rodeo was the perfect plan to celebrate her turning 3!

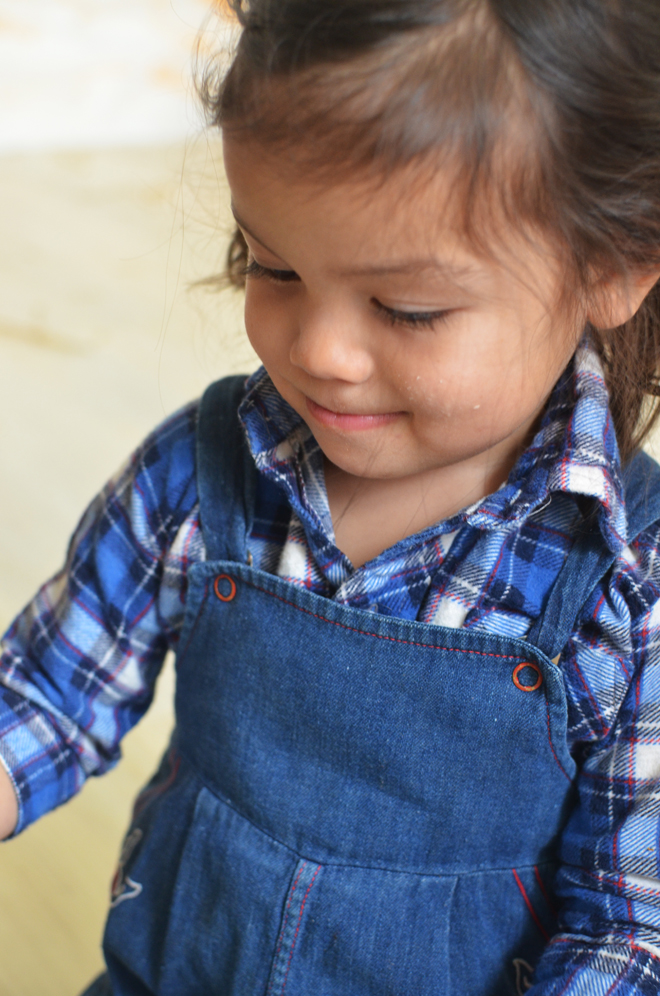
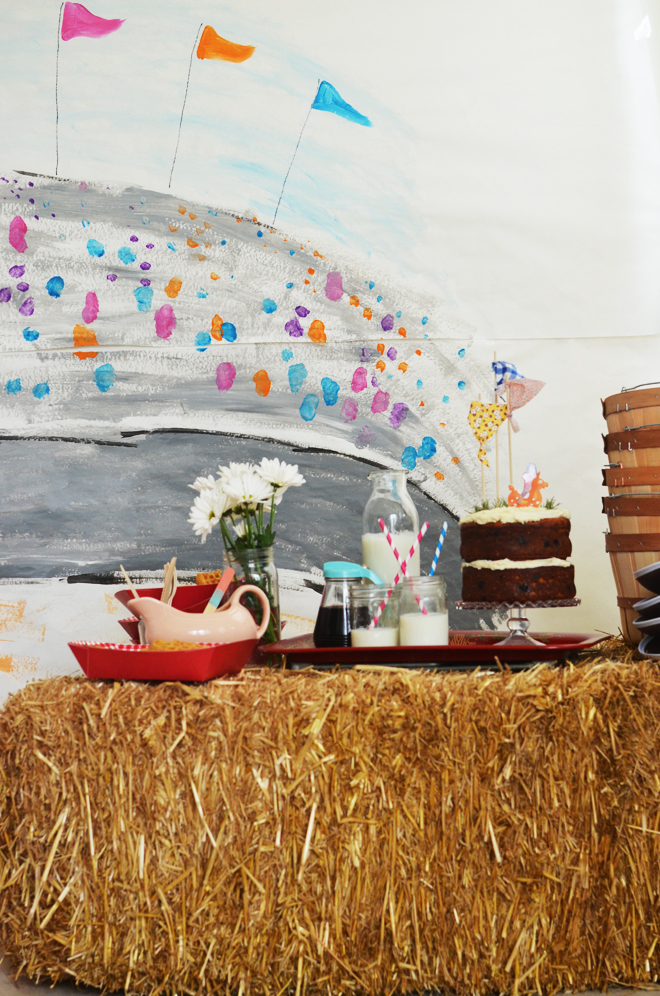
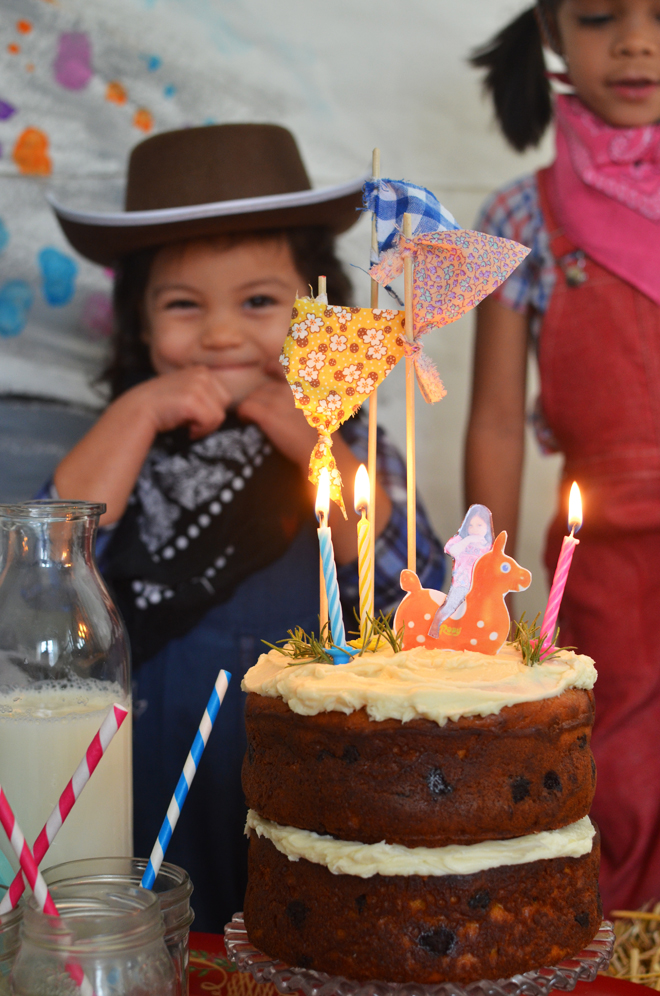
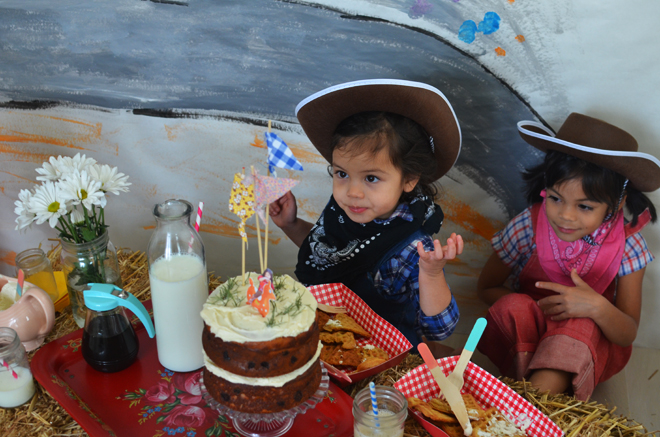
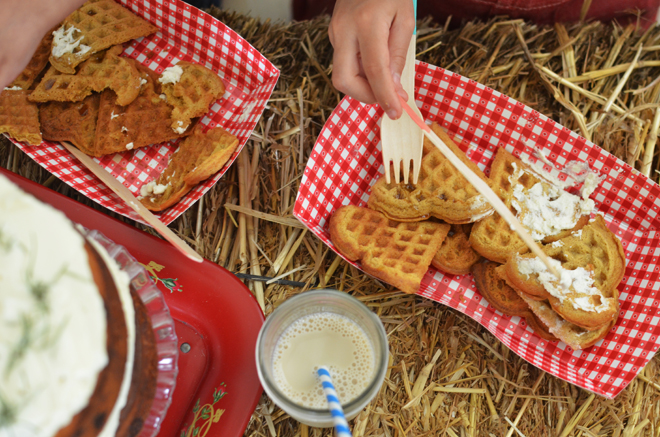
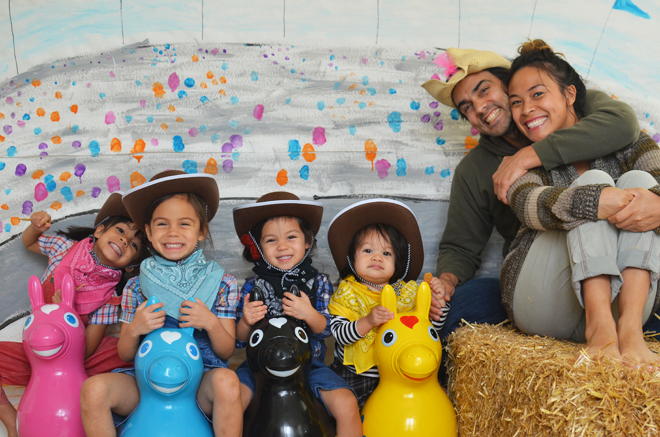
Ben and I got up early to prep her mini party, since it was in the morning, we broke tradition and she didn’t get breakfast in bed. We made waffles, I finished making the cake, which I started the night before, and did the party decorating (the backdrop was painted the night before). Then when the girls woke up, we let them watch a little something just until our little surprise for her was ready. We got all the girls dressed up in our closest rodeo attire, I found Soul’s vintage overalls on etsy and I knew that little Rody-ish looking character would be perfect for her birthday outfit.

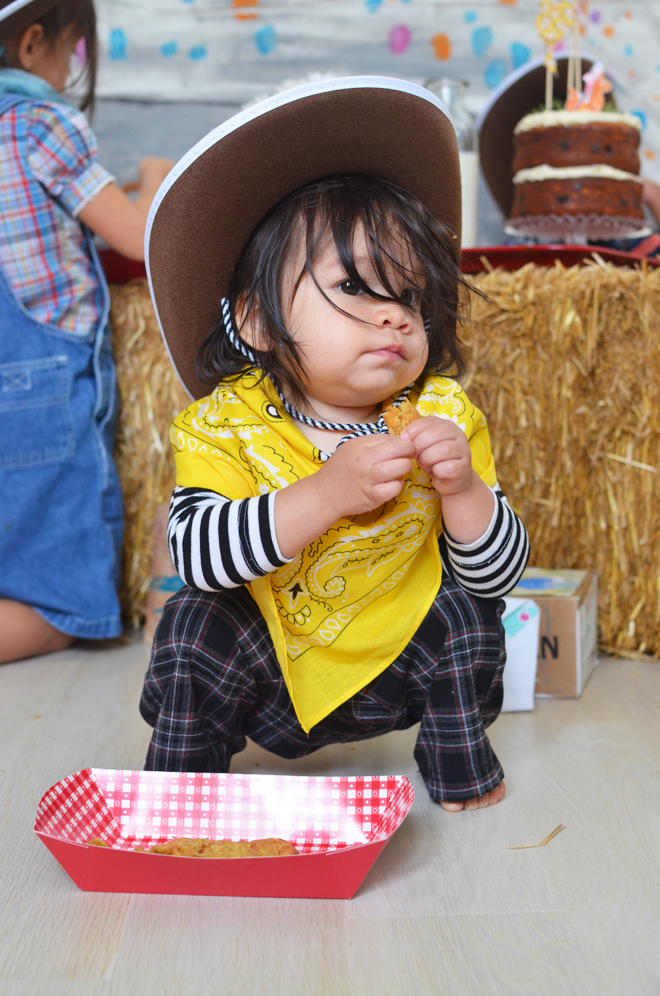
Soul was so happy to finally get her black Rody! The big girls were super excited that even they got surprises! Glow could care less about anything and all she wanted were the waffles. They got little cowboy hats, coordinating bandannas, and then we got the party started. We served them some pumpkin waffles (thanks to the Trader Joe boxed mix) with whipped cream and syrup (we loaded up on that sugar!). Of course Soul got her Happy Birthday sung with a pumpkin and chocolate chip cake. That girl loves all things sugary so I knew this was all right up her alley.

After they ate, we set up a little obstacle course with some little baskets and the girls got on their Rodys and were bouncing around racing each other. Glow still didn’t care about that and just kept on eating waffles. It was a good morning of celebrating and Soulie was one happy little cowgirl.

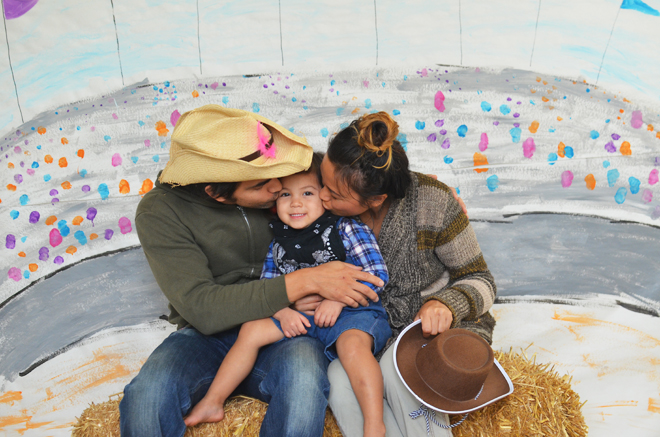
I can’t believe my little Soulie is 3! Or as she says, “Fwee!” She’s a firecracker and someone else recently described her as the little ringleader. That sounds about right. She’s the moody one and you never know which Soul you’re gonna get… sweet or feisty! That little girl keeps all of us on our toes and we love her so much. Plus, how can we resist her big, little teethy smiles?! It’s so cute! Happy Birthday Soulie!!! We love you!!! 

where things are from: rodys, treehouse kid & craft (except the black one that was hard to find). bandannas, michaels craft store. hats, party city. milk jug, c/o addiah. syrup dispenser, vintage. overalls, vintage. hay, local farm. red paper food basket, michaels craft store.


huzzah!

December 3, 2012


TRUEWe just celebrated Soul’s 3rd birthday today. Praise Jesus for giving her and us another year together. In light of recent happenings to those close to us, I’m feeling even more grateful to God for every new day we all get together.

This week’s learned, links, and thanksgivings…

Glow is a funny little babbler. Oh and she LOVES brushing her teeth!

Soul was beaming so big this morning because she knew it was finally her birthday.

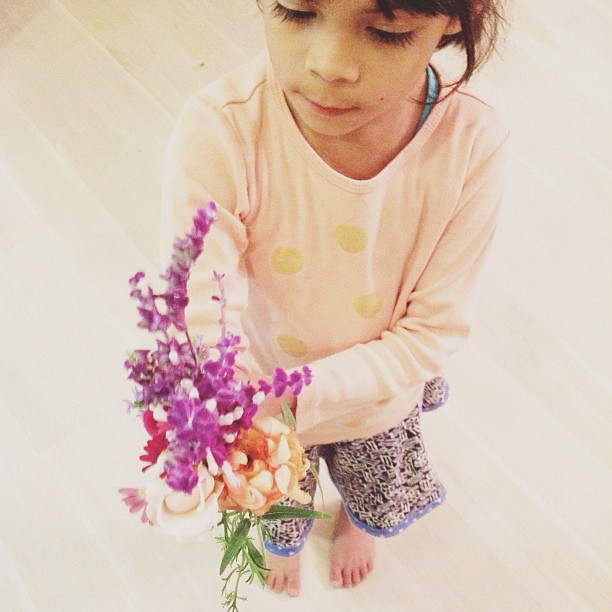
True’s definitely a little crafter. That girl is so resourceful in making things.

Totally want to make these baskets.

Inspired by Rachel’s zeal for Christmas decorating and her white Christmas tree. Seriously considering a white tree.

Misha Lulu’s little daughter is in this (The Grabbit) contest commercial. It’s so funny, so please vote for it! My girls keep asking to watch it over and over and over again.
Thankful that after losing my cellphone on February 16th, I finally have one again! YAY!!! Ben upgraded his iphone and I got his old one. Hello smartphone! Now, I can instagram (@rubyellenbratcher) on more than just from my ipad. HA!

Ben and I are addicted to The Walking Dead. We watched season 1, 2, and got caught up with 3 in two weeks. Right after 24, this is my favorite show. It’s so intense!

Thankful for the gloomy weather we have had lately. I love it!

Praise God that I survived taking all 4 girls to get their annual checkups together. It takes work to get them all out of the house, let alone a doctor appointment.

We still haven’t started decorating for Christmas. We better start soon because Christmas will be here before we know it. At least I’m done with Christmas shopping!!!


CAKIES
©
Design by Blog Milk