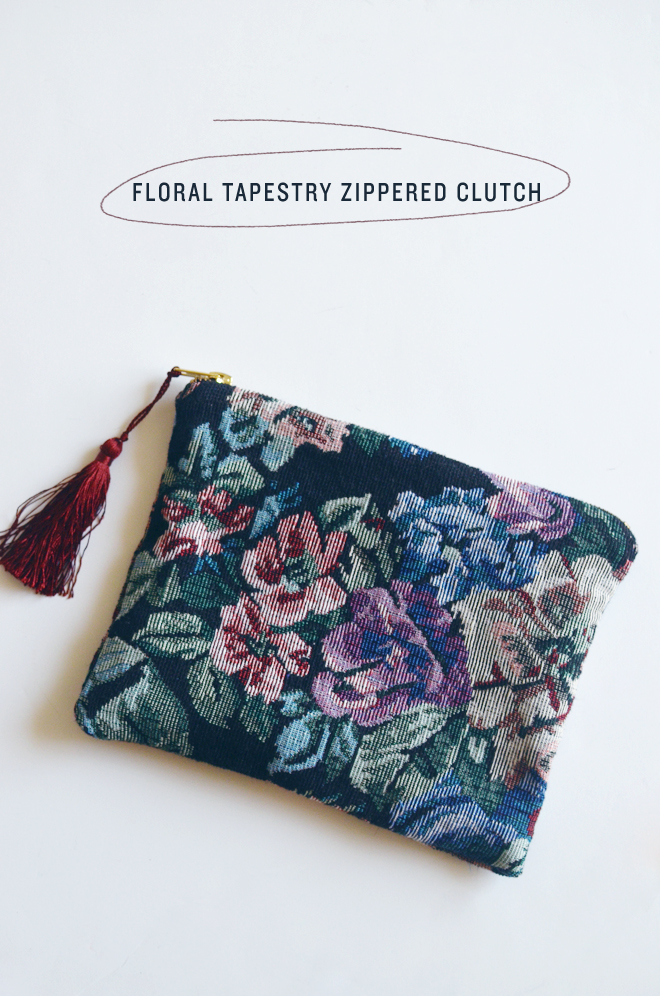
 Floral Tapestry Zippered Clutch
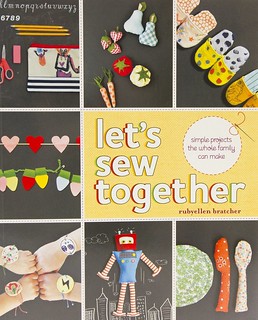
from my book, Let’s Sew Together
Supplies:
2- 7” x 10” exterior tapestry fabric pieces
2- 7” x 10” lining fabric pieces
10” zipper
Scissors
Coordinating thread
Sewing machine
Seam Allowance: ½”
Directions:
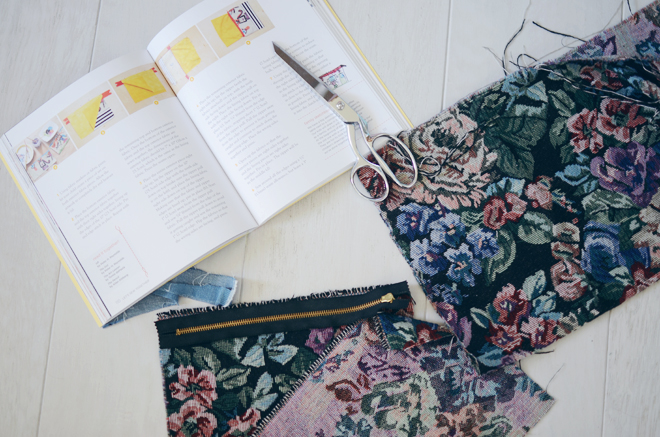
1. Place the exterior piece right side up, lay the zipper on the 10″ side edge with the teeth side down on top (make sure zipper pull is on the left), and place the lining fabric right side down on top of the zipper. Making sure that the fabric and zipper edges are lined up, pin in place. Start 1” away from zipper pull and sew ¼” from edge of fabric. Pull the zipper down to avoid it getting caught and sew the remaining 1” edge. Flip the fabrics so that the wrong sides are facing, and press.
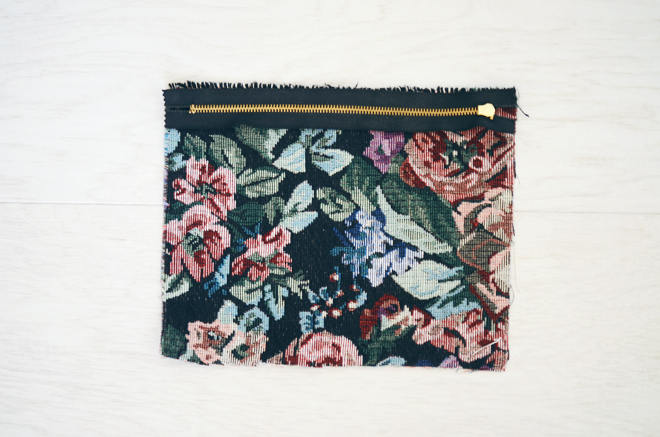 2. Place the remaining exterior fabric right side up; lay zipper (with the fabrics attached) on top, with the teeth side faced down and the zipper pull on the right. Place the lining fabric on top with right side faced down. Pin in place. Sew ¼” from edge of fabric, stopping short 1” from zipper pull. Pull the zipper away from the edge to prevent it from getting caught and continue to stitch along the remaining edge. Place wrong sides together and press.
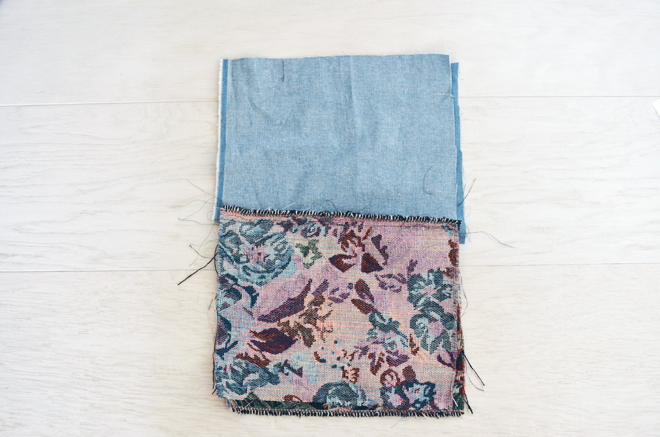 3. Open up fabrics so that the exterior pieces are right sides together and the lining pieces are right sides together. Pin in place. The zipper will be in the middle.
4. Sew around all the edges using a ½” seam allowance, but leave a 3” opening at the bottom of the lining fabric. Clip your corners to reduce bulk, but being careful not to cut the seam.
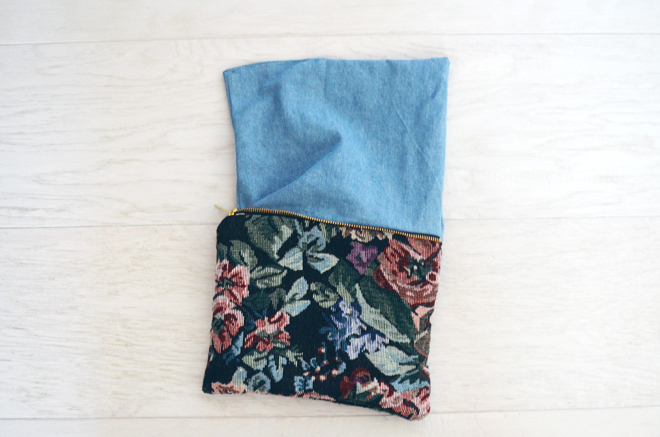 5. Unzip the zipper and push the fabrics through the 3” opening so that the right sides are out. Sew the opening in the lining fabric closed using either a slip stitch or edge stitch as close to the edge as possible. Press lining fabric and push lining into clutch.
I added a tassel on the zipper for a little pizazz!
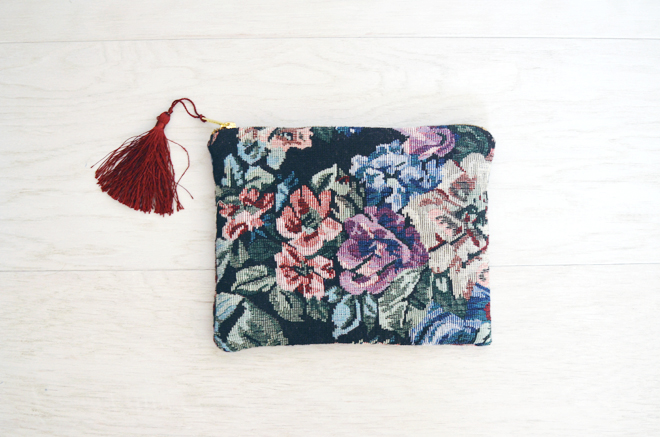
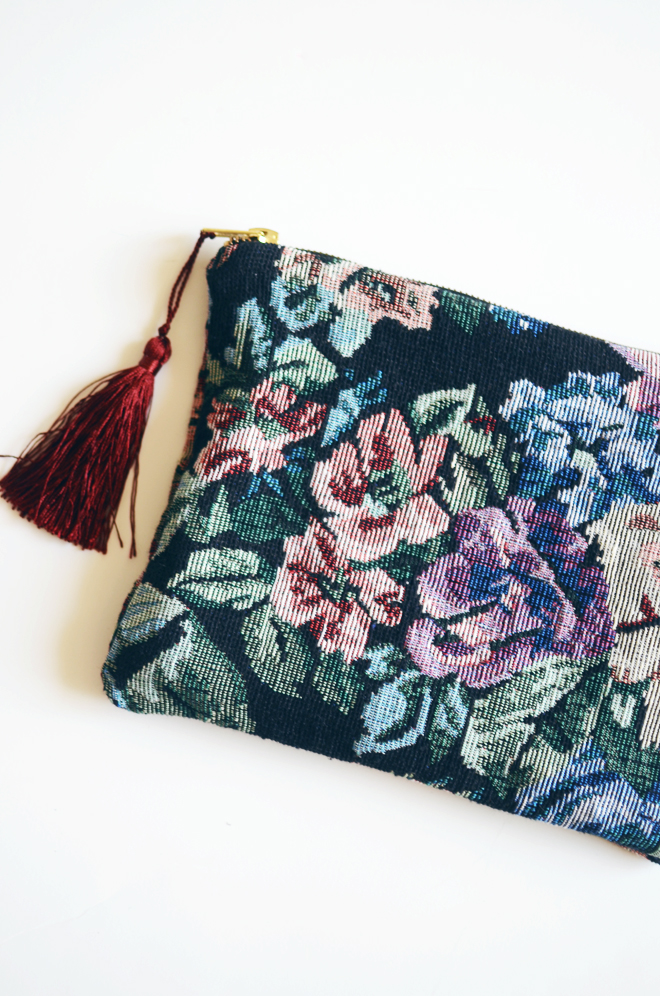
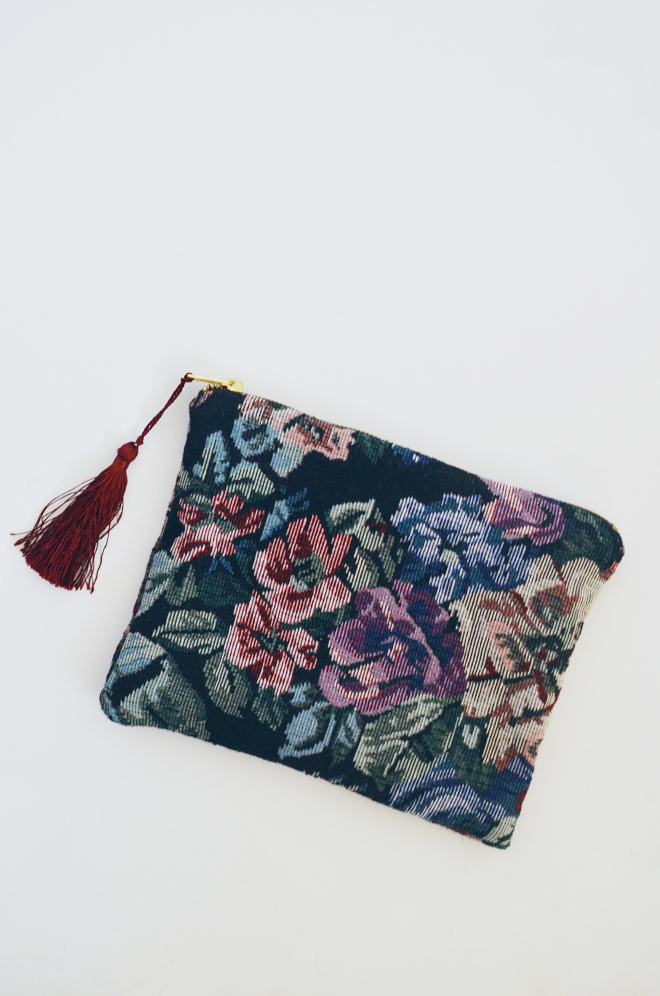 I picked up some floral tapestry fabric on clearance with the intent to make a larger bag, but I wanted a small clutch instead. The project in my book uses kid artwork for the exterior of the clutch, but I wanted a chic little floral clutch for myself. Also, I really did bust out my own book to tell me how to put my clutch together.
If you have a sewer in your life (or someone who wants to learn), and they like making things for/with little ones, I think my book, Let’s Sew Together, would make a great Christmas gift! 😉



 Loading InLinkz ...
