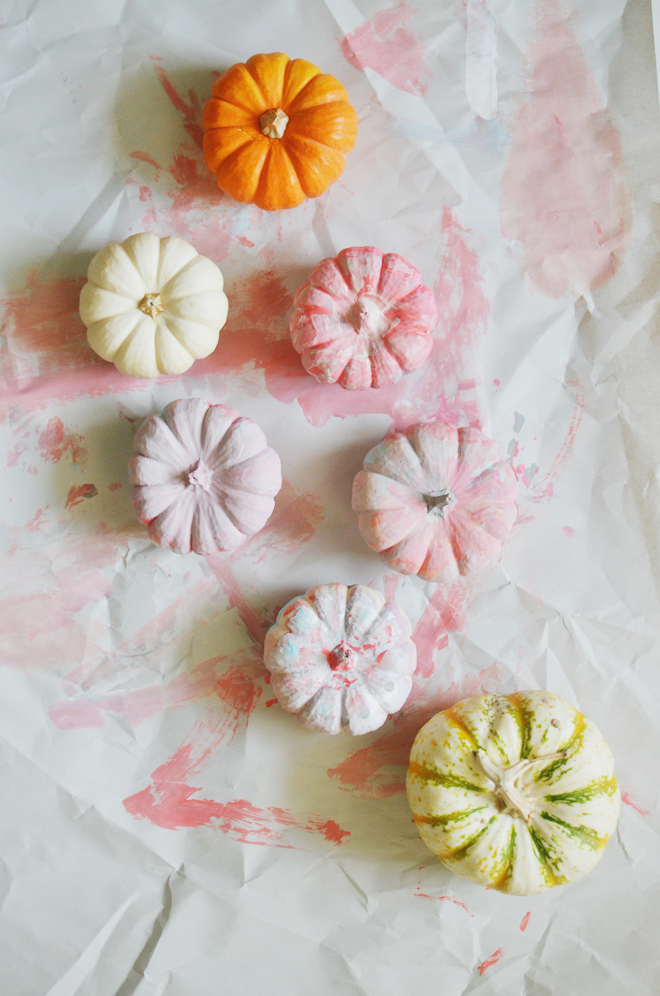
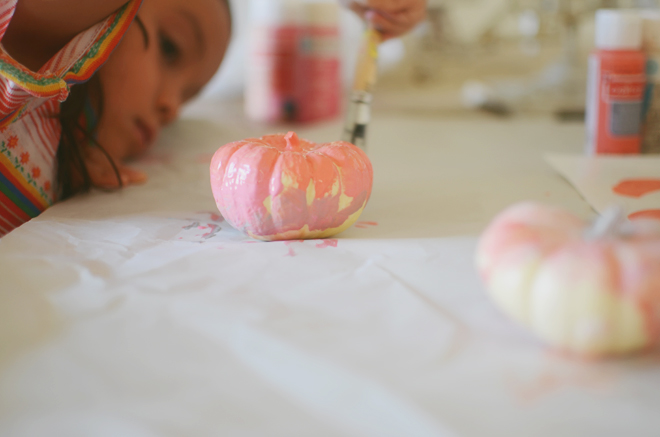
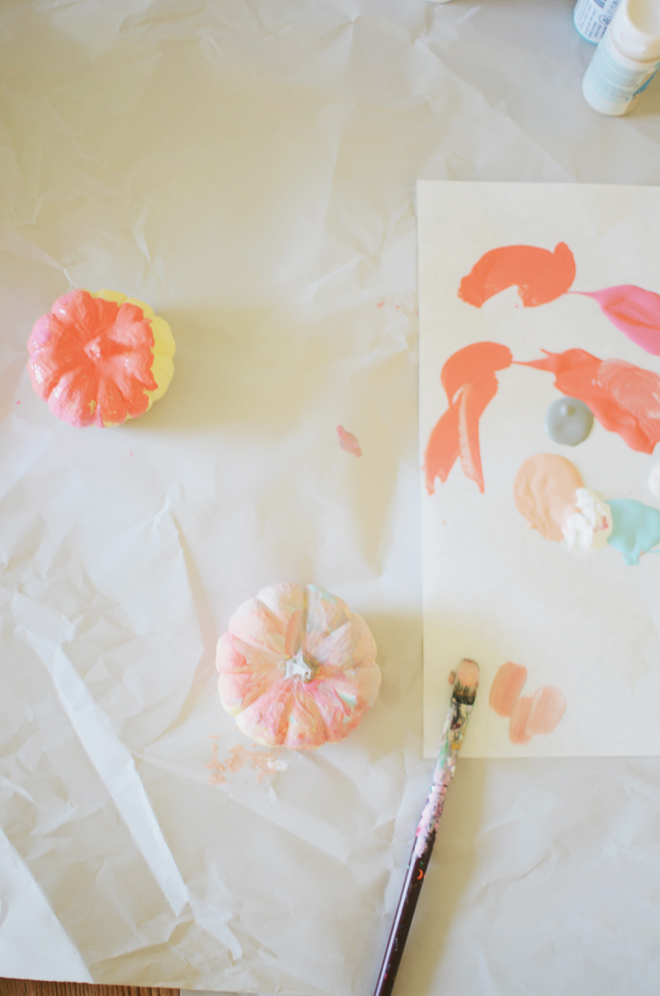
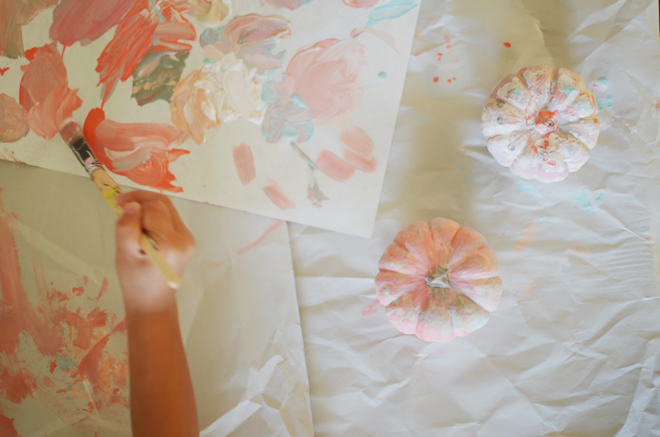
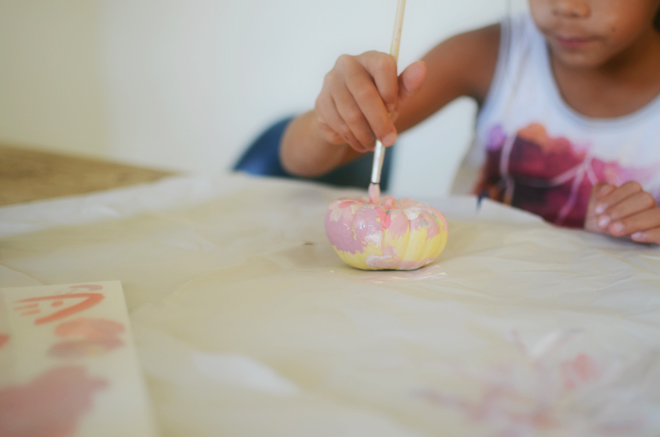
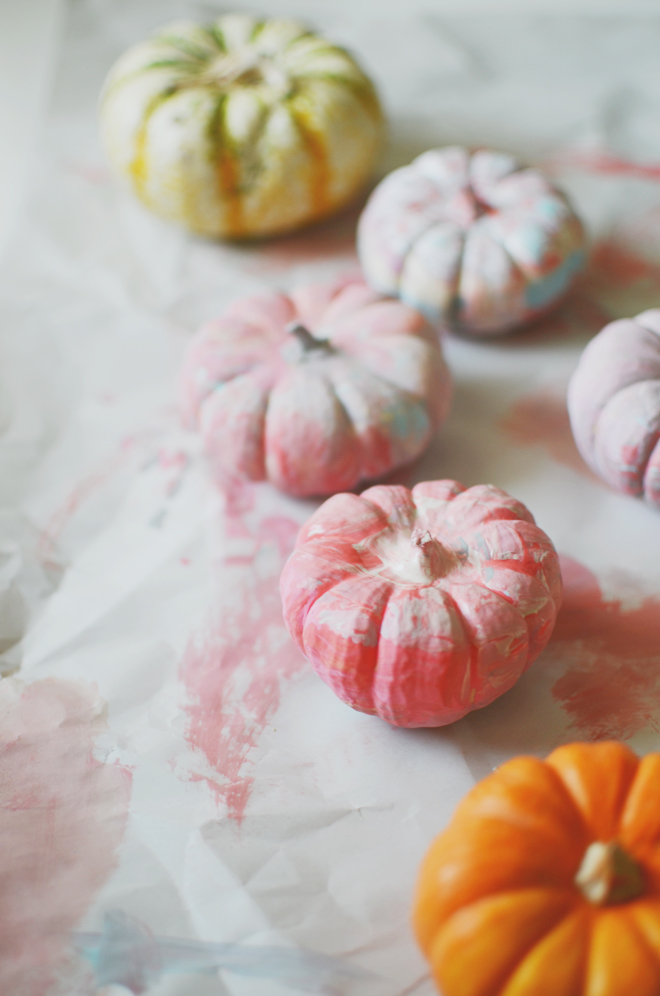
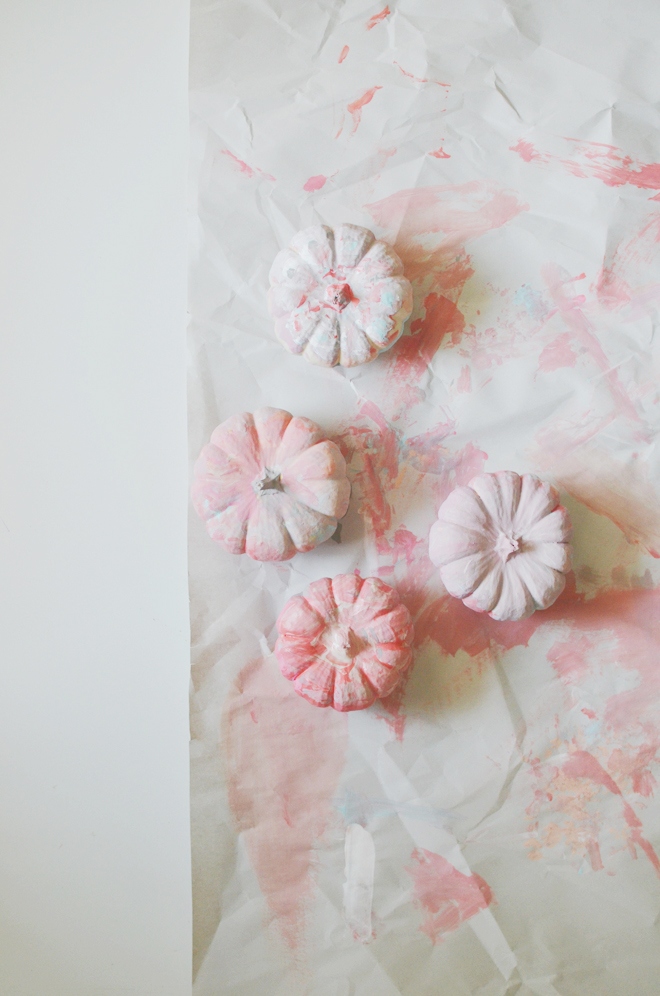
 We were trying to figure out how we wanted to trick out our little pumpkins. We thought about making them a little witch hat and drawing witch faces, or painting them black, or turning them into little vases. In the end, the girls just wanted to paint them. We picked out some pretty colors of craft paint and they made their own little abstract art on the pumpkins.
abstract art pumpkins
October 17, 2014
diy: woodland gnome costume
October 15, 2014
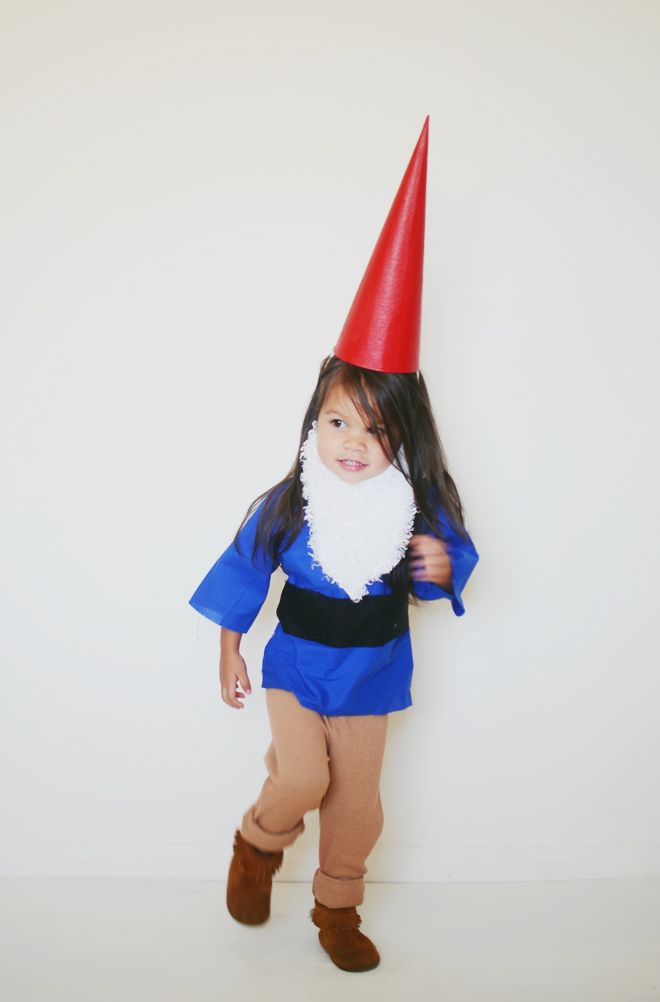
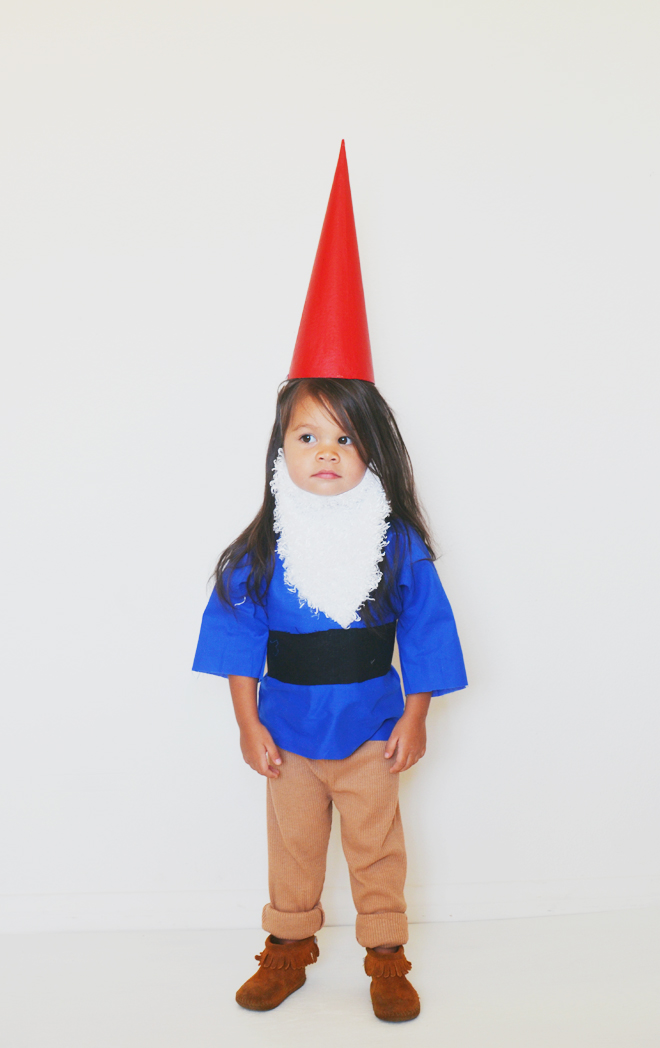
Woodland Gnome Costume
Supplies:
Gnome Beard Template
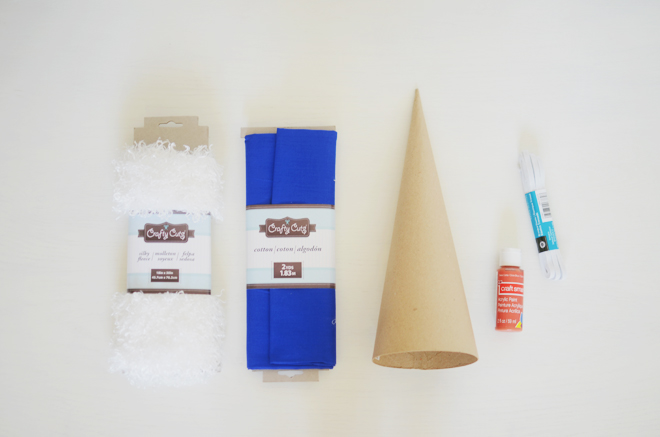
1/4 yard of silky fleece
1 yard of blue cotton fabric
1/4″ braided elastic
Paper mache cone
Red paint
Hole puncher
Scissors
Sewing machine
Coordinating thread
Seam allowance: 1/4″
Directions:
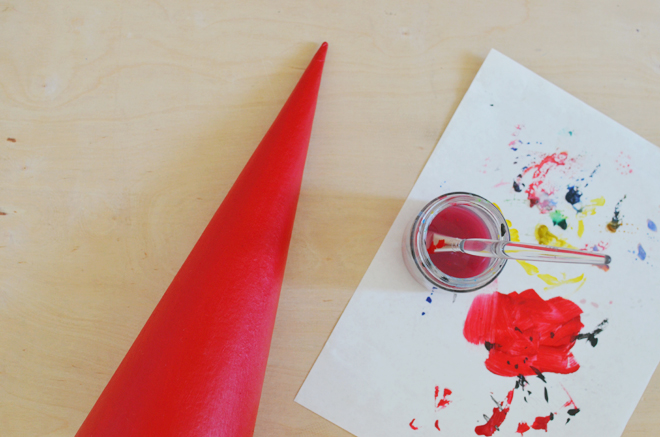
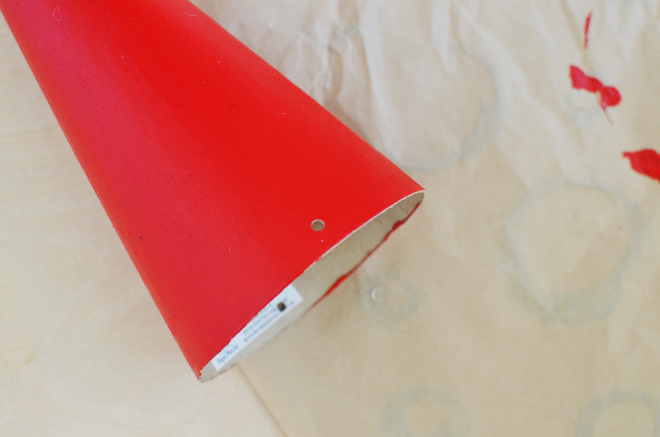
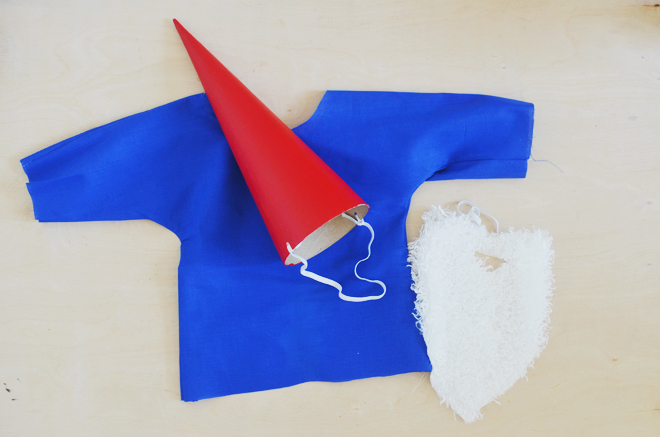
1. Paint your cone. We did two coats of red. Once it is completely dry, punch a small hole on one side of the cone for the elastic, and then another hole directly across for the other elastic end. Cut the elastic to a length that would be appropriate for your child’s head (or whoever is going to be wearing it), insert each end through the hole, and knot to secure.
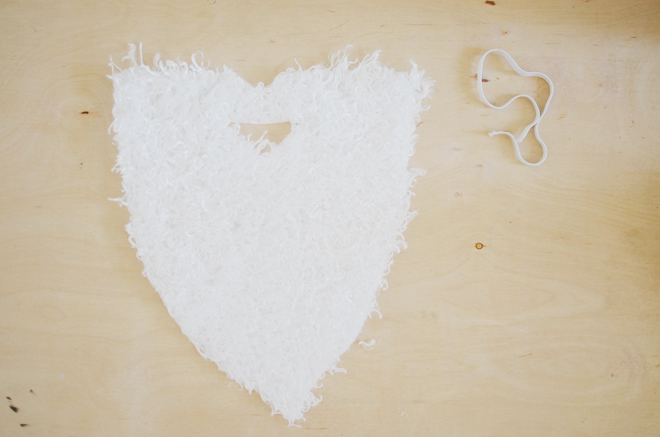
2. Using the Gnome Beard Template, cut out the beard from the silky fleece fabric. After it is cut, shake off the beard to rid of any excess fleece fibers. Cut the elastic to a length that would be appropriate to be worn on top of the ears and around the back of the head. For my child, 9″ was a sufficient length for the elastic to be snugly worn around. Sew each end of the elastic in its place (see template for placement).
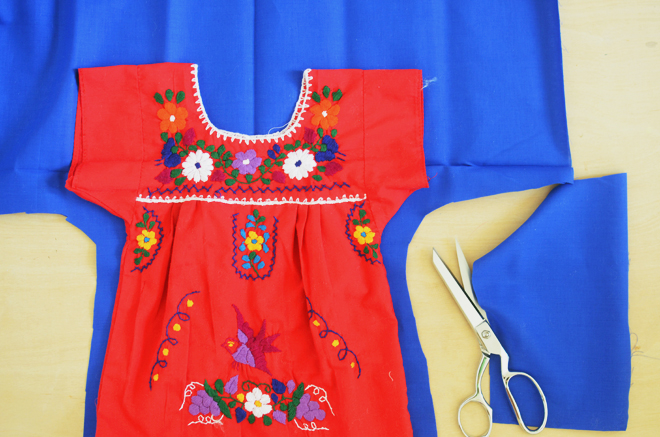
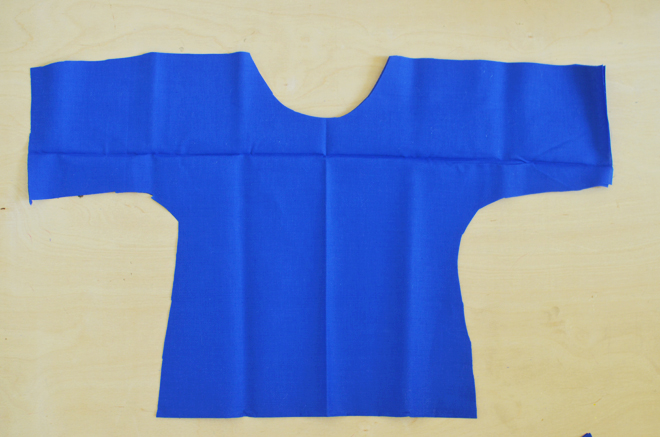
3. Using a loose shirt or dress as a guide, add an extra 1″ for the seam allowance, and cut out your gnome top in a kimono-like shape. With the right sides together, sew along the shoulders and down the sides of the shirt, turn right side out, and press. I left the neckline, bottom, and sleeve openings raw and unfinished. If unfinished edges drive you crazy, go ahead and fold those openings in 1/4″, press, fold another 1/2″, press, and then edge stitch around.
Typically, I would wash the fabric before sewing, press it, then cut out my pattern and sew it together. This time though, I skipped all of that. I was going for fast and easy!
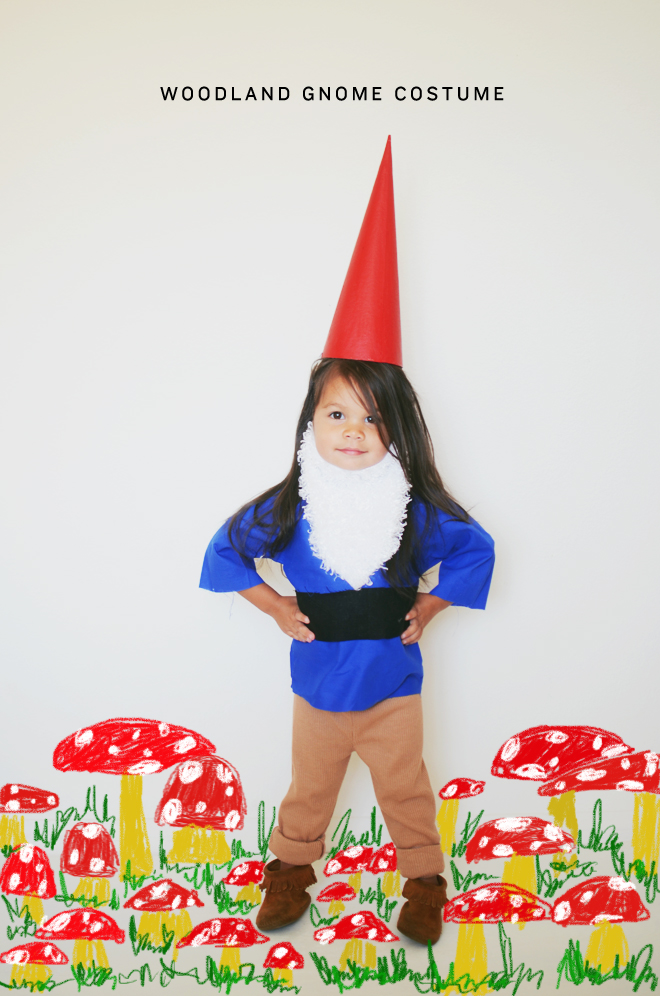
There you have it… the basics for a whimsical gnome costume. We already had some brown leggings, so we just used that for pants, I cut out a strip of black fabric to be used as a belt, and our gnome was complete. The tricky thing is getting your child to wear the beard (at least it was for me)! She refused to wear it under her nose, so I gladly settled for under her chin. If you think your child won’t want to wear it under his/her nose, don’t bother cutting out a place for their mouth, but as you can see here, you can’t even really see the hole that was cut out for it. And if I were going to do it again, I would have used black elastic instead so it would hide in her hair well.
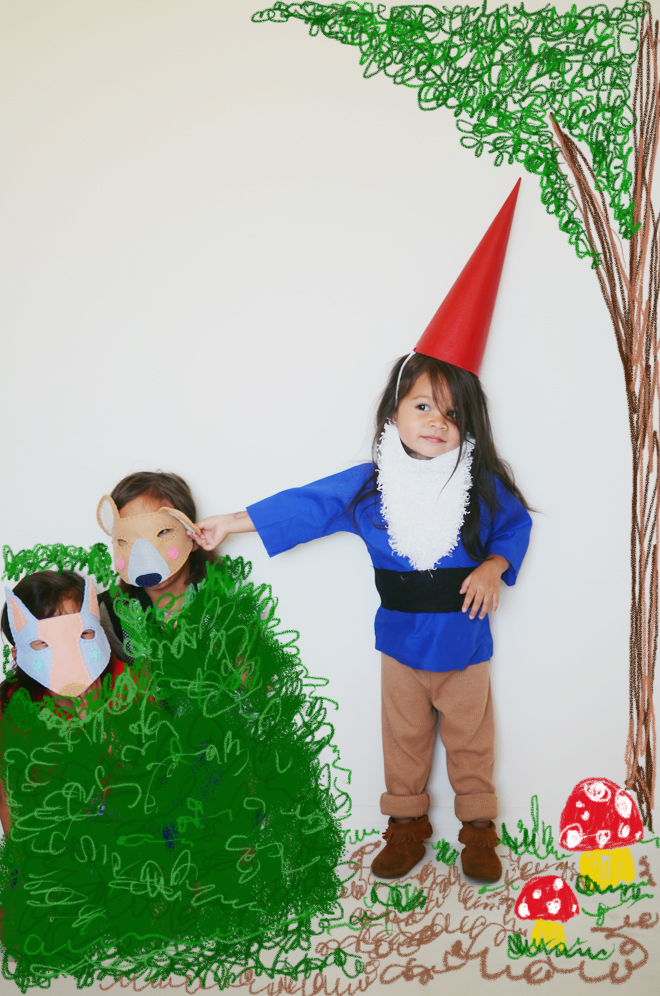
Make some woodland animal masks for the rest of the family and then you’re ready for a cohesive family costume, or you can even go for Snow White and the Seven Dwarfs. I called this a woodland gnome, but it most certainly could be a garden gnome, and you could make everyone else wear flower masks made from paper plates or something garden-y like that. In addition, I think making the gnome hats and beards would be cute for a woodland or garden party. My friend threw this woodsy one-derland party recently, and I wish I had this costume idea then to share with her.
We are not quite done making our costumes for this year, but I’m excited to share with you the story True wrote for it. As cute as Glow is as a woodland gnome, she won’t be appearing as a gnome for this year’s Halloween story. Do you have your costumes for this year figured out?
This post is part of the Michael’s Maker’s Series.
diy: funny faces wooden blocks
October 8, 2014
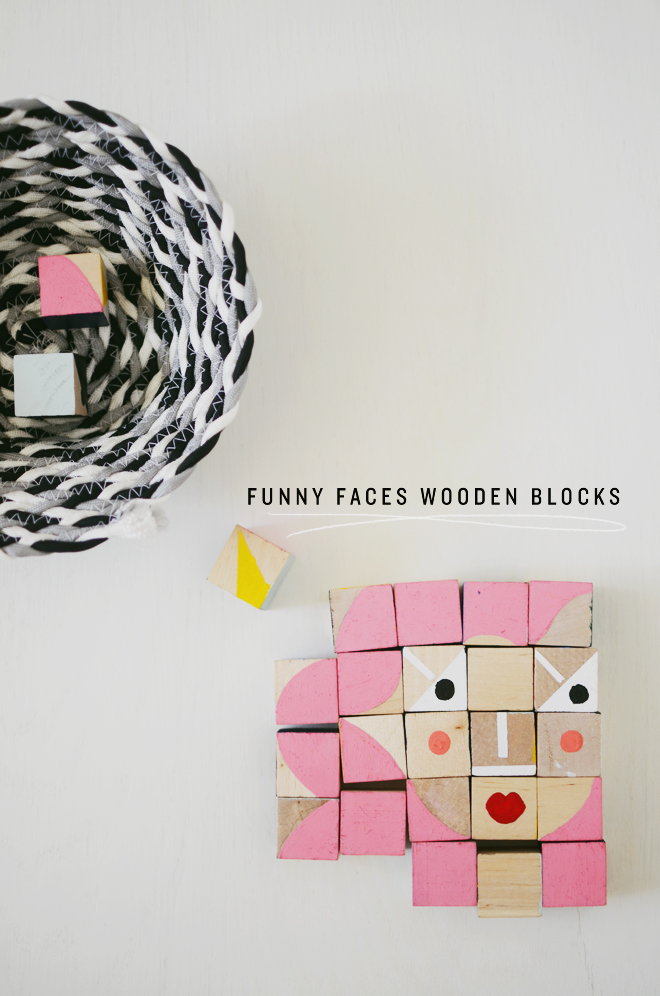 Funny Face Wooden Blocks
inspired by these facemaker wooden blocks by miller goodman
Supplies:
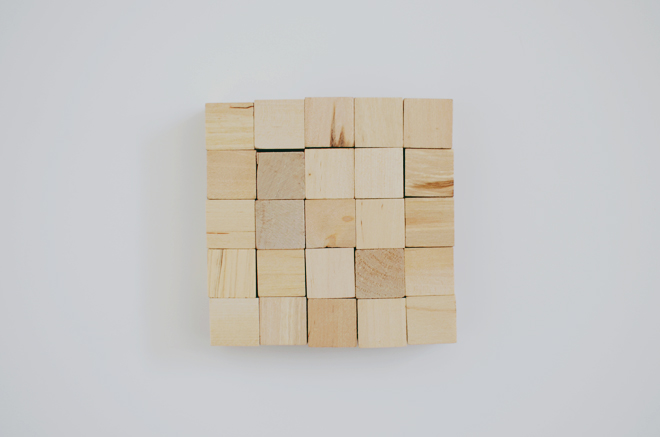
25 wooden blocks
Paint in various colors
Paintbrushes
Painter’s tape
Pencil
 Directions:
First, I drew out a 5×5 grid on paper. On the grid, I drew the face I wanted to create. Next, I drew that face on the blocks, following the shapes I drew on the grid. After the shapes were drawn on the blocks, I painted each piece. Each face was covered in two layers of paint. I allowed that face to dry completely before moving onto the next face.
For my second face, I drew that out on the grid again, transferred my drawing onto the blocks, and then painted the face. In all, I created 6 different faces using the same 25 blocks.
Notes: I used painter’s tape to help with some straight edges for the eyes and nose. I wasn’t going for perfection, so I didn’t always tape off the block edges when painting. Though if you want perfect painted edges, use the painter’s tape.
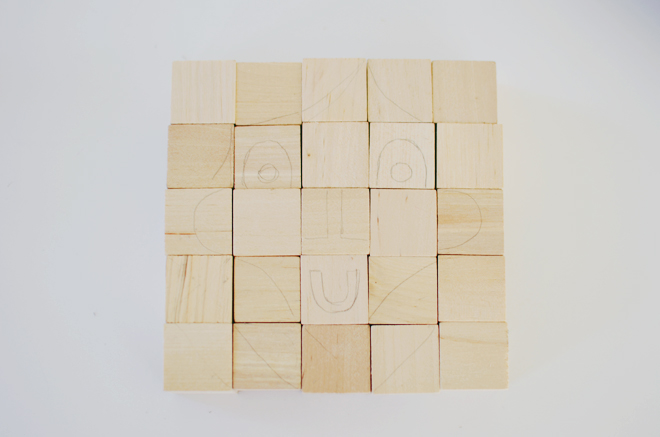
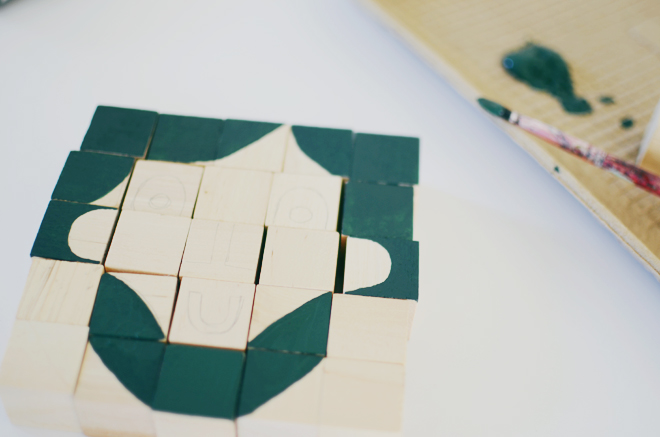
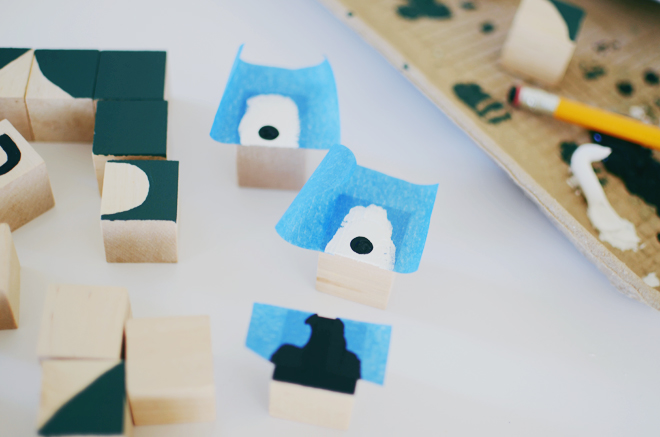
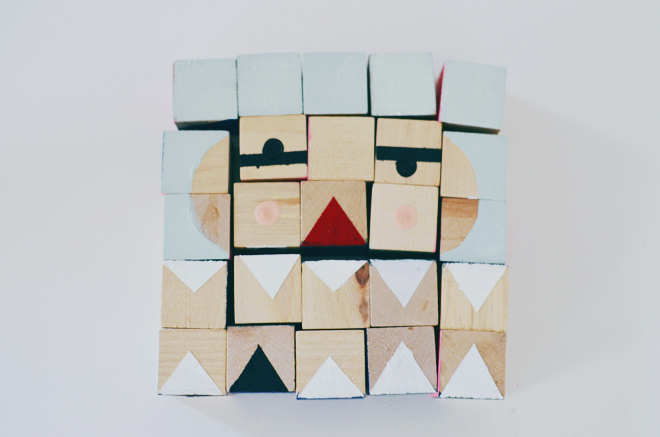
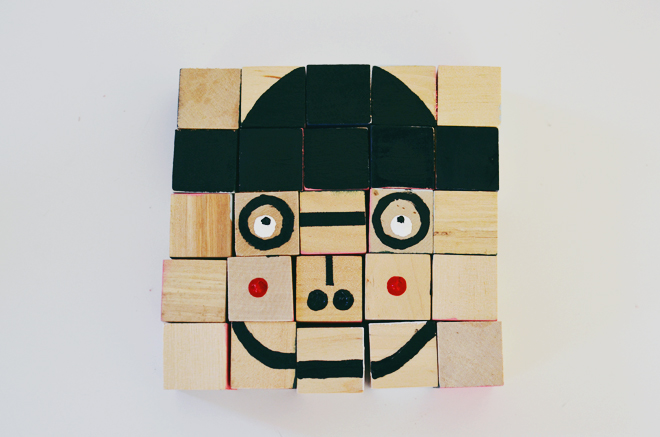
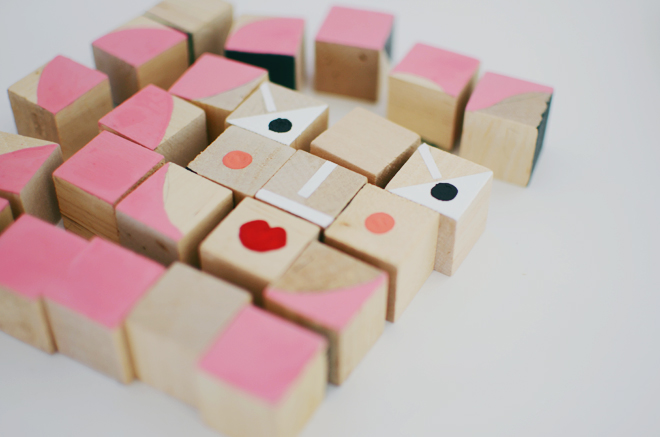
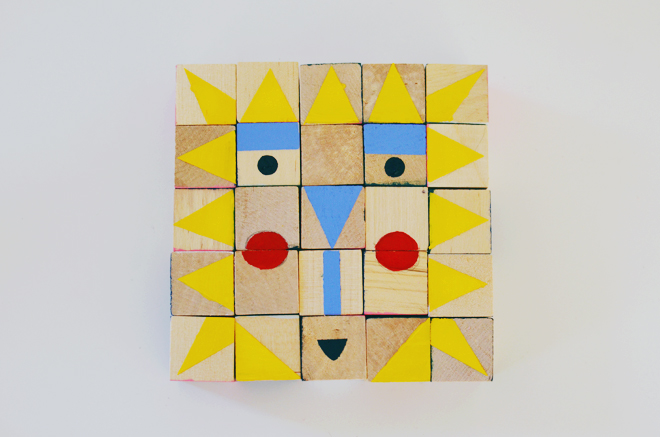
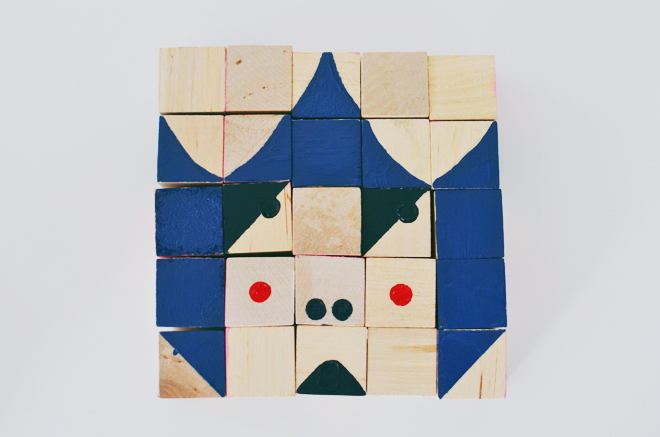 My girls love playing with blocks, so I thought this set would be fun to have displayed on the coffee table. Sure enough, since it’s been out, it’s been played with everyday. They’ve mixed and matched some funny faces, and even used it to play with their My Little Ponies. It’s inspired by this block set, but I had some blocks in my craft stash, so I figured we could make our own. If you package it up all cute, it would make a cool handmade gift.
I’ve always love this Miller Goodman set too, this stack and scare set is adorable, and I think this architectural set is interesting. These magnetic wood blocks are kind of cool and I’m thinking Brave might like it for Christmas. The girls are making their Christmas wish lists already, so that’s why I have Christmas gifts on my brain. Have you started Christmas shopping already?
duct tape pencil holders
September 23, 2014
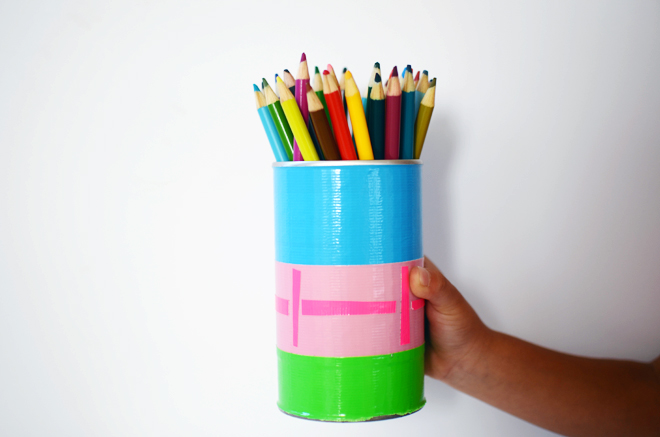
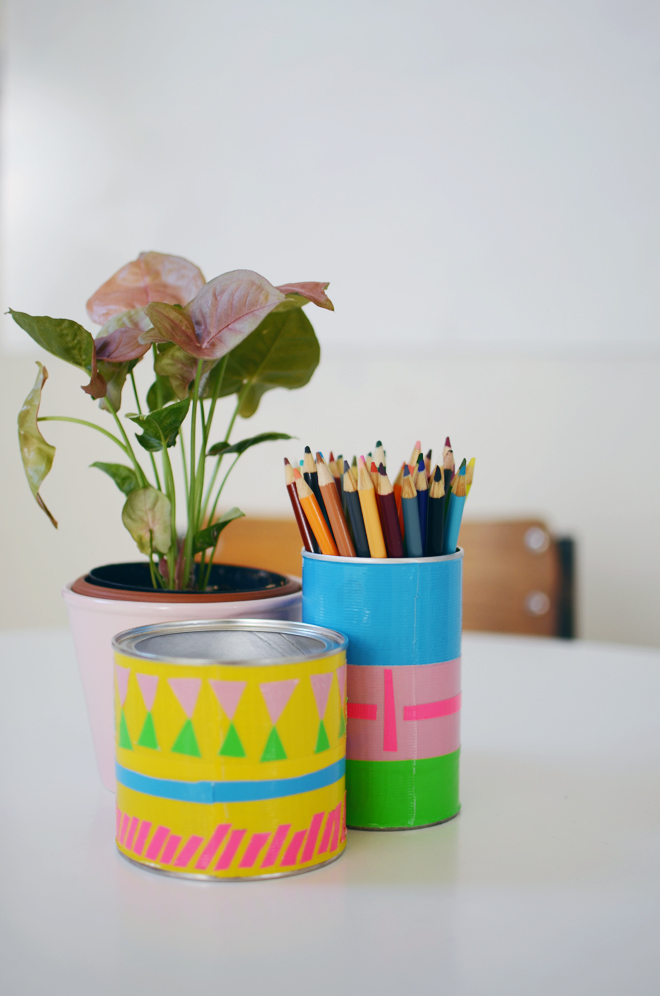 I love this easy DIY that Mer Mag did for Minted, so one afternoon, the girls and I made our own for our homeschool table. The project just involved cardboard canisters, one was a coco powder container and the other meringue powder container, and duct tape. I didn’t follow the DIY exactly since we did a different pattern, and also I thought that using an X-acto knife wasn’t as kid friendly, so we used my non-stick scissors instead. They are a must when trying to cut shapes from duct tape. We even used scented duct tape and the girls were ooh-ing and ahh-ing over it! The colorful containers were the perfect thing to house our pencils.
glow’s birthday dress
September 22, 2014
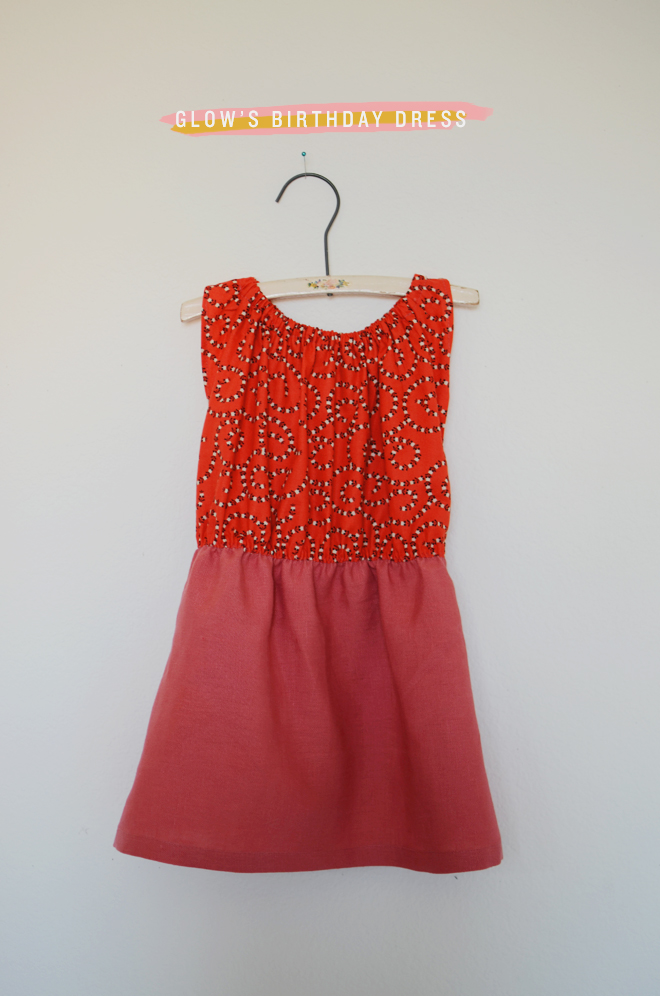
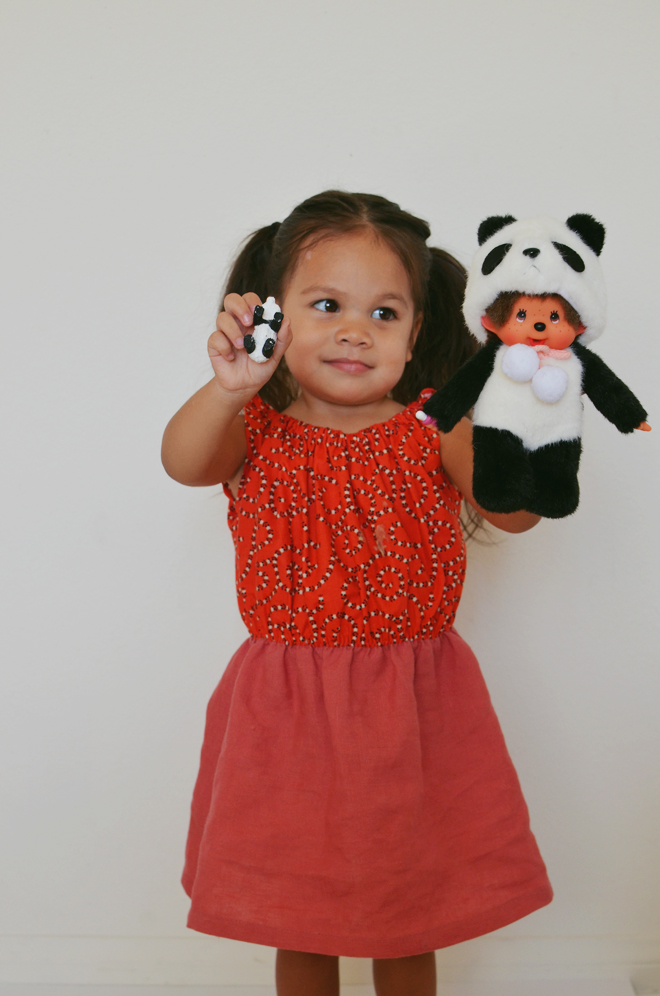
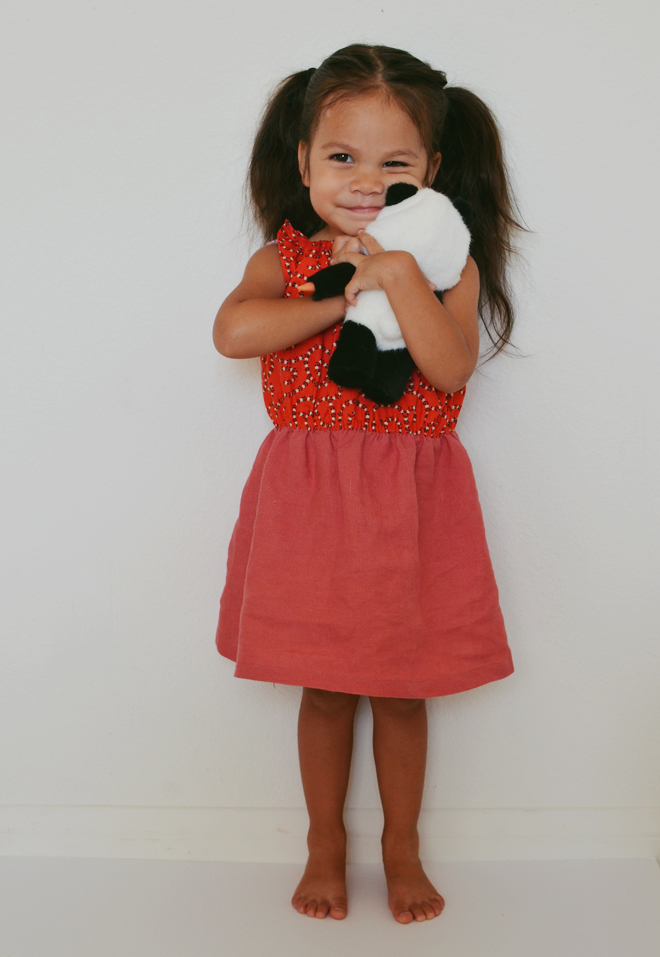 I quickly sewed this up last Friday afternoon for her birthday dress (the next day). I originally wanted the girls to draw animals and then hand embroider their drawings, but there just wasn’t time. I did an elastic collar and waist, it was originally supposed to have longer sleeves, but I got scissor happy and cut them off one side, so I had to do it to the other, but then one side happened to be shorter than the other, so oh well. It ended up cute anyway. The girls said the top looked like lemur tails, so I guess it was perfect for her birthday outing to the zoo.
inspired by the koushi lamp
September 16, 2014
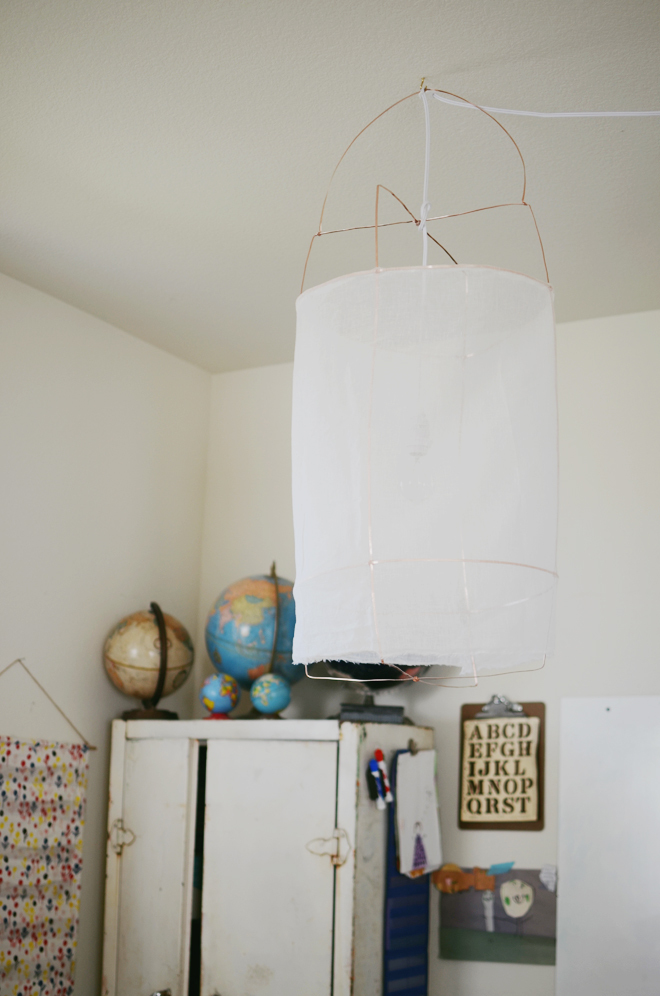
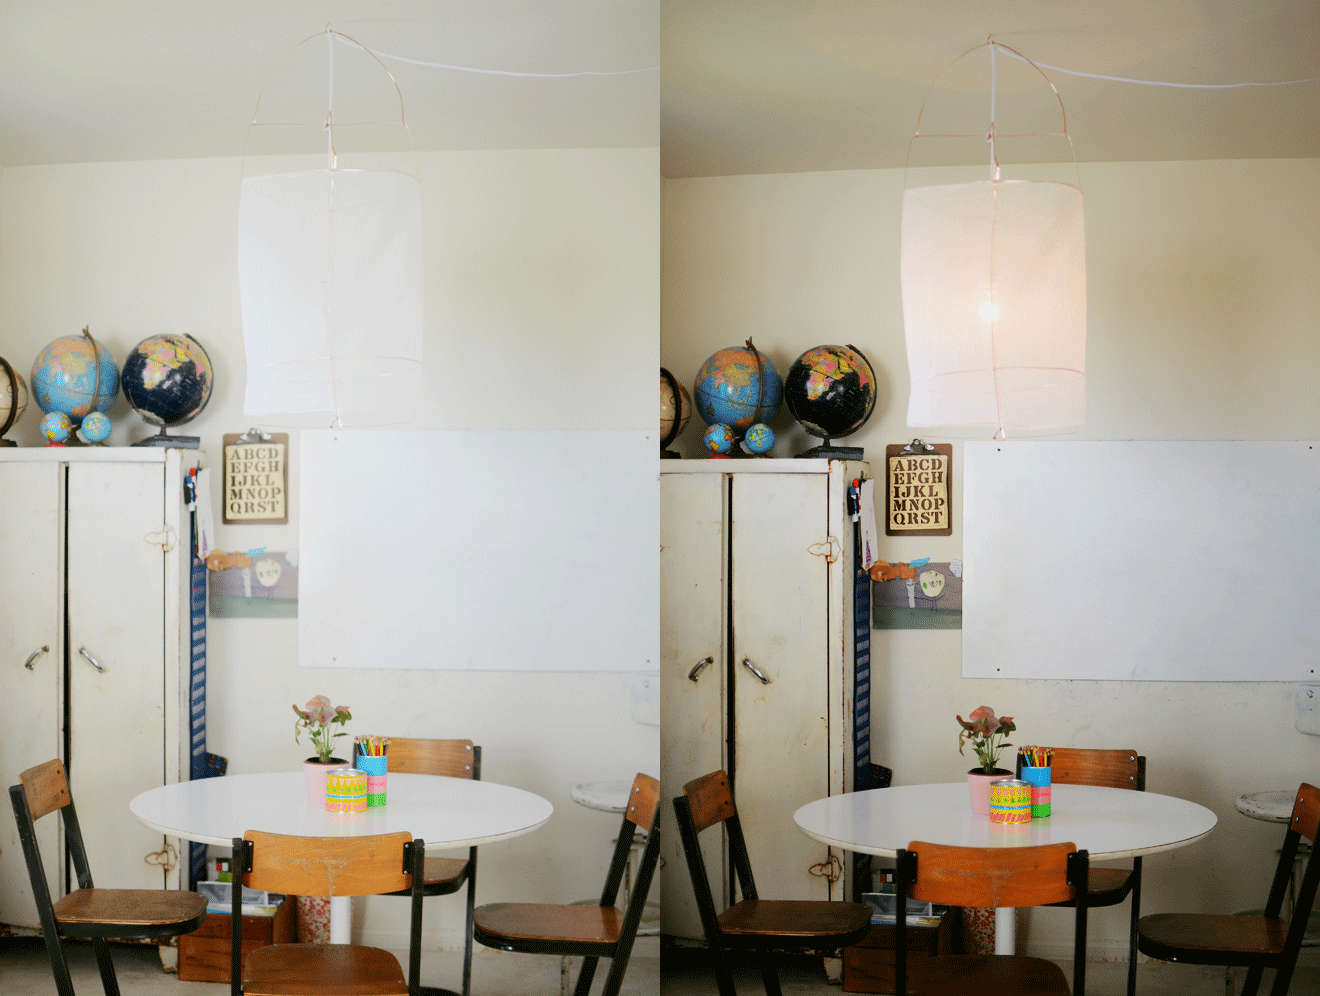 I shared in this post how how I liked this light fixture and asked if anyone knew the designer. Someone kindly shared it was called the Koushi Pendant, so I set off in search of it. Evidently, it was made by Mark Eden Schooley, but I couldn’t find where it could be purchased, but that specific one I liked was by Nelson Sepulveda for Aye Illuminate. Apparently, both artists are friends, one uses wire and the other bamboo. I contacted Aye Illuminate for the cost of the light, and they directed me to two shops in Santa Monica. I called them for availability and cost, and they said they would get back to me, but they never got back to me. I tried one more time, and still never heard back, so what did I set off to do?! Make my own.
I liked both the wire and bamboo one, but wasn’t sure how to get bamboo all bendy, nor had the patience since I was itching to put something in this space quickly. I took trips to the hardware and craft store to come see what materials I could find to make one of them work. I ended up making mine with flat, copper wire strips and it took some tweaking to get it rounded. For the cover, I had some cheesecloth in my fabric stash, and I used that to cover the frame. I used the light I had from the previous hanging light. Mine isn’t as nice as the designers, but what I really love about the light is how airy and ethereal it looks, so I think I got pretty close.
In my research about the lamp, I came across Bodie and Fou and the lamp they made inspired by the Koushi Lamp. The outcome of their creation is just as gorgeous as the original. Here’s another pin of that dreamy bamboo lamp. While, I would have loved to have the real deal, this made by me one works well too. I love seeing it hanging in our homeschooling space (more to share about our space soon)!
