Supplies:
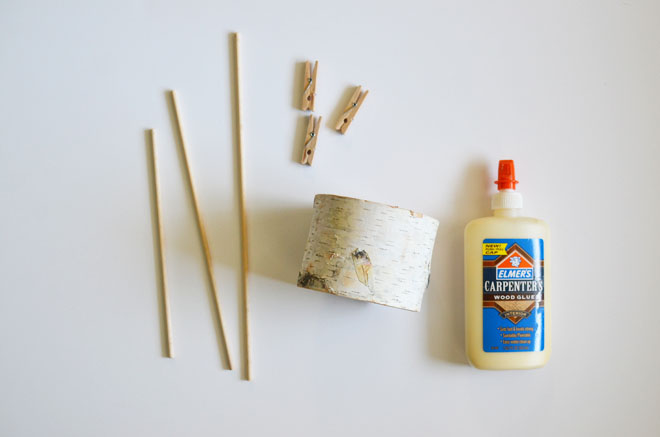
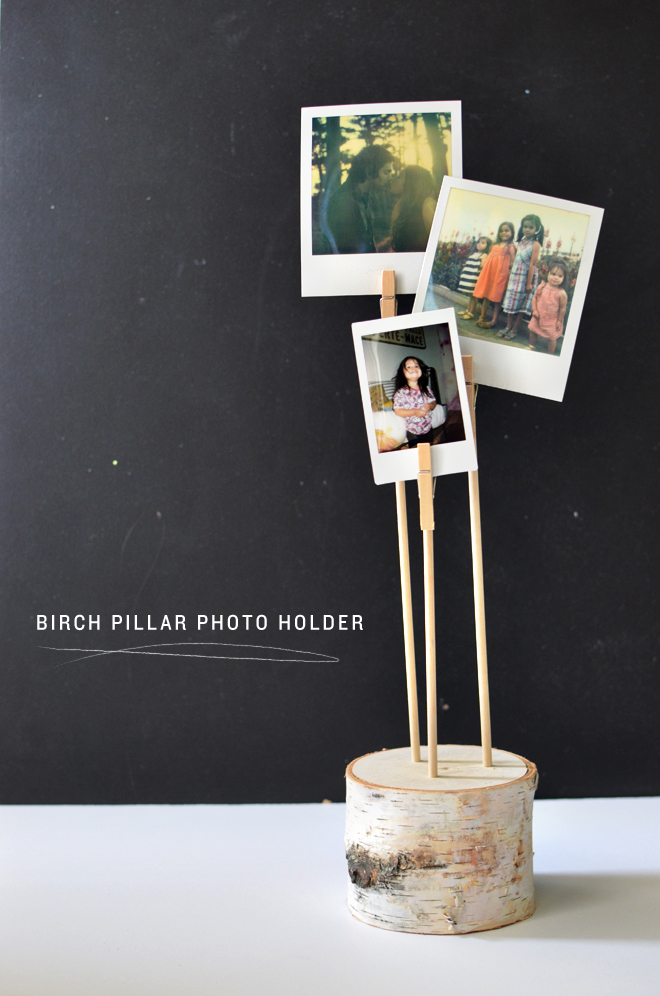
3″ birch pillar (found at Michael’s Craft Store)
Drill
3/16″ drill bit
1 3/4″ wooden spring clothespins
1 – 36″ x 3/16″ wooden dowel (cut into 3 different lengths of 7″, 9″, 11″)
Wood glue
 Directions:
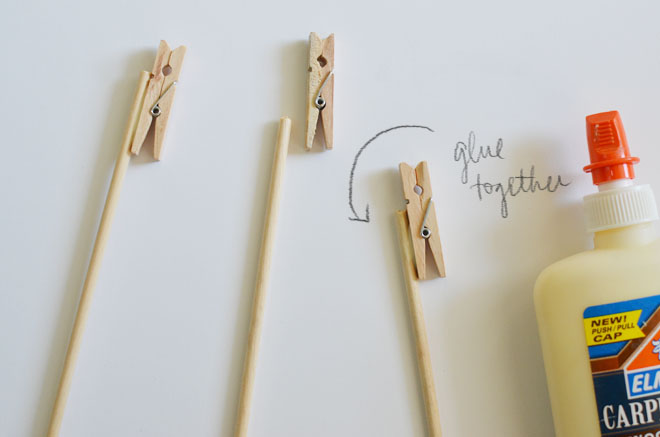
1. Glue your wooden clothespins and dowels together by adding a small line of glue on the outside, bottom half of the clothespin, hold the pin and top 1″ of the dowel together for a minute to help set, and then set aside to allow ample time for the dowel and pin to completely set together. Repeat for each of your dowels and wooden spring clothespins.
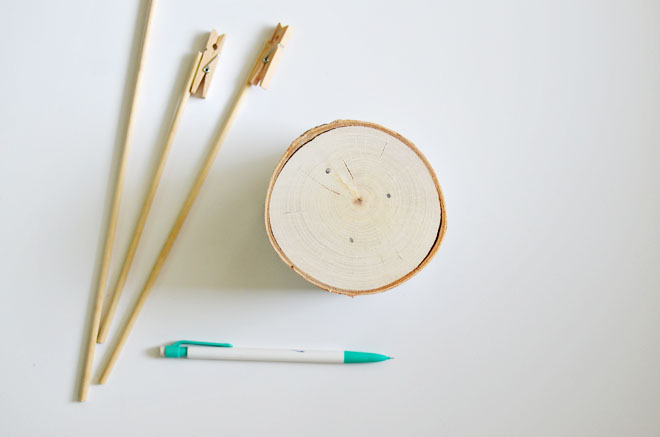
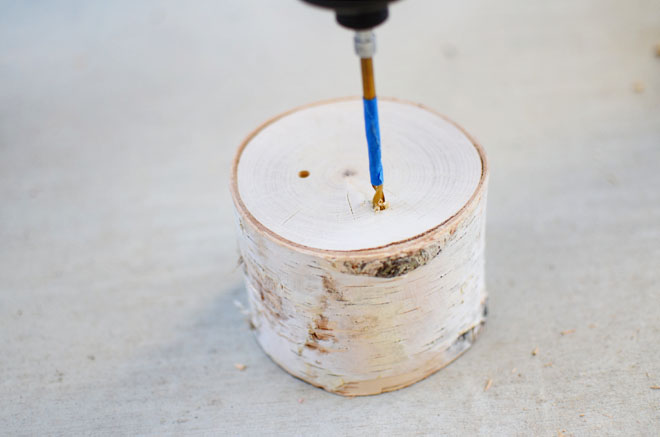
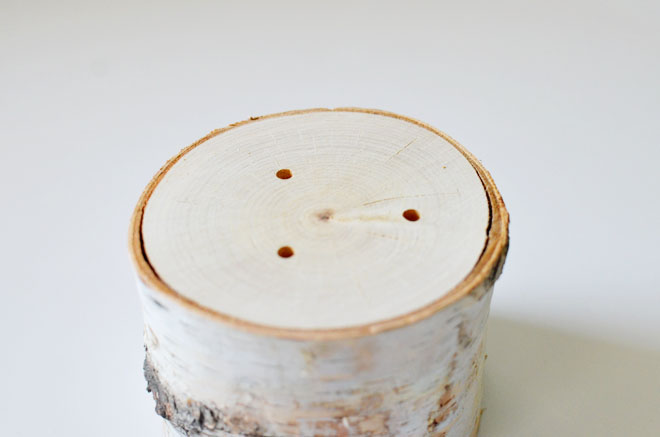
 2. Mark your desired placement for the three dowels. I placed them about 1″ from the edge in a triangle formation. Proceed to drill your holes about 1/2″ deep in the marked areas.
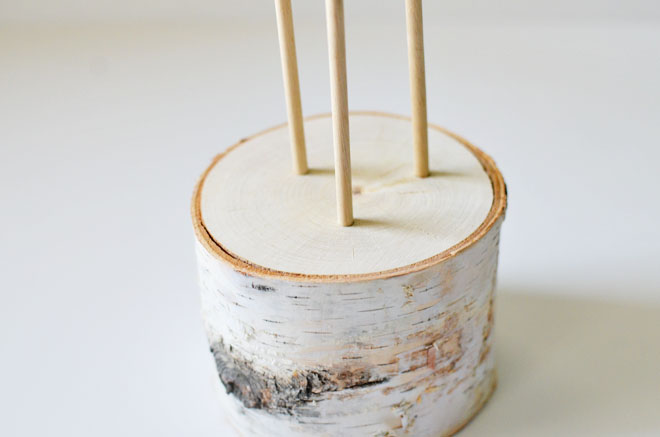
 3. Insert the bottoms of the dowels in to the holes on the birch pillar. Pick what you want to display and insert it into the wooden pin.
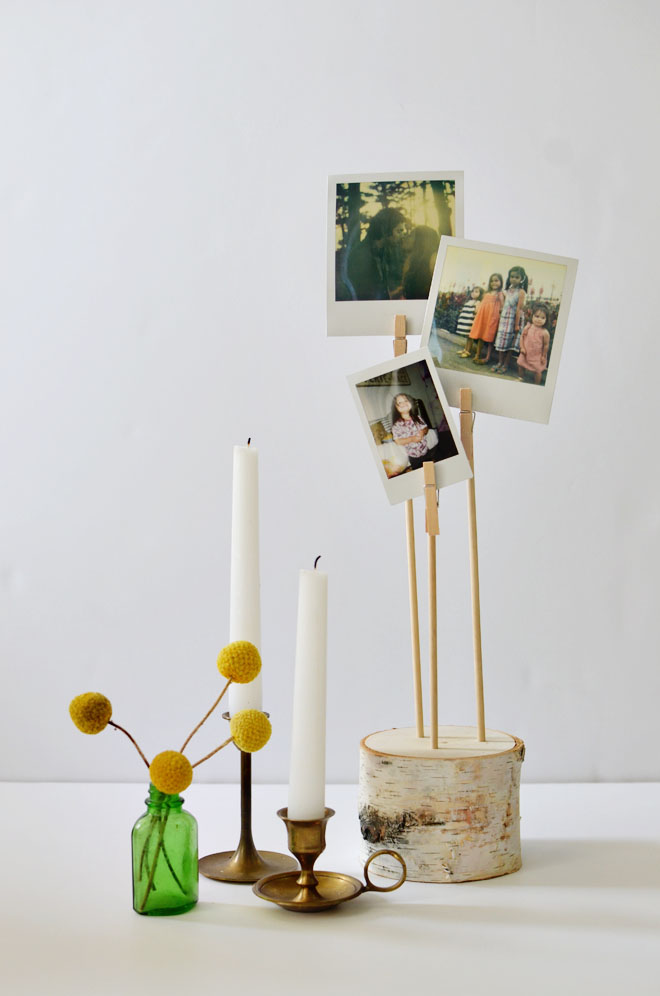
 These would be cute for some sort of wedding display, maybe holding table numbers along with pictures of the couple, or for birthdays with pictures of the celebrant, or just displayed in your home showing off some special mementos! We take tons of polaroid pictures, so this is where we display a couple of our current favorites. I only did 3 dowels and pins, but there is definitely room to do 5, so if you have more you want to display, by all means, drill more holes! I prefer things displayed in odd numbers, so I would suggest doing either 3 or 5, but I think if you had more than 5, it would look much too crowded.
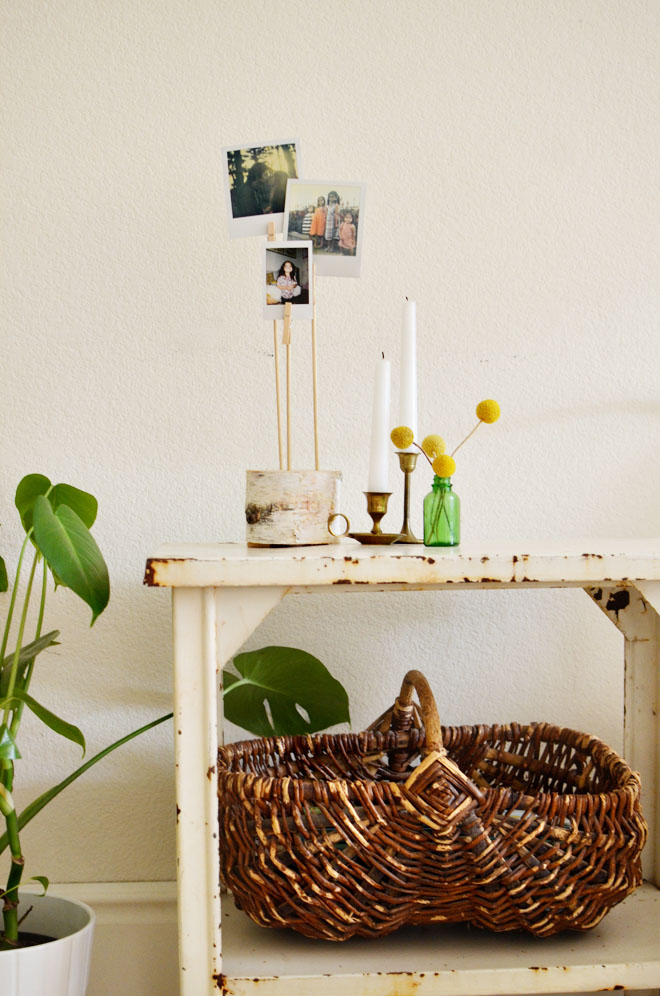 It’s such an easy project that can display some of your cherished memories in a special way! If you made this holder, what would you display?






this is WAY too cute! love those Polaroids!
xxoo,
nikki
http://www.dreaminneon.blogspot.com
Thank you Nikki! I always appreciate your comments and encouragement!
awww sooo beautiful, love it. Might use this idea to do my daughter’s wedding tables center pieces as she already had poloroid pics. of all the guests to display. thanks. keep up your creativies
Thank you!