


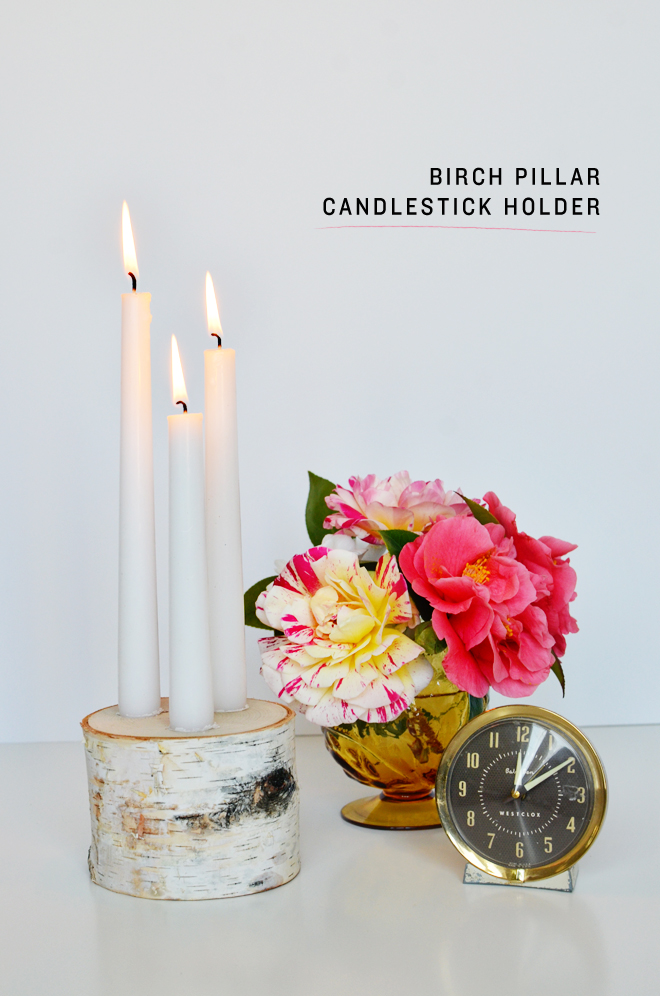
 Birch Pillar Candlestick Holder
Supplies:
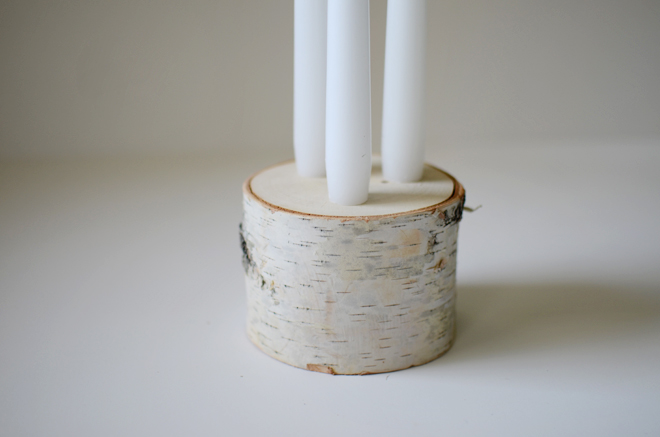
3″ birch pillar (bought from Michael’s Craft Store)
Drill
3/4″ drill bit (or whatever is the circumference of the candle you choose to use)
Pencil
3 candle sticks Directions:
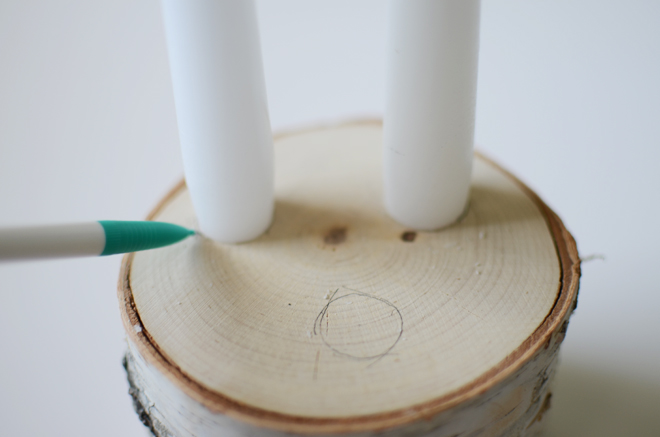
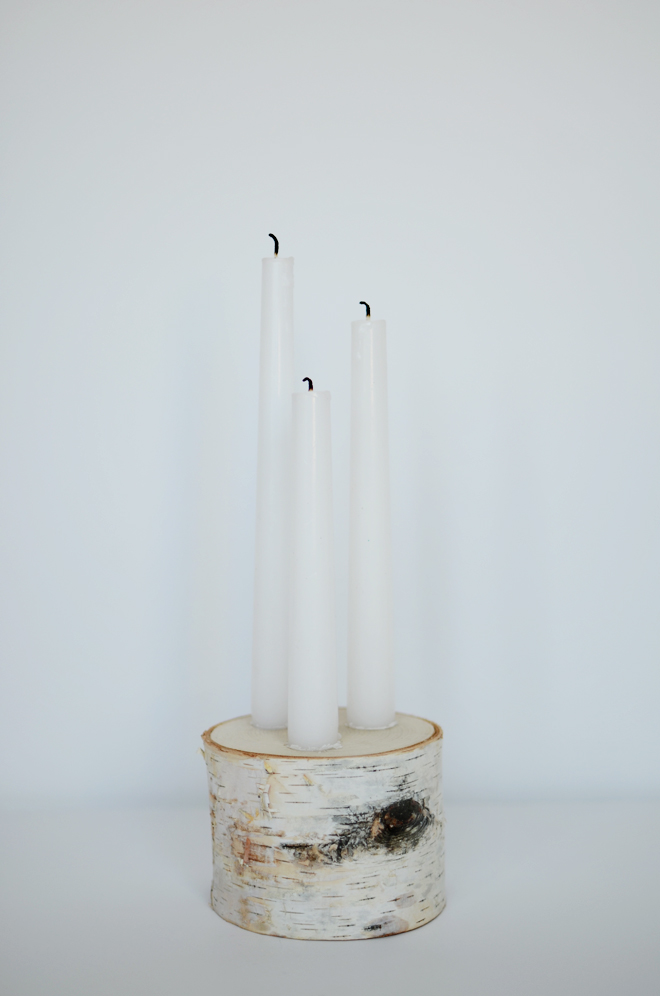
1. Choose the placement of your 3 candles. Mark its location by drawing around the base of the candle.
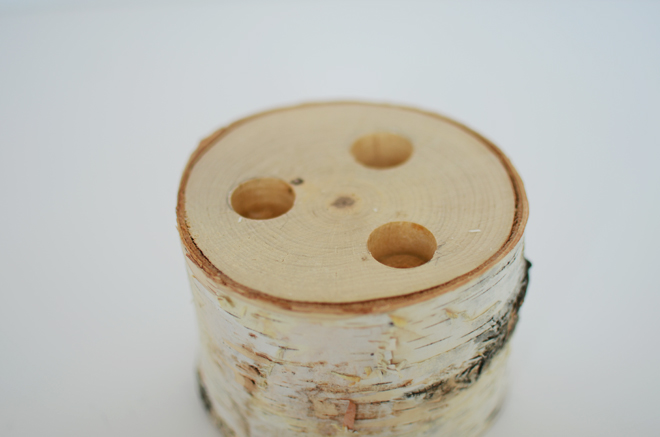
2. Drill your 3 marked holes about 3/4″ deep. Again, I just mark everything off and hand it to the husband to do, but if you’re power tool savvy, go for it!
3. Insert your candlesticks into the holes and set up your candlelight somewhere so you can enjoy a beautiful evening.
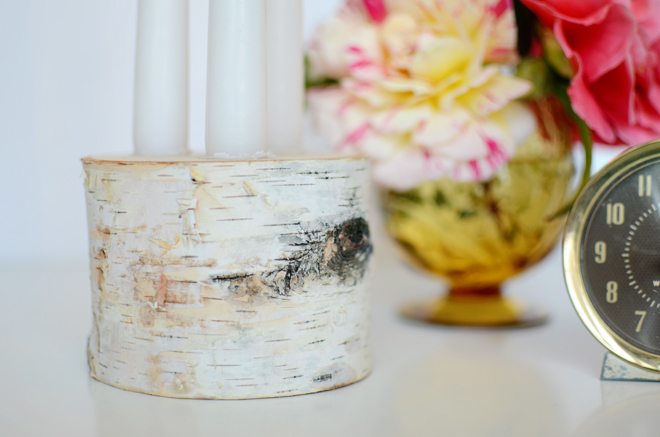
 This is just another way to use the birch pillar. On the bottom of this one, are the 3 small holes for the photo display project. I love that 2 different and relatively easy projects can come from this one item. I like the easy switcharoo and I like having options.
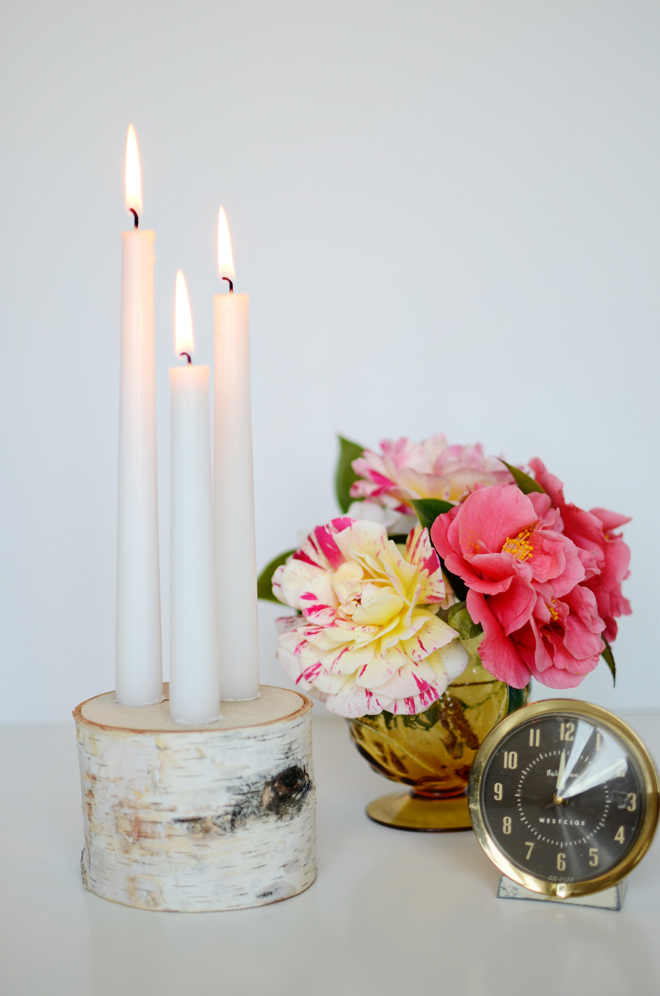
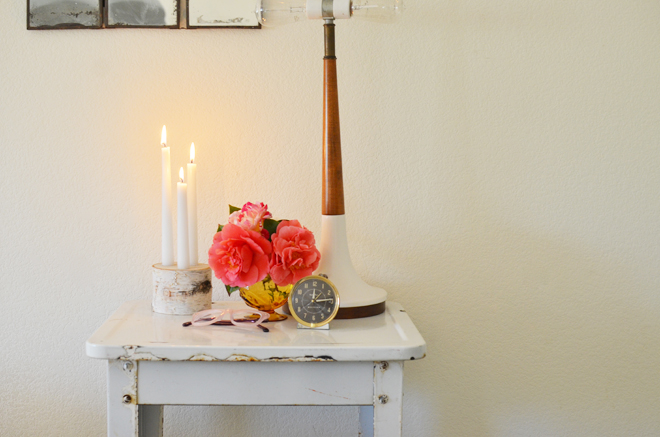
 I much prefer using the birch pillar as a candlestick holder, as I was needing something romantic like this for our bedside table. It fit the bill perfectly. Plus, I also like keeping candles near my bedside. I like it when my bedroom feels a little bit romantic even though there is usually a mess in some corner, at least one corner is looking nice and pretty.
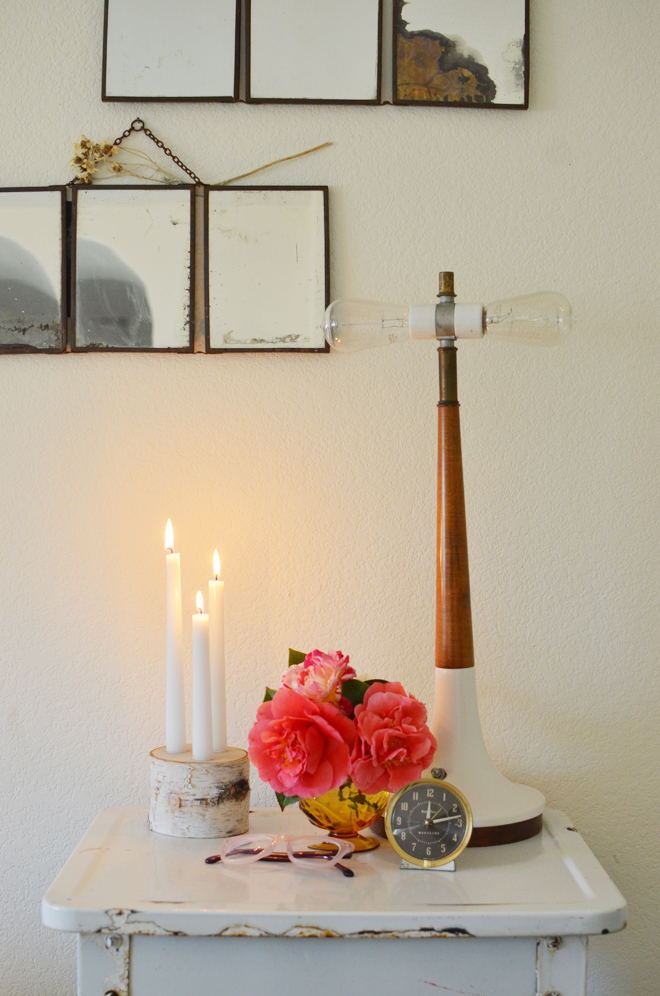 So which would you get more use out of, using the birch pillar to display photos or as a candle holder? Or just do both projects, since they are both so simple, and switch them out whenever you would like!


Ah, I went to pin your pictures, and Flickr says they’re protected…
If you scroll over the picture, a “pin it” button will come up that way and that will allow you to pin it! Or if you follow me on pinterest, I add my projects to a board. Hope this helps!
Out of curiosity, where did you find the chains for the photos in the last picture? I’ve been looking for chains similar to that but have had no luck so far. I’m also finding myself intrigued by the double light fixture in the same photo. Where did you find that fabulous piece???
The vintage mirrors came with the chains attached also the light fixture is vintage as well and purchased from here: https://www.etsy.com/shop/ethanollie
Sorry it probably isn’t much help!
Very cool and unique idea!
http://everydayingrace.blogspot.ca/