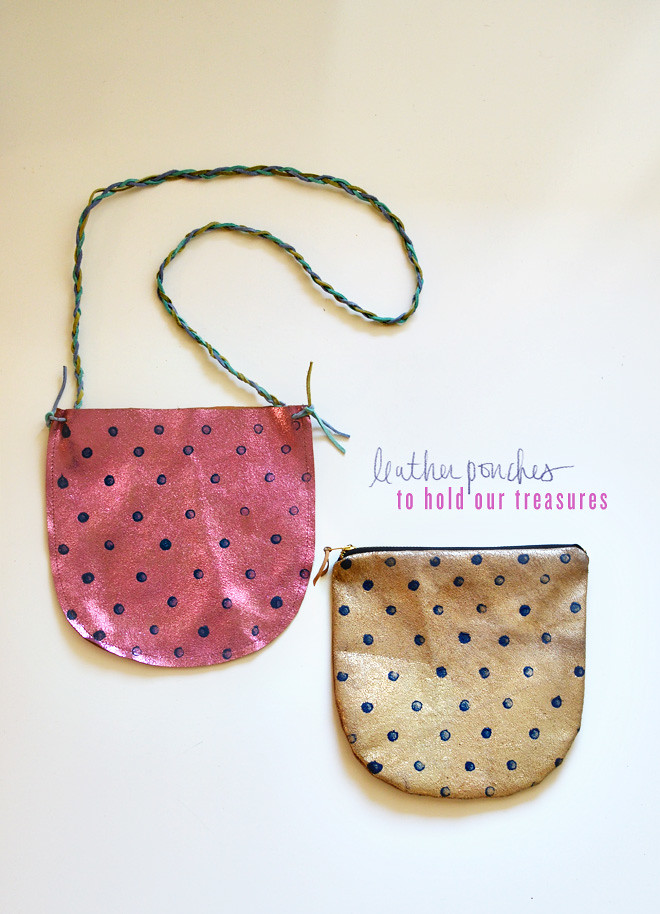
 I have had these leather scraps for awhile now. They were first purchased to make these shoes (so long ago!) and so I finally dug them up and put them to good use. Another little something for them (though I do need to make 2 more for the other big girls) and something for me…
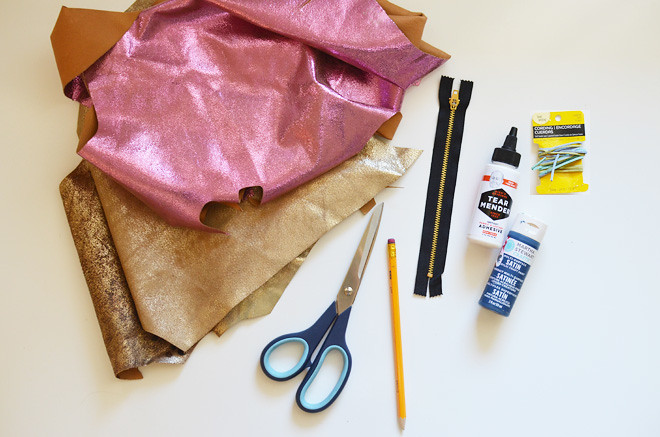
Supplies:
Pouch template (make sure to set print to “actual size”)
Leather scraps
7″ zipper
3 yards of leather cording
Pencil
Acrylic paint
Scissors
Leather glue
Hand needle and thread
Crop-a-dile (not pictured, but it’s the best thing for hole punching)
Seam allowance: 1/4″
Directions:
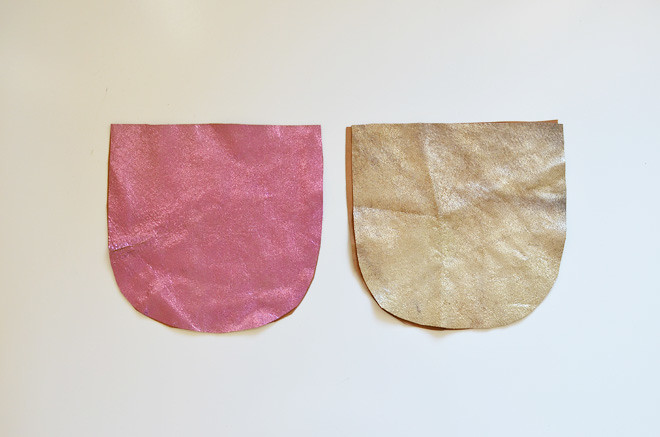
1. Using the template, cut out your pouch pieces (2 per pouch).
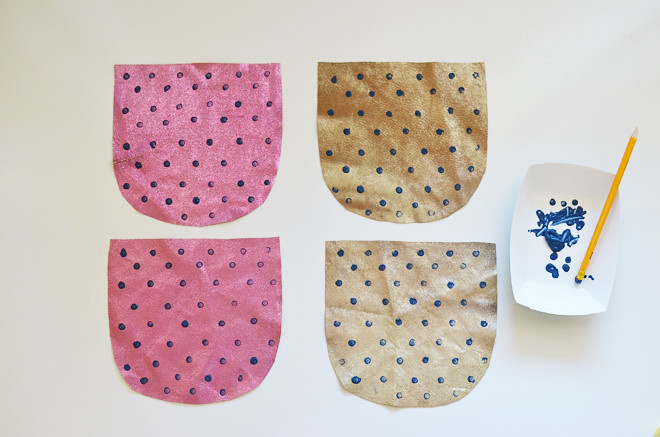
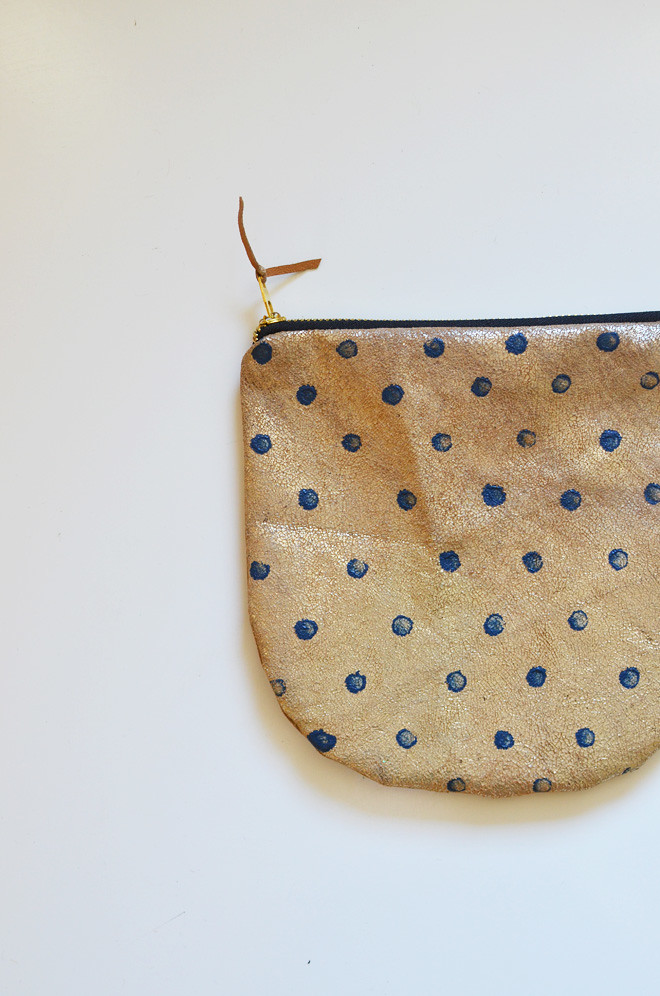
2. Paint your polkadots on the leather by using the eraser on a pencil to dot your pouches with acrylic paint in a staggered design. Allow to dry completely.
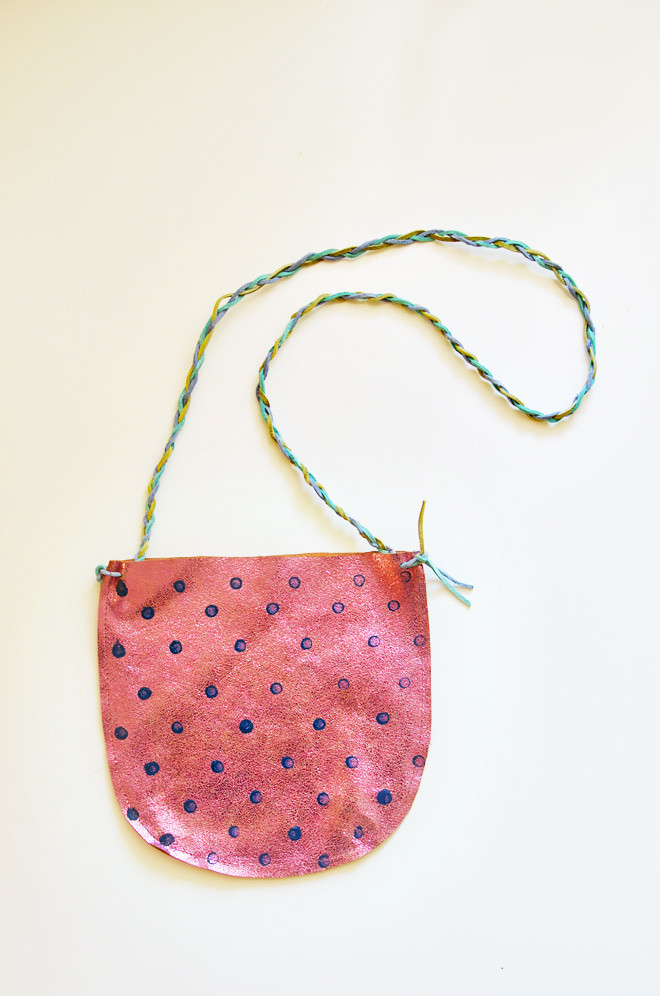
For them (the bag):
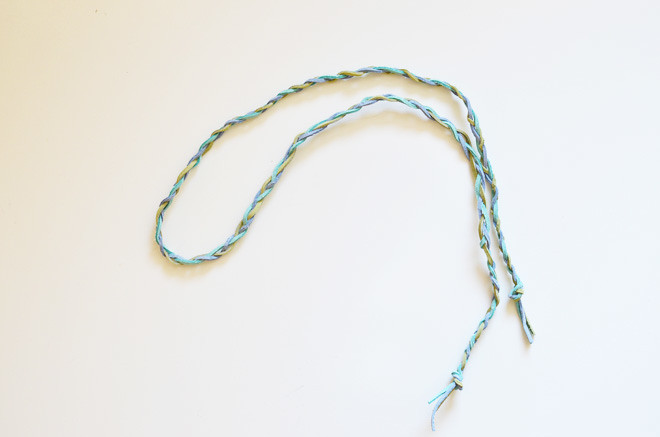
3. For the bag straps, cut 3 yards of leather cording and braid together knotting both ends when entire length is completed.
4. Place the pouch pieces with the wrong sides together, make sure all the edges are lined up, and sew down and up the pouch sides and bottom, but leave the top open.
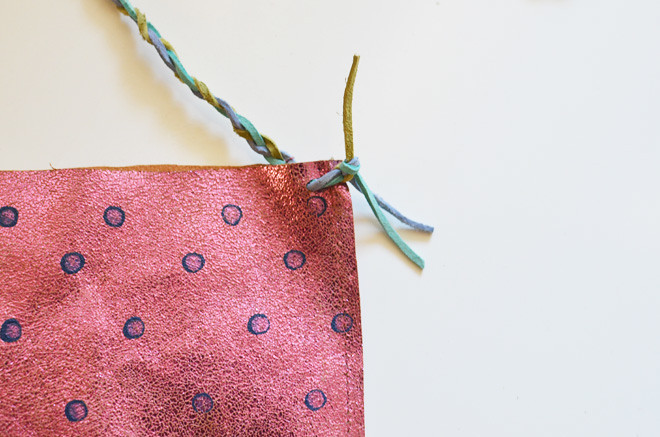
5. Punch/poke holes (I highly recommend owning a crop-a-dile) at the top corners of the pouch, undo the knot on the cording, feed the cording through the holes and then knot again to secure. I put a little dab leather glue to help secure the straps in place.
For me (zip clutch):
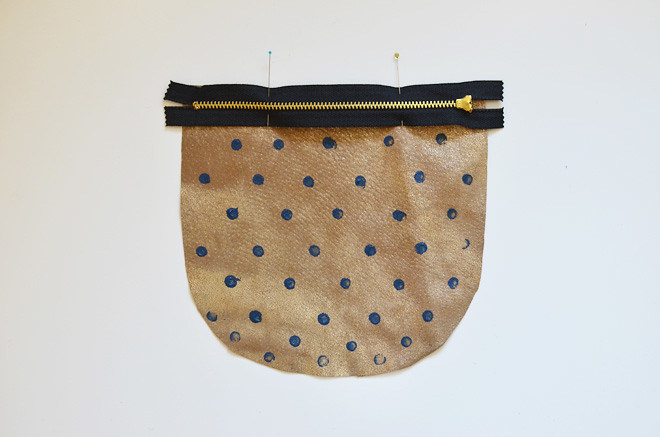
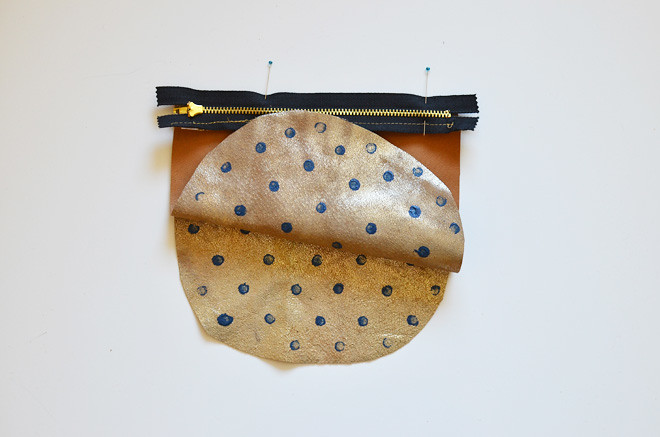
6. Place one side of the pouch with its right side up, then place the zipper teeth side down on top of one of the leather pouch piece, line up the edges, and pin in place. Sew the entire length (starting at the opposite end of the zipper pull), stopping an inch or two from the zipper pull, pull the zipper to the other side and continue sewing the edge.
7. Place the remaining pouch piece with its right side down and lined up with the remaining edge of the zipper (with its teeth side down), pin in place, and sew the entire length of the zipper. Again, stop an inch or two from the zipper pull and pull the zipper to the other side and continue sewing the entire length.
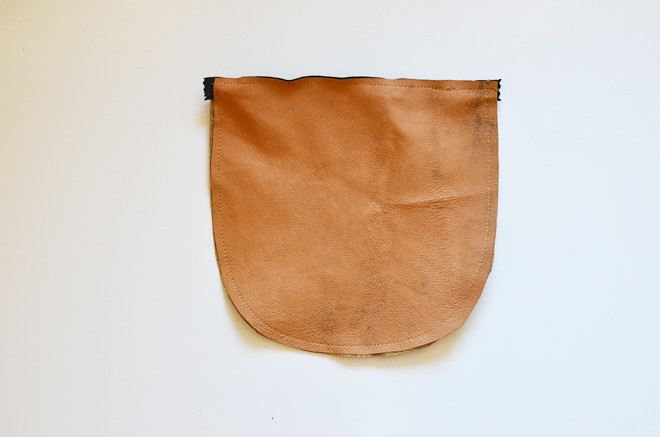
8. Proceed to line up the pouch pieces with their right sides together and sew around the entire perimeter.
9. Clip small Vs around the curves, but be careful not to cut the seam. Pull open the zipper and turn right side out.
10. For a tiny oomph, cut a strip of leather and tie to the zipper pull.
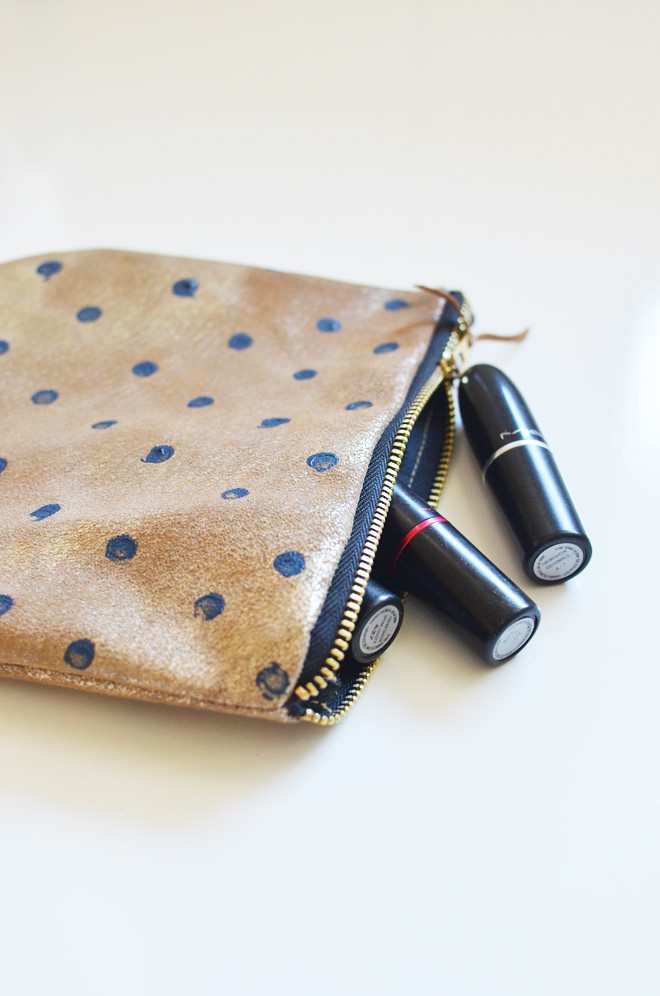
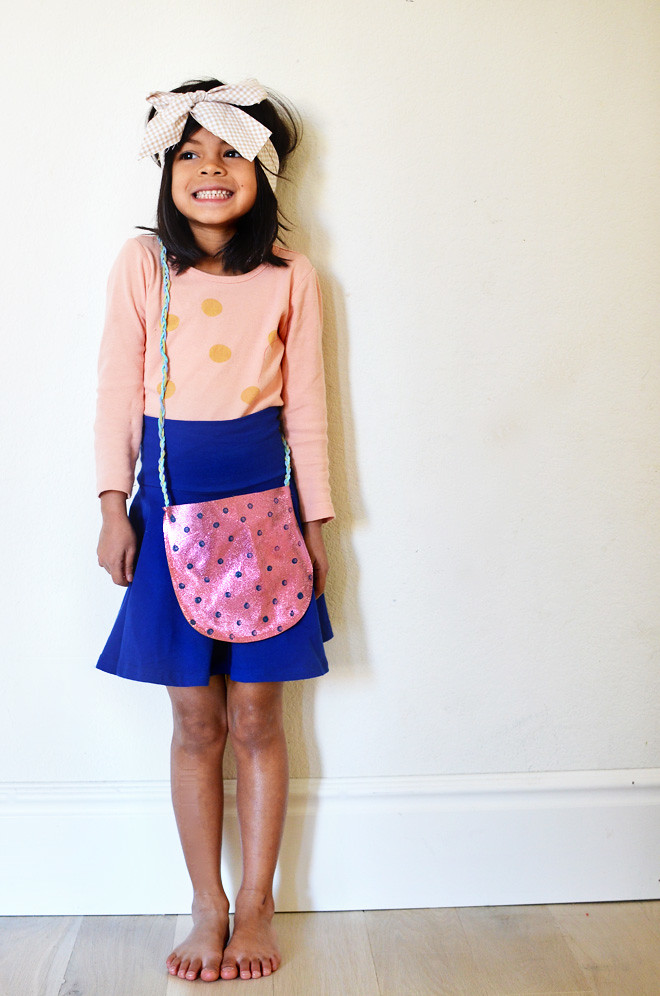 And just like that we both have something to throw on treasures in! You can get some faux leather here, leather pieces here, or just go to your local craft store and use some vinyl. Any of these choices will get the job done.




Another amazing DIY! your blog is my number one go to for DIY’s. Love them. Thank you for sharing xxxxxxxx
oh wow your pouch is lovely and neat. I like that it is shaped like a big pocket. I tried making a cute pouch back in the day. Failed at the zipper. -_-
SOOOOOOOOOOOOOOOOOOOOOOOOOOOOO cool!!!!!!!!!!!!!!!!!!! I could totally see those in a Madewell store with an expensive price tag 🙂
so cute seriously going to have to make these!!
I love these! Oh my gosh how divine!
It’s very cute. (I love especially the braid cord). Thank you for the detailed explanations. I will try it!
Just simply cute. thanks for the idea! Iris
So cute and simple. The little girl makes it look cuter! What a cutie!
Hi Ruby!
was wondering where did you buy the leather from?? they are so pretty! 🙂
awwwww the pouch is stinking cute!!
xo,
Sandy
Sandy a la Mode
so stinking cute! you are seriously a super mama. i don’t know how you do it, four babies and you can craft it up and cook and take amazing photographs? you are an inspiration! and a chic and lovely one at that!
so so cute! like…seriously! and who would h ave thought it wouldn’t be a pain in the butt to make?
I’ve been delving into making very simple accessories with natural leather cord and now I just CAN”T wait to move to leather pieces!!! Now, I have never sown anything in my entire life… what sewing machine do you recommend? Please let me know.
I can’t spend a lot of money on this but would love to buy something that will last for years and that I can pass on.
Thank you! You’ll tutorial was so simple and easy to read! I’m a recent crafter and blogger and hope you can visit my blog too 😉
cheers!
Ursula