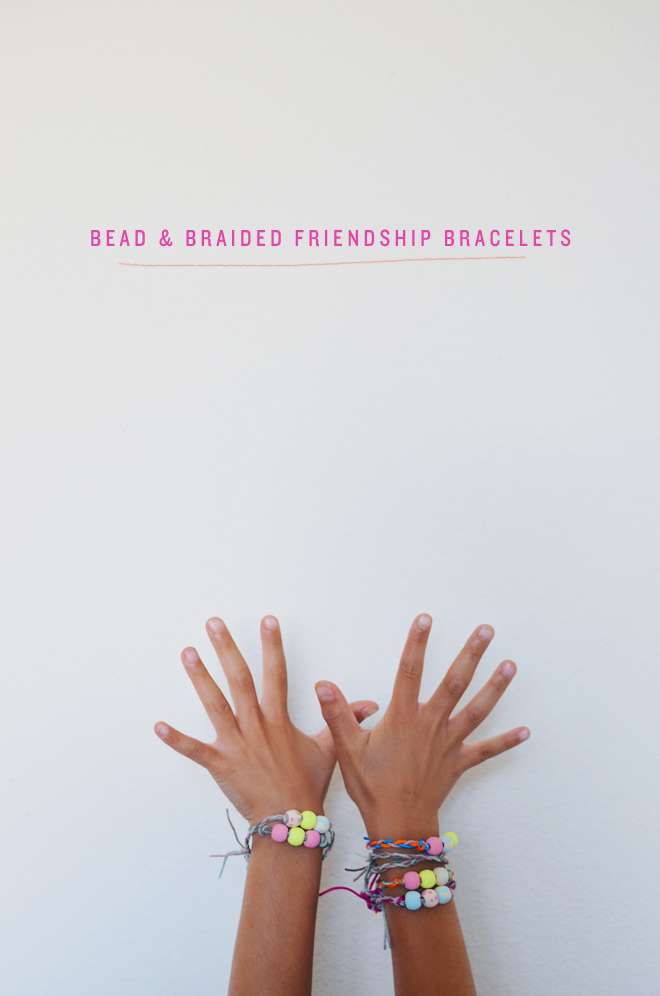
 Bead & Braided Friendship Bracelets
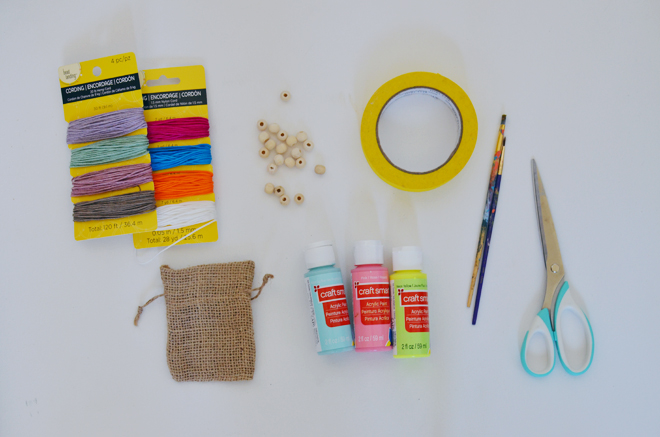
Supplies:
Cording in various colors (I used this; one in hemp and one in nylon)
3/8″ wooden beads
Craft paint
Paintbrushes
Masking tape
Scissors
Small burlap bag (from Michael’s new line called Raw Bar to debut August 8th)
 Directions:
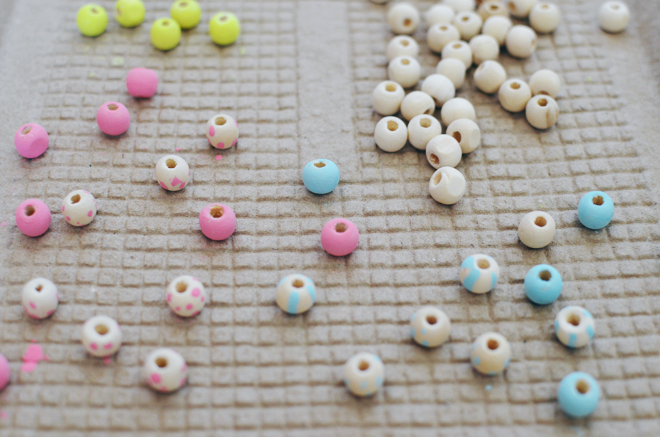
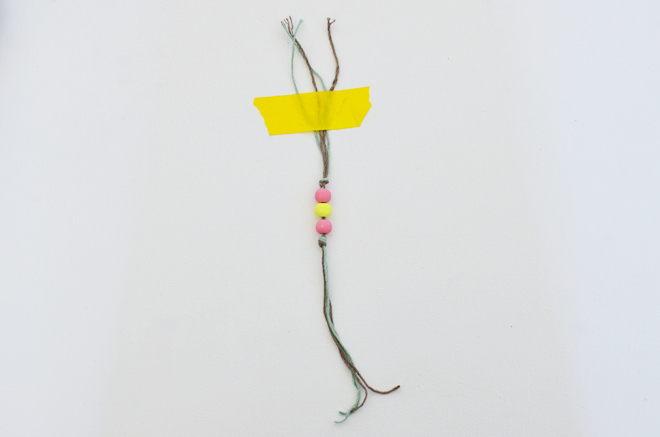
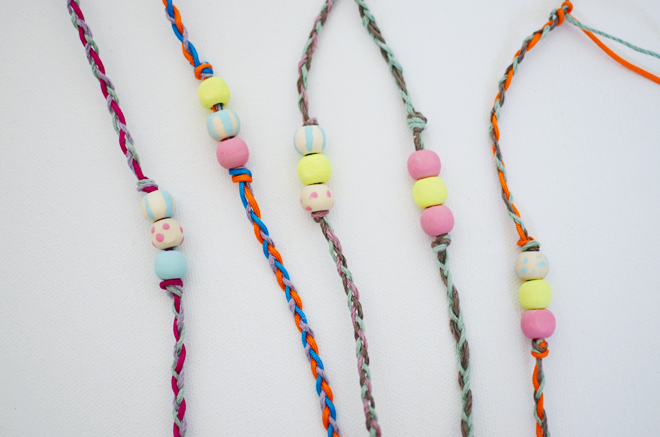
1. Paint your wooden beads and allow them to dry completely. The little hands may have some trouble with the small size, but it’s still doable, or you can use larger beads for the younger children. Cut out 3 (of 4) 15″ strands of cording and add 3 beads to the center of the bracelet. Using a toothpick helps poke the cording through the hole. The 15″ cording is the size I used for a child’s wrist, but you may need to adjust the size if making for an adult.
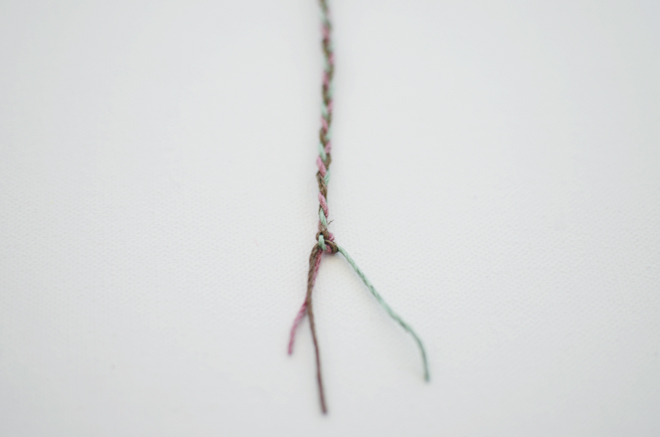
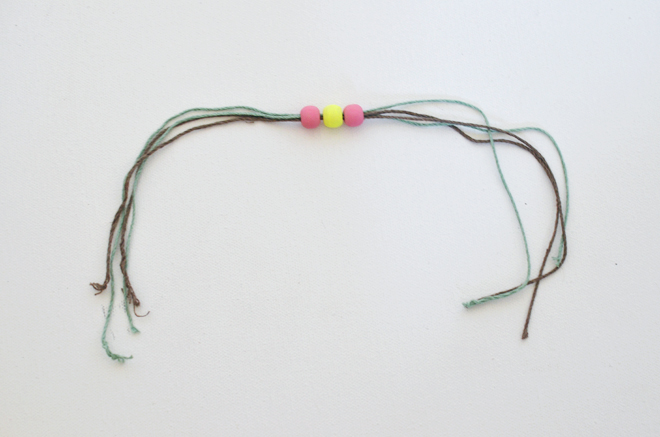 2. Knot the cording on both sides of the beads. Using a piece of tape, tape one end of the bracelet onto table (or heavy surface), braid the opposite end. When about 1 1/2″ from the end, knot the cording together to secure braid in place. Repeat for the opposite end. Keep going with the rest of your beads and cording and make a ton more bracelets!
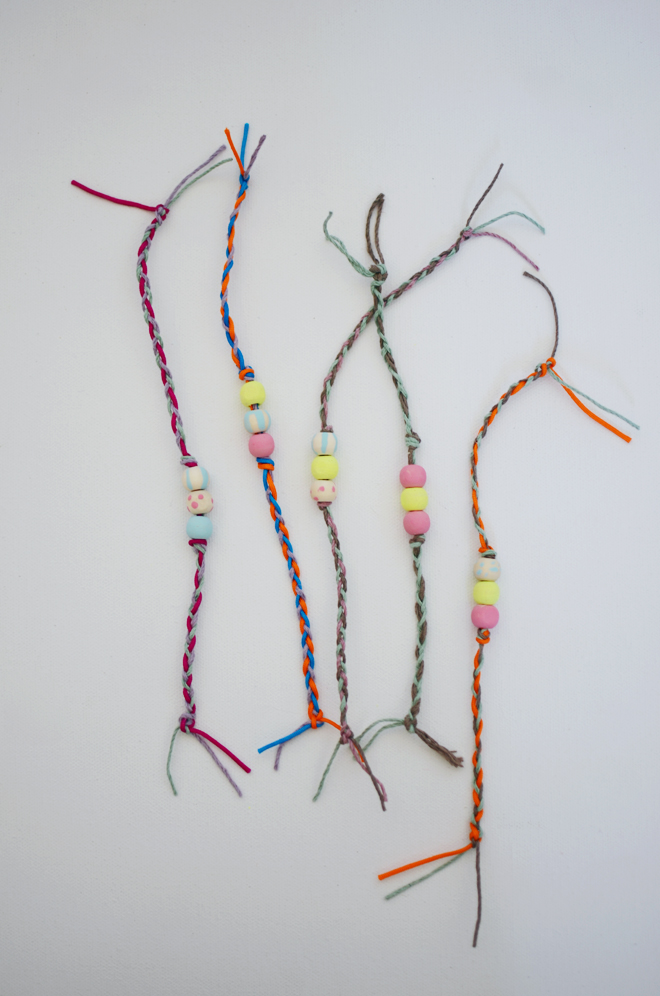 If making for a friend, use this sweet little burlap bags, paint a design in front, allow to dry completely, and slip one (or two) of the bracelets inside.
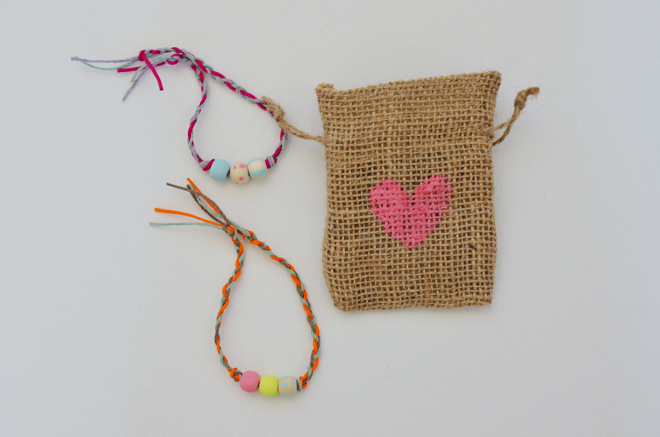
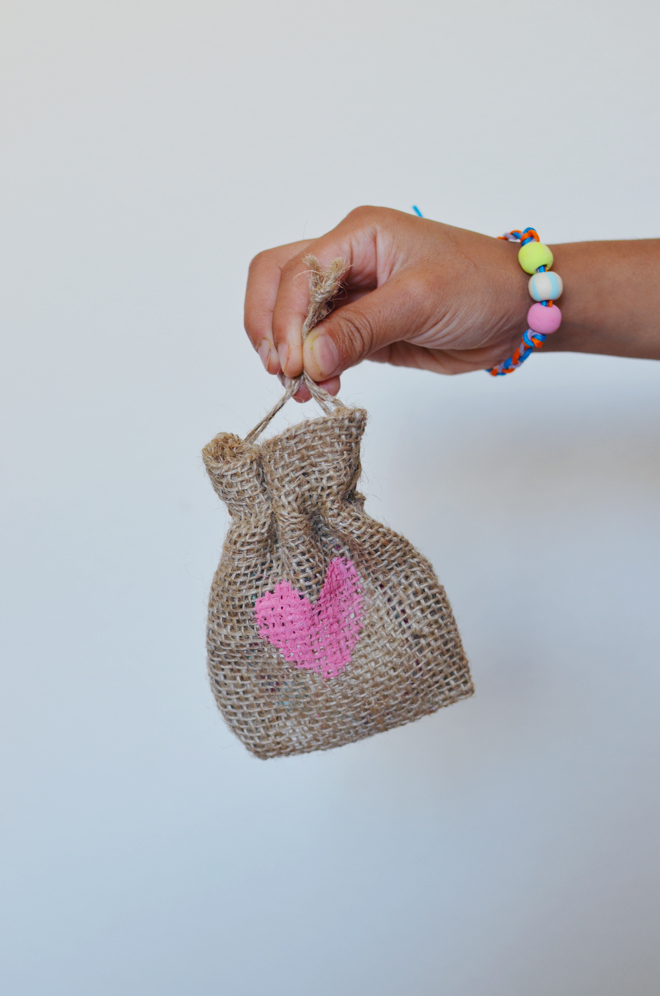
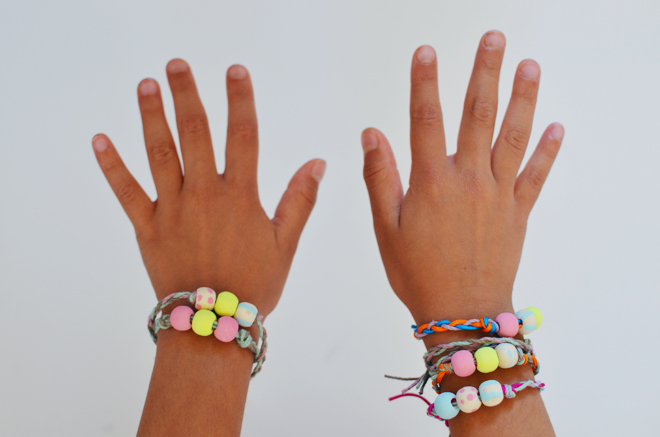 Traditionally, friendship bracelets use a type macrame, but I went simple since its for my little girls. They’ve been crazy about those Rainbow Loom bracelets (I find those little rubber bands all over the house!), so I knew they would have fun doing a little painting and braiding for these bracelets. They put together a couple in the burlap bag to give to one of their neighbor friends. Making friendship bracelets totally seems like a camp thing to do, so we made our own little version at home!
This is post part of the Michael’s Makers Challenge.





so simple and cute!
xxoo,
nikki
http://www.dream-in-neon.com