Supplies:
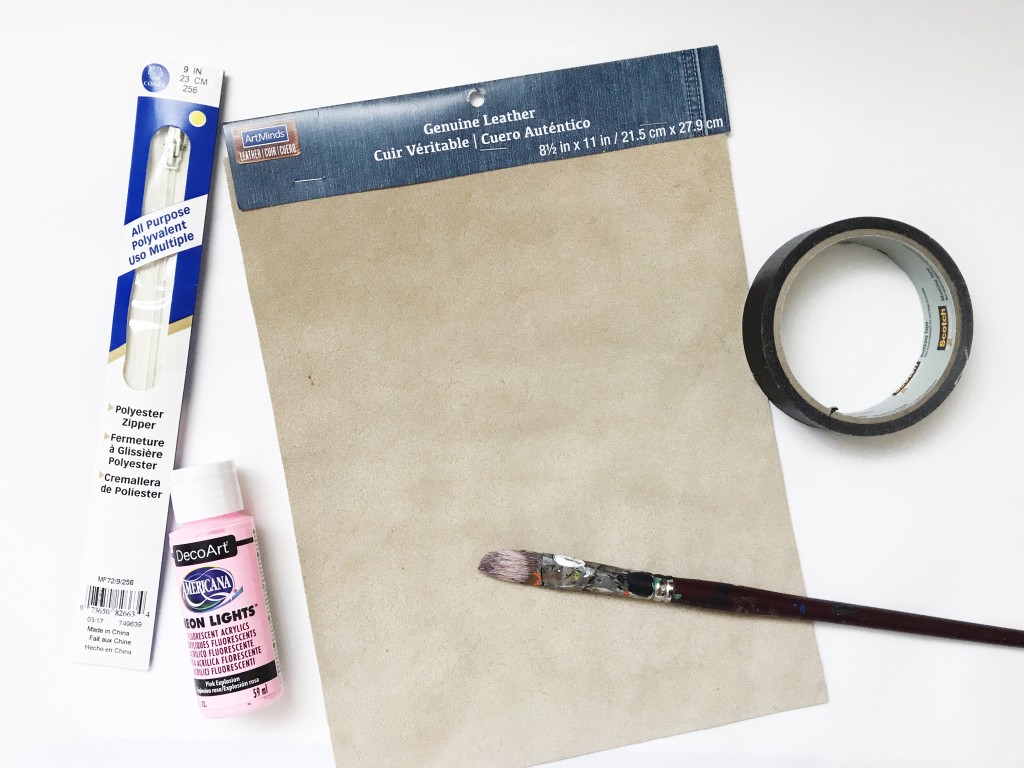
8 1/2″ x 11″ leather piece
9″ zipper
Neon paint
Paintbrush
Tape
Scissors
Coordinating thread
Sewing machine
Seam allowance: 1/4″
 Directions:
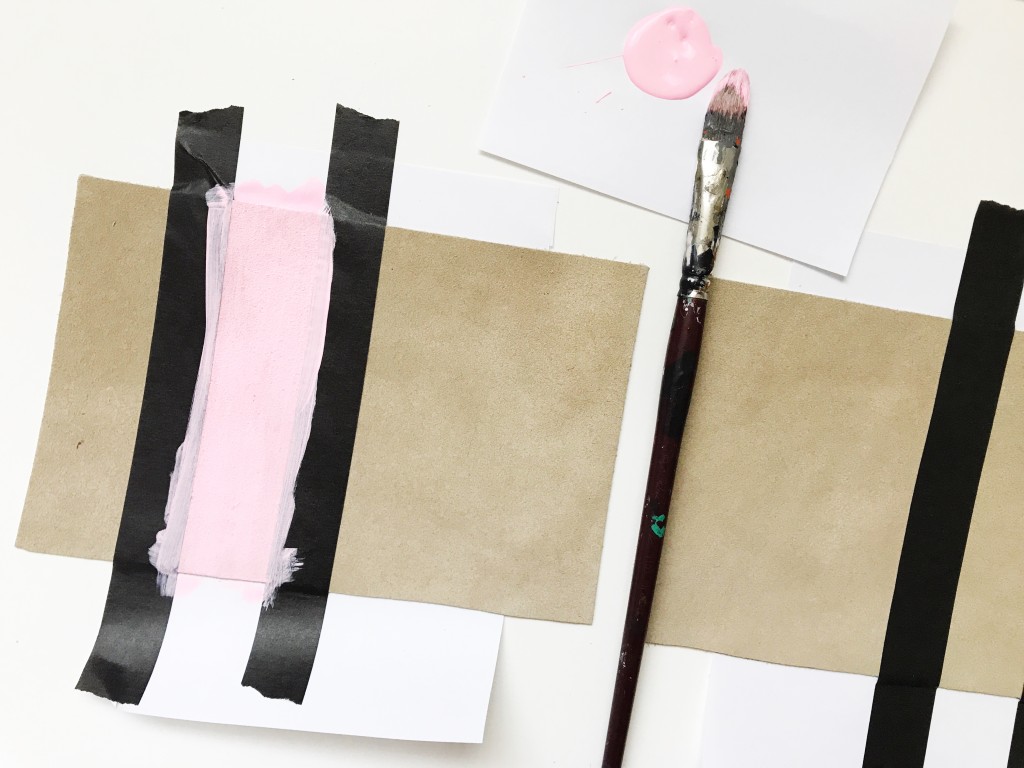
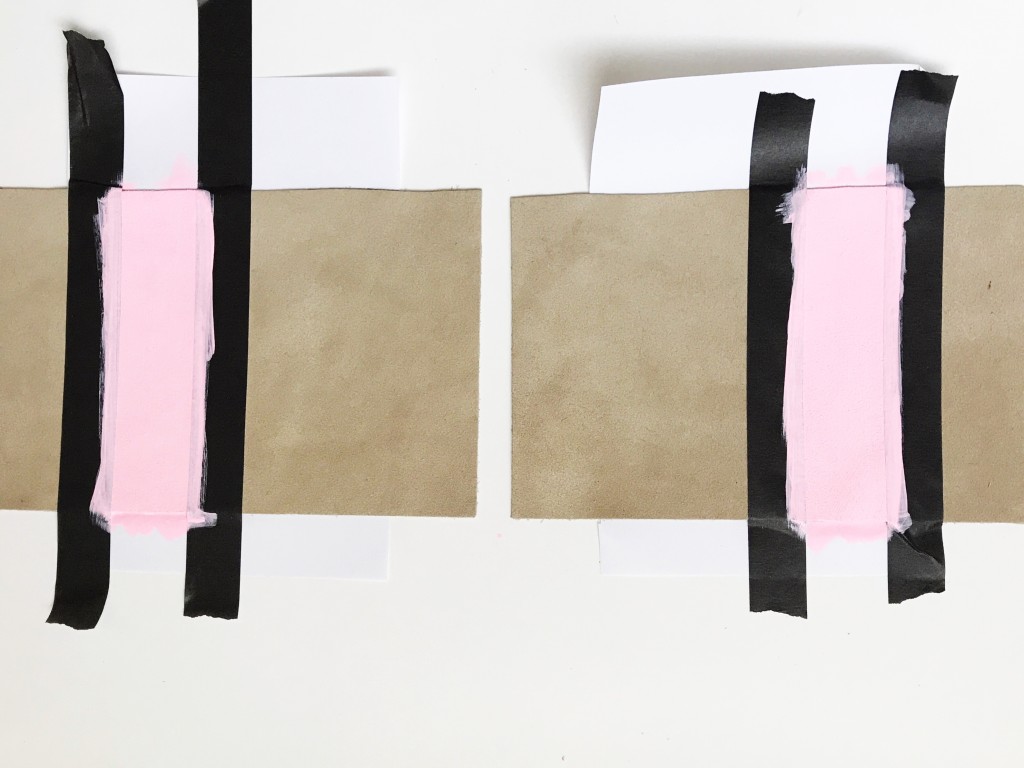
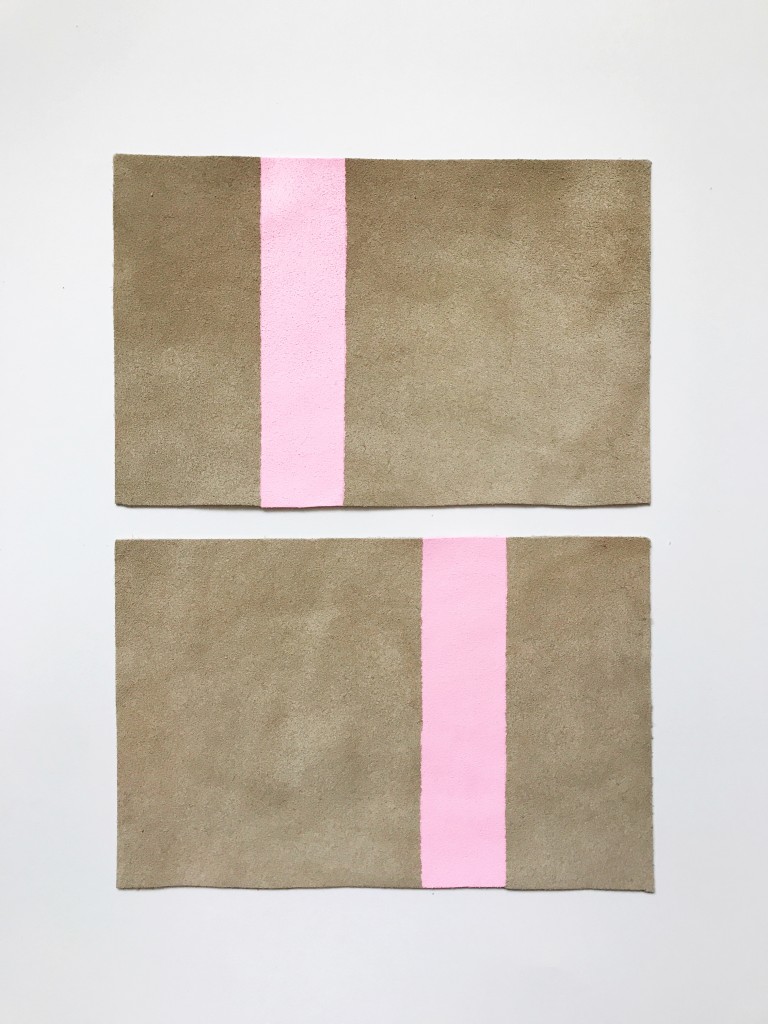
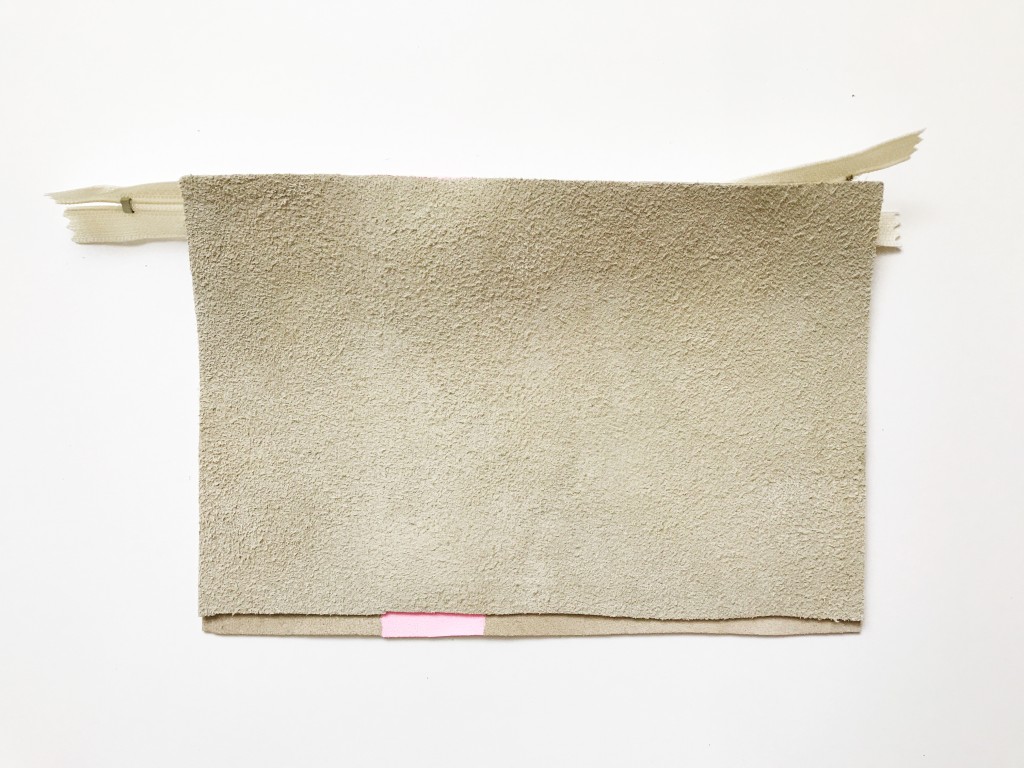
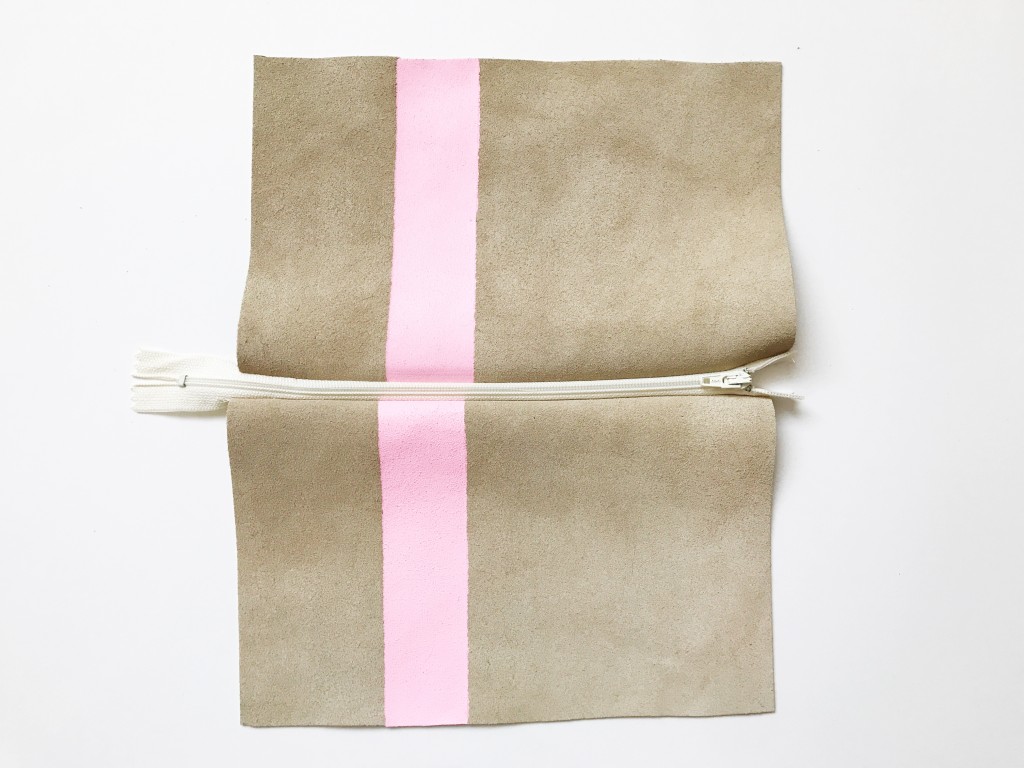
1. Cut your leather rectangular piece in half, so that each piece is 8 1/2″ x 5 1/2″. Tape off the portion of the clutch you would like to give a bright, neon stripe. I did ours about 2″ in from the edge, and make sure you paint the opposite side of the second leather piece, so that when you put the right sides together, the stripe ends up lining up.
Paint your stripe and allow to dry completely. I did 3 coats to get a nice bright pink. In black light, the pink glows!
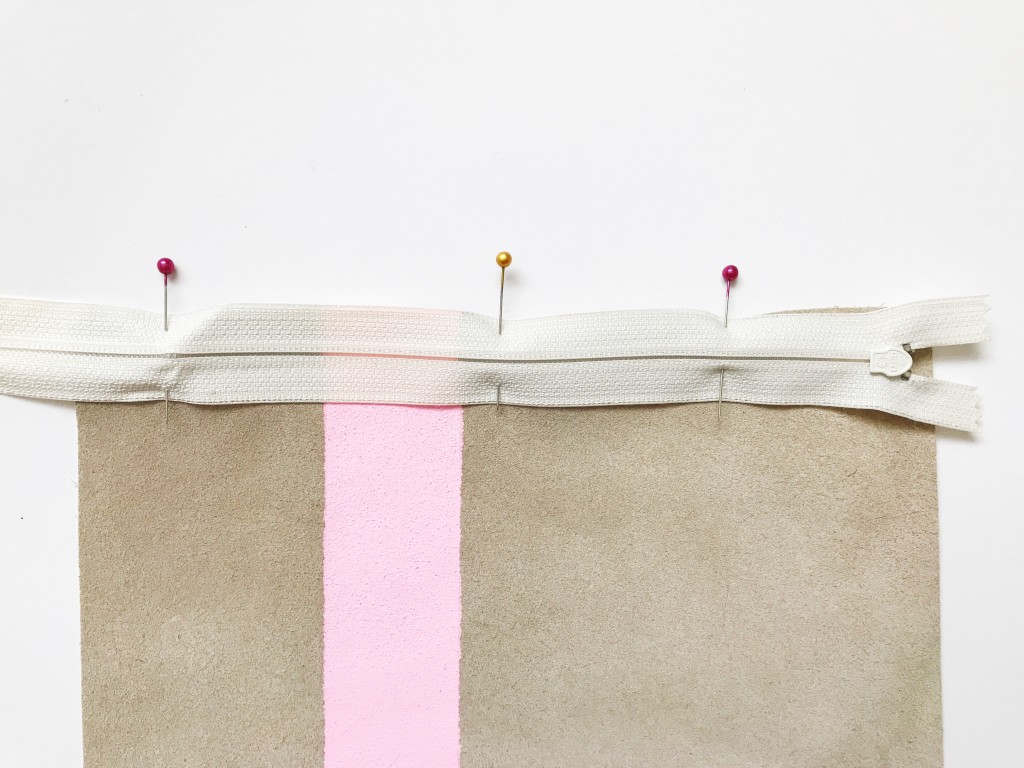
 2. With the zipper teeth down on the right side of one of leather pieces, line up your zipper, pin in place. Sew along the edge of the zipper.
 3. Place the second leather piece on top, with the right sides together, line up the zipper edge with the leather piece. Pin in place and sew along the entire length.
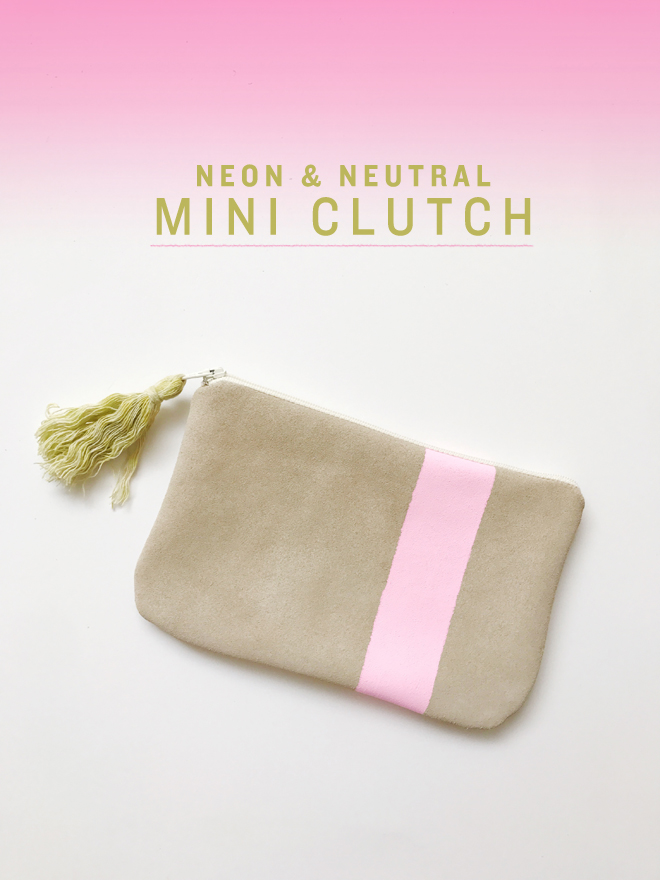
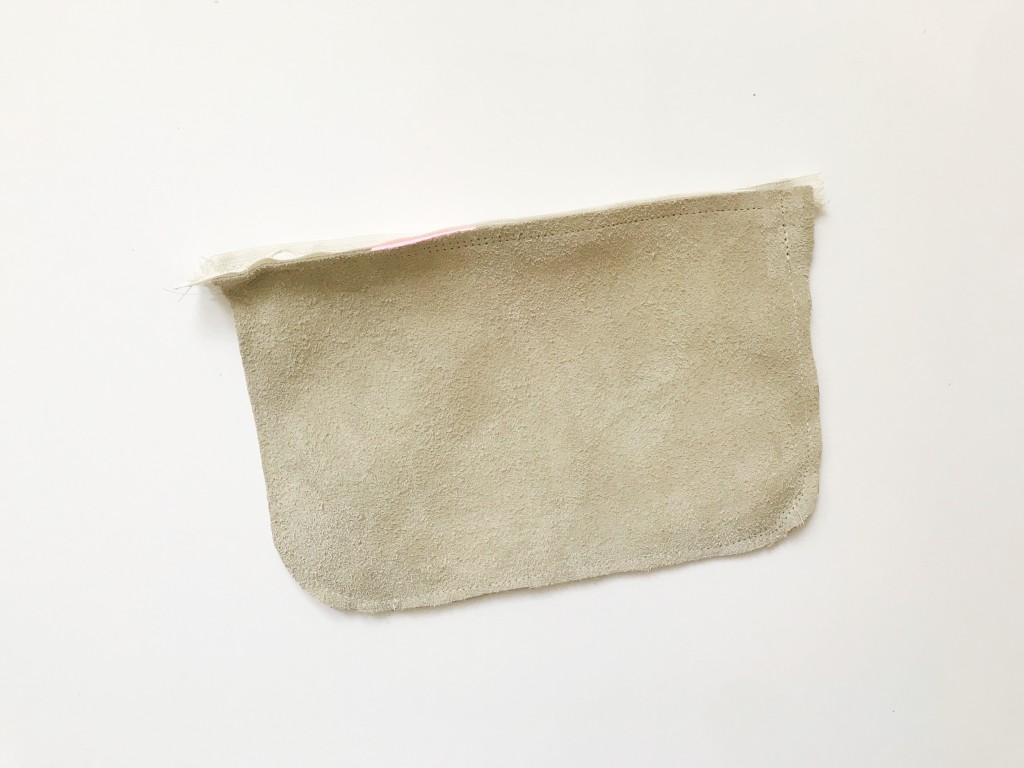
 4. With the right sides of the leather pieces together (open the zipper, so that it can be turned inside out), sew along the sides and bottom of the clutch. I sewed ours with rounded corners. Once all sides have been sewn, turn right side out. Add a tassel in a fun color for a little bit more neon pop!
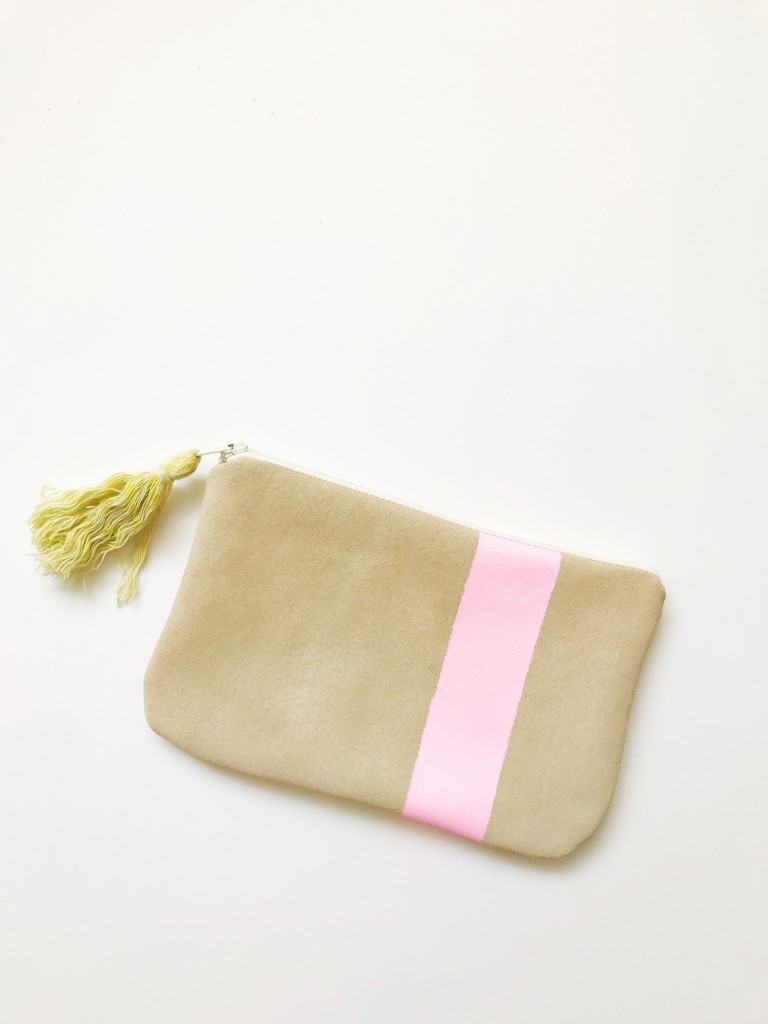
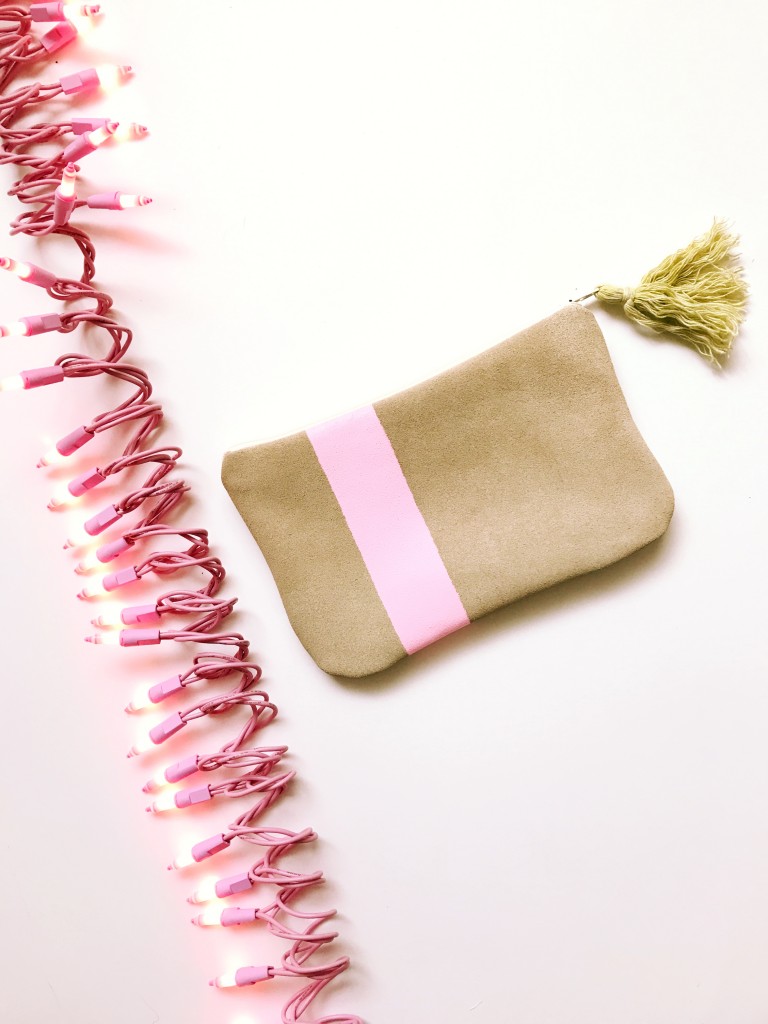 It could be a pencil pouch or a mini clutch for a night out. I haven’t decided if I’m going to give it to the girls to use (they want it!) or keep it for myself. Maybe, I’ll just have to make another.
Supplies provided as part of the Michaels’ Makers Series. From neons & neutrals, to bag charms & kawaii cuteness, Michaels has everything you need to head out Back To School in the latest trends.
 Loading InLinkz ...


