michaels makers summit at carmel valley ranch

September 27, 2016


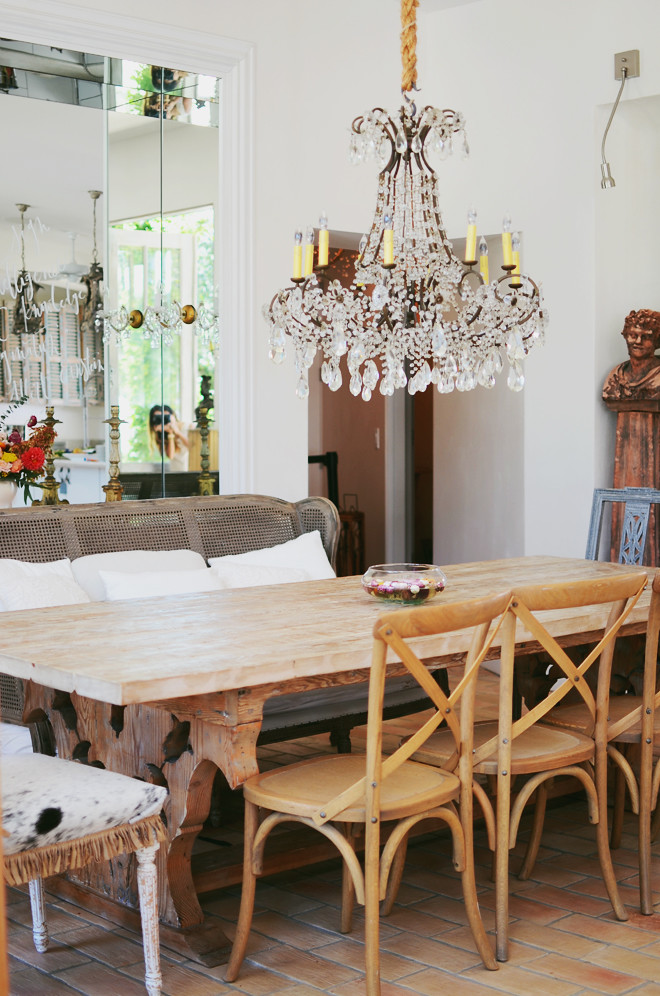
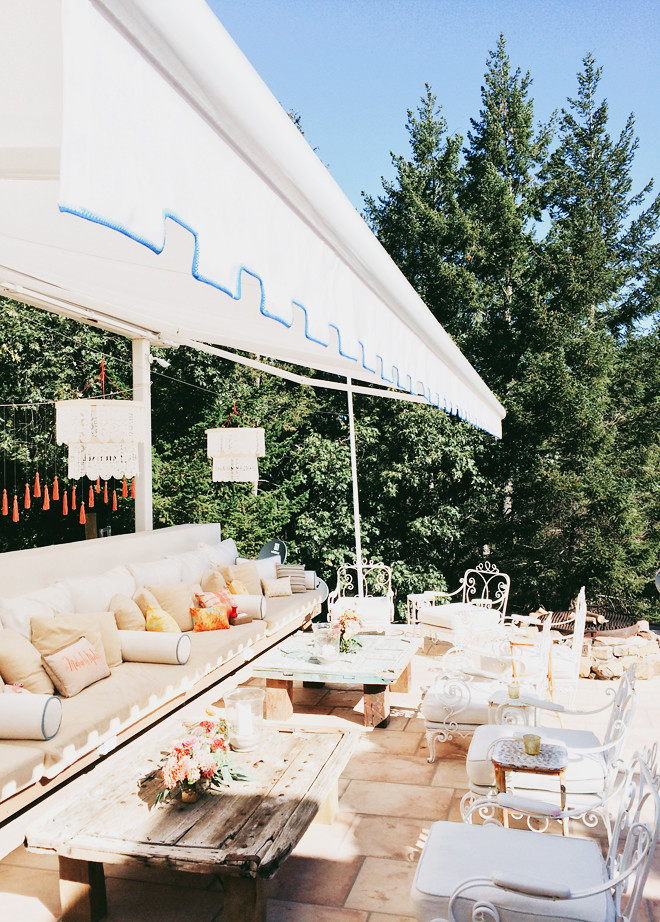
I had no clue how the Michaels team would top last year’s summit, but they certainly did. The backdrop this year was at the gorgeous Carmel Valley Ranch, and I was not prepared for how amazing it was all going to be. The moment I stepped into my room, which had a living room, two televisions, fireplace in my bedroom, and a balcony overlooking deer and wild turkey roaming around… I was in hotel heaven. Immediately, I felt a little guilty that I was enjoying this without Ben and the girls, so I tried to convince them to drive up, but he said, “You need this break, just enjoy it.” So enjoy it I did! I went to sleep every night under the soft glow of the fireplace (it turned off by itself after two hours) and I came home wishing my bedroom had a fire place too.

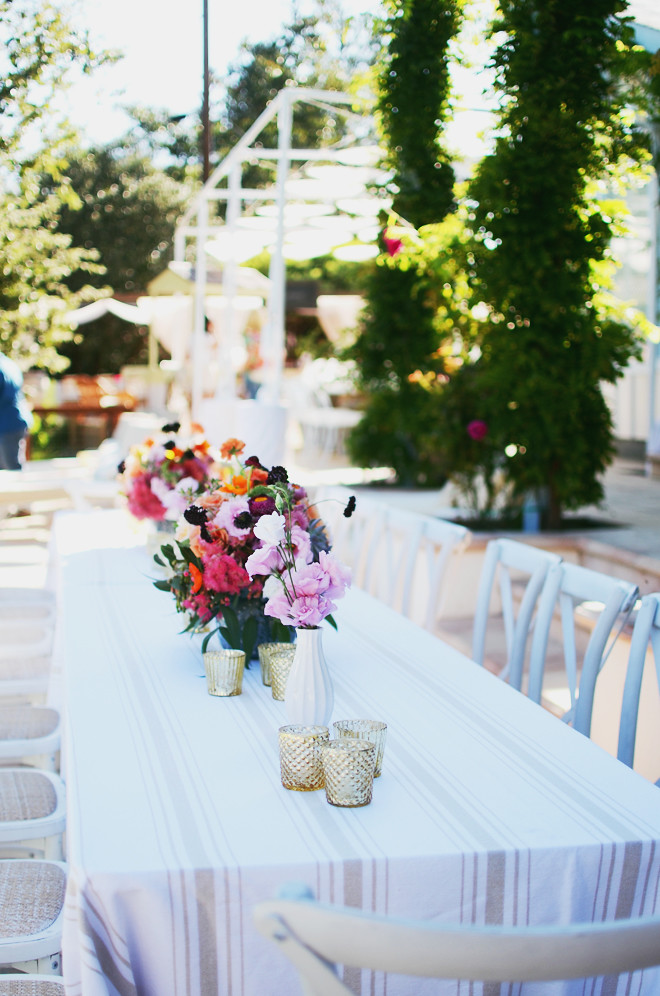
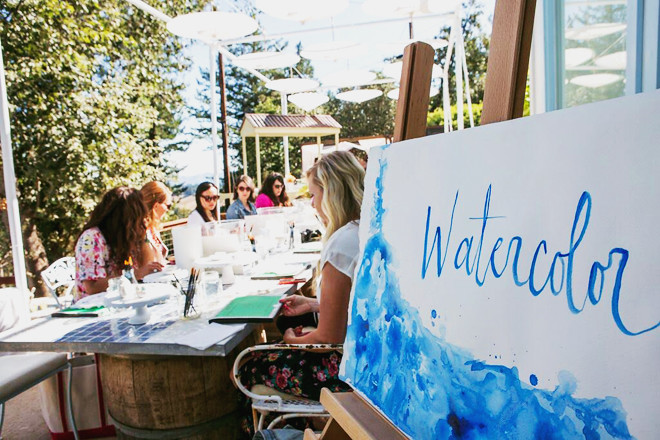
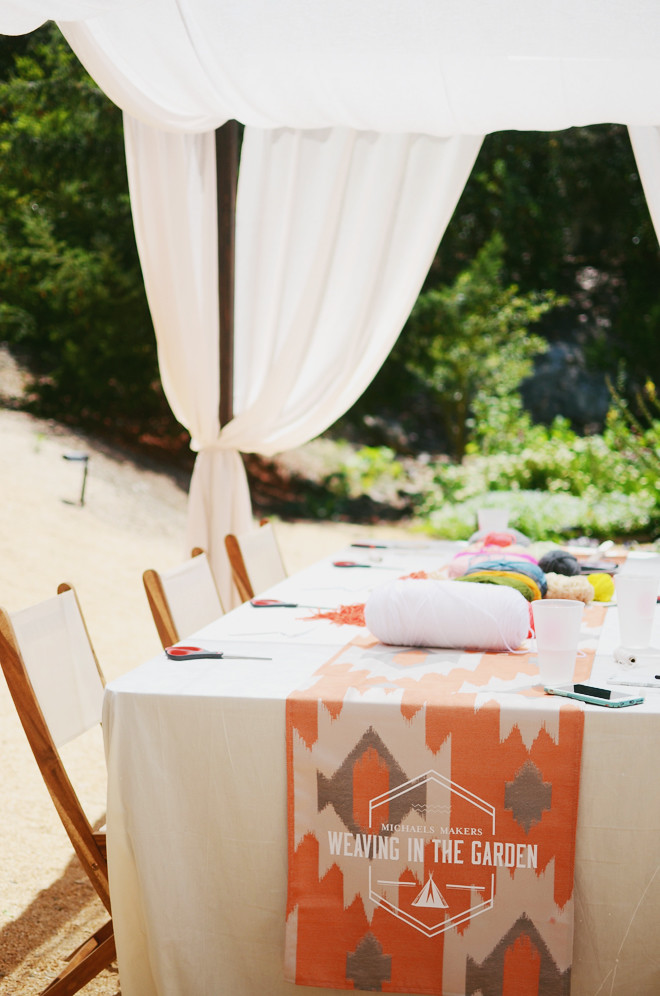
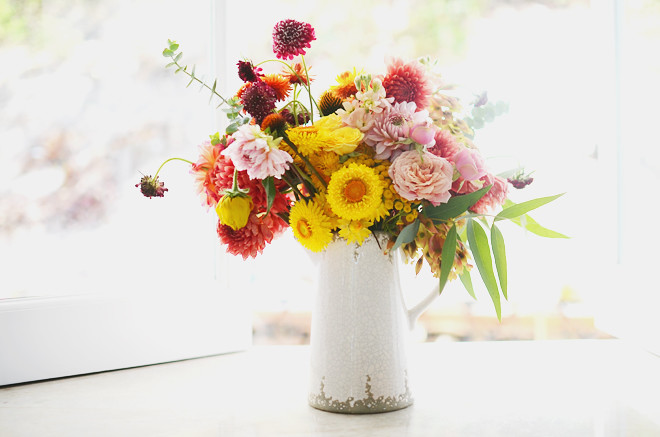
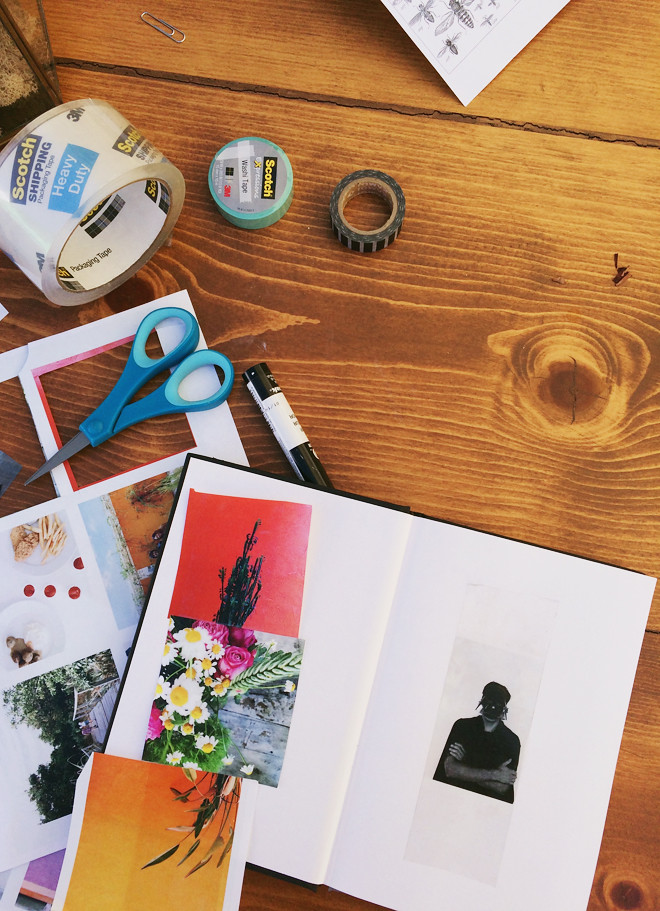
In addition to the location being pretty heavenly, they made sure to pack our days with lots of inspiring classes and delicious meals. We took mixed media, shibori dyeing, cricut, wood burning (where I burned my arm and have a permanent scar), watercolor, jewelry making, tablescape creating, and macrame. My fave classes were mixed media with Jane Davenport and macrame with Annabel Wrigley. Then, there was the food. Oh the food! Yes, the main dishes were excellent, but I really miss the churros drizzled with dulce de leche, crème brûlée, and chocolate mousse cake. I’m a sweets gal all the way (and yes, I’m married to a dietitian too). Also, I loved the gorgeous styling at each meal. All of it was simply divine.

And yes, Sarah Michelle Gellar was there to share about her making journey with her family and Food Stirs. My high school self was freaking out inside because I so wanted to be Buffy (and was in love with Angel).

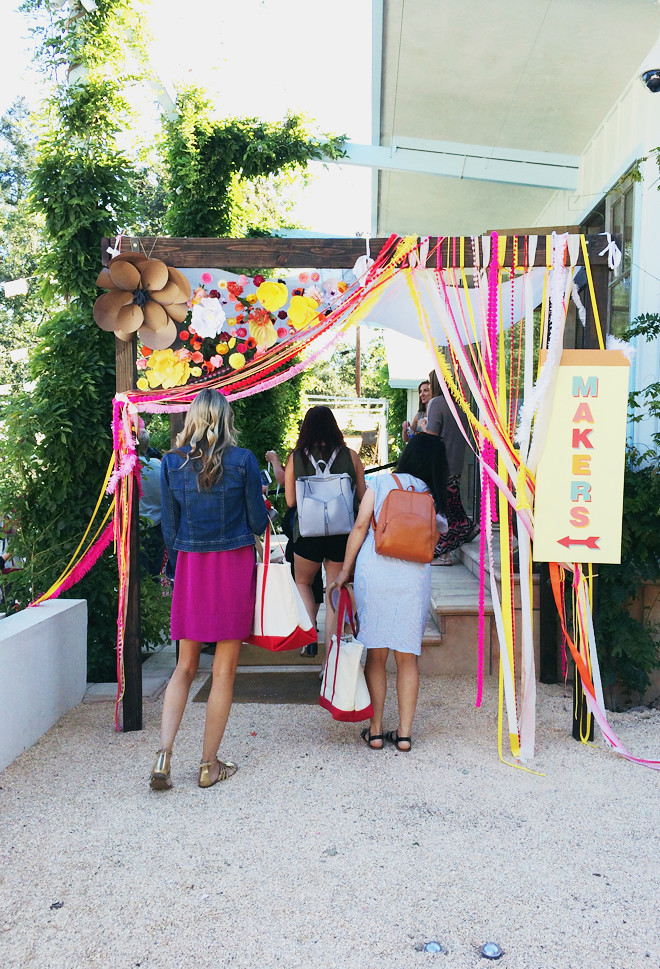
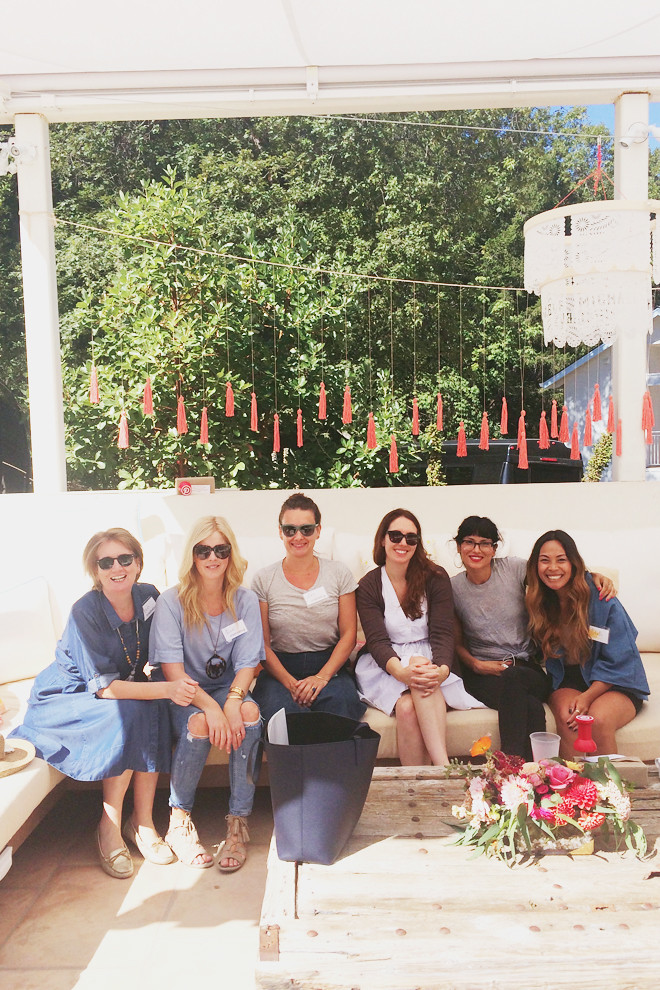
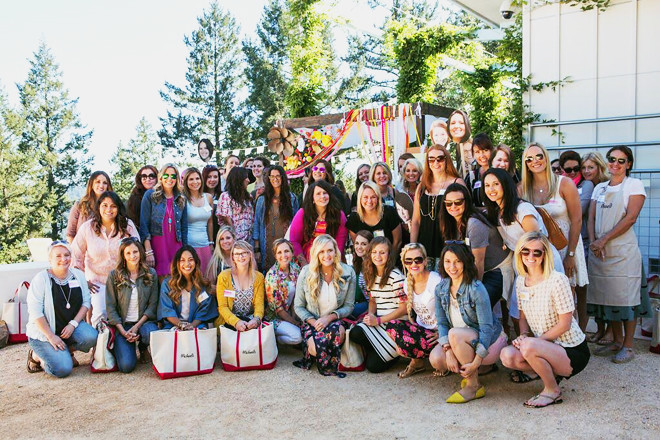
Not only was it nice to get spoiled a bit, but it was so great to nerd out with other makers. Part of the fun is meeting other makers and learning about what they specialize in. You had paper flower artists, party planners, hand lettering artists, painters, interior designers, fiber artists, jewelry designers, and the variety of specialties could go on and on. We were all joined together because we have a love for making. Sure, what we make might not always come out perfect, but it’s the whole process of creating that is so enjoyable. I added some new friends to Instagram and love that I get to continue watching their creative journey.

On the last day, I got to explore the ranch a bit and went for a guide-led nature hike. It was a perfect end to a wonderful craft-cation. I came home super inspired to teach the girls some new making techniques, but we’ll probably skip the wood burning.

Thank you Michaels for such an beautiful Michaels Makers event and I’m definitely inspired to keep on making!


michaels makers summit with creativebug

August 3, 2015


michaels makers summitmichaels makers summitmichaels makers summitmichaels makers summitmichaels makers summitmichaels makers summitmichaels makers summitmichaels makers summitmichaels makers summitmichaels makers summitmichaels makers summitmichaels makers summitmichaels makers summitmichaels makers summitLast weekend, I had the pleasure of joining about 40 other Michaels Makers bloggers (learn about all of us here) for a Michaels Makers Summit in Sonoma. I didn’t know what to expect, and while I hadn’t met anyone before, I was looking forward to the creative workshops Michaels had planned for us through their education partner Creativebug. After an eventful day of travel (even though I was just coming from SoCal), I finally found myself in wine country with lots of sweet and creative ladies. The first night started off with making floral crowns, dinner at Farmstead, and ending the night eating s’mores with homemade marshmallows. Seriously, it’s tough going back to store bought marshmallows.

The next day started bright and early, with a few shuttles taking us through windy mountain roads to the summit location. When we arrived at the destination, we were all blown away by all the details of the estate. Everything was absolutely gorgeous. Then, when you get bloggers together at a place like this, the cameras come out and everyone goes crazy. We are definitely a weird bunch, but we could all relate to one another. We had a few moments to soak it all in, then we got to hear from one of the founders of Creativebug, and a little introduction to the classes we were going to take: watercolor with Yao Cheng, weaving with Annabel Wrigley, image transfer with Courtney Cerruti, and paper flowers with Livia Cetti.

I loved each and every class, and especially our talented instructors. Watercolor was super relaxing; I was mesmerized by watching the watercolor move across the paper (see here). Weaving is addicting, and I totally get why it’s all the craze right now (I’m crazy for it and getting my girls to love it too!). Image transfers was pretty mind-blowing (I have already taught my girls how to do it!). With paper flowers, I knew I would love it, since working with flowers and felt flowers is my thing. Of course, between the classes, we were treated to delicious food, popsicles, and lots of moments to enjoy the beautiful scenery and being able to chat with new friends (new for me, most people already knew each other).

I’m thankful for another year as a Michaels Maker, and if you want to experience the summit for yourself, Creativebug and Michaels partnered together to provide all the classes here for free until August 22! You can learn how to watercolor, weave, make paper flowers, and image transfer too! I came home so inspired and itching to put all my new skills to practice. The Michaels Makers challenges will continue throughout the year and feel free to create your own projects with us by sharing on Instagram using #MadeWithMichaels.

 Loading InLinkz ...


diy: watercolor bubble art

June 1, 2017


Watercolor Bubble Art

Supplies:
Bubbles solution
Watercolor, tube set
Cups
Bubble wands
Poster board

Directions:
1. Pour about 1/4 cup of bubble solution into each cup.

2. In each cup, add a large dollop of watercolor.

3. Mix the color and solution together.

4. Go to town blowing bubbles on the paper!

There you go! Some easy art that children will love creating. They’ll enjoy watching the bubbles pop as it leaves a burst of color on the paper. Allow paint to dry completely, then frame. This is a wonderful summer project, so don’t forget to stock up on bubble solution and watercolor!

We’ve been doing some redecorating, so while I’ve done this project before (see here), I wanted one with some hints of black. Plus, after blogging for 10 years now, it’s fun to revisit some past projects and do them again.

Supplies provided as part of the Michaels’ Makers Series. Looking for more inspiration? Make sure you visit Michaels’ blog, The Glue String, to see the rest of the Michaels Makers’ summer fun project ideas.

 Loading InLinkz ...

diy: heart in hand clay dish

February 1, 2017


Heart in Hand Clay Dish

Supplies:
Air-dry modeling clay
Roller
Clay tool set (for cutting, or can use a plastic knife)
Parchment paper
Small bowl
Craft paint
Paintbrush

Directions:
1. On top of a sheet of parchment paper, roll out a ball of clay until 1/4″ thick.

2. Place hand on top and cut out shape with clay tool (or knife). Tip: Lightly touch cracks or rough spots with a little bit of water to help smooth it out.

3. Place the hand on top of the bottom of a small bowl so that it will air dry into the shape of a dish. Allow about 48 hours to dry completely (the package says 24, but ours needed longer time).

4. Once it is completely dry, paint the outline of a hand and a heart in the middle. Allow paint to dry.

Attach a little note that says, “You hold my heart in your hand!” and you have a perfectly sweet Valentine’s Day gift for someone you love. Or have the kids make them as presents for the grandparents (or mom and dad).

I have True’s hand on my bedside table and it’s just the right place to put my rings for the day. See the other clay creations the girls made here. I love how easy it is to work with air-drying clay.

This post is part of the Michaels Makers Series. Looking for more Valentine’s Day inspiration? Make sure you visit Michaels’ blog, The Glue String, to see the rest of the Michaels Makers’ DIY Valentine’s Day gift ideas.

 Loading InLinkz ...

Save

Save

Save

Save

Save


gold glitter star garland

December 1, 2016


Gold Glitter Star Garland

Supplies:
Corrugated cardboard (we recycled a shipping box)
Pencil
Gold glitter
Glue
Paintbrush
Scissors
String
Plastic needle

Directions:
Draw stars in various sizes on cardboard and cut out (cutting out cardboard is tough for kids, so I had to do it). Pour some glue on a paper plate, paint one side of the star with glue. Then, generously sprinkle on the glitter. Repeat for every star. Allow stars to dry completely. Using a plastic needle, string through the opening of the corrugated cardboard.

We love the statement this star garland makes. It’s real shimmery in person, but that doesn’t translate in pictures. If you want to omit the glitter mess (glitter always makes a mess), use glitter glue instead. The girls are mini makers and love any opportunity to make Christmas decorations. This year, they are even the ones who decorated the tree! I love giving them reigns to decorate as they please. Sometimes, I do have to coral them in a bit because they can go crazy, but I love seeing them take joy in making things for our home and each other (even if the making mess doesn’t drive me a little bit batty). I love making crafts with the kids because it means we are also making memories!

This post is part of the Michaels Makers Series. Looking for more holiday inspiration? Make sure you visit Michaels’ blog, The Glue String, to see the rest of the Michaels Makers’ DIY holiday project ideas.

 Loading InLinkz ...

Save


flower pot costume

October 3, 2016


Flower Pot Costume

Supplies:
Petal template
Leaf template
4-5 sheets of felt for the flower petals
4 sheets of green felt for the leaves
Coordinating embroidery floss
2 poster boards, brown or gold for pot
Duct tape
Thick ribbon, for pot
1/4″ ribbon (or yarn), to string through the petals
Hand sewing needle
Scissors

Directions:
1.Cut out your flower petals from the felt. I used 14 flower petals for our headpiece, but the amount you use may differ based on the head size of the costume wearer.

2. Cut a 1 1/2″ slit at the base of the petal, overlap the ends together, fold back, and sew it in place. Repeat with each petal piece. This creates the panel to string your ribbon through for the flower head bonnet.

3. String your thin ribbon through each petal, add a 8″ extra on each end (so the ribbon can tie under the chin), then cut.

4. Cut out your pot shape from each poster board. Yours may be different based on the size you want for the costume wearer.

5. Cut out 2-15″ pieces of the thicker ribbon, place on desired spot on the inside of the poster board pot, about 6″ apart, and tape in place. May need to be adjusted based on the costume wearer and how low you want it to hang.

6. Cut out your leaves and sew two pieces together using a running stitch all the way around, but be sure to keep the base of the leaves open, so you can insert hands. If desired, add a decorative stitch along the middle of the leaves.

Put on the pot, tie the flower bonnet on (I used bobby pins to secure the petals in place), and put on the leave gloves. Another tip is to pull the felt petal to help it stick out a bit and not be so floppy.

I can’t believe it’s October and the girls have been plotting our Halloween costumes for this year. We have a lot of costume crafting to do; I can’t wait to see it all come together. Have you decided what to dress up as for Halloween?

This post is part of the Michaels Makers Series. Whether you’re into spooky sights, playful pumpkins or giggling ghouls, Michaels is your Boo-It-Yourself Halloween Headquarters and has tons of ideas for DIY costumes and décor.

 Loading InLinkz ...

CAKIES
©
Design by Blog Milk