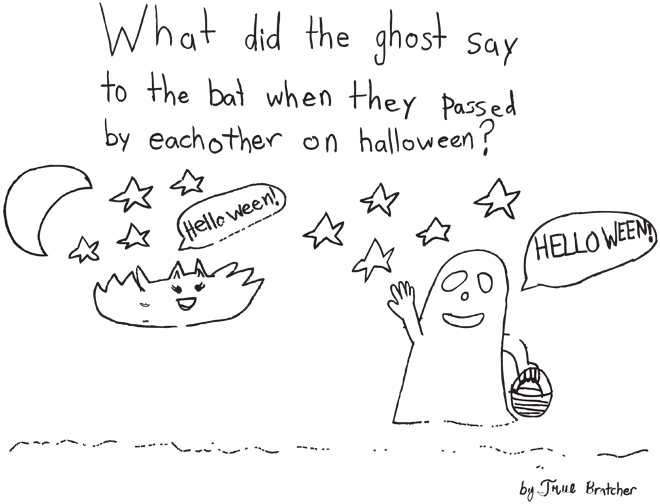
 A little bit silly and corny, but the whole illustration is really cute. I was trying to help them edit the joke a bit, but Ben said to leave it just as they made it, so here you are!
kid jokes // 3
October 30, 2016
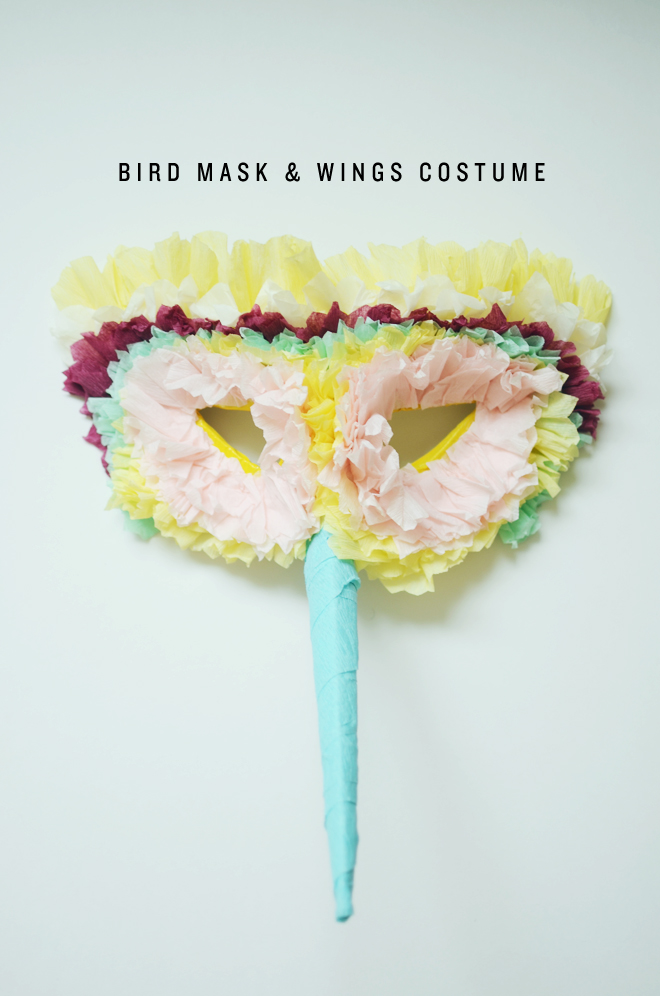
bird mask & wings costume
October 28, 2016
Supplies:
Bird Mask template (mask & beak)
Cardboard (for the mask)
8 1/2″ x 11″ cardstock (for the beak)
Fabric
Fabric paint
44″ ribbon
Paintbrush
Duct tape
Craft glue
Crepe paper streamers
1/2″ elastic
Scissors
Sewing machine, or hand sew on the elastic
Directions:
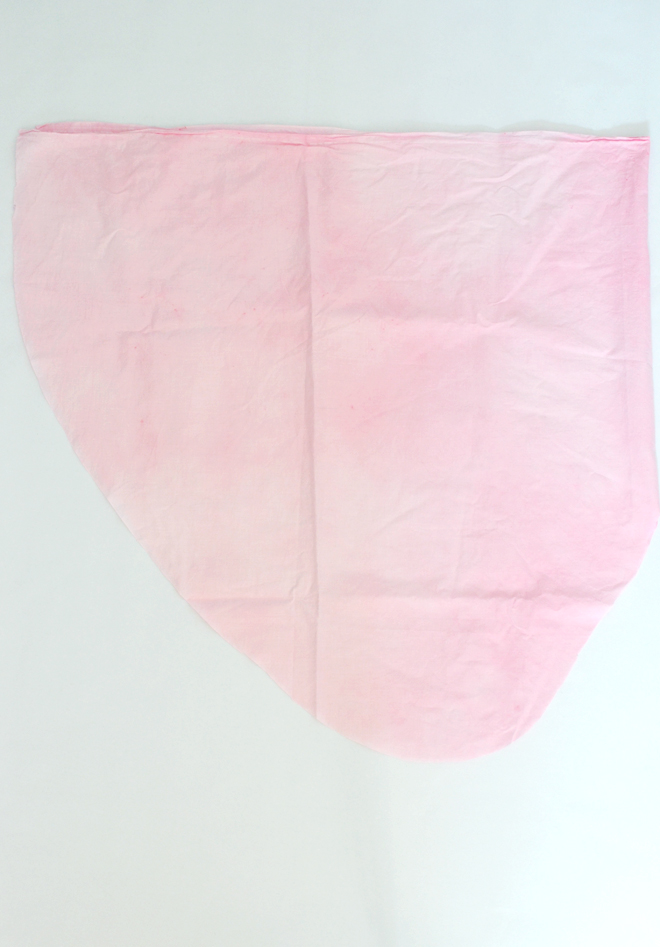
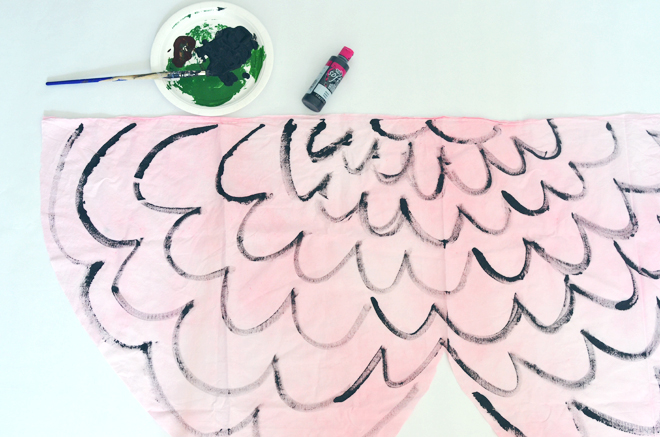
1. Measure the arm span of the costume wearer and cut fabric to that width. Fold in half and cut a U-shape at the bottom to make the wings. Paint the wings and allow to dry completely. Measure the wrist, add an inch, then cut elastic. Overlap the ends of the elastic and sew in place about 1/2″ in from the top and 2″ in from the side of the wings. Repeat for second piece of elastic. Fold the ribbon in half, and sew it on the top center of the wings. This ties around the neck, so the wings stay up.
 2. Wrap the edges of the eyes holes with duct tape. Glue the beak in place and tape to reinforce. Wrap the beak with crepe paper using glue to secure the crepe paper in place. Determine the length of the elastic for the mask that will be comfortable for the costume wearer, punch holes near the eye section of the mask (see template for location), insert elastic, and knot on each end.
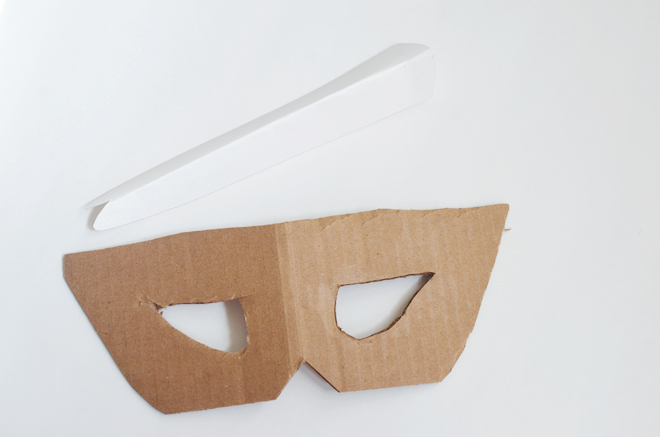
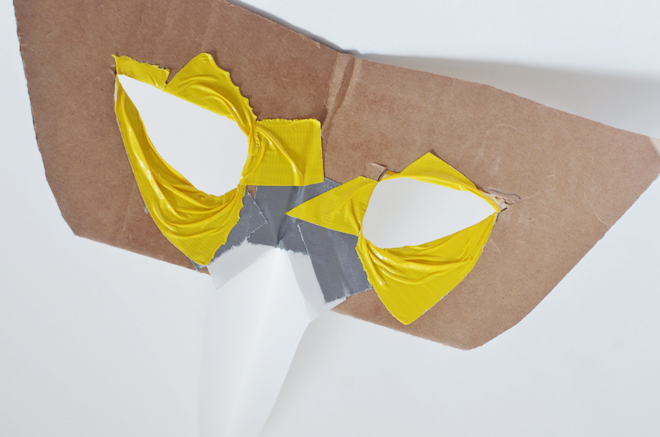
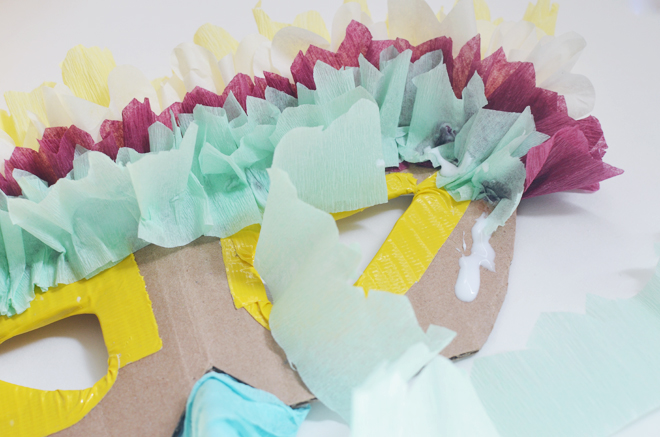
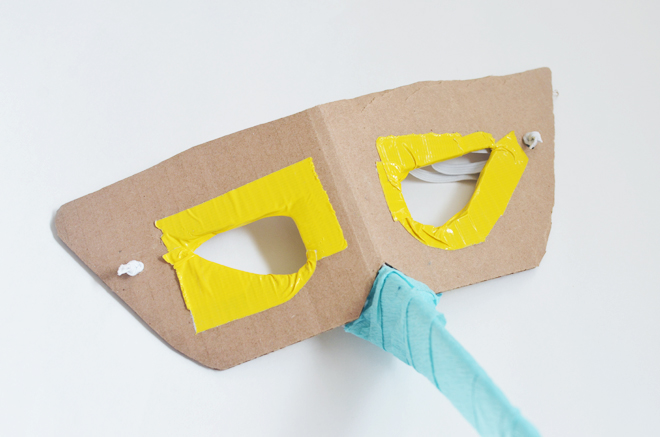 3. Cut long section of streamers, fold, then cut zig-zags or scallops on one end to give texture. Completely wrap front of mask with crepe paper, using glue to overlap and pinch sections over each other as you go. This gives it the full feathery look.

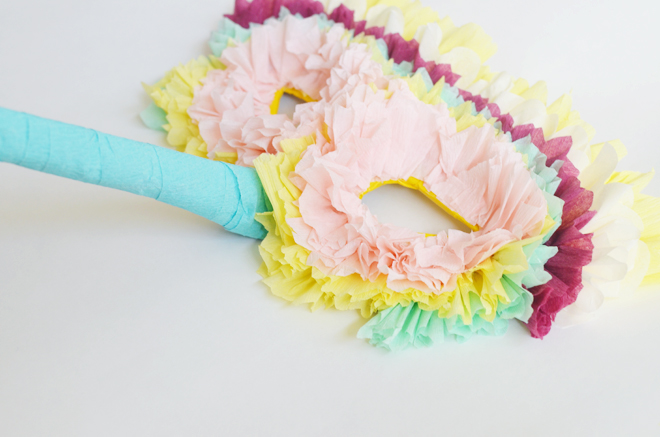
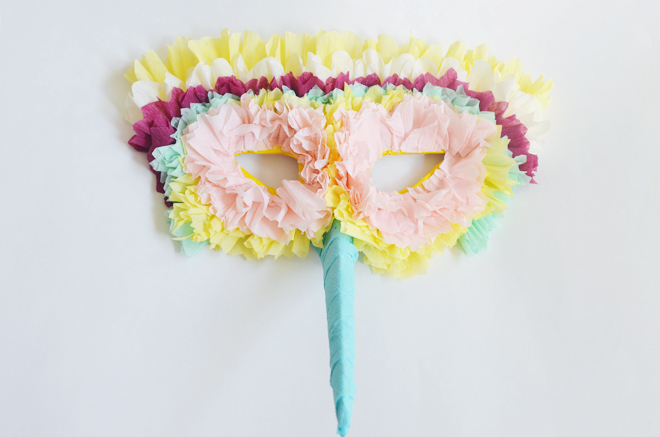
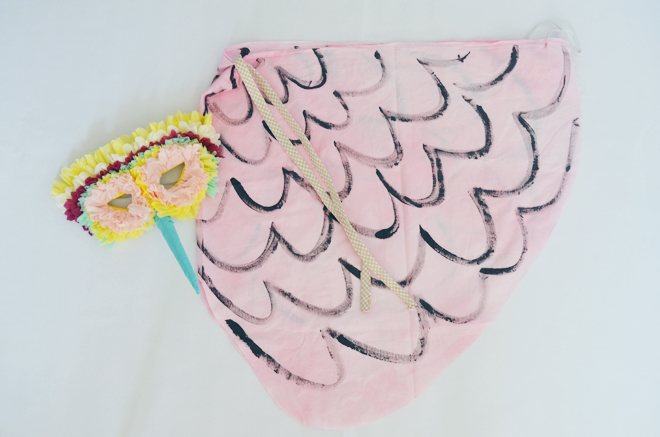
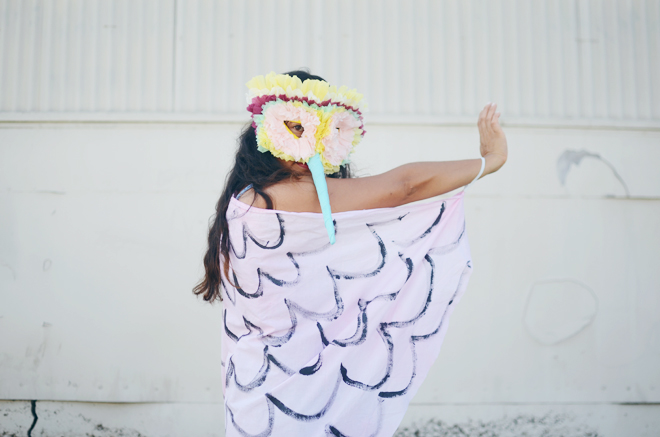
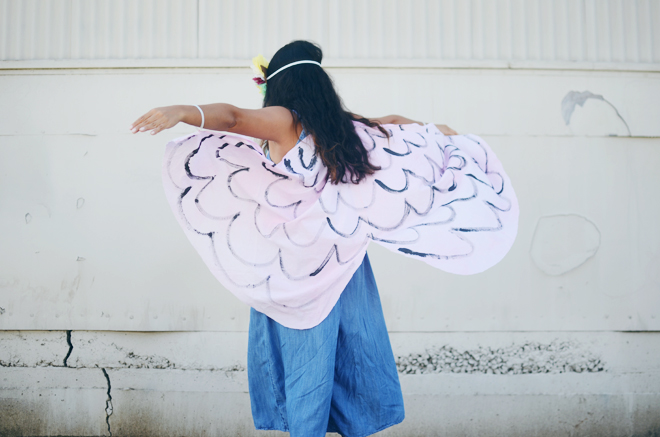
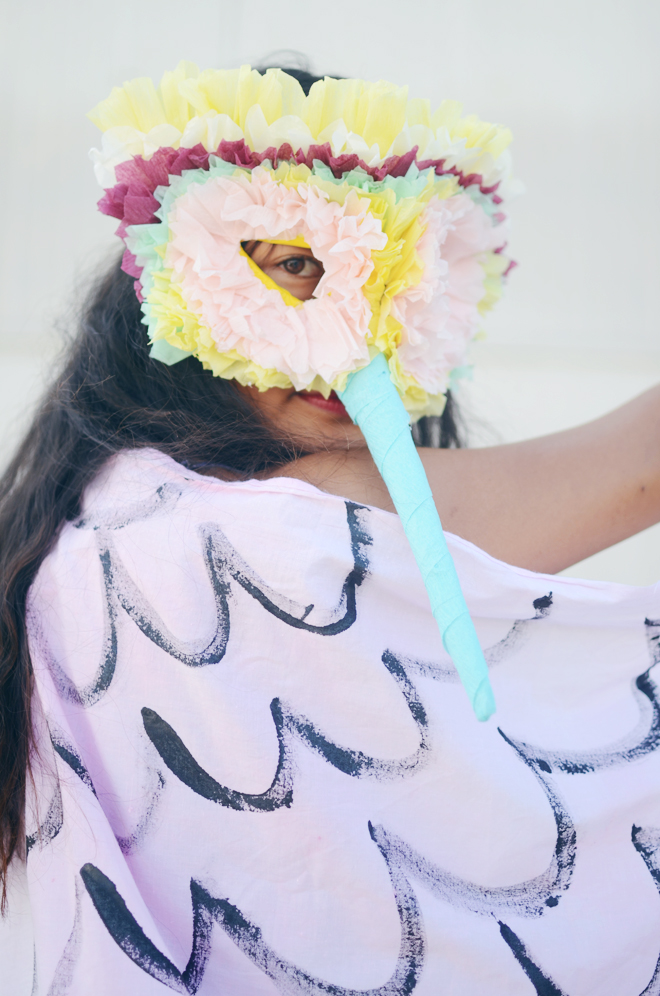 The costume took a couple hours to make; I made it right before we headed out to a costume party last Saturday. The girls have requested to make their own wings, so that will be our next group project.
Halloween is on Monday! Are you ready to go trick-or-treating?
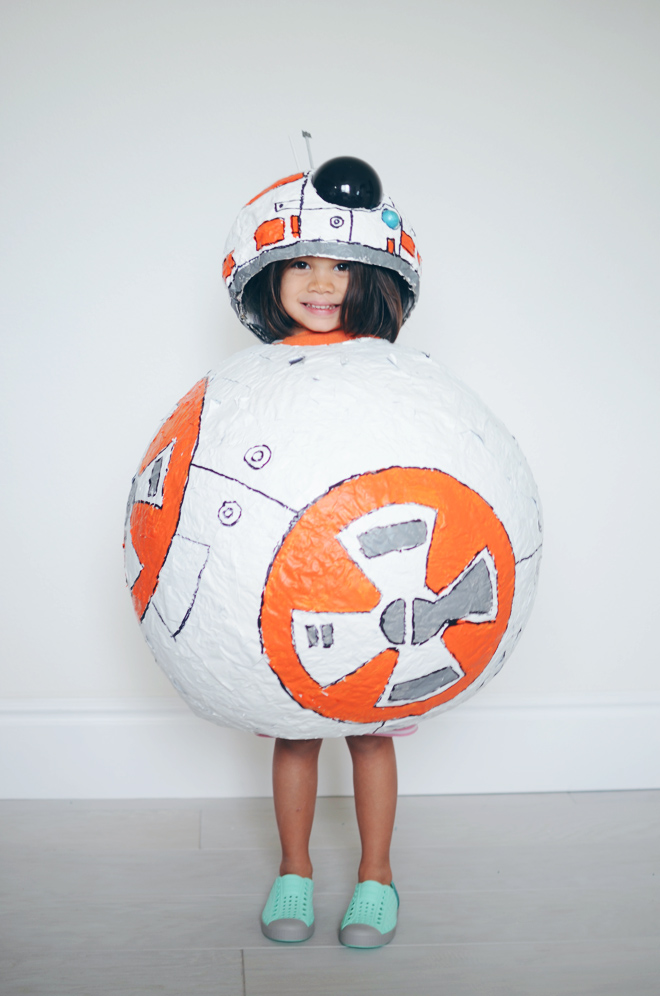
DIY BB-8 costume
October 26, 2016
Supplies:
36″ round balloon
12″ balloon
Papier mâché paste (I used the boiled water and flour paste)
Newspapers, cut into 1 1/2″ strips
Acrylic Paint (orange, grey, black)
Spray paint (white)
Paintbrush
Thick permanent marker
2 dowels
Plastic ornament ball
Small rubber ball
Gorilla glue
Directions:
1. Inflate balloons to desired size, then papier mâché its entirety. I did about 4 layers and it took a few days since we let each layer dry before adding on.
2. Once the papier mâché is completely dry, deflate the balloons, and spray paint the entire ball white.
3. Draw on the design (I used various size bowls to get the circles) and outline with marker. Paint the design, then outline again with marker. Paint the dowels white.
4. Cut out top opening and bottom. Then, cut out desired opening for the headpiece.
5. Use box cutter to cut holes for the 2 balls and antennas.
6. Paint one half the ornament balls black on the inside. Allow to dry completely, then insert, and glue in place. Insert the smaller ball in its place.
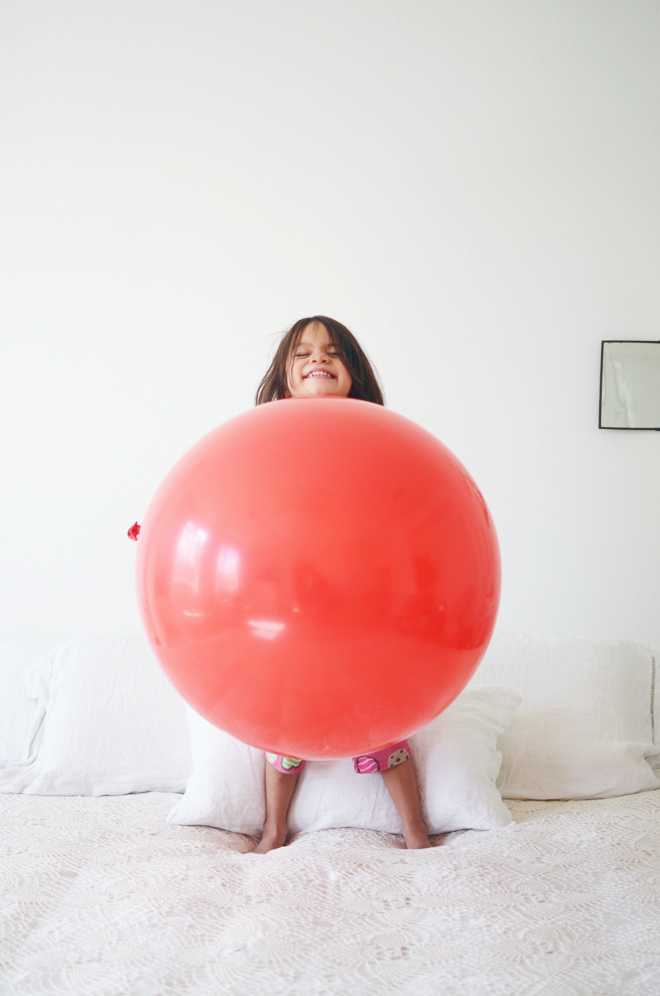
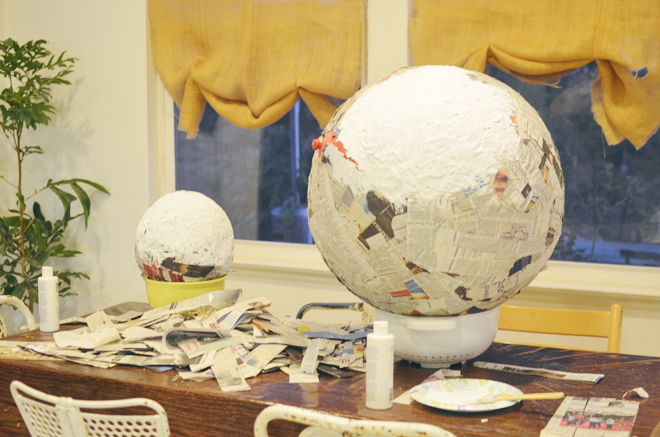
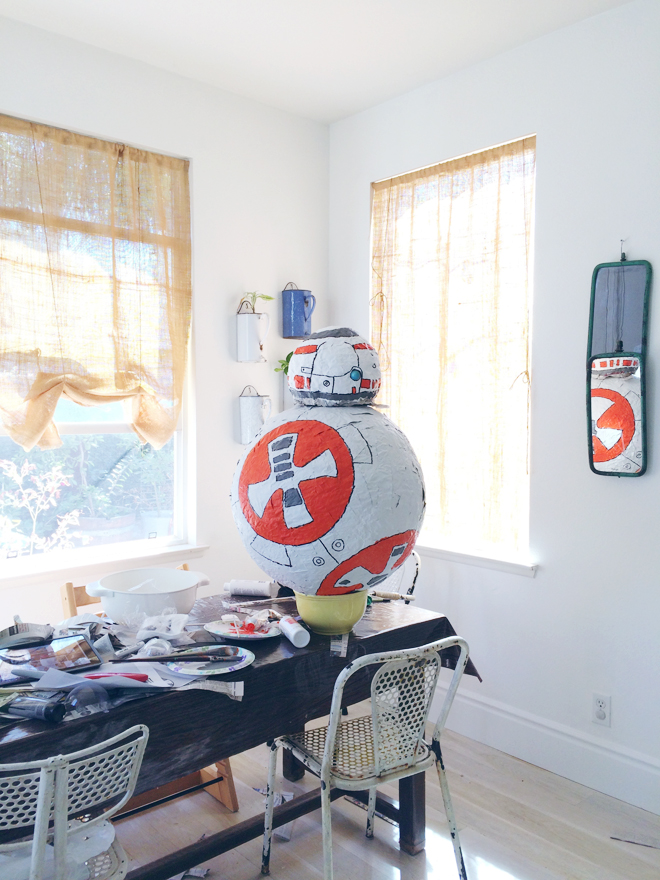
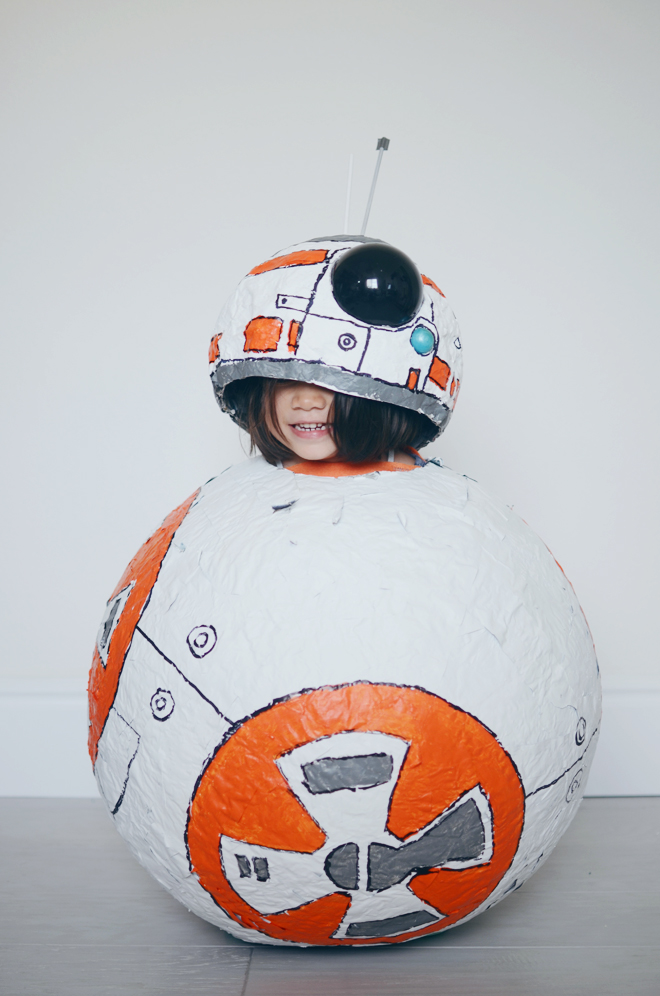
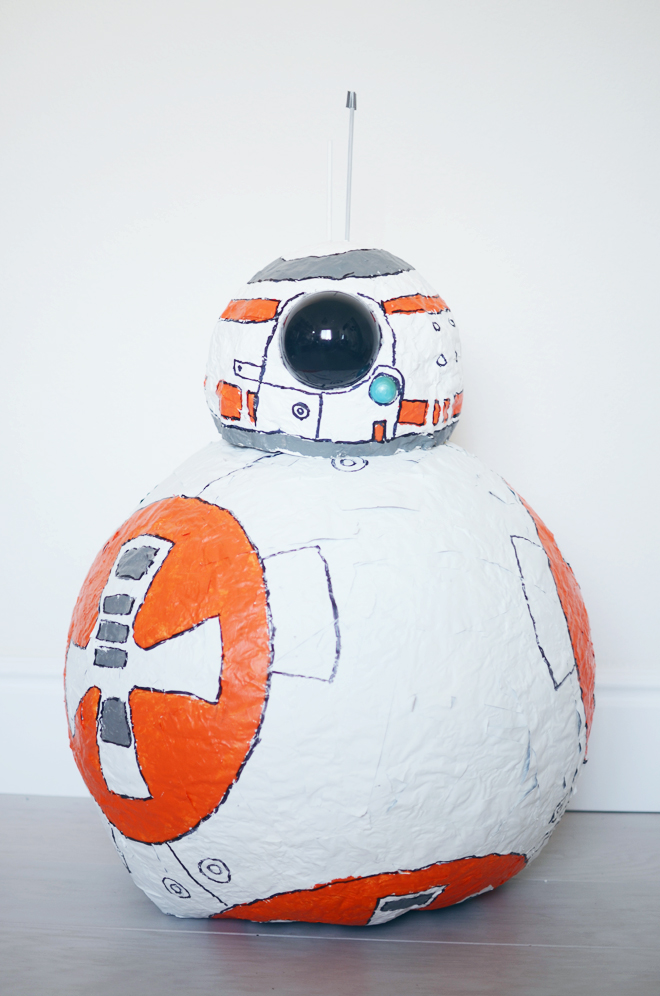 These are rough instructions, and as you can see, I’m clearly not a papier mâché artist, but we are all pretty happy with the result. I was so frustrated making this that I wanted to give up and buy it instead. But all the girls exclaimed, “NO! We like costumes homemade.” I’m glad I didn’t give up because my girls really like this one. It’ll no doubt be used as decor in someone’s bedroom after Halloween.
Initially, I started to paint the white with a paintbrush and acrylic paint (as seen above), but that paint was too wet and causing the paper to rip, so I stopped once I noticed that, and Ben took it outside and used spray paint. He put a stick in the ground, rested the ball on it, then painted all around.
I made Glow shoulder pads, so it’s resting on that when she wears it. We haven’t cut any holes for her arms. I thought about cutting a flap, so she can collect her candy inside, but the girls don’t want me to cut a hole in it. They said they will just help her and hold her candy basket for her.
Glow’s the cutest little BB-8 and she walks around making her little beeping sounds. Next year, she’s requesting R2-D2, so I have a year to figure out how to make that one. If you want to make this one, don’t wait until the night before because it takes a few days to let all the papier mâché dry.
kid jokes // 2
October 21, 2016
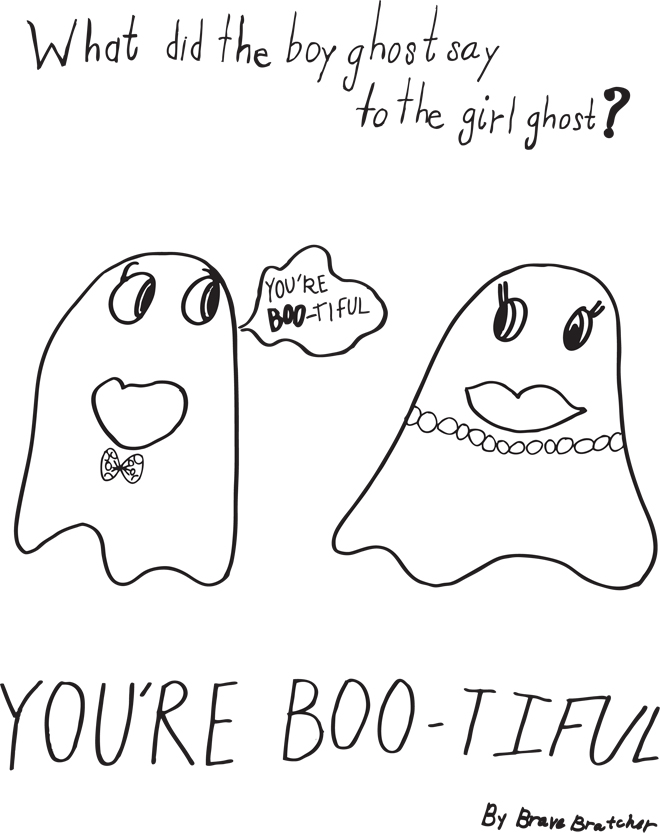 I think yesterday’s craft inspired today’s joke.
Read last week’s joke here. To download the illustration click here, so you can print it out if you have a little one that likes to color.
tassel ghost mobile
October 20, 2016
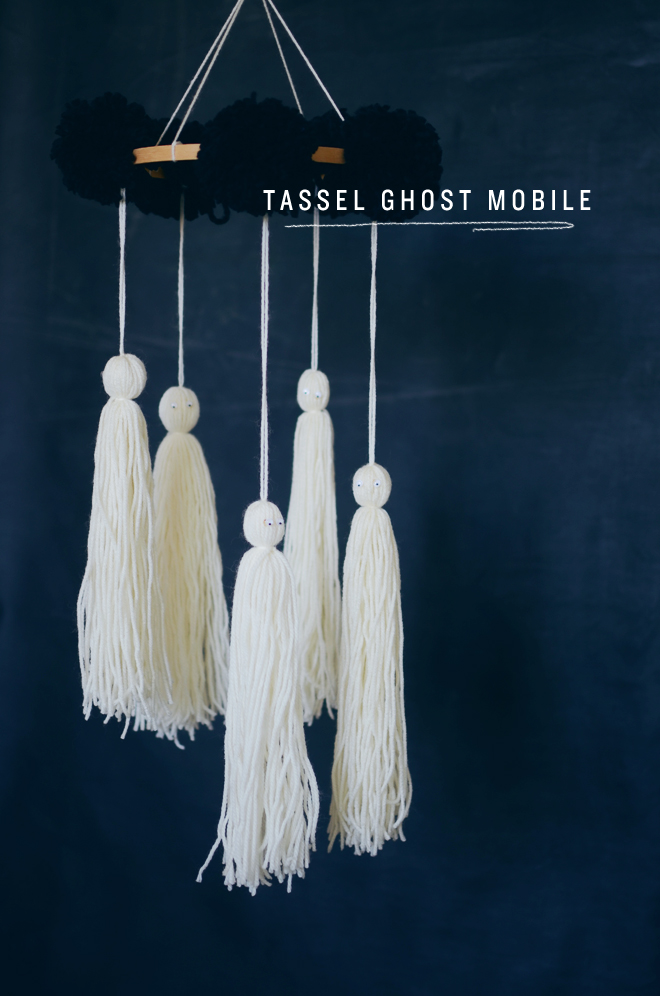 Tassel Ghost Mobile
definitely more cute than creepy
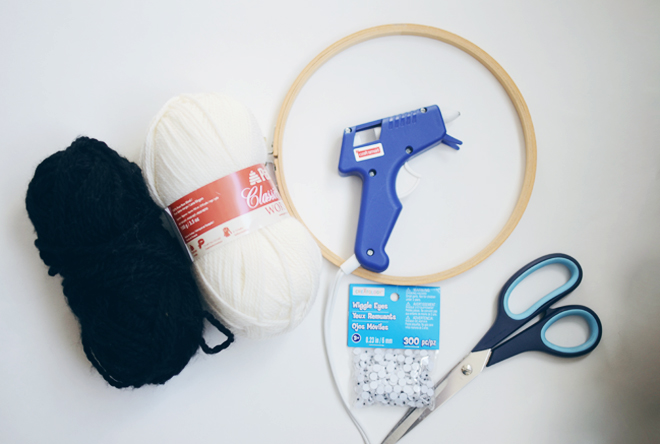
Supplies:
Skein of white yarn
Skein of black yarn
Embroidery hoop
Wiggle eyes
Glue gun/glue stick
Scissors
 Directions:
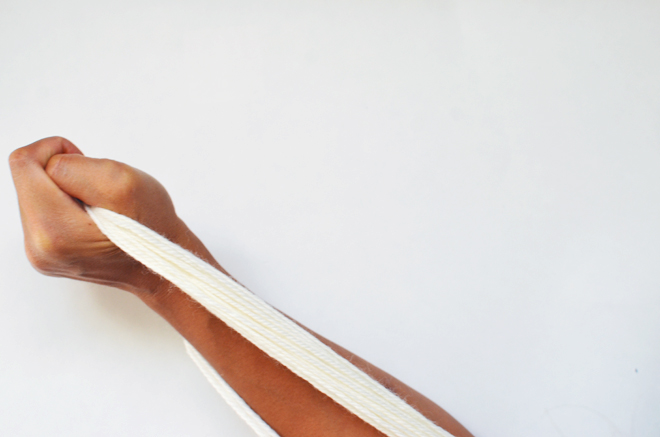
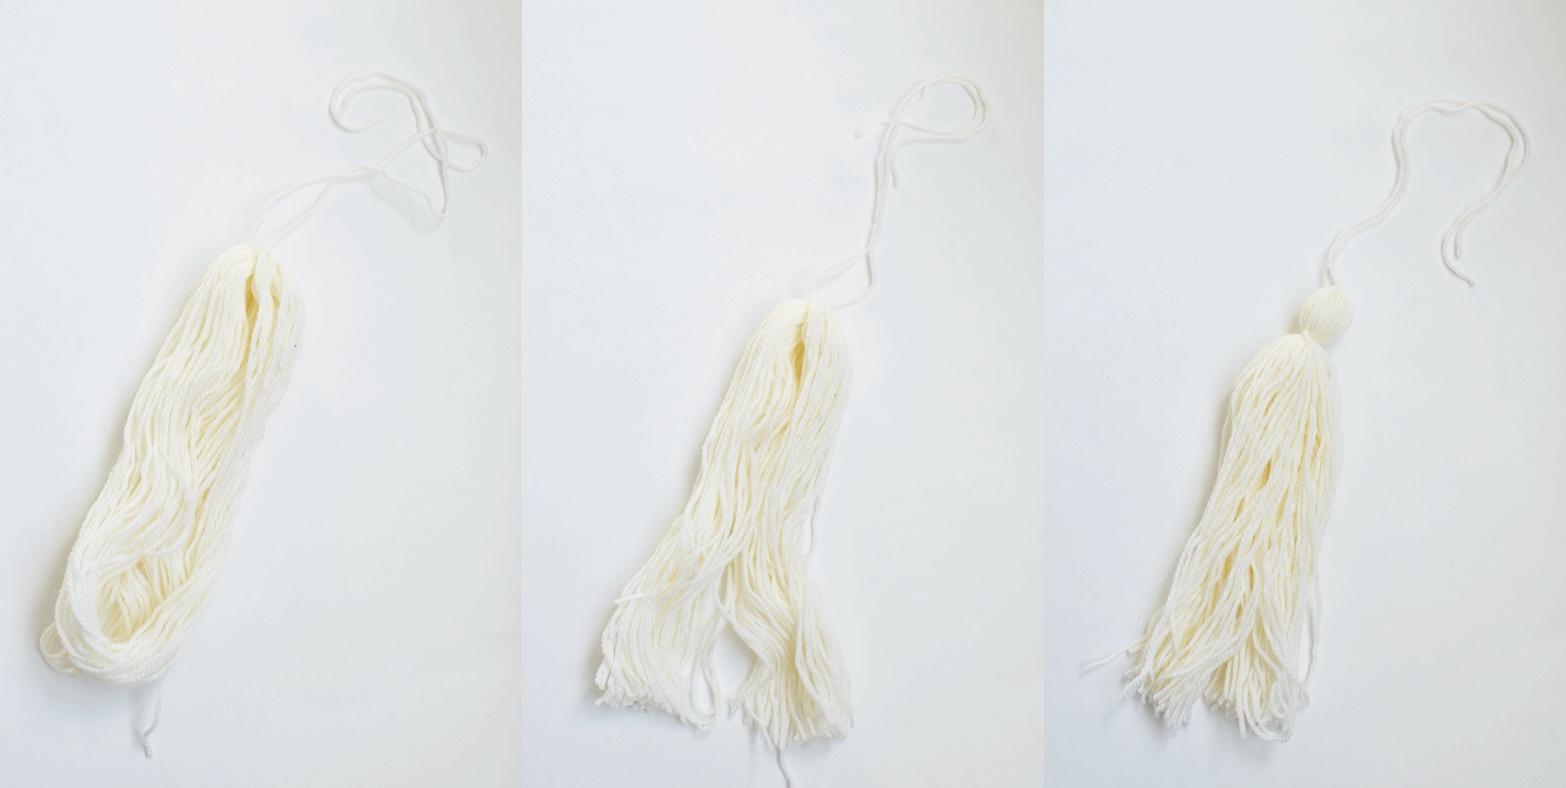
1. Make long tassels. I wrapped the yarn around my forearm about 50 times. Cut a 12″ strand through the center to tie at the top, then cut the bottom loops open. Cut another long strand to tie about 1 1/2″ down from the top to form the “head” of the ghost. I made 5 tassels, but can make as many as you’d like for your mobile.
 2. Glue eyes onto each tassel.
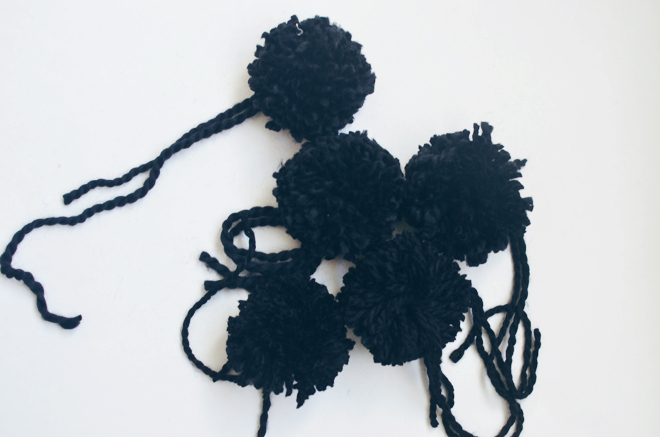
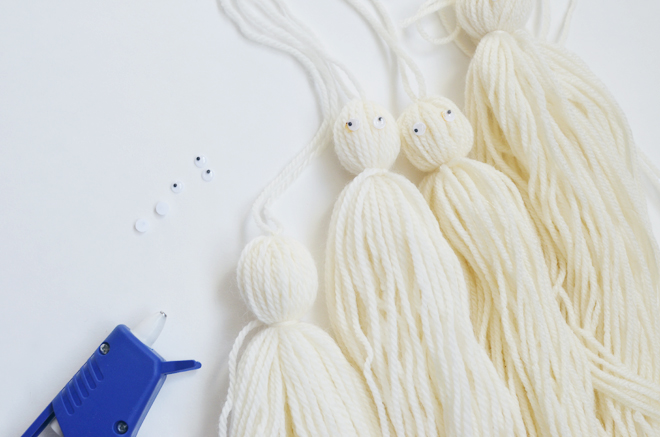 3. Make black poms. Since I made 5 ghost tassels, I made 5 pom poms.
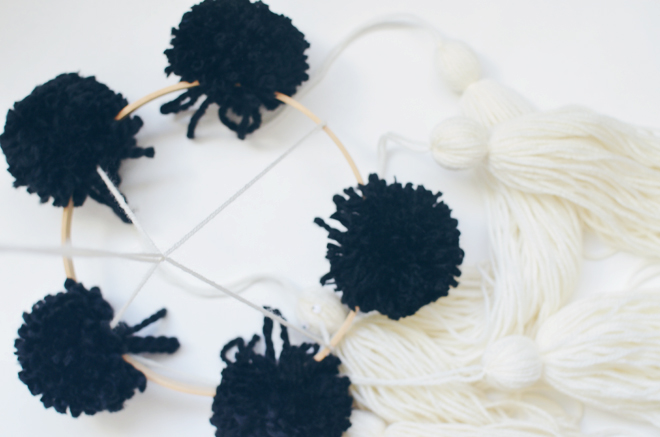
 4. Cut and tie 2 equal length strands of yarn at 4 points on your embroidery hoop. Add another strand of yarn at the center, where the two strands intersect across the hoop, to hang. Then, tie on your tassel ghosts and add the pom poms last.
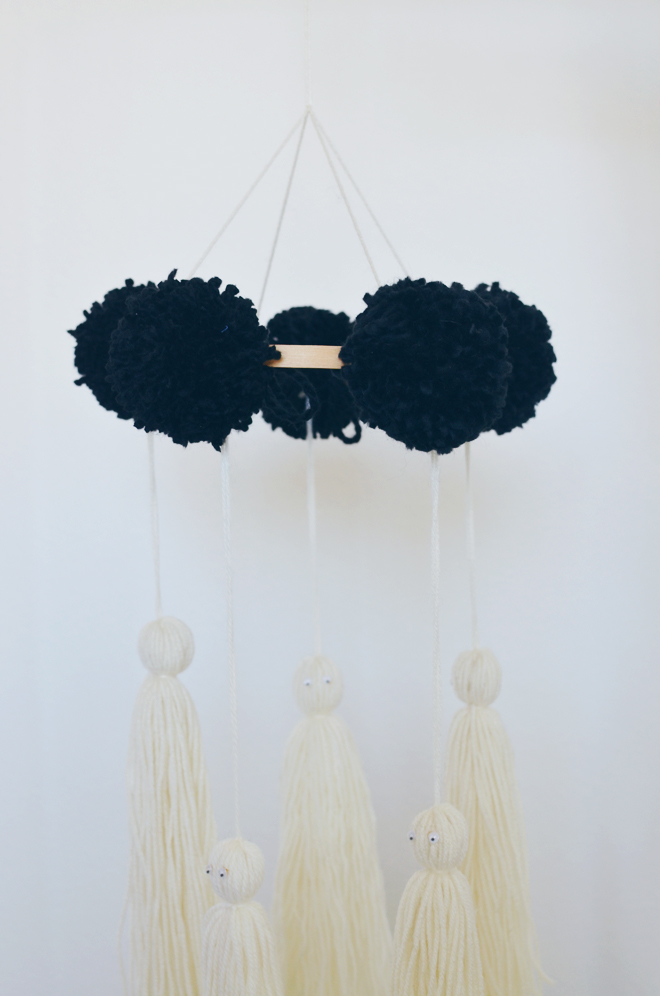 Such an easy Halloween project that the kids could make. If they make this without supervision, I suggest they use craft glue instead of the glue gun. You could also make a bunch of tassel ghost and hang them on a dowel if you want a Halloween wall hanging.
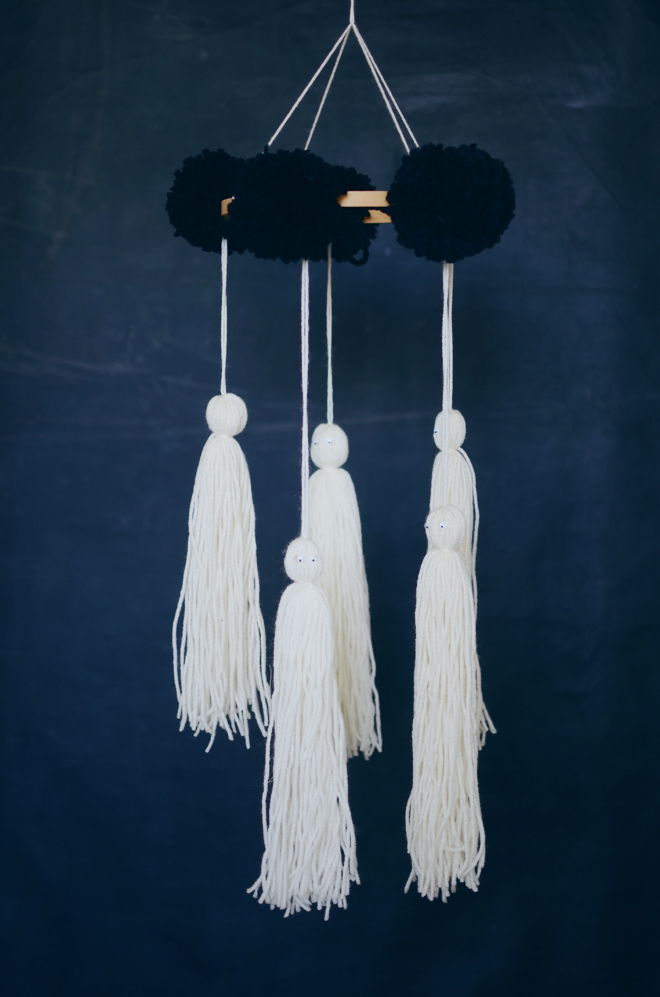
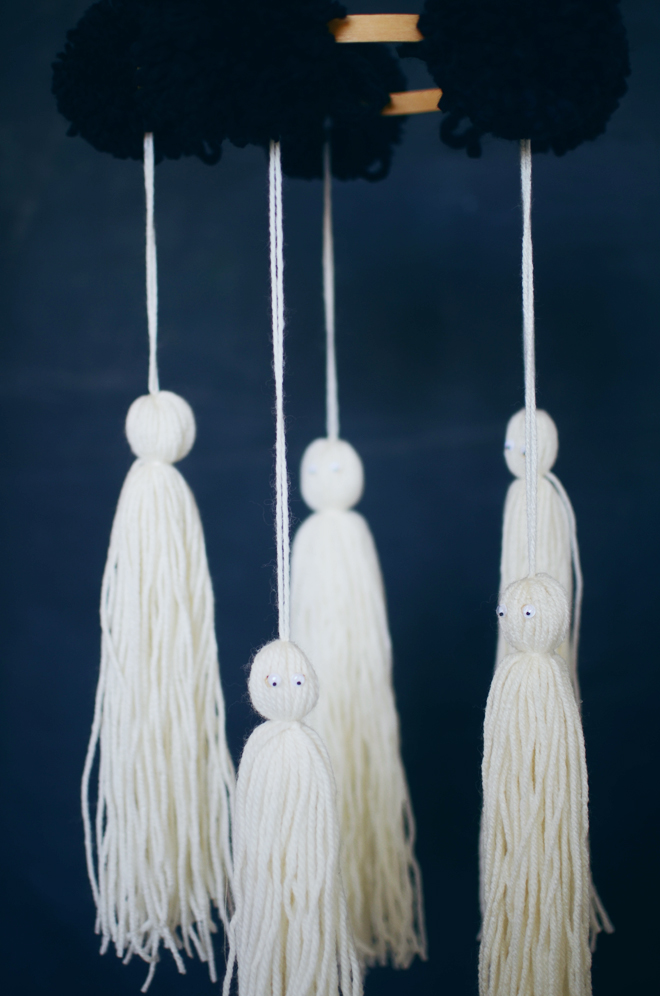
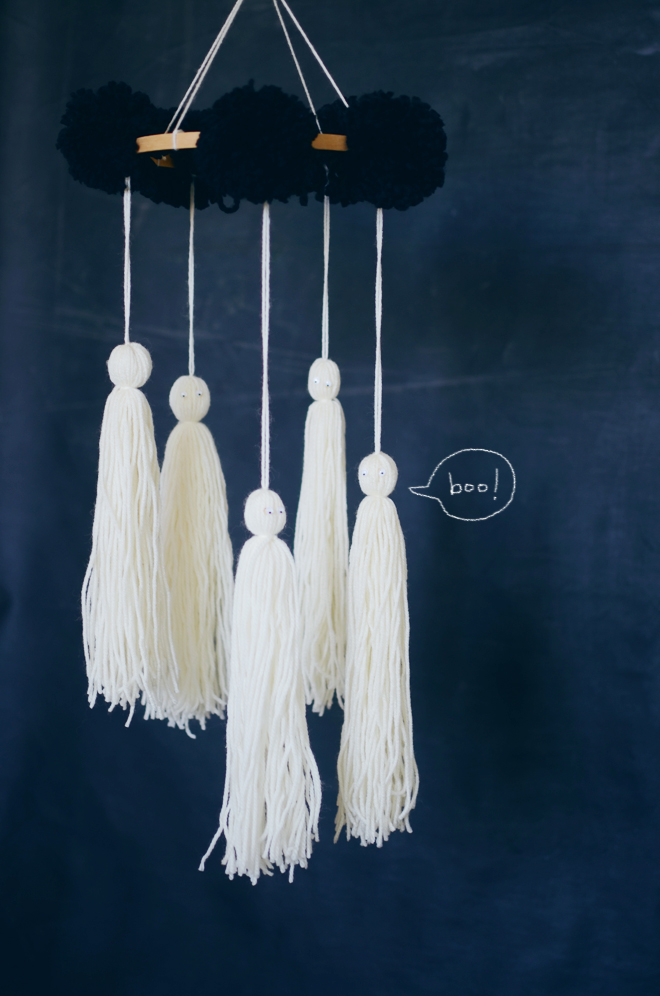 When Halloween is over, just remove the wiggle eyes and you have a simple black and white mobile, or re-purpose your pom poms and tassels in another project (maybe a macrame hanging, which is what I was working on when this idea came to me). I love holiday projects that can serve another purpose after.
The girls and I think our tassel ghost mobile came out BOO-tiful!
kid jokes // 1
October 14, 2016
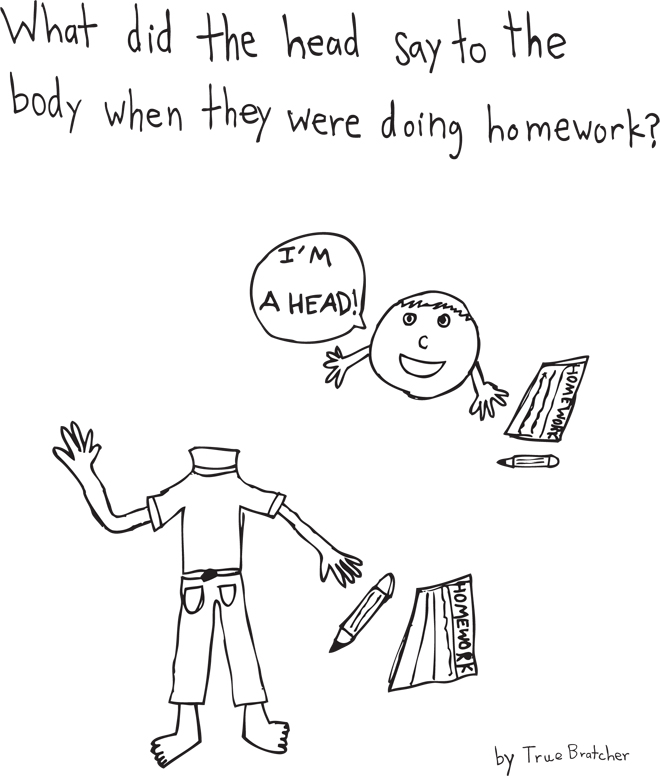 The girls are always coming up with silly jokes and I thought it would be fun if they illustrated them and compiled them here. As much as this is my space, it’s what the girls are interested in that lead all the creating that goes on in our home. The older two come up with their own craft projects all the time (and teach it to the younger two), so maybe they can start sharing those things here too. For now, we will start with some of their jokes and illustrations.
In case you have a little one that loves jokes (and coloring), you can print out this illustration and and they can color it. Happy Friday!
