We made a wreath. Just used some tree scraps from Lowes that they let me have for free! Free is always nice.
We made some little trees. Using those same free tree scraps and some vintage thread, the girls made trees for their own little forest.
We made little (toothpick) stars. Inspired by this pin.
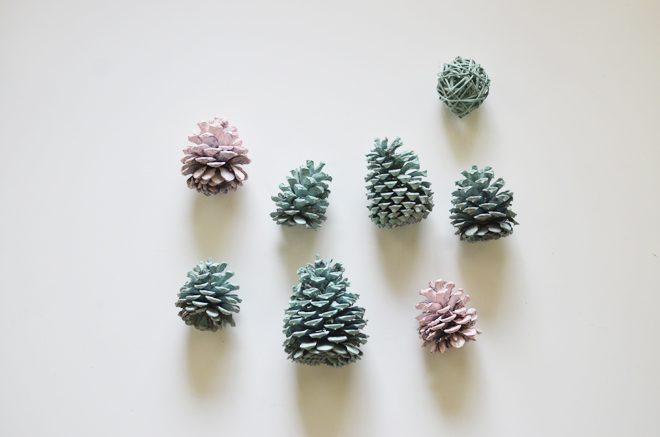
We painted some pinecones. Took a few coats of spray paint (and let it air out for days).
These are just some simple little projects we have done for Christmas; they didn’t take too long, but satisfied that holiday making itch. I added a little strand of string to the pinecones and stars and they make perfect ornaments. There’s so much going on between the girls’ school, extra activities, getting ready for Christmas, baking for gifts, and life in general that this saying pretty much sums up what I’m feeling right about now. We have a couple more days until things calm down a bit, we are definitely ready for Christmas break!
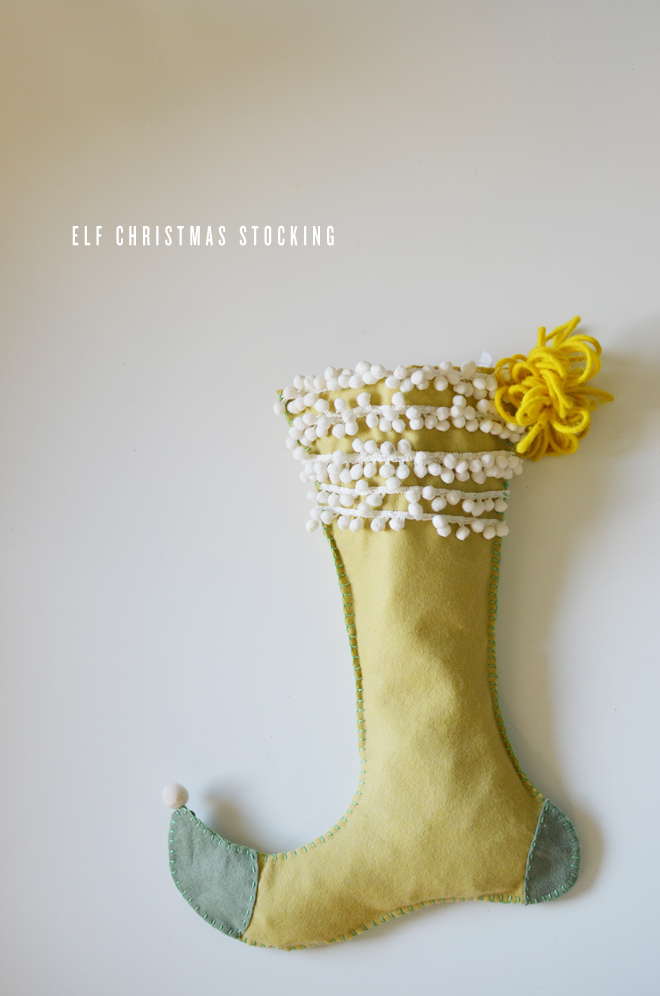
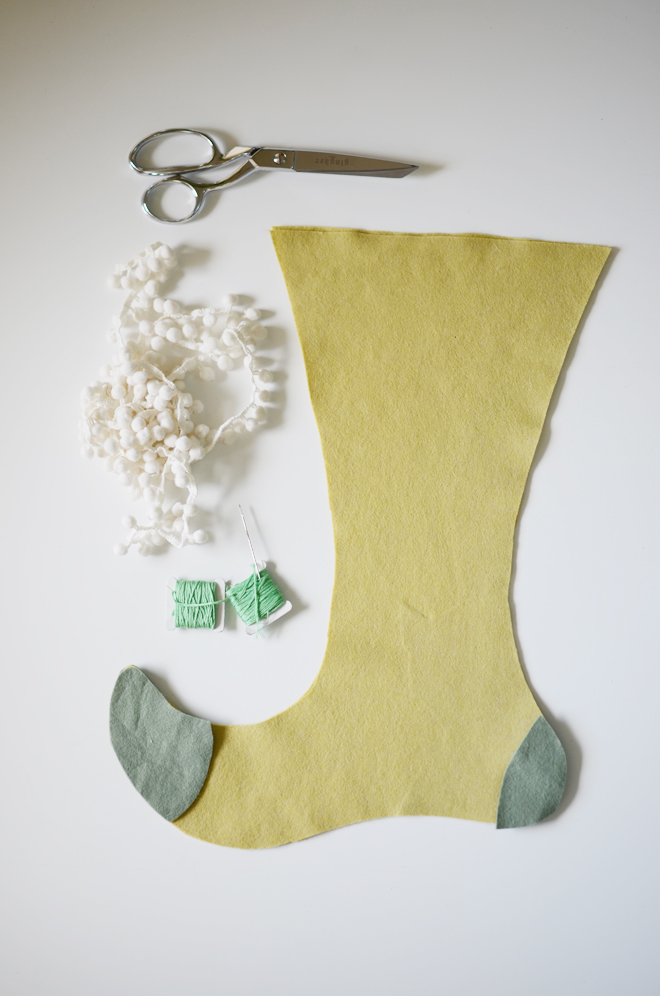
Supplies:
1. Elf Christmas Stocking template (best to download it and save, and take into a print shop to print out, since it is larger than your average home printer).
2. 1 yard wool felt (and small coordinating wool felt scraps for the stocking toe cap and heel)
3. 1 – 2 yards of pom pom trim (depending on how many lines of pom pom you’d like to do)
4. Scissors
5. Embroidery floss
6. Embroidery needle
7. Yarn
8. Tissue paper (optional, this is for stuffing to provide stability to prevent the toe portion from flopping over)
Directions:
1. Using the Elf Christmas Stocking template, cut out your necessary pattern pieces: 2 pieces for main stocking (this includes the toe and heel on the main stocking body), 2 pieces for toe cap, 2 pieces for heel.
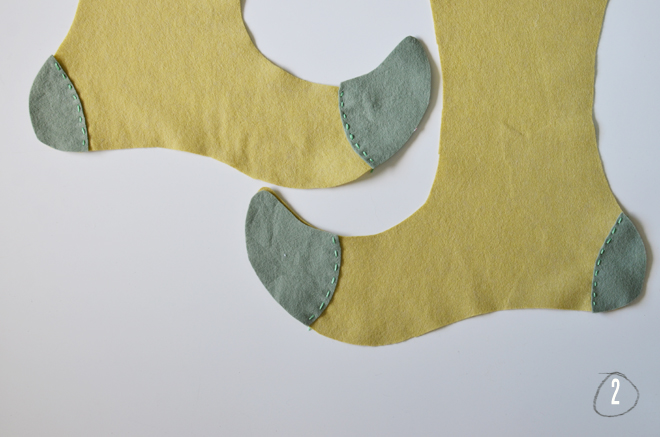
2. Place the wool felt toe cap and heel in its proper position (on top of stocking body, lining up the curved edges) on the right side of the stocking fabric, and attach onto the main stocking wool felt using a running stitch.
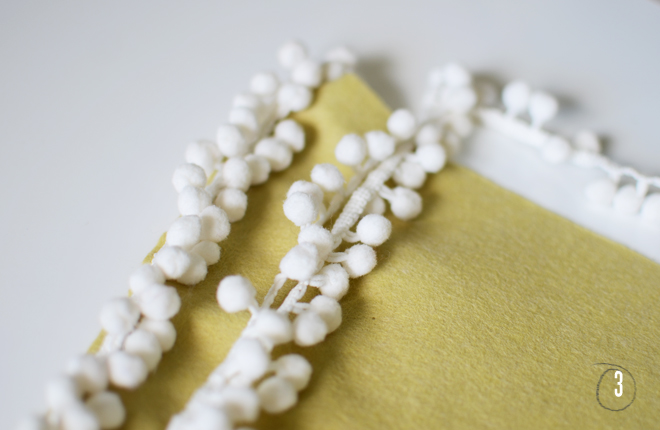
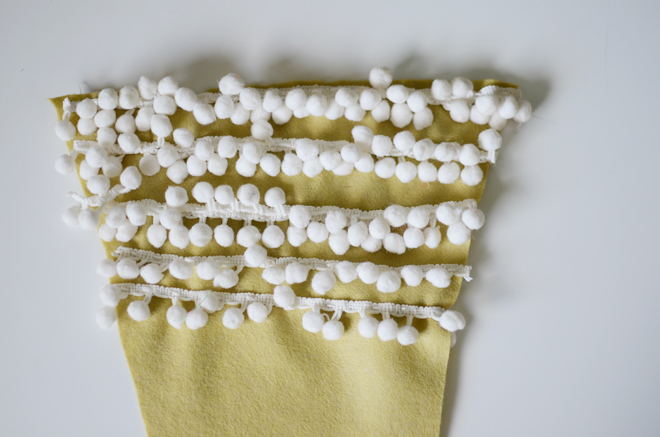
3. Hand sew on the pom pom trim onto the top of the stocking using a running stitch to attach it. Measure and cut your trim as you work through each line, and double up the pom pom trim for some lines for some variety. I only did one side of the stocking, since only one side is really seen when hanging on our mantle, but you can most certainly add pom pom trim to both sides if you’d like.
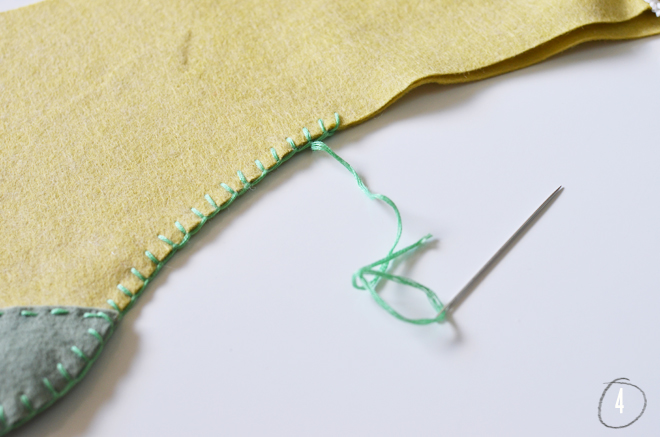
4. Place both stocking fabric pieces with their wrong sides together, and blanket stitch around the entire perimeter, except the top (make sure to leave that open for filling!).
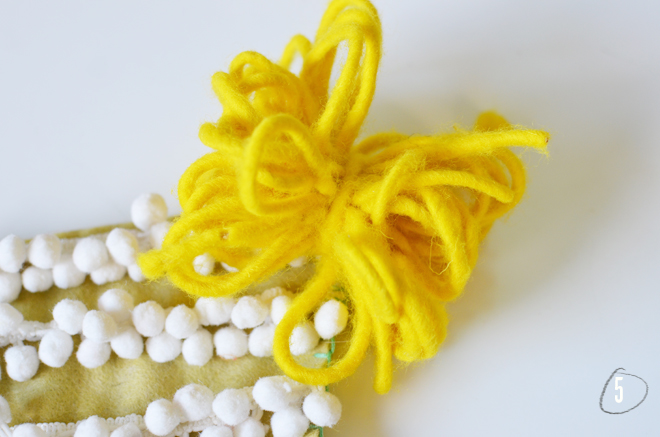
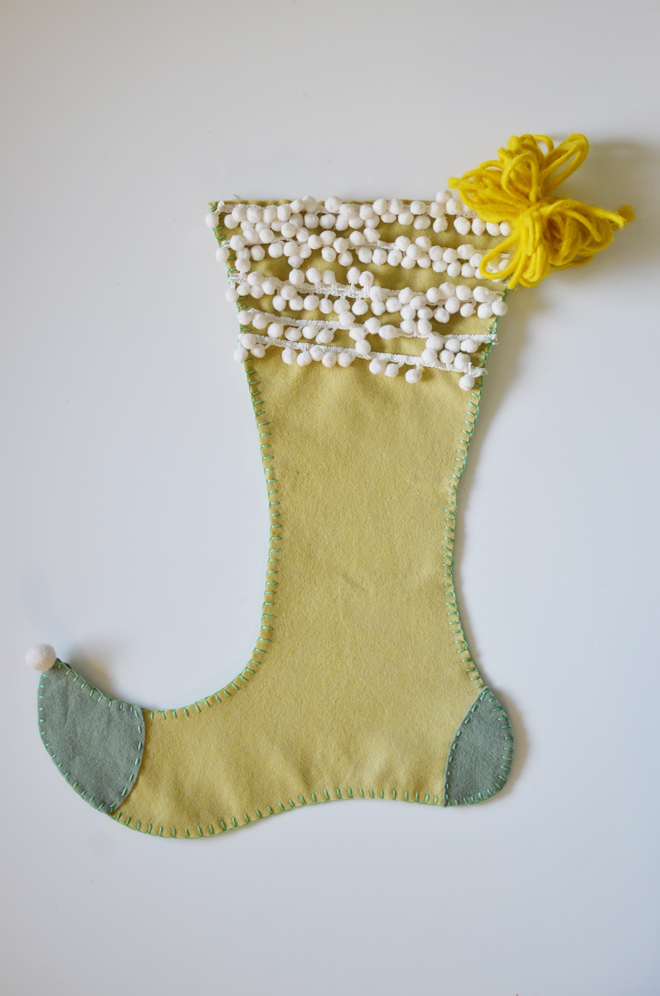
5. Add any additional trim you’d like. I had a wool felt ball and added it to the toe, and made a yarn pom pom of sorts and attached it to the top and sewed that onto the stocking. This gives it a loop for hanging. If omitting the large pom pom at the top, just cut off a 6″ piece of yarn, knot together, and sew onto the top corner of the stocking to allow for hanging.
6. Add some tissue paper inside the stocking to fluff it up a bit and give the toe part some stability to prevent it from flopping. I take out the tissue paper when it’s time for filling the stocking up! Hang on your mantle and start plotting the goodies that will fill it up! Elf stockings aren’t as roomy as traditional stockings, but I put little goodies in ours, so it works perfectly for us.
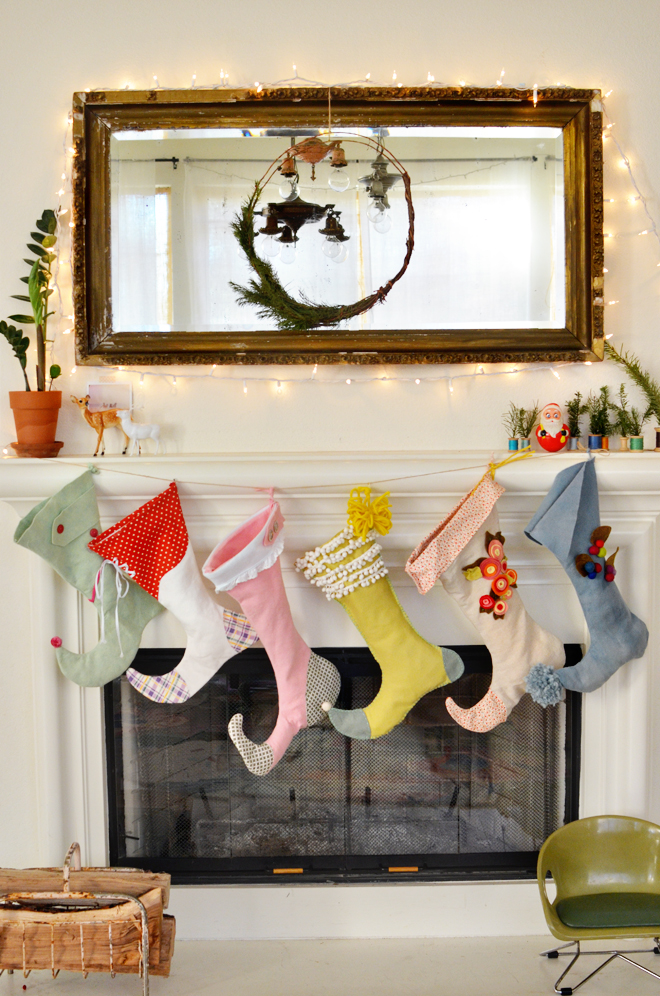
I made my first set of elf stockings for True’s first Christmas. I loved the one Anthropologie had for sale that year, but could definitely not pay that price for something I knew I could make. Every time we added to our family, I kept making a new elf stocking. It’s kind of quirky and Dr. Seuss-ish, but they’re so fun and made with lots of love from mommy to her little babes. I love this recent Anthro stocking (they really come out with the best ones!) and decided to make this little project merging the elf style and the pom pom one together.
I’ve had readers in year past asked for a tutorial, but never get around to making one. Though I probably should have gotten this up earlier in the month (most of you probably already have stockings up!), but I’m mommy first, so getting things up for the blog always happen later than I originally plan, but better late than never, right?! So either you’ll be ready for next year’s stockings early, or you still have some free time to make this to get some elf stockings up!
This definitely could be made machine sewn, which would go faster, and if you want to do that, I’d just add an extra half inch all the way around to account for a 1/2″ seam allowance, and straight stitch the pom pom trim on before you sew your two body pieces together. If you have some old wool sweaters you’re wanting to give new life, you could most certainly use those for elf stockings too.
As you can see from our mantle above, there are many different ways to decorate your elf stocking. My parents filled our stockings with toothbrushes and fun little toys. I fill the girls’ stockings with yummy snacks and a disposable camera so they can take their own pictures on Christmas. What do you fill your stockings with?
p.s. nothing to do with elf stockings, but misha lulu is having a two day sale in her shop (maybe you still need stocking stuffers)!
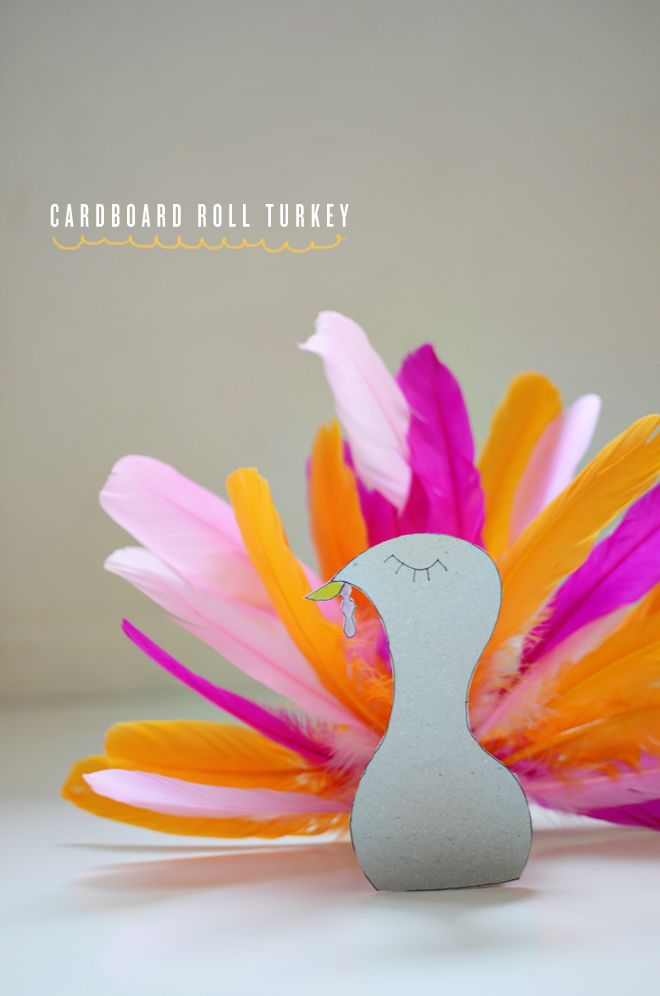
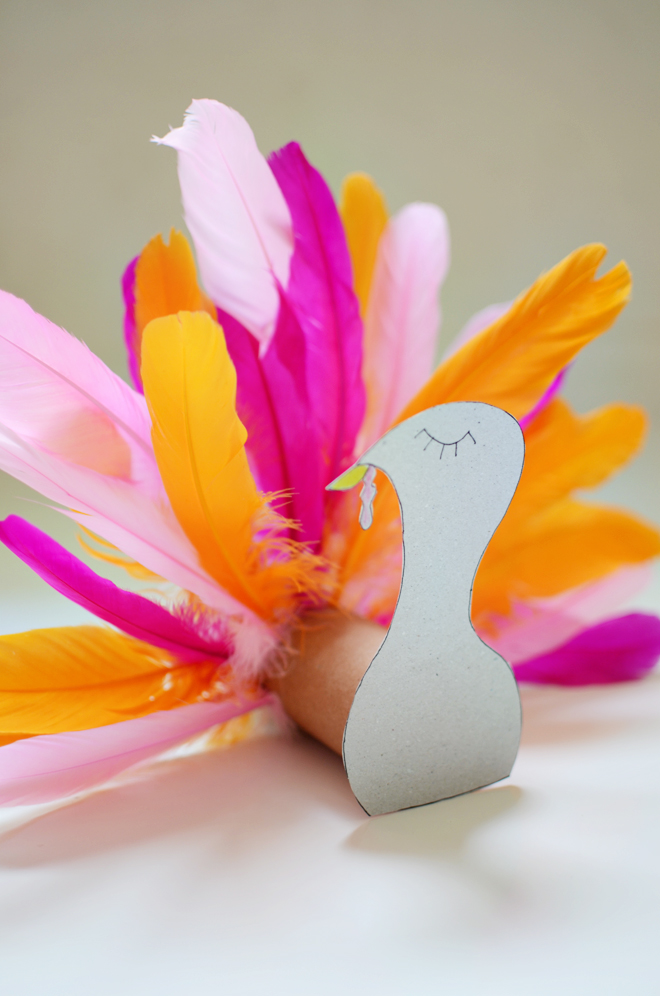
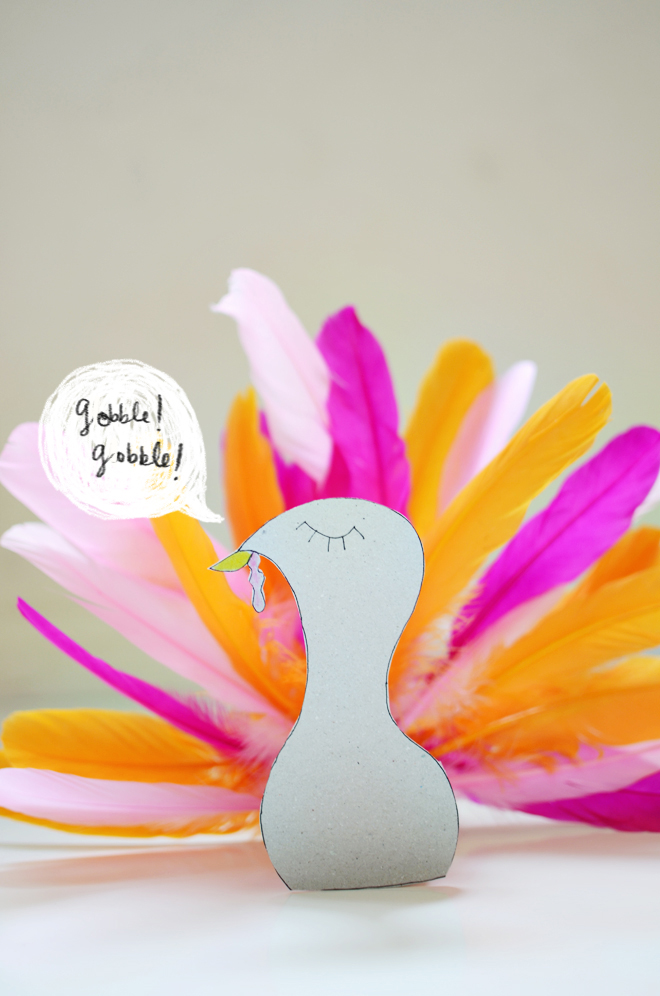
Thanksgiving is right around the corner and turkey projects for kids are a must! Little hands will love inserting lots of colorful feathers to make this turkey tail.
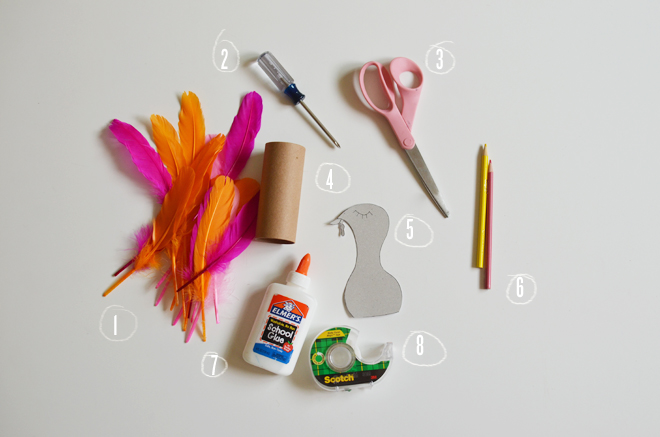
Supplies:
1. 20 -30 feathers (I used 3″-5″ duck feathers purchased from here)
2. Screwdriver (or pen for poking)
3. Scissors
4. Cardboard craft roll (from toilet roll or can be purchased here)
5. Cardboard Turkey Roll template
6. Colored pencils
7. Glue
8. Tape
Directions:
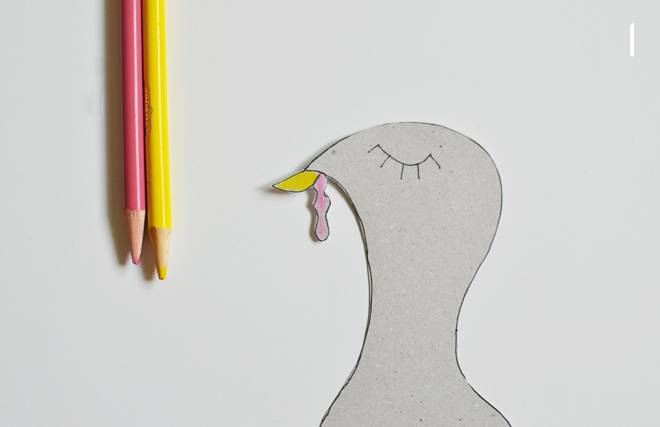
1. Print the template onto card stock (or redraw yourself) and cut out. Color the turkey. I left my body plain and just colored the bill and waddle, but when my girls make their own, I’m sure they will be coloring all over the place.
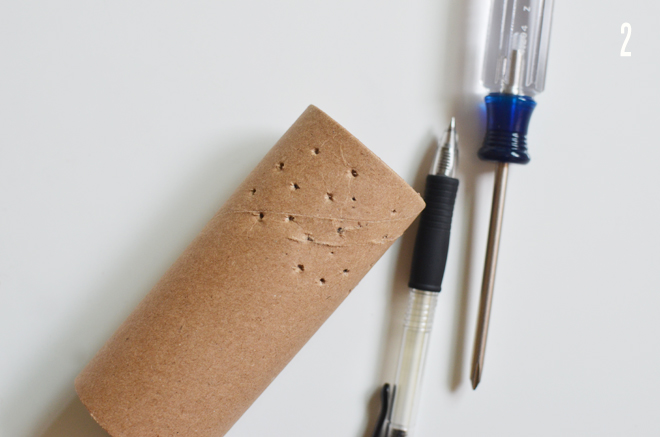
2. Poke scattered holes on one end of the roll. Be gentle and provide support on the inside with your fingers to prevent the roll from tearing when you poke. I used a screwdriver for some holes, but found the pen is sufficient as well. The amount of holes you need to poke will depend on if you want a fuller or leaner turkey tail.
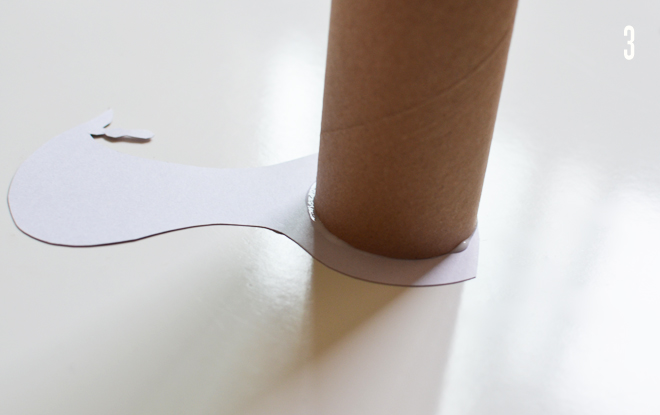
3. On the opposite end of the roll, where there are no holes, add a bit of glue around the ring of the roll and attach to the back of the turkey template. Add some tape to secure in place.
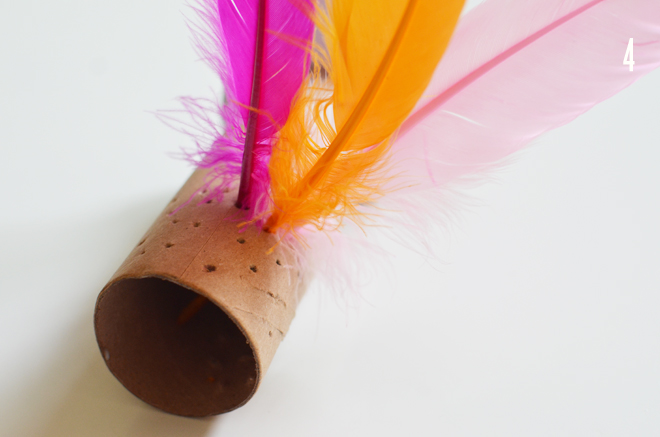
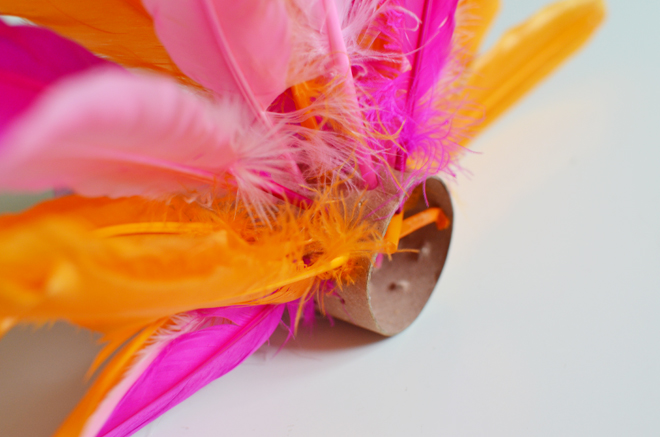
4. Insert a feather quill into each hole until all holes are filled. This activity is perfect for little hands to do. Gobble! Gobble! Tomorrow will definitely involve making more of these little turkeys with my girls. The turkeys would even be cute as a place cards for Thanksgiving dinner. Or you can make a bunch of different sizes and group them together on the mantle.
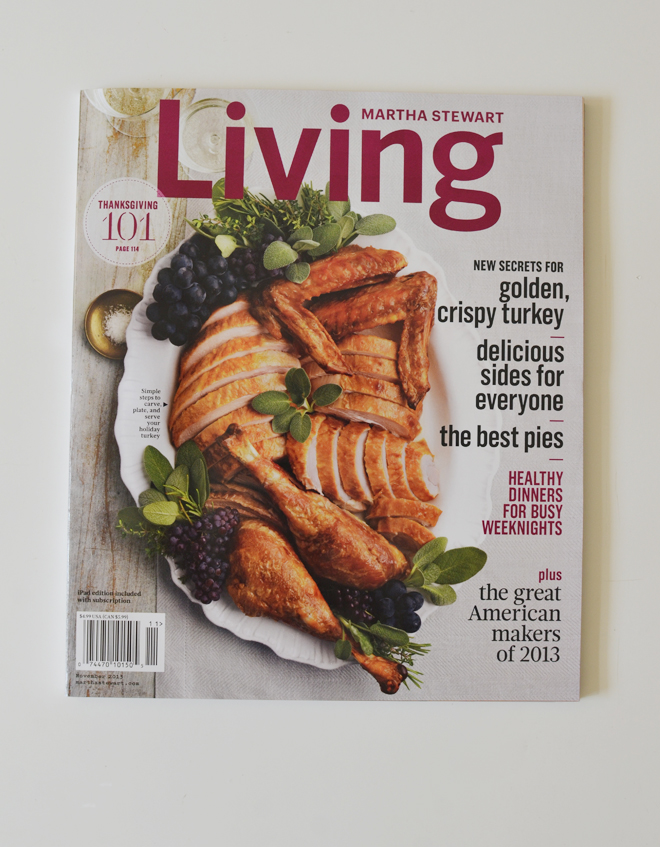
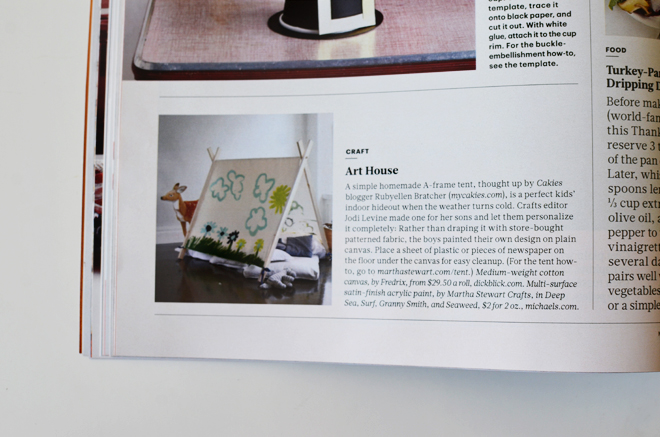
When I was in high school, I used to dream of working for Martha Stewart. I would joke that it would eventually become Rubyellen Living. I know, I’m so silly. I am much more in touch with reality now to know that won’t ever happen, but I am definitely honored to be in the November issue of Martha Stewart Living. It’s like pee in my pants excited! So a slightly different version of my dream came true, but I’ll take it. Thank you Lord! Well, I’m kicking off the weekend with this happy news. Hip, hip, hooray!!!
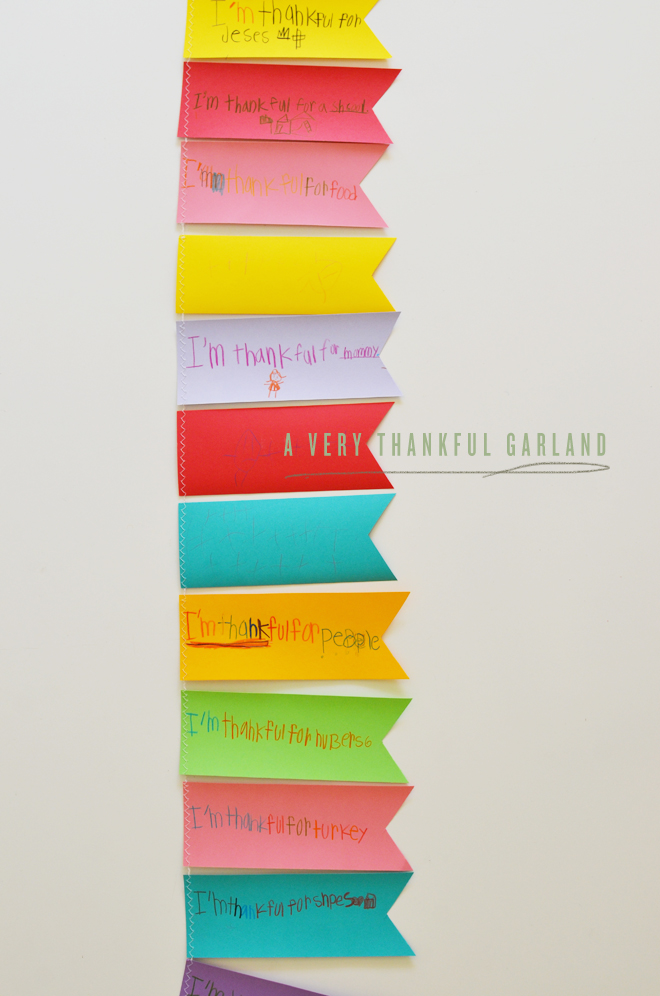
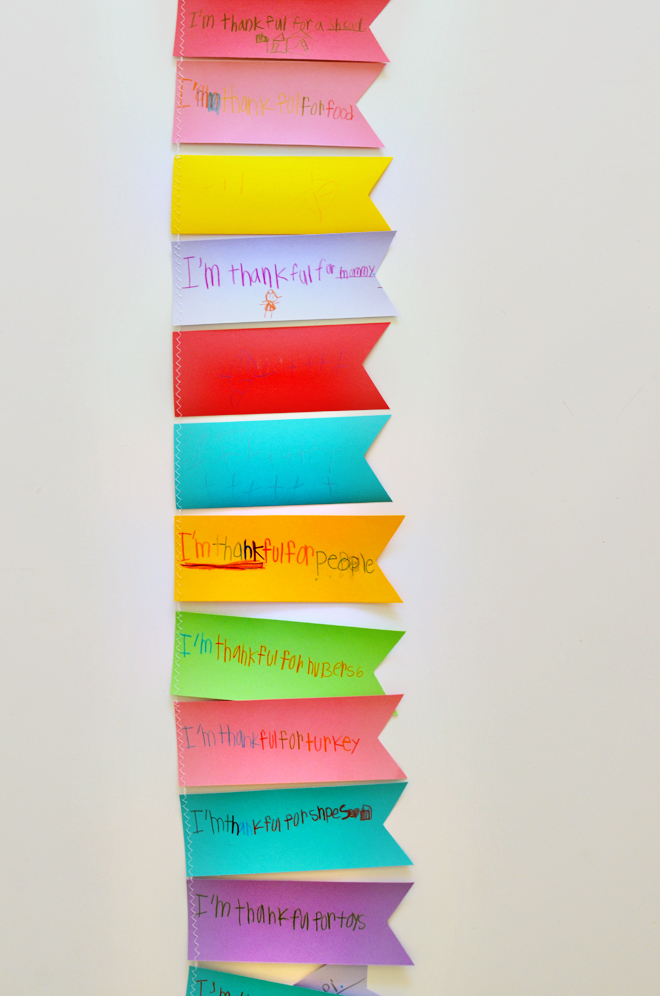
I wanted the girls to list out things they are thankful for and this was our simple solution…
Supplies:
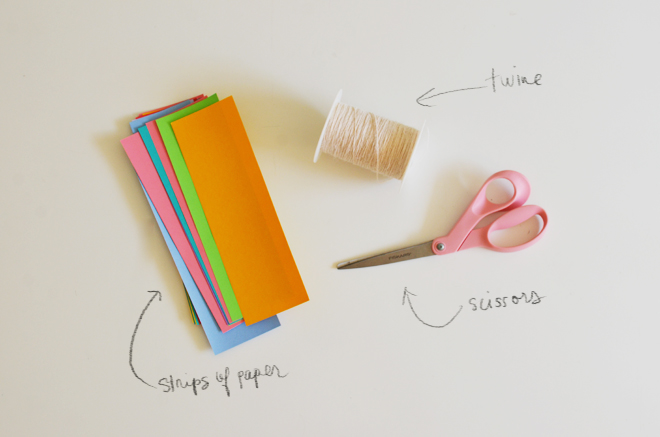
Strips of colored paper
Scissors
Colored pencils
Twine
Sewing machine
Directions:
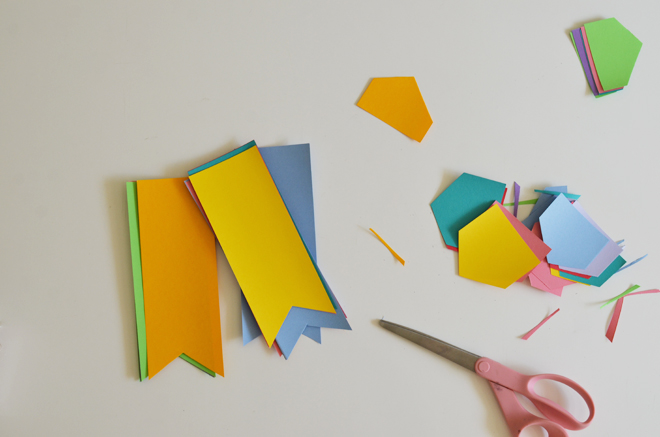
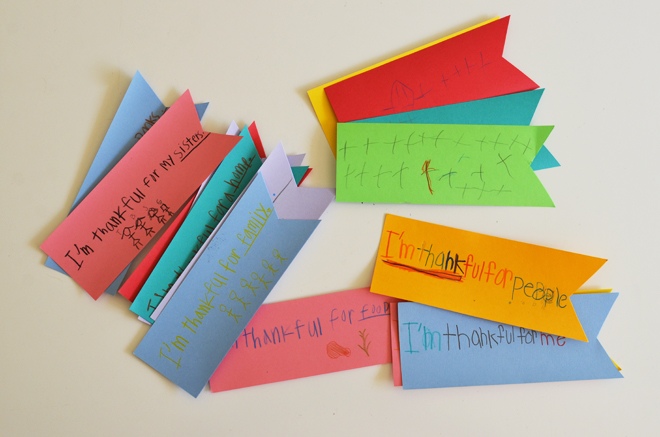
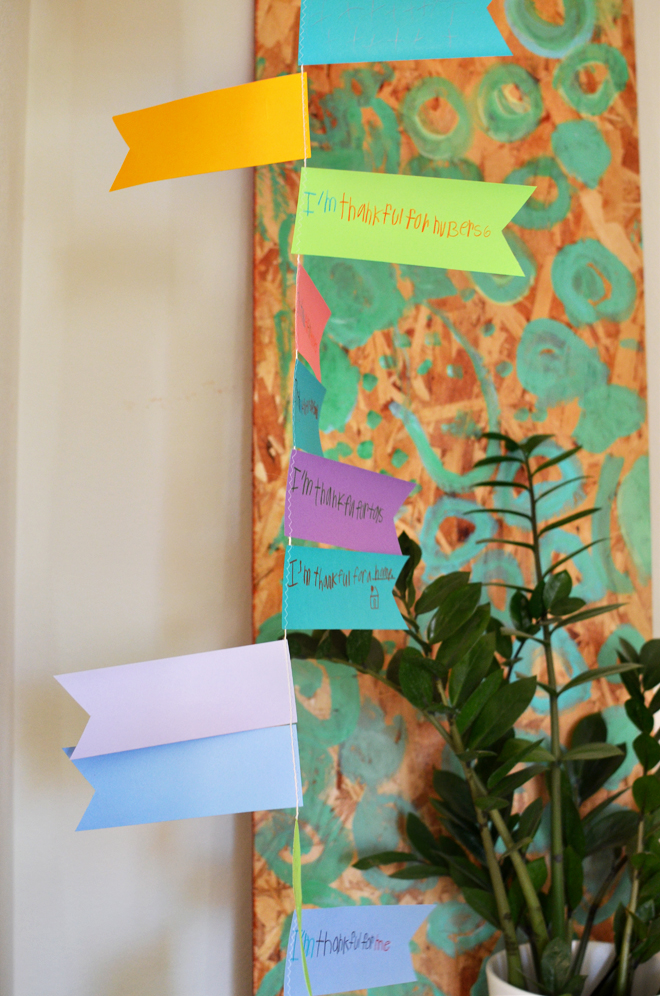
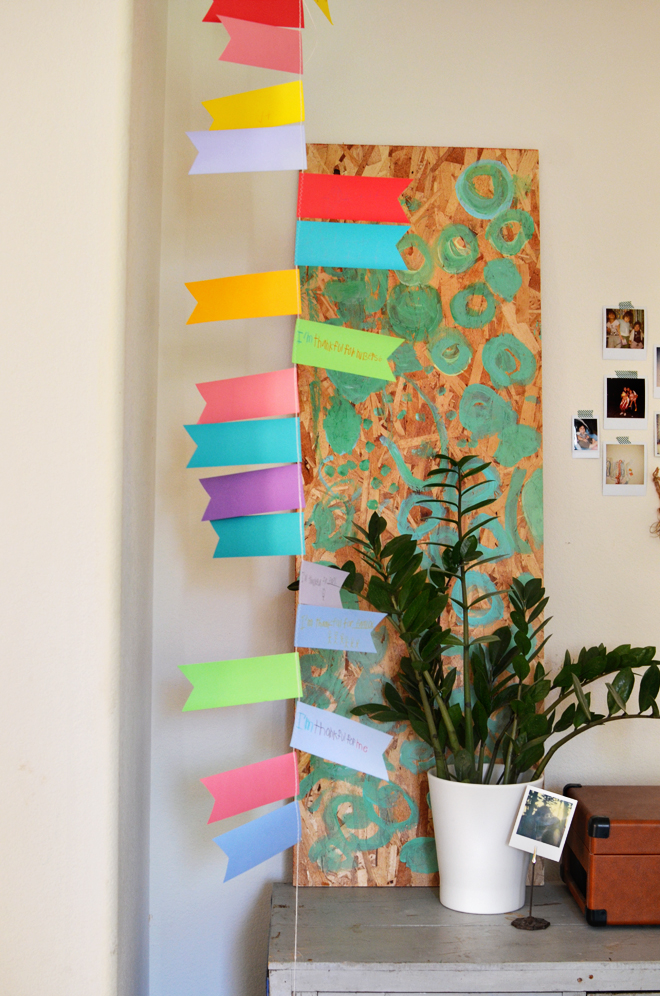
Cut out your strips of paper (add a fancy shape if your heart desires). Let your kids write things they are thankful for. Then, run the strips of paper and the twine through the sewing machine using a zigzag stitch at the top (or you can just tape or glue the twine onto the back of the paper). I hung ours up from the ceiling and it gives it this cool kind of twirling effect. My big three girls got in on the being thankful action. I can’t quite comprehend what Soul’s thankful for, but I’m going to guess it’s for shoes and makeup because those are her favorite things… oh boy! I do love reading through all their thankfulness and apparently, Brave is even thankful for numbers! I never would have guessed as math isn’t a fave subject around here. I think it’s good for the girls to go through a list like this often. I really want them to be constantly developing a deep heart of thankfulness, after all, we do have so much to be thankful for!
Do you have anything you are particularly thankful for at this moment? I just ate an In-N-Out burger, so my tummy is very thankful for that.
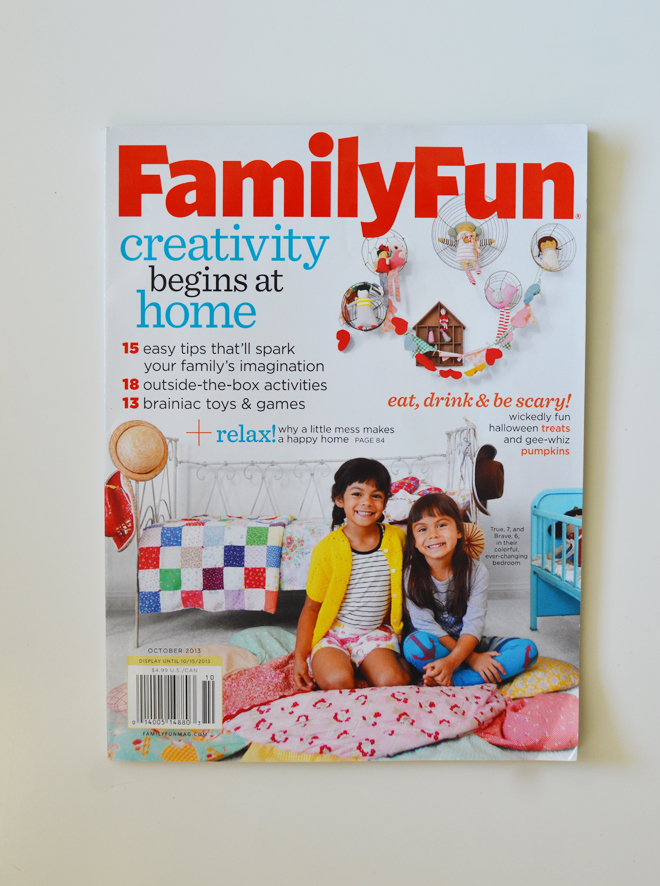
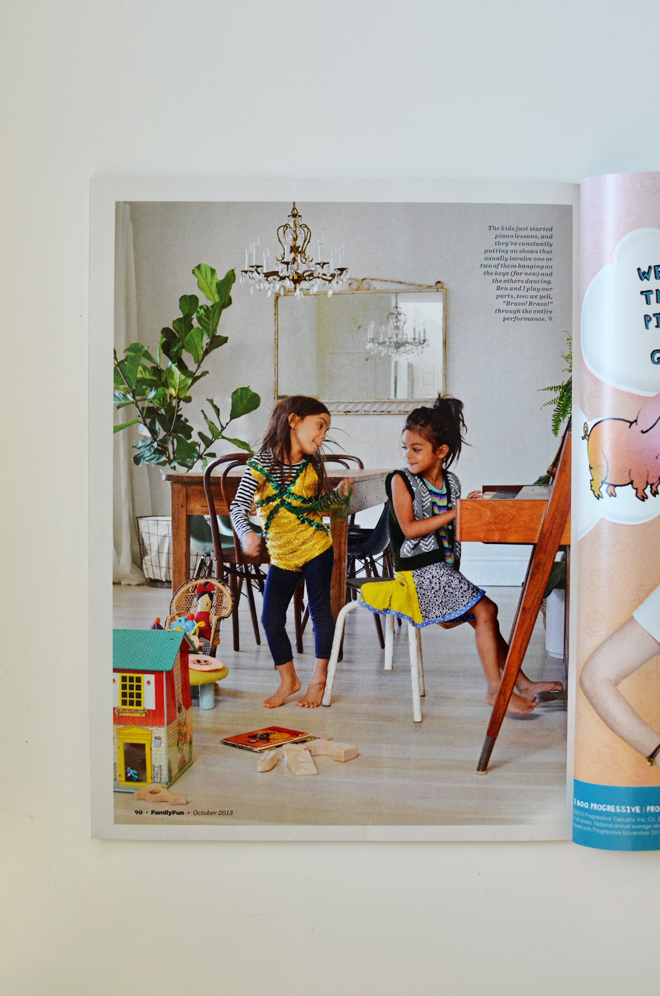
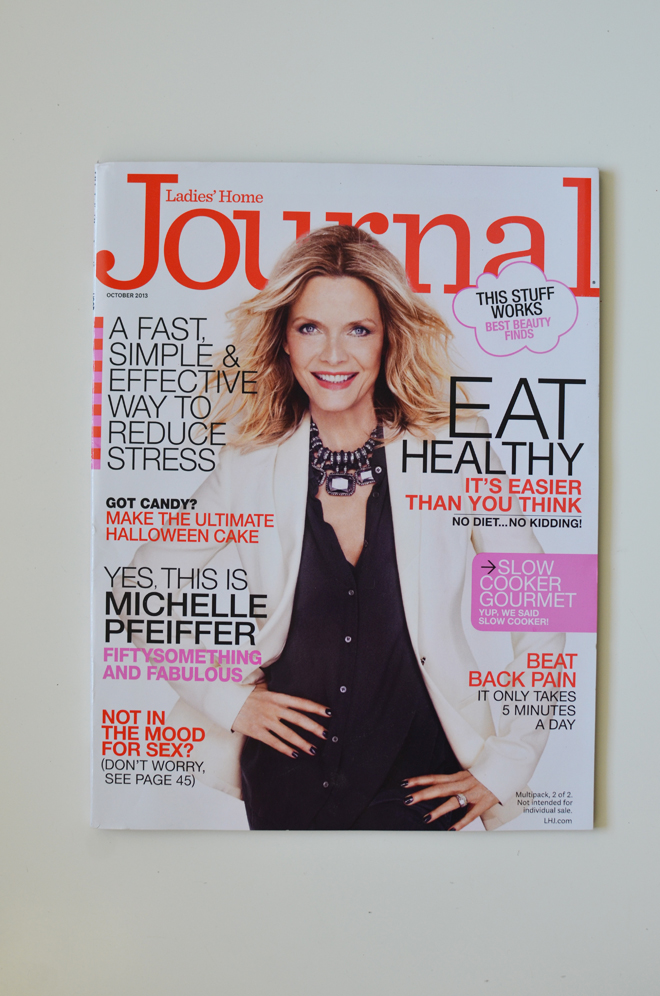
I’m behind in blogging this, but this month I was part of the October 2013 issue of Family Fun Magazine. This is such exciting news for us for and I am so happy to be part of it. Not only did I write a little article about our home/family inside (and our creative messes), but I also photographed the images for the article and they chose one of my pictures for the cover! Seriously, it still feels so surreal and I’m so honored to be part of such a great issue.
We took the girls to the grocery store to pick up our copy and to show them that they were on the cover… they thought it was cool for like 10 seconds and then they moved on to the My Little Pony cards they were seeing down the aisle. Go figure! That’s kids for you. If you wanna pick up a copy, I’ve seen them at grocery stores, Michaels, and Barnes & Nobles. I think my mother-in-law cleaned out all of San Antonio, Texas, so you probably won’t find any there.
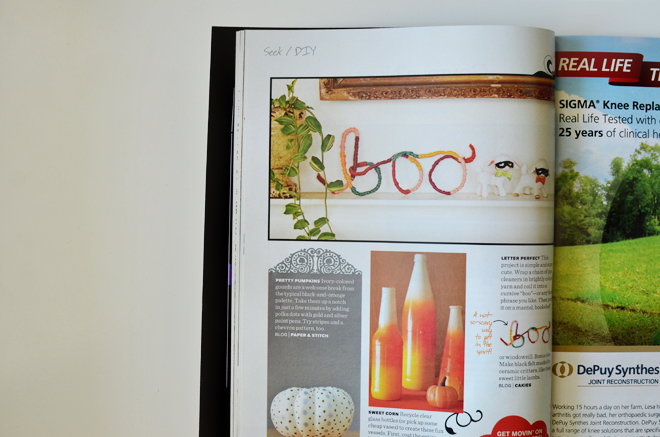
A little project we did awhile back is also in the October issue of Ladies Home Journal. Feeling very honored to be among other creative individuals on this page.
I’m very thankful for these opportunities and I’m thankful for all of you who take the time to visit here and take notice. If you made your way over here from those magazines, well, it’s nice to “meet” you and I hope you’ll stay awhile! When I started blogging, I never imagined the opportunities that come because of it. I just wanted to join in for the fun and community. I don’t even think of myself as a “blogger.” I’m just a gal, who likes to make things (for and with her kids), and happens to blog about it. It’s been so great so far and really, all of you are a big part of this journey, and I am very, very thankful! Many, many xoxo to all of you!!!
I have a large growing pile of fabric scraps. I refuse to throw them away because I am sure they can be used for something. I have been seeing different types of interesting necklaces made of buttons, beads, and fabric. Then, I figured why not make one out of my scraps...
I think it made my white shirt a little less boring. This was so quick and easy to make.
How to make a recycled scraps necklace (which is very similar to the straps on my braided tablecloth bag):
1. Take your scrap fabric, I cut a .5''-1'' snip and tear the rest of the fabric down for a nice frayed edge. Used 3 different fabrics for each strand.
2. Take 3 of the torn pieces and tie the ends together with a rubber band.
3. Braid the 3 pieces together and tie ends together with rubber band when done.
4. Repeat steps 2 & 3 for more strands. Remember you can make the strands any length you want, if run out of fabric, just weave more into the braid.
5. Once all the strands you want are braided, gather one end of each strand together and straight stitch together with sewing machine. Repeat for the other ends of the strands. Snip off any excess.
6. Gather ends of the necklace and sew together (snip excess) or a ribbon can be sewn at the ends to be able to tie the necklace closed, but I just sewed both ends together.
7. Voila! A nice way to make use of all your lovely scraps.
Sorry if the directions get you a little lost, but it really is easy. I promise. Maybe I should put some in the shop. Please share any other good ideas you may have of things that can be made with scraps. I would love to hear (read) them!

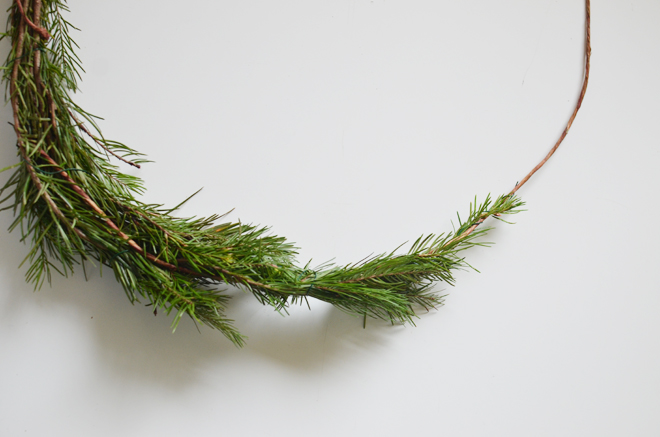
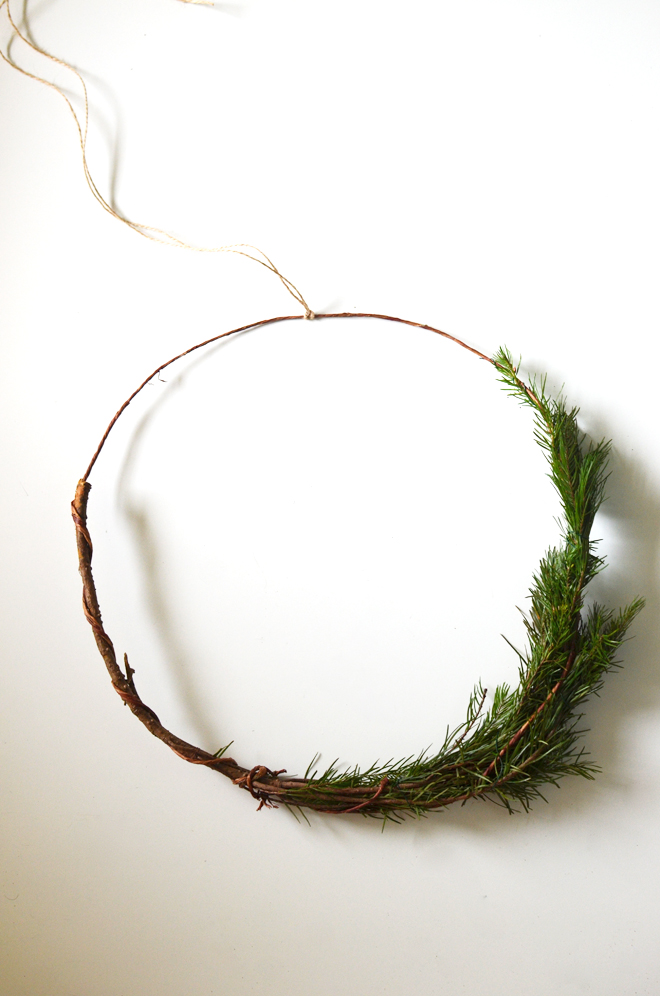 We made a wreath. Just used some tree scraps from Lowes that they let me have for free! Free is always nice.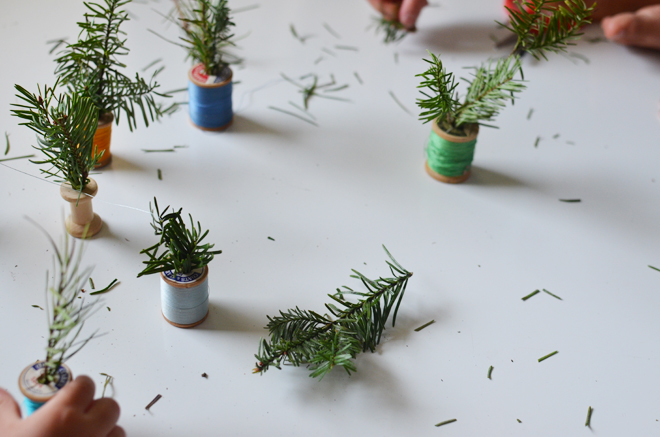
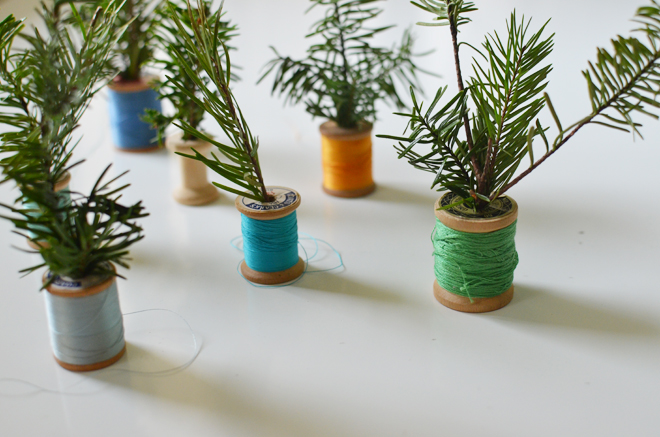
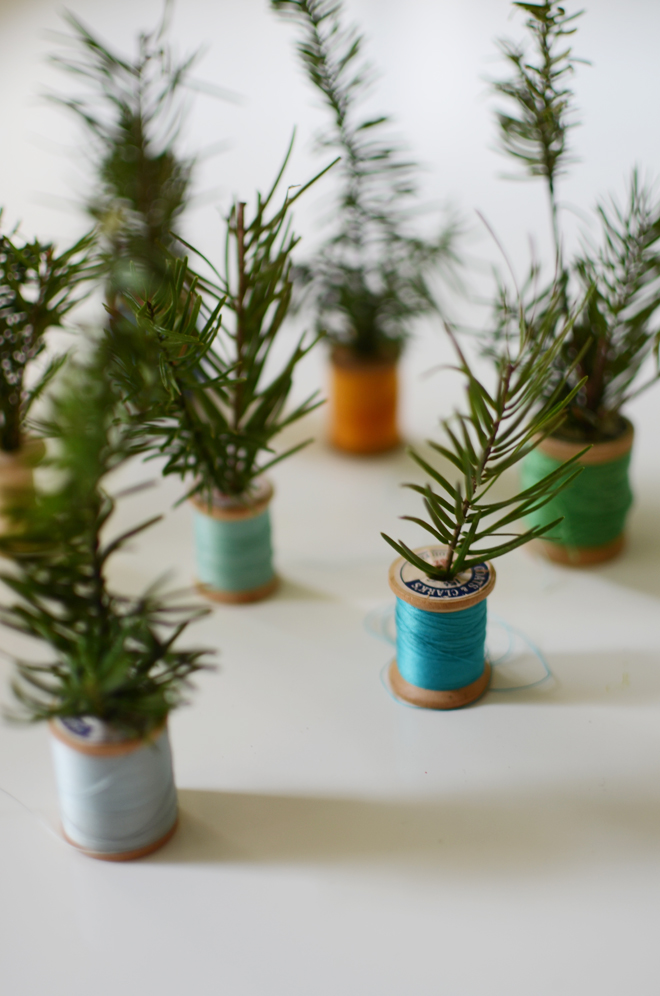 We made some little trees. Using those same free tree scraps and some vintage thread, the girls made trees for their own little forest.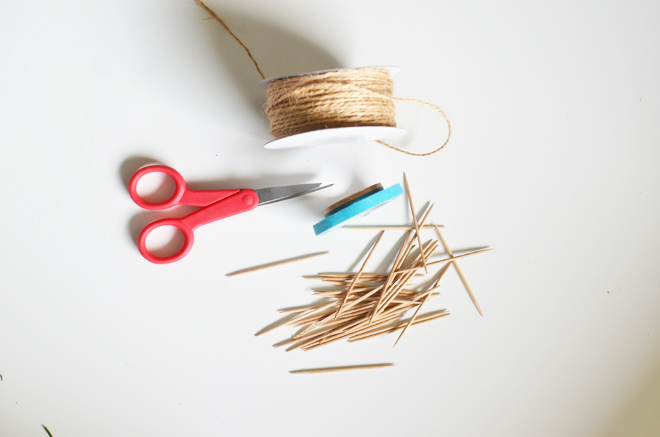
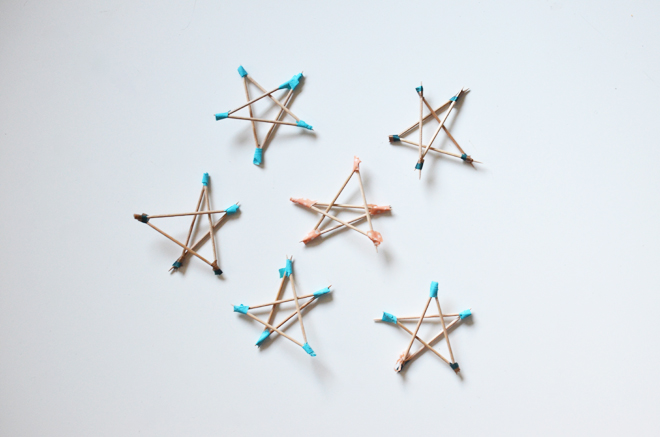 We made little (toothpick) stars. Inspired by this pin.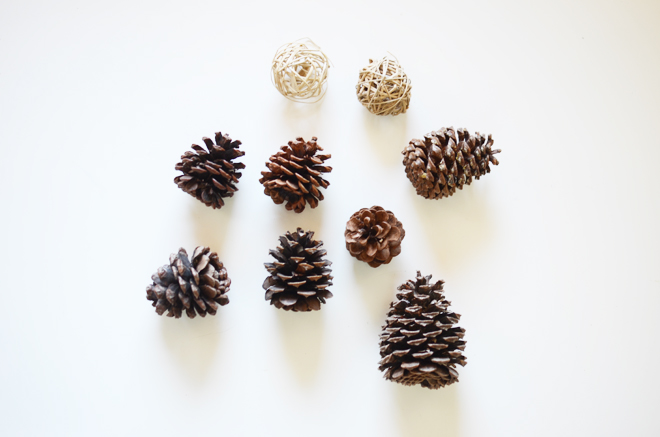
 We painted some pinecones. Took a few coats of spray paint (and let it air out for days).