
diy: crepe paper heart crown

January 29, 2014


heart crownCrepe Paper Heart Crown

Supplies:
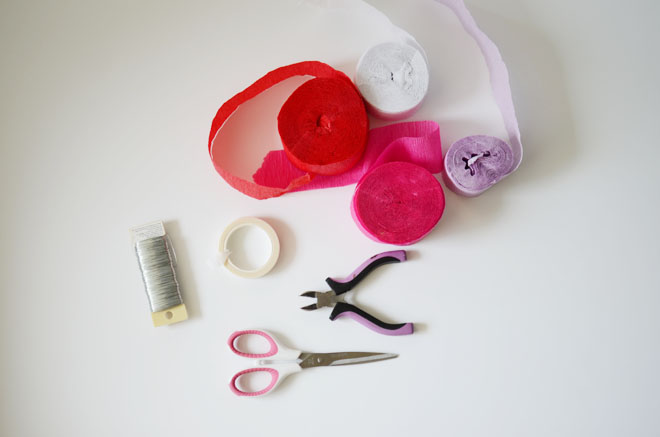
Crepe paper streamers in various colors
Scissors
Floral wire (a roll of 30 gauge floral wire from the craft store did the job for this project)
Wire cutter
White floral tape
heart crownDirections:
1. Fold 2.5″ of crepe paper over and cut out your heart. Be sure to not cut out the bottom of the heart as you will want two hearts to be attached together at the bottom (see photo). Cut out about 12 – 15 hearts in various colors.

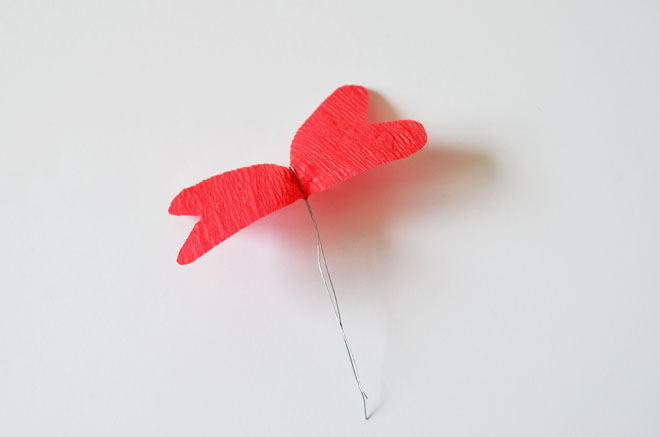
heart crown2. Using the wire cutter, cut 6″ strands of wire that amount to same as the number of crepe paper hearts you previously cut out. Open up your paper heart, center the wire on it, then fold in half, pinching the heart closed. Continue to wrap the entire wire completely with floral tape. Repeat for each of your paper hearts.

heart crownheart crownheart crown3. Overlap the end of the heart stems over each other by about 1.5″ – 2″, and intertwine each stem tightly around the next until you’ve connected them all together to create your heart crown. I used about 12 – 15 heart stems per crown for my little girls, but when you near the end, keep the sweet little head nearby to double check measurements to make sure it will fit.


heart crownheart crownheart crown I made 4 of these heart crowns for our Valentine Day festivities. I’m not even sure what we’ll be doing, but they’re all about these types of celebrations, so I try to make it as fun for them as possible. Plus, not only is it Valentine’s Day, but it’s also my mom and dad’s wedding anniversary, so we do have a lot to celebrate on February 14th!


heart crownheart crownheart crownIf you’ve got some crown loving princesses in your home, you should definitely make them one (or several) of these for Valentine’s Day! If you’re wanting a floral crown, check out this crepe paper floral crown we did awhile back.


silver dipped straw basket

January 27, 2014


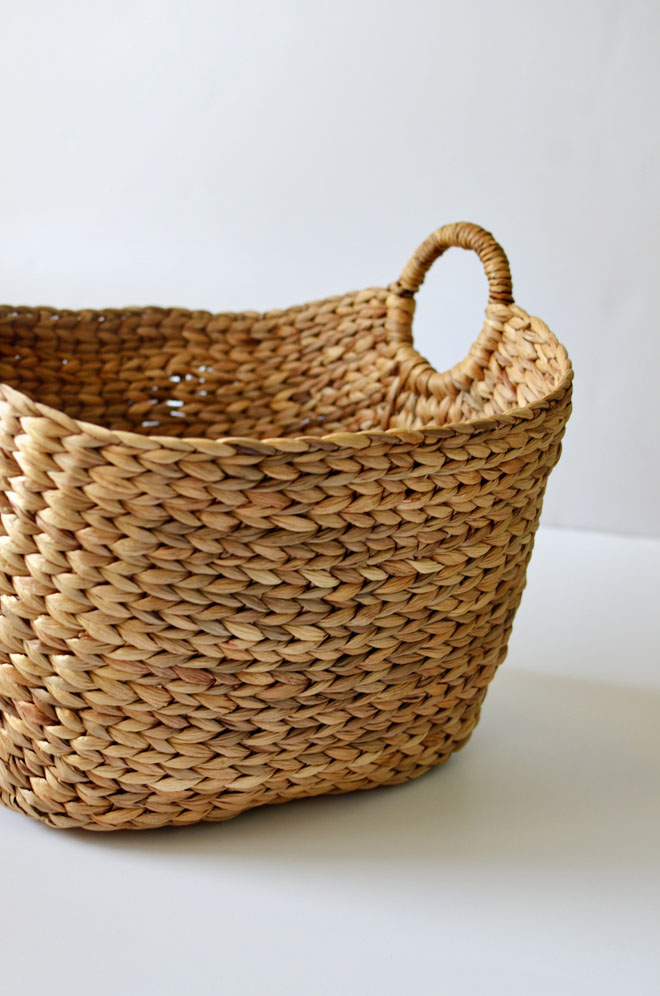
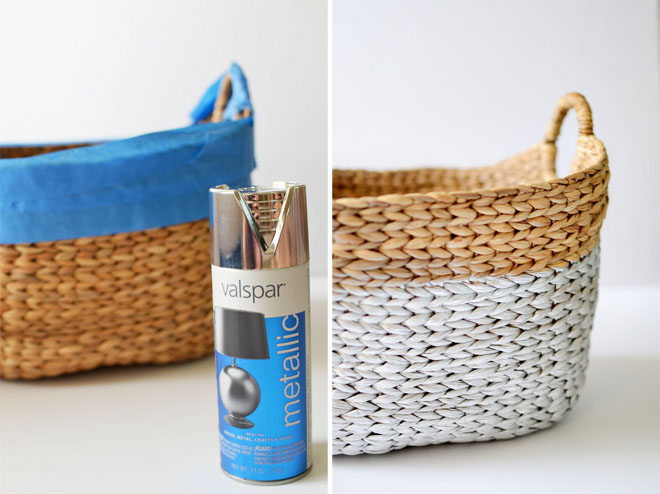
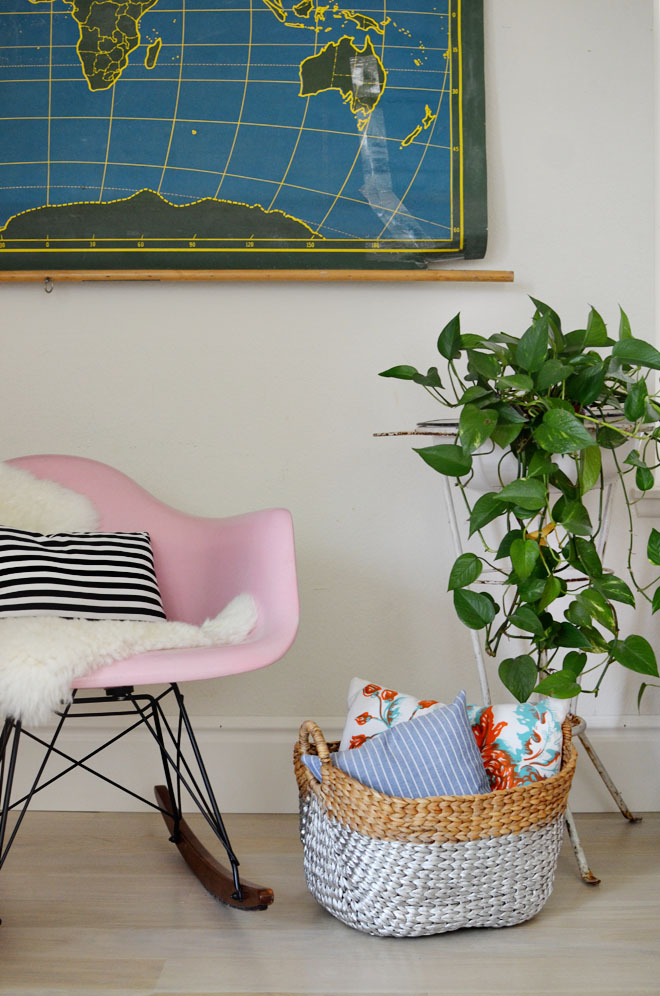
a little silversilversilver dipped basketEver since I pinned this awhile ago, I’ve always wanted to spray paint a basket silver. The only problem is I would always forget to buy metallic silver paint every time I went to the hardware store, but a week ago my memory was working properly, and I finally picked up a can. Thus, I took a basket we already had, taped off where I wanted to color block it, and then went to town spraying. I let the first coat dry completely, which took about an hour, and then I sprayed it again. All it took was two coats and my basket now has a little more personality!

a little silverI definitely still have lots of silver spray paint left, so I think I might be going silver crazy with various things that are paintable in our home! I’m going to spray one more basket silver and maybe some pots for plants. What are some things you’d like to change up a bit with a can of silver spray paint?


diy: “i love you” yarn sign

January 22, 2014


i love you sign

“I Love You” Yarn Sign

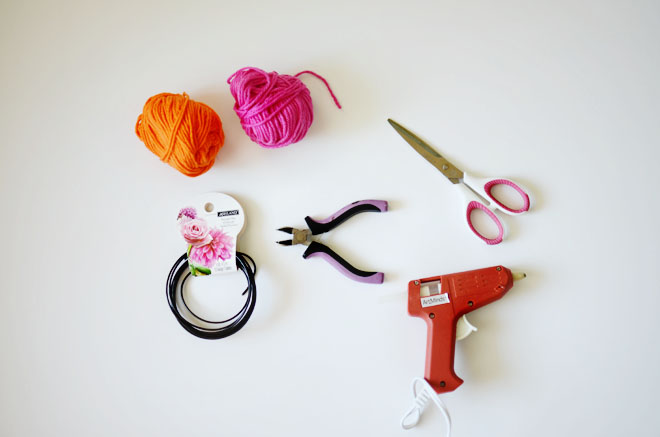
Supplies:
Yarn in various colors
12 gauge decorative wire (I found a roll of 5 yards in the floral section of the craft store)
Wire cutter
Scissors
Glue gun & glue stick

i love you sign

Directions:
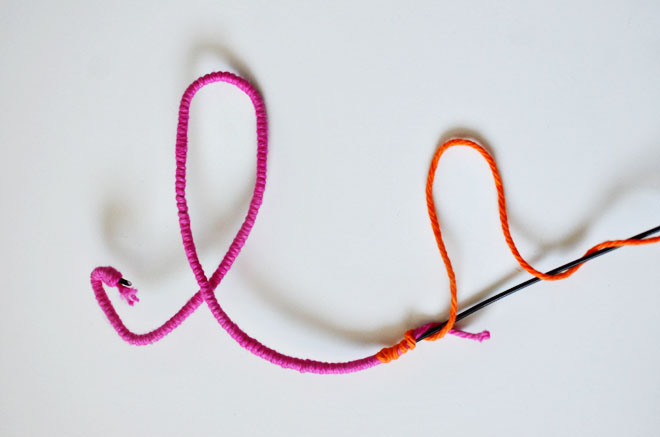
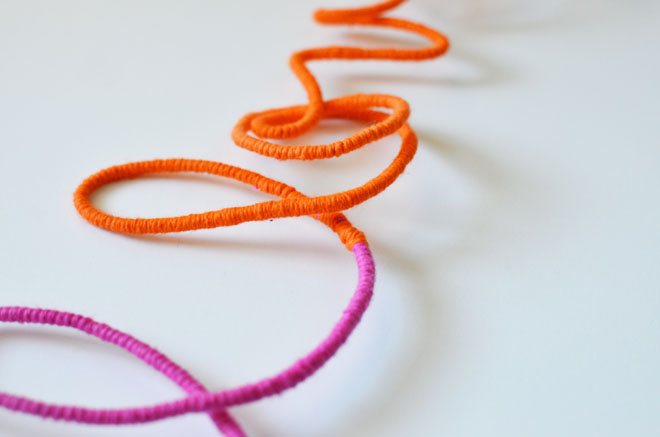
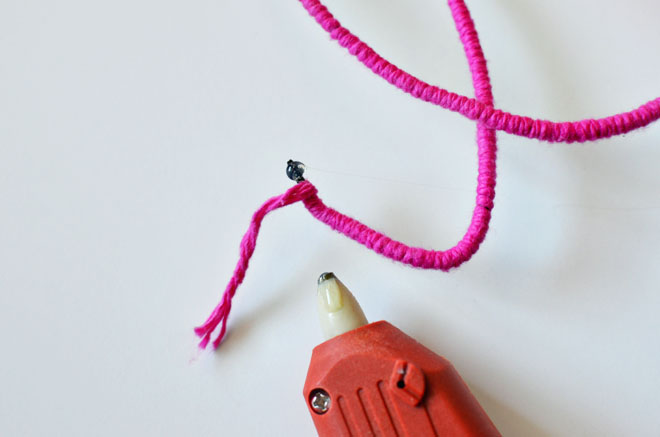
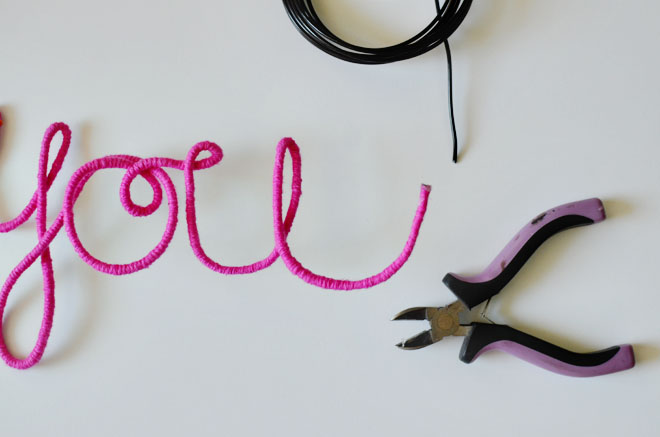
Using your glue gun, add a dollop of glue to the wire end (where the yarn begins), and start wrapping the yarn end tightly where the glue is, so it’s glued to the wire and stays in place. This helps keep the yarn secure as you wrap your wire. Continue wrapping your yarn snugly around the wire, forming the letters and words as you go. When/if you want to add in another color, just add another dollop of glue, then wrap the new color around the glue, and continue on wrapping in your new color (repeat again for another color change). Continue until you have completely formed your phrase. At the end, add another dollop of glue to finish wrapping up the end.

I found it best to form my words as I wrapped. I would complete about a 10″ section of wrapped wire, then form the letter. You most certainly could form the entire phrase first, then wrap the yarn around. Do whatever feels more natural to you… either way will work!

i love you signi love you signi love you signi love you signi love you sign

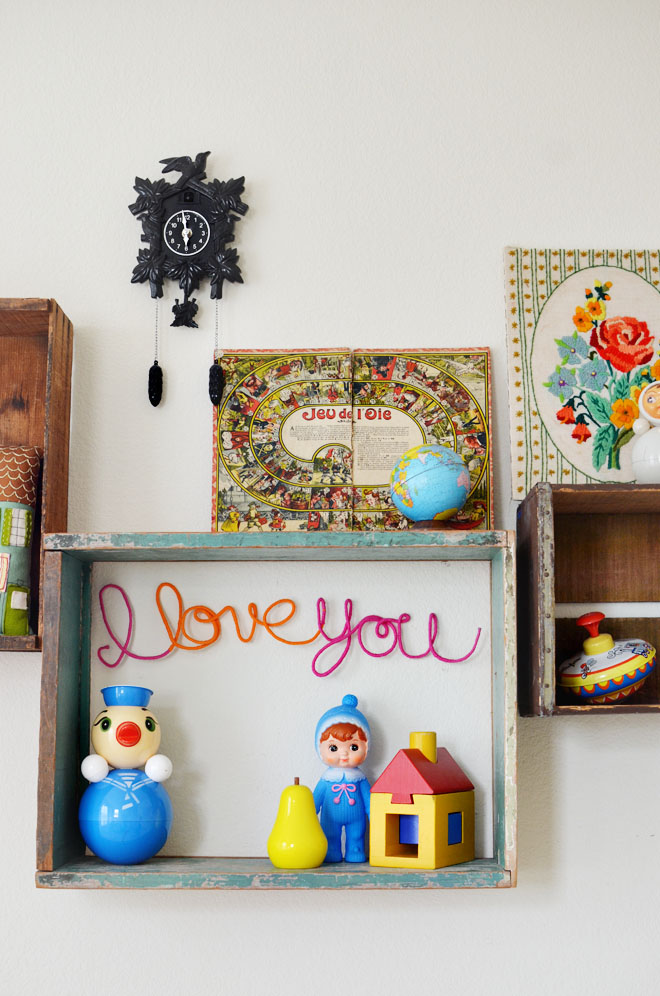
This “I love you” sign is currently sitting on top of our mantle. It’s the start of our February and Valentine’s Day decorating, which I can’t believe is already right around the corner. The girls are all about celebrating and decorating for those celebrations, so I try to think of simple little things we can do to get the house a little bit more festive.

We made a “BOO” sign awhile back for Halloween (using chenille stems) and this is play on that, but using stronger wire really helps keep its shape better, especially with the fancy little curly q’s in the letters I did. I have a few more sayings in the my head that would look really cute wrapped up in yarn. Maybe “be brave and true” for the big girls’ rooms or “let your light shine” for the little girls’ room, or maybe that will be yarn wrapped sign overboard!

i love you sign

I actually first made a larger “I love you” sign in the black wire and left it unwrapped and it looks pretty cute that way too. I wanted just a little more color though, so I decided to make a smaller yarn wrapped one. The sign would also make a really cute Valentine gift/message for someone you love! If Ben hadn’t already seen it, I might have hung it above his side of the bed for him to see when he woke up Valentine morning. It’s a simple gift with a sweet message. And even just looking at the first picture of this post, I think that would make cute Valentine Day cards or a sweet poster. Uh oh, I think I’m on a poster kick after making one from our rock collection.

Since this project involves handwriting of sorts, did you know tomorrow, January 23rd, is National Handwriting Day? I totally didn’t until I heard (via email) that expert calligrapher, Lauren Essl, will be doing a tweet chat with @MichaelsStores (#MeetLaurenEssl on 1/23 from 2-3pm CST) to celebrate the day. I want to join in to find out what her favorite calligraphy pen is. I took a class in high school and I try to brush up on my skills from time to time, but I’d love to know what pens she would recommend. Wouldn’t it be fun to make a wire phrase shaped into some fancy calligraphy? I’d love to try that. Sounds like a challenge, but I’m always up for it!


DIY: displaying collections

January 21, 2014


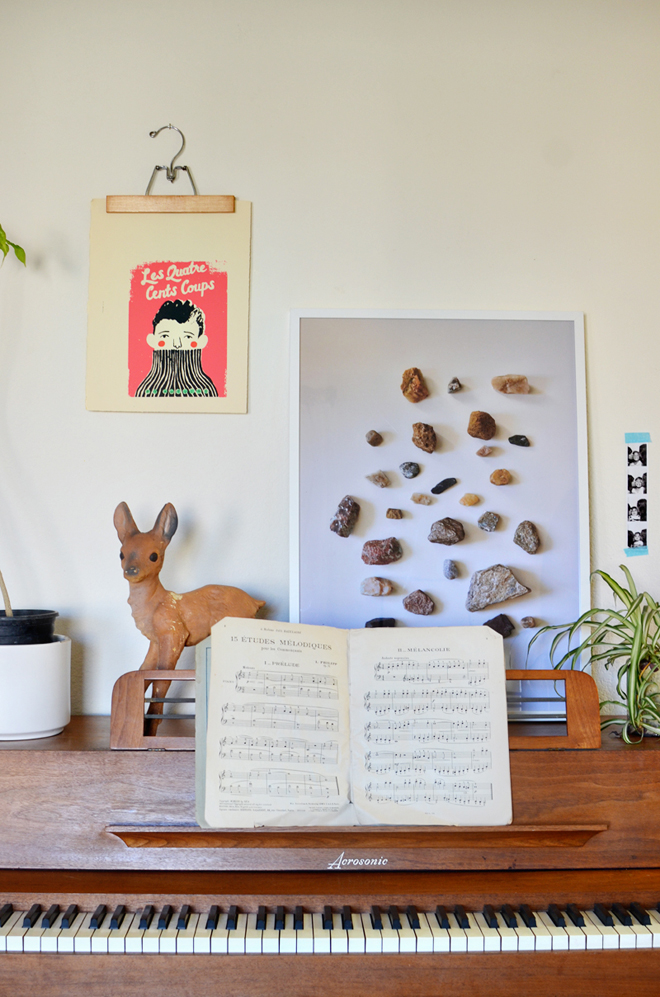
rockcollection-3You might remember I blogged about our rock collection. Well, I printed out a poster of our rocks and have it displayed. I also talked about how making a poster is a simple way to get wall art and display a collection that might otherwise be taking up too much space! Read the post on A Beautiful Mess here.

If you want a rock collection poster of your own, you can download our poster (here), save the file, and take it to the print shop to get printed. The size of the poster is 19.75″ x 27.5″ and you can purchase this frame from IKEA and it will fit those dimensions perfectly! The poster is for personal use only and not for resale (and if you do share it on social media, would love a link back!)… thanks friends!


diy: vintage inspired hanging birds on ABM

December 22, 2013


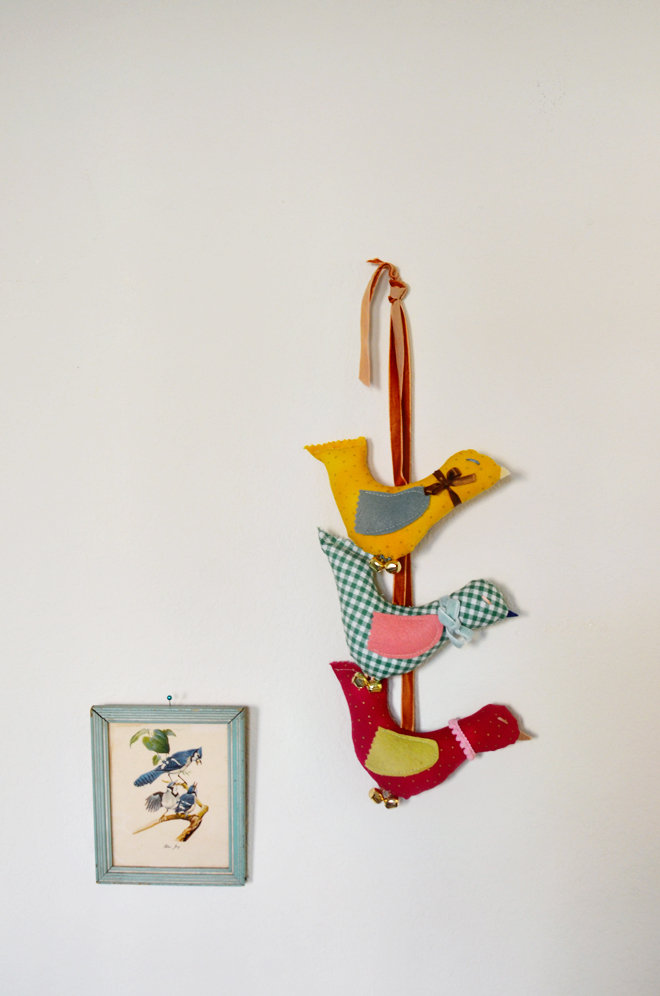
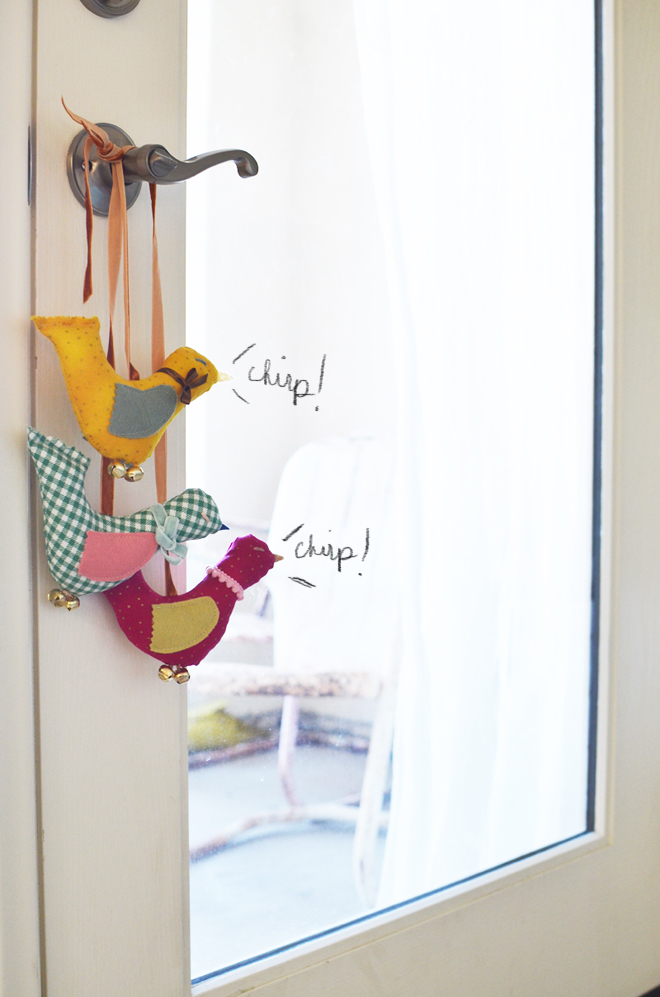
hanging birdshanging birdsI made these trio of birds inspired by this vintage set. Get the template and instructions on how to make this sweet little hanging over at the A Beautiful Mess blog!


diy: simple dowel christmas tree

December 19, 2013


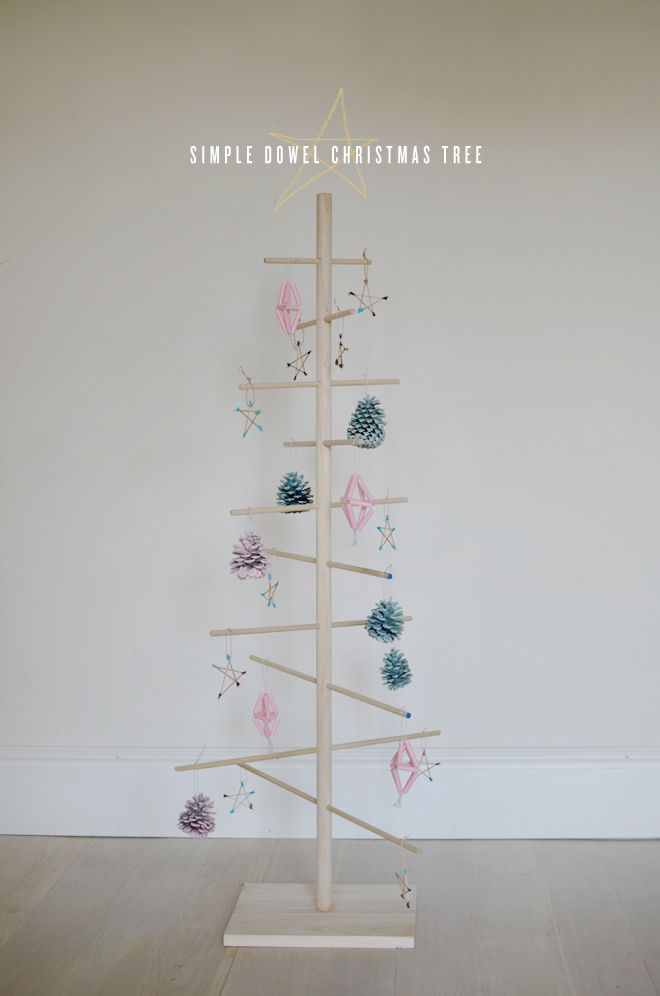
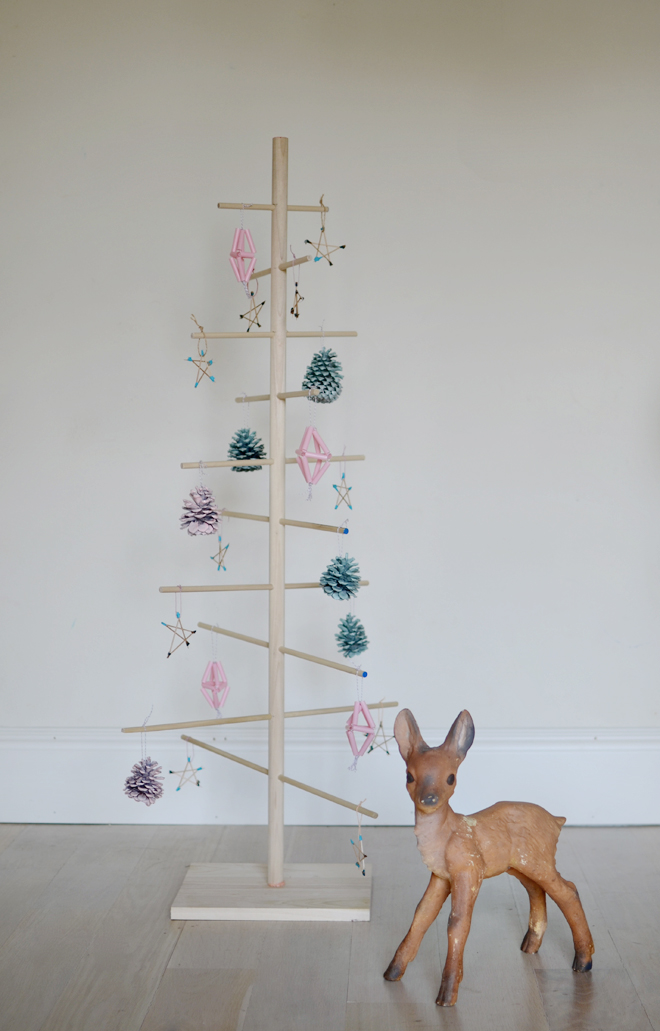
dowel christmas treeSimple Dowel Christmas Tree

Supplies:
Simple Dowel Christmas Tree diagram
12″ x 12″ x 1″ wooden board (I bought a 24″ x 12″ 1″ wooden plank and sawed it in half)
1″ x 48″ poplar dowel
4 – 3/8″ x 48″ poplar dowels
Handsaw
Drill
1″ bit
3/8″ bit
Measuring tape
Pencil
Sandpaper (optional)
Wood glue (optional)

diy: wooden treediy: wooden treediy: wooden treediy: wooden treediy: wooden tree wooden treeDirections:
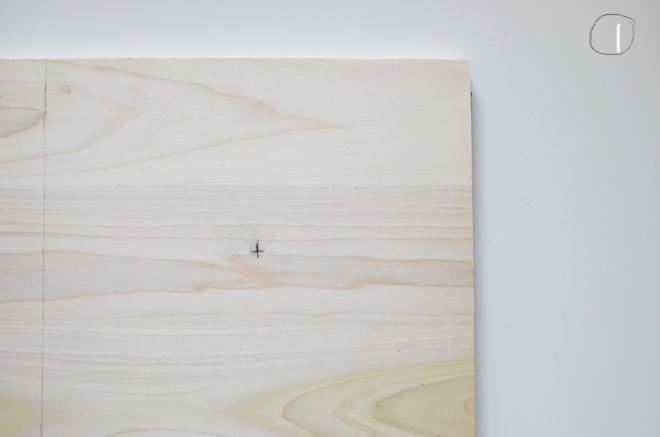
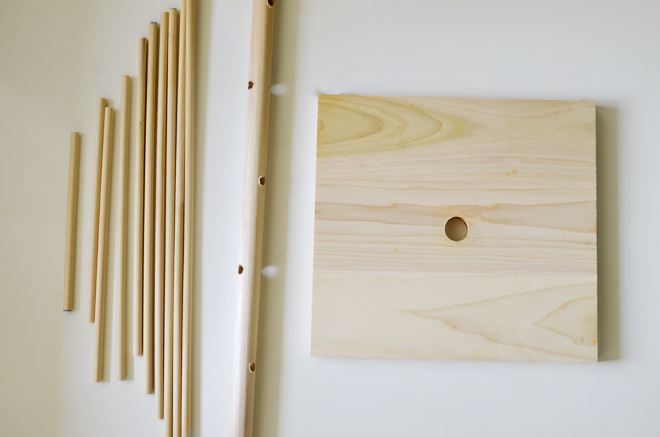
1. Measure and mark the center of your wooden base. Using a 1″ drill bit, drill a hole in the center of the wooden base (drill all the way through the board). Note: I bought a 24″ x 12″ x 1″ wooden plank and cut that in half to get the size I needed for my wooden base.
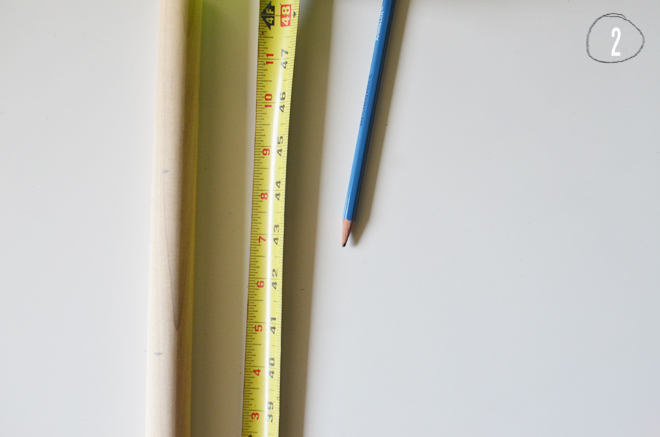
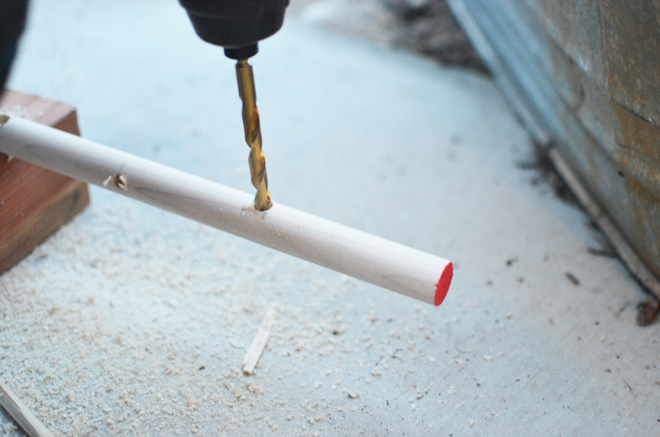
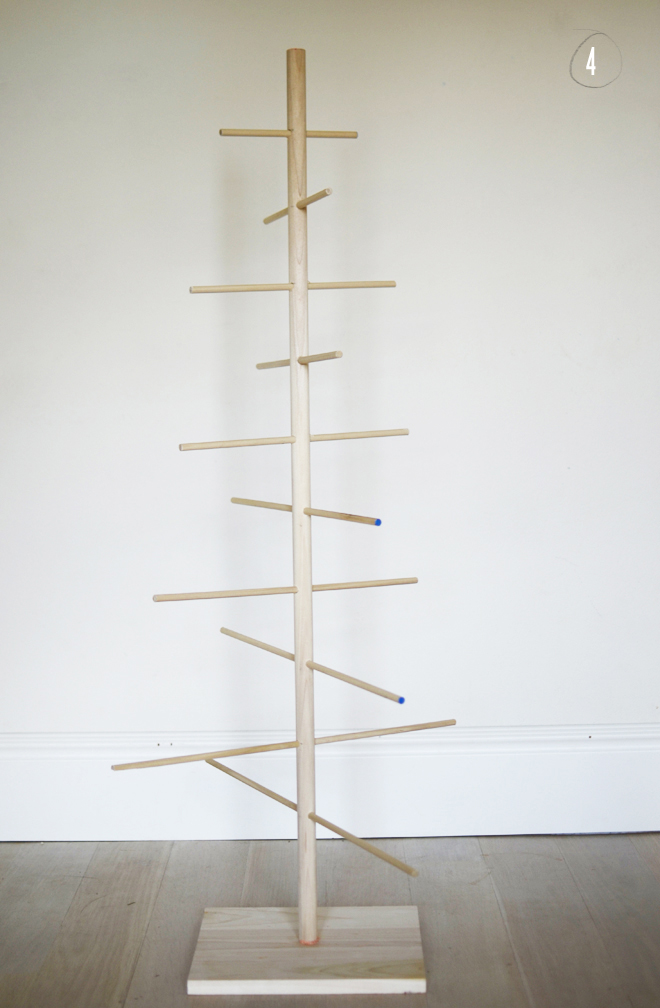
2. Measure and mark the holes for your 1″ x 48″ dowel; this is the main “trunk” of the tree. Starting 4″ from the top, mark your top hole, then proceed to mark the remaining 9 holes every 4″ apart, while at the same time, moving your hole 90 degrees from the previous hole, so that alternating dowels would go in opposite directions (see diagram). There will be 10 dowel slots total with the last hole 8″ from the bottom of the 1″ x 48″ dowel. Once you have all your holes measured, using the 3/8″ drill bit, drill a hole on each mark all the way through the dowel.
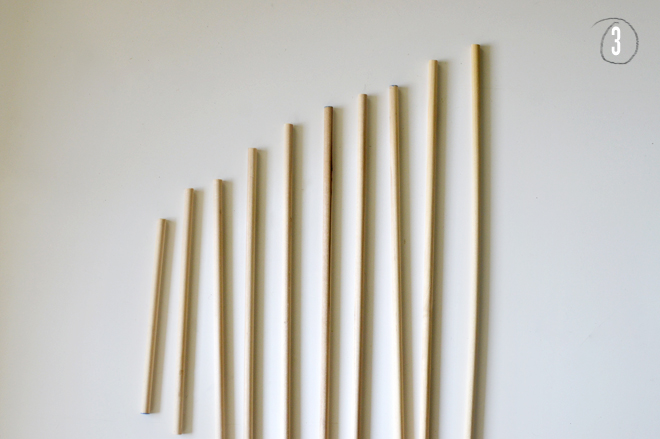
3. Measure and cut the four 3/8″ x 48″dowels to these lengths: 8″, 10″, 12″, 13″, 14″, 16″, 18″, 20″, 22″, and 24″. There will be a couple excess pieces, which you can toss or save for another project! If any of your cuts come out a little rough, lightly sandpaper them.
4. Insert the 48″ dowel into the hole in the wooden base, then proceed to insert the remaining dowels into the slots with the shortest length at the top continuing to the longest length through the bottom hole. Note: My dowel fit pretty snug into the wooden base, but if you need to (or would like to) add some wood glue to join the two pieces together to stabilize (or add a strip of washi tape to the bottom of the dowel, so that it fits into the hole snuggly). The diagram will help clarify the steps, so be sure to use that as a guide when making your tree.

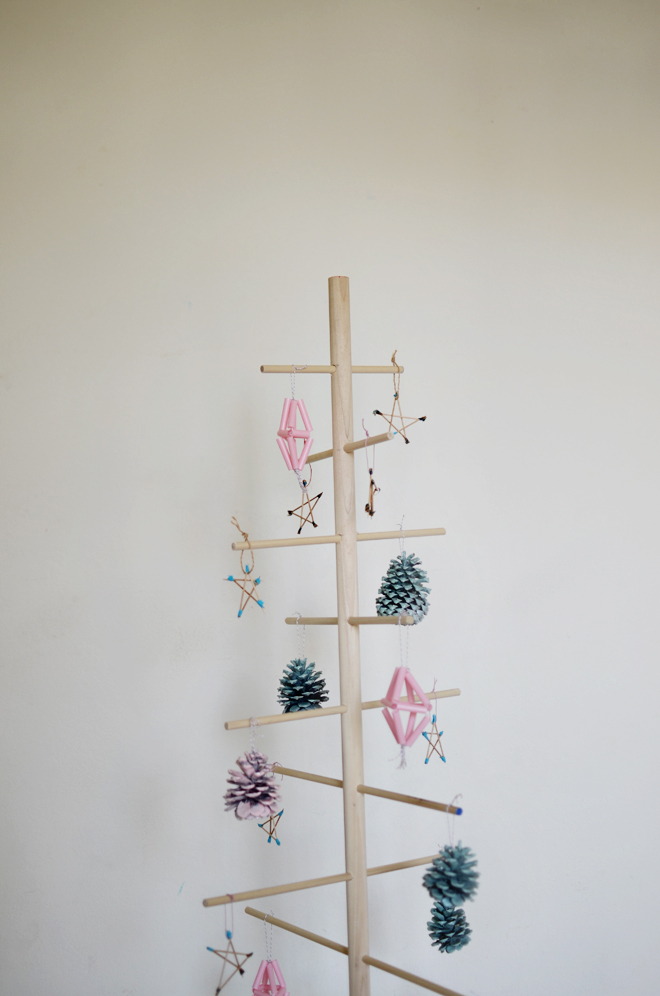
There you have it, a simple dowel Christmas tree! Make some decorations and hang them up on your creation…

dowel christmas treedowel christmas treeFull disclosure: I’m no Rachel Denbow, so while Ben has taught me how to use the saw and drill, I save that job for him. I measured and marked everything, handed it to him, and he did the sawing and drilling (friends, make sure to always use safety first when dealing with those dangerous tools!). The entire project was done in 30 minutes and it took us longer to make the ornaments (see them here and I followed Rachel’s tutorial for the straw himmeli). You could definitely add more dowels to make the tree fuller. This would even be great to have in a classroom; I think it would be fun to display classroom ornaments on it! Or maybe make it for a kid room! It’s an easy tree to put together (and take apart) and it’s not too fancy, so it will be easy to store. You can even get fancy and paint yours fun colors! I really love our little wooden tree so much…

P.S. This isn’t our “main” tree, but I was tempted to have this take its place. It’s sitting in a corner of our family room to add more holiday cheer.


CAKIES
©
Design by Blog Milk