a free afternoon for myself

February 21, 2014


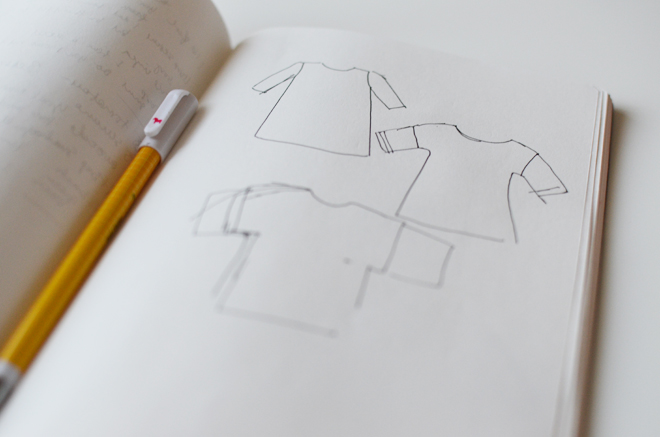
making myself a denim dressmaking myself a denim dressmaking myself a denim dressI had bought some denim fabric last summer and meant to make myself a denim dress then, but just never got around to it. Last Saturday was kind of a hang out day at home, and I asked Ben if it was alright if I snuck away to do some sewing, so he and the girls hung out outside doing garden stuff, and I holed myself up in my work room until I had cranked out a dress for myself. I really loved this and this pin and wanted something similar to those, and sketched out some pattern ideas and styles.

making myself a denim dressmaking myself a denim dressmaking myself a denim dressI kind of played around with patterns (I pretty much make my own), and after some tweaking here and there (and trying it on and off after I sew every seam), I finally had it. I got kind of off on the sleeve seams, but Ben says I’m the only who notices. I think I’ve got this pattern down now as I made another dress similar to it with black linen fabric, and my sleeve seams are spot on. When I get time, I’ll pick up more denim fabric to make another, and slightly change it up, but will make sure the seam sleeves are spot on too. I’m a perfectionist.

It’s just a simple shift dress, so it’s not terribly difficult to figure out. I had wanted a denim dress Madewell had last summer (this one), but it looked so simple that I couldn’t get myself to spend $100 on a dress that I could make myself. Now, shoes, I can’t make those, and I’ve been known to be a little splurgy when it comes to my footwear, but that’s a story for another day. If I sew my own clothes, it kind of balances out right?! I love being able to sew my own clothes, it’s so satisfying.

I tell you, if you can sew a straight line, you can sew anything! I don’t know if this is super fast or not, but it took me about 3 – 4 hours to make this dress. Have you ever sewn a dress for yourself? It really is such a good feeling!

p.s. my shoes are these from lotta from stockholm and i totally love them!


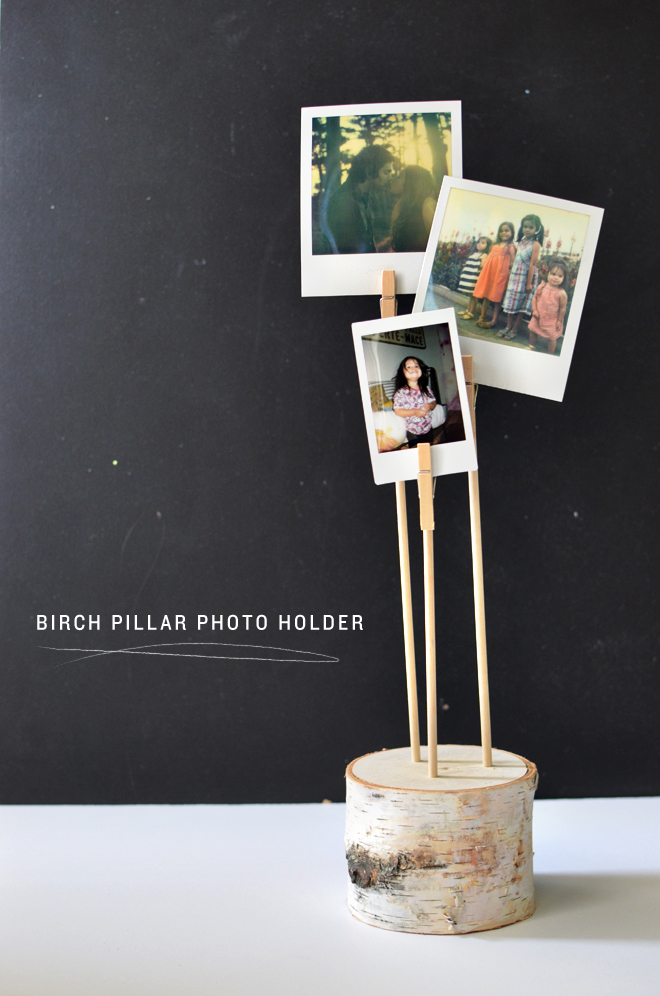
diy: birch pillar photo holder

February 17, 2014


birch pillar photo holderBirch Pillar Photo Holder

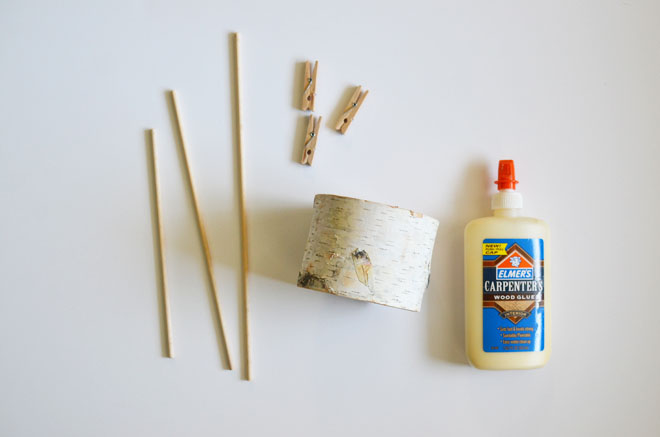
Supplies:
3″ birch pillar (found at Michael’s Craft Store)
Drill
3/16″ drill bit
1 3/4″ wooden spring clothespins
1 – 36″ x 3/16″ wooden dowel (cut into 3 different lengths of 7″, 9″, 11″)
Wood glue
bark photo holderDirections:
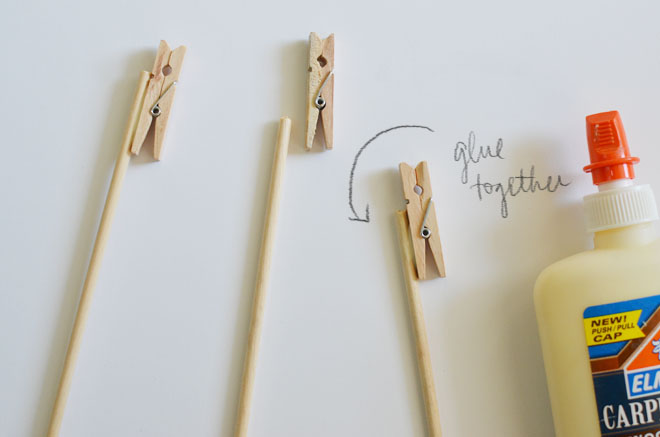
1. Glue your wooden clothespins and dowels together by adding a small line of glue on the outside, bottom half of the clothespin, hold the pin and top 1″ of the dowel together for a minute to help set, and then set aside to allow ample time for the dowel and pin to completely set together. Repeat for each of your dowels and wooden spring clothespins.

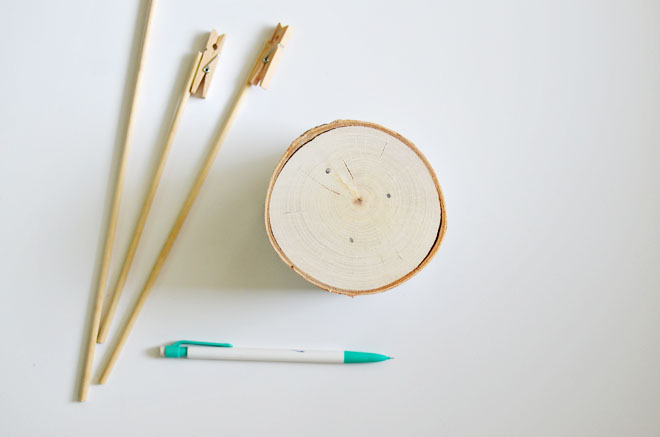
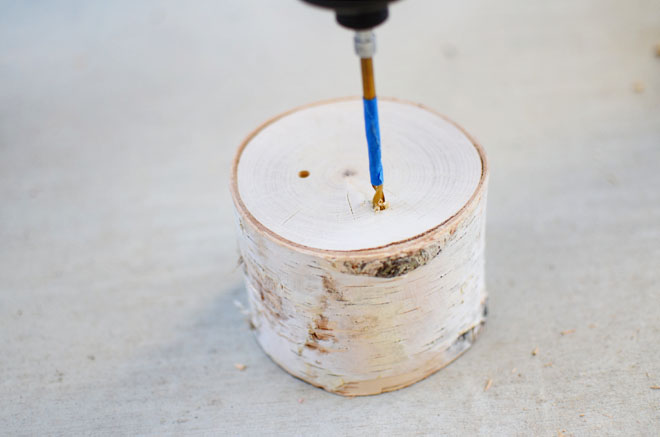
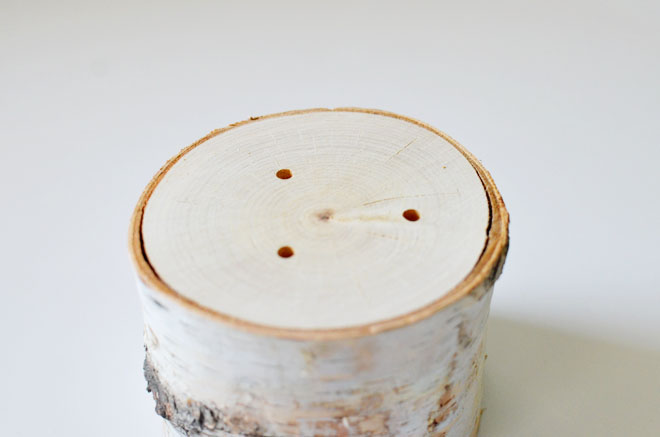
bark photo holder2. Mark your desired placement for the three dowels. I placed them about 1″ from the edge in a triangle formation. Proceed to drill your holes about 1/2″ deep in the marked areas.

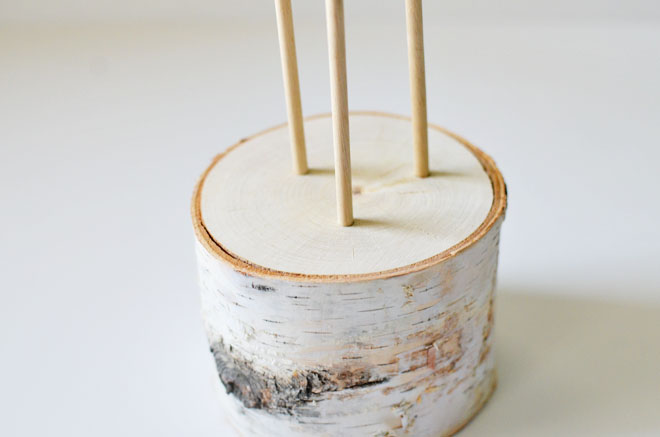
bark photo holderbark photo holderbark photo holder3. Insert the bottoms of the dowels in to the holes on the birch pillar. Pick what you want to display and insert it into the wooden pin.

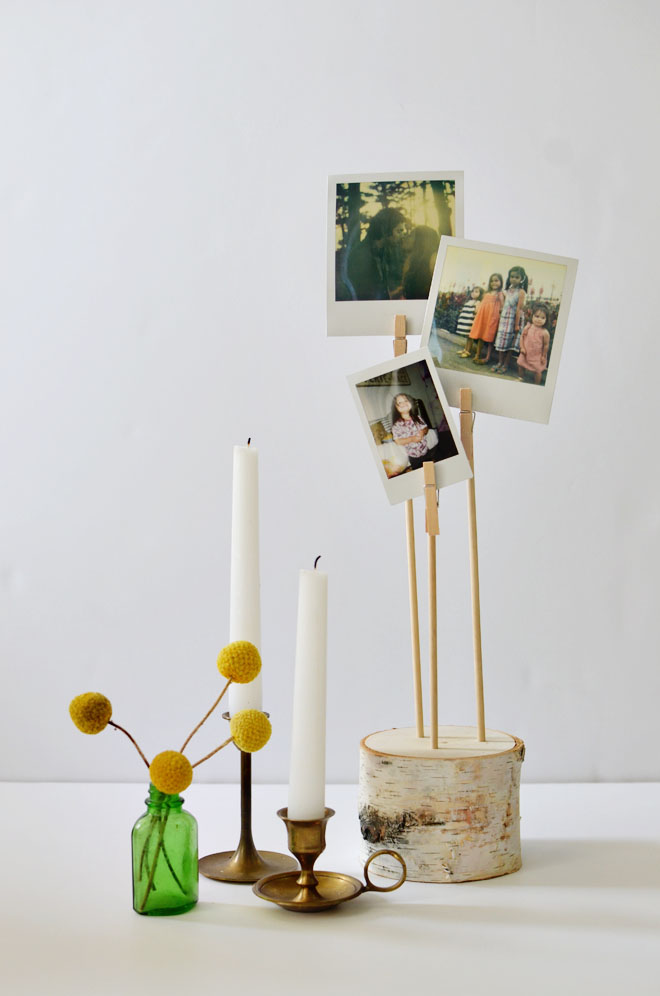
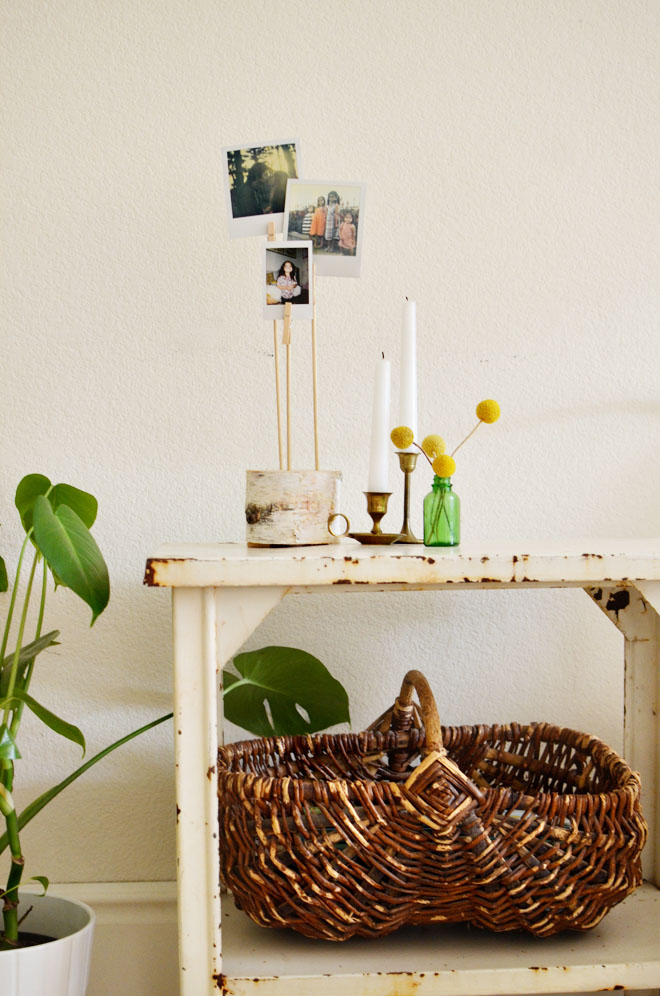
bark photo holderThese would be cute for some sort of wedding display, maybe holding table numbers along with pictures of the couple, or for birthdays with pictures of the celebrant, or just displayed in your home showing off some special mementos! We take tons of polaroid pictures, so this is where we display a couple of our current favorites. I only did 3 dowels and pins, but there is definitely room to do 5, so if you have more you want to display, by all means, drill more holes! I prefer things displayed in odd numbers, so I would suggest doing either 3 or 5, but I think if you had more than 5, it would look much too crowded.

bark photo holderbark photo holderIt’s such an easy project that can display some of your cherished memories in a special way! If you made this holder, what would you display?


a (sweet) heart light

February 11, 2014


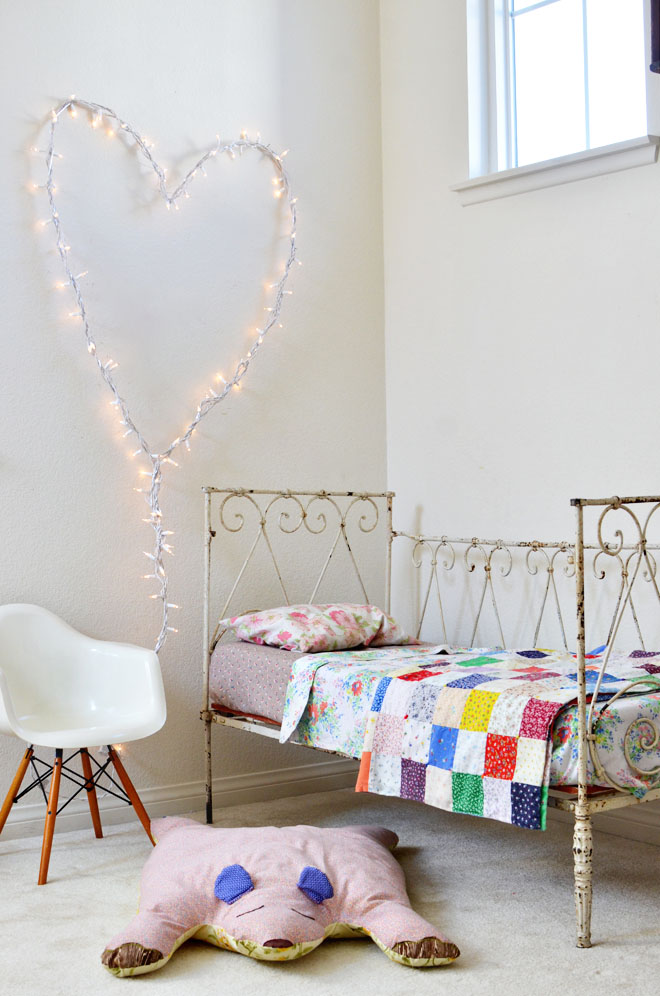
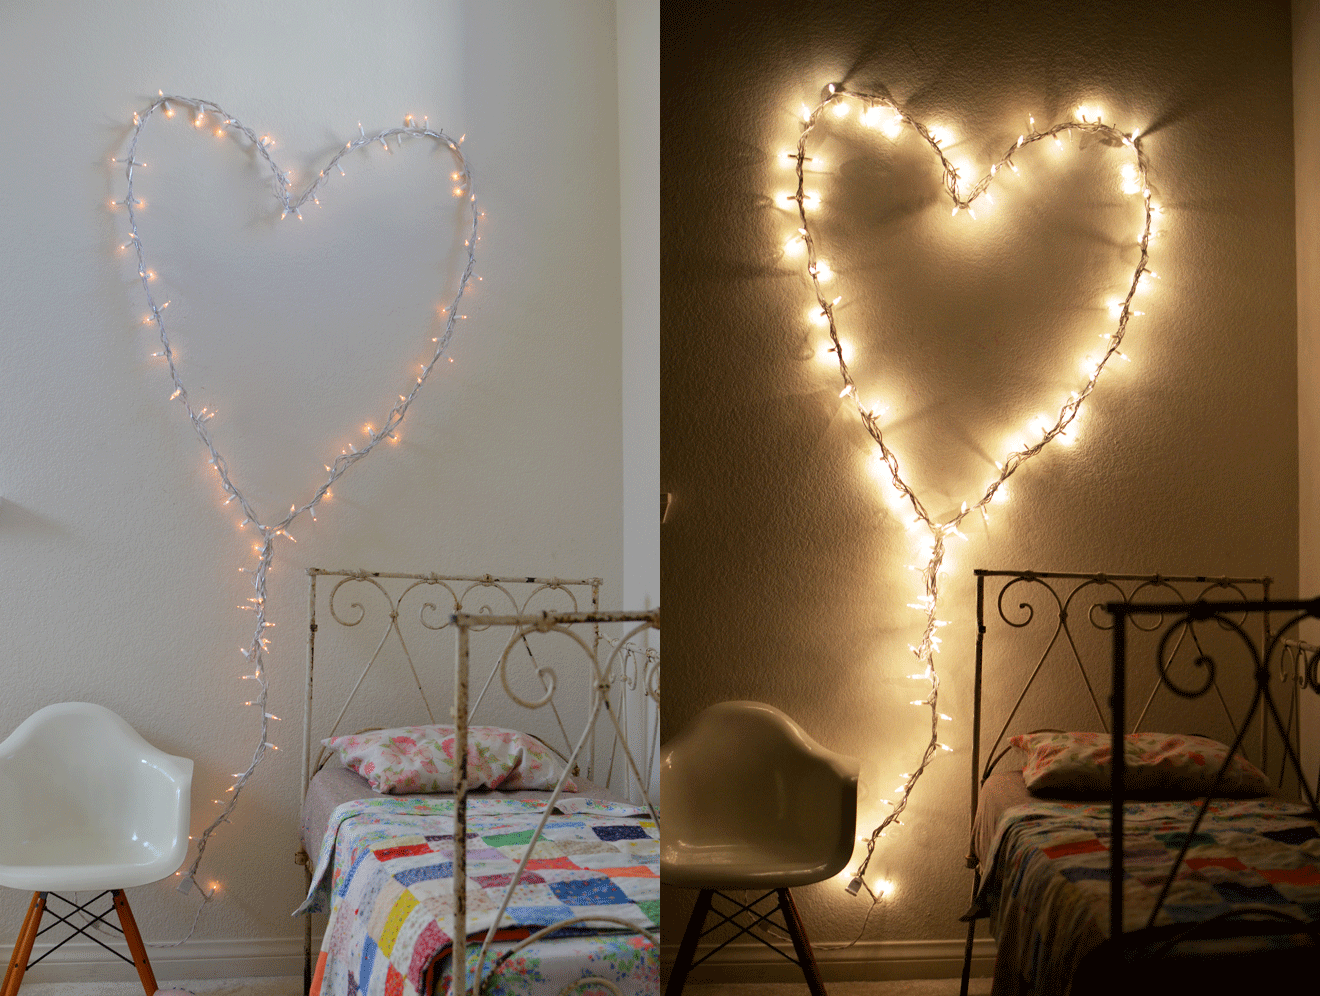
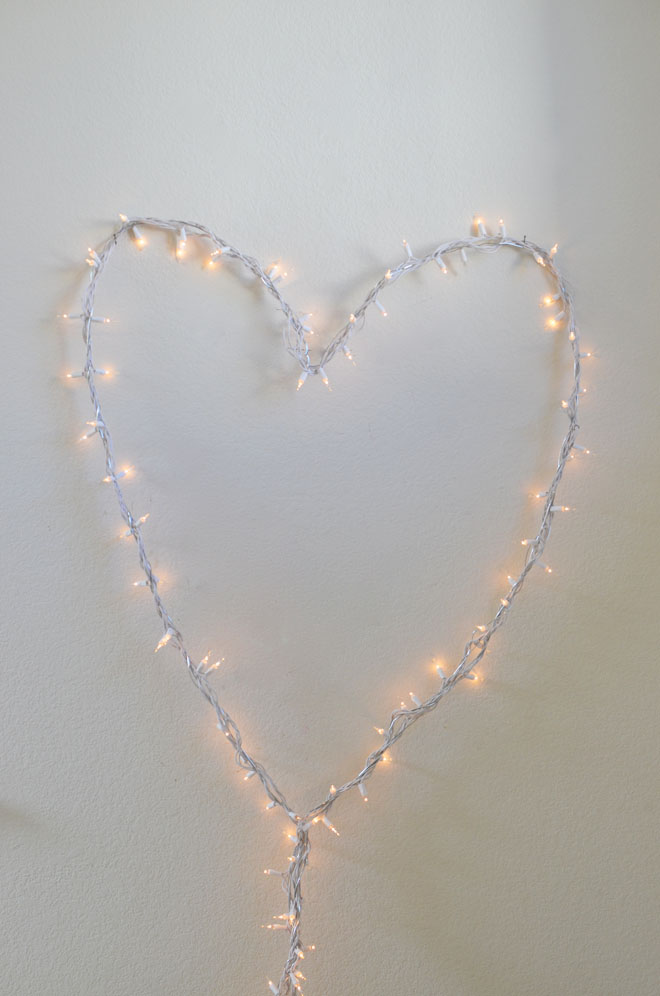
heartlight<aWe are a on a room rearranging kick, since True got her big girl bed (still looking for bedding) and moved over a bed to Soul and Glow’s shared room. Soul and Glow’s room needed some lighting, so I made this (sweet) heart light. All I used were a string of white twinkle lights we already had, 19 Gauge galvanized steel wire (this one from Lowes), and a wire cutter. Basically, I just intertwined the string of lights and the wire until the desired length to form into a heart. Depending on the size of your heart (mine is pretty large), it might be best to wrap another wire around to give it more structure. I kept the last 36″ of the cord closest to the plug end free from any wire.

The girls love the heart light, and we’re definite suckers for any sorts of twinkle lights. It adds  a little bit of magic to that area, don’t you think? I’ve been keeping an eye out for something that would work as their main source of light for both the girls’ rooms, but for now, fairy lights will have to do.


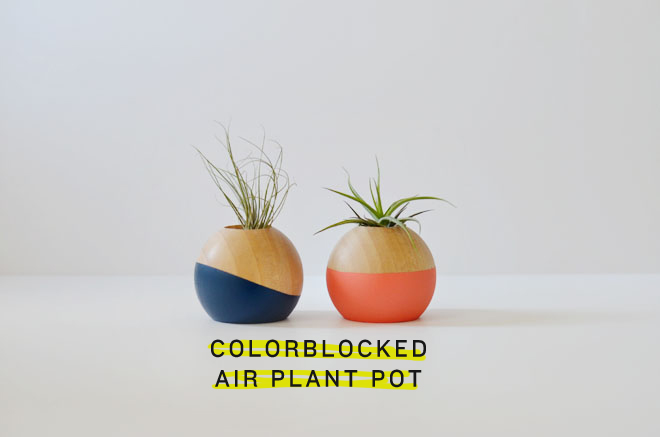
diy: colorblocked air plant pot

February 10, 2014


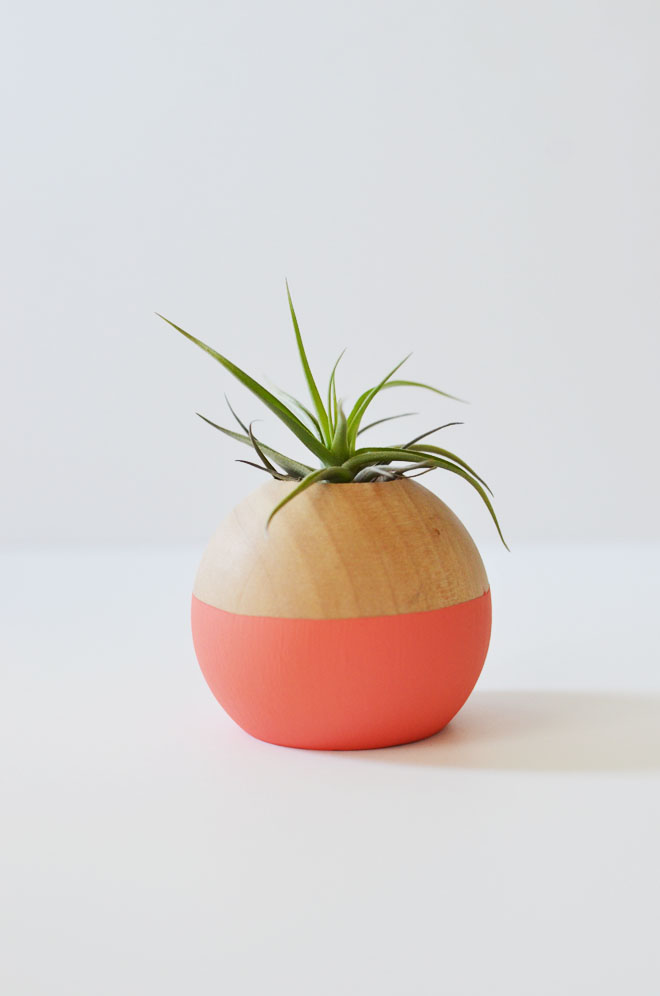
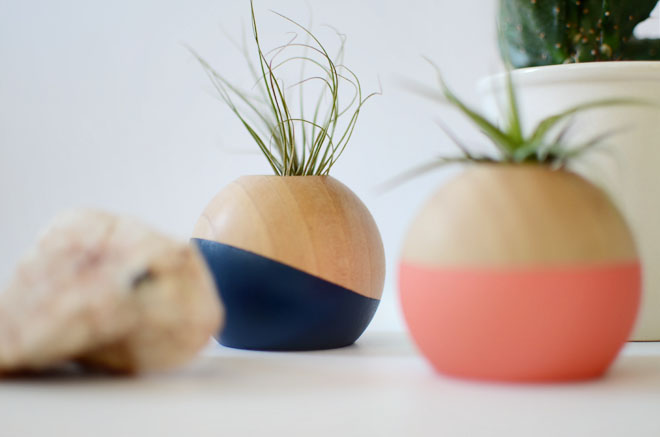
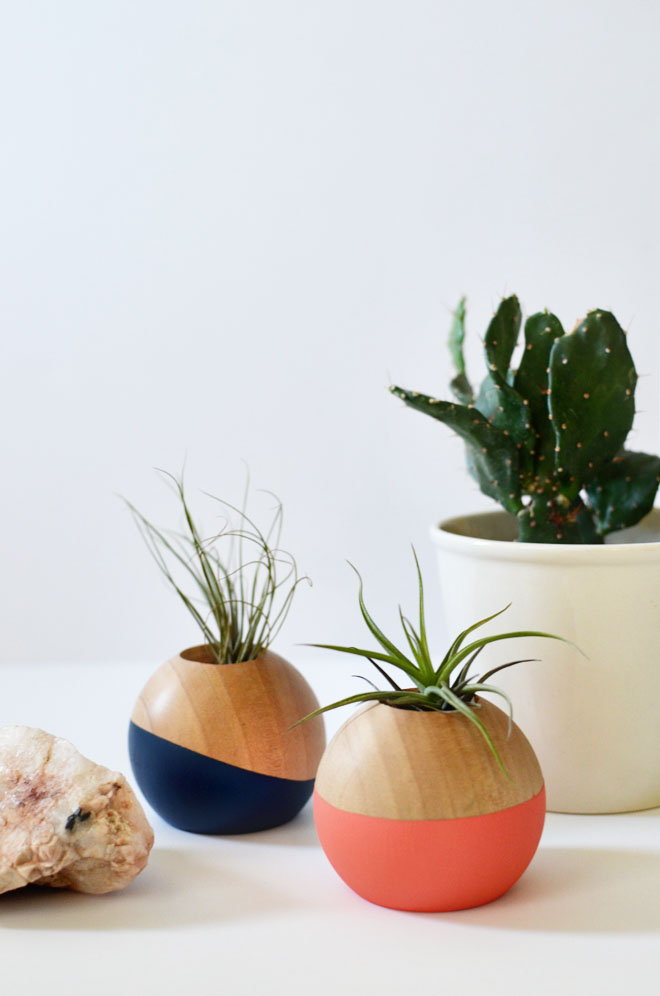
colorblockpotair plant holderColor Blocked Air Plant Pot

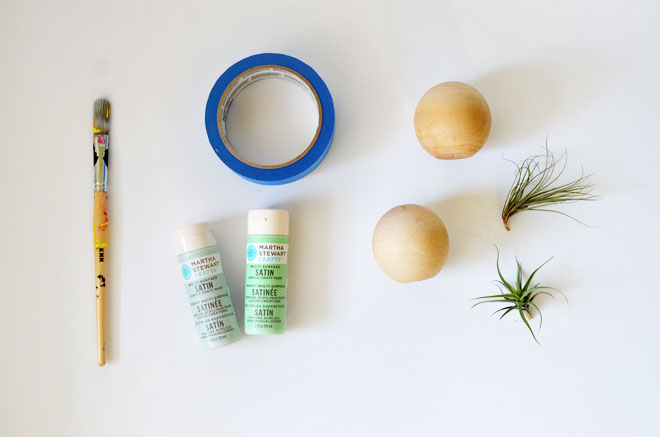
Supplies:
2 1/2″ wooden doll heads (that’s what the wooden balls are labeled; they also have a flat bottom)
Drill
1″ drill bit
Painter’s tape
Craft paint
Paintbrush
Air plants (mine bought from here)
air plant holderDirections:
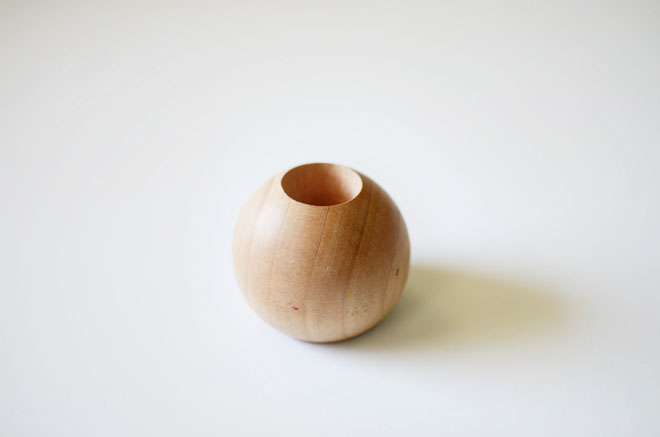
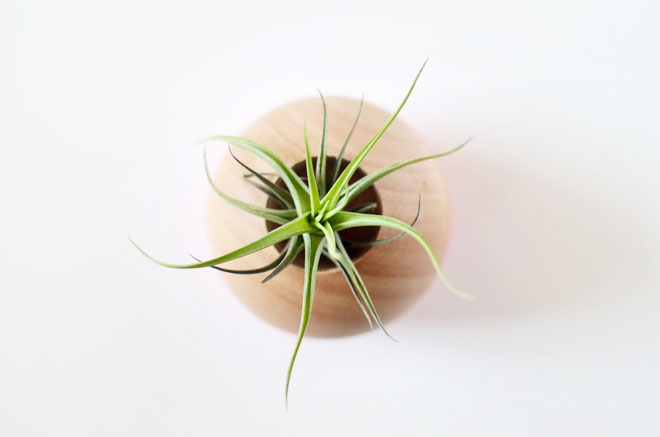
1. Mark the top center of your wooden ball and proceed to drill your hole going about 3/4″ deep into the ball. I hand this to my husband to do.
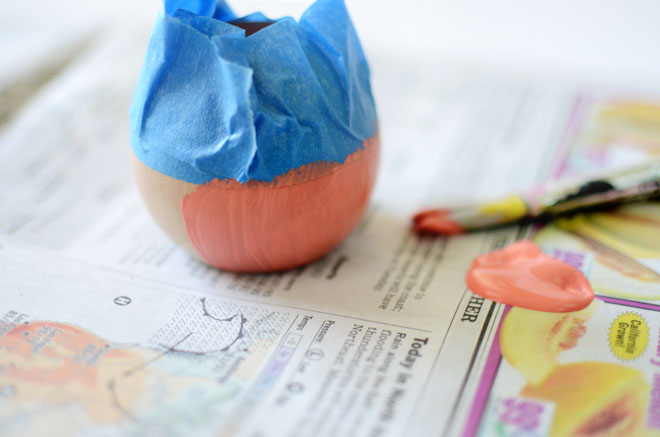
2. Decide if you want to paint an even bottom section or want the color to go on diagonally, then tape off the top of the wooden ball to designate the area to be painted. Make sure the tape is securely on and proceed to painting on your color. I did one coat of paint on my pot and allowed it to dry completely before applying the second coat (I did two coats total). Allow to dry completely before removing the tape.
3. Place air plant inside the top and voila… you’ve got a cool air plant pot!

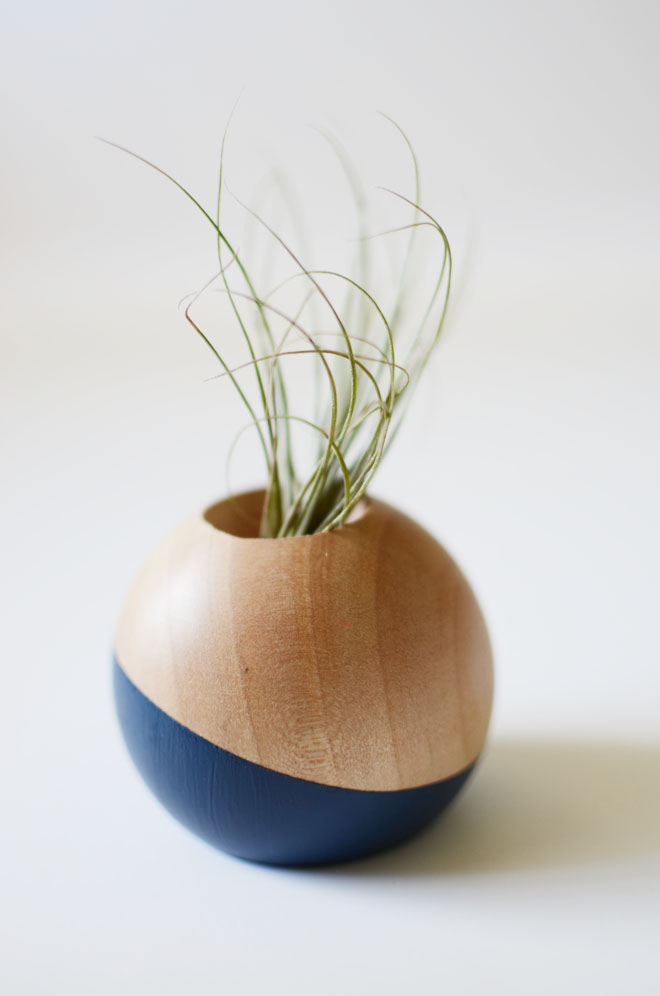
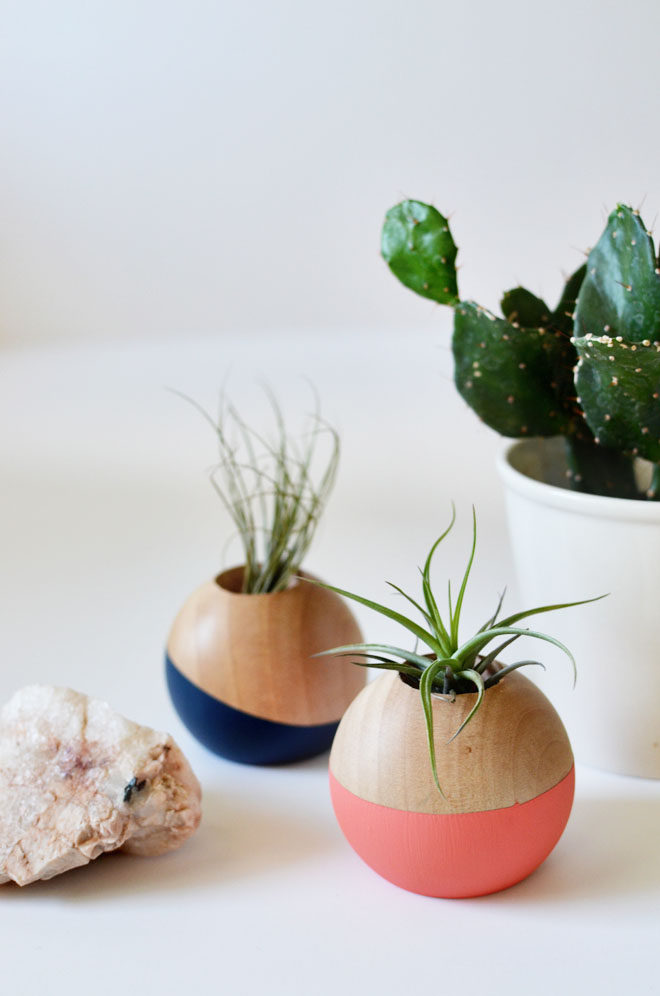
air plant holderair plant holderThis is definitely inspired by the cool air plant pots from Bird & Feather, so if you’re not a DIY-er, you could just pick one up from them. It’s just another fresh and modern way to display air plants. I shared about how I like to display them on rocks in this post. Air plants are so great because they really are so easy to maintain. I keep mine in a bright spot and gather them all in a bowl of water once a week to soak for about 10 minutes. Afterwards, I let them dry completely on a towel before putting them back in their designated spots. I’ve neglected a couple once before and they ended up drying out, but they look cool dried out too. Though, a dried out one probably won’t look that cool in this color blocked pot!

air plant holderair plant holderair plant holderair plant holderair plant holderair plant holderAfter I made these, another air plant display idea came to me, so once I can enlist Ben’s help for some drilling, I’ll share that one with you too! If you think you have a brown thumb, don’t be afraid to try air plants. They are good plants to start with and very inexpensive, so you won’t feel as bad if they dry out on you.


diy: sweetheart felt hair clip

February 5, 2014


sweetheart hair clipSweetheart Felt Hair Clip

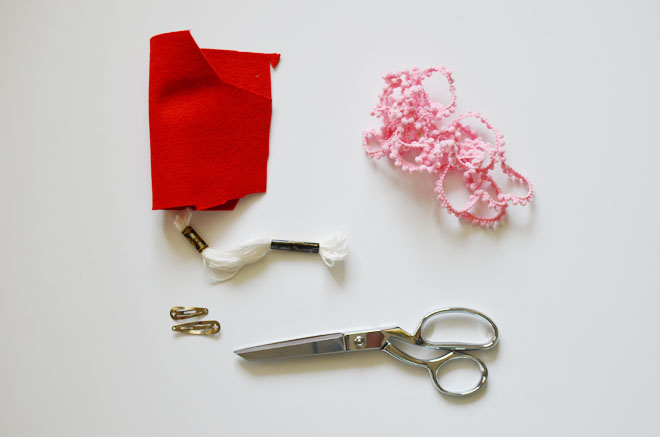
Supplies:
Sweetheart Felt Hair Clip Template (in case you want to use the same size I made)
Small scraps of wool felt fabric
1 1/2″ – 2″ snap clips (or whatever size is appropriate for the sweet head you’re making this for)
Coordinating embroidery floss
Hand sewing needle
Scissors
Decorative trim (optional)

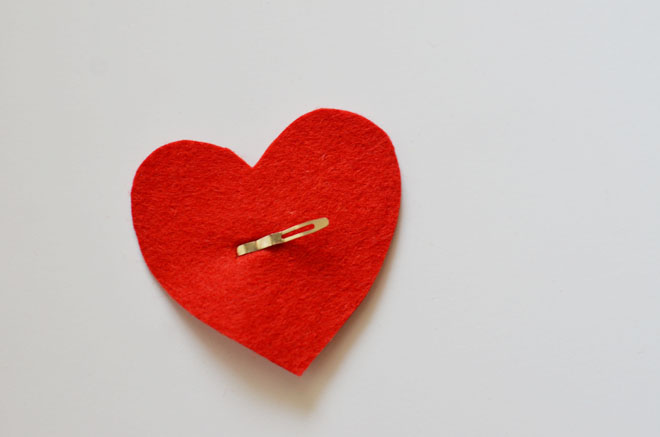
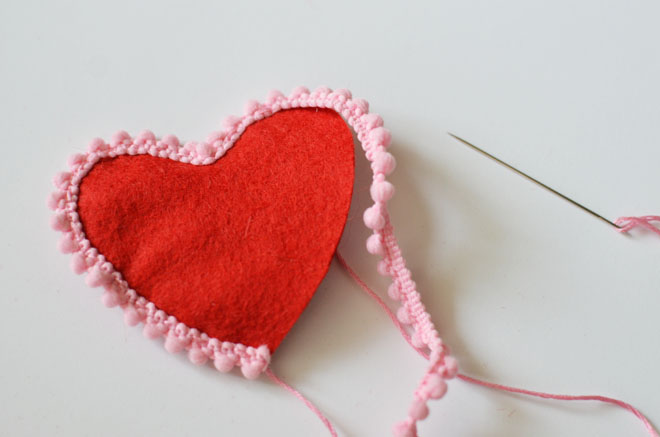
sweetheart felt hair clip1. Cut 2 heart pieces (front and back) from your wool felt. You can also get creative a cut a smaller heart to layer on top of the larger heart (see template).

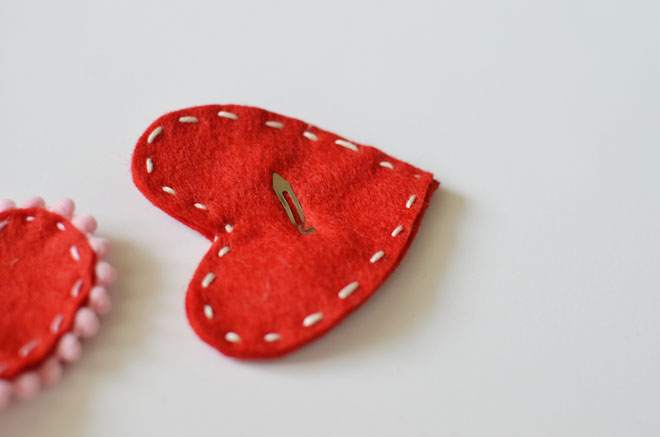
sweetheart felt hair clip2. Cut a 1/4″ slit on the back wool felt piece (see template for the location to cut the slit). Open up snap clip and insert through the slit, so that center portion extends out the back of the felt.

sweetheart felt hair clipsweetheart felt hair clip3. Layer the two front and back pieces together; use a running stitch 1/4″ from the fabric edge to stitch the two hearts together. If adding trim, layer it on top edge of the top heart, and sew a running stitch through the trim as you also sew all the layers together.

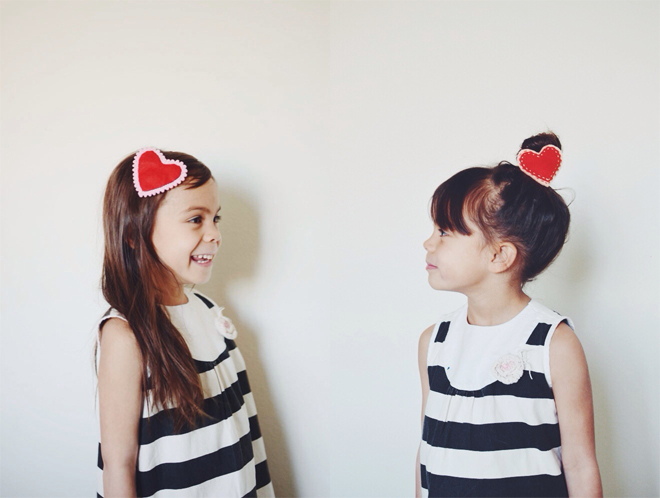
sweetheart felt hair clipsweetheart felt hair clipsweetheart felt hair clipsweetheart felt hair clipsweetheart hair clipClip on and dance! Well, it made my Brave spin and twirl for sure, but that girl is always dancing, twirling, and flying (as seen here and here).

twinssweetheart felt hair clipI have to make one more, so that each of my girls will have one to wear on Valentine’s Day. Can you tell we are totally getting geared up for next Friday?!! I’m not even sure what we’re going to do, but the girls have the day off from school, so I think we will have our own mini party at home during the day, and Ben and I will get our special time together at night.

The glitter gold headband is from Mane Message and the dress is from Misha Lulu.


diy: heart chain garland

February 3, 2014


HEART CHAINheart garlandHeart Chain Garland

Supplies:
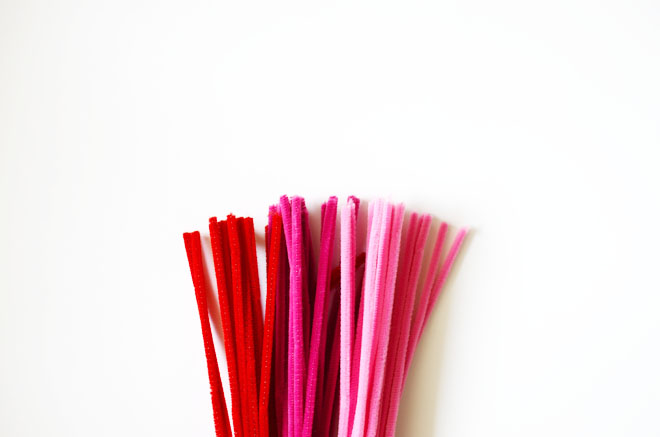
Chenille stems in various Valentine’s Day colors (would definitely look cute and modern in black and white!)

heart garlandDirections:
1.Take one stem and fold in half.
2. Connect the two ends by intertwining together.
3. Bend connected ends downward to form the heart shape.
4. Insert another chenille stem through the heart and repeat steps 1-4 until you’ve created your desired length for the heart chain.I was looking back at old projects I’ve done and saw this chenille stem garland I did a couple years ago, and thought it would easily work for Valentine’s Day with hearts. This project is totally easy for the kids to get involved too!

heart garlandheart garlandheart garland


CAKIES
©
Design by Blog Milk