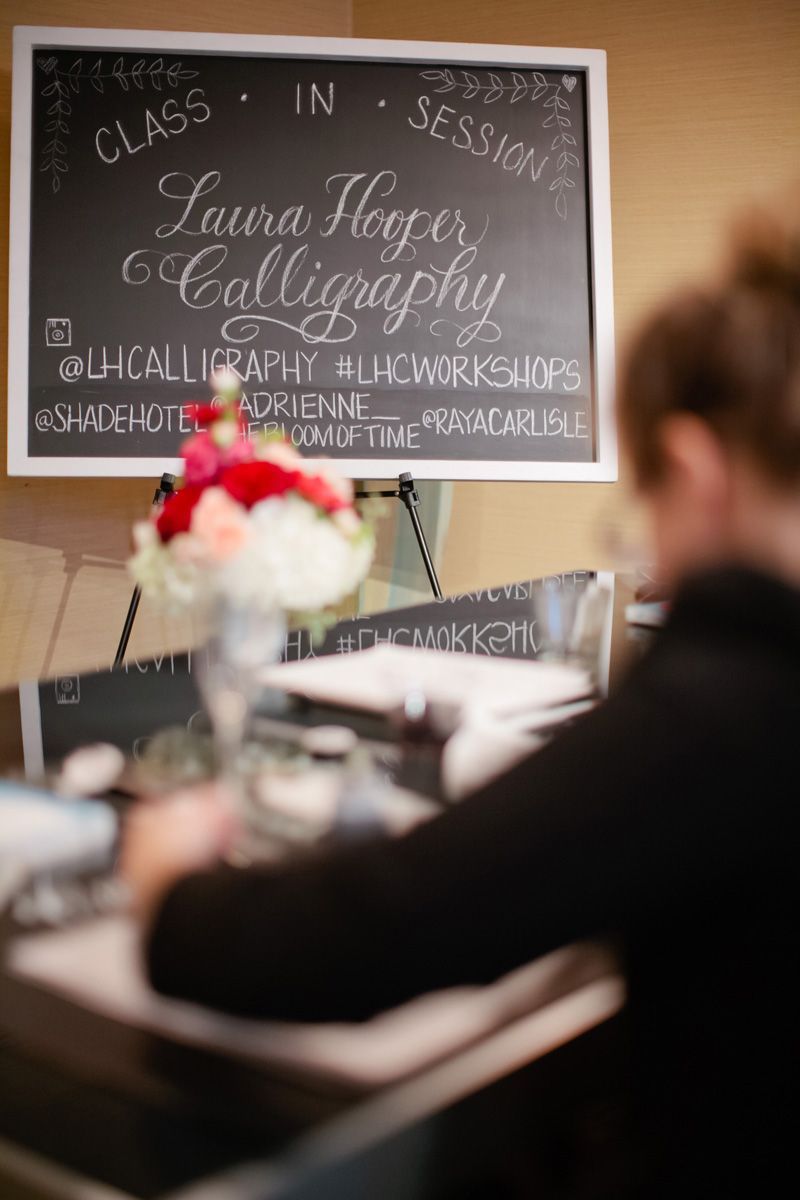
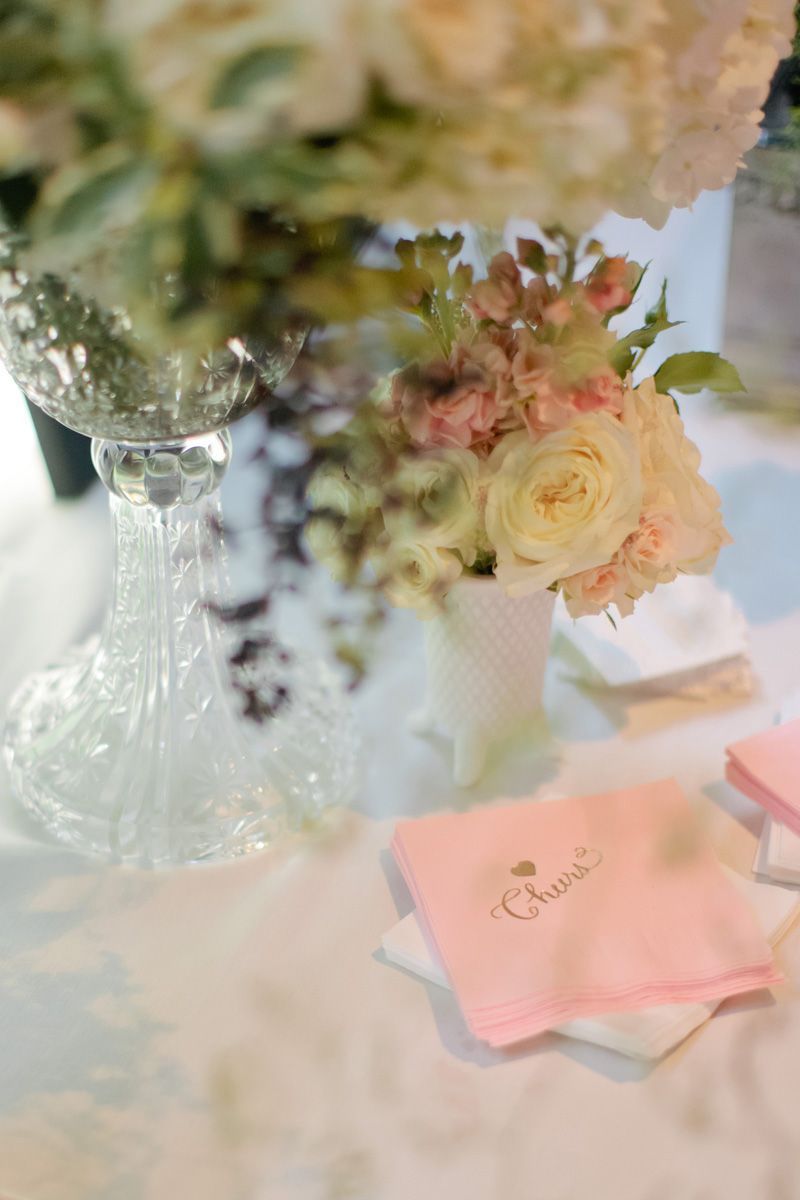
calligraphy with laura hooper

March 25, 2014


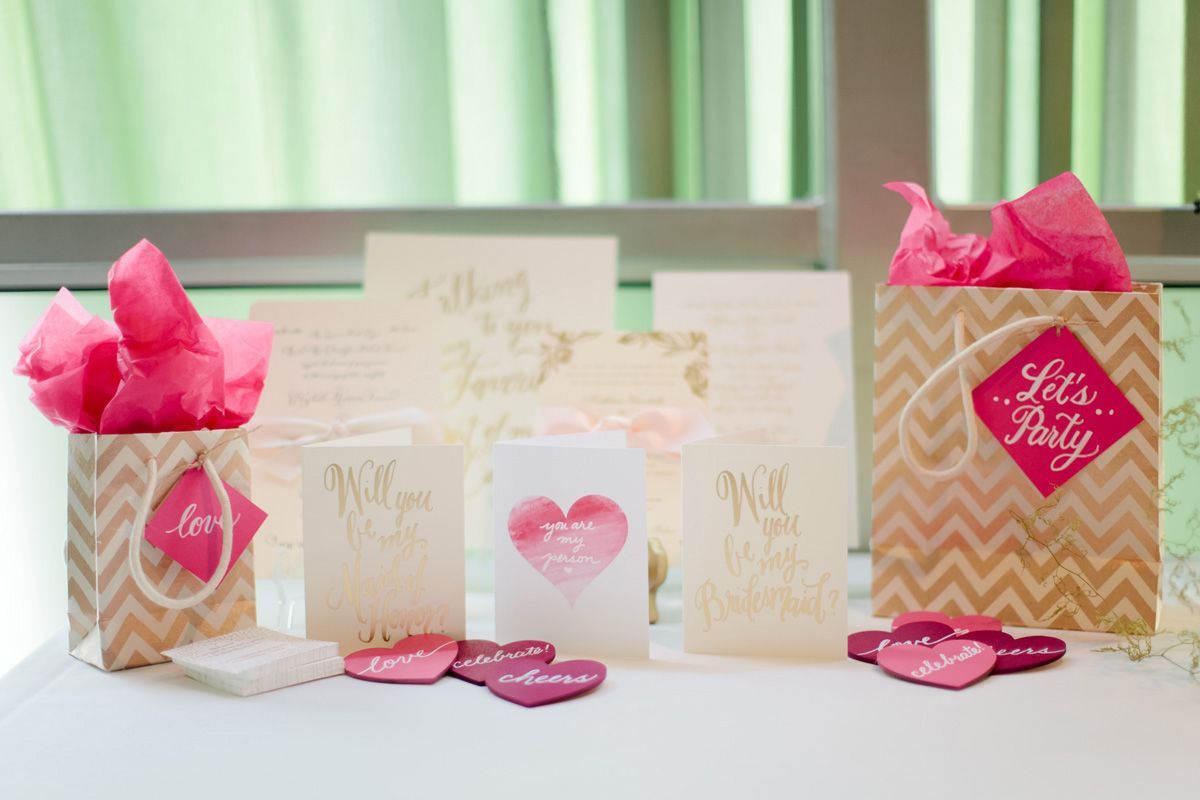
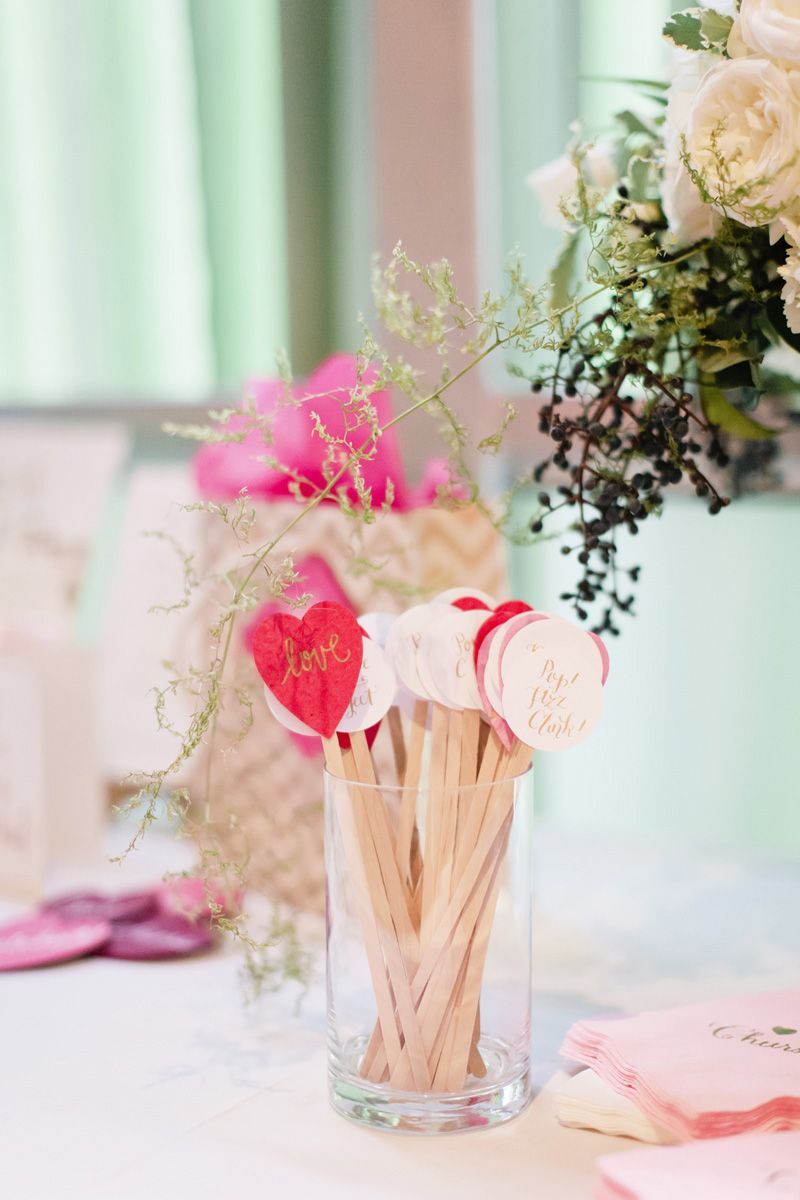
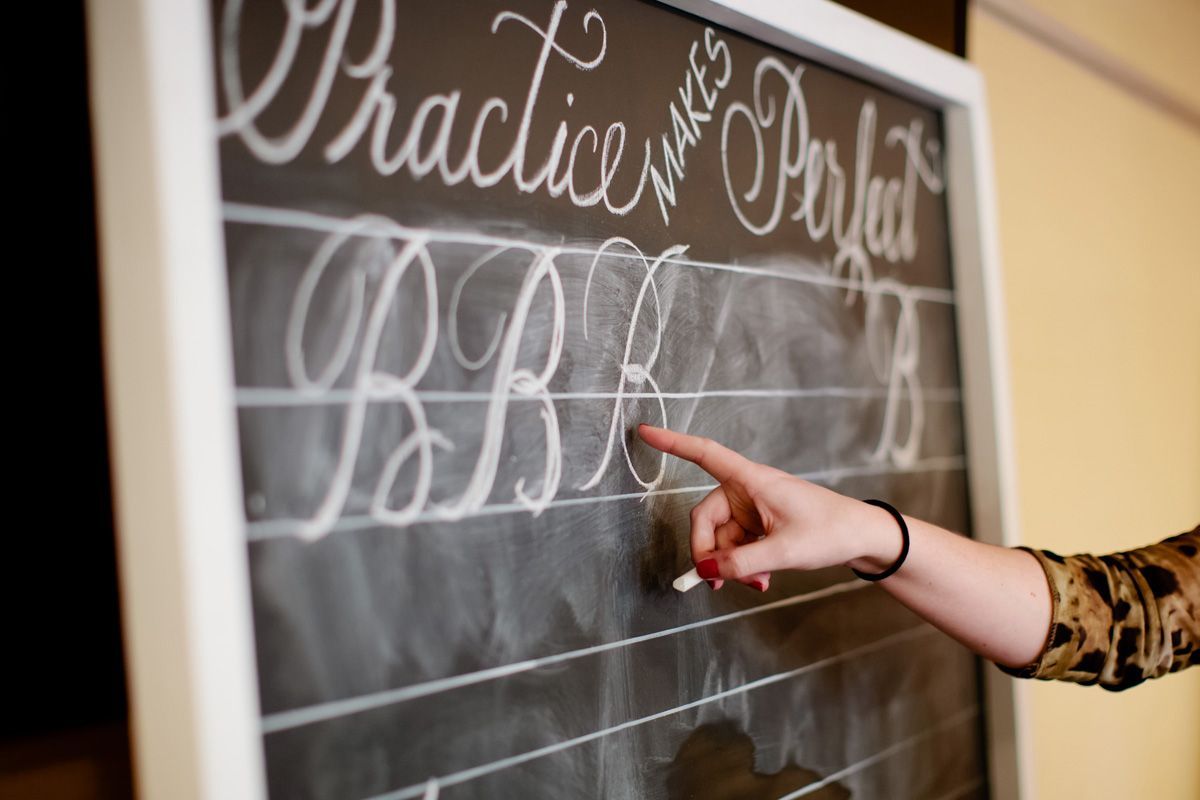
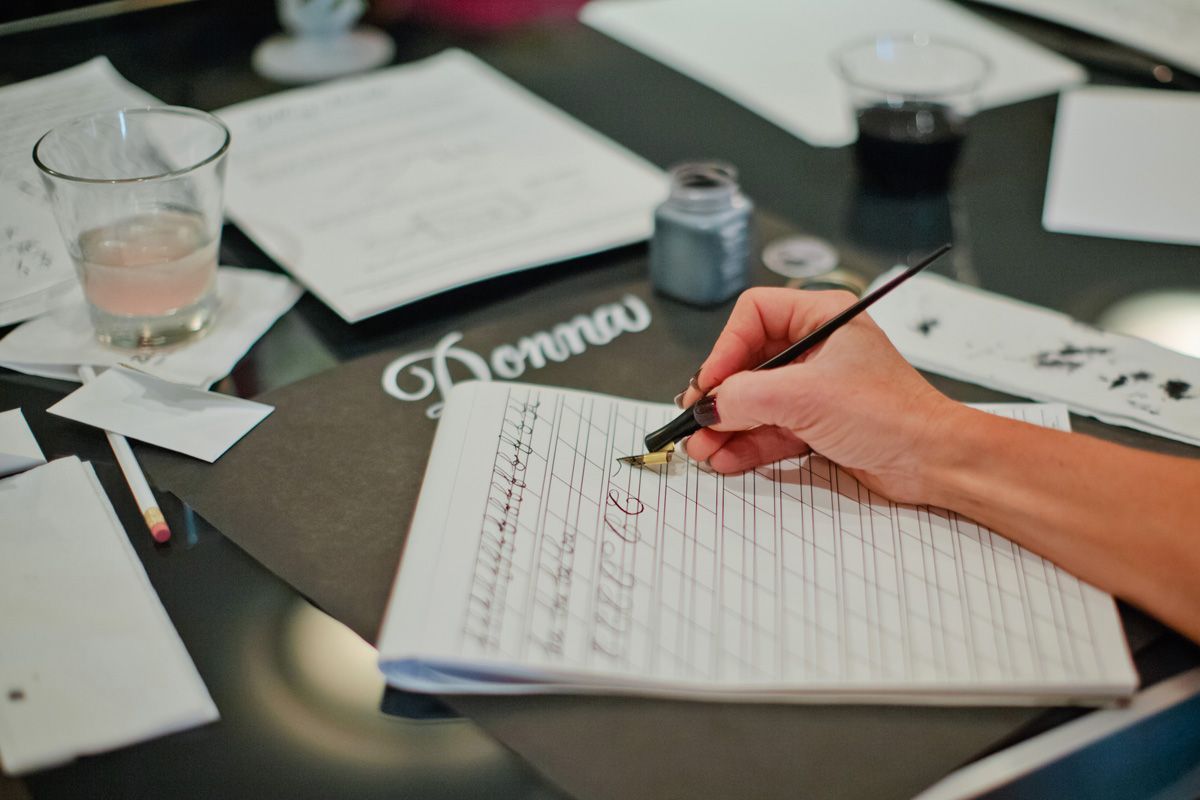
calligraphy with laura hoopercalligraphy with laura hoopercalligraphy with laura hoopercalligraphy with laura hoopercalligraphy with laura hoopercalligraphy with laura hoopercalligraphy with laura hooperI love calligraphy! I took a semester worth of classes eons ago when I was in middle school, and I love to play around with it when an occasion requires, but my calligraphy knowledge is definitely limited. Thus, I am especially excited that this Sunday I will get to hone my (barely there) skills further under the teaching of Laura Hooper as I will be joining in on her beginners’ workshop in Manhattan Beach at the Shade Hotel. I know she has a few slots open, so if you want to join in, you better hurry (I’m in the 10am class, but there’s also an afternoon class if you can’t make the morning one). I don’t know anyone else who’s going to be part of it, so it would be fun to do it with a friend (dear readers, I definitely consider you friends!).  If you aren’t local and want to learn calligraphy, don’t you fear, Laura teaches all over the place. If you’re in Brooklyn, Seattle, San Francisco, Georgetown, Dallas, Boston, Chicago, Denver, or Salt Lake City, she’s coming your way, and you can get more info about it here.

Laura’s beginner’s workshop in modern pointed-pen calligraphy will teach you about the tools of calligraphy, basics in brushstrokes and technique, as well as cover a full alphabet. If you are just starting out or are looking for hands-on tips and techniques to improve your beginner’s hand, these workshops are for you!

Each workshop will include:
– 3 hours of instruction with Laura Hooper
– 1 pen holder
– 2 nibs
– 1 pot of black ink
– 1 instructional alphabet w/tracing & practice sheets
– 1 keepsake Laura Hooper Calligraphy tote bag
– light refreshments

Investment: $225 (includes all supplies)
To register, please click here to select your workshop of choice.

Don’t forget to email me if you do sign up! It would definitely be nice to have a friend to do the class with.

*All photos courtesy of Raya Carlisle.


read & make: fairy birds

March 19, 2014


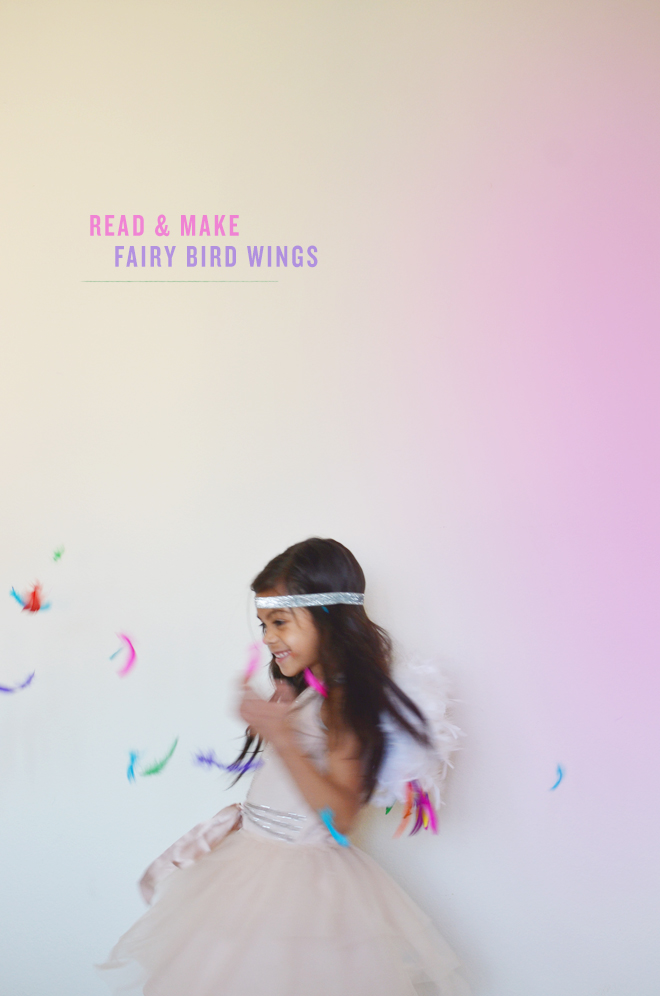
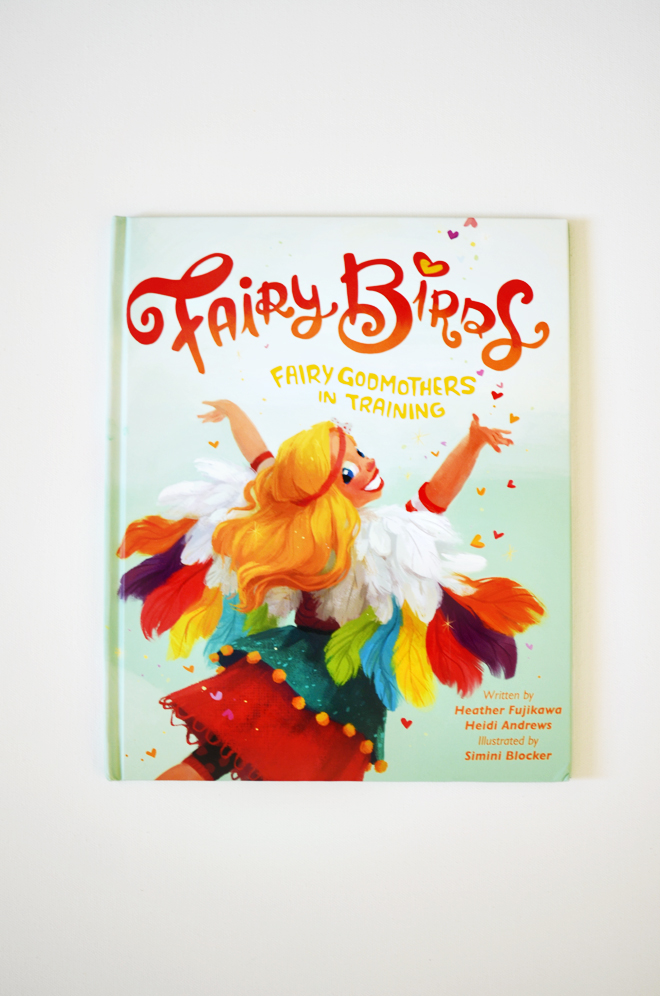
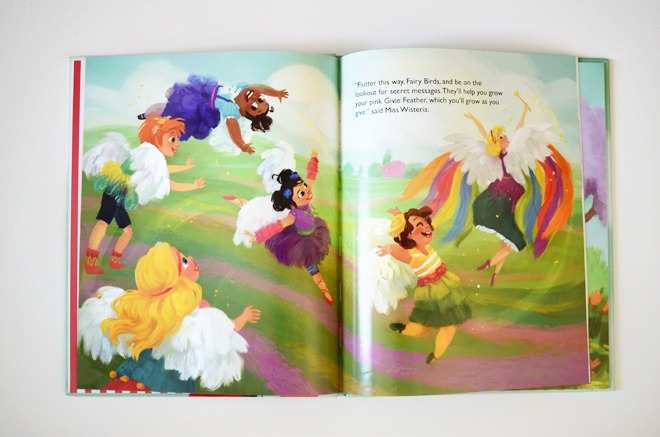
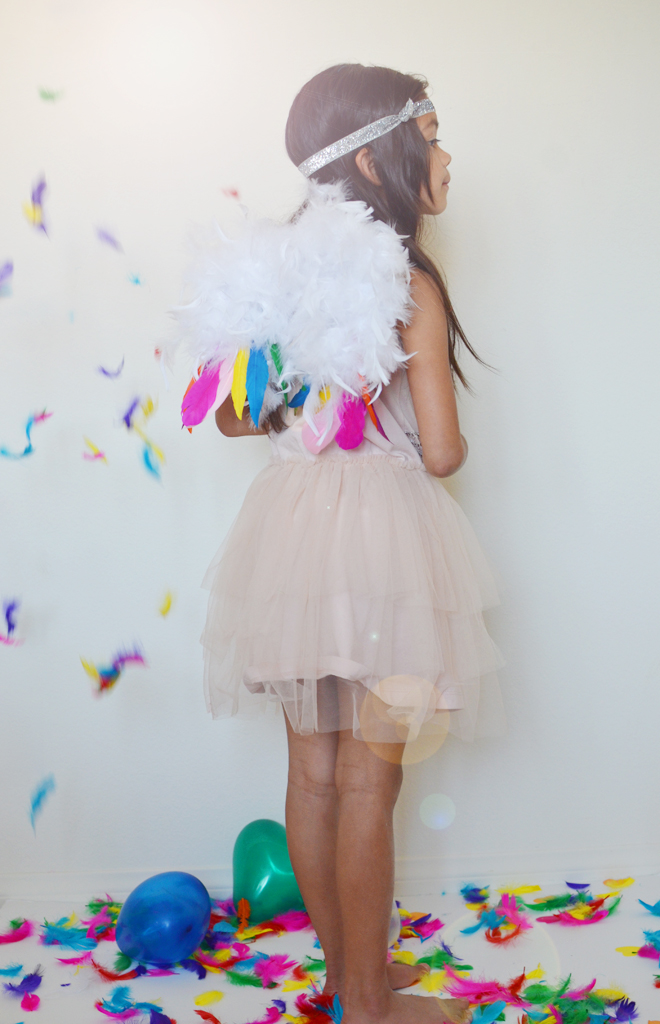
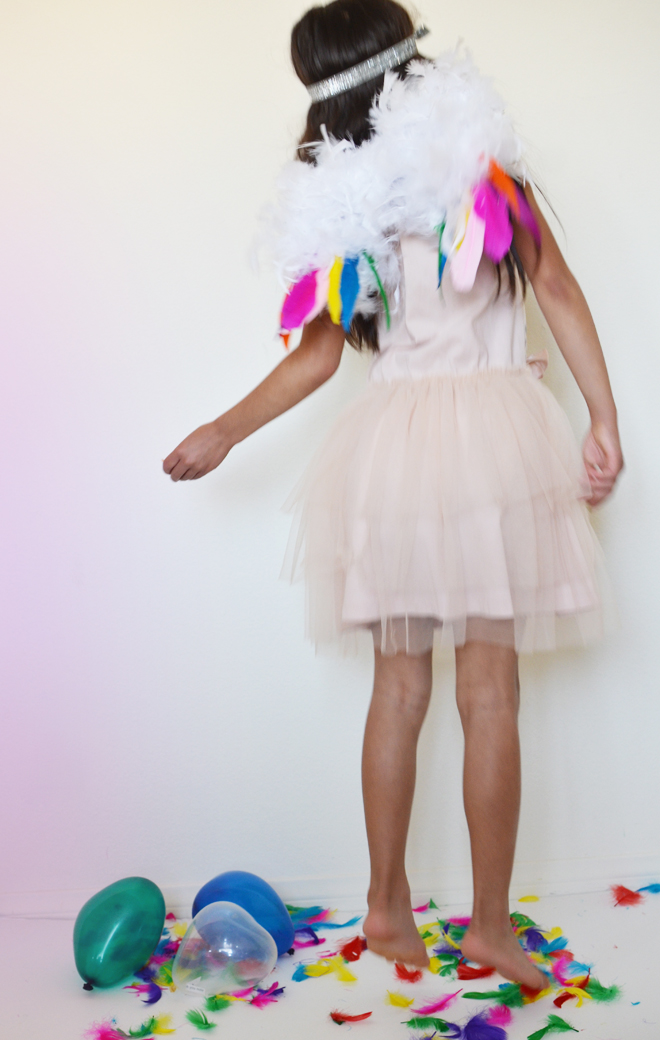
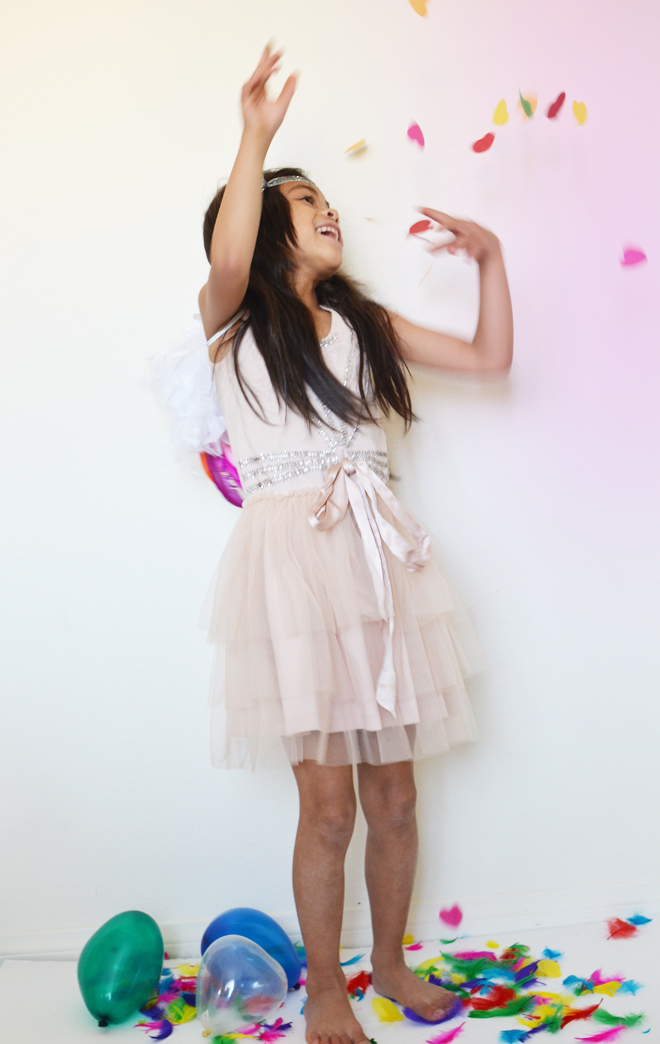
fairy birdsfairy birdsfairy birdsWe went to the Fairy Birds reading and party on Saturday, and everything was absolutely whimsical! There was so much lovely and it was especially cute to see all the little girls in their wings. I loved the wings, but I couldn’t get my self to buy 4 of them, which would have put us out about a Benajmin, and I figured we could make our own for a much friendlier price for 4 girls. If I had to just buy one, it probably wouldn’t be as intimidating, but when you have 4 girls will want to be fairy birds, DIY was the way to go in our case. We did buy the book though, and the girls have been reading and re-reading it together ever since.

Fairy Bird Wings
for little ones who want to learn about giving and become a fairy birds

Supplies:
6′ white feather boa
10″ floral wire
6 – 8 white chenille stems
Various colored feathers
Wire cutter
Scissors
Glue gun & glue stick
1 yard of 1/4″ elastic
Sewing machine
Coordinating thread

Directions:
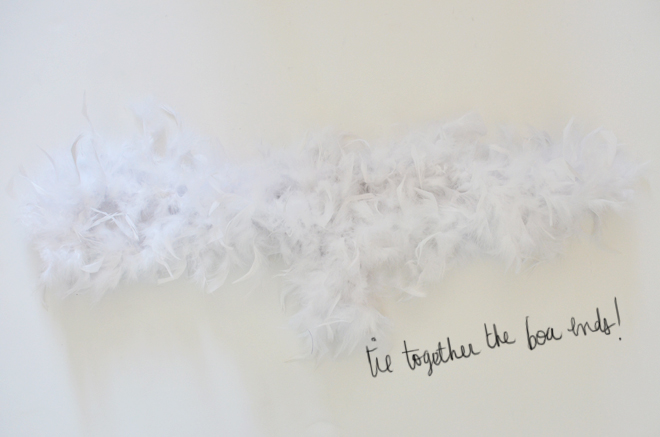
1. Tie the ends of the feather boa together.fairy birds

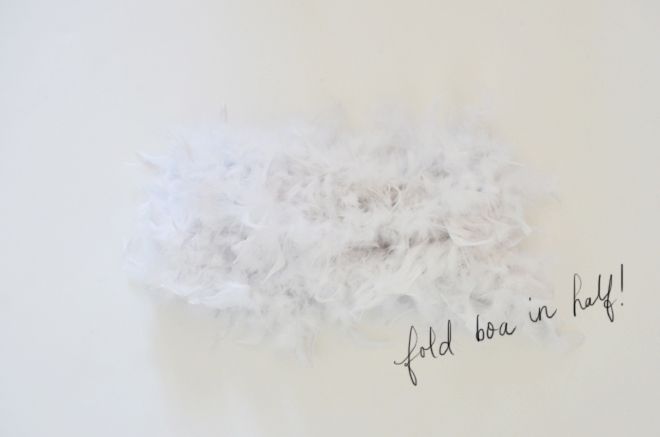
2. Fold the feather boa in half.fairy birds

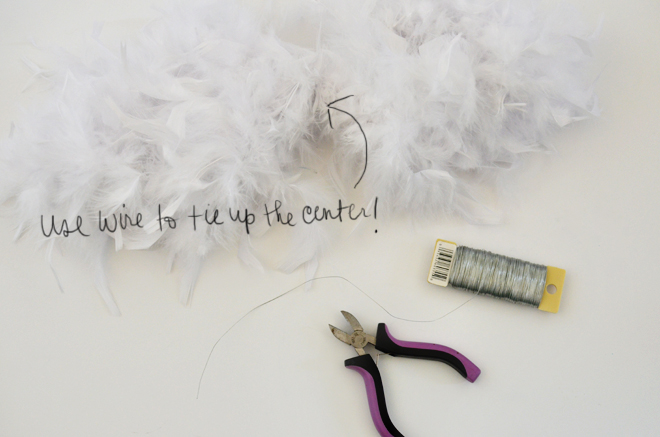
3. With your 10″ wire, wrap it tightly around the center of the boa to gather the center together. Twist together the wire ends to connect.fairy birds

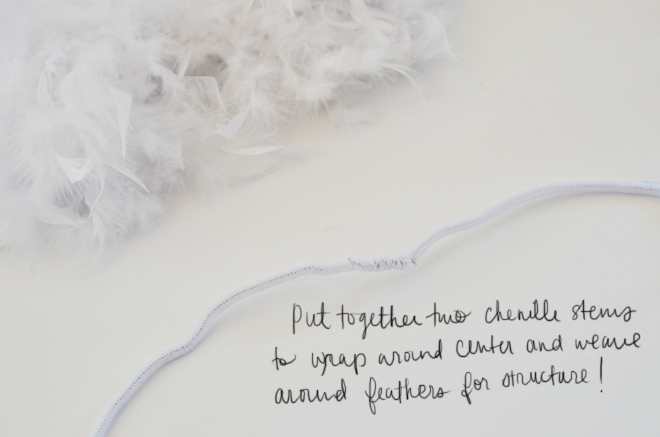
4. Overlap the ends of two chenille stems, twist together, center it onto the center of the boa, wrap around center a couple times, and proceed to wrap it around the feathers to give it a bit of structure. I repeated this two more times with 2 more pairs of chenille stems to give the wings more structure, so that they wouldn’t just flop down. Fluff the feathers so that it hides the chenille stems.fairy birds

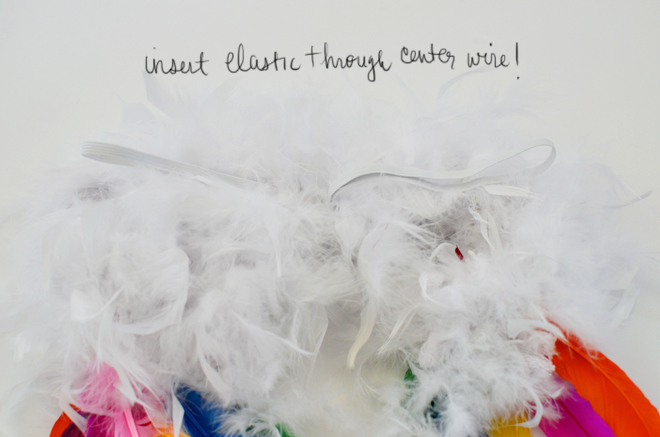
5. From the elastic, measure and cut a length that will be comfortable for your child to put on like a backpack. Sew together the ends of the elastic, then fold in half, and sew a small stitch down the center, so that the elastic is now a figure 8. This can also be sewn by hand, but machine is always faster. Feed elastic through one of the wires wrapped in the center. Another option would be to center the figure 8 elastic on the gathered center, and take another chenille stem to wrap around the elastic, joining it together with the wings.fairy birds

6. Using your glue gun, add the colored feathers to the bottom of the wings. It’s best to attach it to some of the white feathers near the bottom. fairy birdsThere you go! You’ve got some pretty, fluffy wings, and your little ones can join the ranks of many fairy birds all over the world. Immediately after the Fairy Birds party, the girls and I stopped by the craft store to pick up some supplies, and making fairy bird wings was our afternoon activity together. Total I spent about $35 (with a coupon) to make 4 fairy bird wings. It doesn’t have the large wing span the “real” fairy bird wings have, but my girls are happy with our homemade ones, and it does have a nice little bounce. If you’re not a DIY-er (and don’t need 4 of them), buy the wings here.

fairy birdsfairy birdsfairy birdsfairy birdsfairy birdsIt’s a very sweet story that teaches children about giving. Obviously, we were totally inspired. I highly recommend it, but I must warn you, your little ones will definitely be wanting their own set of wings, so be ready for that too!

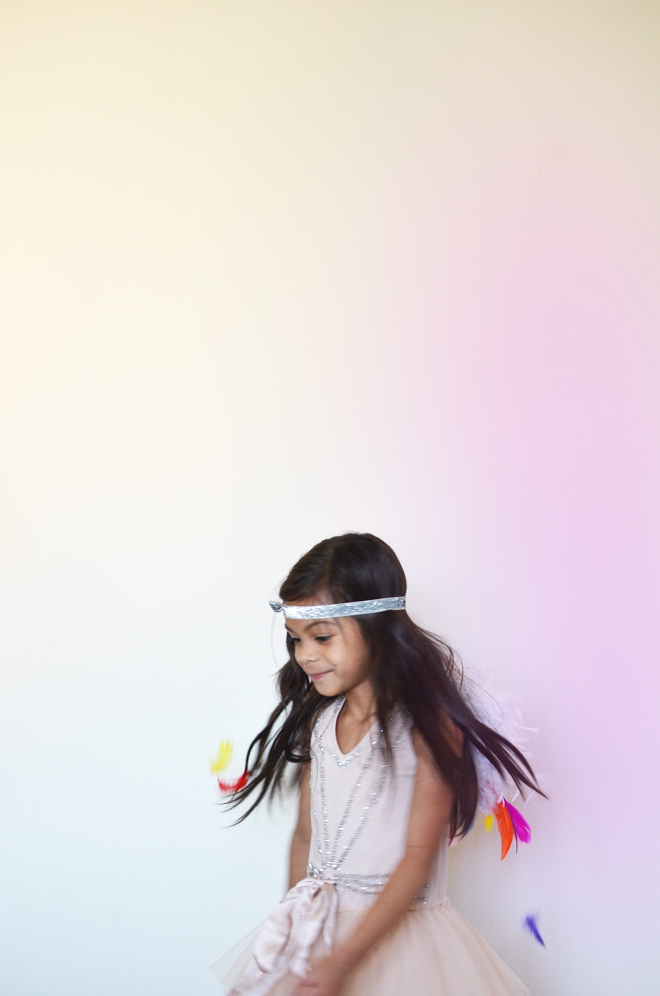
outfit details: dress, c/o tutu du monde. glitter headband, mane message.


in print!

March 11, 2014


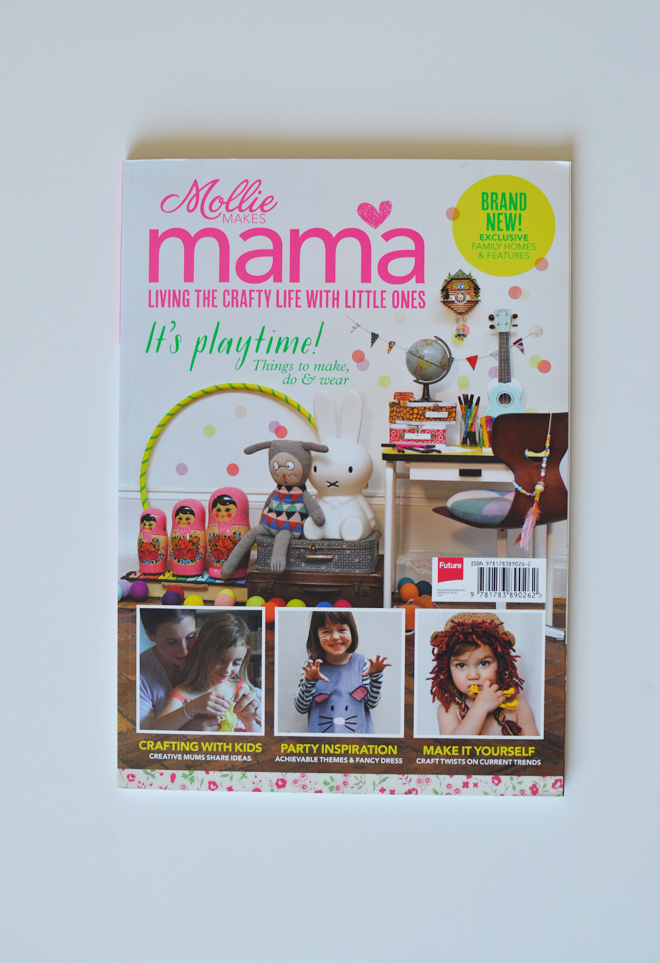
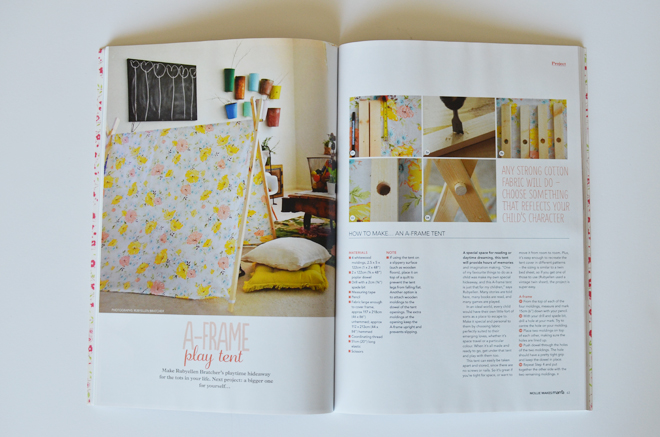
mollie makes mamamollie makes mamaI’m always honored to be in print and this time you can find my A-frame tent the newest issue of Mollie Makes Mama (along with other great thinks from other mamas). I’ve seen them over at Barnes & Noble, but I also just ordered my copy online here. It’s a really great issue full of inspiration and lots of eye candy! I’m thankful to be able to contribute to it.


maybe one part creepy, one part cool

March 11, 2014


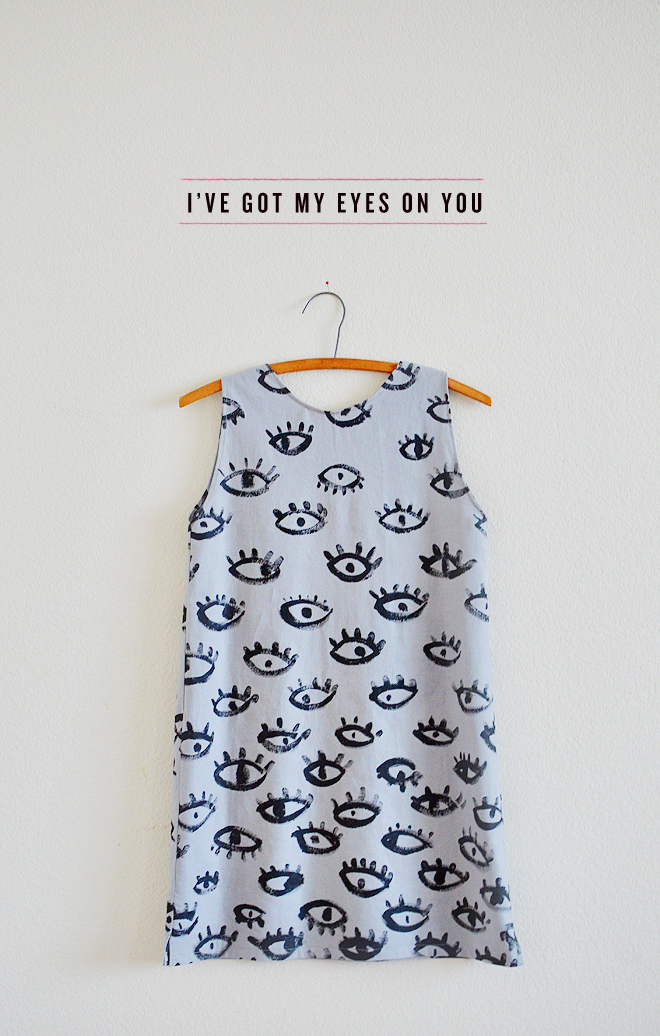
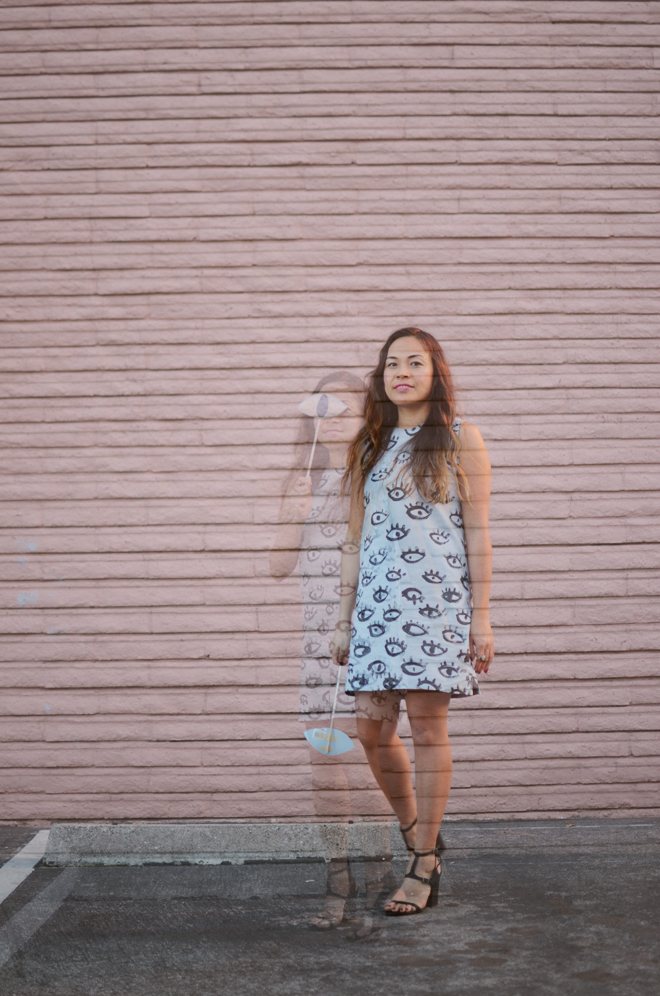
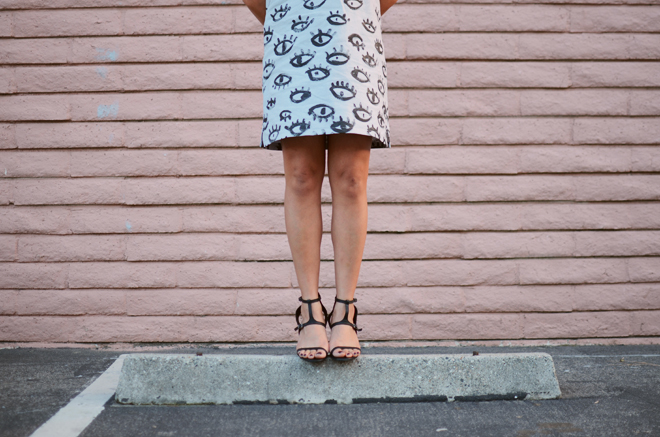
I've got my eyes on youI pinned this image awhile back, which led me to painting on some linen fabric. Of course, I had to turn that fabric into a dress. I’m way into shift dresses, I think it’s the silhouette that works well for me. Plus, it is really easy to sew!

I've got my eyes on youI've got my eyes on youI've got my eyes on youI've got my eyes on youWhen I finished up my dress a few weeks ago, I texted the BFF and she hates clusters, so she got goosebumps looking at the picture of the dress. She wasn’t a fan. HA! When I was making it, I was thinking it could possibly turn out really great or really dumb. When all was said and done, I think it came out great. It is a little bit creepy, but also a little funky. I think funky is good, so I’ll take it.

Fabric paint does dry up a little raised, so it doesn’t look like printed fabric, it looks like it was painted on. I like handmade, so it doesn’t bother me one bit. You want to make sure to allow the fabric paint to dry completely, then you want to heat set it by ironing the fabric once it is totally dry. When you iron, make sure to place a scrap fabric on top just in case some of that fabric paint still melts off onto the iron.

As far as sewing goes, I didn’t use a pattern, but a shift dress I had that fit me well, and based this off of that. That’s my favorite way to make clothes. I like to use the pattern off of something I already own, study it, and use that as the base to cut and sew my fabric. Don’t be afraid to experiment, and you can also learn from mistakes! I didn’t include any darts in this dress because I didn’t want to mess up the eye pattern, but darts aren’t that difficult to do either! I tell you, if you can sew a straight line, anything is possible! Seriously. Don’t be intimidated.

This dress gets me in the mood to sing Drake’s “I’ve got my eyes on you, you’re everything that I see, I want your hot love and emotion endlessly…” Sorry, if I got that song stuck in your head now! “Cause you’re a good girl and you know it…”

P.S. The girls over at A Beautiful Mess just released some photoshop actions, which I played around with for these pictures. I used Imogene from the Folk Collection, and I thought it was fun to add a little bit of sun flare and double exposure.


read and make: jenny and the cat club

March 10, 2014


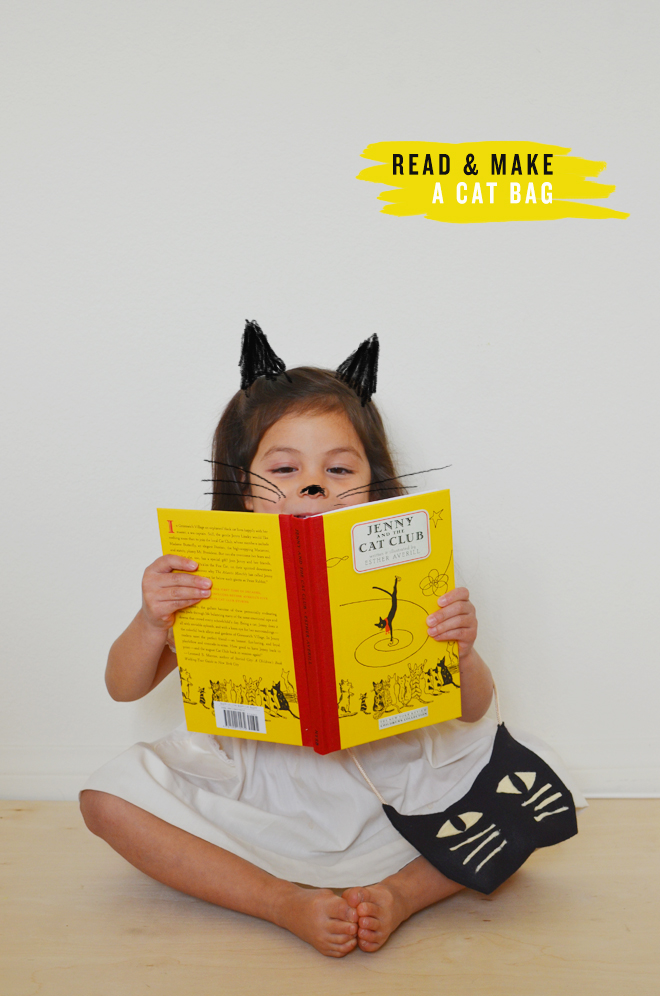
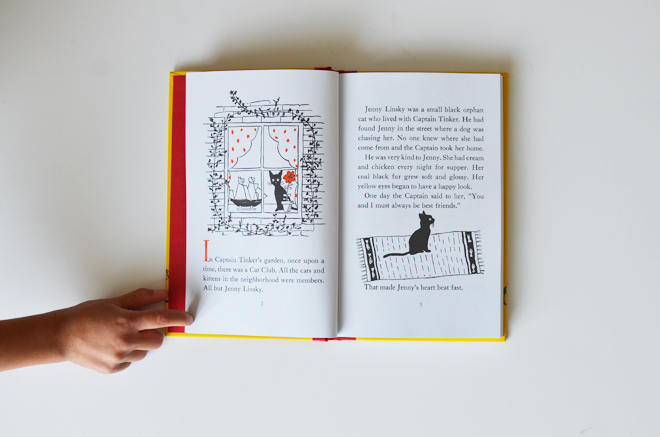
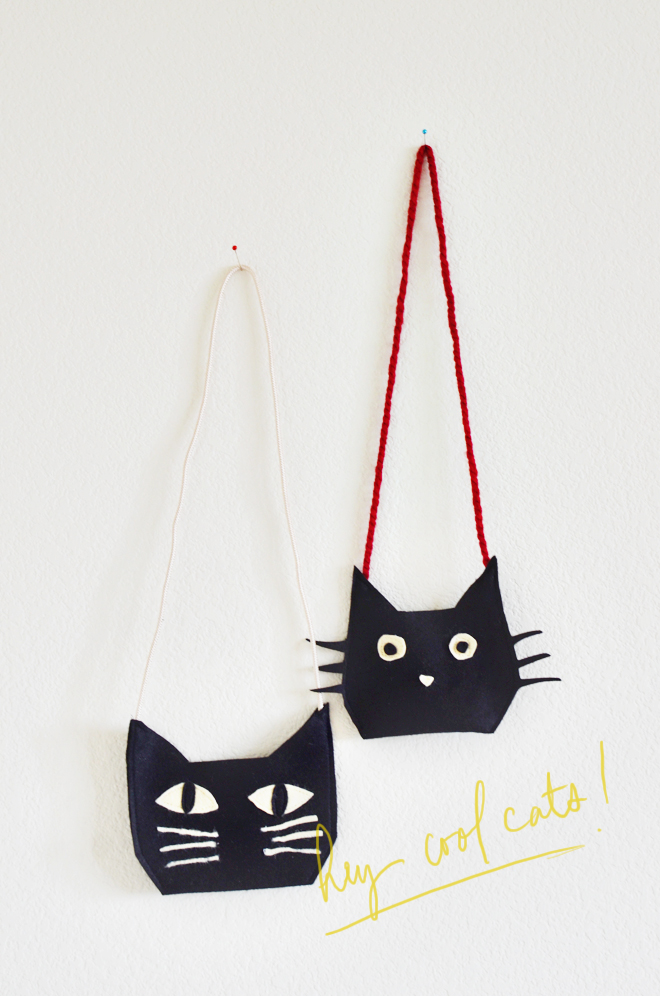
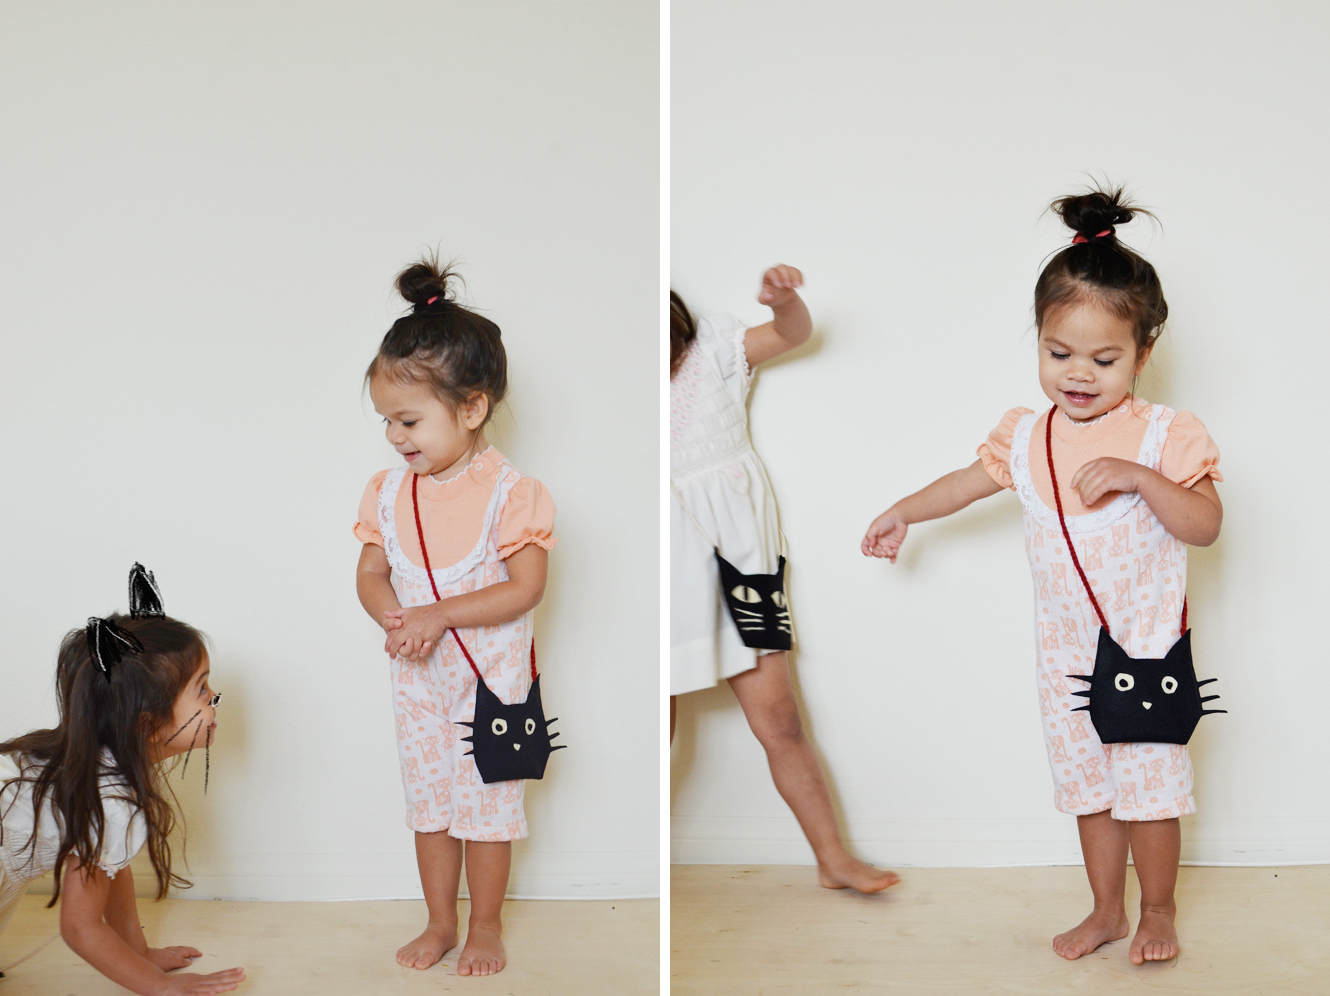
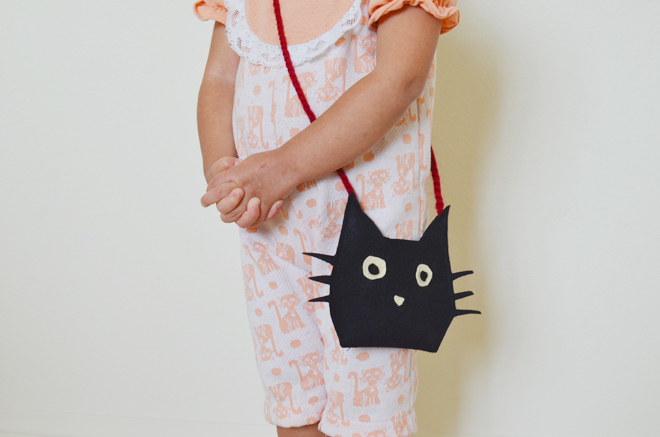
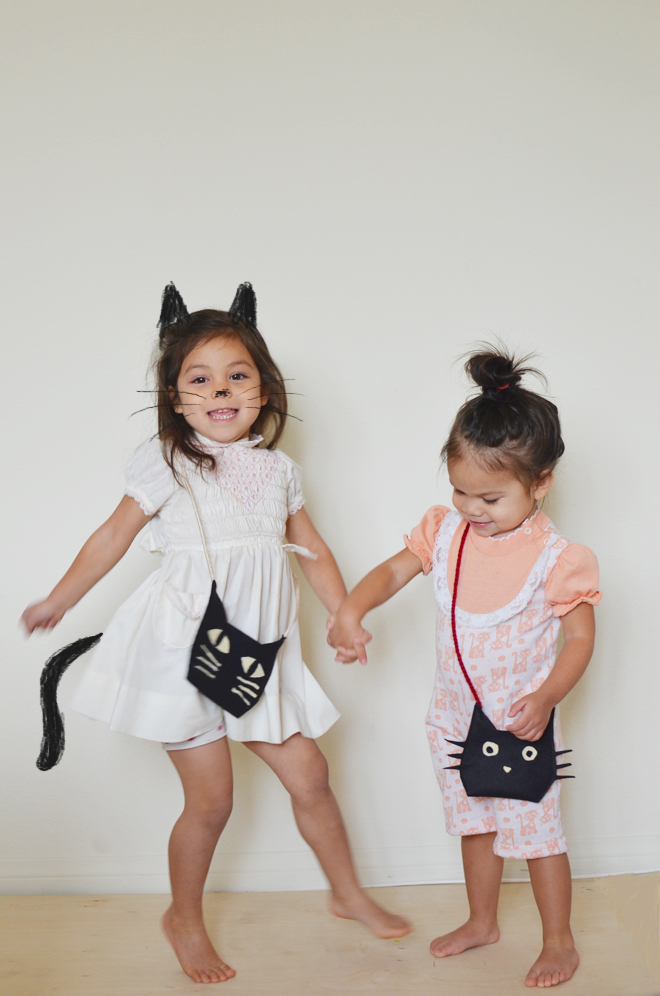
a cat baga cat bagWe have this book which has a collection of favorite stories about a cat named Jenny Linsky. We love the stories of her adventures and the simple illustrations throughout. The stories inspired us to create a little cat bag inspired by our new cat friend (and her friends)!

A Cat Bag
A little bag inspired by the stories of Jenny Linsky.

Supplies:
Cat Bag Template (choose whichever cat head you’d like, since I gave you two options, or make both!)
Scissors
1/4 yard of black wool felt (or whatever color you’d like)
Small scraps of ivory wool felt
Sewing machine (or can do this by hand with embroidery floss and hand sewing needle, but a machine is always faster!)
Coordinating thread
1 yard of ribbon, cording, or yarn (for the bag strap)
Pins (optional)

Directions:
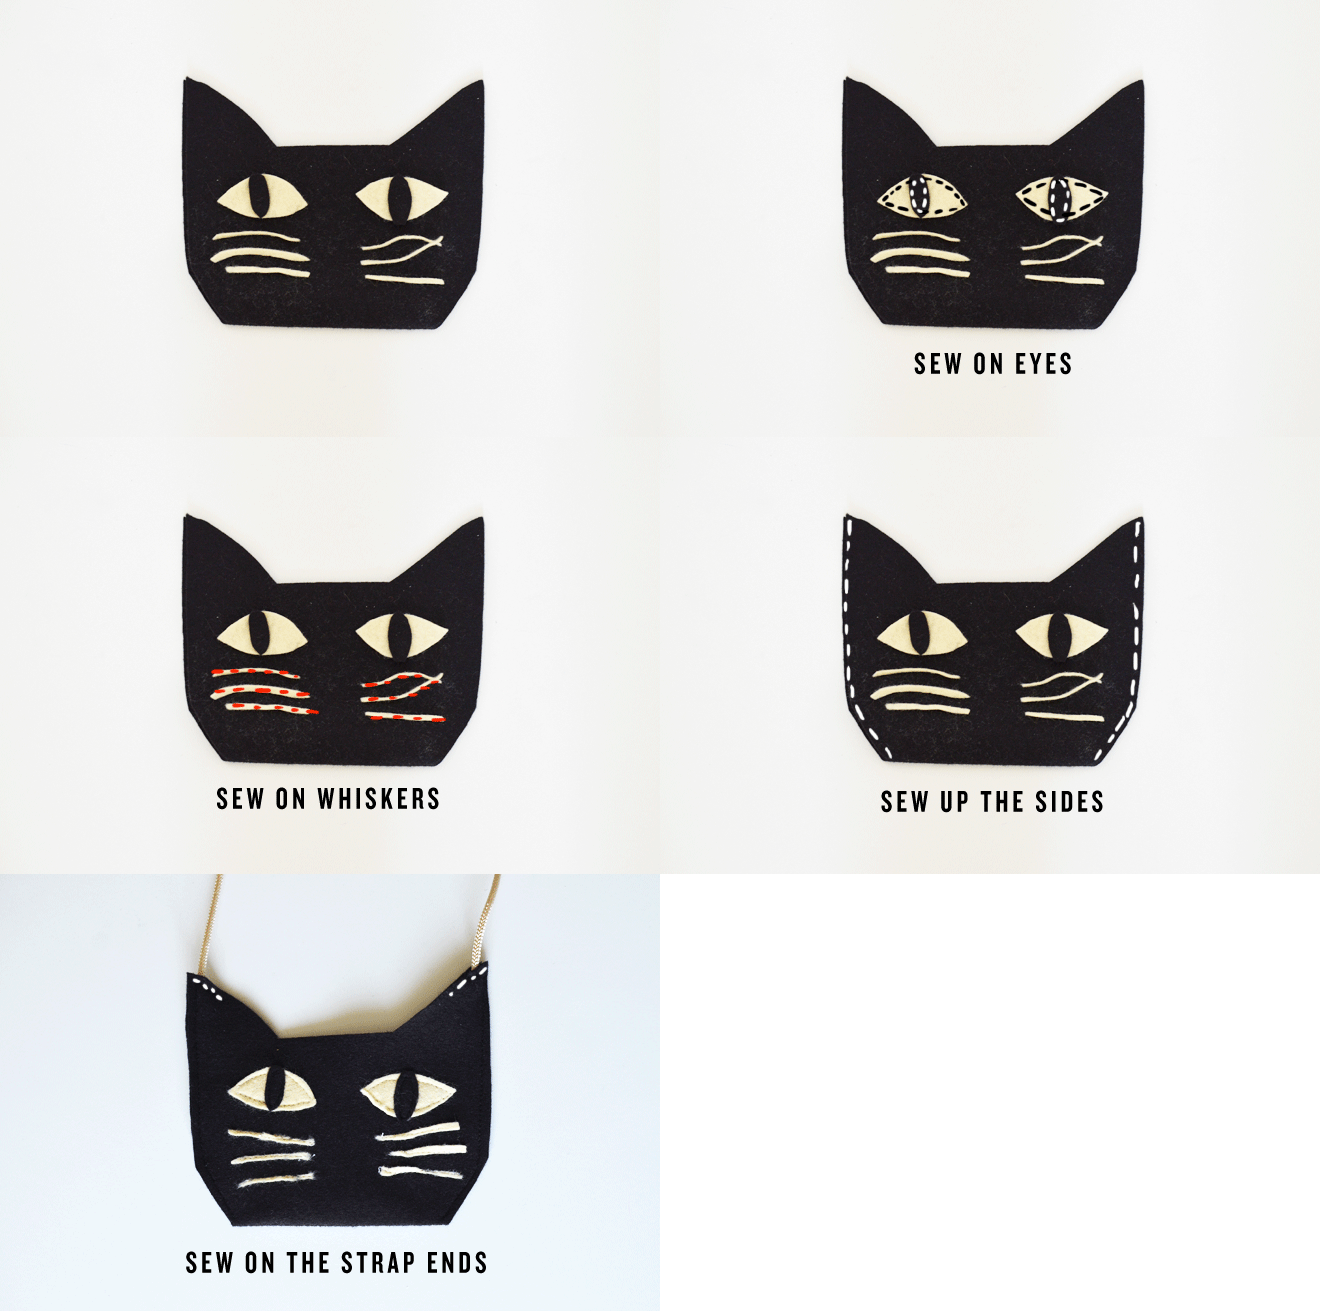
1. Using the cat bag template, cut out your wool fabric pieces: 1 head piece (cut on the fold), 2 eyes, 2 irises, and 6 whiskers (and a nose for one of the patterns).
2. Mark placement for the eye shape, irises, and whiskers (pin in place if you’d like). Sew on the eyes and irises on to the front of your bag.
3. Sew on the whiskers along the whisker line. They are thin, so you want to carefully and make sure it gets sewn on. They don’t have to be straight, quirky is always good!
4. Fold the bag in half, lining up all the fabric edges, and make sure the cat face is facing outward. Edge stitch the sides of the bag 1/4″ from the fabric edge.
5. Determine the right length of the strap for your child, then insert the ends of the strap about 1 1/2″ into the corner of the cat ears, pin in place, and edge stitch the bag strap on. Sewing about an 1 1/2″ of the ear corner will do to make sure the strap is attached securely and give plenty of room to open the bag to fill with little treasures.

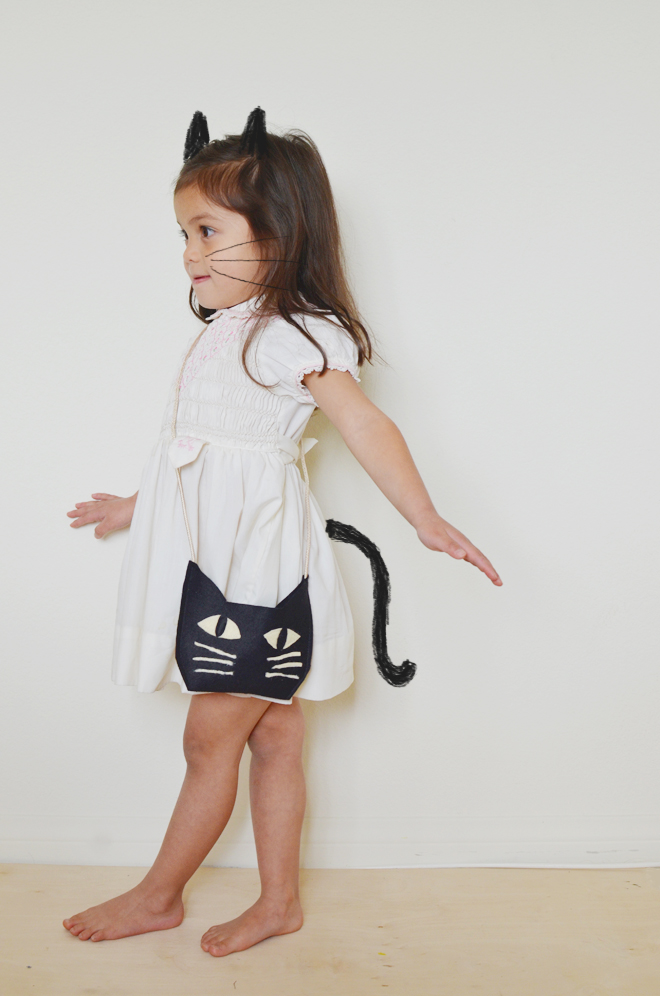
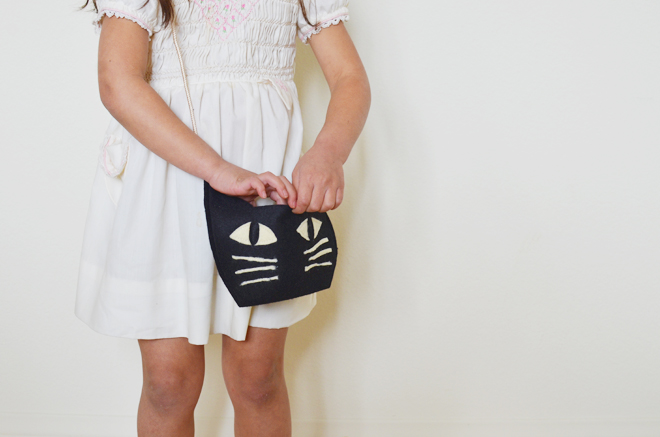
a cat bagIf you have little ones who are cat lovers, I’m sure they’d definitely appreciate this project. Or you can enlarge the template, and make one for yourself, if you’re a cat lover! The pattern could also be enlarged to make a cute cat pillow. A cat pillow for Jenny Linsky might be next on our agenda.

a cat baga cat baga cat baga cat baga cat bagI once had a cat named Tigger (um, can you tell I was a major Disney fan growing up). He was the cutest little fella. Unfortunately, he didn’t have a happy ending as the bigger cats of the neighborhood didn’t like him much, but I’ve definitely always been a cat lady. Now that I’m grown, I suddenly have allergies to things I never was allergic to, so I’m not so sure I’d do so well with one here. We have one neighborhood cat that keeps pooping in our garden beds. We don’t appreciate that much and while I like cats, I don’t like them pooping near my vegetables. The girls are vying for a dog, particularly a golden retriever, but we aren’t ready for that. Also, I’m allergic to (some) dogs too! Thus for now, we will keep our dreams of a pet and live through the stories in a book.


DIY: birch pillar candlestick holder

March 4, 2014


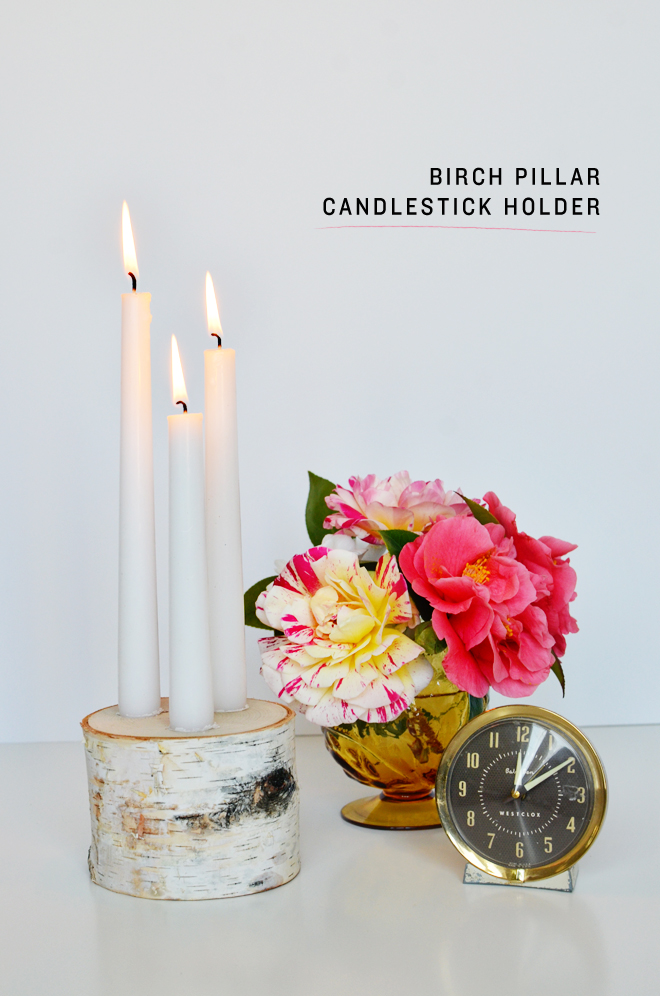
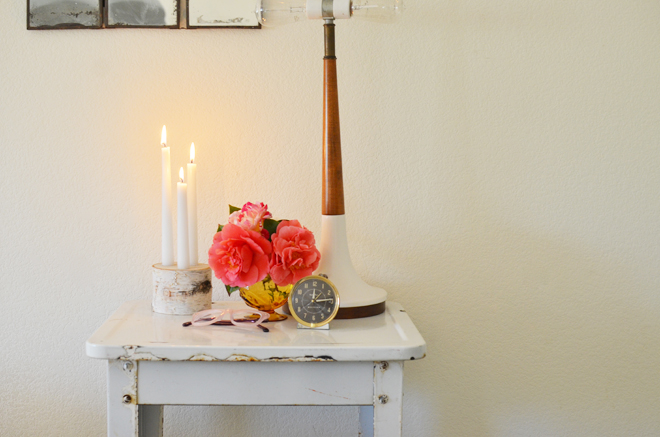
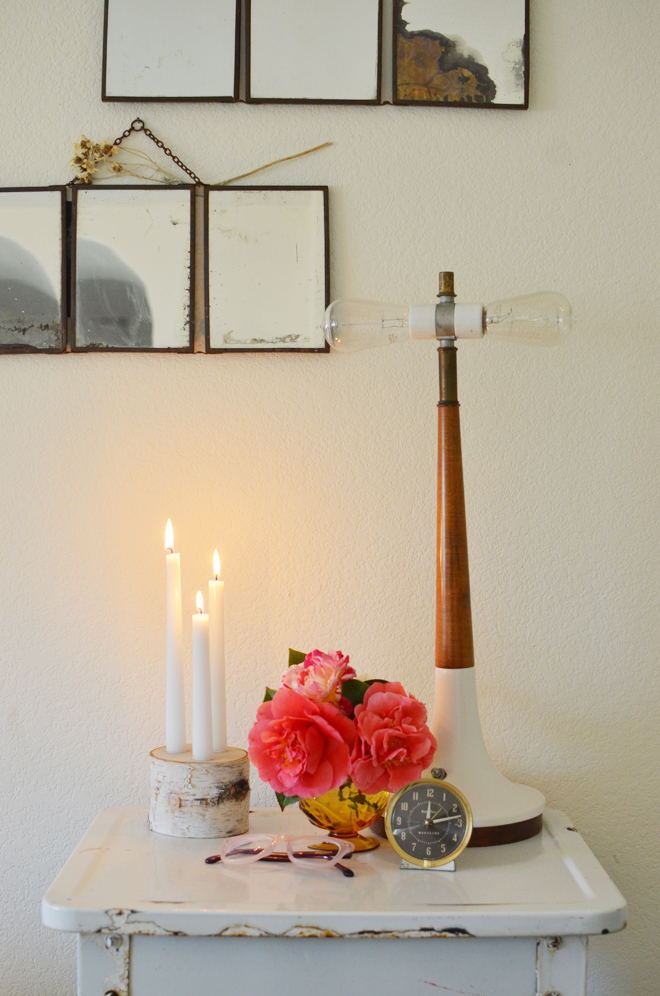
birch candlestickBirch Pillar Candlestick Holder

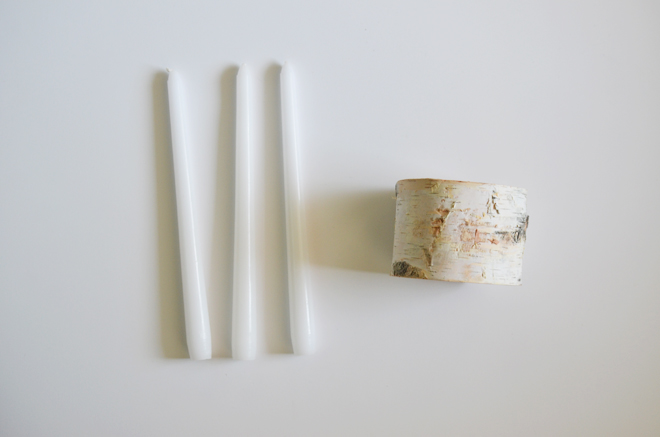
Supplies:
3″ birch pillar (bought from Michael’s Craft Store)
Drill
3/4″ drill bit (or whatever is the circumference of the candle you choose to use)
Pencil
3 candle sticksbirch candlestickDirections:
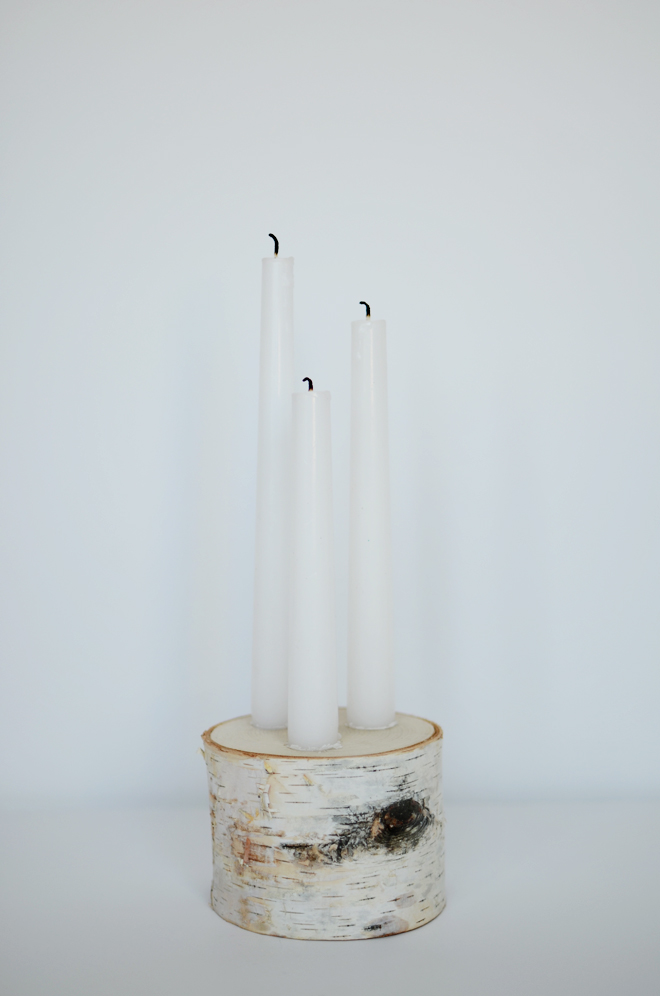
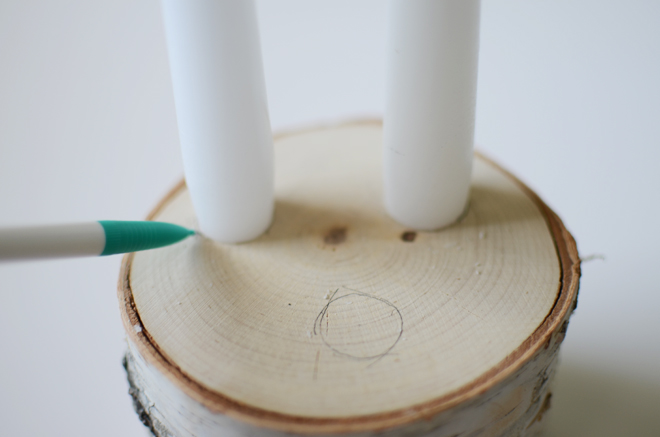
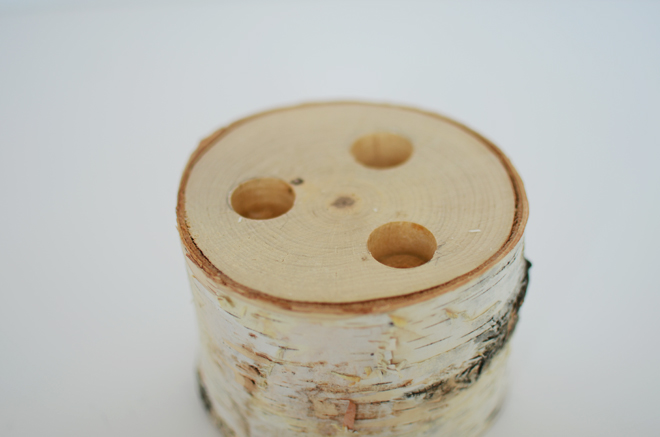
1. Choose the placement of your 3 candles. Mark its location by drawing around the base of the candle.
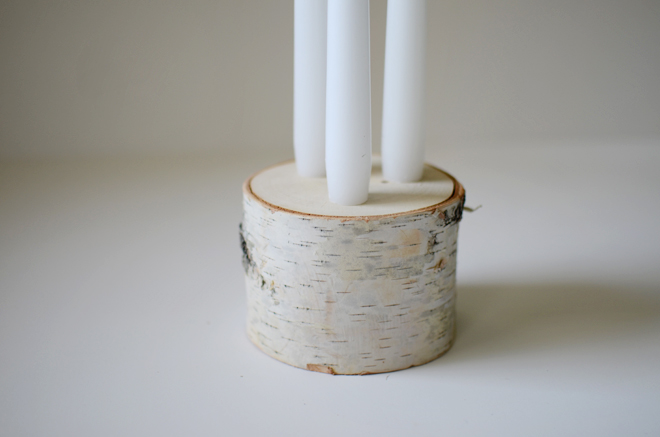
2. Drill your 3 marked holes about 3/4″ deep. Again, I just mark everything off and hand it to the husband to do, but if you’re power tool savvy, go for it!
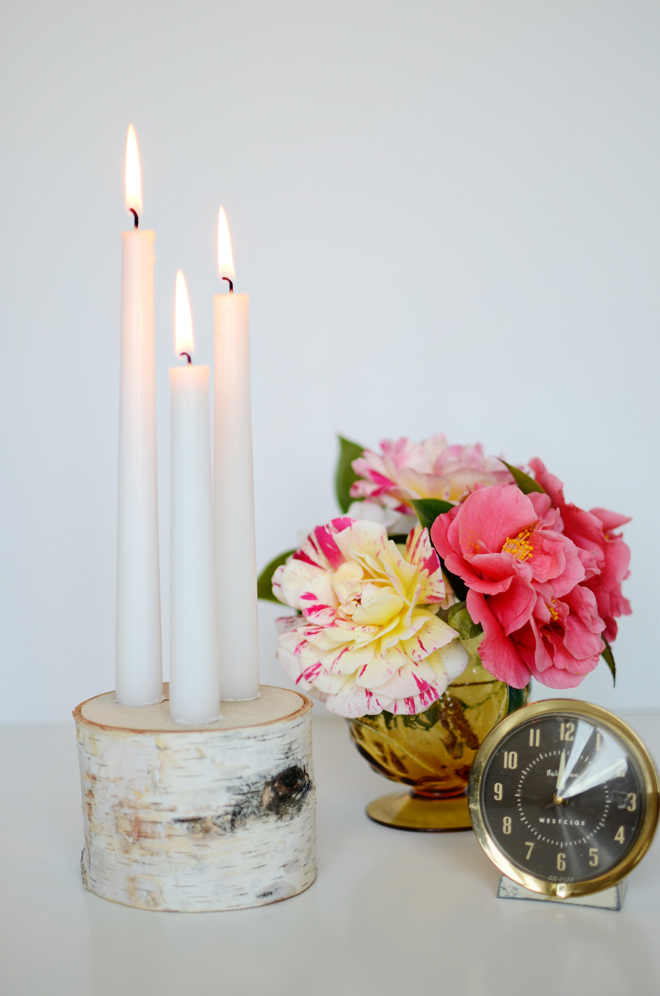
3. Insert your candlesticks into the holes and set up your candlelight somewhere so you can enjoy a beautiful evening.

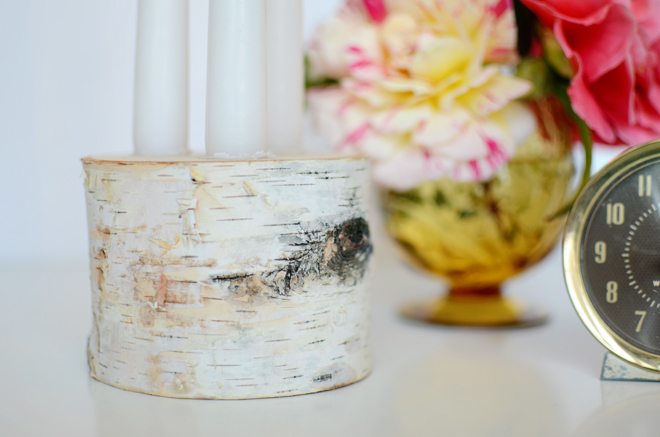
birch candlestickbirch candlestickbirch candlestickbirch candlestickThis is just another way to use the birch pillar. On the bottom of this one, are the 3 small holes for the photo display project. I love that 2 different and relatively easy projects can come from this one item. I like the easy switcharoo and I like having options.

birch candlestickbirch candlestickI much prefer using the birch pillar as a candlestick holder, as I was needing something romantic like this for our bedside table. It fit the bill perfectly.  Plus, I also like keeping candles near my  bedside. I like it when my bedroom feels a little bit romantic even though there is usually a mess in some corner, at least one corner is looking nice and pretty.
birch candlestickbirch candlestickSo which would you get more use out of, using the birch pillar to display photos or as a candle holder? Or just do both projects, since they are both so simple, and switch them out whenever you would like!


CAKIES
©
Design by Blog Milk