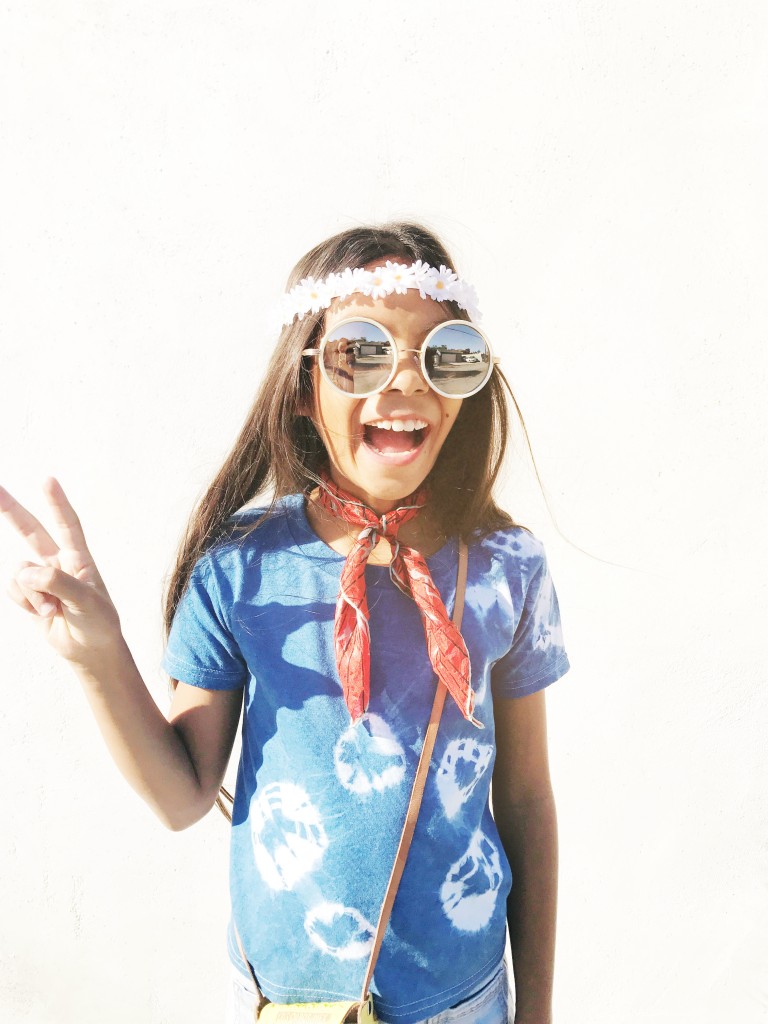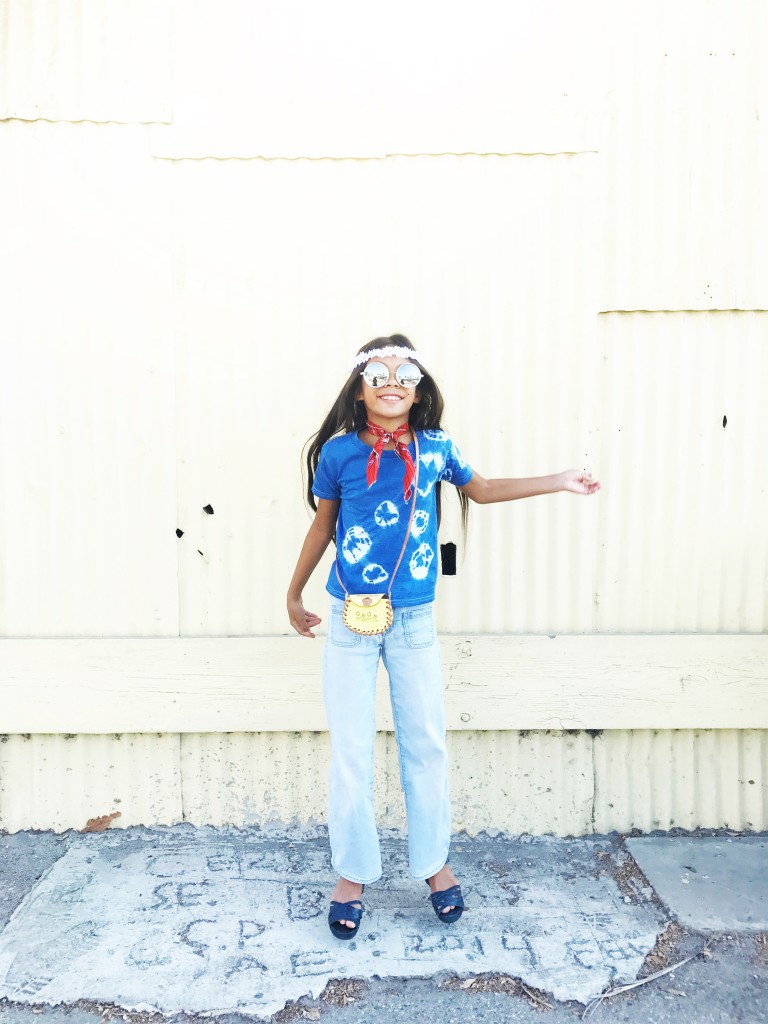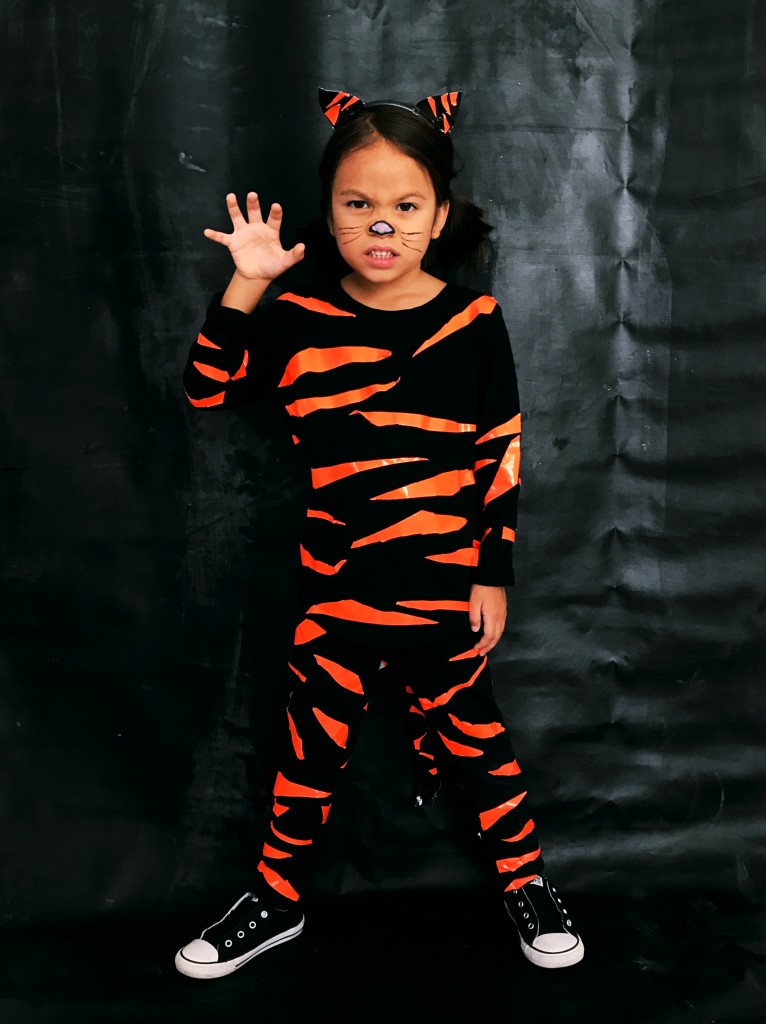
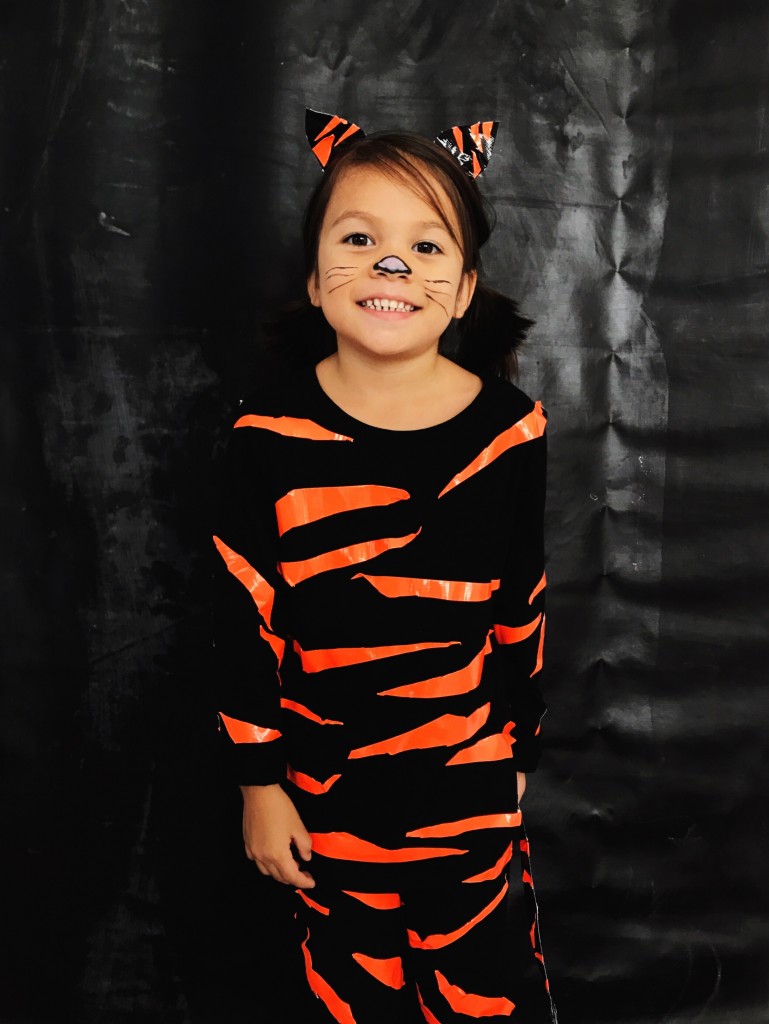
 It’s October and so those Halloween DIYs are rolling in everywhere. Last week, I shared the butterfly one, yesterday was the 1960s flower child, and today it’s a tiger costume from duct tape! It’s so easy and older children could easily do it on their own. Get the full tutorial over here on the Babiekins Mag blog.
diy duct tape tiger costume
October 4, 2017
1960s flower child costume
October 2, 2017
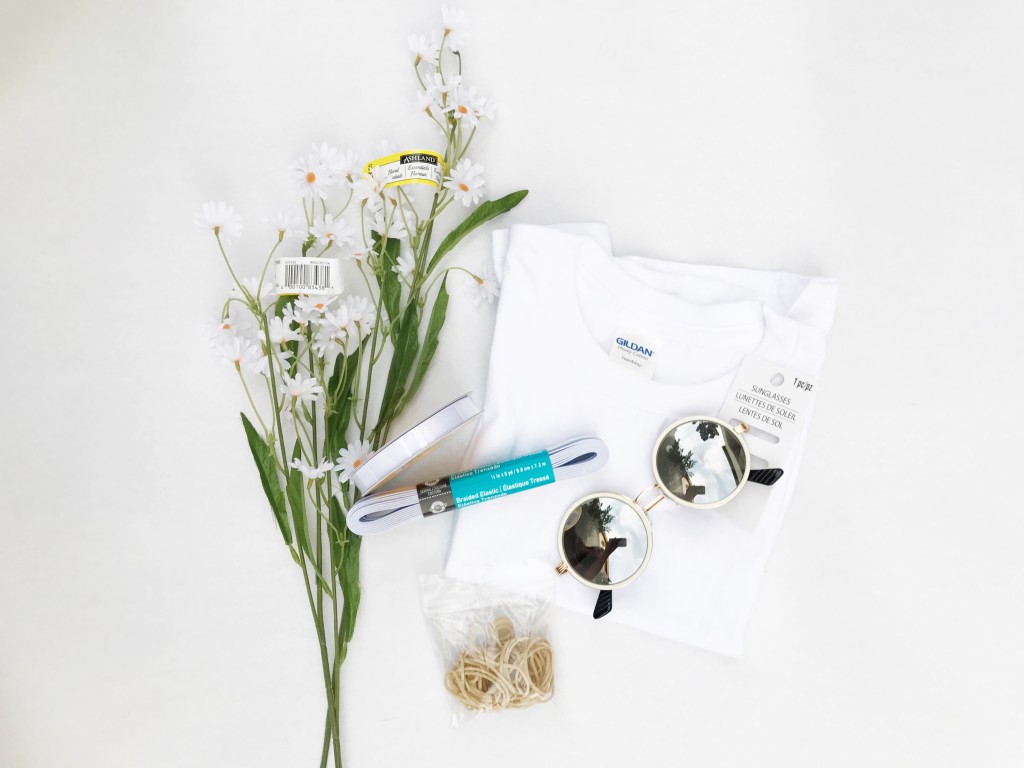
Supplies:
White t-shirt
Tie dye kit
Rubberbands
3/8″ elastic
Hand needle and thread (or sewing machine)
Faux spray daisy flowers (used 2 stems)
Ribbon
Glue gun and glue stick
Round sunglasses, optional (sold at Michaels)
 To make the shirt:
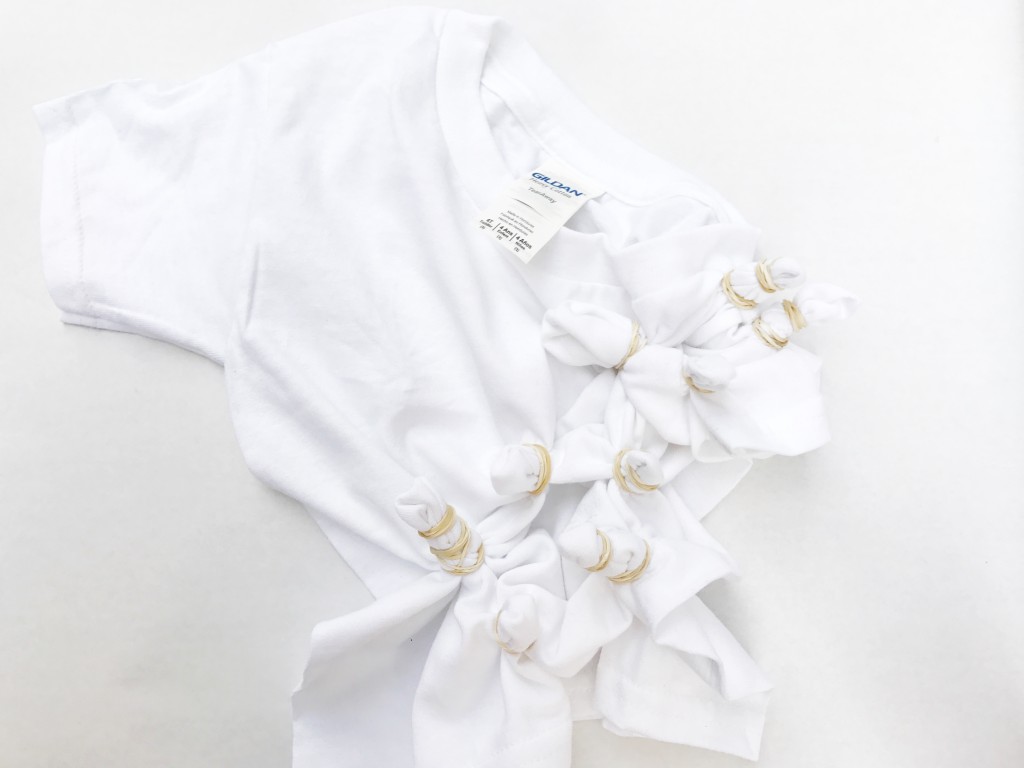
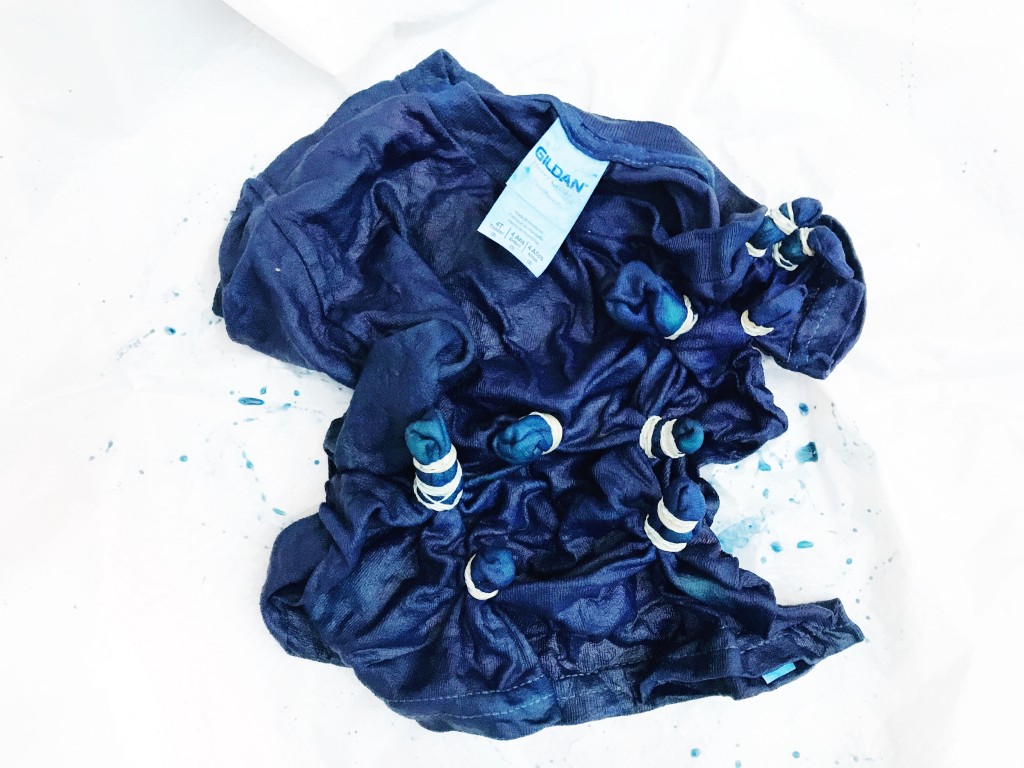
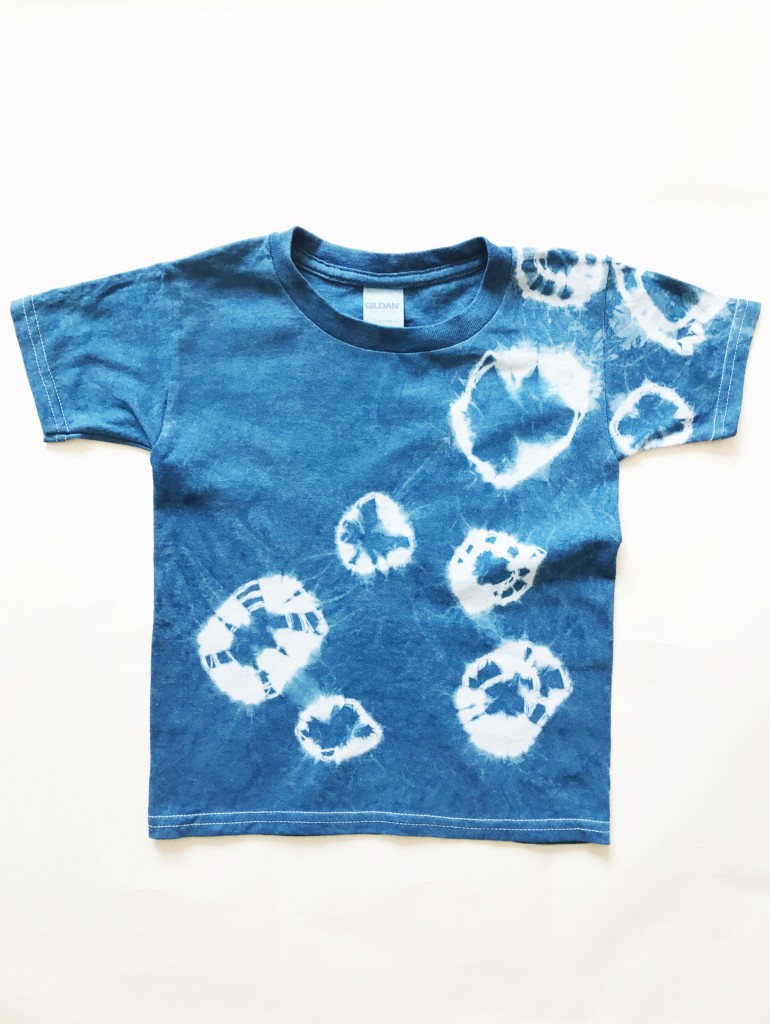
Bunch up an area on the shirt and tie one or two rubber bands around the bunched area. Do this several more times in various places on the shirt. Wet the shirt completely, then follow the instructions on dye kit to color the shirt.
 To make the flower headband:
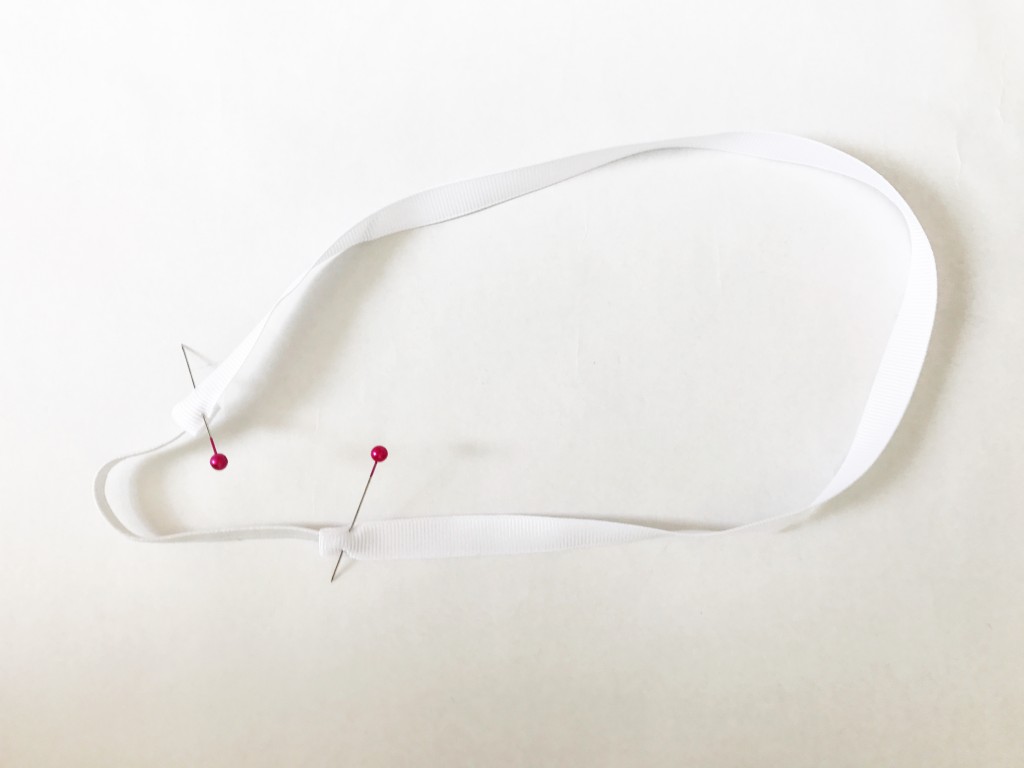
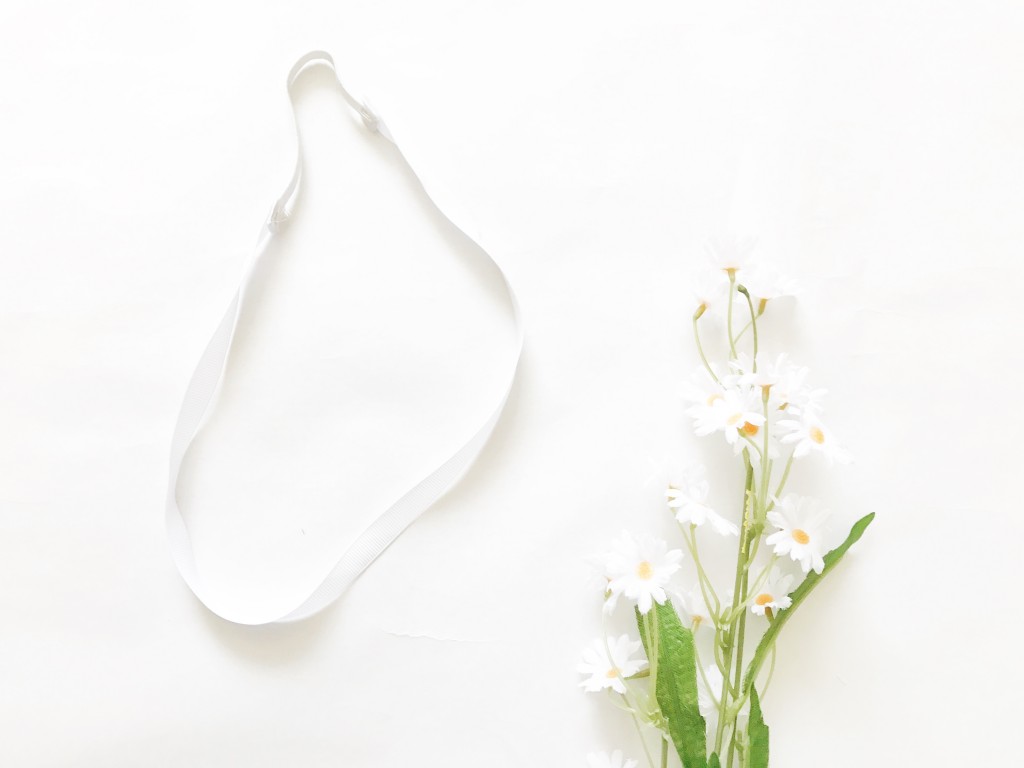
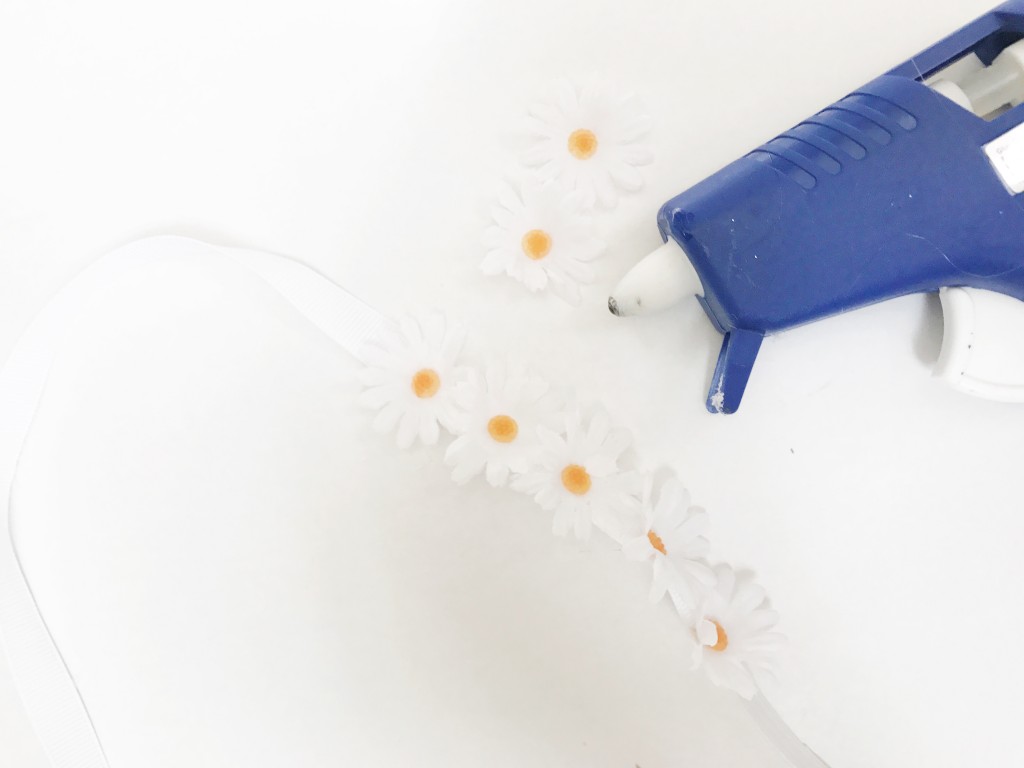
Measure around the head and cut the ribbon about 3/4″ around the head. Cut out an elastic piece that makes the remaining 1/4″ measurement around the head. Sew each end of the elastic to the end of the ribbon. With a little dab of glue on the ribbon, cut off a flower head and attach to the glue. Repeat until the entire ribbon is covered with flowers.
 To put together the outfit:
Grab a pair of jeans ( best if flared or wide legs) to pair with the tie dye top. Any wooden shoes/clogs would pair well, and add a scarf or handkerchief around the neck. Put on the round sunglasses and give a carefree smile while holding out the peace sign.
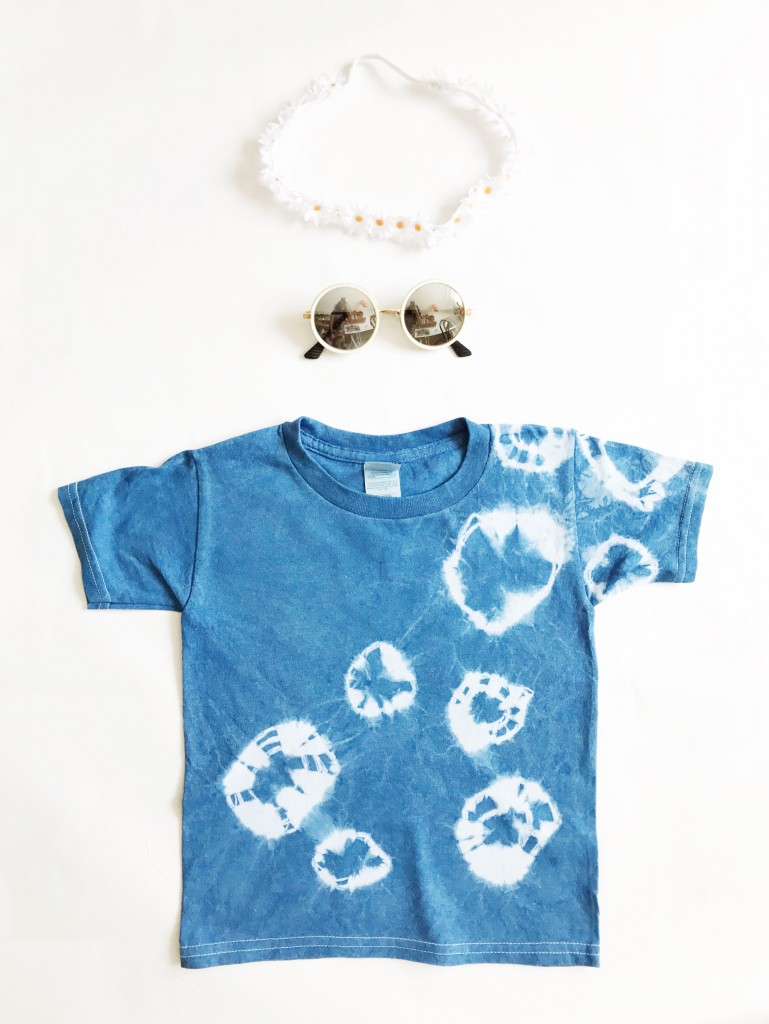
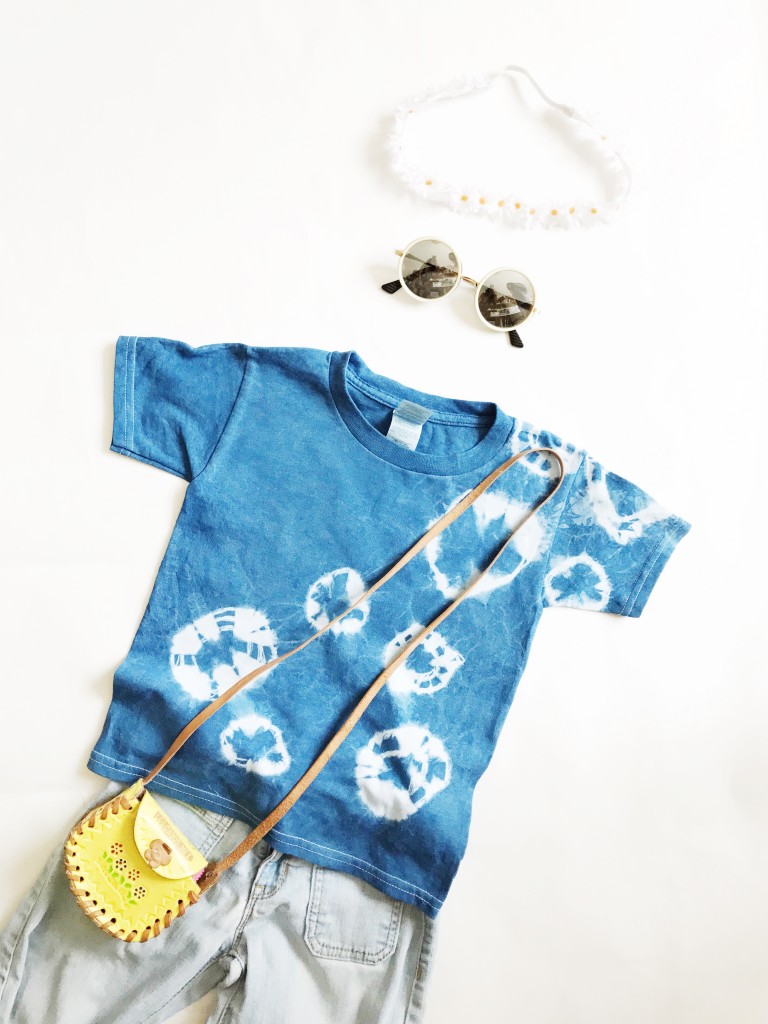
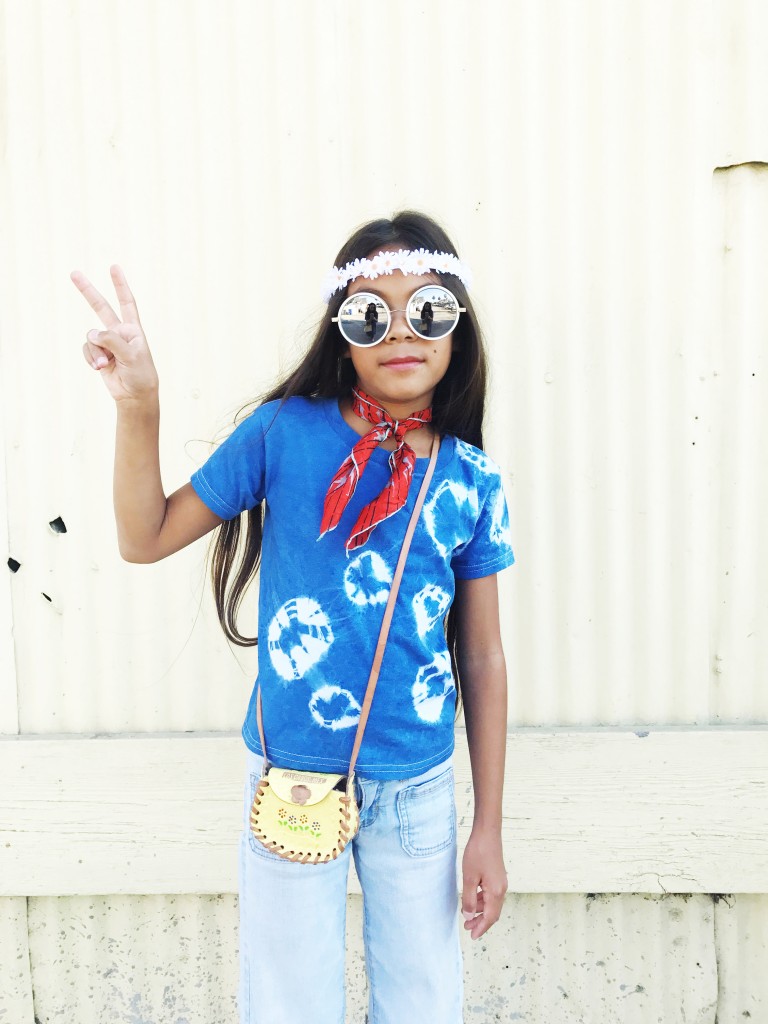
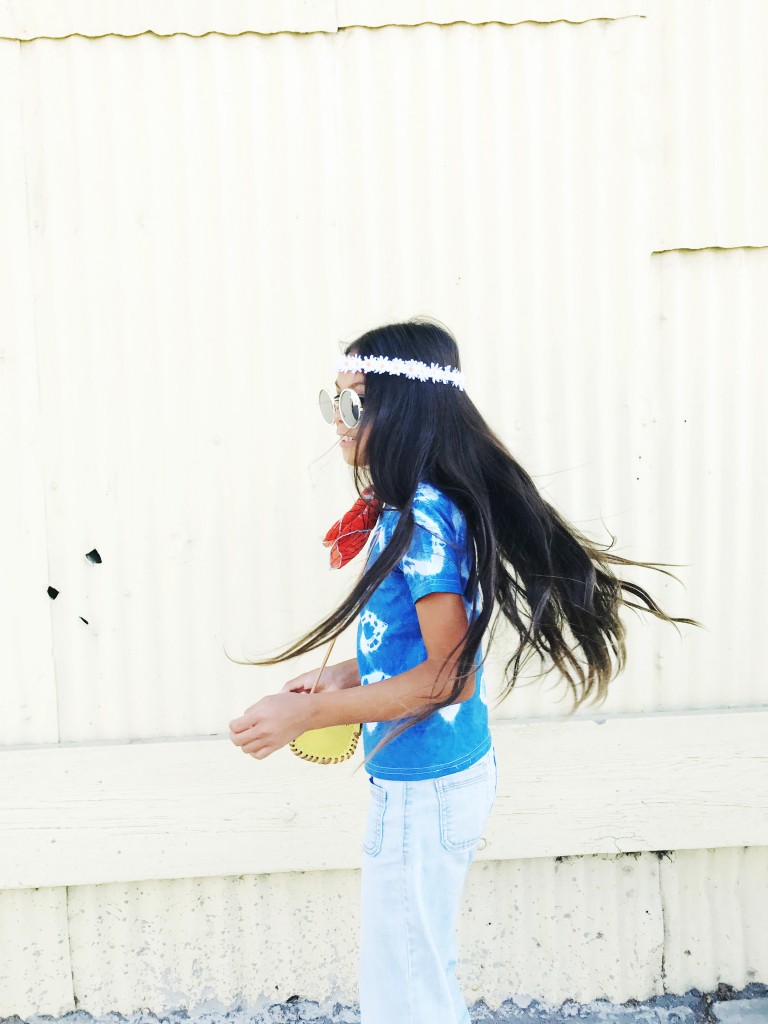
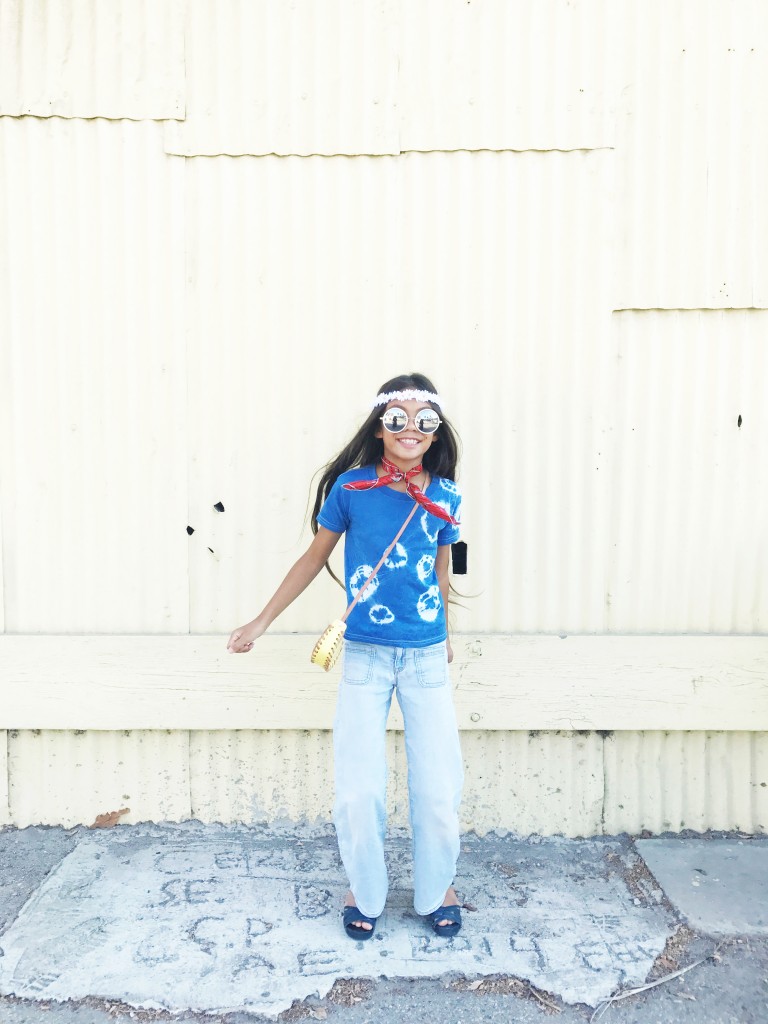 We loved putting together this costume and each piece is something they would definitely wear, not just on Halloween. Michaels also carries sunglasses, so these round ones were perfect to pair with the rest of the outfit. Maybe, I ought to sew the girls some wide leg bell bottoms. Thinking that project might get added to our craft list.
Are you a Halloween maker or shopper? My kids love handmade costumes, so we are definitely Halloween makers.
Supplies provided as part of the Michaels’ Makers Series. This Halloween, Michaels has everything you need to MAKE it Spooky!
Beyoncé inspired baby shower
September 28, 2017
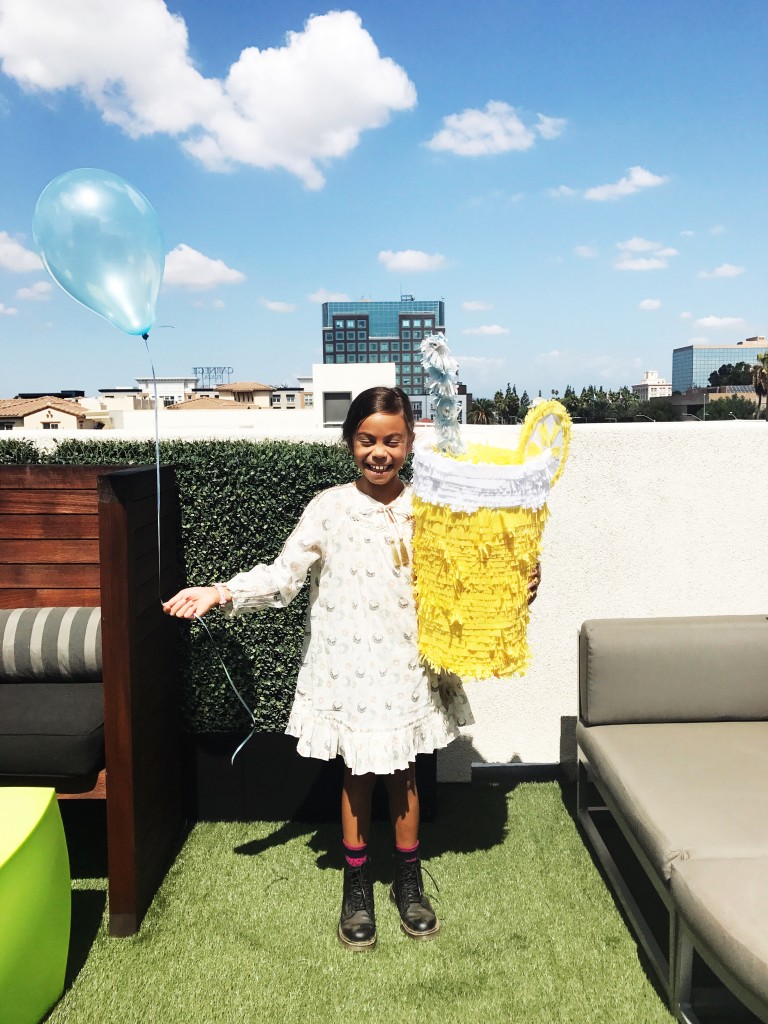
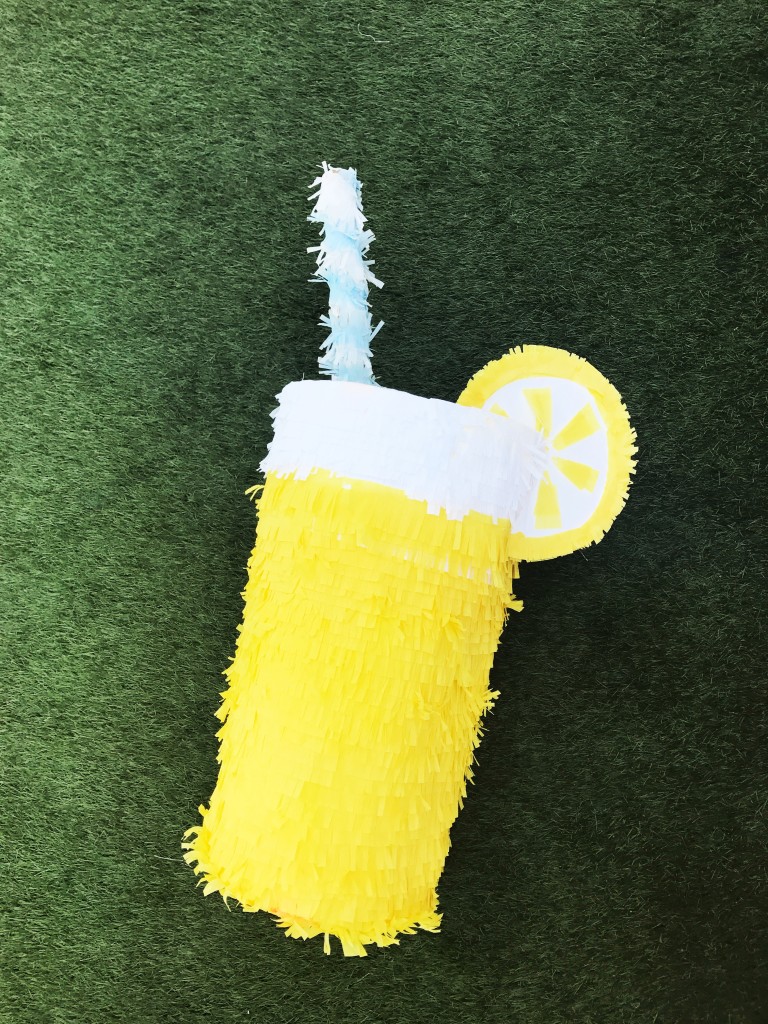
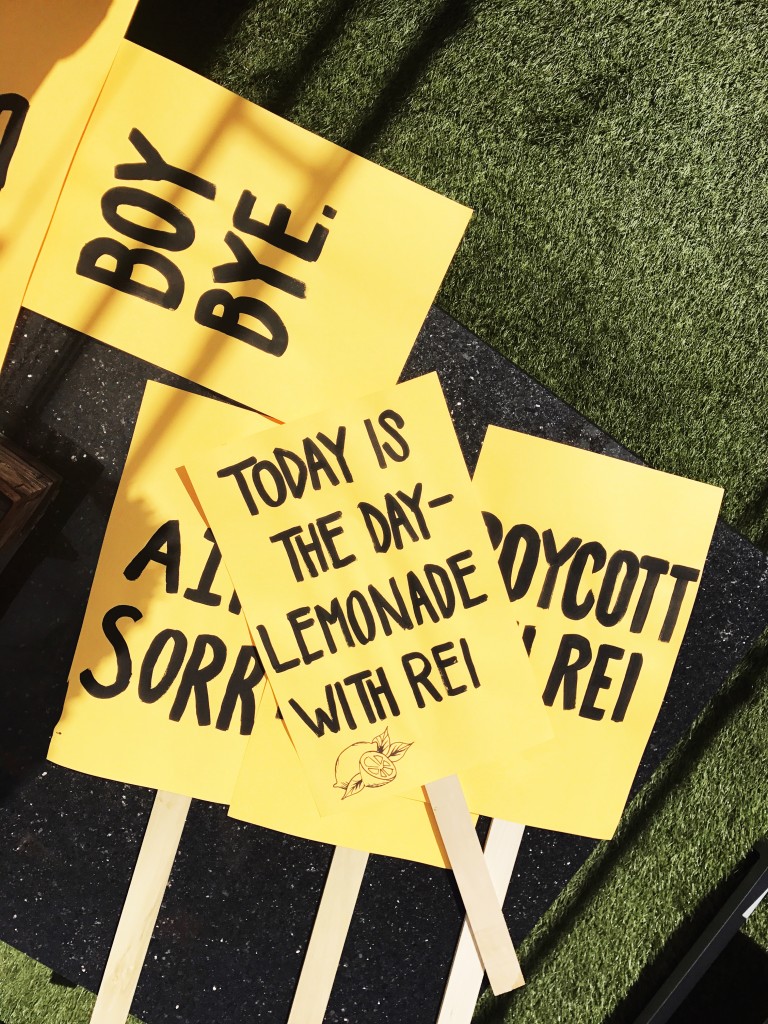
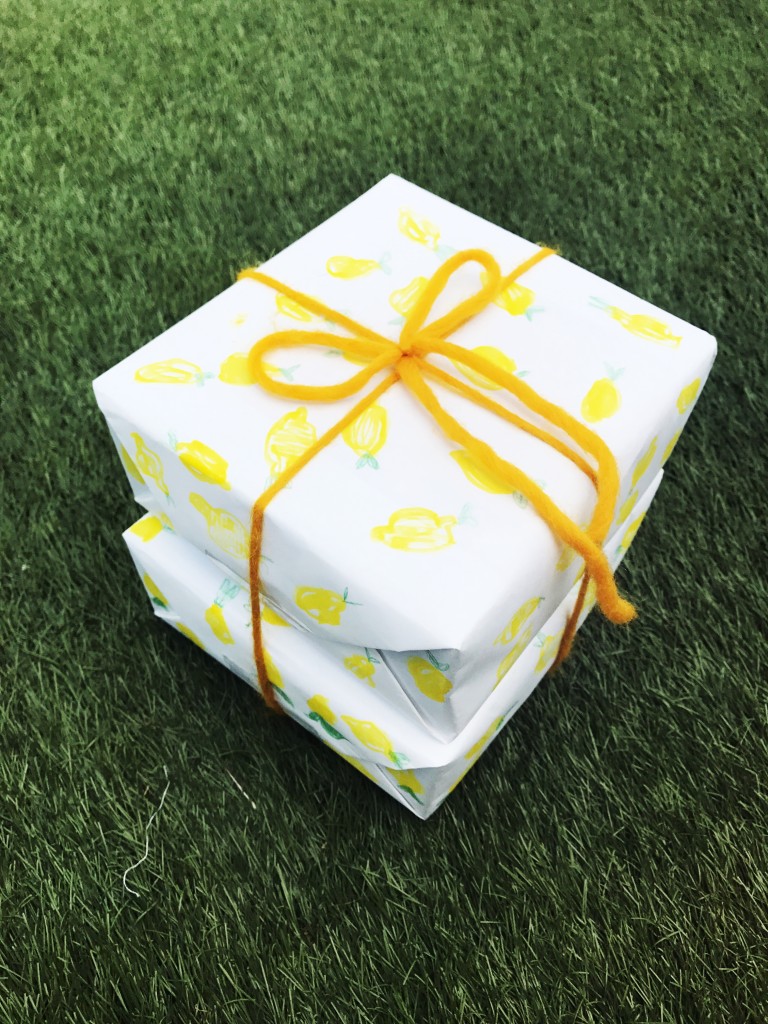
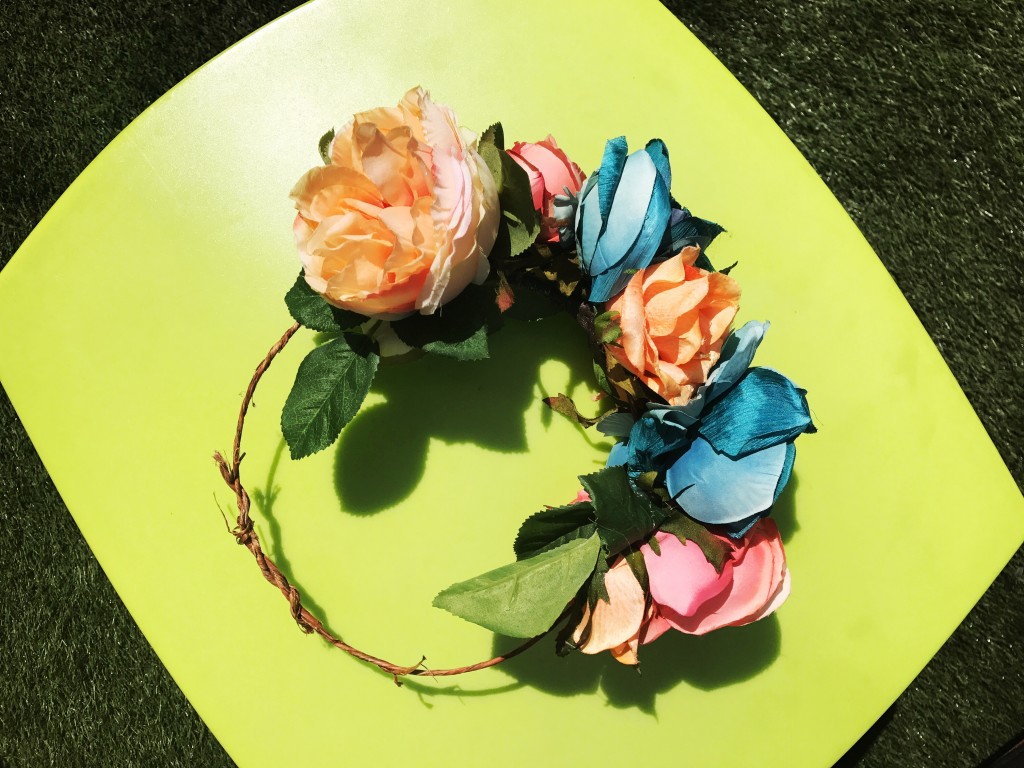
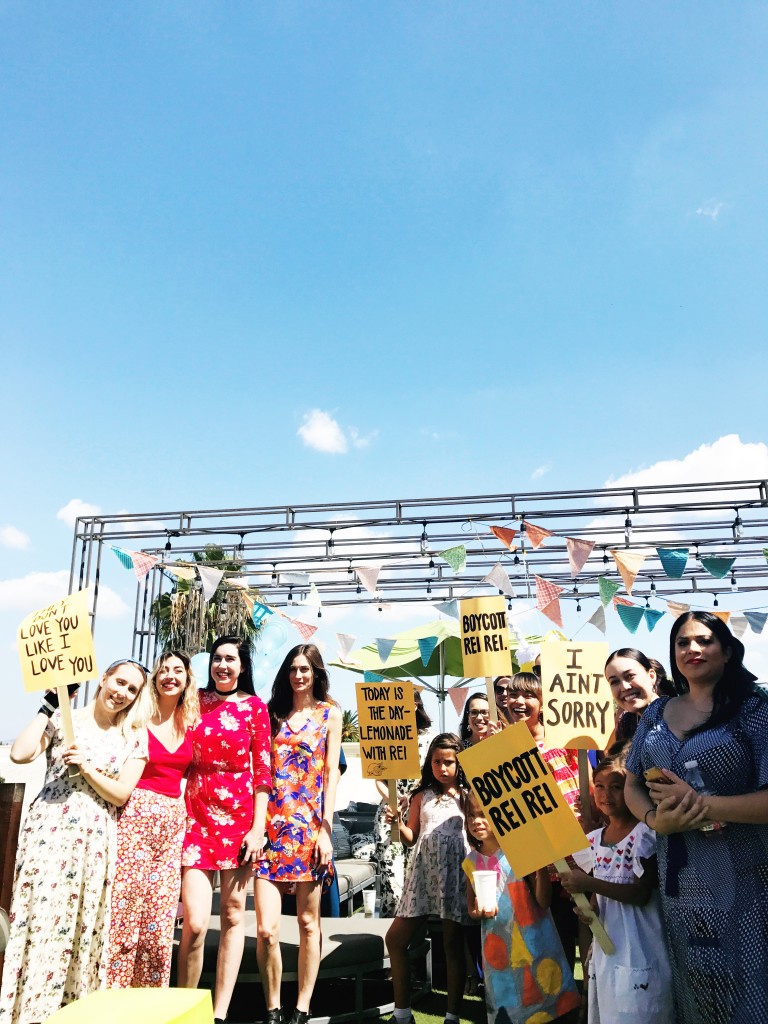
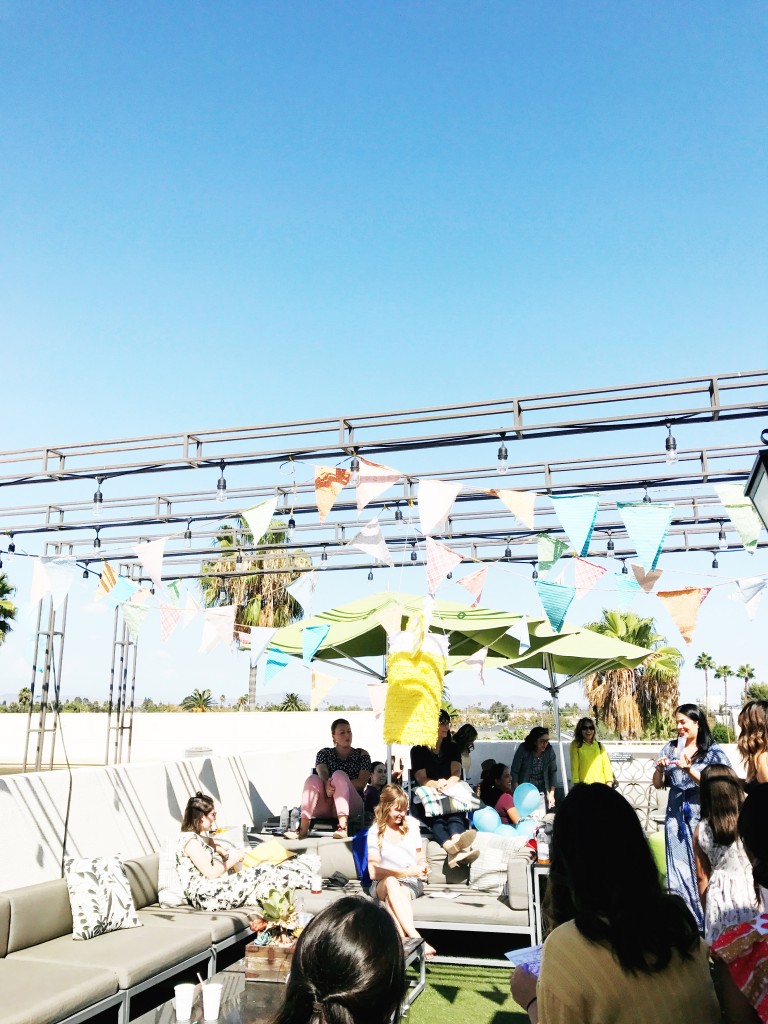
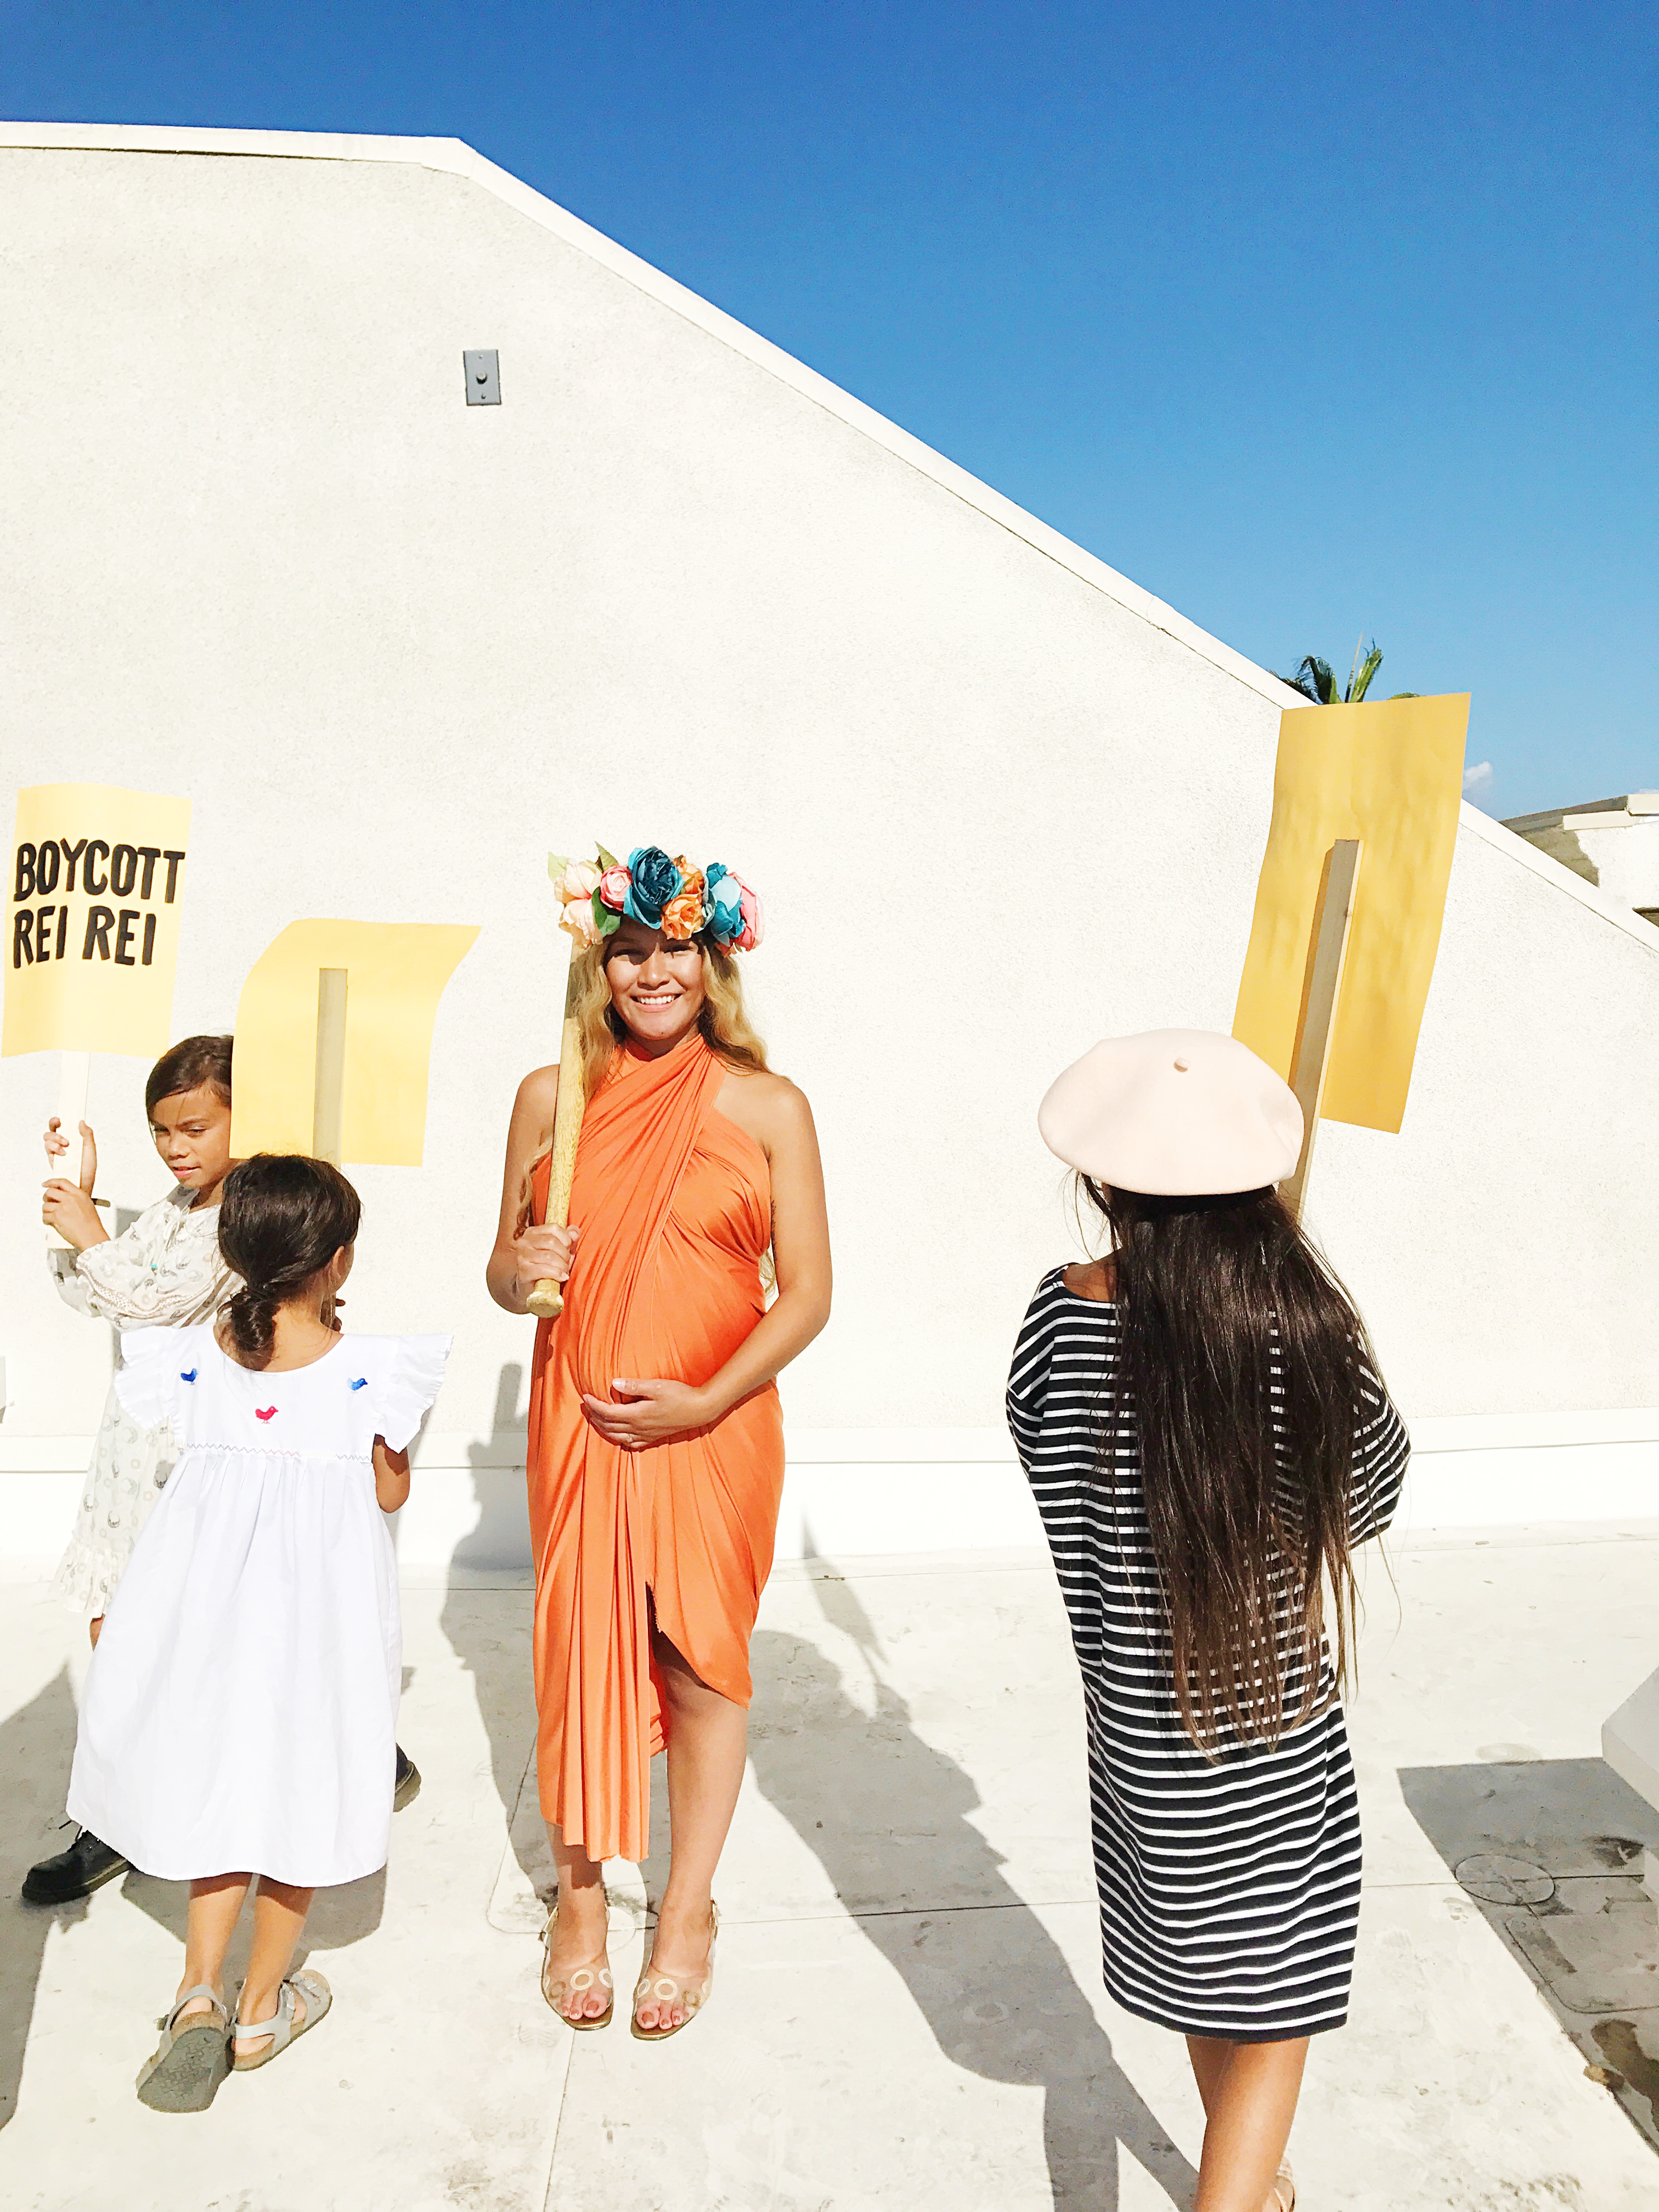
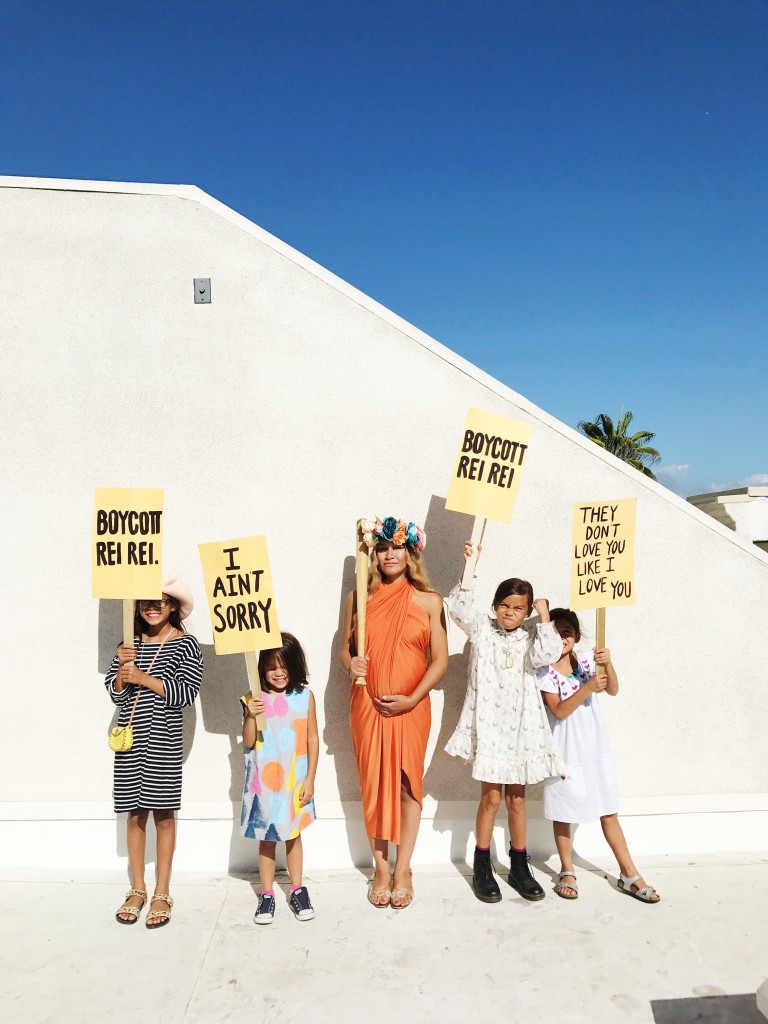
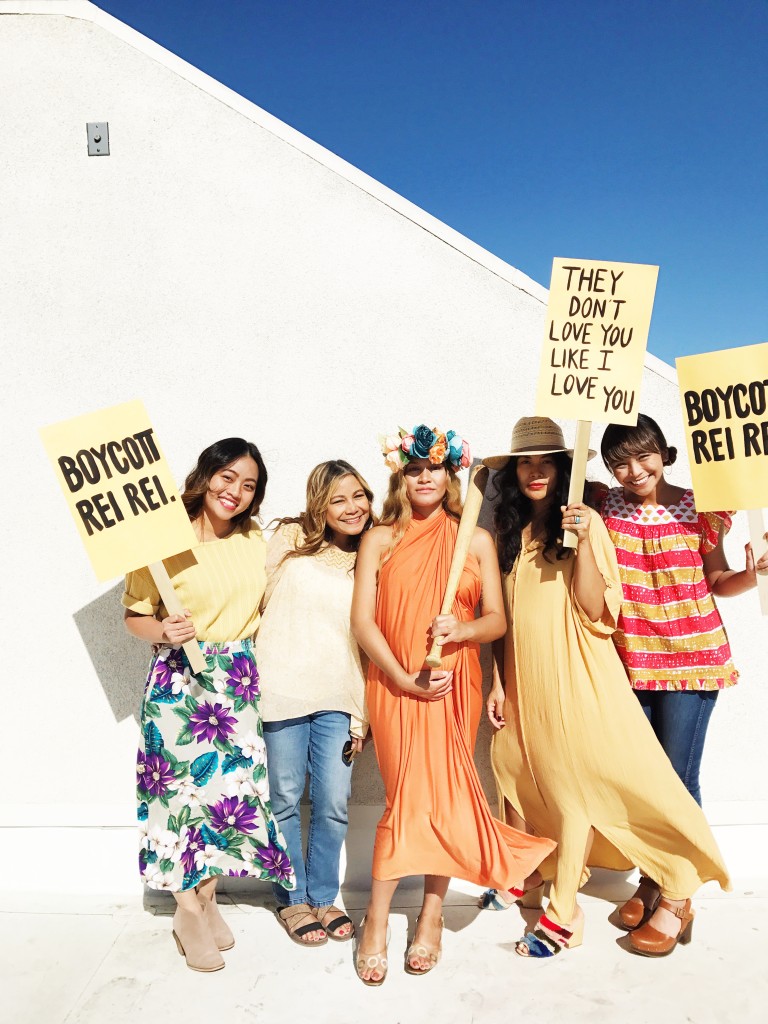
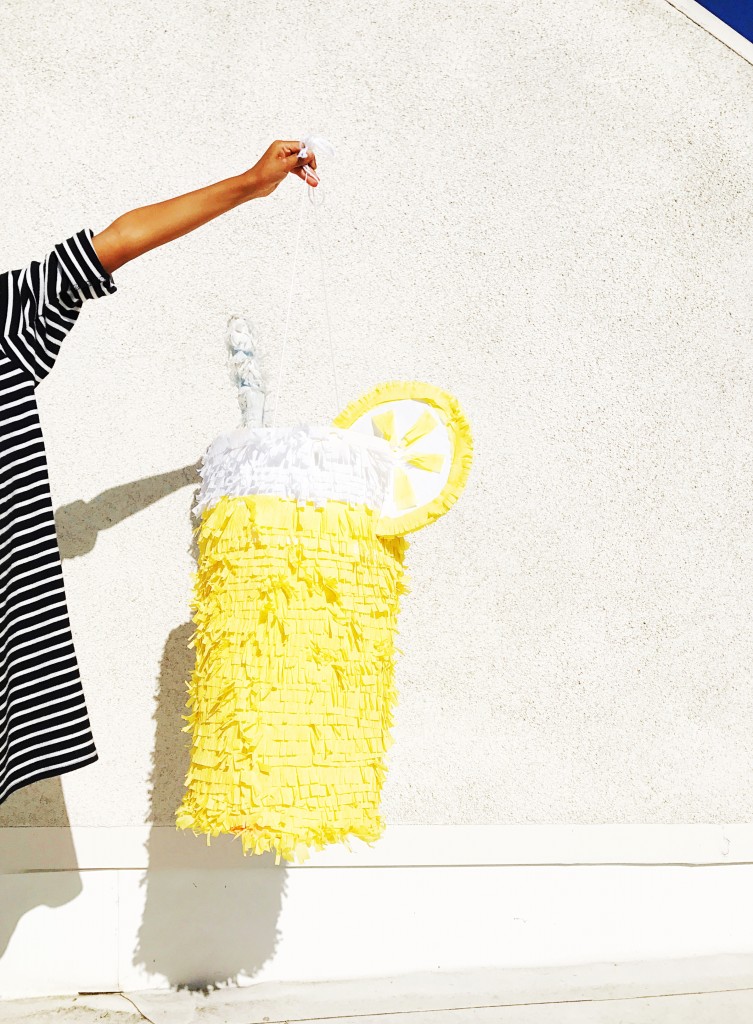
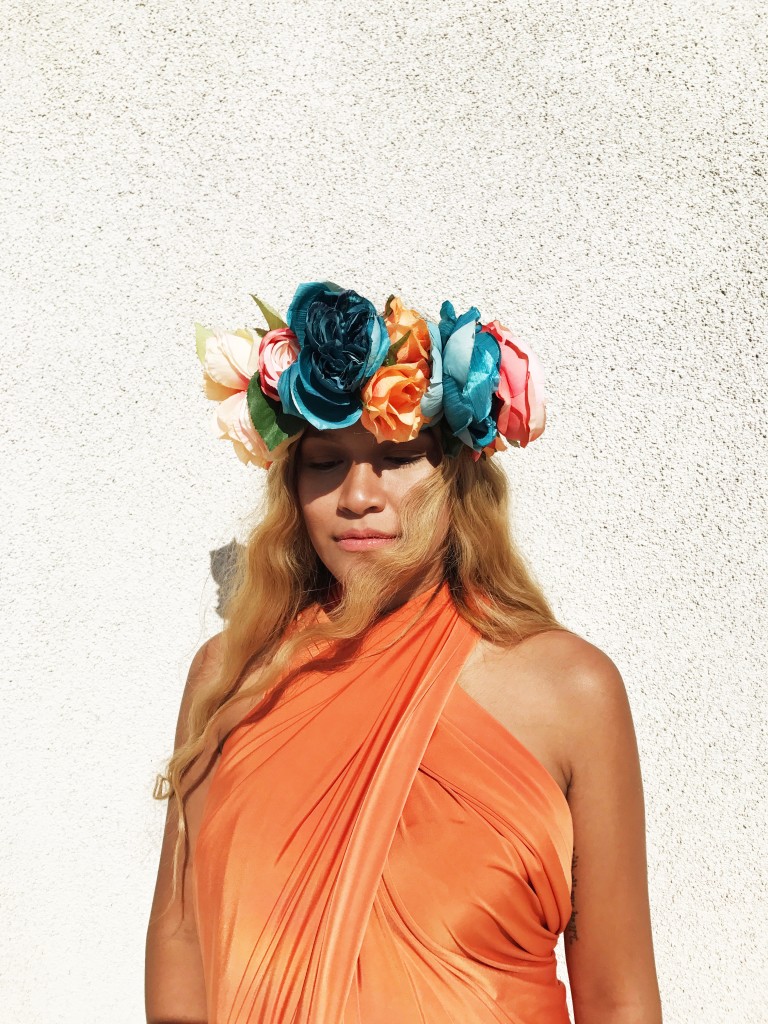 Finally, at long last, my girls are getting their first official cousin. My sister, Reinna, is expecting a little boy and her request was a “Beyoncé” themed baby shower. So when life hanods that request, you make lemonade! Inspired by Beyonce’s recent music and visual album, we created a celebration fit for a queen (Reinna means queen).
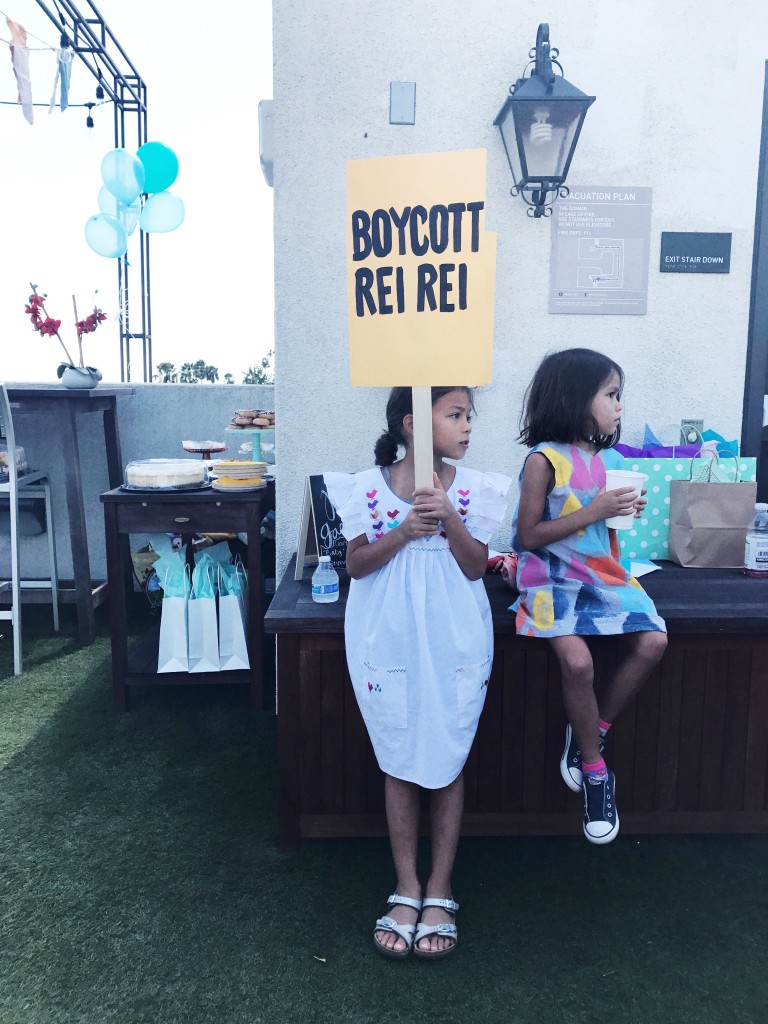
My job was decor and it was on a beautiful roof top, so not too much was needed. I used bunting that I had sewn for my best friend’s wedding several years ago and the centerpiece of the decor was the lemonade piñata (tutorial via oh happy day here). My baby sister and friend made the protest signs, which were a fun touch. To get that extra Beyoncé-esque vibe, I made a floral crown remiscent of that surprise baby announcement that was dropped by the queen B herself. Naturally, my girls got in on the creating too and they made the lemon adorned wrapping paper. I love how that turned out and I think for Christmas, I’ll be having them draw on all the wrapping paper! Add some music by Beyoncé and Solange and the celebration was exactly was this mom-to-be wanted.
indigo dyed dress
September 26, 2017
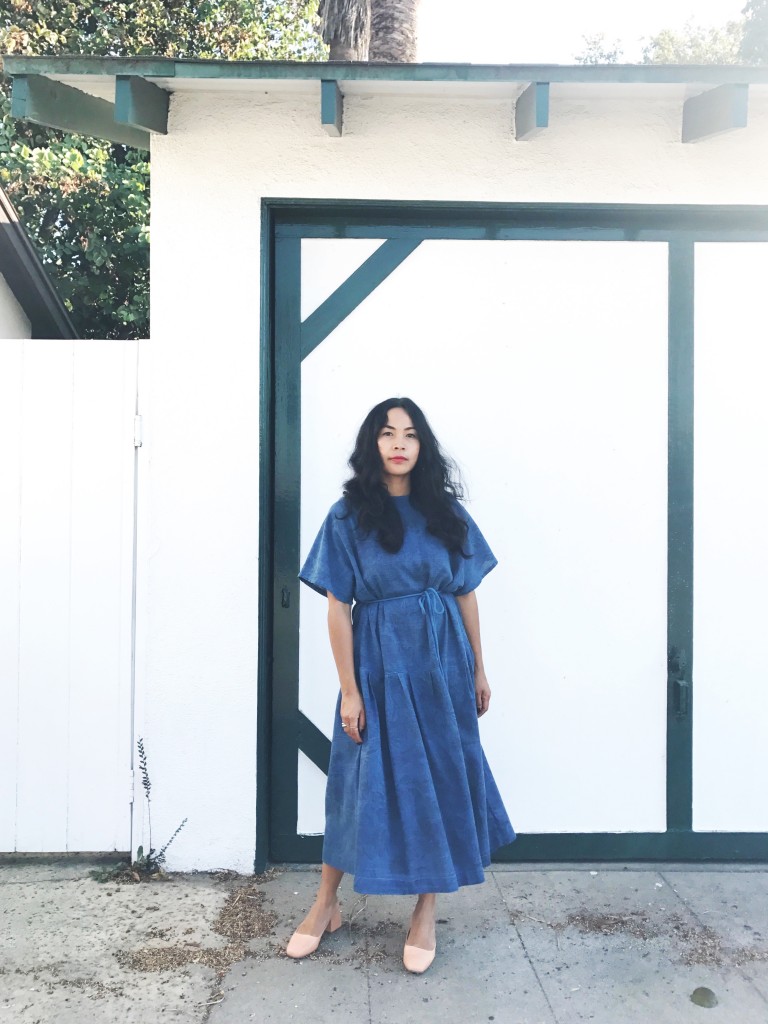
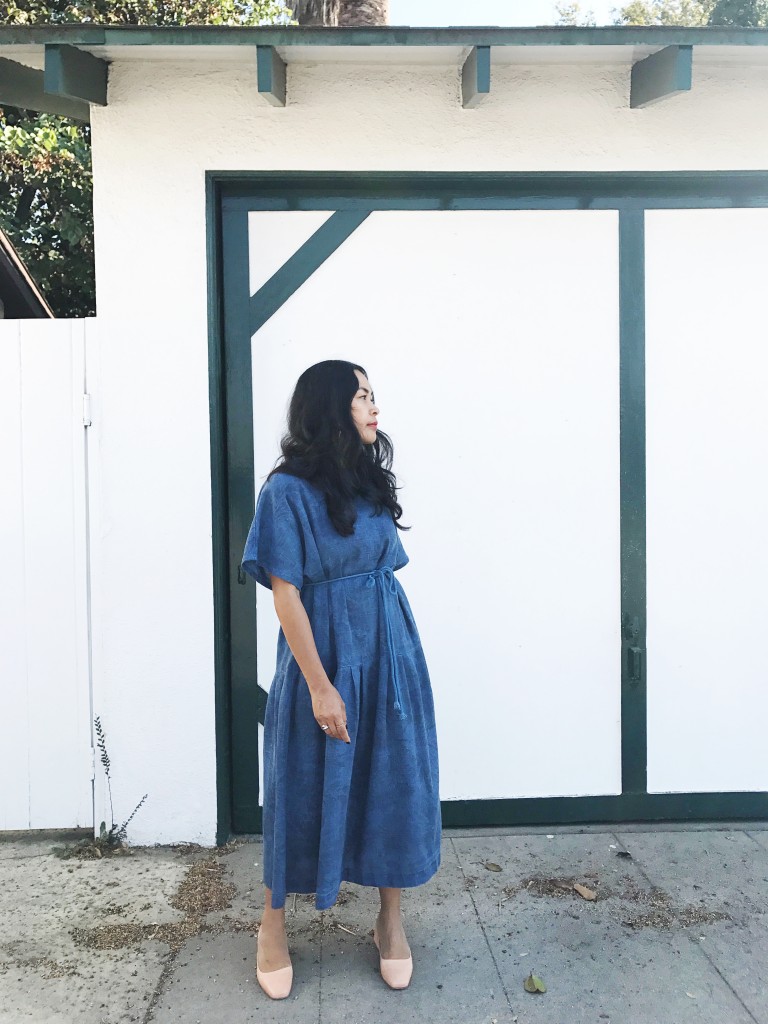
I’ve been experimenting with a little indigo dyeing lately and I’m loving the results. I had thrifted this dress a few months back, but the pattern was way too curtain-y for me, however, I really liked the shape of it. My intention was to indigo dye it, and while I meant to do it over the summer, I only got around to doing it this week. Here is the before and after…
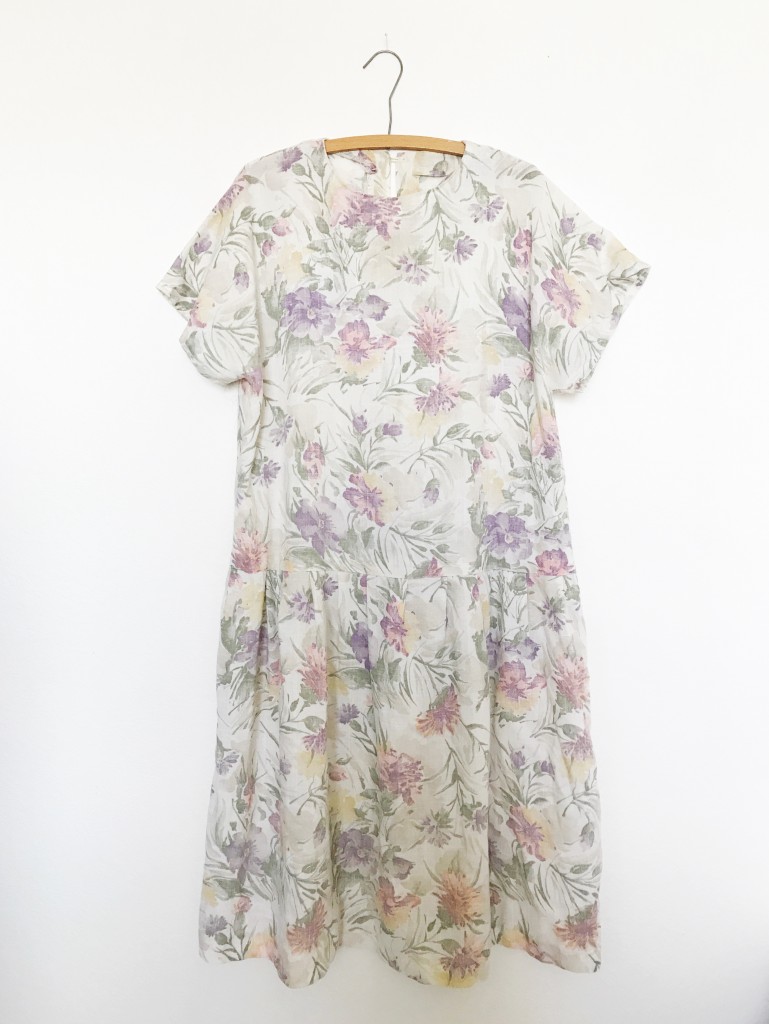
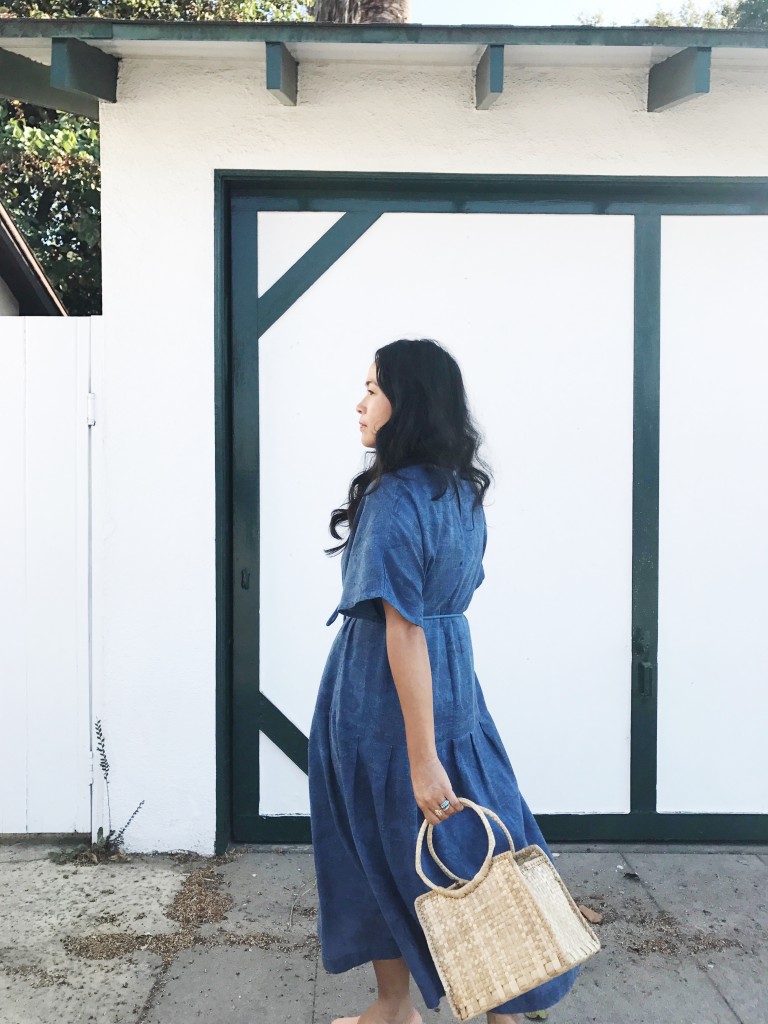
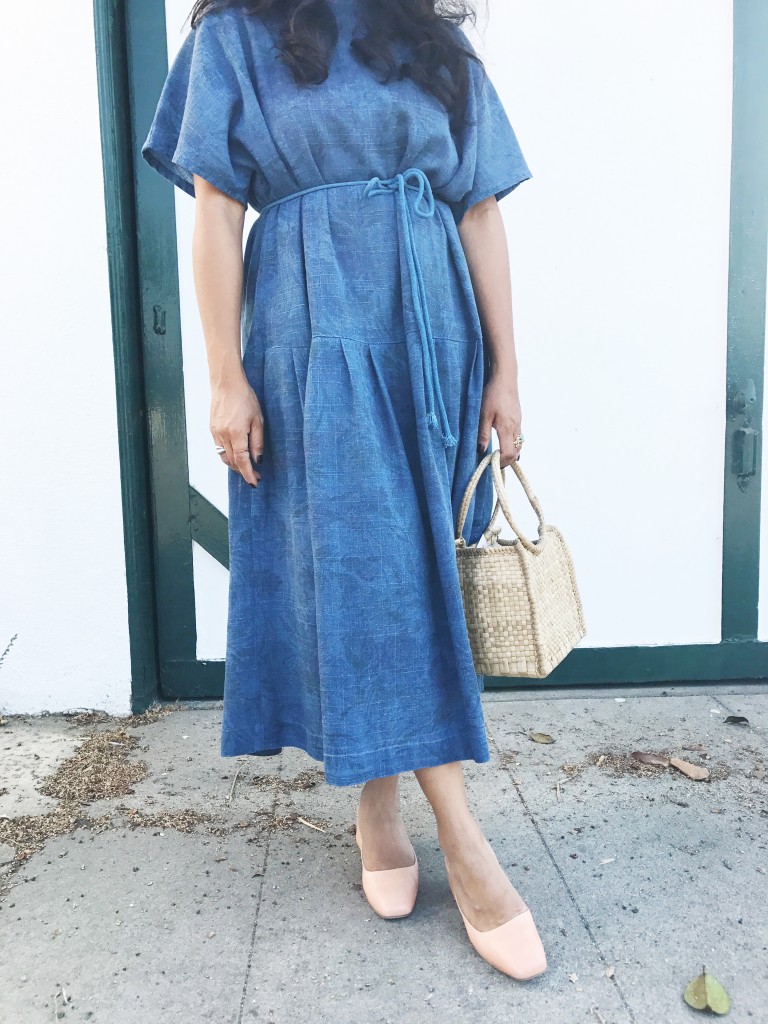
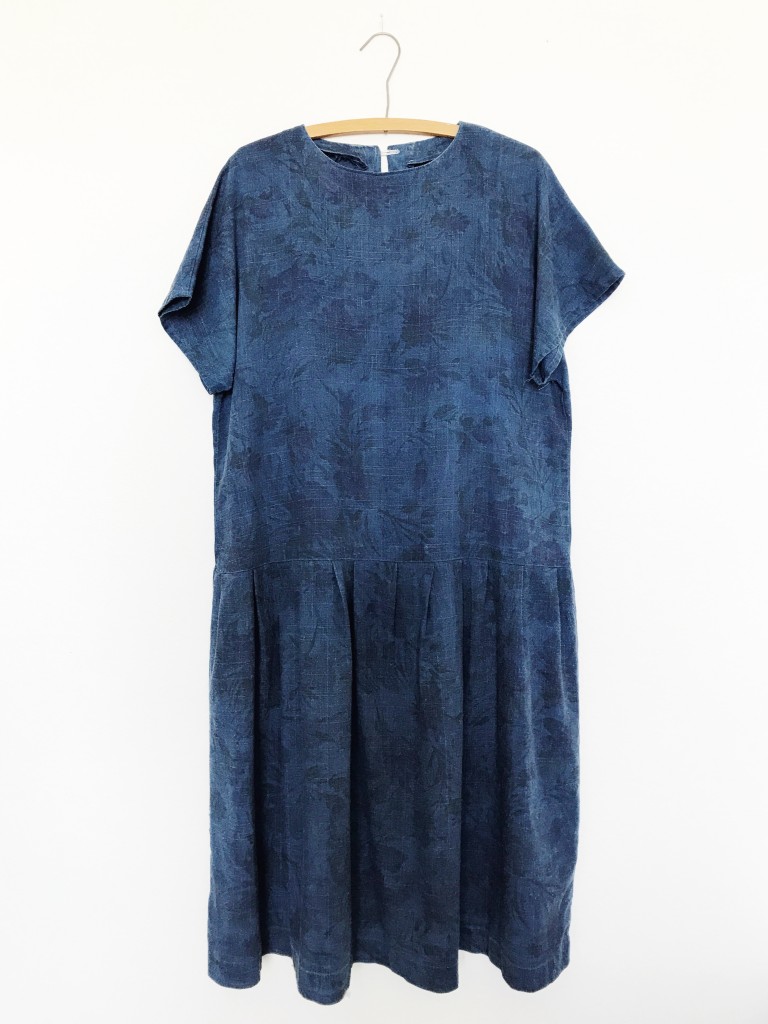 The after is definitely more wearable and much more my style. The fabric has this lovely soft, worn, linen look, but once it was dyed, the pilling on the dress was definitely more evident against the deep indigo. Thankfully, my friend Google came to the rescue, and using a disposable razor, I pretty much shaved off most of the pilling. The dress is an oversized drop waist style, but tying a piece of indigo-dyed cotton rope around the waist, gives it a little bit more shape. It is now the dress that I envisioned when I came upon it amidst other cast offs at the thrift store.
Indigo dyeing may sound intimidating, but it’s quite simple. This is the indigo dye kit that I used and it was enough to dye several pieces for myself and the girls. Dyeing is an easy way to freshen up your wardrobe without spending too much. Sometimes, changing up the color is all you need!
what i’m wearing: altered dress, thrifted. shoes, loq. basket, wovenfolk.
DIY butterfly costume
September 21, 2017
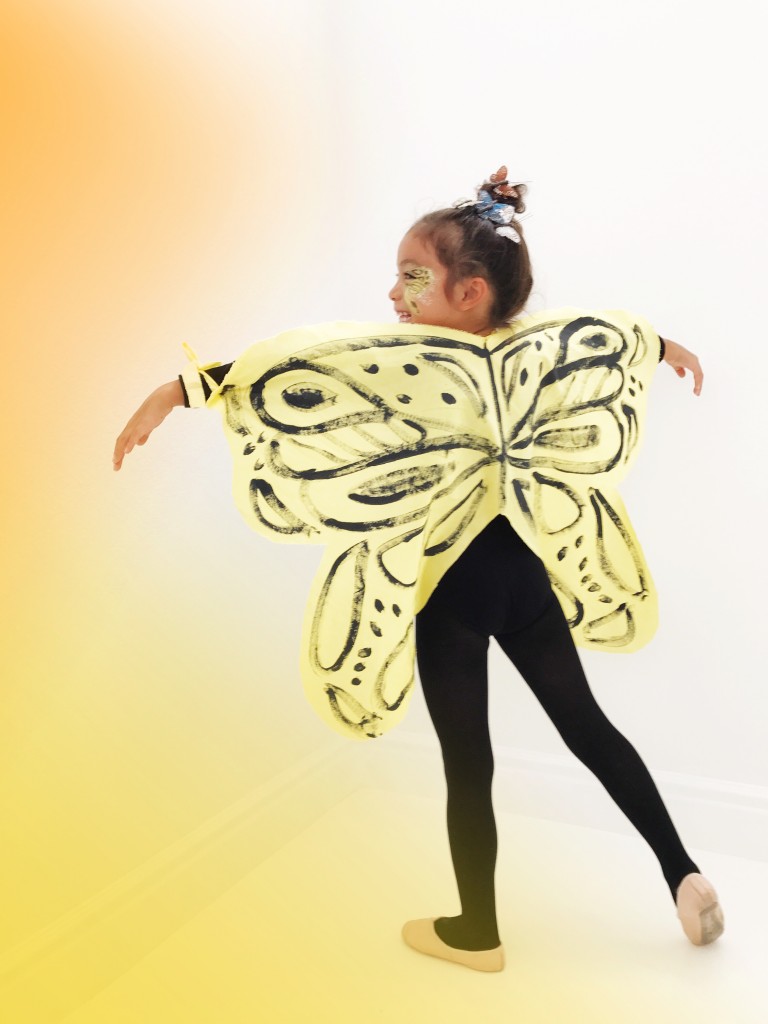
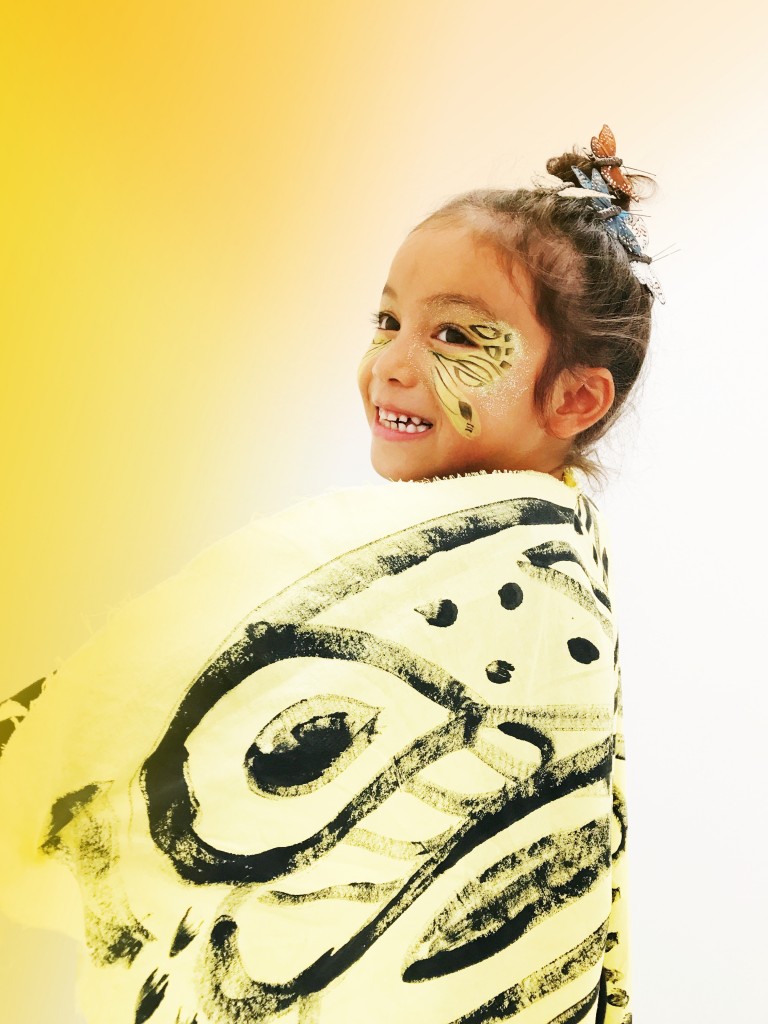
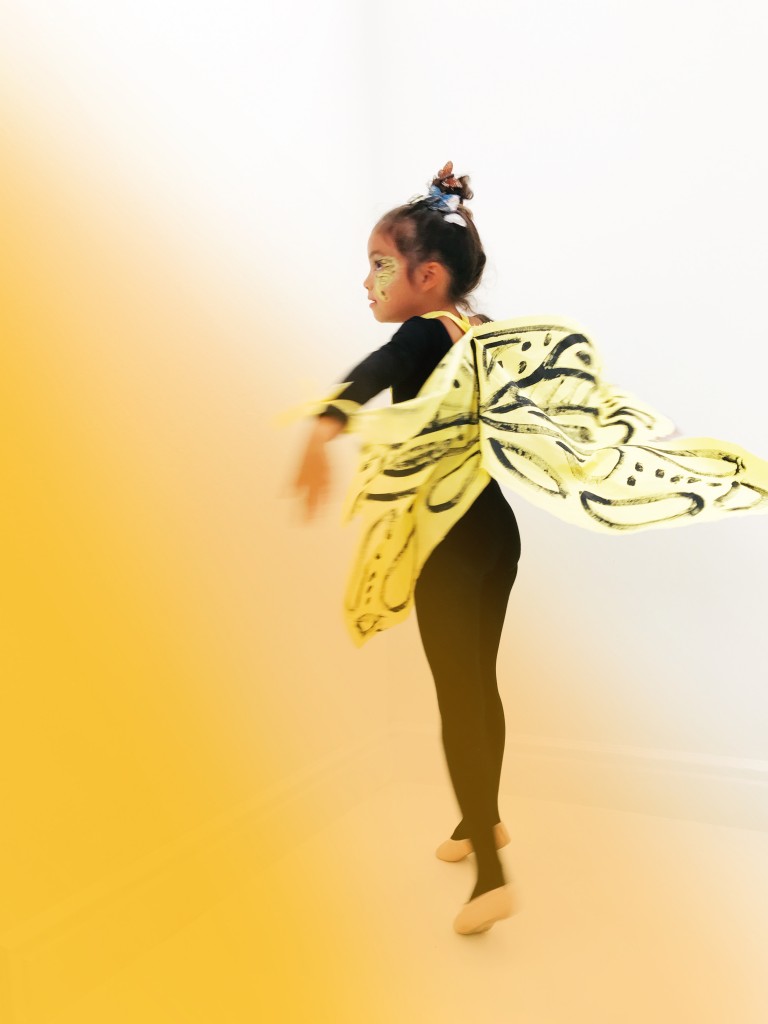 You have Halloween figured out yet? My girls knew what they wanted to be months ago and we’ve been working hard lately gathering things to bring their ideas to fruition. If you have a little one that wants to be a butterfly, then you’ll want to see my newest project on the Babiekins blog. Not only are these wings super fun for Halloween, but will definitely get many hours of imaginative play. See the simple step-by-step here.
birthday shapes dress
September 18, 2017
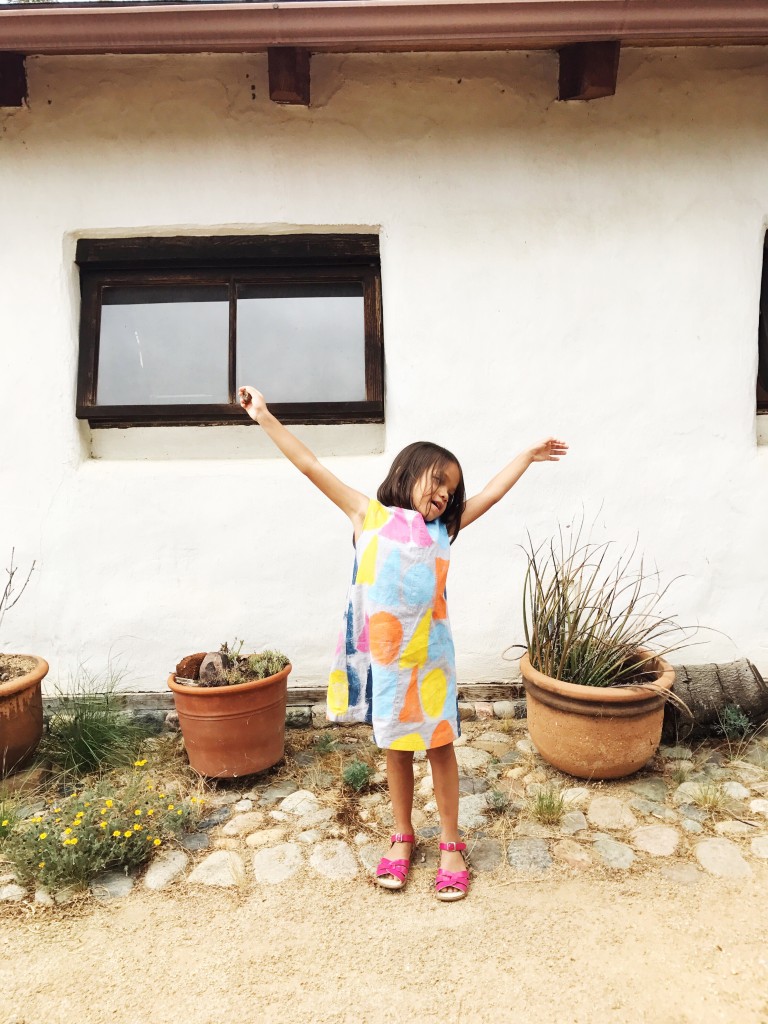
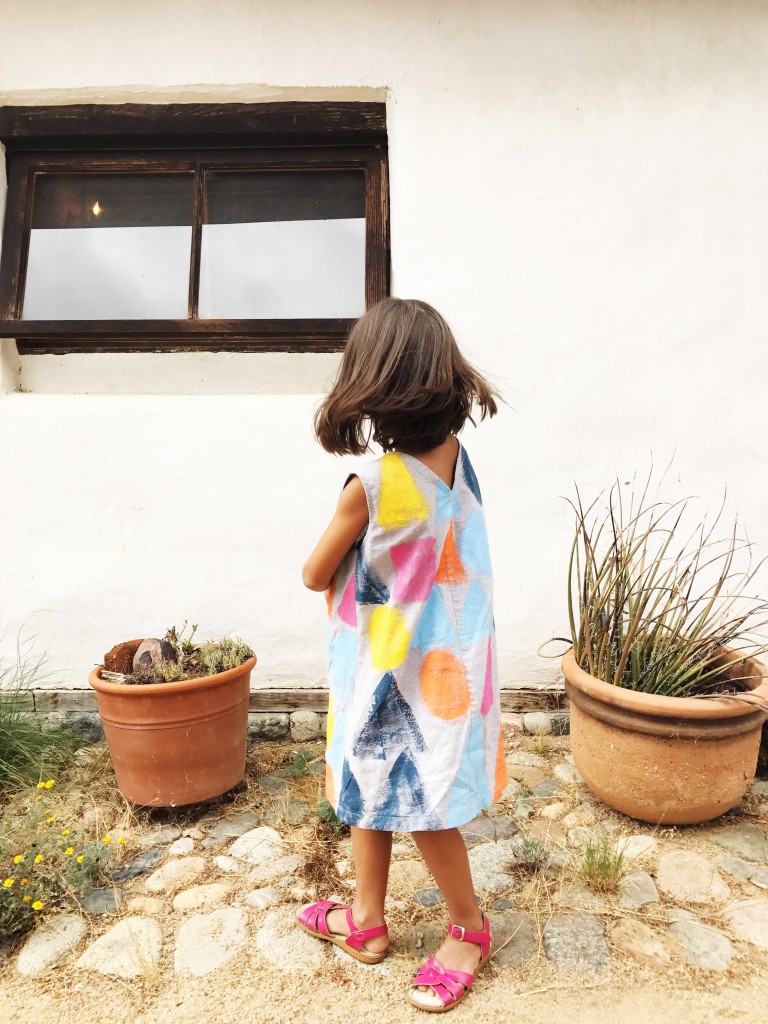
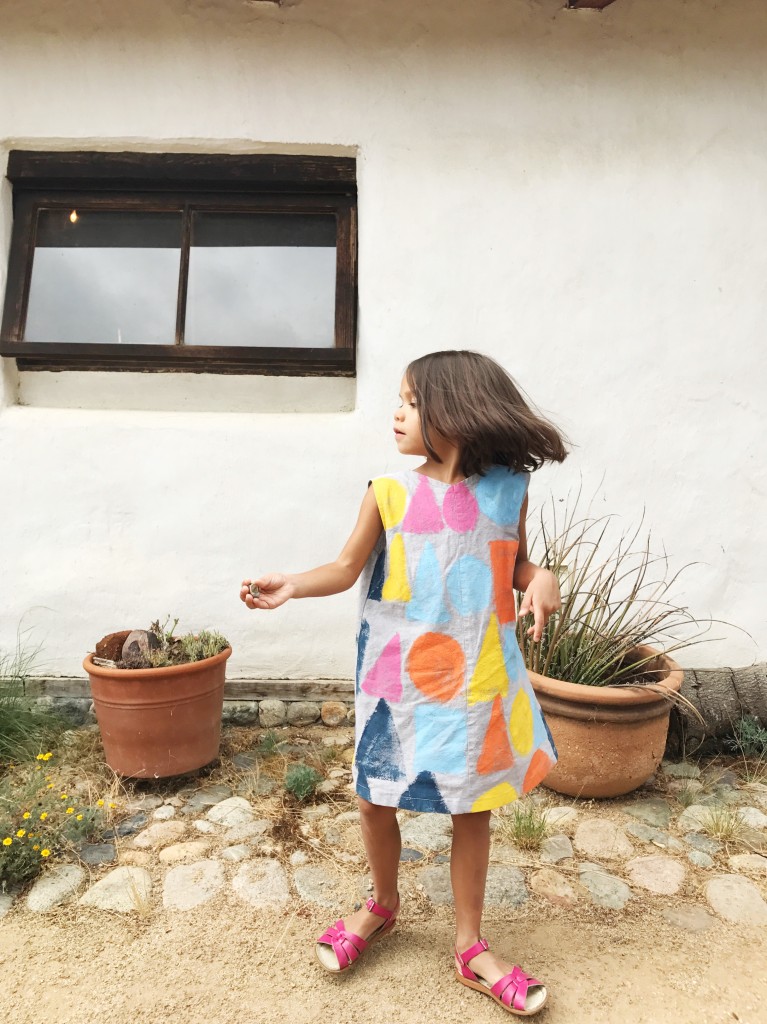
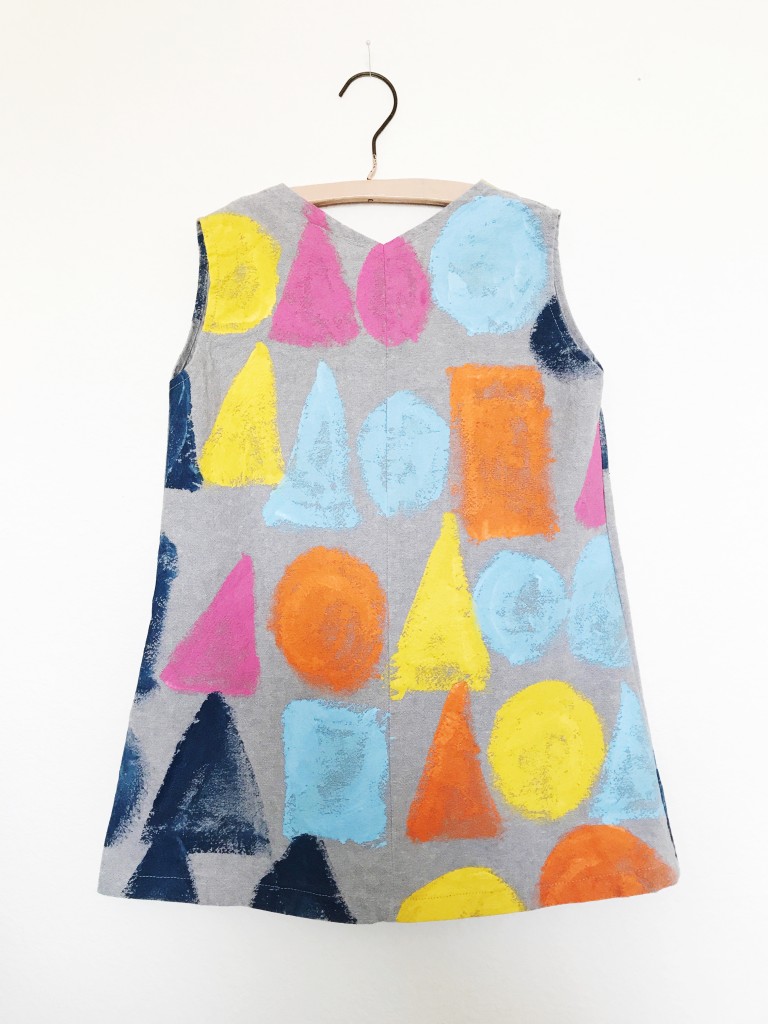 Since Glow requested a “shape” birthday, I made her a shape dress. I had no clue what kind of dress to make her, so as I turned to Pinterest for inspiration, I came across this dress I pinned long ago, and knew my own version of that would be perfect. I used the fabric from this dress I made a year ago, but never wore much, and repurposed it into a birthday dress for Glow. I cut out my dress pieces, hand painted the shapes on with fabric paint, then sewed the dress together. She was quite giddy about all the shapes on the dress, and I even made a little bigger for her, so that she has plenty of time to where it.
Here’s a little peek at her birthday celebration, but will be sure to share a full post later this week.
