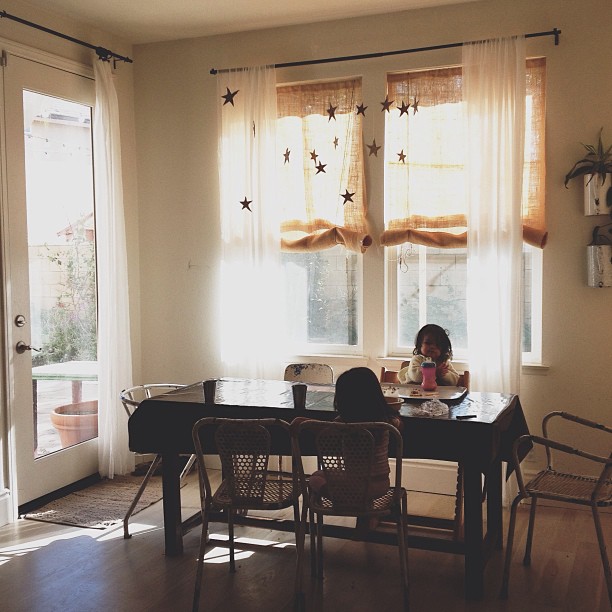
 Some of you have asked about how we made the stars seen hanging in this video, so here’s a quick how to…
Supplies:
Oven baked clay
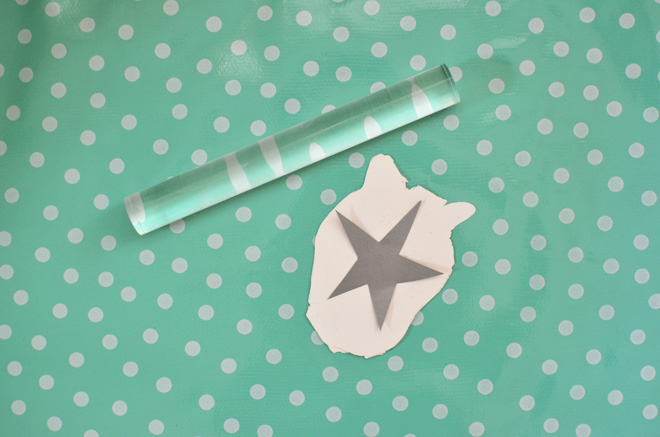
Rolling pin
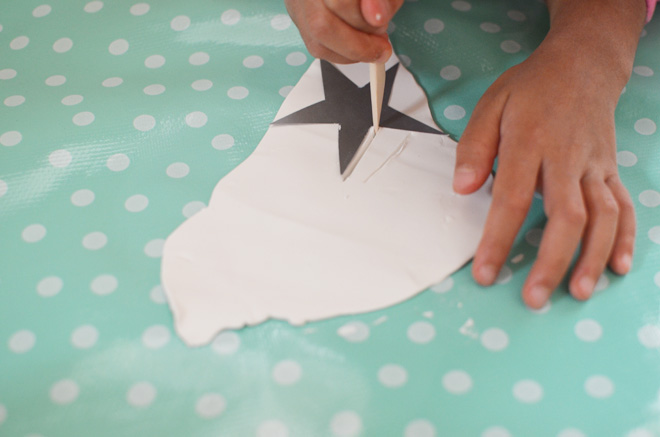
Sharp edge for cutting the clay (we had some special clay tools, but you can just as easily use things you already have around the house)
Glitter glue
Gold glitter
Star shapes from cardboard (you’ll need to draw out a star and cut it out)
String
Directions:
1. Roll out the clay to about 1/4″ thickness.
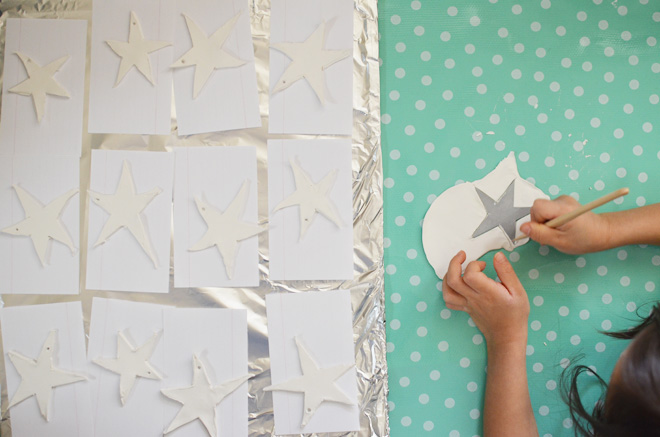
2. Using your star template, cut around.
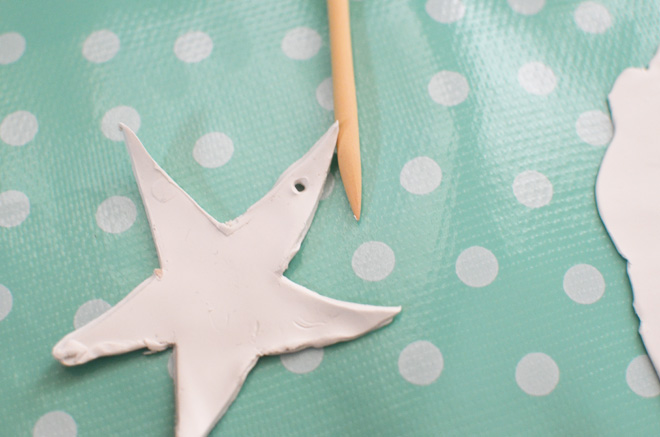
3. Poke a tiny hole at the top of your star.
4. Follow the directions on the box on how to harden clay. Ours went in the oven for about 15 minutes at 250 degrees F.
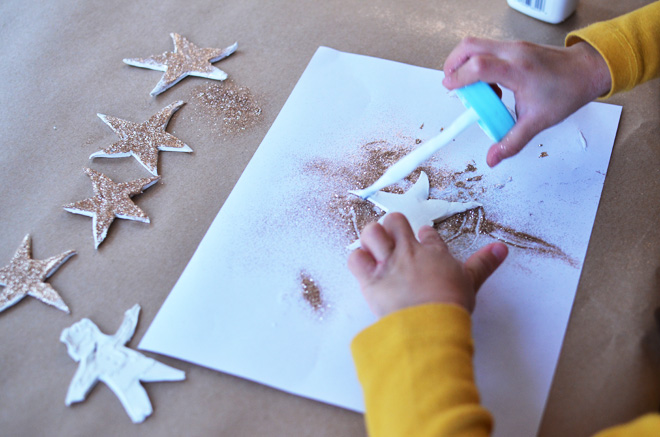
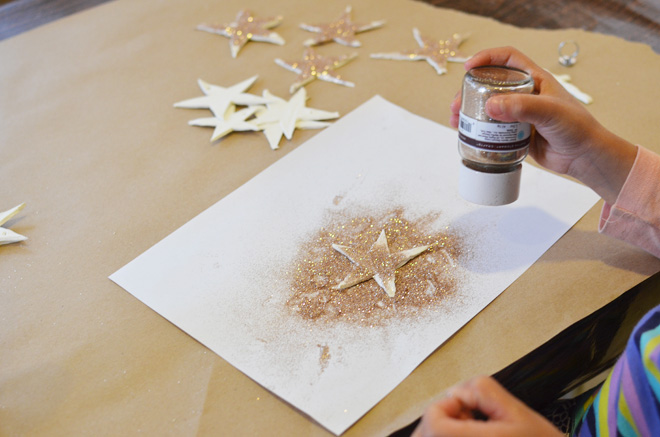
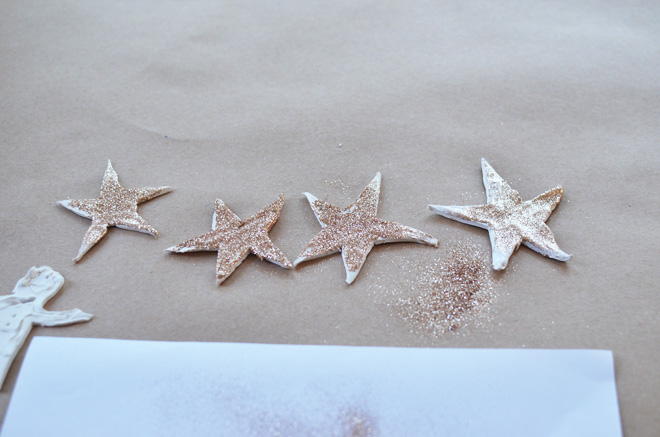
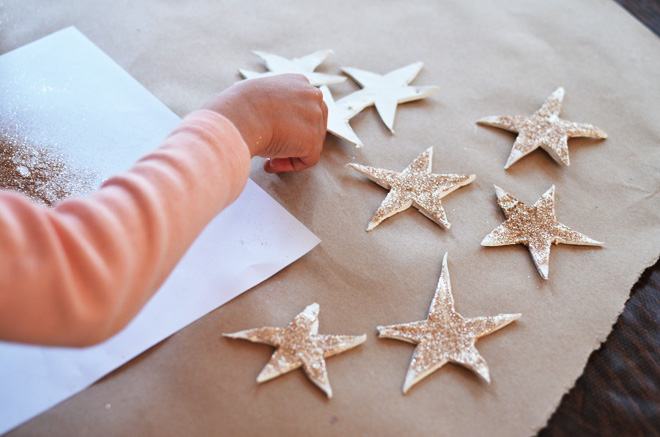
5. Spread glitter glue on one side and sprinkle with glitter. Allow to dry completely and repeat for the other side.
6. String them up somewhere pretty.
It’s the one holiday thing we plan to keep up a little bit longer because we all like seeing the stars dangling from the ceiling. Also, beware… if you do this, you will find glitter all over your floor for weeks! Kids working with glitter means it gets everywhere!!!
*bottom photo is from my instagram @rubyellenbratcher.






Oh gosh, so simple but so pretty. thank you for sharing xx
How pretty!!! I would love to make these!!
Thank you SO much! I can’t wait to make some! btw: we just made the tent you shared a DIY for a while back and LOVE it! MERCI, MERCI MERCI!
thats so cool.. could do it with different shapes also x
Thank you for sharing how to make these I LOVED this image from your instagram, and can’t wait to make some with my littles!
These would make a great mobile for my baby boys nursery.
We’ve made also last year & reused them this year…so lovely !
so cute! i want to to make these stars! think we’ll do this today.