Supplies:
Simple Dowel Christmas Tree diagram
12″ x 12″ x 1″ wooden board (I bought a 24″ x 12″ 1″ wooden plank and sawed it in half)
1″ x 48″ poplar dowel
4 – 3/8″ x 48″ poplar dowels
Handsaw
Drill
1″ bit
3/8″ bit
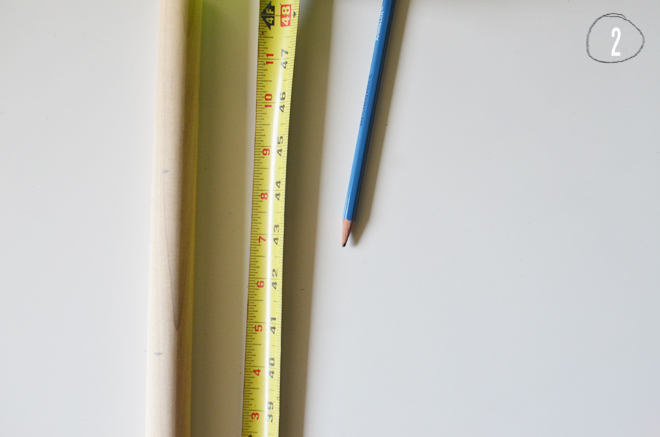
Measuring tape
Pencil
Sandpaper (optional)
Wood glue (optional)


 Directions:
1. Measure and mark the center of your wooden base. Using a 1″ drill bit, drill a hole in the center of the wooden base (drill all the way through the board). Note: I bought a 24″ x 12″ x 1″ wooden plank and cut that in half to get the size I needed for my wooden base.
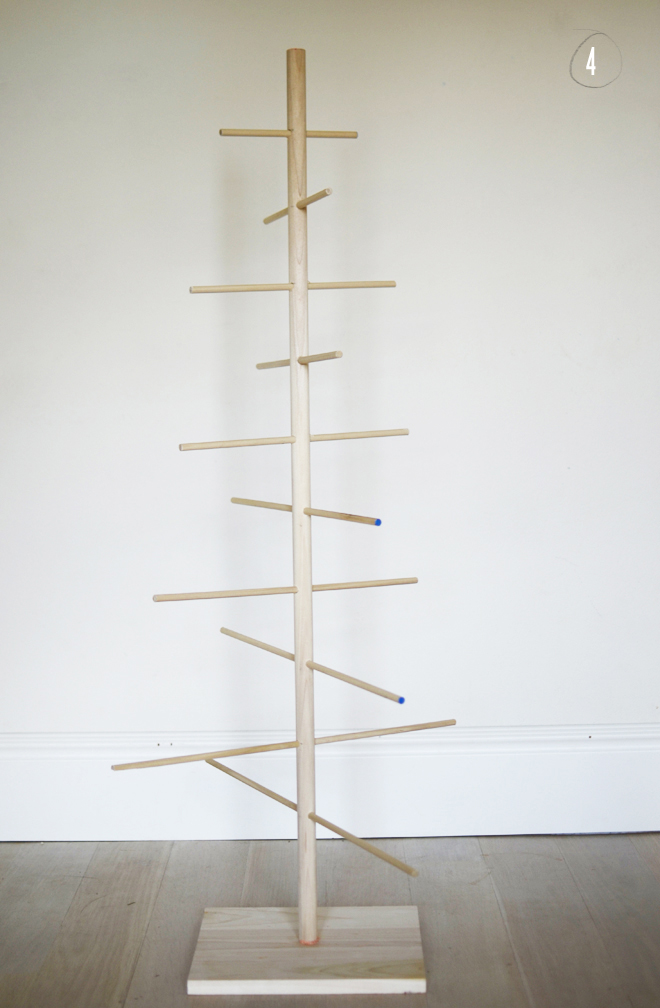
2. Measure and mark the holes for your 1″ x 48″ dowel; this is the main “trunk” of the tree. Starting 4″ from the top, mark your top hole, then proceed to mark the remaining 9 holes every 4″ apart, while at the same time, moving your hole 90 degrees from the previous hole, so that alternating dowels would go in opposite directions (see diagram). There will be 10 dowel slots total with the last hole 8″ from the bottom of the 1″ x 48″ dowel. Once you have all your holes measured, using the 3/8″ drill bit, drill a hole on each mark all the way through the dowel.
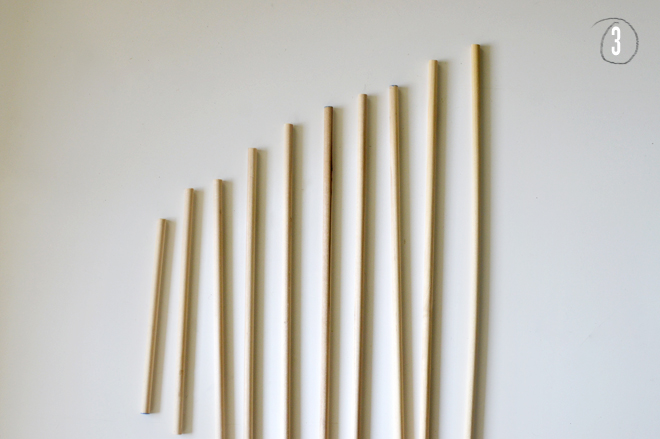
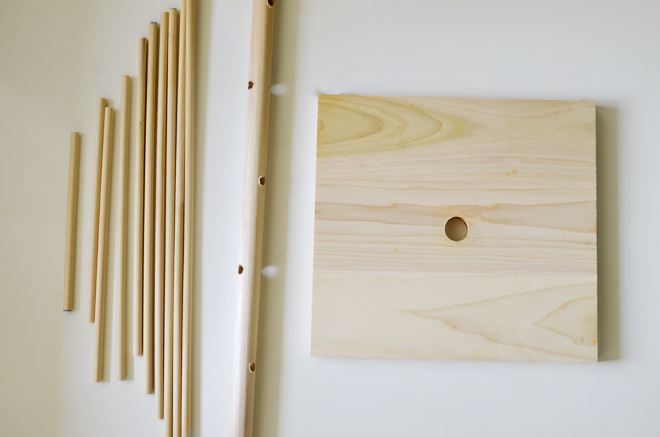
3. Measure and cut the four 3/8″ x 48″dowels to these lengths: 8″, 10″, 12″, 13″, 14″, 16″, 18″, 20″, 22″, and 24″. There will be a couple excess pieces, which you can toss or save for another project! If any of your cuts come out a little rough, lightly sandpaper them.
4. Insert the 48″ dowel into the hole in the wooden base, then proceed to insert the remaining dowels into the slots with the shortest length at the top continuing to the longest length through the bottom hole. Note: My dowel fit pretty snug into the wooden base, but if you need to (or would like to) add some wood glue to join the two pieces together to stabilize (or add a strip of washi tape to the bottom of the dowel, so that it fits into the hole snuggly). The diagram will help clarify the steps, so be sure to use that as a guide when making your tree.
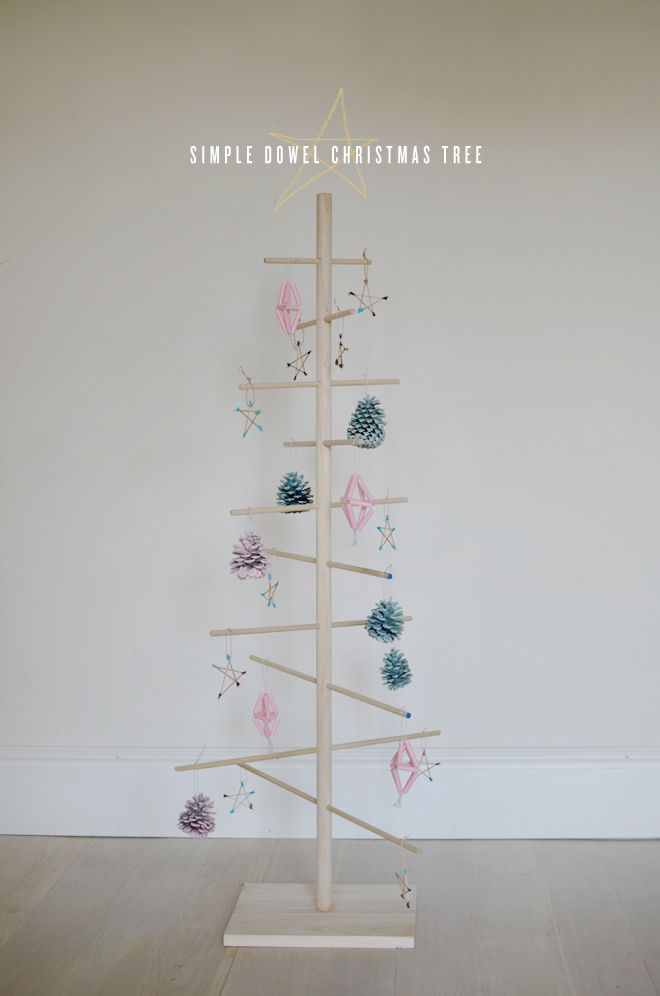
There you have it, a simple dowel Christmas tree! Make some decorations and hang them up on your creation…
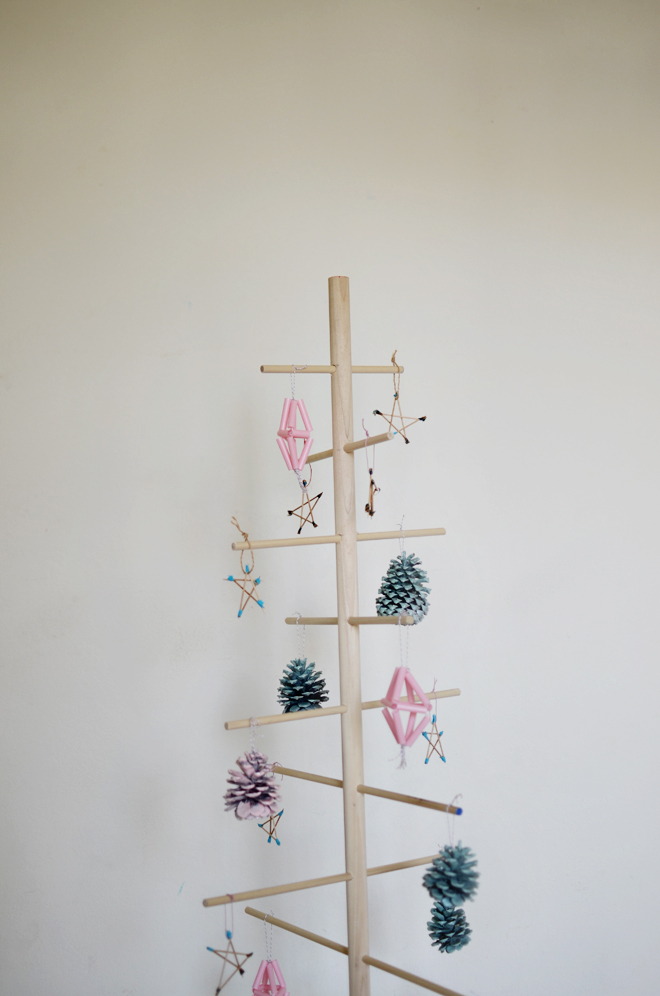
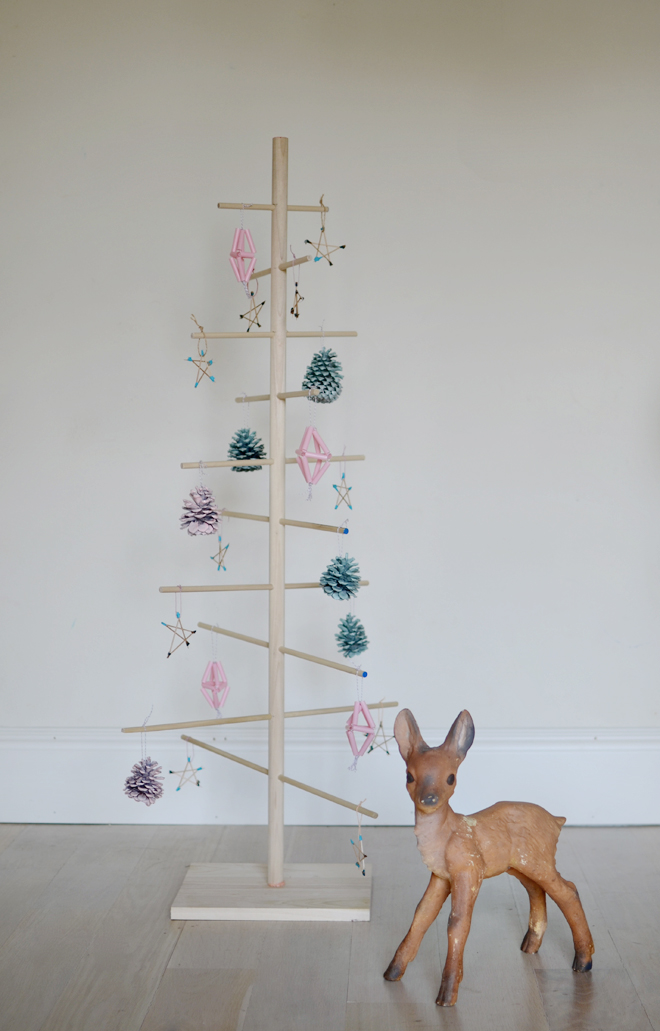 Full disclosure: I’m no Rachel Denbow, so while Ben has taught me how to use the saw and drill, I save that job for him. I measured and marked everything, handed it to him, and he did the sawing and drilling (friends, make sure to always use safety first when dealing with those dangerous tools!). The entire project was done in 30 minutes and it took us longer to make the ornaments (see them here and I followed Rachel’s tutorial for the straw himmeli). You could definitely add more dowels to make the tree fuller. This would even be great to have in a classroom; I think it would be fun to display classroom ornaments on it! Or maybe make it for a kid room! It’s an easy tree to put together (and take apart) and it’s not too fancy, so it will be easy to store. You can even get fancy and paint yours fun colors! I really love our little wooden tree so much…
P.S. This isn’t our “main” tree, but I was tempted to have this take its place. It’s sitting in a corner of our family room to add more holiday cheer.






i LOVE this! my only concern was that i’d have to store it this way. now that i read that you plan to take it apart (duh!) i am sold!! thank you so much for this awesome idea!! could be cute with all the dowels in a line for a compact skinny tree too…or a small tabletop version…
haha, i love your disclosure. that rachel denbow is a power tool using rock star.
thanks for this awesome tutorial!
I was planning on buying a tree when they are on sale after christmas, but we just might make this instead!
ps you are a rock star as well…
I love it! So simple, yet so cute!
Danielle xo
I just LOVE this idea! I’m not too good with power tools, but if anything is going to make me learn, it’s this!!!!! The little ornaments are adorable too.
Made one of these on whim about 20 years ago to display my painted santa oyster shells. I found a poinsettia garland at Walmart and twisted around center dowel and some battery operated little lights that I twisted around the garland. Used red felt around the base. Had never seen anything like that before. Was a big hit with other vendors wanting to know where I got it.