


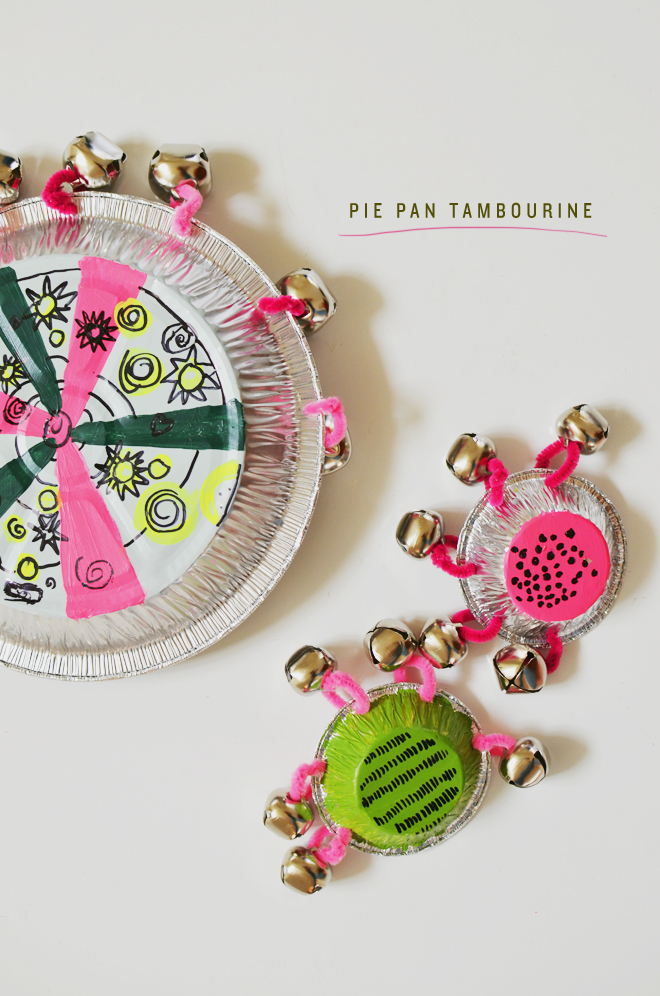
 Pie Pan Tambourine
Supplies:
Pie pan (use whatever size you desire, we did regular and mini)
Paint & paintbrush
Permanent marker
1/8″ hole puncher
Chenille stems cut into 2 1/2″ pieces
1″ – 1 1/8″ bells
Directions:
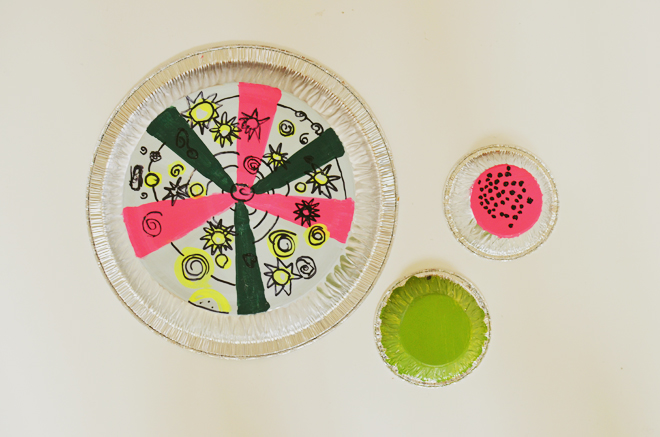
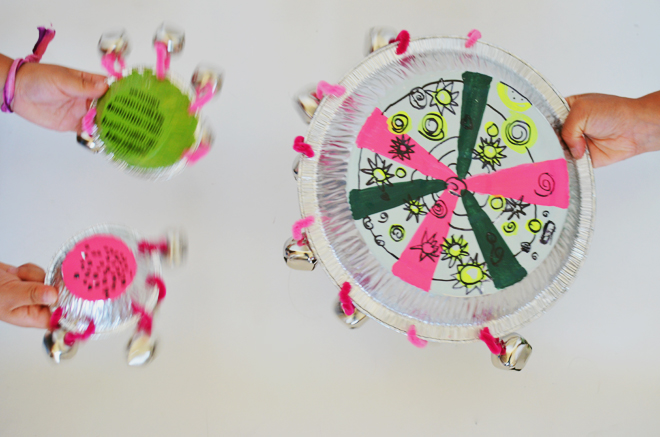
1. Decorate the bottom of the pie pan. We used craft acrylic paint and it took a couple layers, but allow each layer to dry completely before reapplying another coat (it may chip with all the banging, but that just means they are having fun with it). Once the paint is completely dry, draw fun designs on the bottom with a permanent maker.
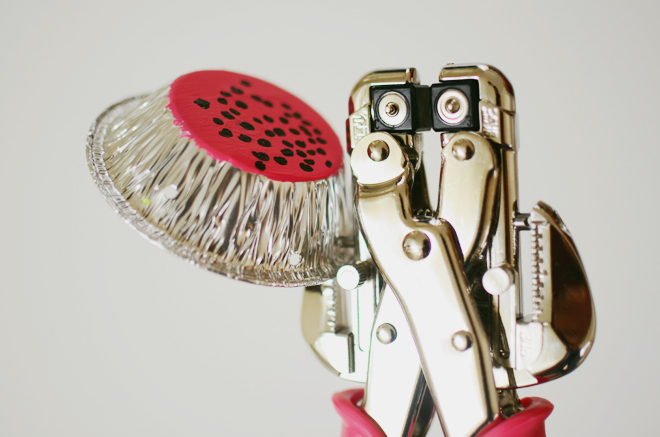
 2. Punch holes about 1/4″ in from the rim, and about 1 1/2″ from each other; create holes about three-fourths around the pie pan.
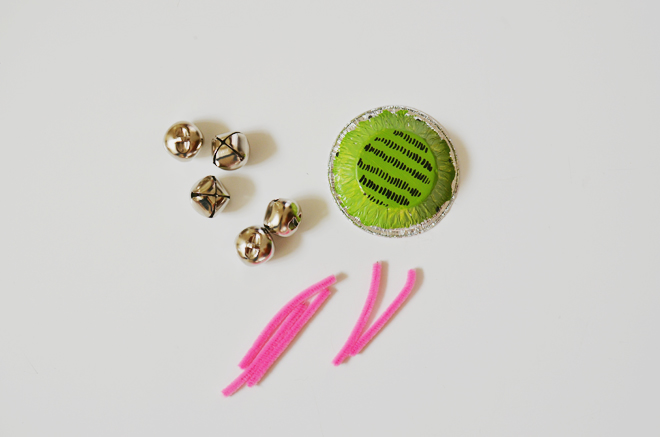 3. Tie a bell to each chenille stem, insert a stem through each hole around the pie rim, and twist the open ends together to close.

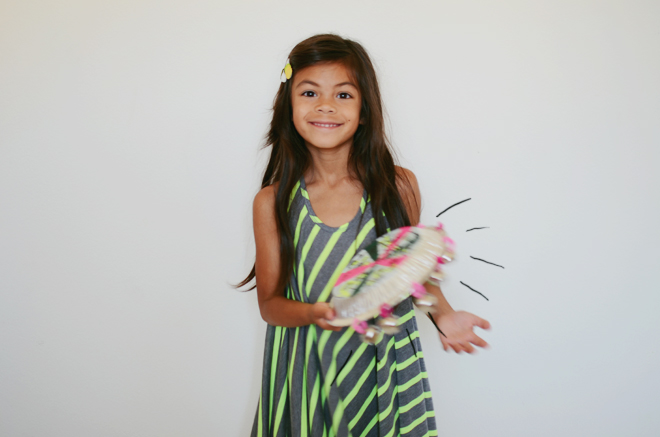
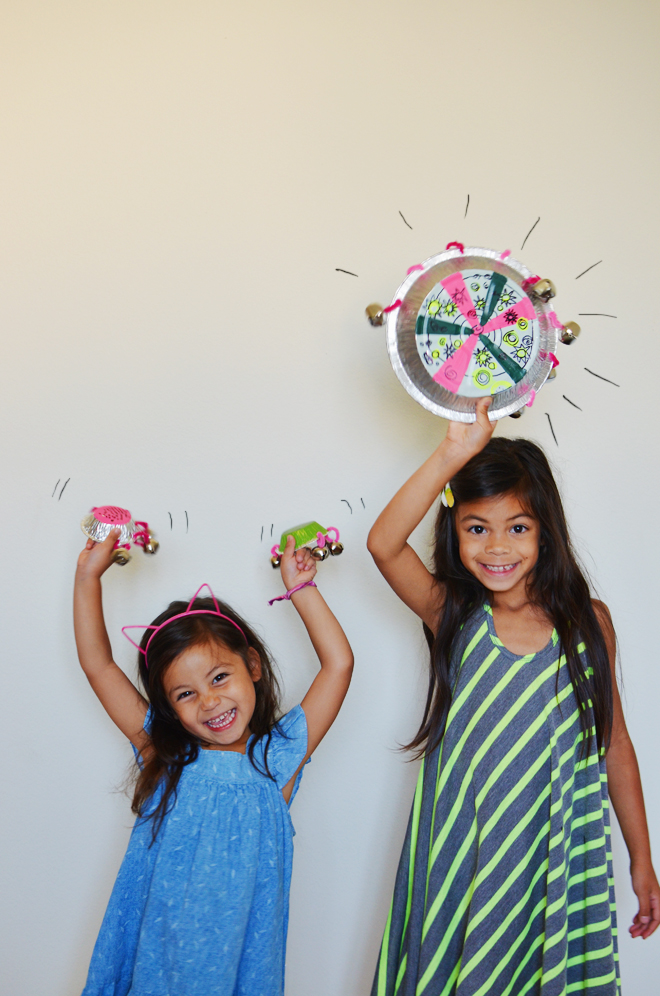 Have fun and make some music! Beware, once the children start, they may not stop. Make a bunch in different sizes and start your very own pie pan tambourine band!
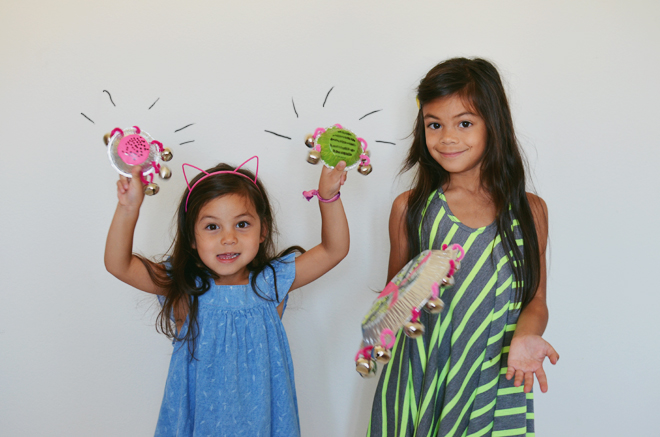
on true: dress, huckleberry kids. tulip clips, hello shiso. on soul: dress, vintage. cat headband, hello shiso.


These are amazing ! Love them!
This is the link to Buckleberry kids
http://buckleberrykids.com/
such a cute idea!
xxoo,
nikki
http://www.dreaminneon.blogspot.com
Oh my gosh, these are so cute! I’ll be featuring this on The Crafty Crow soon 🙂
Hello!
We just featured your “Pie Tin Tambourine” project on our website, Musication.nyc. Here is a link http://musication.nyc/making-musical-instruments-at-home/
We run a music camp and lessons program in Brooklyn, NY and we can’t wait to try this project with our campers.
Thank you so much for your beautiful blog and all of the inspiration it provides.
Best,
Darcy