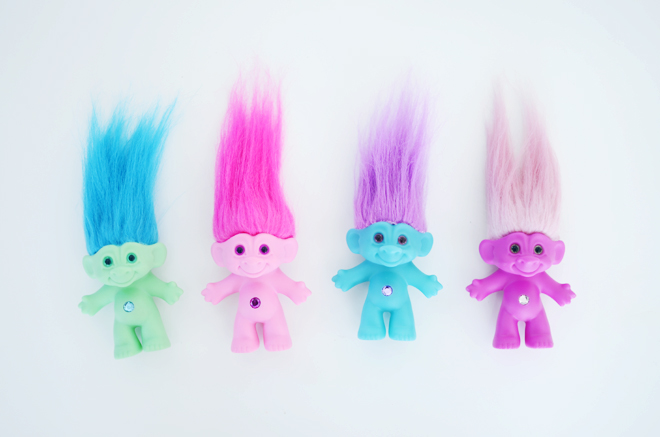
 Trolls are back! Anyone remember those from the ’90s? I had a teeny one, but I remember my cousin had a ton of them. I would go over to her house and play with them. I told my BFF that trolls were back, and she was all, “What?!!” She was a troll fanatic. She told me all about all the different ways she would fix her troll doll hair, she even had trolls of all different sizes, some as large as her forearm. Now, those giant ones aren’t back, but these teeny ones can be can be found at Target, and I knew my girls would have a lot of fun with this quirky dolls. Strange and weird… they are all about it.
My sister called one afternoon and she said, “What are you doing?” My reply, “Playing with trolls.” She busted out laughing and said, “Oh mom life.” Since the BFF had told me about all the different hairstyles she used to create, we wanted to try them out, then we tried mimicking those hairstyles on the girls too.
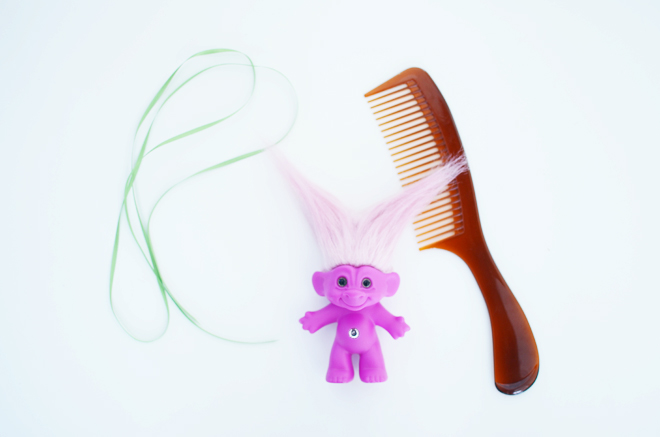
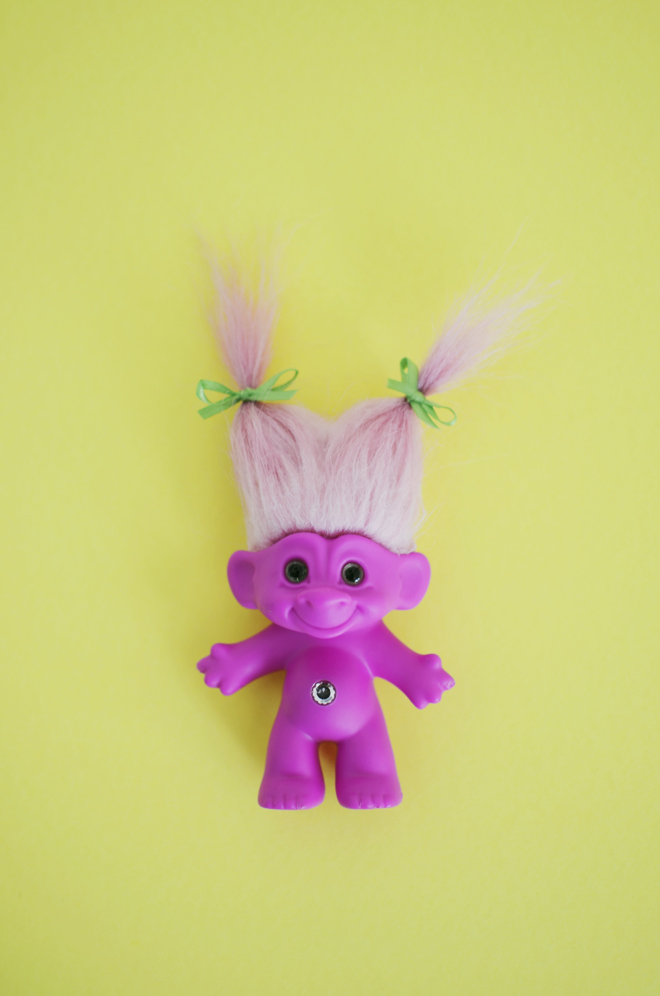 Meet Pinkie. We gave her pigtails. Just part her hair down the middle and tie the ends with some ribbon.

 To match Glow’s hair to her troll, we parted her hair down the middle and separated it into two sections. We majorly teased (tease, tease, and tease some more) one section at a time, then tied the ends with ribbons. True did all the ribbon tying because my hands have trouble with those tiny things.
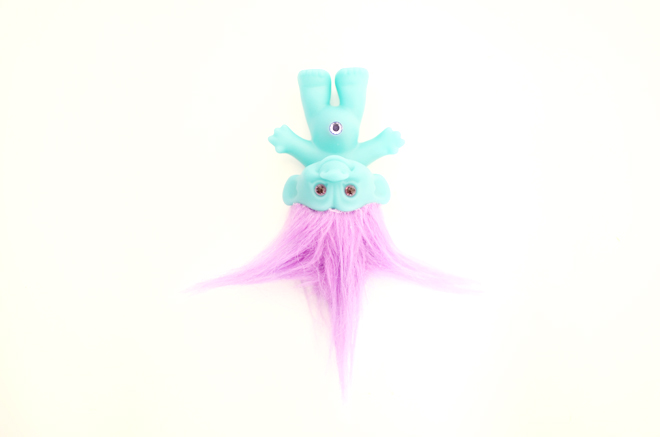
 Meet Candy Cane. We split her hair in three and braided it up upward, and twisted the end to set the braid in place.

 To match Soul’s hair to her Candy Cane, we separated her hair in three sections, and did some serious teasing with each section (starting from the top and working our way down), then we braided her hair upward. Twist the ends together and add a bit of gel (or mouse) to keep the end in place.
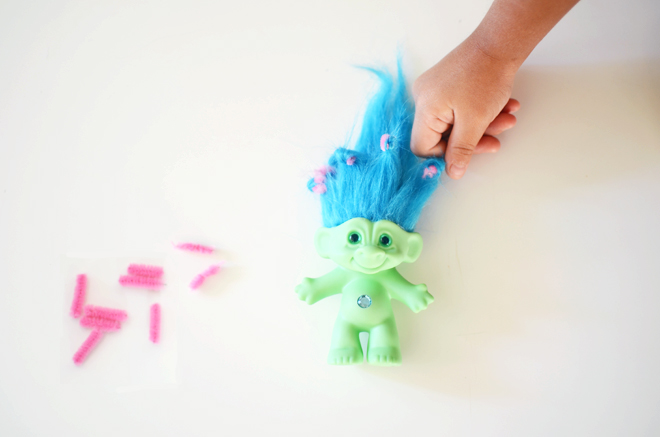
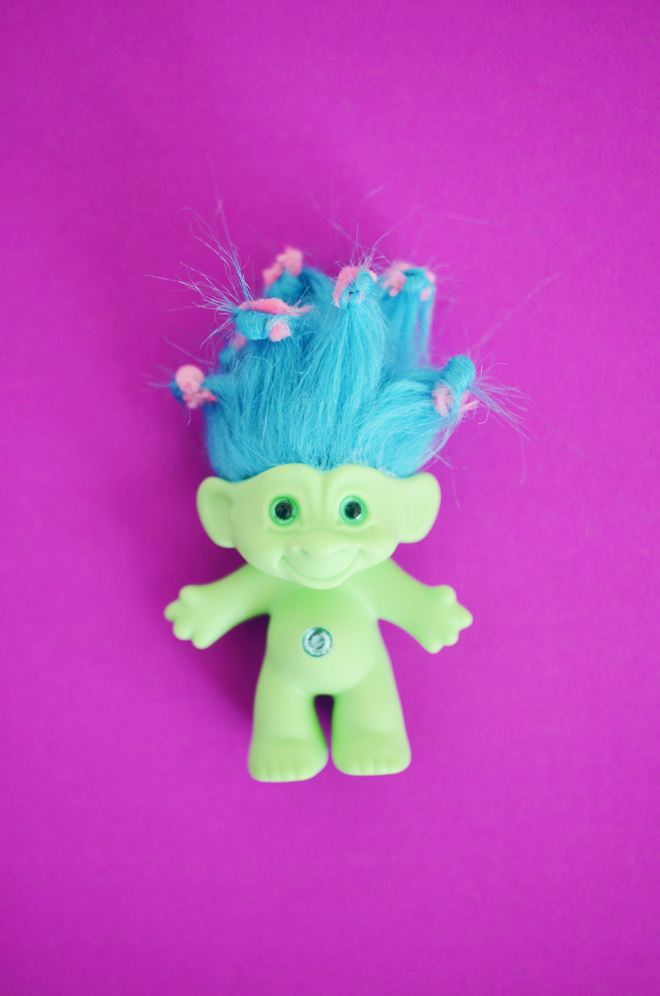 Meet Chill. Chenille stems (or pipe cleaners) are needed for this technique. Cut out 7 pieces and each about 3/4″ long. The tiny pieces become tiny rollers, we used pink because it was similar to the pink foam rollers we have. We separated the hair into 7 small sections, twisted each section, then rolled it onto the piece of chenille stem. Once it was rolled, we folded the stem in half to keep the curl in place.

 To match Brave’s hair to her troll Chill, we did an all over tease, then separated her hair into 7 sections and rolled them with pink foam curlers. She loved it so much she kept them on all day and even went to sleep with her rollers on.
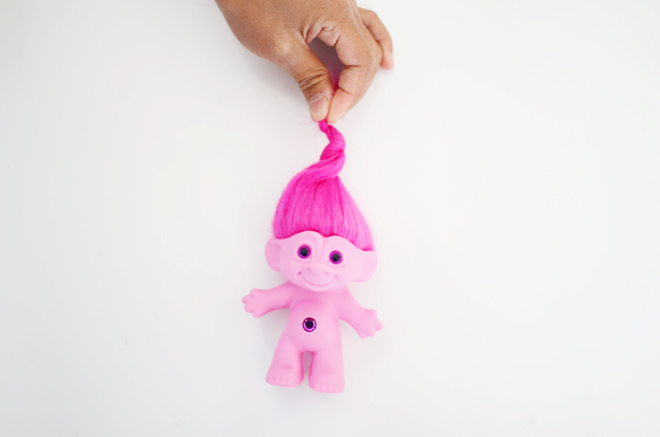
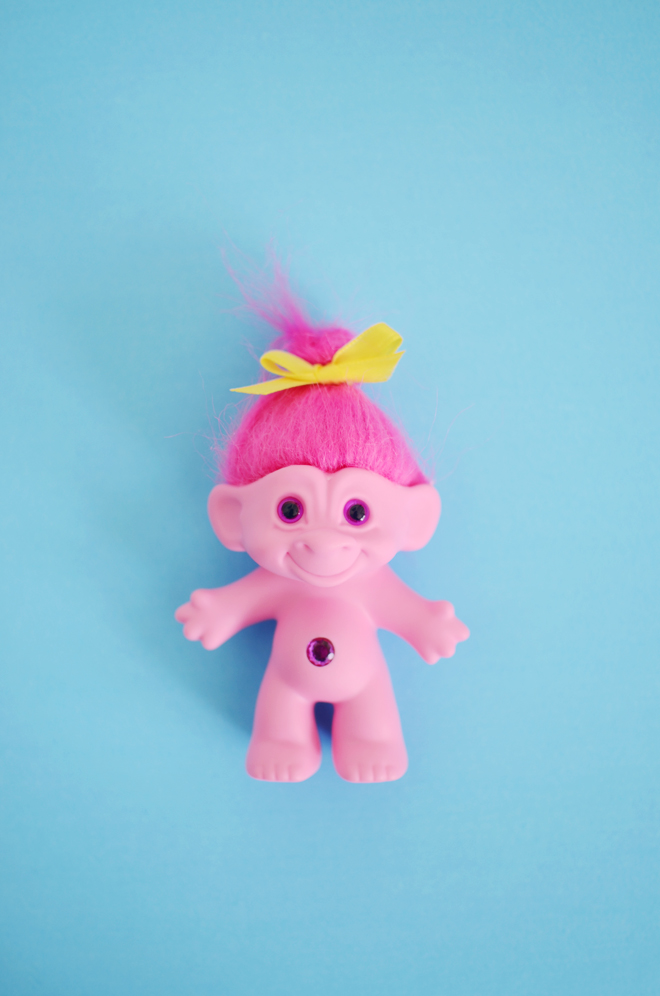 Meet Rock ‘n’ Roll. To create her sweet bun, simple twist and knot the end together. Then, add a bright ribbon to keep in place.
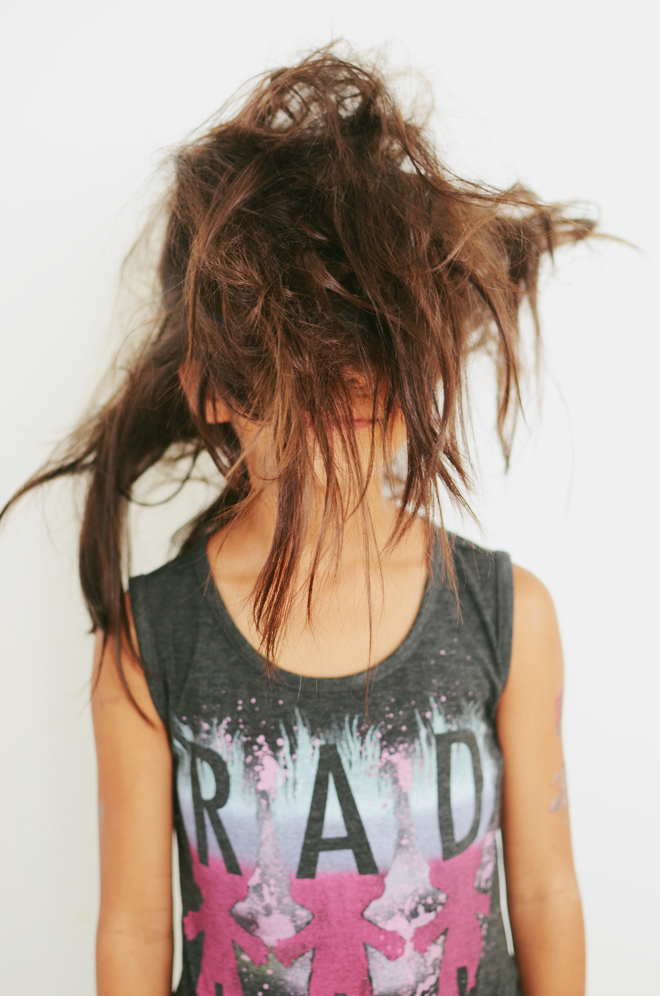
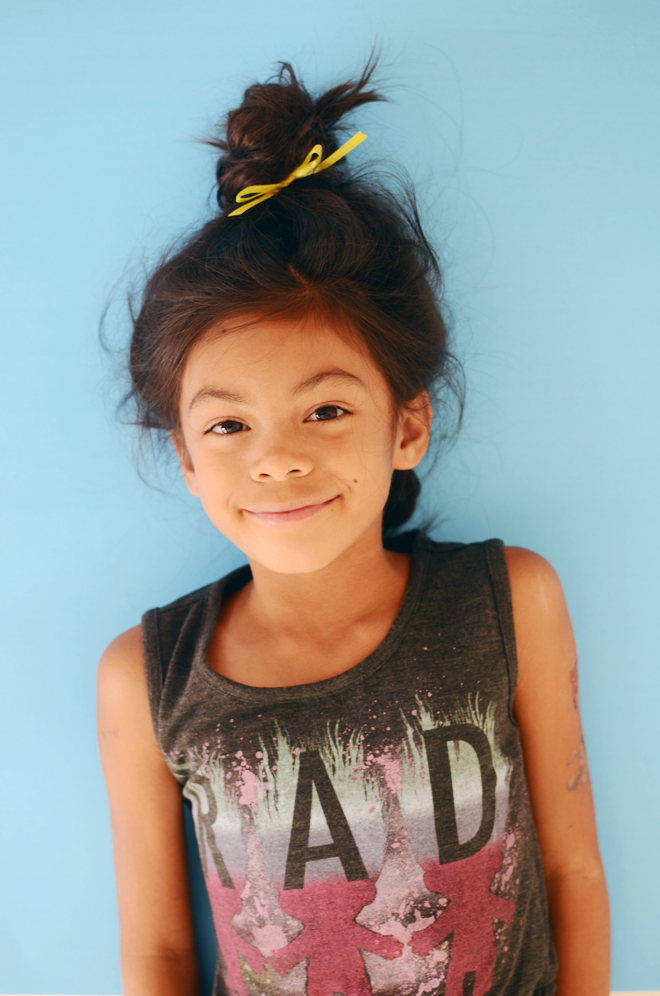 To match True to her Rock ‘n’ Roll troll, of course we had to do the teasing to get that crazy hair, then we simple gathered it all on top of her head, twisted it into a bun, and topped it off with a ribbon to match her troll.

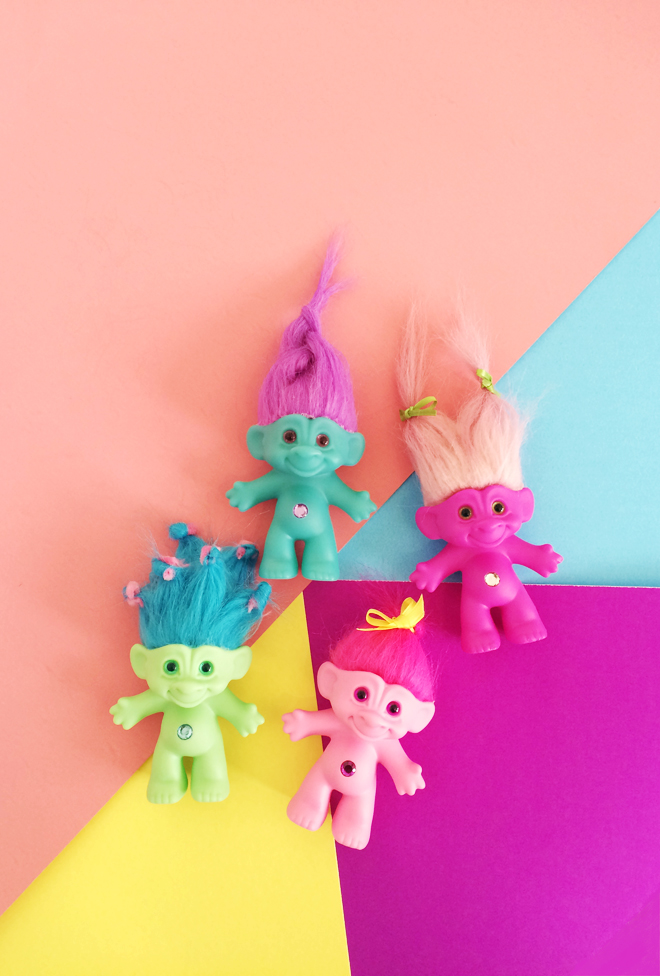 The girls were laughing and giggling about how crazy their hair was. They kept playing salon the rest of the afternoon, and then with all their do’s (my girls and the trolls), the played restaurant. It’s fun to see my girls playing with toys I have fond memories of as a child. I’m sure they would make their troll lovin’ Auntie Linda proud too.
The key to getting that crazy hair is in all the teasing, but the key to getting their hair back to normal is in the spray-in conditioner and a wide tooth comb. And yes, my girls are the ones that came up with the names for all their trolls. I wonder where on earth they get their crazy naming skills fun?! I have no clue. Trolls are such funny little dolls; I knew my girls would get a kick out of them. In fact, Glow brings hers everywhere and she even wanted to make sure to introduce Pinkie to my parents.
on brave & true: crazy hair don’t care shirt and rad troll dress, c/o target. troll dolls are only available in the store.
This post is sponsored by Target. Thank you for the time you take to visit this space and support me and the brands I partner with.


