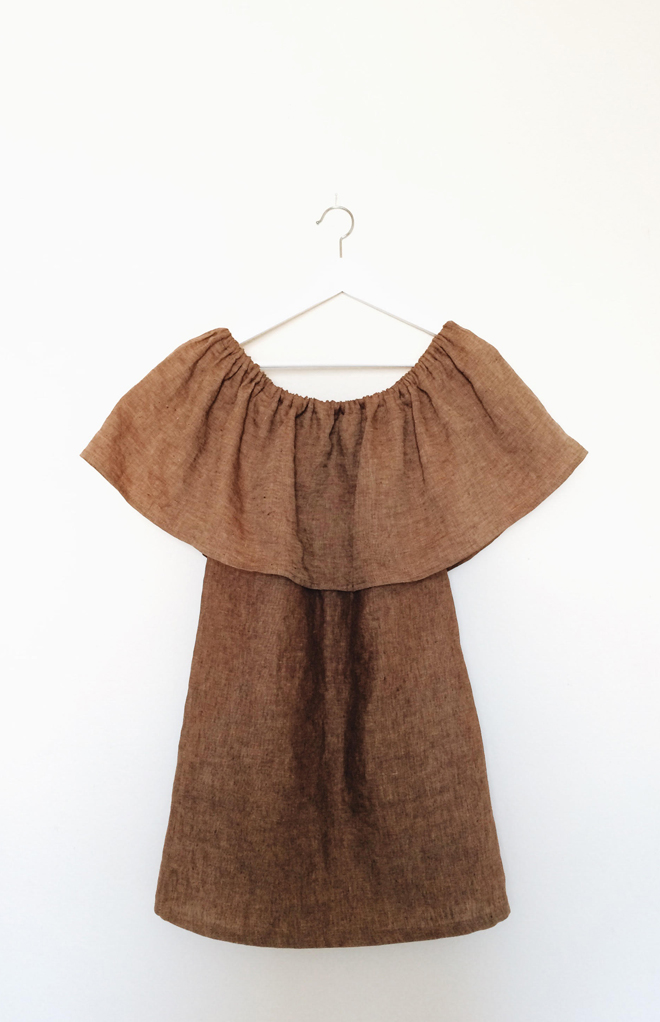
My mother-in-law got me an off-the-shoulder top for Mother’s Day, and I wore it on our most recent road trip. It was perfect for galavanting under the Texas and New Mexico heat, so it got me wondering about making a dress version of it. I remembered this image I pinned several months ago, then I saw this post recently, and it sealed the deal, I was going to make one. I debated between white, chocolate brown, ivory, and red linen fabric, and as you see above, I went with the chocolate brown. The girls call this my Jedi princess outfit. When I was working on it, they thought I was making myself a Jedi costume to match them (see here), so maybe I should have gone with red instead. HA!
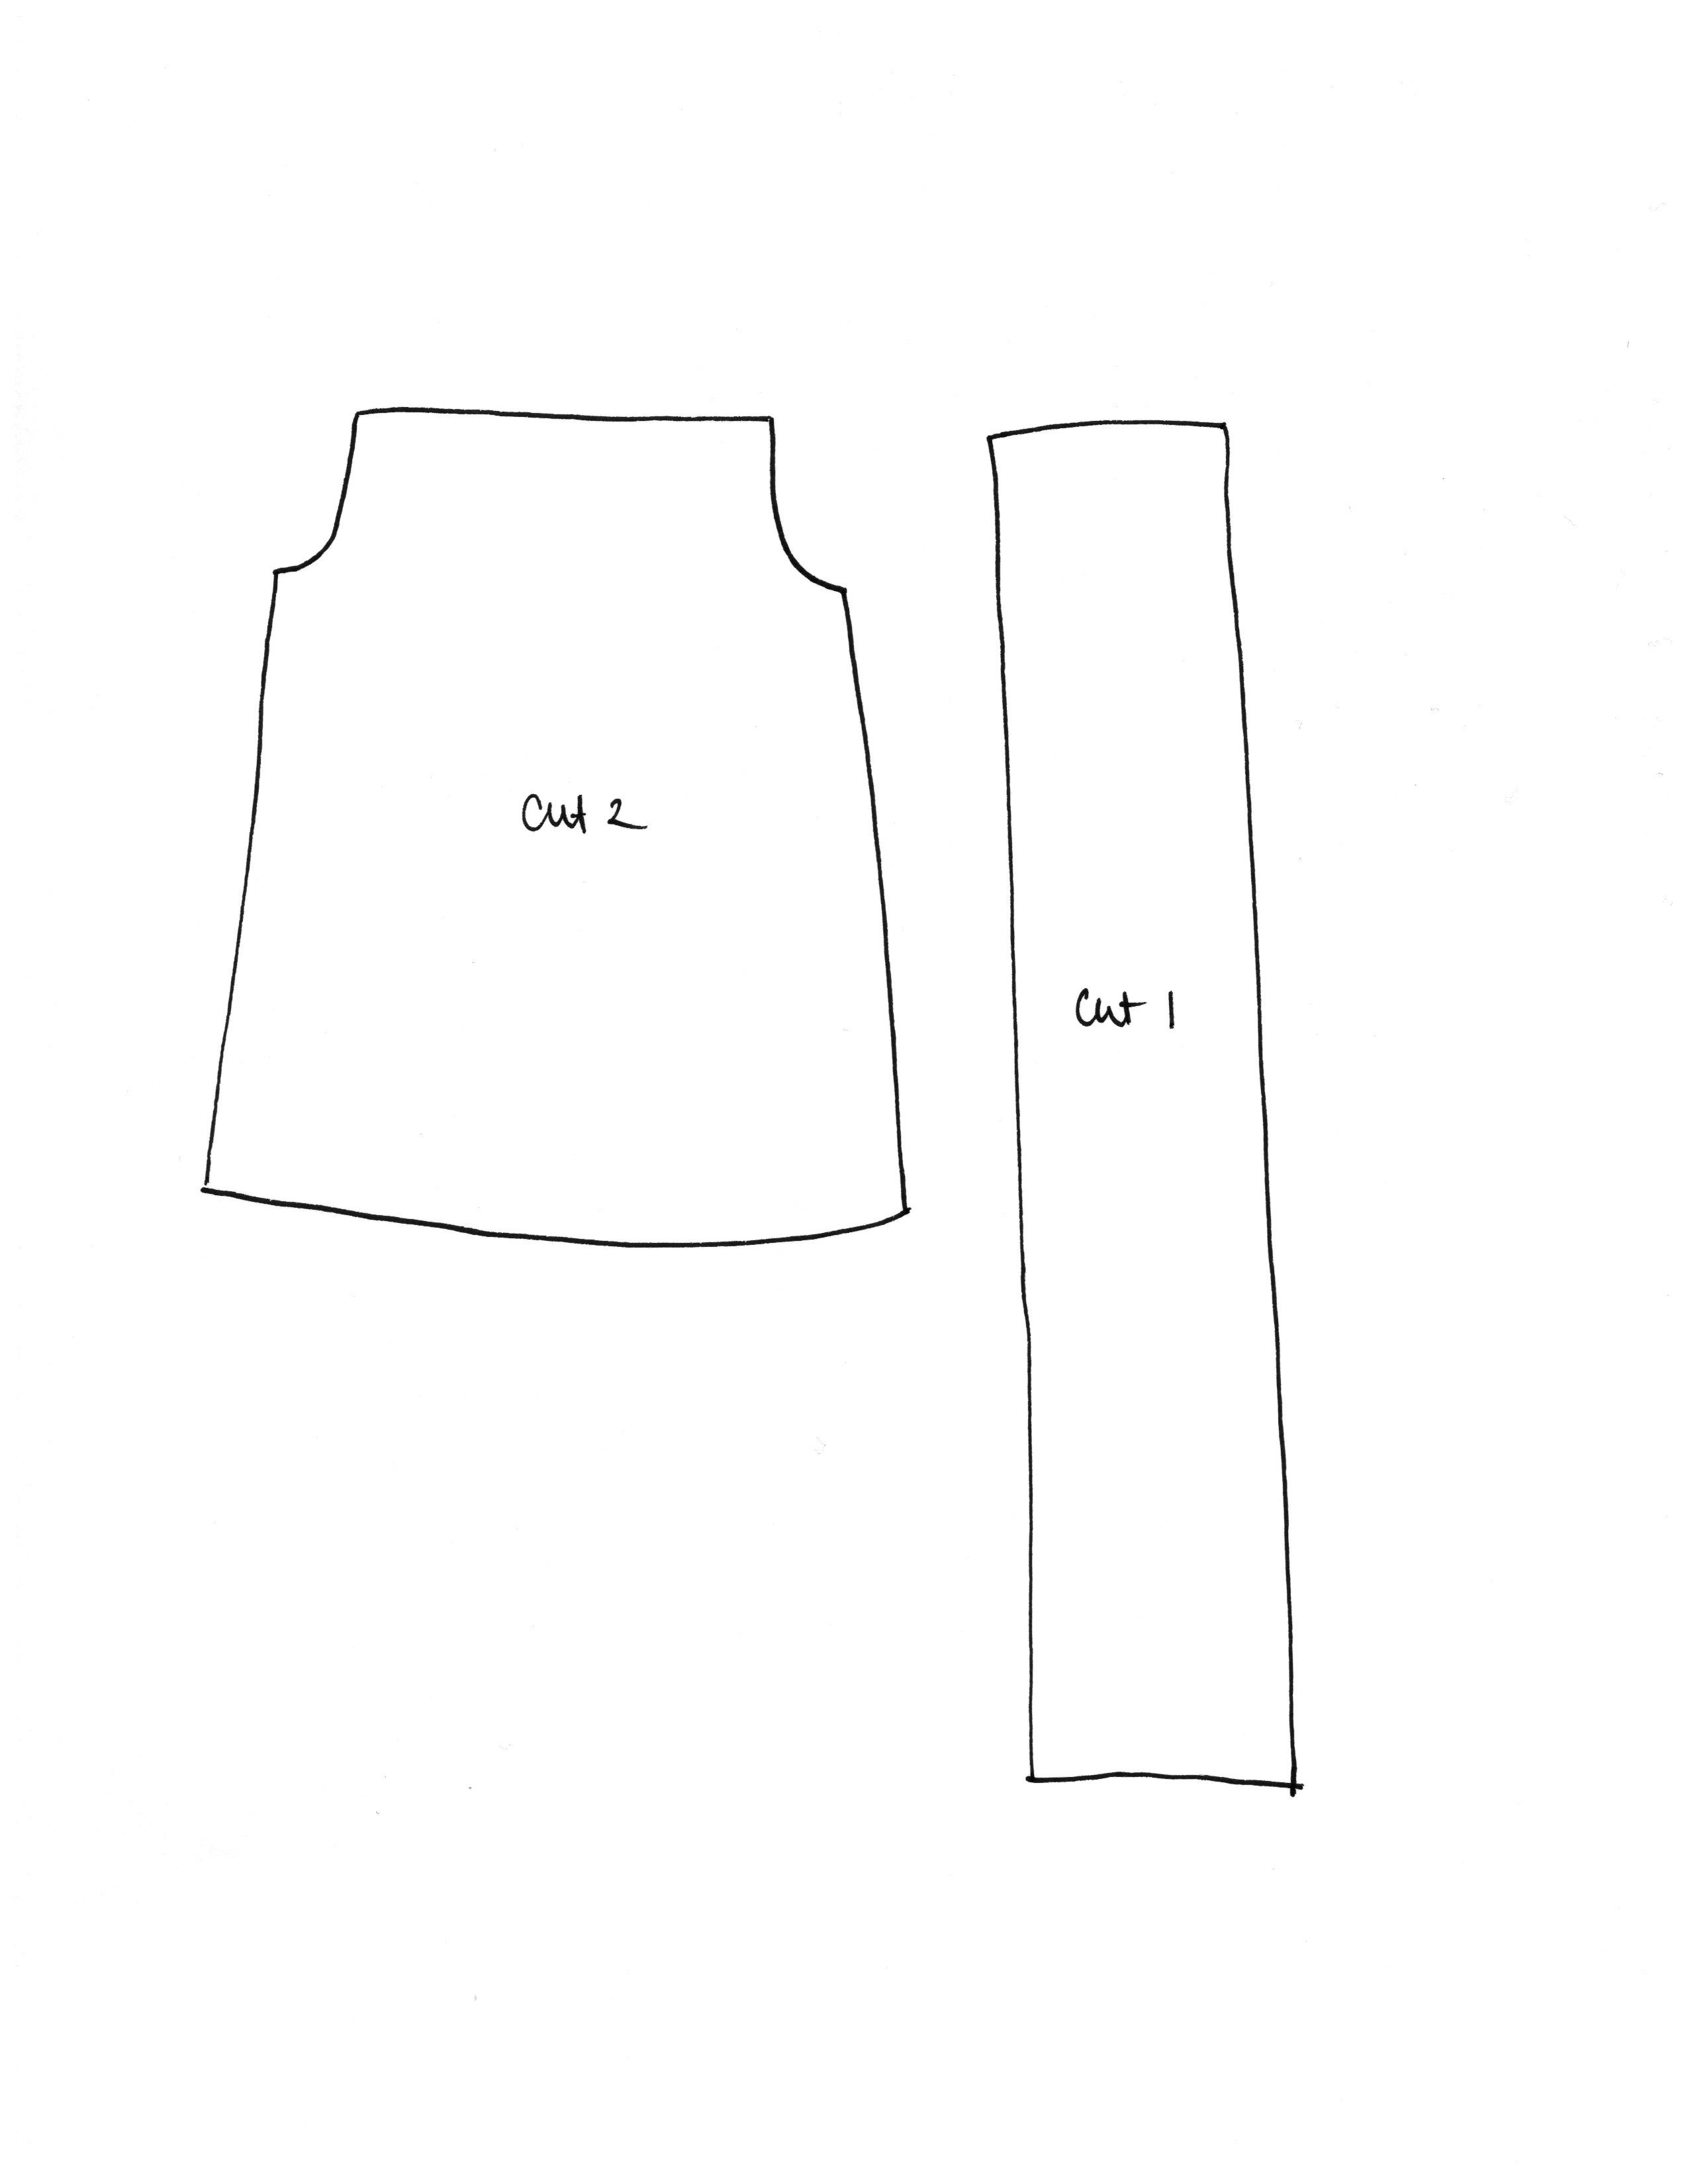
Here’s a rough sketch of the pattern I used to make the dress. Basically, I measured my width across, and added about 3-5 inches to that, and then measure around my shoulders and doubled the length of that for the ruffle. The dress is a basic shift and the off-the-shoulder section is a really long rectangle. I created a casing at the top and inserted elastic through it. When it comes to dress sewing, I just go for it and find it relaxing to not have to create a step by step of it.
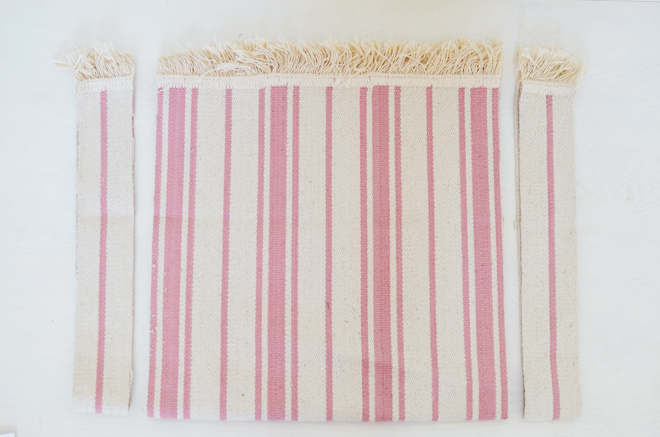
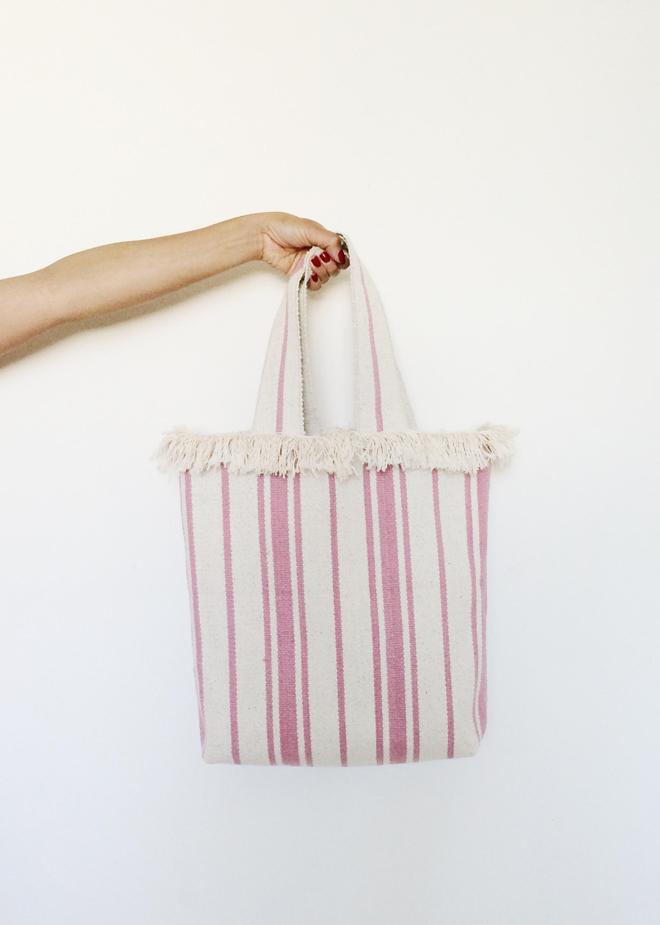
During last week’s IKEA trip, I picked up another rug to make another fringe rug bag (this one is mine, the other is for someone else). If you’re itching to make something, but don’t have a lot of time, this bag is perfect. Just make sure to pick up a rug the next time you’re at IKEA.
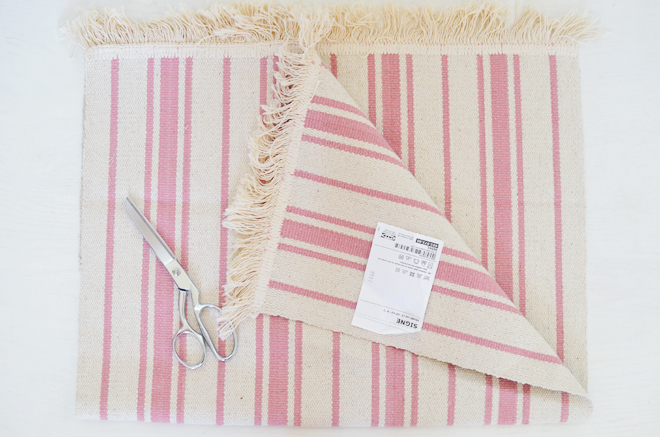
Directions: 1. Fold the rug in half width-wise, and cut off about 2 1/2″ strips off both ends. Set them aside for your bag straps. (Don’t forget to take off the store tag.)
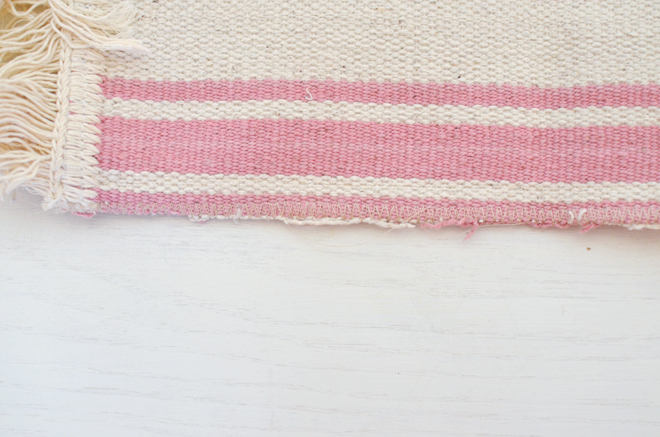
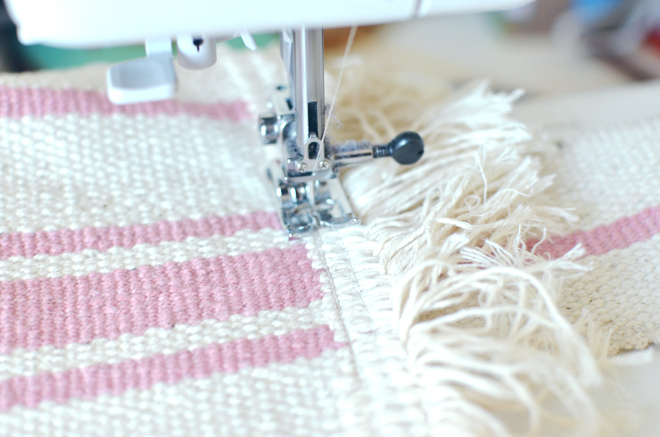
2. Sew along the entire length of both sides of the rug (the main bag piece). If you have a serger, I’d recommend using that to finish of your seams (I have one, but need to get some new needles). If you don’t have a serger, after you sew your straight stitch down, go back and use a zig-zag stitch along the edge of the fabric to finish off the raw ends. Make sure to set it to a wide zig zag stitch, and keep the length small (I use 6 and 1.5). This will prevent the frayed ends from unraveling. Since we cut rug to make straps, the weave can come undone easily, so it is necessary to finish off the raw edge either on a serger or a sewing machine with a zig zag stitch (and use an overlocker if you have one).
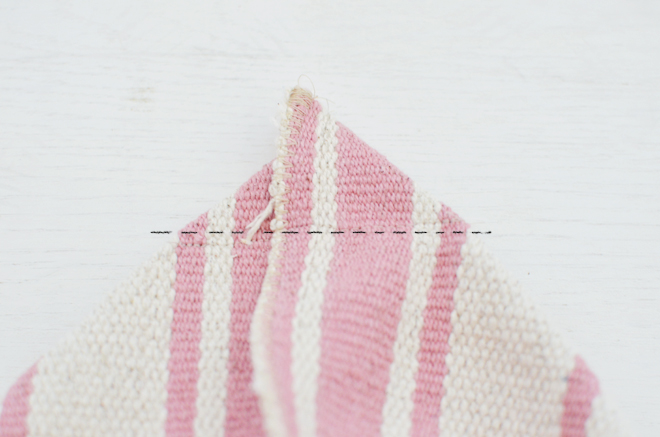
3. Box the corners by pinching each corner with the right sides together, and aligning the sides seams with the bottom seam. With a fabric pencil and ruler mark a line perpendicular to the side seam that is about 1 1/2″ from the corner and 3″ long. Pin and sew along that line. Repeat for the opposite corner.
4. For the each strap strip, use a serger or zig zag stitch on your sewing machine, to finish off the edges on both sides of the strap to finish off the raw ends (use the wide stitch, but keep the length small). Also, finish off the short edges of the straps too. Again, this will prevent it from fraying and rug weave unraveling. Repeat for the second strap strip.
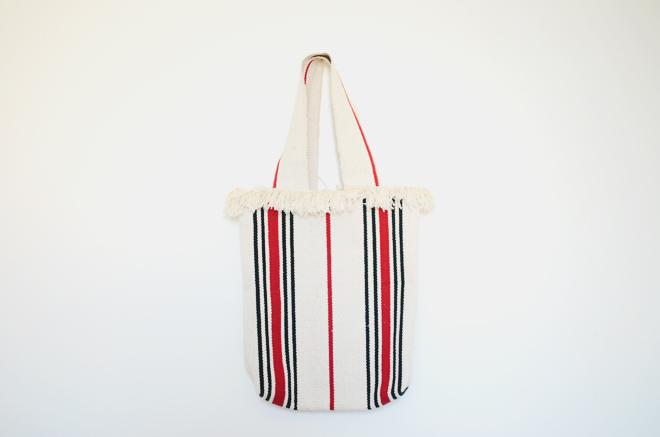
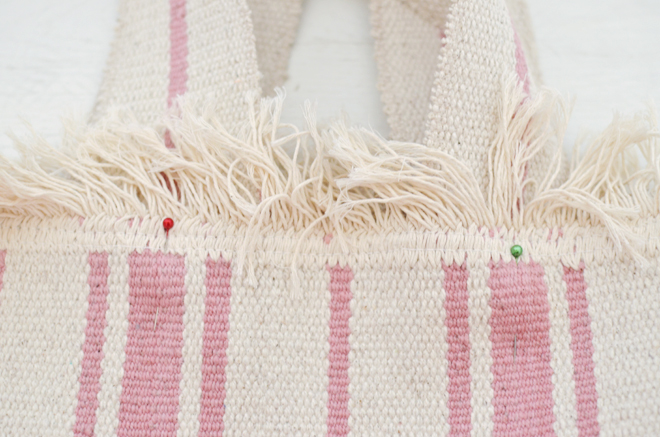
Decide the placement for the handles. I placed mine about 5″ in from each side and 1″ down from the top. Pin in place and machine stitch the handles to the bag using 2 horizontal stitches (one 1/4″ away from the strap end, and another 1/2″ from the strap end). Make sure to backstitch to secure.
This is quite similar to the Rag Rug Bag, but with a different type of rug, it looks different! I didn’t even need to buy any extra material for the straps, since I took it from the rug. The rug from IKEA is only $3.99, so it’s not a bad price for a cute bag to tote around this summer! The fringe is my favorite part. I’m kind of wishing I got the navy one instead, so maybe I will give this one to my sister and make myself the navy one. Now who’s going to run off to IKEA to pick up a rug?! Maybe I’ll see you there!
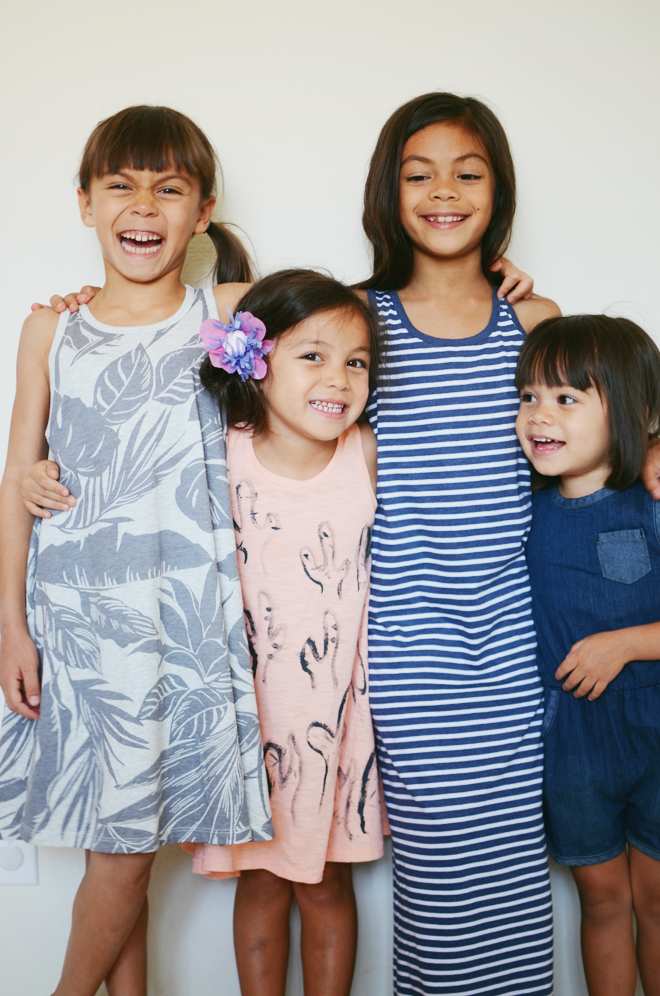
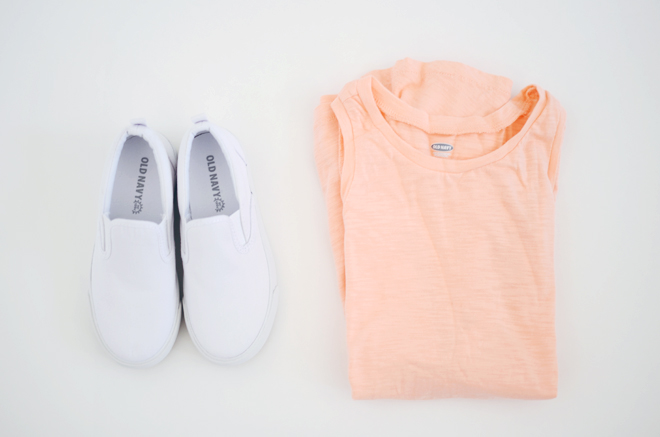
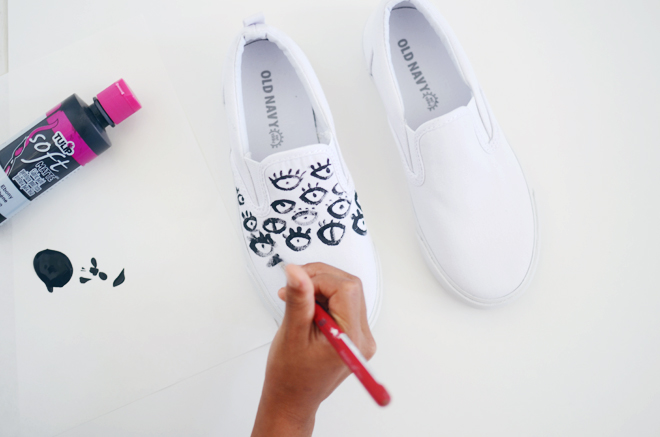
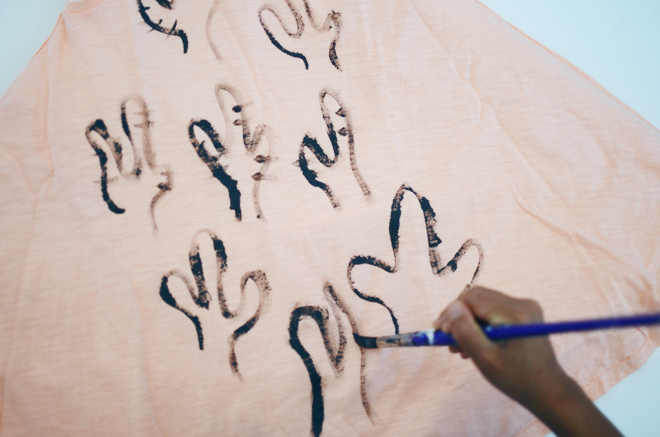
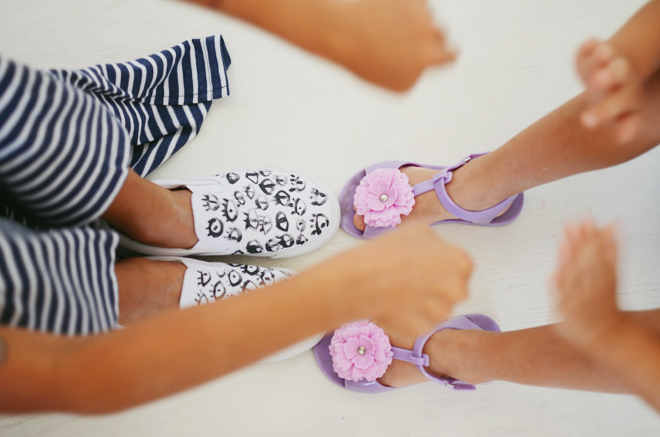
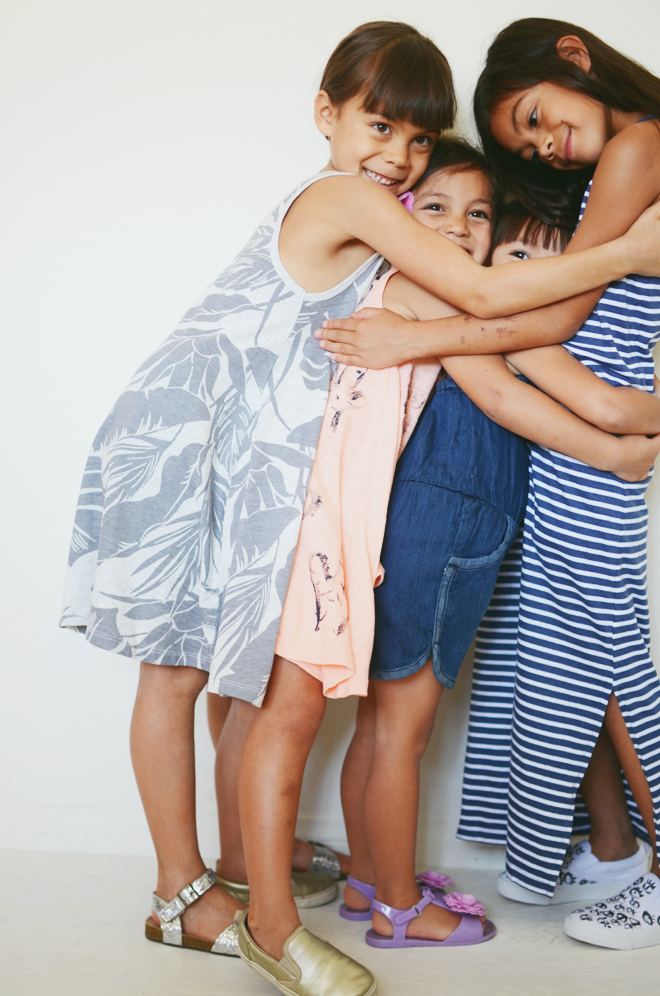
We took some basics from Old Navy, these sneakers and this swing dress, and added simple patterns to them. We just used black fabric paint and the girls were quite giddy about painting on some of the clothes! Everyday, they are always asking for projects to work on. So far summer has been all about lots of play and projects and no one has contested that. We have yet to turn to our iPad, though I’m sure there will be plenty of that too. True wanted to draw eyes on her shoes, just like my eye-dress, and then Soul and True wanted to make cacti on Soul’s dress. Brave wanted red sneakers to make her own Spider-Man shoes, but they were out of stock when I ordered the white ones. They are back in stock now, so maybe I will surprise her with them later.
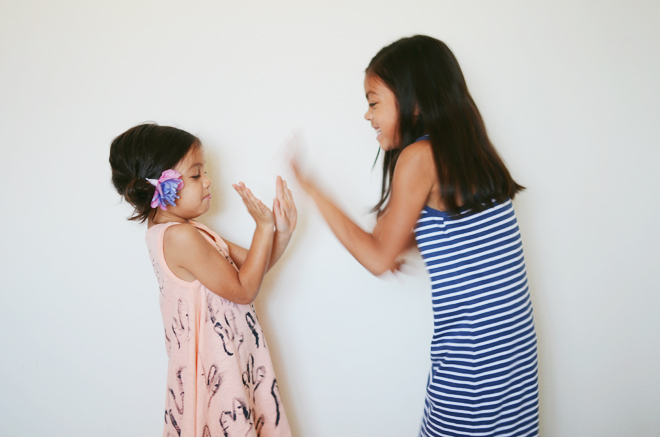
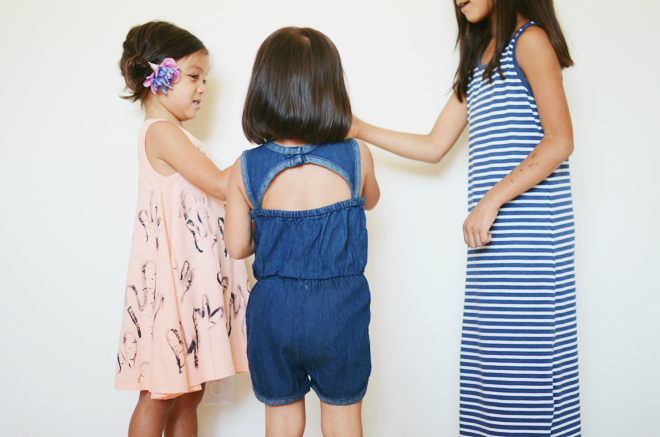
Brave picked the dress with the palm print because she said it looked “vacation-y,” and when True got her maxi dress, she said, “Oh I like this, it looks like a mom dress.” HA! The big girls are getting ready to go to Texas to be with Ben’s mom for part of the summer, so vacation-y and mom dresses it is! They need light and airy for the Texas heat they are about to face.
Our days here have been pretty hot lately, but we don’t have any humidity to contend with. Our way of beating the heat is to indulge in ice cream. Let’s be honest though, I’ll eat ice cream rain or shine. Anyone else with me on that?!
Supplies:
15″ x 6″ piece of red fabric
Poly-fil
Hand-sewing needle
Coordinating thread
Scissors
Sewing machine
Thin headband
Seam allowance: 1/4″
Directions:
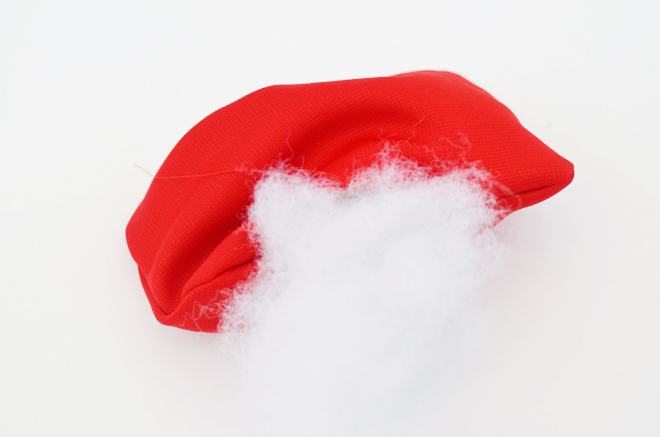
1. Cut out two rectangular shaped pieces of fabric (about 6 1/4″ x 3 3/4″ each) with rounded corners. With the right sides together, sew around the edges, leaving a 2″ opening for turning. Clip the curves and turn right side out.
2. Stuff with poly-fil to the desired thickness and slip stitch the opening closed.
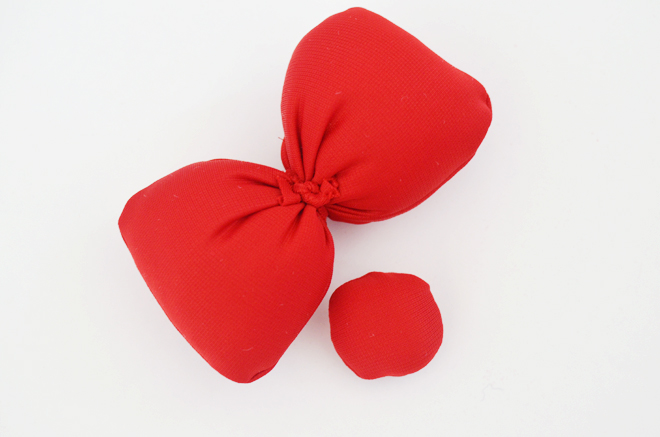
3. Cut out a thin 5″ strip of red fabric, tightly wrap it around the center of the bow, then knot. Snip any excess fabric. Cut out two circles from the red fabric (about 2 1/4″ diameter). With the two right sides of the circles together, sew around the edges, leaving a small opening for turning. Clip the curves and turn right side out. Stuff with poly-fil to desired thickness, then slip stitch the opening closed.
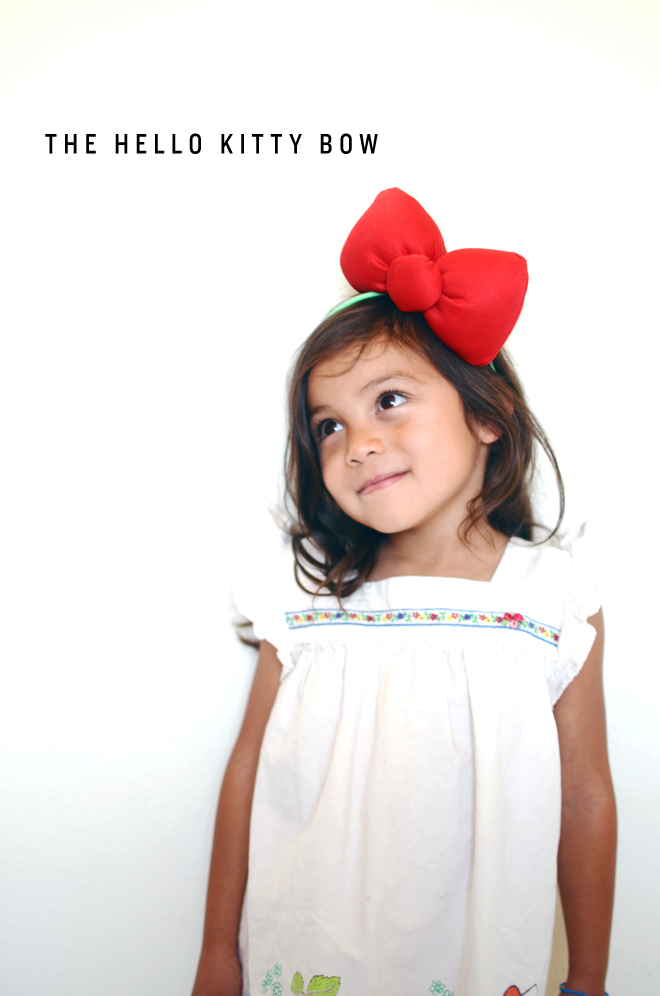
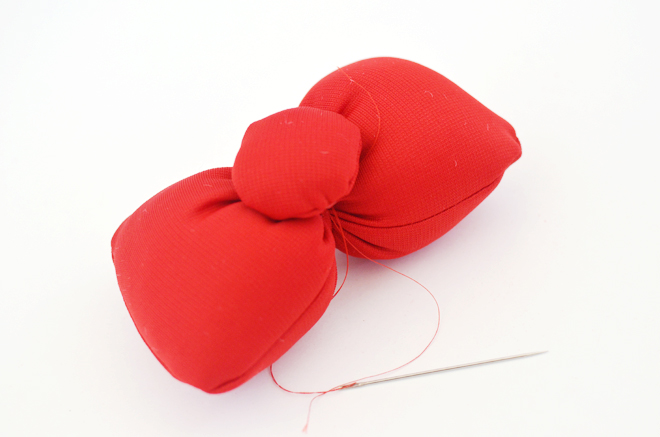
4. Hand sew the round piece onto the center of the bow. Insert a thin headband into where the fabric strip is wrapped in center, and place the bow off center towards the right.
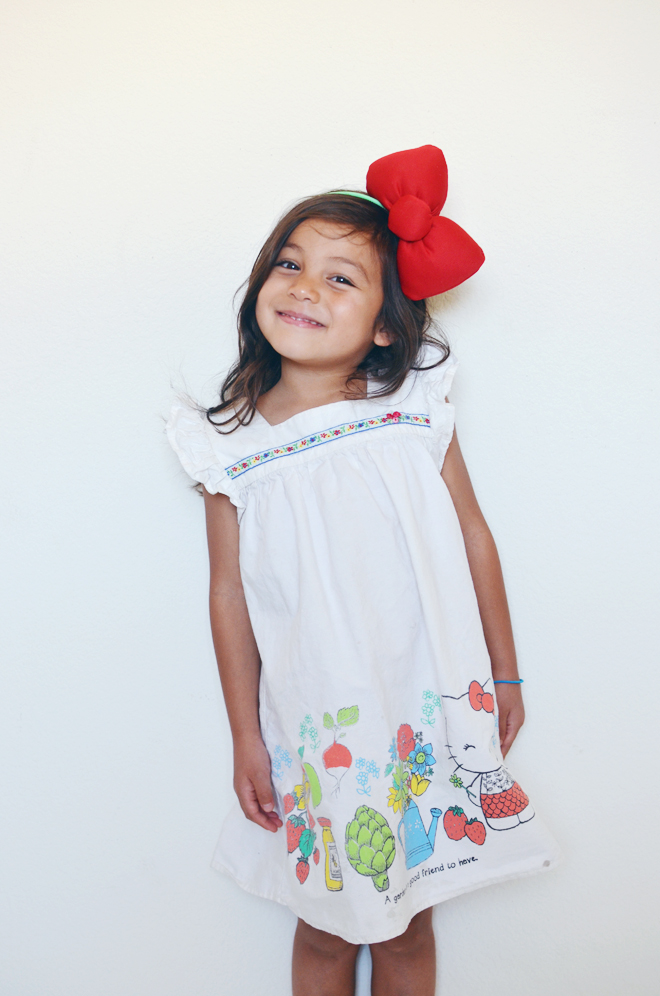
We are heading to the Hello Kitty’s Supercute Friendship Festival at The Forum this week. The girls are thrilled to get decked out in their Hello Kitty bows and their Misha Lulu Hello Kitty dresses. If this was around when I was a kid, my parents would have been in big trouble because I loved Sanrio! I made them spend way too much money there. I remember those stamp cards you would get for every dollar spent, and I had like 10 cards full! It’s pretty insane. We cashed out for some big prizes, and one of my favorites was a giant Sanrio tin pail with all the characters. In fact, I still have that giant pail today and my girls use it to house all their dress up clothes.
I know the girls will flip out over the live Hello Kitty stage shows, interactive exhibits, animation, fashion spots, and craft stations. I remember seeing pictures from last year’s event and how whimsical it all looked. I am thankful that this year we have an opportunity to experience that whimsy ourselves!
This post is in partnership with Sanrio. Tickets to the festival may be purchased here. I’m thankful for this opportunity (my girls are especially excited!), and also for the time you take to support me and this space.
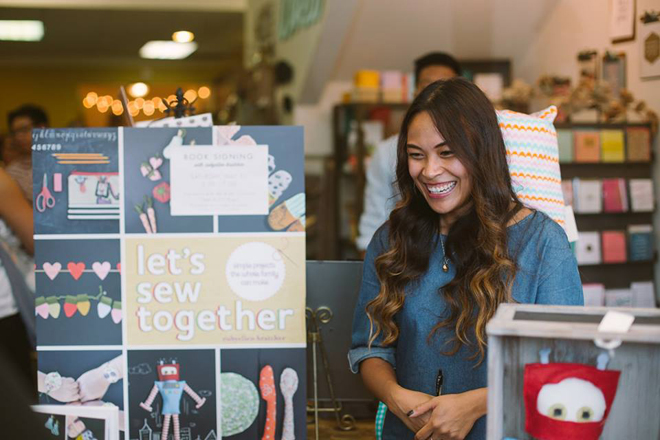
I can’t believe it’s been one year since the release of my book, Let’s Sew Together! I’m still very thankful for the opportunity to have written a book, and it’s kind of strange to think I’m an author (even if it’s been out for a year). Still weird. I think the hardest part of having written a book is the self promotion that comes along with it. Like I said, blogs are kind of narcissistic already, but then to keep having to remind people that you wrote a book and that they should buy it, that’s kind of tough for me. The whole business aspect of my creative job doesn’t come natural to me.
Since, we are on the topic of my book (duh!), and if you do want to learn how to sew and make some projects for and with the little ones in your life, I think you’ll really like my book! The projects in the book are totally new and have never been shared step-by-step on my blog, so you aren’t just buying blog material that is given here for free (in case you’re wondering). In the past, some of you have asked for a tutorial for my world map quilt and giant dollhouse pillows, and those are both in my book.
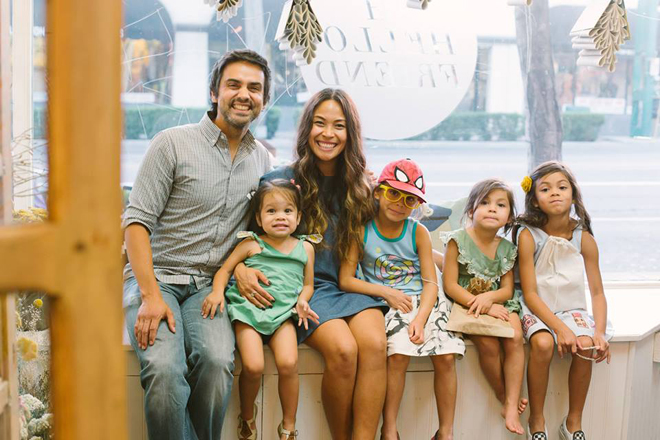
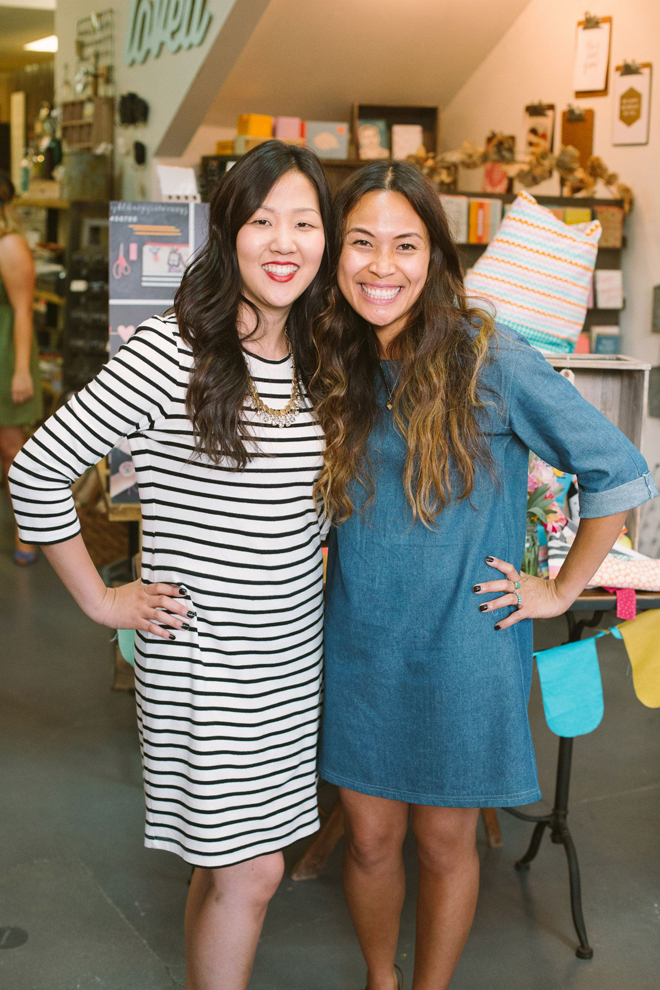
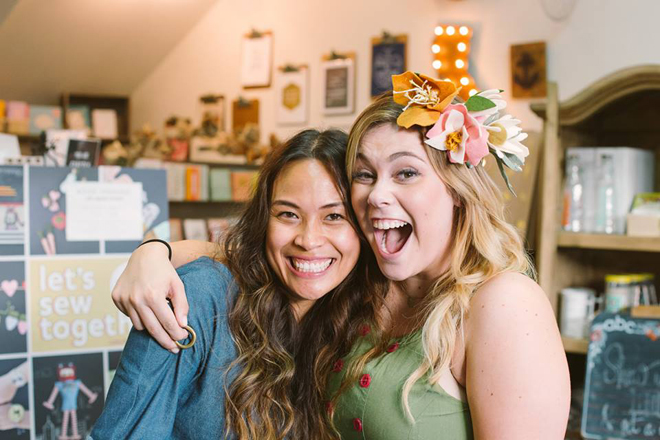
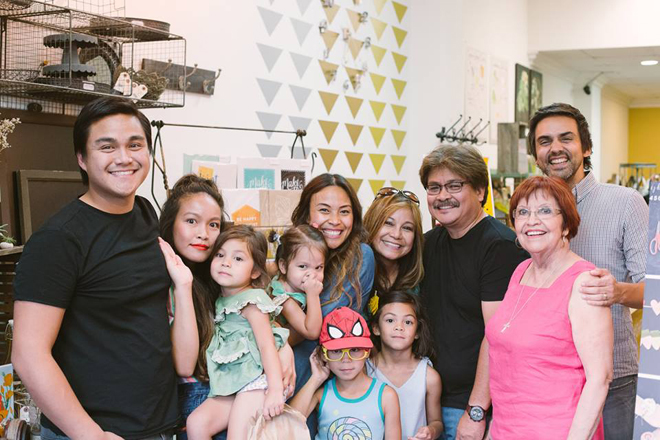
The photos above were from the book release party, which was a year ago. I’m totally lame because I’m way so late in sharing this. After the book party, summer happened, off we went to Singapore, then Williamsburg, and then life kept happening, so it just never got shared. Also, I was waiting for the edited pictures from my friend, Reese, and the video from my sister. Here we are a year later and I’m finally sharing it. Better late than never, right?!
Thank you to all those who attended and showed their support! It was so lovely to meet so many of you and it’s so strange for me to sign books. Sorry if I wrote all messy because when I’m nervous, my penmanship is atrocious. I remember I even spelled a simple word wrong! Oh goodness. You all (and all my friends and family who were there too) were so awesome! The whole book thing was such a dream, with the most amazing editor & publisher (shout out to my editor Caitlin over at Potter Craft/Penguin Random House), and I’m just filled with gratitude for it all. While it was an amazing thing to accomplish, I still learned that even an accomplishment like that never fully satisfies, only Jesus can fill my empty hole.
Here’s the first post I ever did about my book (I kept it a secret for so long!), and if you want to see the video we made for release day last year, check it out here. Happy May 20th friends!
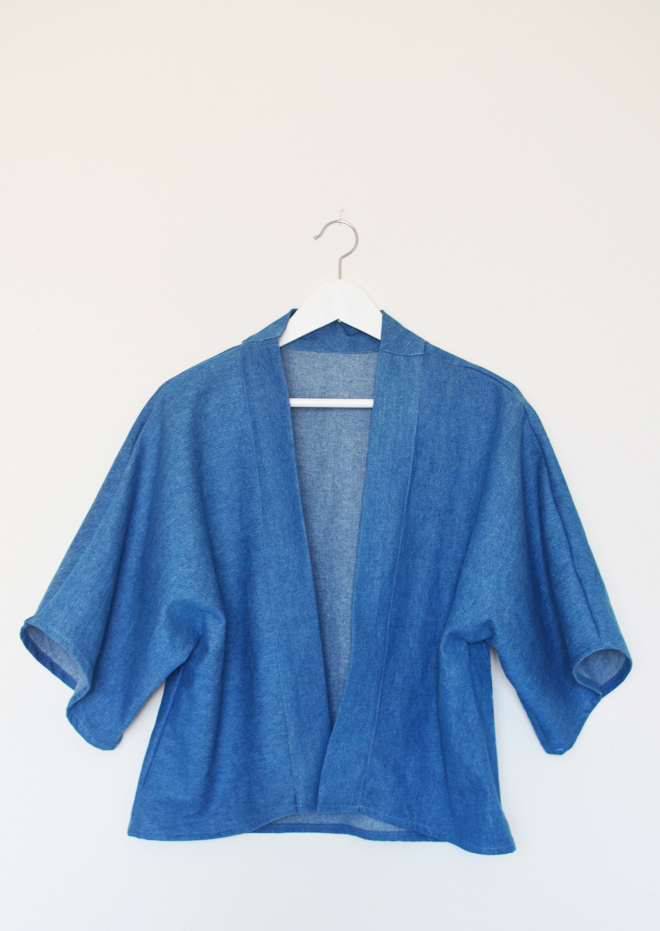
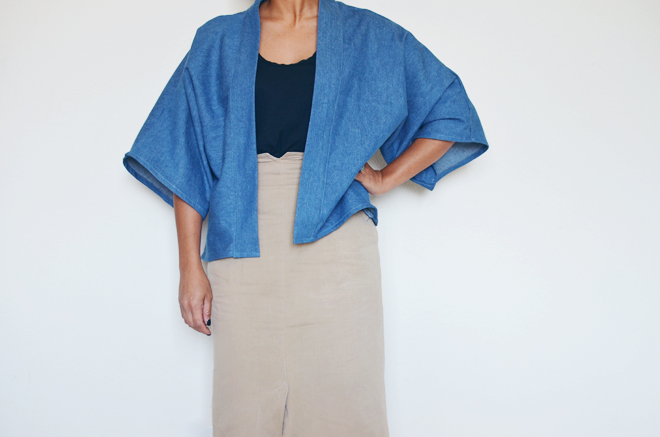
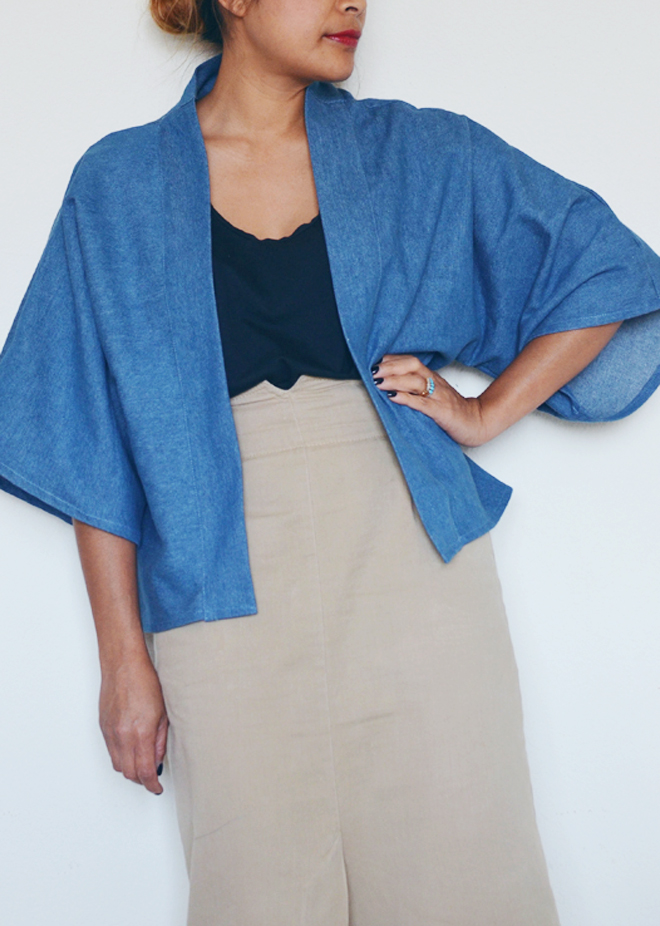
I got the sewing itch to make something like this, but in denim, and then I went hunting for more inspiration and came across this one from Ro & Ro General Merchants. I merged the two together in my head, and went to drawing out some patterns. I used a kimono I had as a guide (this one), and tweaked things here and there. I had about 1 1/2 yards of this denim fabric, and I knew it would be a tight fit to figure this out. I wish I had 2 yards, because I could have made the collar strip one continuous piece, but with a little tinkering, I think it came out just fine.
My jacket is 3 main pieces (1 back, and 2 front pieces), with a 5″ strip (folded in half) to go around the collar and down the sides. I’d like to tinker some more and try making another with some black linen. I don’t have any on hand though, so that project will have to wait. This is the perfect lightweight jacket for the summer and spring months. It will probably work all year round since I’m in Southern California. This would have come in handy last week as I was traveling; the airplane rides were a bit chilly.
When it comes to sewing, I just go, so even though I made a pattern, it’s not perfect, thus I’m not quite ready to share it. I’m a cut and sew on the spot kind of person, it just goes faster for me that way. If I ever get a pattern just right for this, you bet your bottom dollar I’ll share that here!
If you’re a buy instead of make kind of person, this one from Madewell is similar, or you might like a sweater one from the Gap. If you want something with more coverage, here’s this one from Free People. Don’t forget this cool one from Ro & Ro General Merchants, it might be my favorite one with the Madewell one in second place!
I have a large growing pile of fabric scraps. I refuse to throw them away because I am sure they can be used for something. I have been seeing different types of interesting necklaces made of buttons, beads, and fabric. Then, I figured why not make one out of my scraps...
I think it made my white shirt a little less boring. This was so quick and easy to make.
How to make a recycled scraps necklace (which is very similar to the straps on my braided tablecloth bag):
1. Take your scrap fabric, I cut a .5''-1'' snip and tear the rest of the fabric down for a nice frayed edge. Used 3 different fabrics for each strand.
2. Take 3 of the torn pieces and tie the ends together with a rubber band.
3. Braid the 3 pieces together and tie ends together with rubber band when done.
4. Repeat steps 2 & 3 for more strands. Remember you can make the strands any length you want, if run out of fabric, just weave more into the braid.
5. Once all the strands you want are braided, gather one end of each strand together and straight stitch together with sewing machine. Repeat for the other ends of the strands. Snip off any excess.
6. Gather ends of the necklace and sew together (snip excess) or a ribbon can be sewn at the ends to be able to tie the necklace closed, but I just sewed both ends together.
7. Voila! A nice way to make use of all your lovely scraps.
Sorry if the directions get you a little lost, but it really is easy. I promise. Maybe I should put some in the shop. Please share any other good ideas you may have of things that can be made with scraps. I would love to hear (read) them!

 My mother-in-law got me an off-the-shoulder top for Mother’s Day, and I wore it on our most recent road trip. It was perfect for galavanting under the Texas and New Mexico heat, so it got me wondering about making a dress version of it. I remembered this image I pinned several months ago, then I saw this post recently, and it sealed the deal, I was going to make one. I debated between white, chocolate brown, ivory, and red linen fabric, and as you see above, I went with the chocolate brown. The girls call this my Jedi princess outfit. When I was working on it, they thought I was making myself a Jedi costume to match them (see here), so maybe I should have gone with red instead. HA!
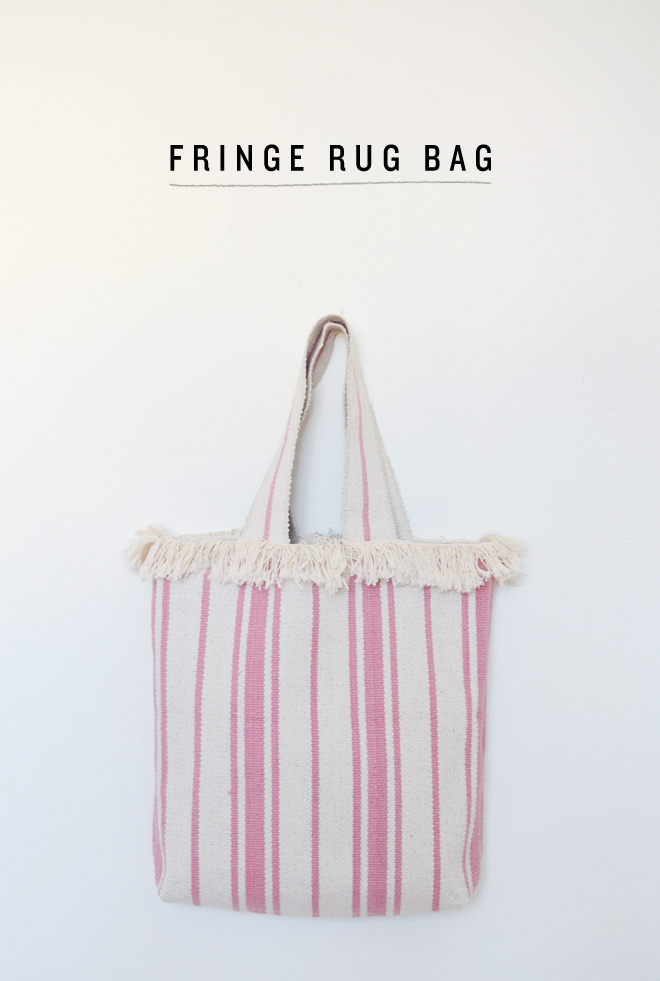


