Supplies:
Pie pan (use whatever size you desire, we did regular and mini)
Paint & paintbrush
Permanent marker
1/8″ hole puncher
Chenille stems cut into 2 1/2″ pieces
1″ – 1 1/8″ bells
Directions:
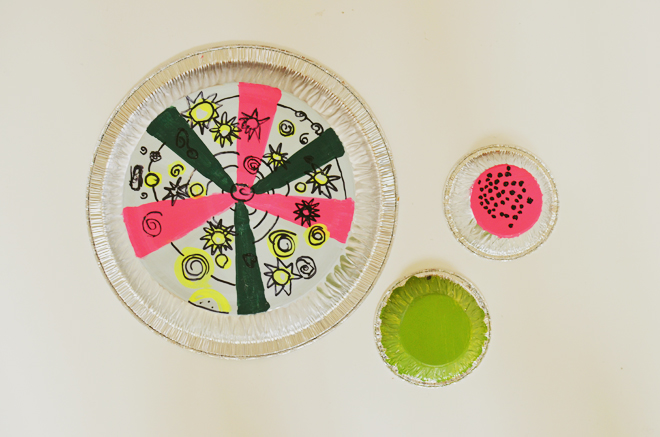
1. Decorate the bottom of the pie pan. We used craft acrylic paint and it took a couple layers, but allow each layer to dry completely before reapplying another coat (it may chip with all the banging, but that just means they are having fun with it). Once the paint is completely dry, draw fun designs on the bottom with a permanent maker.
2. Punch holes about 1/4″ in from the rim, and about 1 1/2″ from each other; create holes about three-fourths around the pie pan.
3. Tie a bell to each chenille stem, insert a stem through each hole around the pie rim, and twist the open ends together to close.
Have fun and make some music! Beware, once the children start, they may not stop. Make a bunch in different sizes and start your very own pie pan tambourine band!
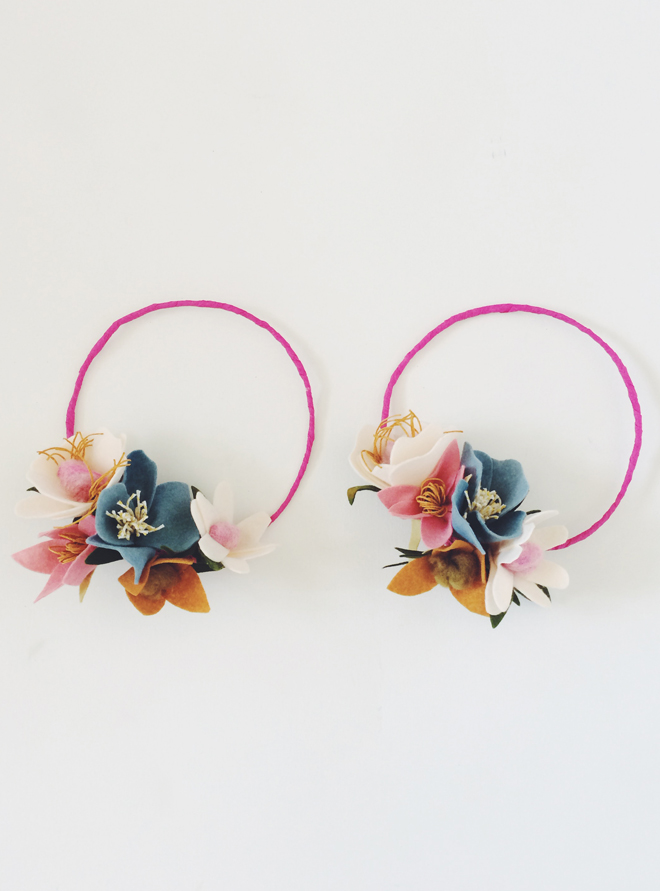
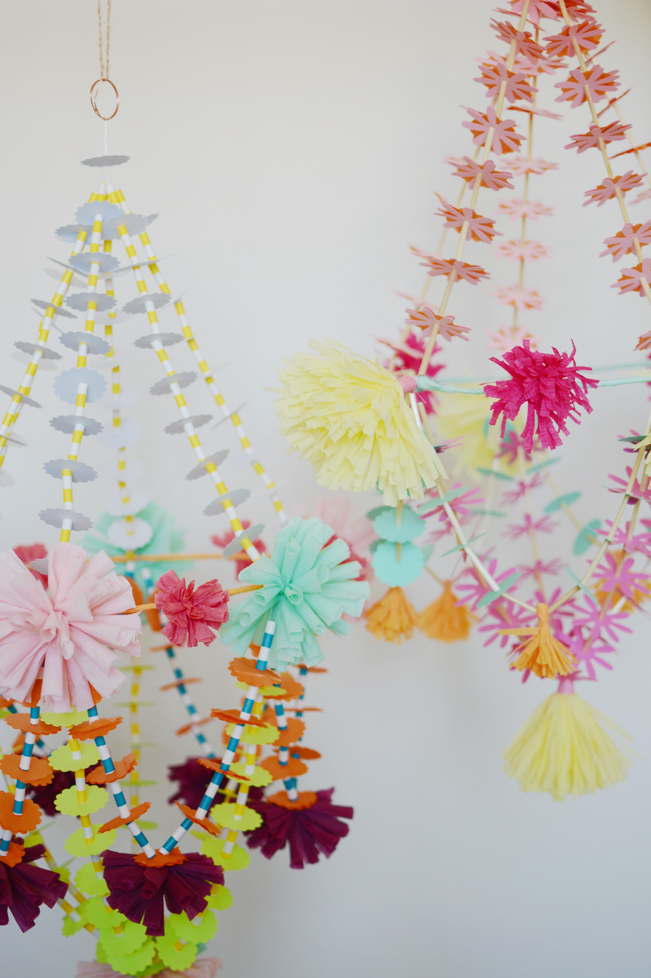
I’m headed your way soon, so if you’re able, don’t forget to sign up for either the felt flower making class or learn how to make the paper chandelier (pajaki). There are still some spots in both classes, so sign up for one or both (you can blend your two new skills together) and get ready for a fun afternoon/evening of crafting and chatting with me and Bloesem! Hope to see some of you there!
And please do share where we (Ben and I) should eat, shop, and see while we’re there. I’m thankful for the suggestions some of you have already sent over.
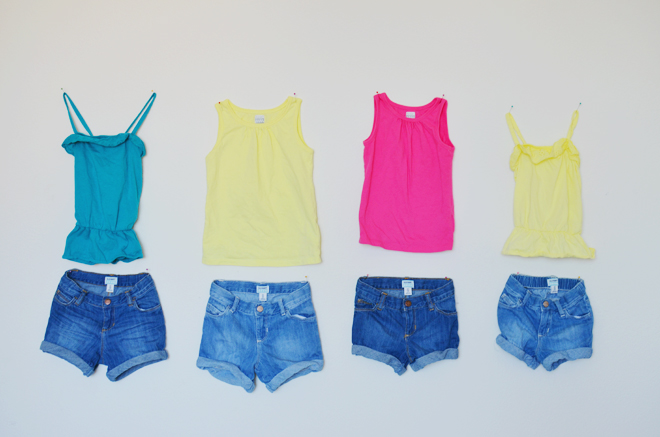
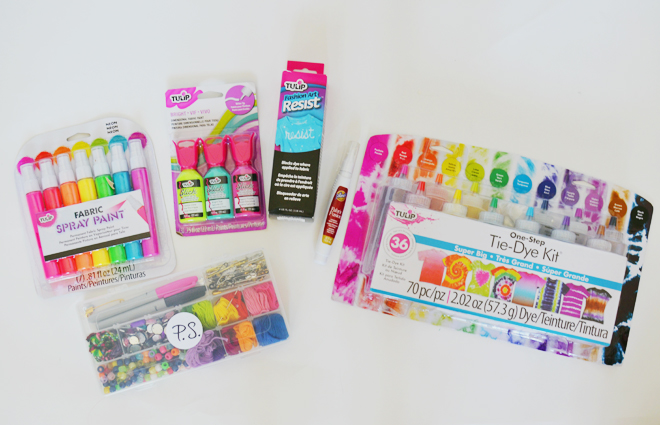
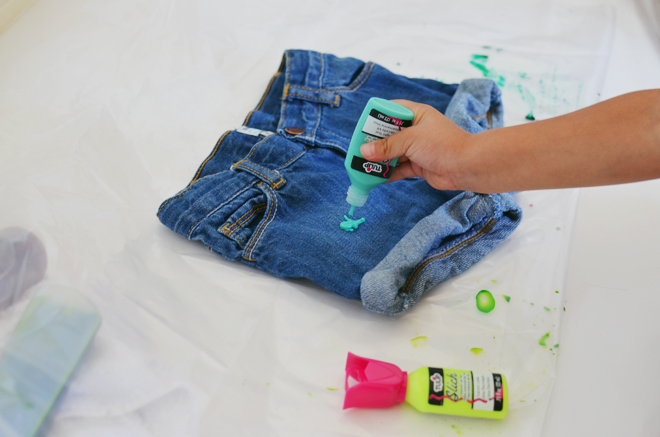
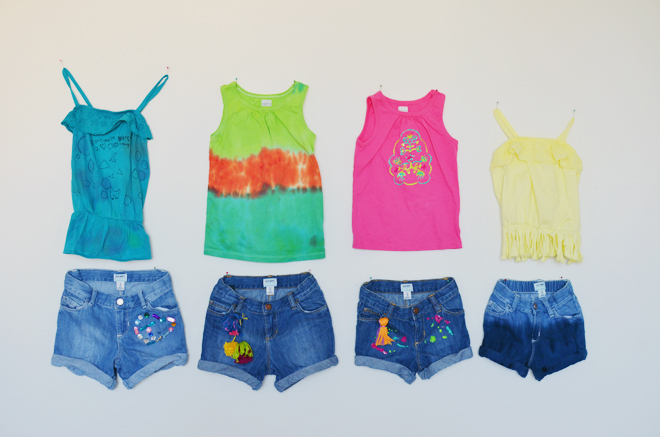
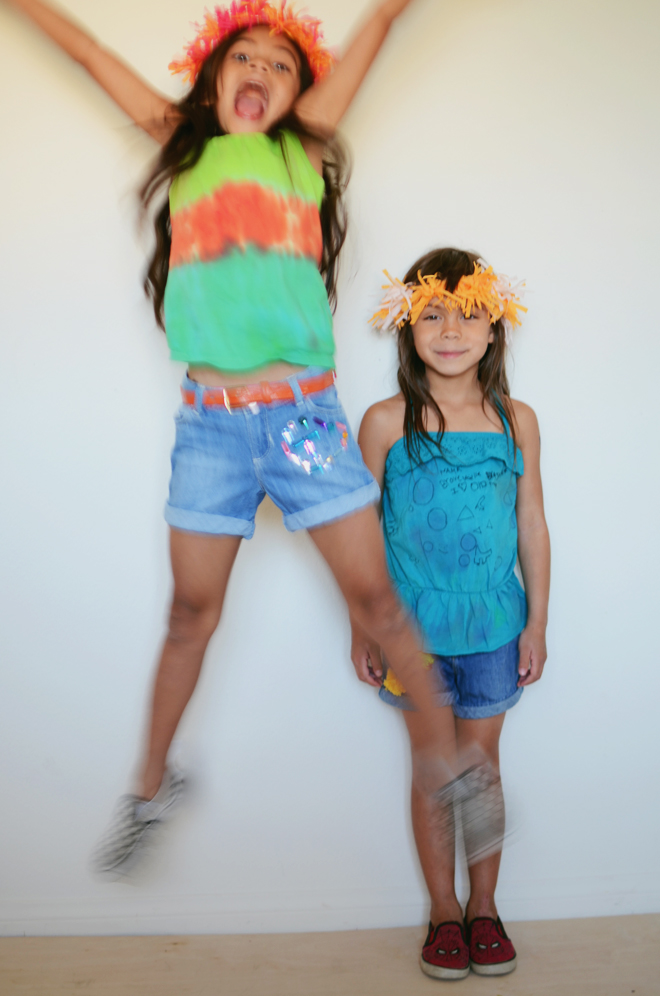
Old Navy teamed up with P.S. I Made This and sent us a box of summer pieces to decorate with tie-dye, fabric markers, beads, and puffy paint. If you have my book, Let’s Sew Together, then you already know (and probably from this blog too) that I’m all about letting your kids have fun with drawing and painting on clothes. I love seeing their excitement in creating and their joy when they have their finished product. I have many fond memories of summers spentadorning my clothes with puffy paint, which is so 80’s, but my girls had the same fun with it, so who cares?!
All you need are clothes to decorate and lots of fun things to decorate with!
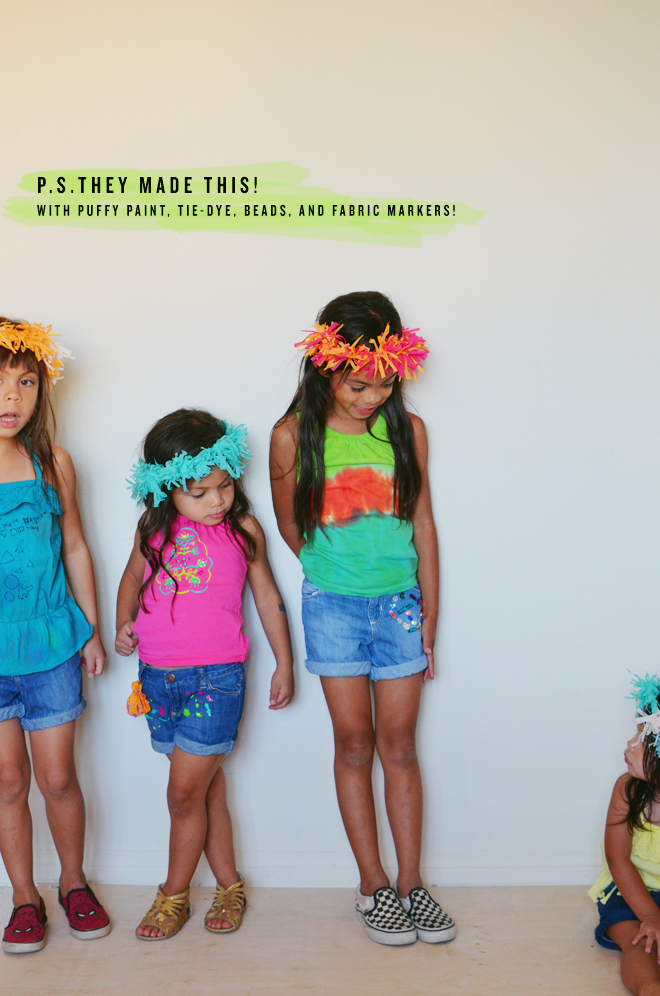
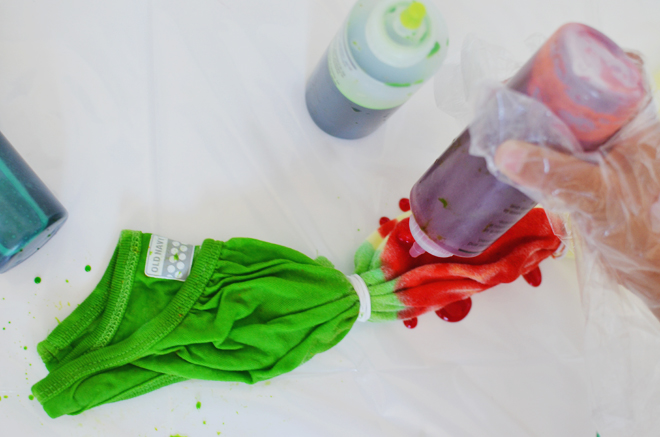
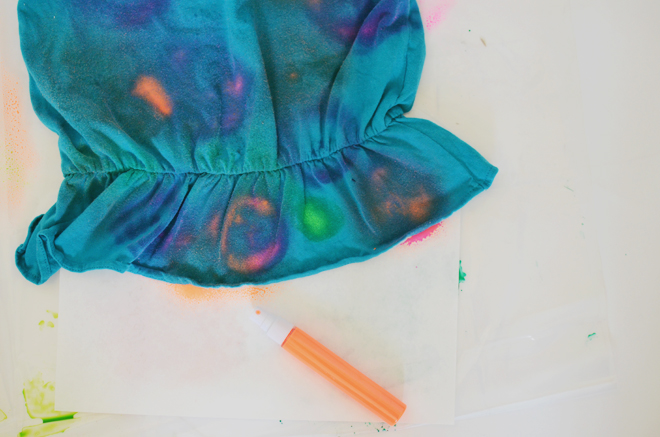
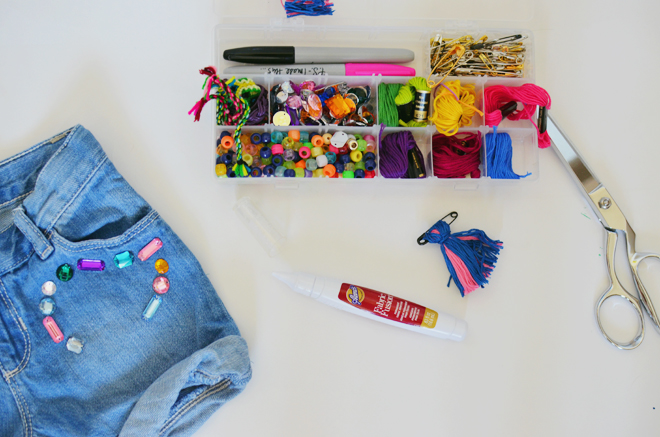
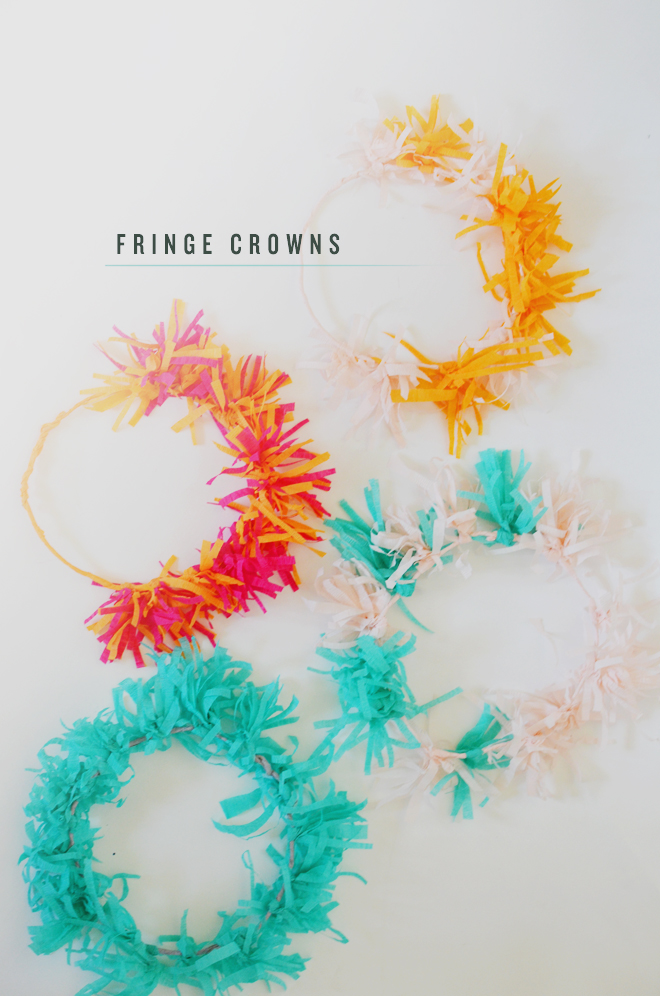
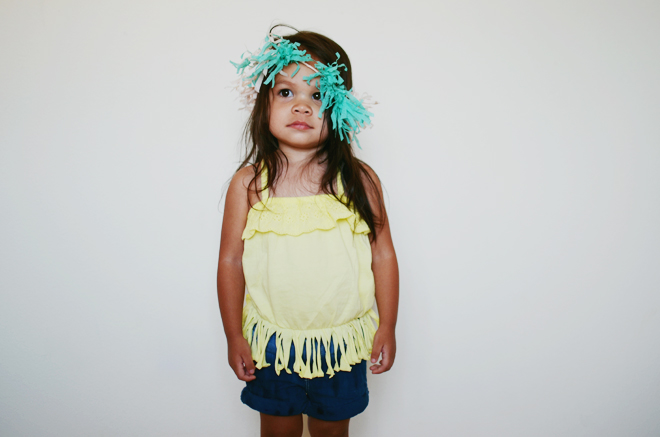
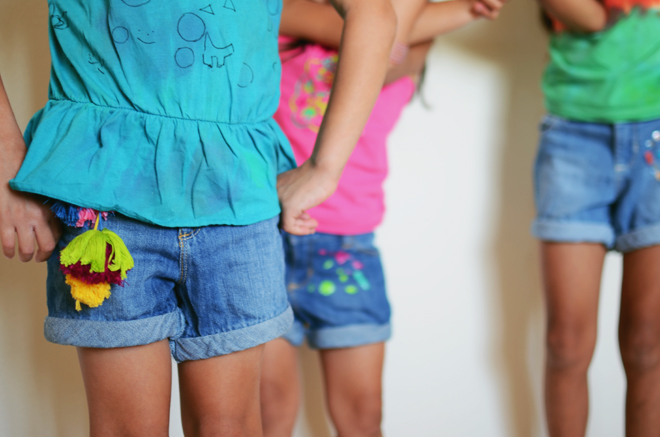
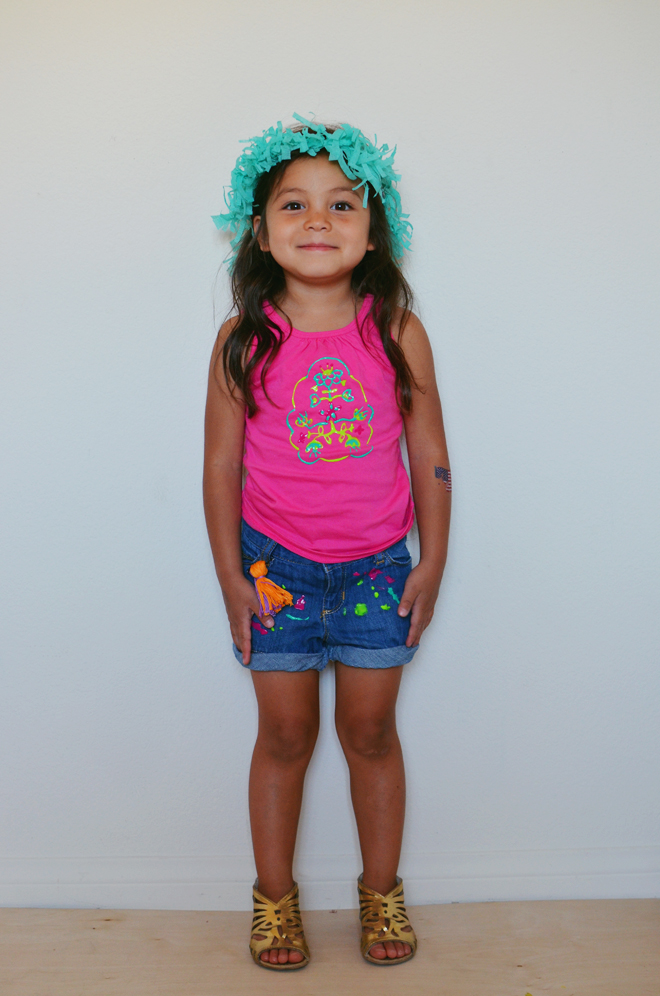
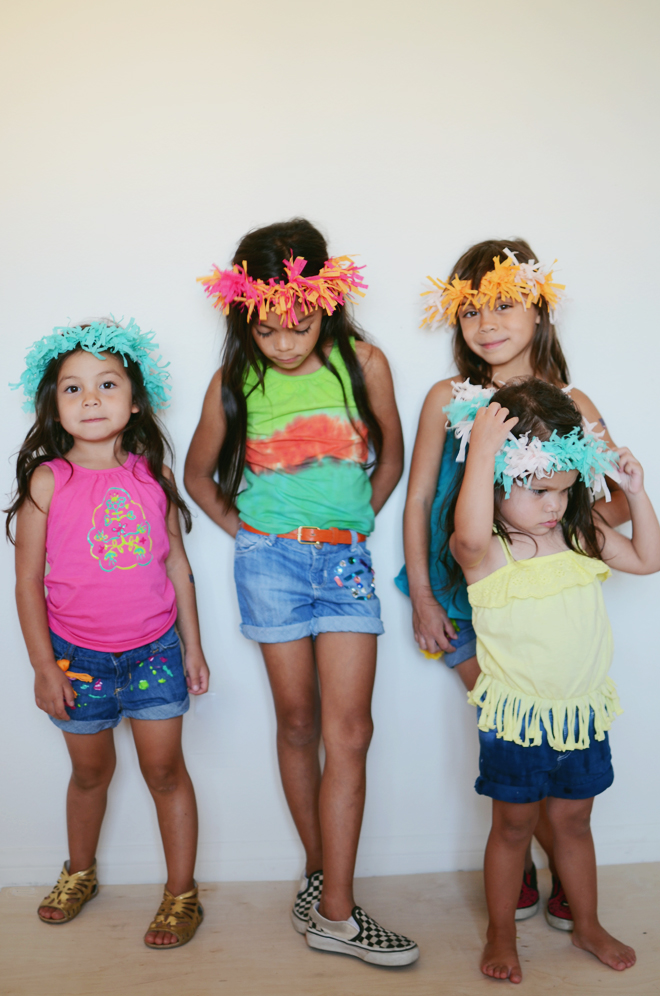
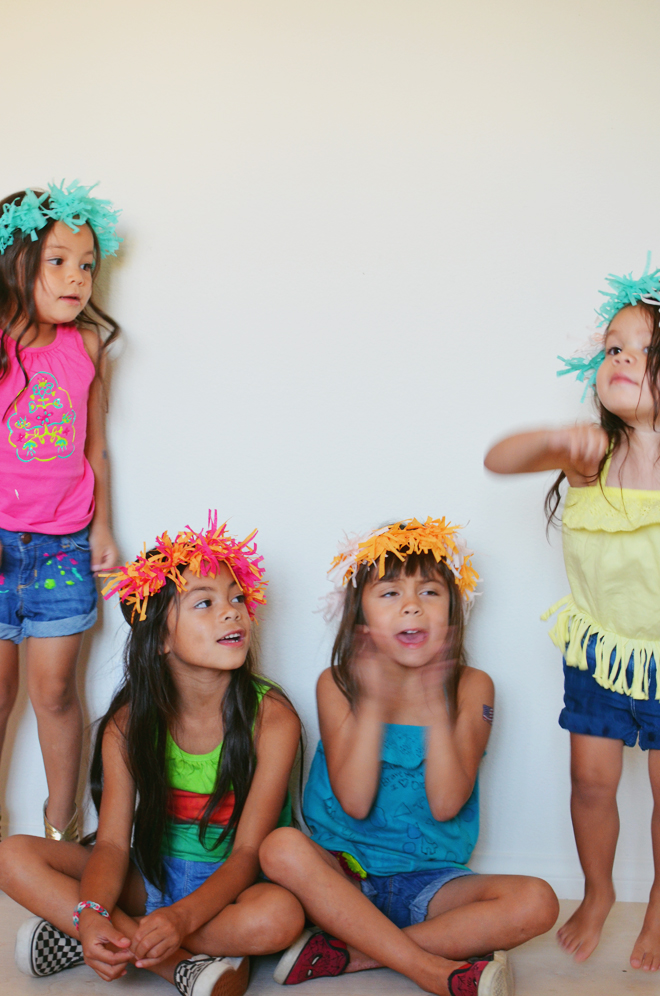
The clothes were colored, so the fabric spray paint didn’t stick too well, but I imagine if we used white shirts, that would have showed up fine. Brave ended up wanting to draw on hers with fabric marker. True went for tie-dye and adding beads to her shorts. Soul was all about the puffy paint; I helped her with her shirt and she did the shorts completely on her own. True and I did Glow’s together and tie-dyed her shorts and gave her some fringe on her top. We made some tassels and pom poms out of embroidery floss, attached those to a safety pin and added those on. Once everything was washed, dried, and ready to go, and they put them on, it looked like they were going to some music festival. Thus, in true festival style, we made some crowns to go with their outfits too.
Directions:
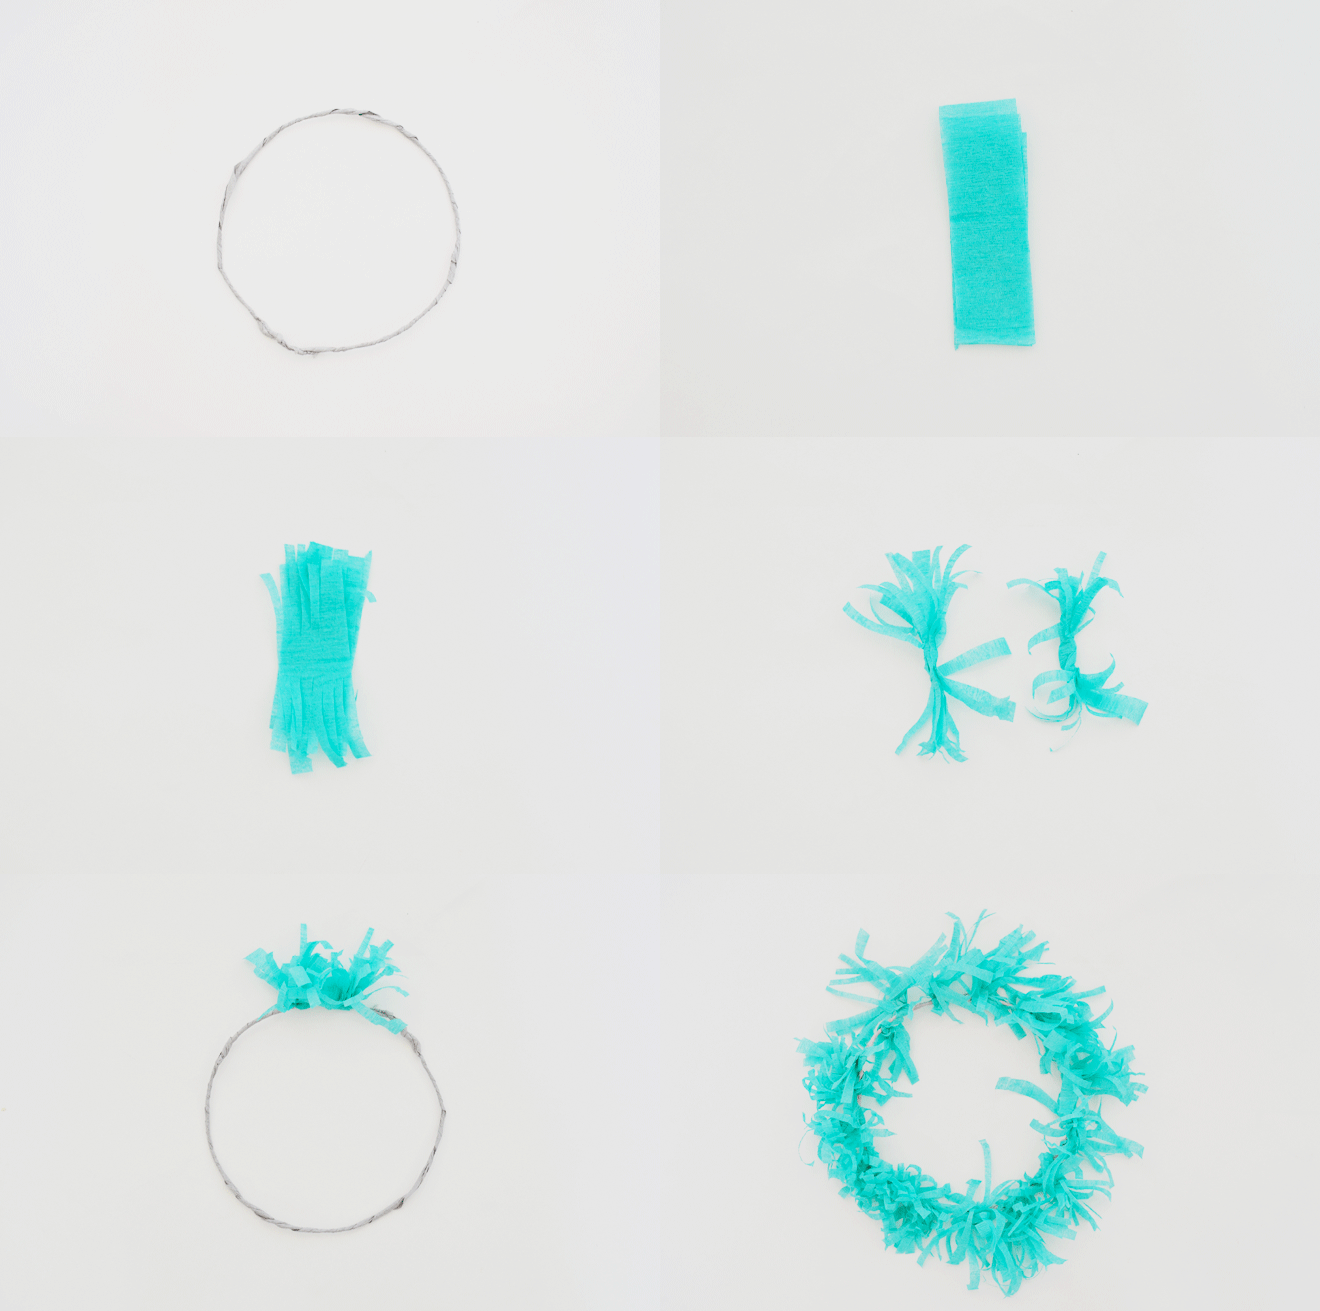
Cut the wire in a length appropriate for your child’s head. Add a dab of glue at one end, wrap the crepe paper around and continue down to wrap the entire length. Add another touch of glue at the end of the wire to secure crepe paper on, and twist the ends of the wire together to form the wire crown. Cut 30-40 – 6″ strips of crepe paper streamers. Layer 2 or 3 together, cut slits toward the center but not all the way through, and repeat for opposite end. Pinch together and twist onto the wire crown. Repeat until the entire crown is covered in your desired amount of fringe.
It’s the perfect “Camp Home” activity, and we are all having so much fun making things together. It does get messy, so make sure you have a space you can get messy in. We had a large piece of plastic down and worked in clothes that could get stained in case some of the dye and paint ended up elsewhere. Make sure you wash clothes beforehand, and you’ll also have to be patient and give clothes ample time for dye to set and paint to dry, so keep that in mind too.
I was intimidated by the tie-dye at first, but it ended being quite easy. We will probably try our hand at getting a little fancier with tie-dye patterns on a home sewn dress soon.
Directions:
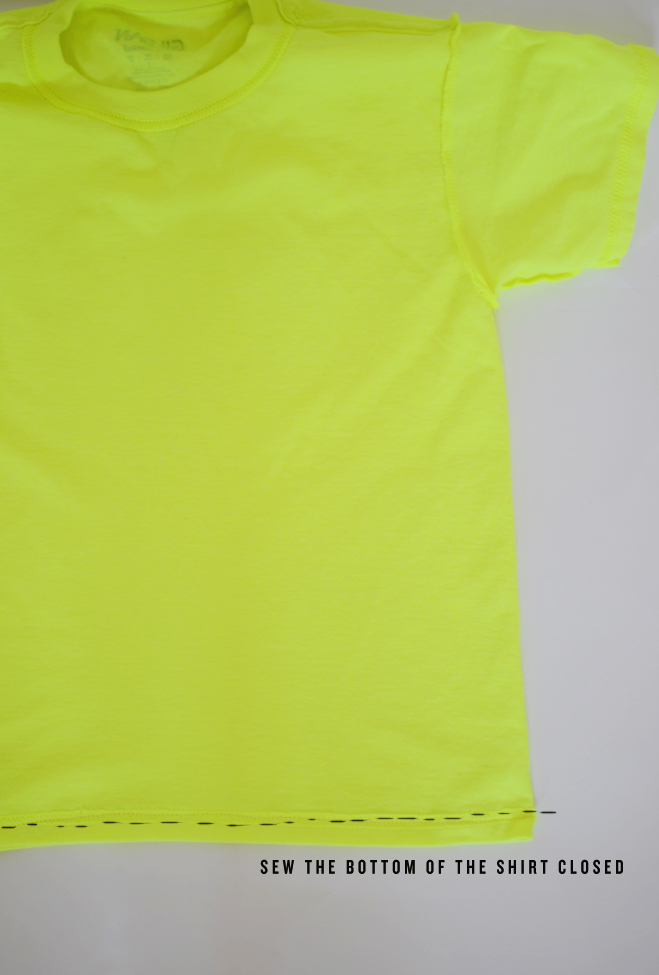
1. Wash and press the shirt. Turn wrong side out and sew the bottom opening closed.
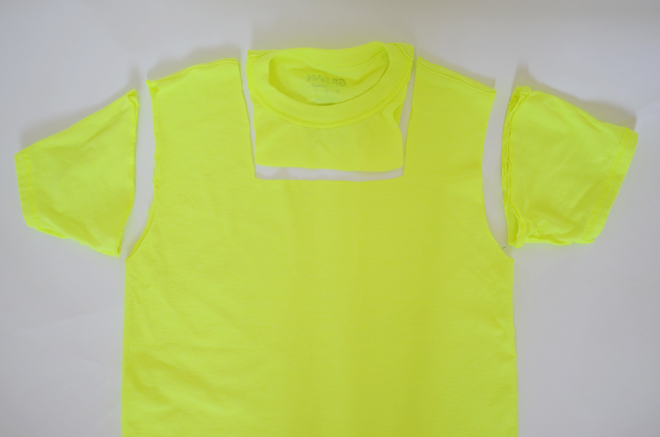
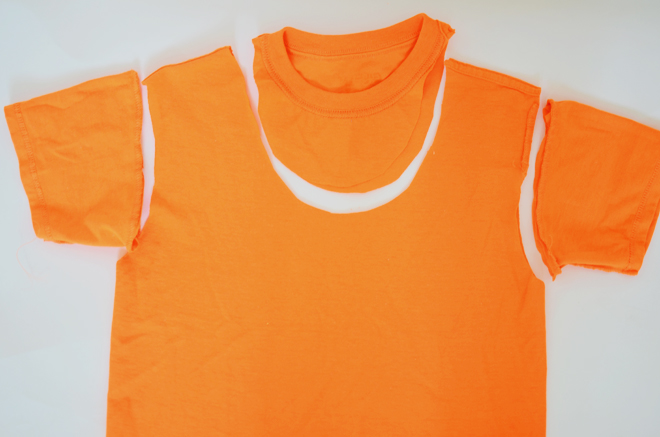
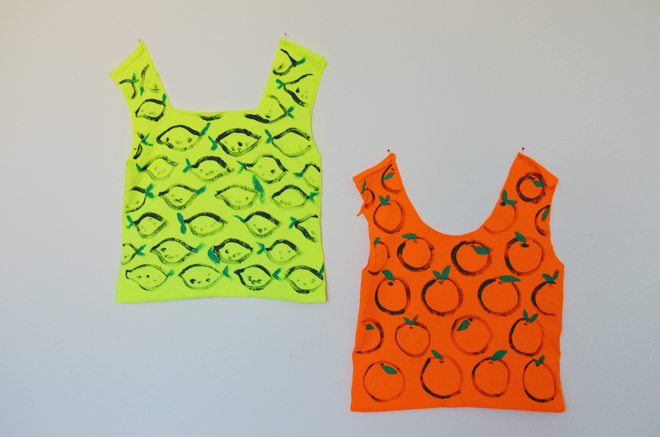
2. Cut off the sleeves and neck. We cut a square neck off one shirt and a rounded neck off another. I liked the rounded neck better. Reinforce the top of the shirt by sewing along the shoulder seam. Otherwise, since you cut the sleeves, the seam will be weak and the threads will come undone when you use your bag.
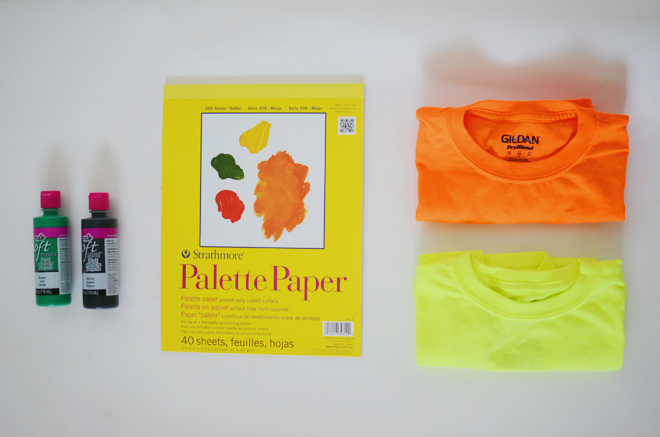
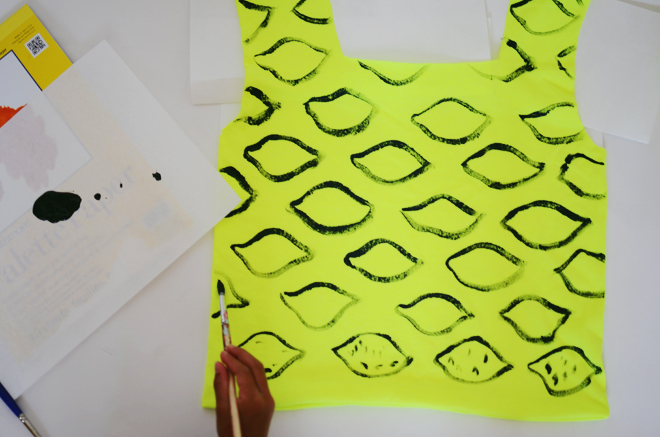
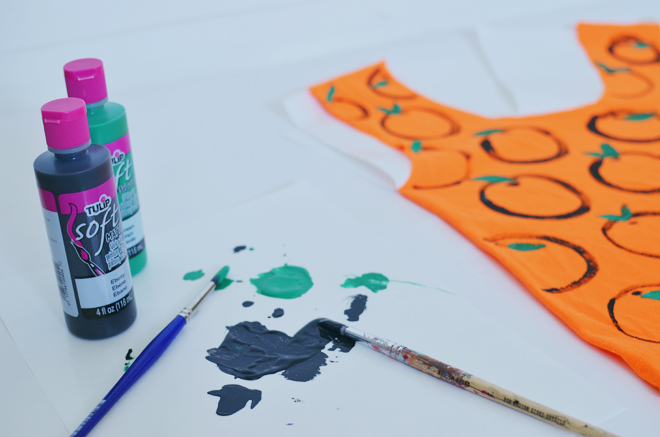
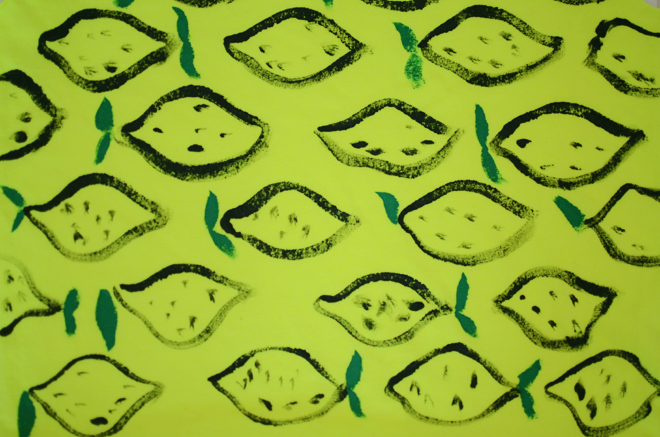
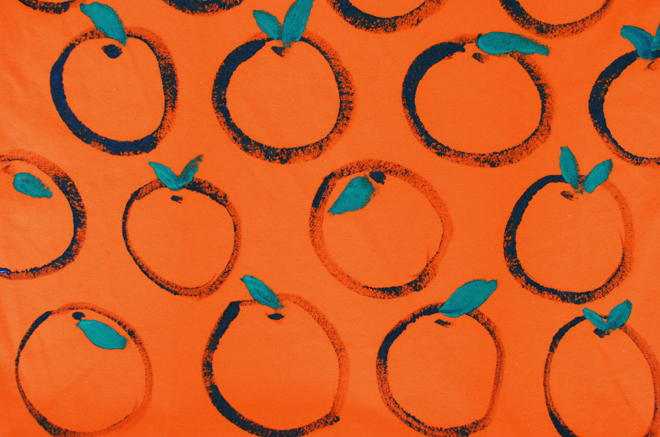
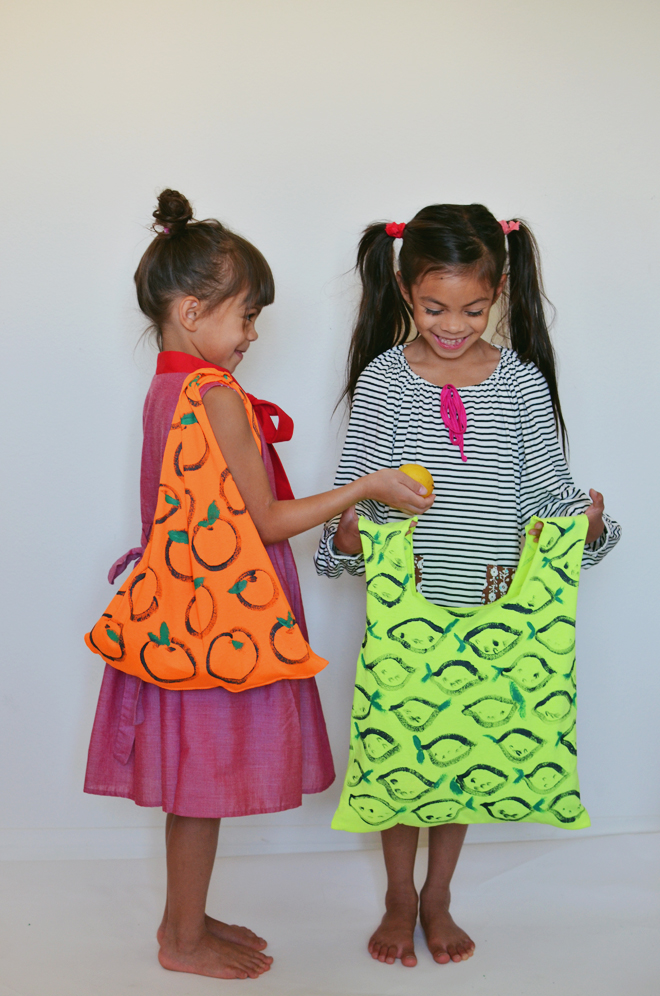
3. Turn the shirt right side out, insert palette paper between the shirt’s layers, and paint your design on. Allow one side to dry completely before flipping over to paint the other side.
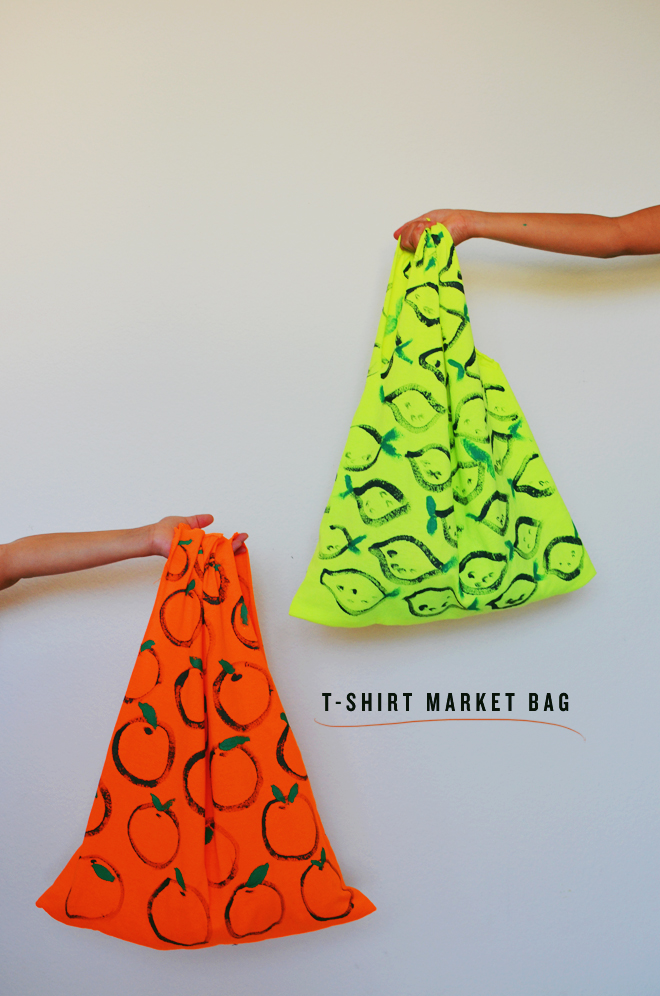
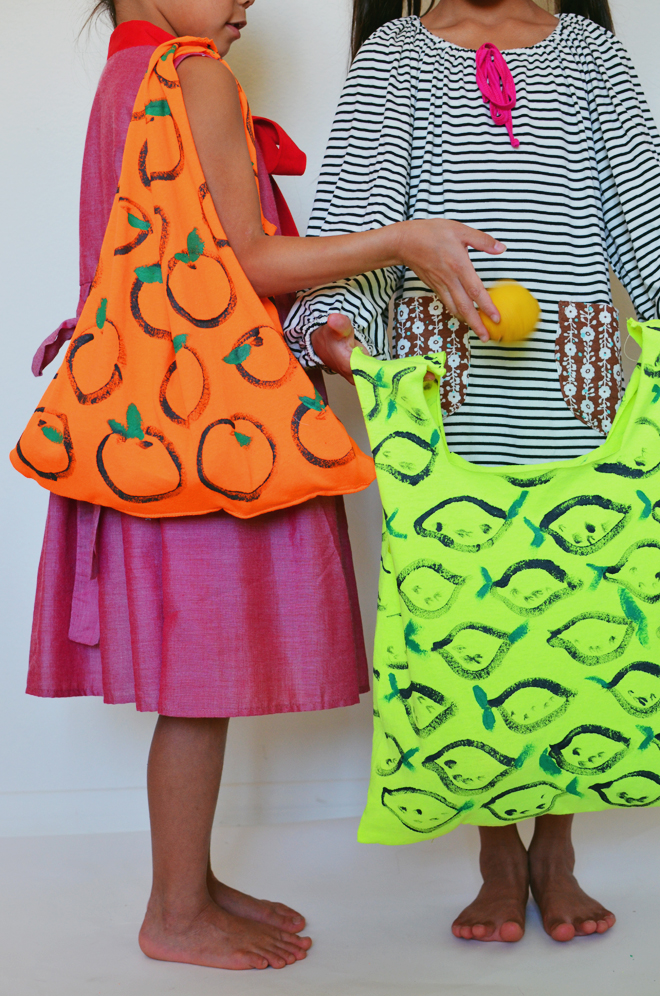
We chose to paint oranges and lemons because the shirts’ bright colors just called for something fruity.
The girls loved making it and they’re excited to start using it. It’s such an easy bag to make; use a new shirt or an old shirt, paint something on it or not, but who knew a simple t-shirt could be a cool market bag?!
I’m excited to be one of the Michael’s Makers Bloggers, since it’s my go-to place for craft supplies. Thankfully, they have a shop five minutes away from me, but if they aren’t that close to you, Michael’s now has online shopping available! They have projects on their new site, along with a supplies list and directions; you can even one click purchase all the items you might need for those specific projects. This market bag project is taken from their site (see it here) and the girls and I had a lot of fun working on it together. This is the first of the Michael’s Makers challenge, and I’ll have another one to share with you next month!
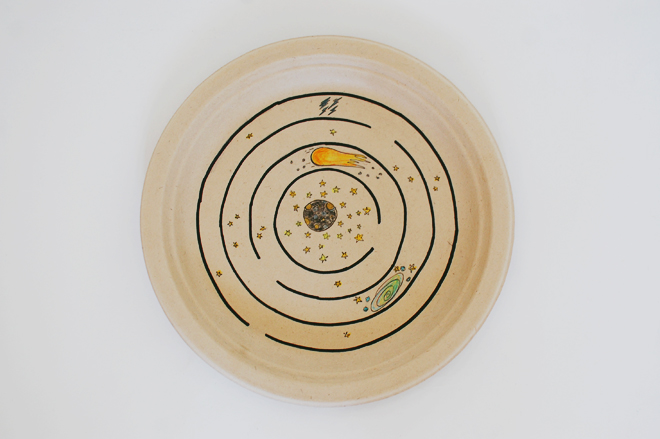
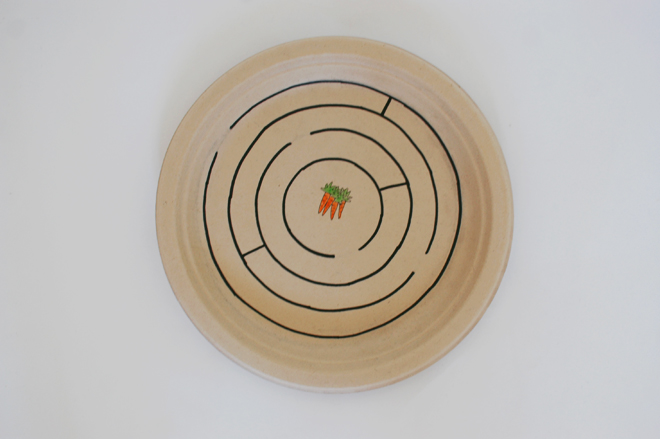
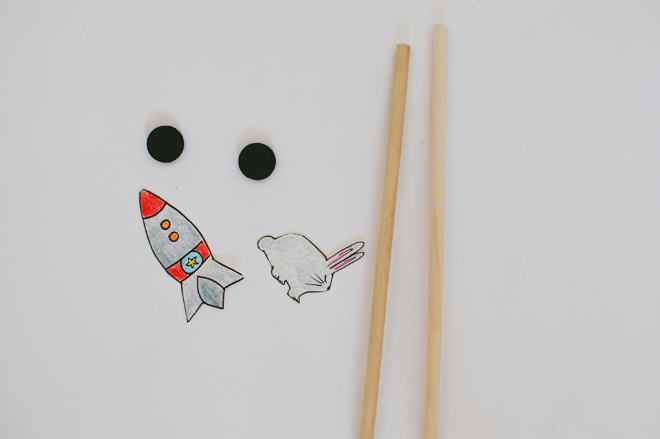
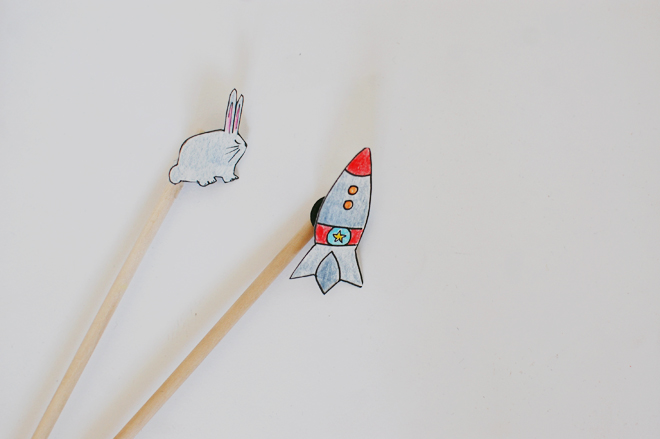
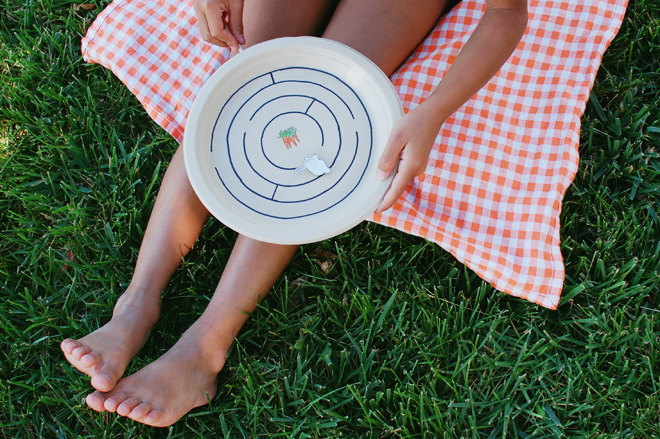
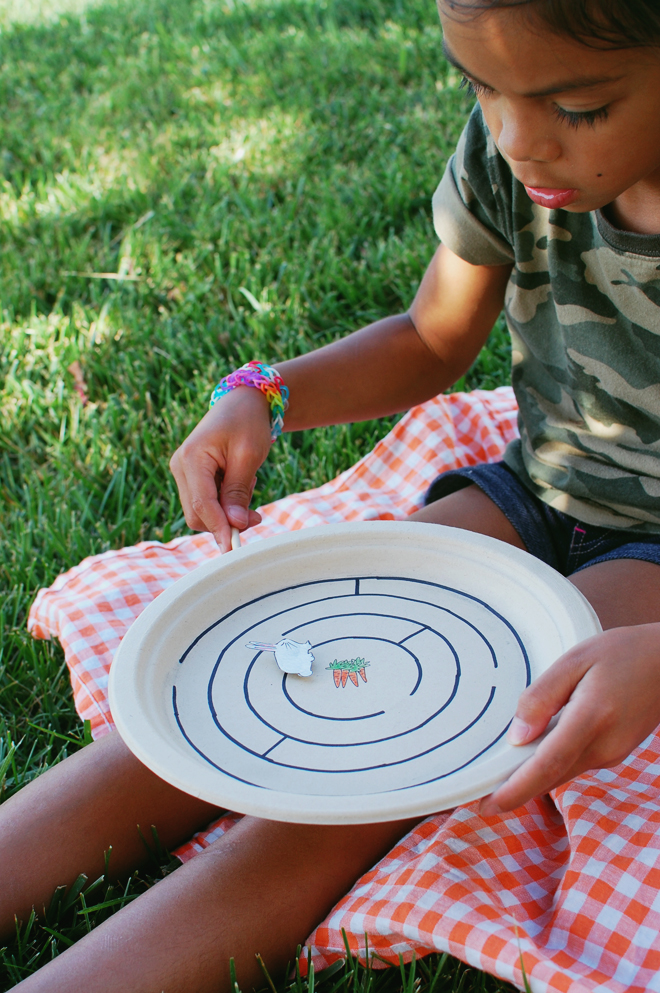
Supplies: Paper Plate Magnet Maze Template (print the bunny/space shuttle on card stock)
Paper plate (I think a regular white one would work well, but we had brown ones on hand, so that’s what we used)
Compass
Pencil
Markers (fine and thick)
Colored pencils 3/16″ x 12″ dowel 1/2″ button magnets (2 per maze/plate)
Glue gun & glue stick
Directions:
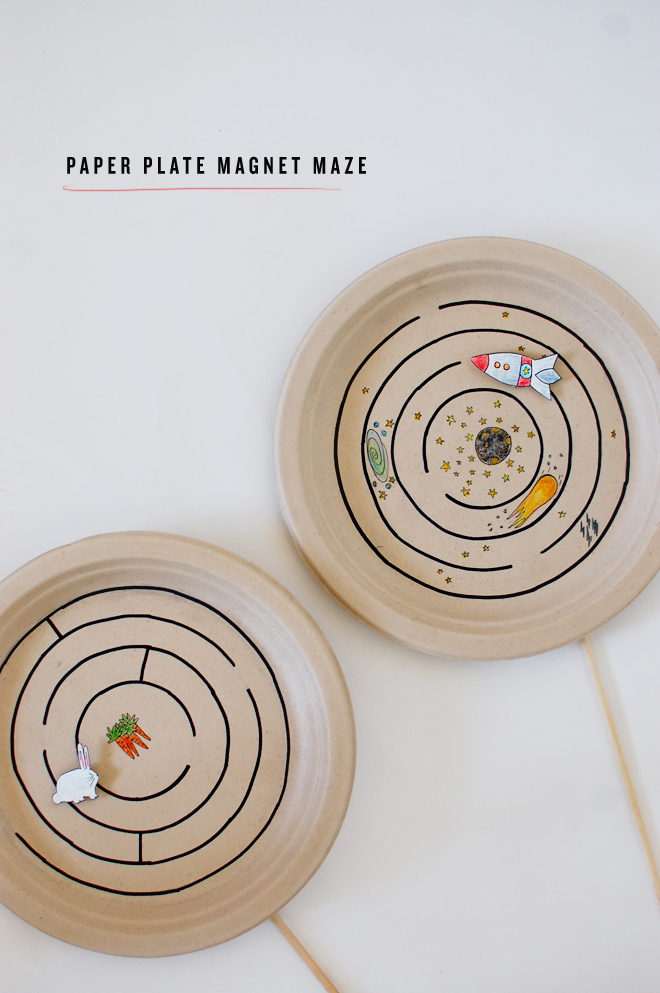
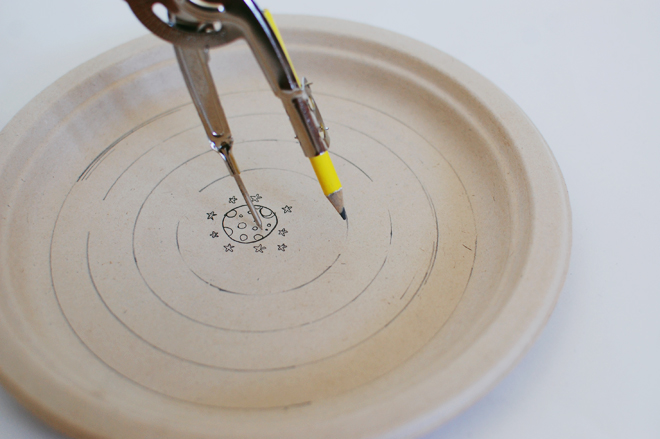
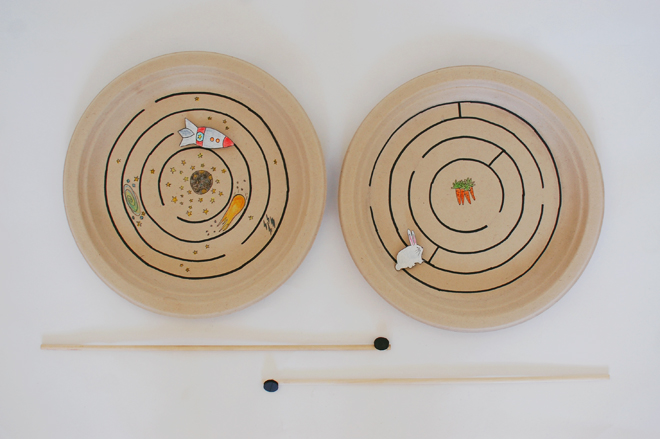
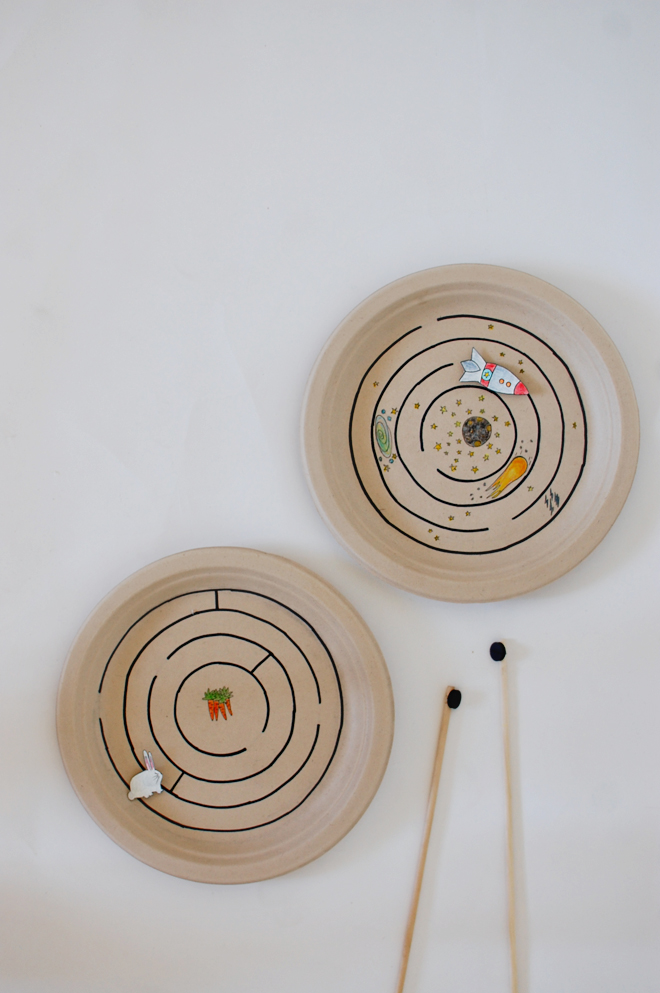
1. The template has a sample maze to use, or you can easily just make your own with a compass; use the bunny or space shuttle on the template, or make your own (e.g. car to a finish line, superhero to a damsel in distress, fish finding its way to a school of fish). If using a compass, make 4 circles lessening 1″ with each smaller circle. Each circular row, should have one opening to the next, and a barrier somewhere along the row as well. Go over the maze lines with a marker. Draw the moon or bunch of carrots (or whatever you choose for the winning destination) in the center and color.
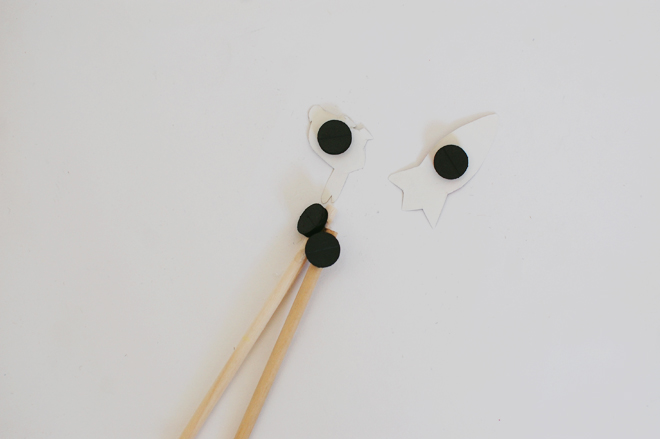
2. Color the bunny/space shuttle and cut out. Glue a magnet piece behind the bunny/space shuttle, and another on the end of the dowel to make the magnet wand. Make sure the opposite magnets are facing each other, so they will attract and be able to work together on the maze.
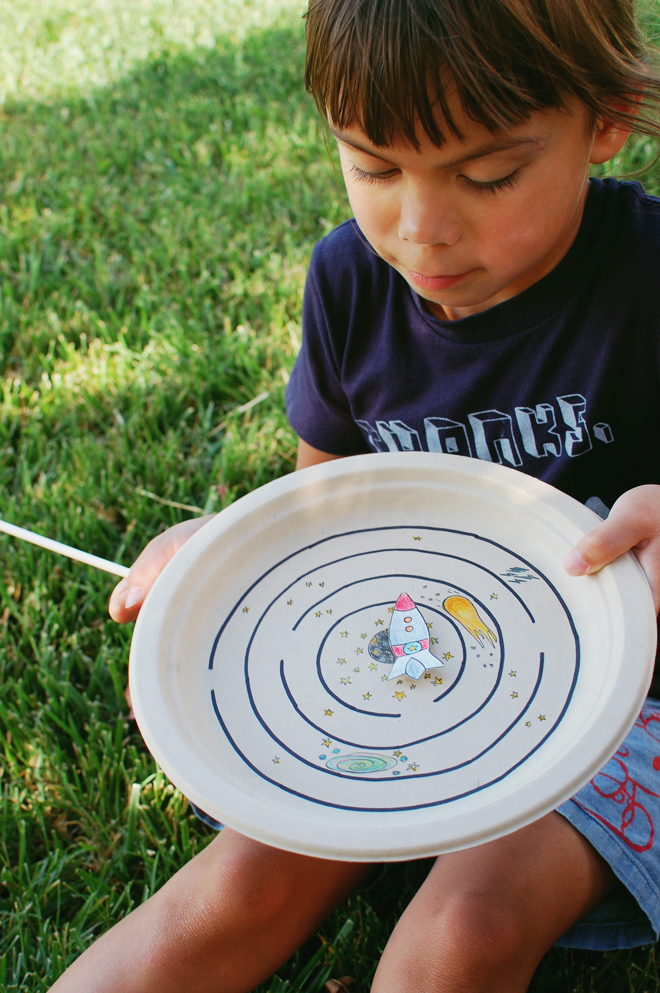
Hold the magnet wand under the plate and direct your bunny/rocket ship to the center of the plate!
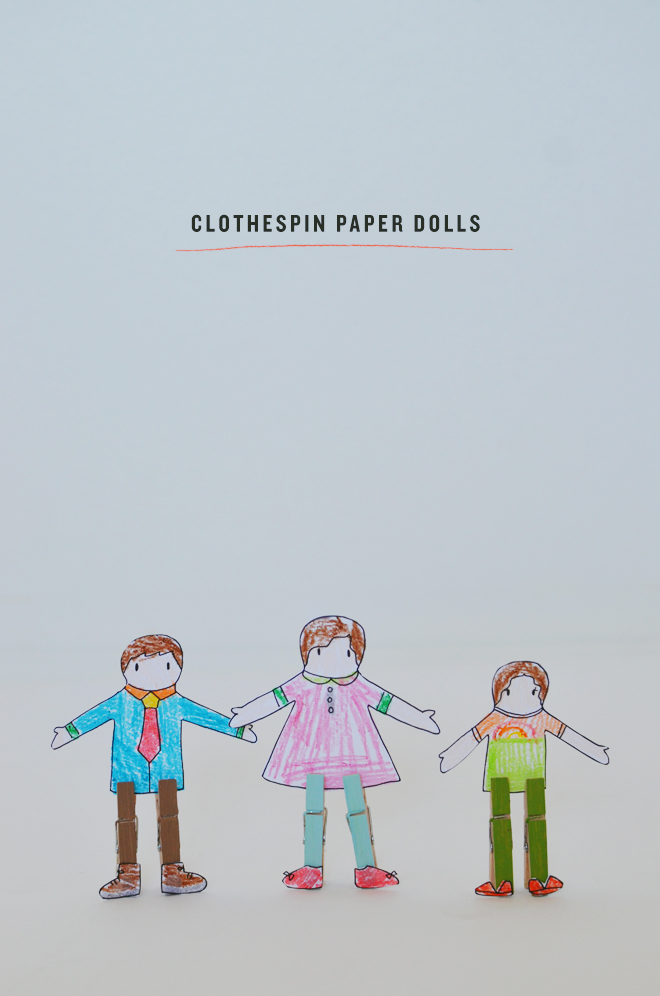
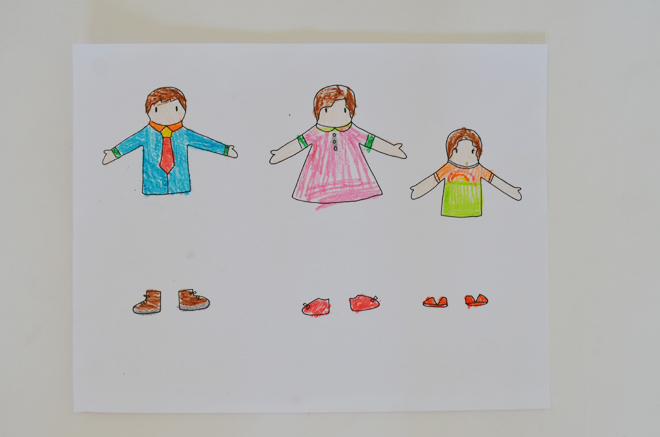
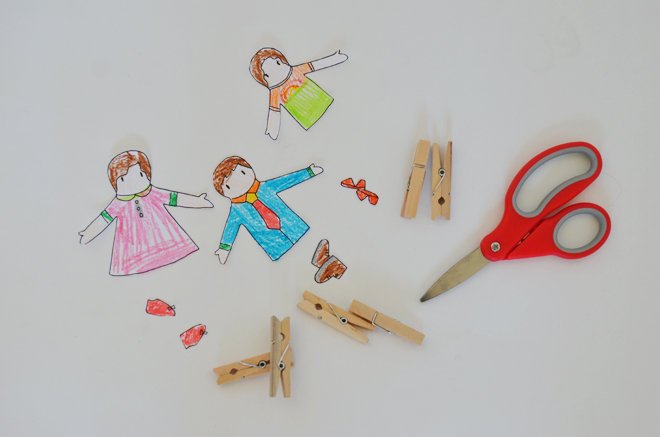
Supplies: Clothespin Paper Doll Template (best printed out on card stock)
Crayons
6 spring clothespins (I used 2 1/4″ clothespins)
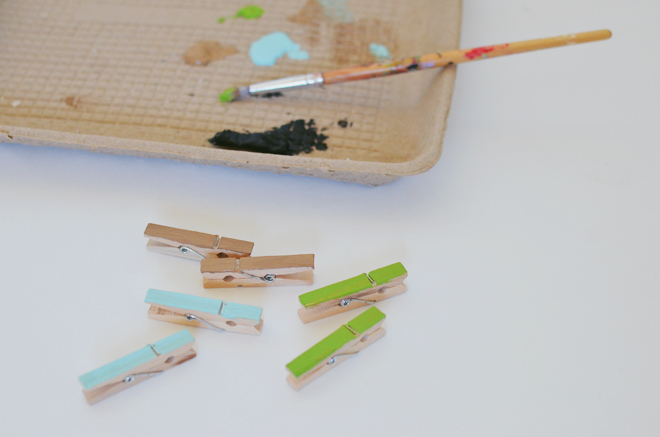
Paint & paintbrush
Glue
Directions:
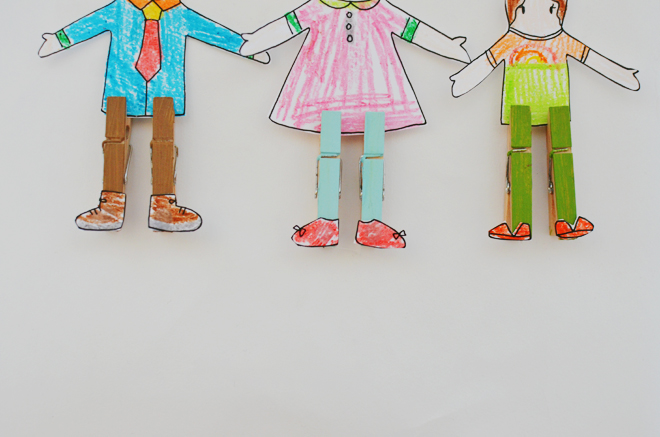
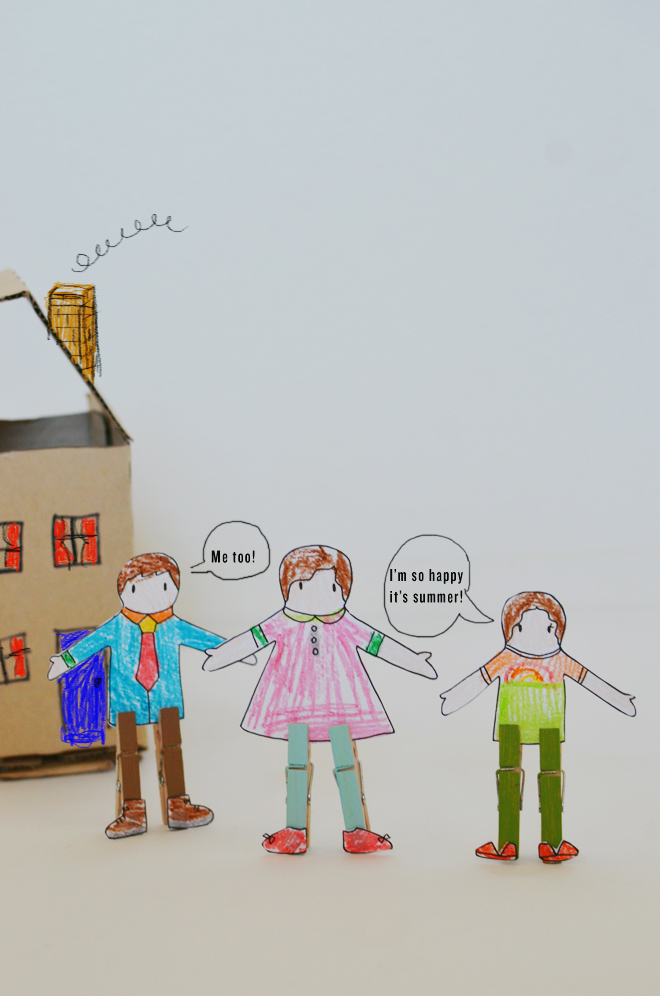
Color the paper dolls and cut out. Paint one side (or both sides) of the clothespins (2 per doll) and allow to dry completely. Glue the shoes onto the tip of the arm of the clothespin. Insert the doll into the pair of jaws on the clothespin, and there you have your clothespin paper doll.
It’s summer, well, not officially, but some kids are already out of school and ready to begin the summer fun. “Camp Home” will be a series of projects kids can do with things you might already have around the house (or won’t be that difficult to run out and get). My goal is to share a project a week and I will try my darnedest to stick to it throughout the summer. The girls and I made these on Friday, but they are already wanting to make more; I see a larger clothespin doll family in our future!
What are some of your go-to summer projects to do with kids?
I have a large growing pile of fabric scraps. I refuse to throw them away because I am sure they can be used for something. I have been seeing different types of interesting necklaces made of buttons, beads, and fabric. Then, I figured why not make one out of my scraps...
I think it made my white shirt a little less boring. This was so quick and easy to make.
How to make a recycled scraps necklace (which is very similar to the straps on my braided tablecloth bag):
1. Take your scrap fabric, I cut a .5''-1'' snip and tear the rest of the fabric down for a nice frayed edge. Used 3 different fabrics for each strand.
2. Take 3 of the torn pieces and tie the ends together with a rubber band.
3. Braid the 3 pieces together and tie ends together with rubber band when done.
4. Repeat steps 2 & 3 for more strands. Remember you can make the strands any length you want, if run out of fabric, just weave more into the braid.
5. Once all the strands you want are braided, gather one end of each strand together and straight stitch together with sewing machine. Repeat for the other ends of the strands. Snip off any excess.
6. Gather ends of the necklace and sew together (snip excess) or a ribbon can be sewn at the ends to be able to tie the necklace closed, but I just sewed both ends together.
7. Voila! A nice way to make use of all your lovely scraps.
Sorry if the directions get you a little lost, but it really is easy. I promise. Maybe I should put some in the shop. Please share any other good ideas you may have of things that can be made with scraps. I would love to hear (read) them!

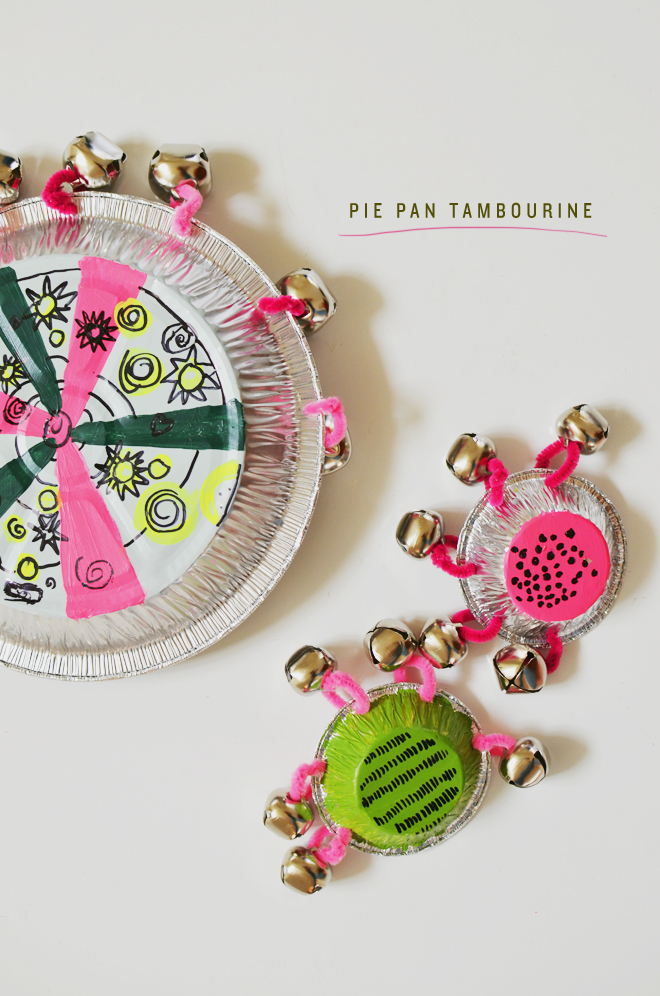 Pie Pan Tambourine
 2. Punch holes about 1/4″ in from the rim, and about 1 1/2″ from each other; create holes about three-fourths around the pie pan.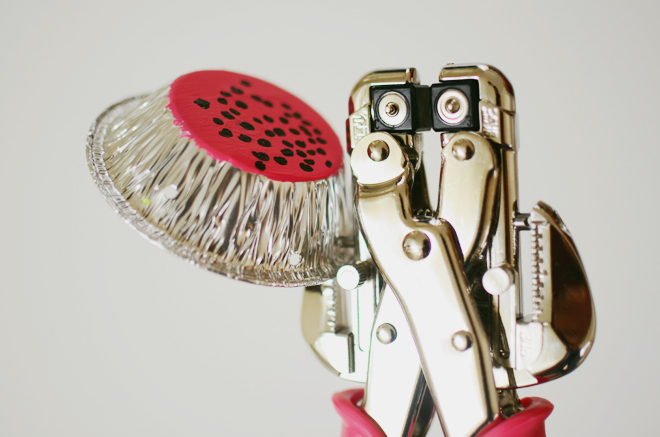
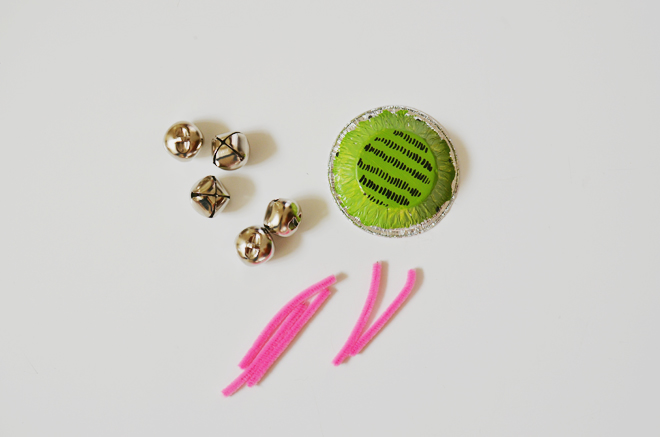 3. Tie a bell to each chenille stem, insert a stem through each hole around the pie rim, and twist the open ends together to close.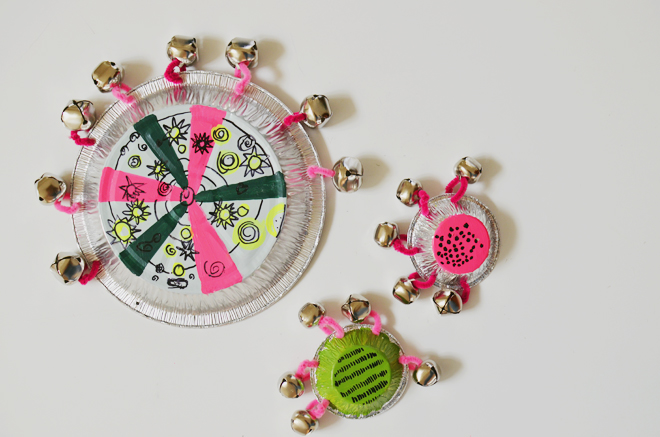
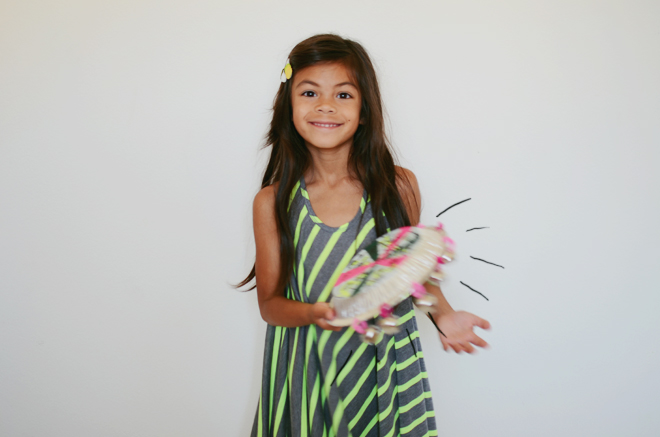
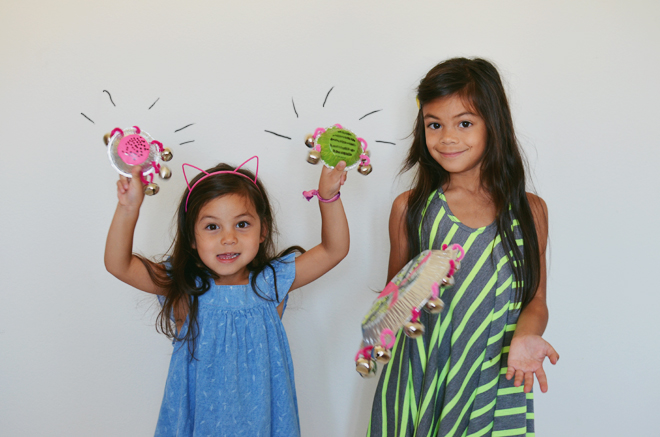
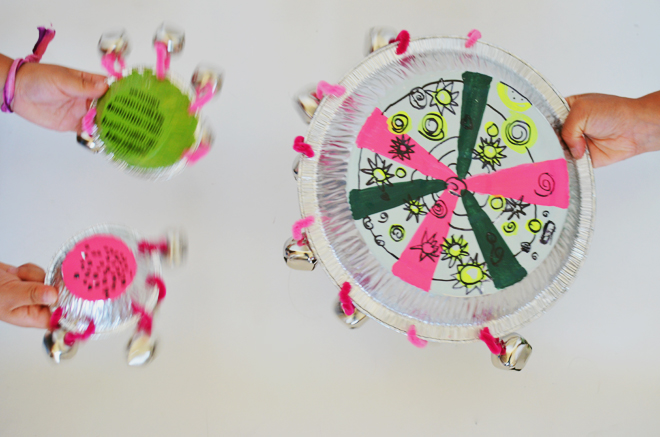
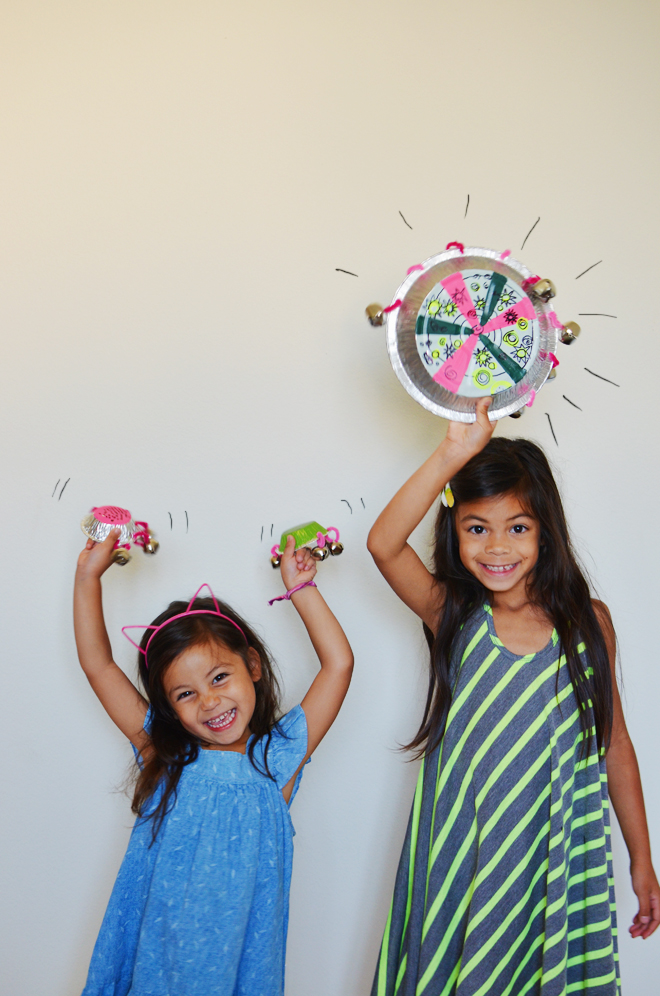 Have fun and make some music! Beware, once the children start, they may not stop. Make a bunch in different sizes and start your very own pie pan tambourine band!