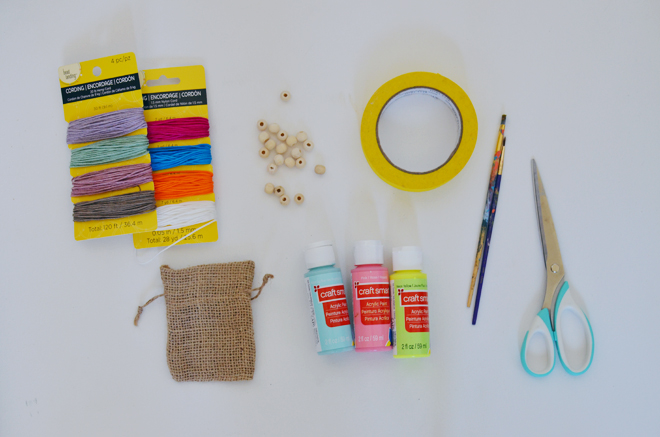
Supplies:
Cording in various colors (I used this; one in hemp and one in nylon) 3/8″ wooden beads
Craft paint
Paintbrushes
Masking tape
Scissors
Small burlap bag (from Michael’s new line called Raw Bar to debut August 8th) Directions:
1. Paint your wooden beads and allow them to dry completely. The little hands may have some trouble with the small size, but it’s still doable, or you can use larger beads for the younger children. Cut out 3 (of 4) 15″ strands of cording and add 3 beads to the center of the bracelet. Using a toothpick helps poke the cording through the hole. The 15″ cording is the size I used for a child’s wrist, but you may need to adjust the size if making for an adult.
2. Knot the cording on both sides of the beads. Using a piece of tape, tape one end of the bracelet onto table (or heavy surface), braid the opposite end. When about 1 1/2″ from the end, knot the cording together to secure braid in place. Repeat for the opposite end. Keep going with the rest of your beads and cording and make a ton more bracelets!
If making for a friend, use this sweet little burlap bags, paint a design in front, allow to dry completely, and slip one (or two) of the bracelets inside.
Traditionally, friendship bracelets use a type macrame, but I went simple since its for my little girls. They’ve been crazy about those Rainbow Loom bracelets (I find those little rubber bands all over the house!), so I knew they would have fun doing a little painting and braiding for these bracelets. They put together a couple in the burlap bag to give to one of their neighbor friends. Making friendship bracelets totally seems like a camp thing to do, so we made our own little version at home!
Supplies:
Colored paper (card stock would work too)
Scissors
Yarn
Clear tape
Glue
12″ Wooden skewers
Directions:
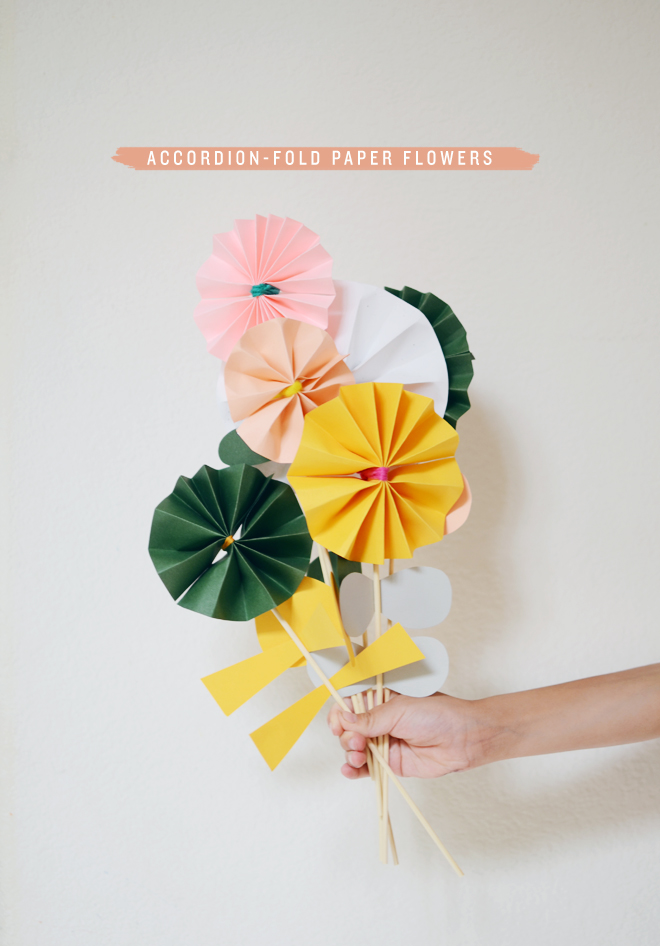
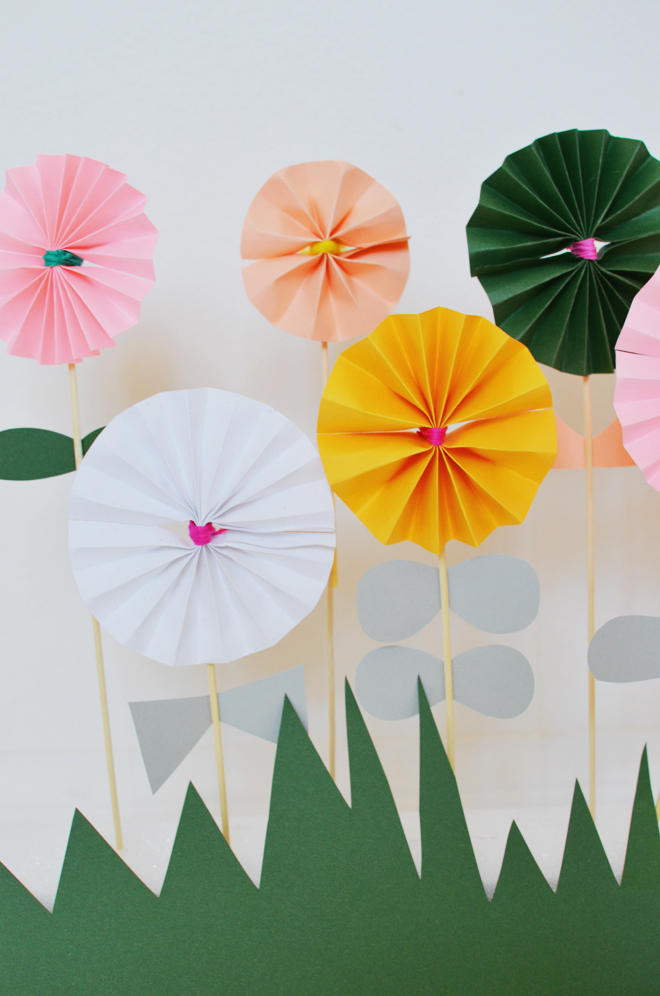
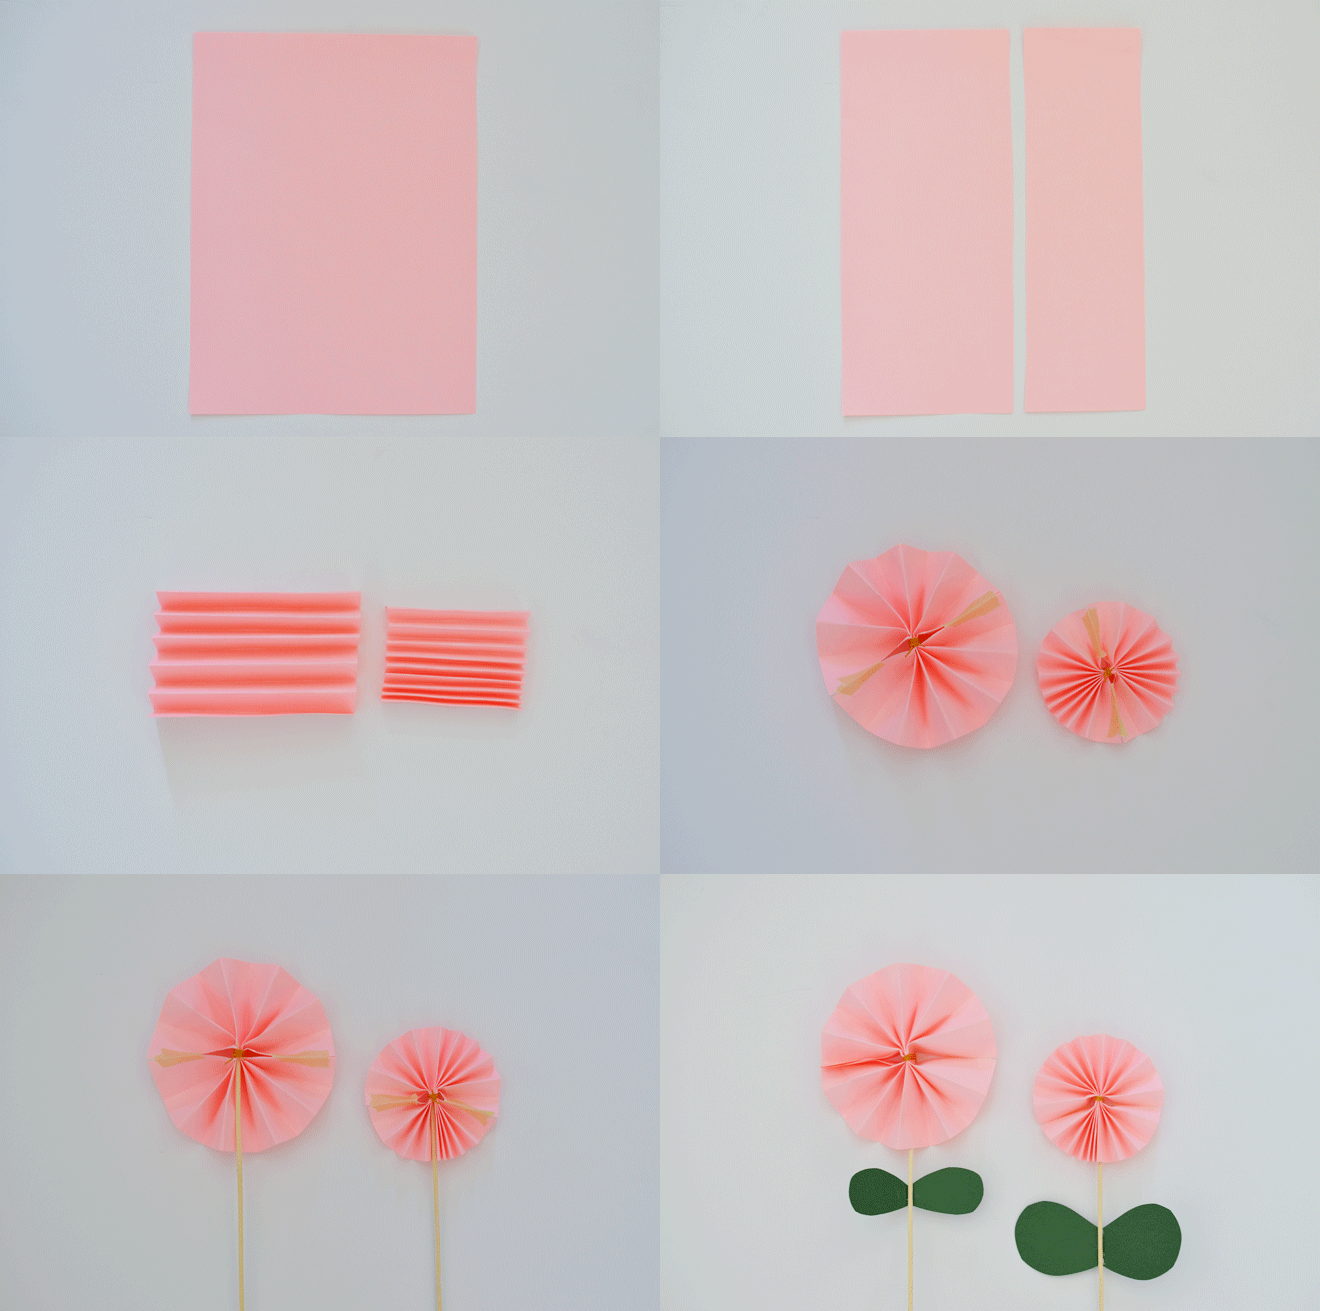
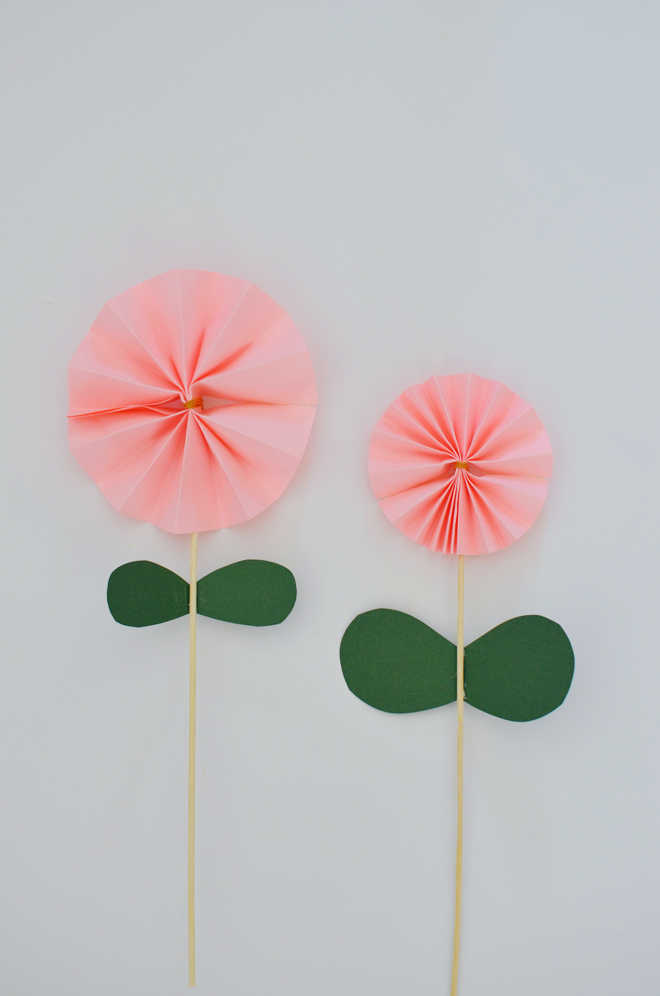
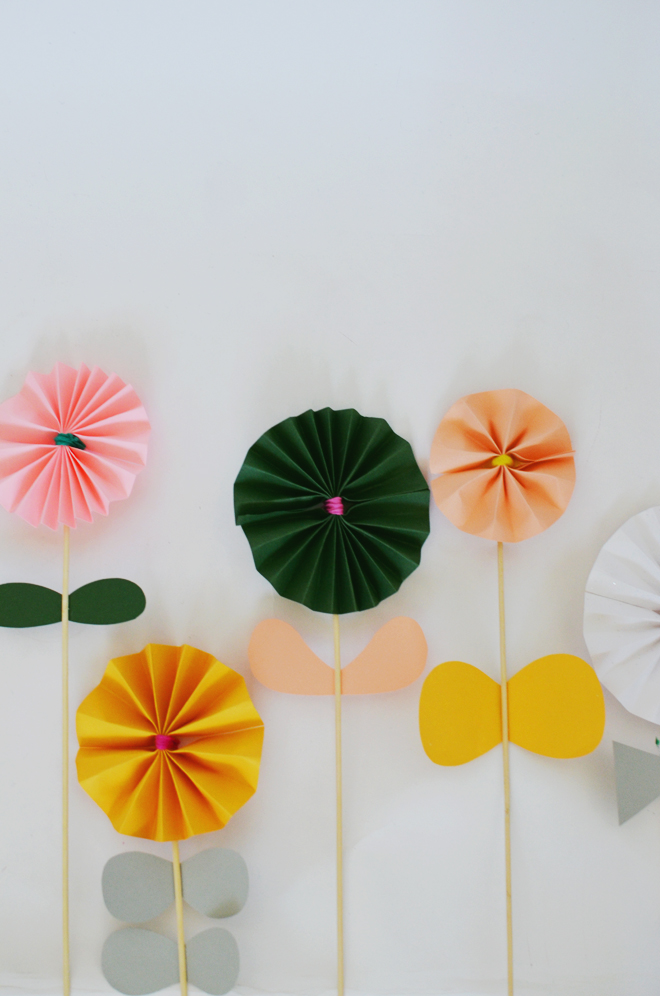
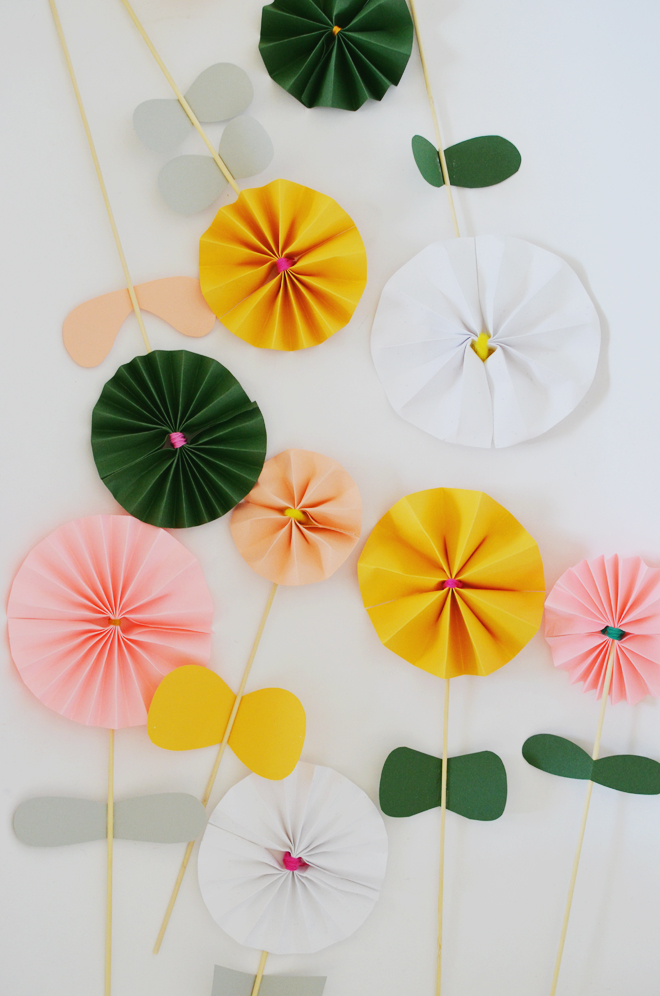
Cut your sheet of paper lengthwise into two separate strips. It doesn’t matter if the width of the strips are equal or not, the smaller the width of the strip, the smaller the flower. Start at one end of the strip and accordion fold the entire length of the sheet. If you get to the end and have excess, just trim it off. Fold the accordion folded strip in half, wrap a 8-10″ piece of yarn around the center and knot to secure. Open up the folds so that the ends can be taped (or glued) together to form the circle. Tape the two edges together at the back (I used masking tape so you could clearly see where I taped it, but clear tape would work best. If you’re using colored construction paper (we used card stock), glueing the open ends together to form the circle would work as well. Insert the pointed end of the skewer into the center fold at the back of the flower, use a dab of glue to set the wooden stem in place. Cut out your leaves and glue onto the the wooden stem. Repeat for the remaining strip of paper, and make many more! Play with the different width of the strips, and you can also make some strips with wider accordion folds, and others with narrower ones.
You can get even fancier with accordion paper flowers, but this way is quite simple and my girls had fun making it! After a two week break from projects, they are glad to be doing projects again.
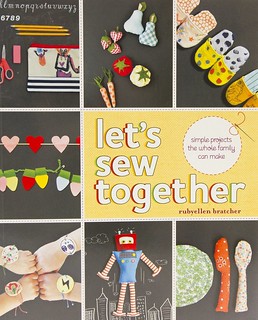
These are some book outtakes. It’s been out for a couple months now and I’m still very thankful for the opportunity and the wonderful things people are saying about it. It really has been such a dream!
I worked with a dream of a publishing company, Potter Craft, which is the craft division of Random House. I first received an email from my would-be-editor, Caitlin, back in November 2011. Yup, 2011! She sent a very nice emailing telling me of her interest in me and I was just floored. I read it, and re-read it over again to make sure my eyes weren’t fooling me; I read it right and the gist was a book opportunity and Random House. For a few months, Caitlin and I went back and forth on a couple different book proposals. The original idea is a bit different from what we ended up going with, but it’s something we felt would have a stronger result, and with all the books coming out recently, I’m glad we went with sewing as the main objective.
Jump forward to June 2012, Potter Craft accepted my official proposal, somewhere after I got a book agent to help navigate the deal, she then sealed the deal, contracts were signed, and I got to writing and creating.
Writing and photographing the book was done from end of June 2012 – March 1, 2013. I had to turn in progress materials somewhere between that point, but that time was full of sketching, crafting, sewing, pattern making, photographing, writing, and repeat all of that over and over again. I took most of the photos in the book and the ones where I’m in them, were done by my friend Kimberly Genevieve. My friend Ana was my extra eye on this project as she used to work in the fashion industry and was a technical designer, so she was that eye I needed to look over everything as I was doing them to make sure they were as clear and concise as possible.
Midway into book writing, I wasn’t getting as much writing and sewing time as I needed (I was juggling homeschooling, blog projects, and book writing, plus regular life stuff), so we needed to do something about that. Ben had an intern at work who was looking for a babysitting job while she was waiting to take the board state exams. She used to nanny full-time, and Ben said I would love her, so she started coming over a couple times a week to help out, and the girls loved her (so do I!), and we both got along so great. It was weird at first to have someone come in to help me. She would come over 2-3 times a week; I would do all the homeschooling in the morning, and she would come in the afternoon to help out with the girls, and leave at 5 just in time for me to cook dinner before Ben got home. This really made such a big difference in getting things done and allowed me to get a better work flow. Then the last two weeks of February, Ben’s mom came and helped hold down the fort so I could get work done in crunch time (our baby-sitter was busy doing her last leg of prep work for her state exams).
By February 2013, I was done with most of the book, but I was so saturated from working on it that I couldn’t think as clearly anymore; I’m thankful to have my friend Heather Rome step in and help style the final project shots. Kim also came in to take some additional book shots, so I could be in the pictures. Then, a day or so before its due date of March 1st, 2013, I turned everything in; I’m not typically a procrastinator and I like turning things in early. Edits and drafts took place that summer, and we were on our family vacation in New Mexico when I was sent the book cover. That moment made it real.
I still kept mum on the whole subject because my editor and I thought it best not to mention it until it was almost book release time. It was a really hard secret to keep, especially since it was a big part of our lives for so long, but obviously we managed. Plus, I’m a good secret keeper. We all had to sacrifice a little to make it happen, but it’s something we’re all proud of and everyone in the family contributed to the project in one way or another.
I finally mentioned it to you guys this past April and then it came out May 20th! I’m sure publishing companies may have different timelines depending the type of book, but it is really a long process to make a book happen. Not only that, so many different friends had a role in helping somehow from babysitting, to cutting, to checking my numbers, and the list goes on. I’m honored to be part of the Potter Craft family, and never in a million years would I have thought that Martha Stewart and I would share the same publisher! I think that’s pretty cool.
If you still haven’t picked up your copy of my book, you can do so here (or from the other links on the side of this blog), or your local bookstore might have it too. Thank you so much for all your support regarding it thus far. You really are part of what makes things like this possible. There’s a lot of bad and good on the internet, and you all are definitely part of the good.
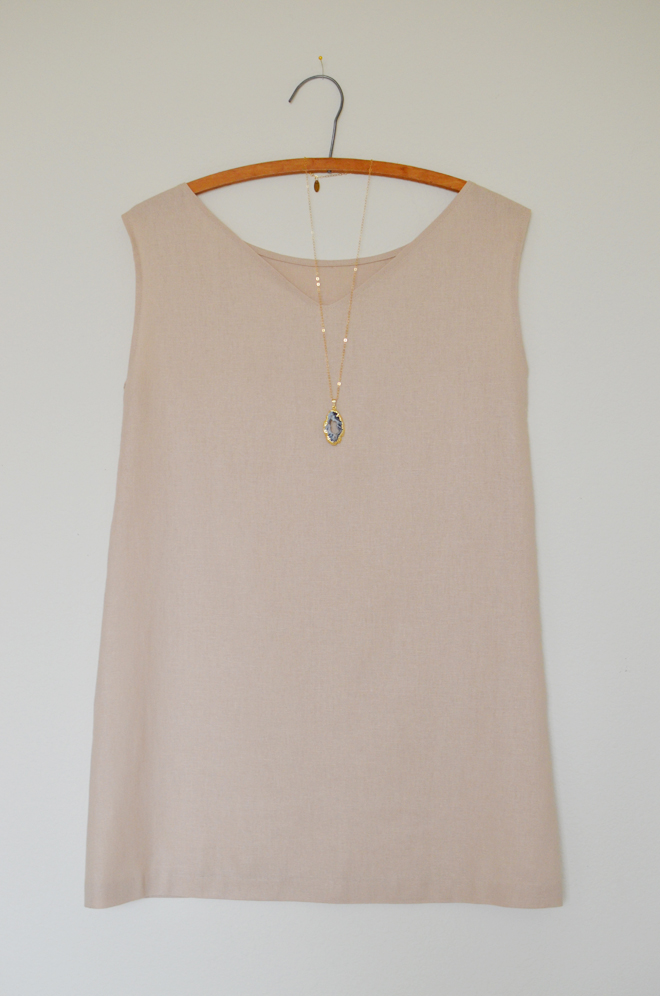
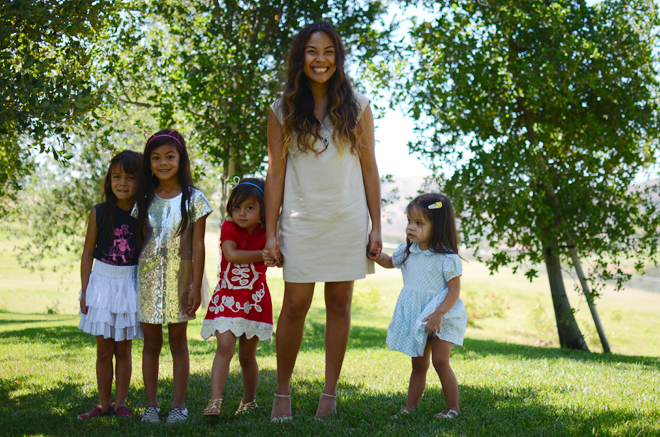
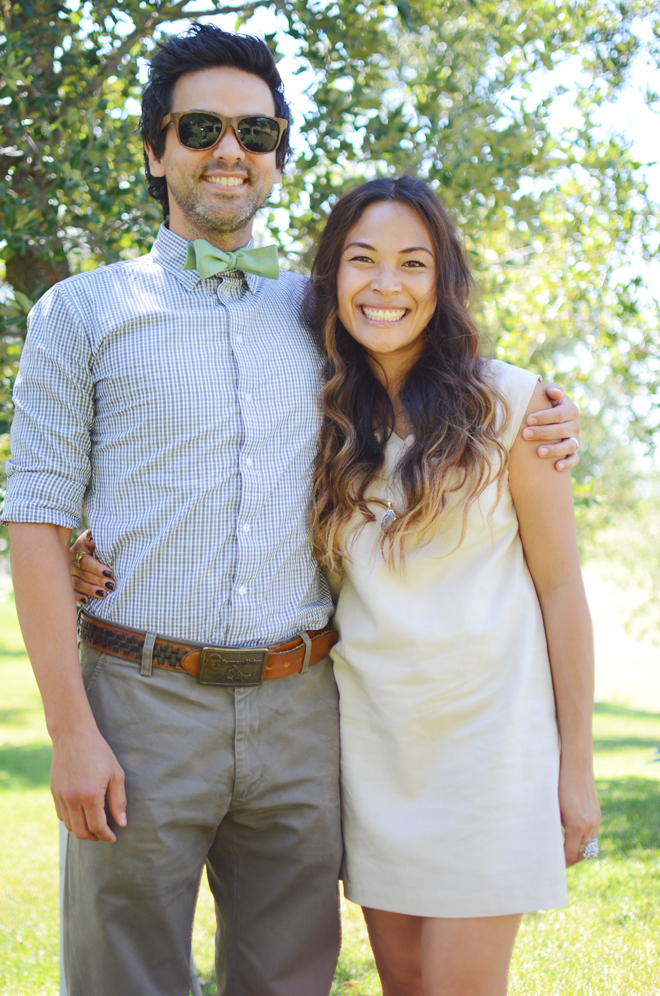
Our friends got married a couple weeks ago and I used the occasion to sew myself a dress. I had this blush-tan linen that I wanted to use, I did a V-neck front and I kept it all simple (it’s been the preferred dress style of late). I sewed bust darts, but didn’t like how it looked, so I took it out. I did a blind stitched hem to make it feel slightly more dressy, and just like that, I had myself a new dress. Sewing your own clothes always feels pretty great. It’s like bargain shopping, but better!
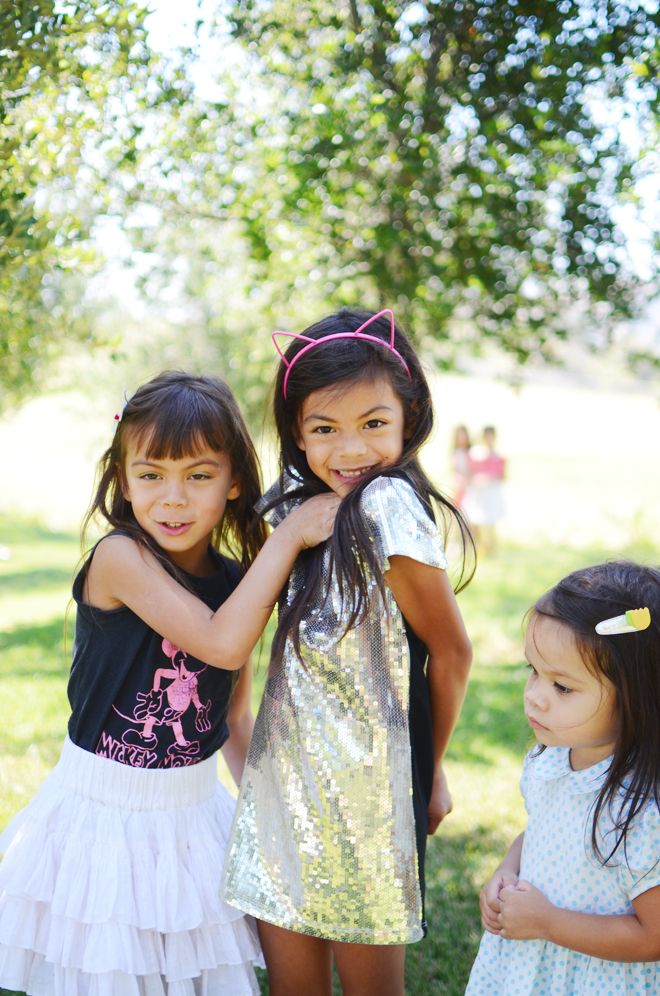
The girls were in awe as the bride walked down the aisle and they had so much fun running in the grass with their friends. I thought they were going to have fun boogying down on the dance floor, but they were acting shy and didn’t really let loose. They did let loose on all the dessert though, and boy did they come home on a sugar high. That’s all part of wedding fun though, don’t you agree?!
Directions:
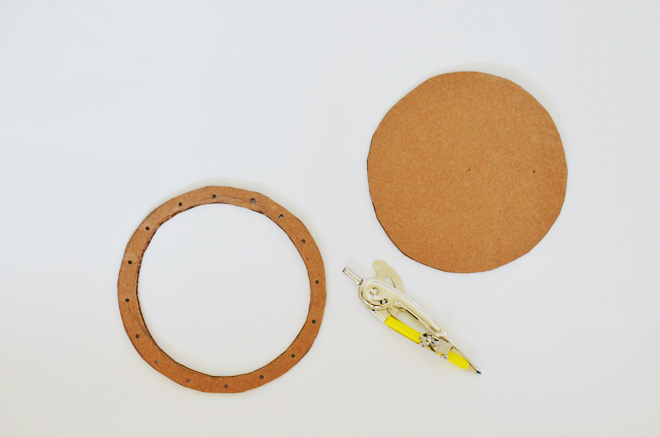
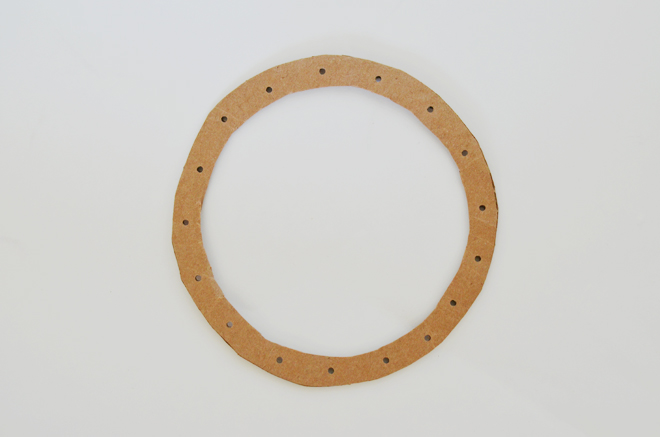
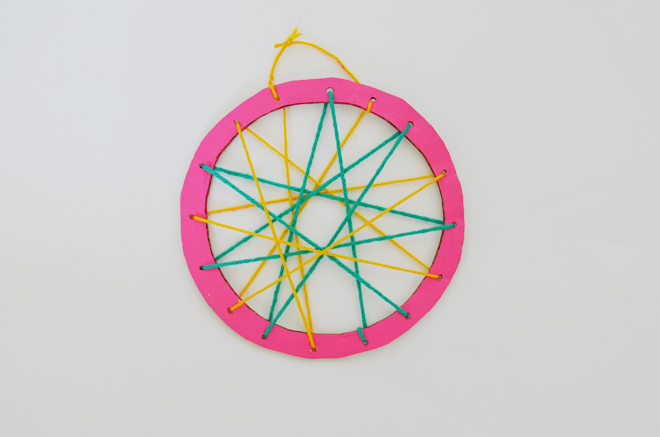
1. Choose your desired size for your cardboard hoop (the one pictured is about 6 1/2″ across), and using a compass (or freehand) create your outer circle. Make another circle within the larger one, so that the hoop is about 1″ wide all around. Cut out your cardboard hoop and punch a hole about 1″ apart all the way around.
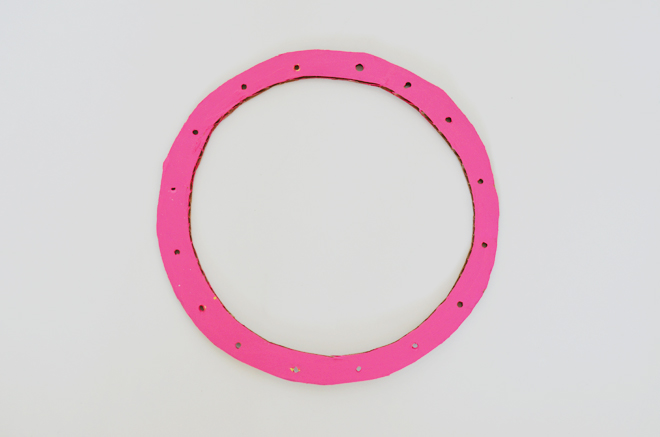
2. Paint your hoop or just leave it as is.
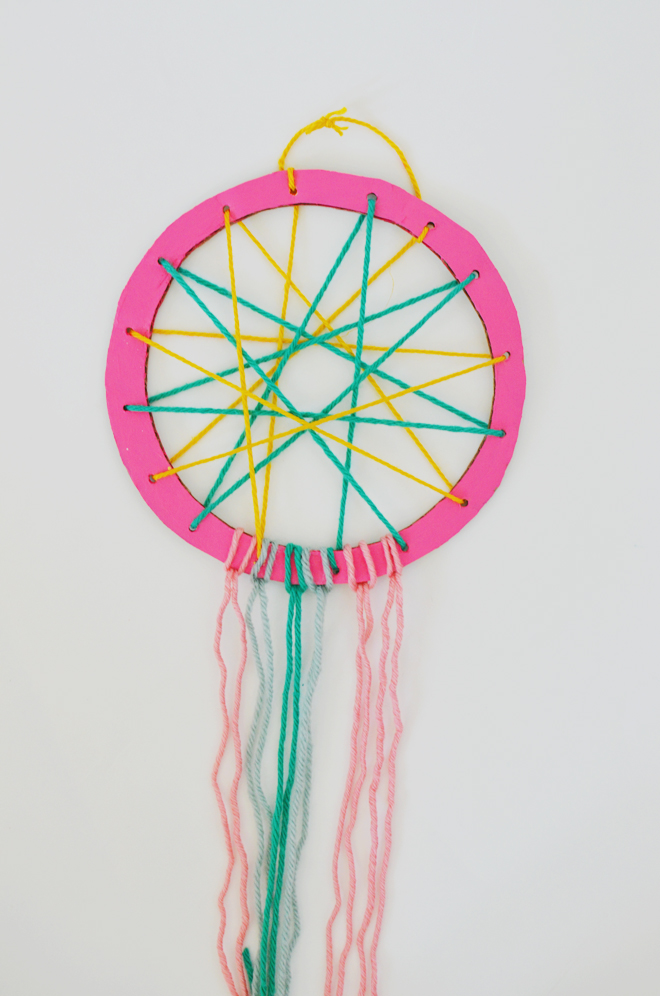
3. With your lacing needle and a long piece of yarn, tie a knot on the back of one hole and go across the front of the hoop into another hole. Pull the yarn across the back of the cardboard into another hole, and stretch it again across the front. Go back and forth until you have gone through all the holes. Tie a knot at the back of the hoop to begin, and another knot to end and secure the yarn. If desired, pick another color yarn and repeat weaving across and back through the hoop again. There’s no wrong pattern when creating your weave, so allow your child create their own pattern by playing connect the dots with the yarn and holes. Tie a small piece of yarn at the top through two holes, so you have a loop for hanging.
4. Attach 6 – 24″ strands (or use whatever length you desire) of yarn to the base of the hoop.
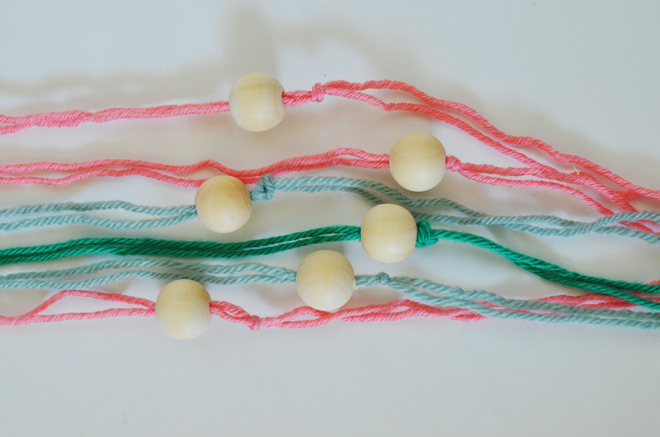
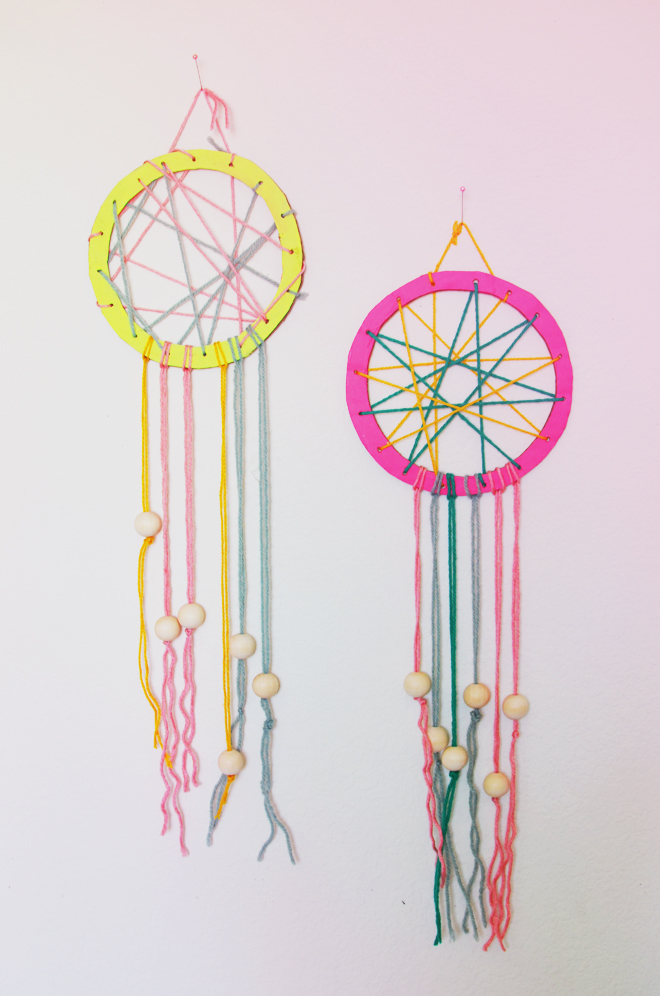
5. Add a wooden bead to the hanging yarn, knot under the bead to secure the bead in place.
This project enables children to practice connecting the dots and their hand and eye coordination. You can make this in different sizes and maybe hang fabric strands from the bottom.
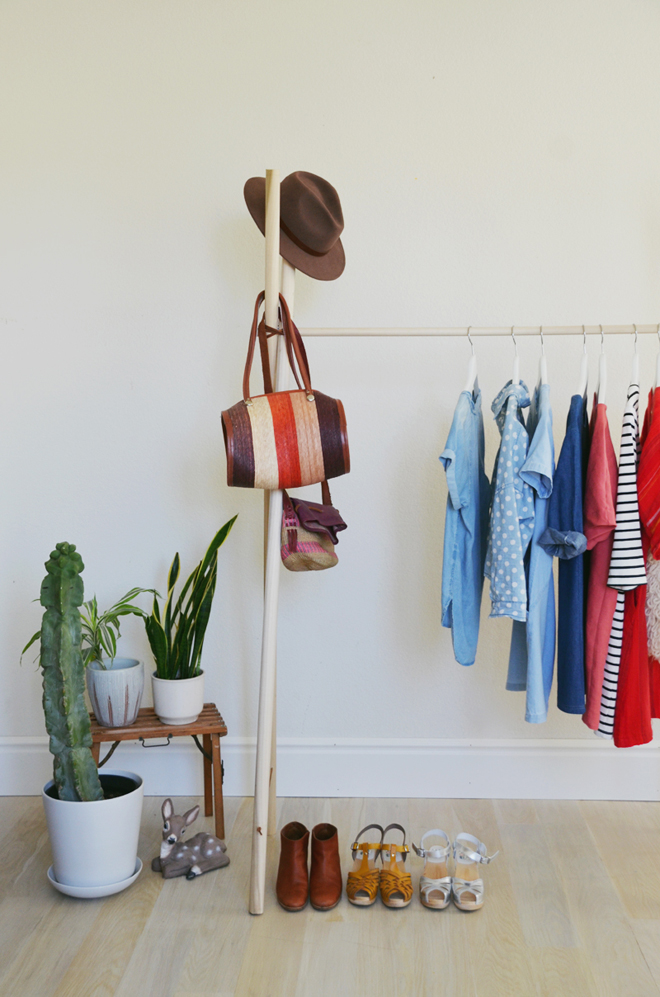
Totally late in sharing this here, but here are a couple projects I did for ABM back in April. This wax print hobo bag is perfect for summer, and this easy dowel clothing rack is wonderful for displaying some of your favorite pieces (it’s easy to make and store too!) What are some of your favorite DIYs you’ve found on the web lately?
I have a large growing pile of fabric scraps. I refuse to throw them away because I am sure they can be used for something. I have been seeing different types of interesting necklaces made of buttons, beads, and fabric. Then, I figured why not make one out of my scraps...
I think it made my white shirt a little less boring. This was so quick and easy to make.
How to make a recycled scraps necklace (which is very similar to the straps on my braided tablecloth bag):
1. Take your scrap fabric, I cut a .5''-1'' snip and tear the rest of the fabric down for a nice frayed edge. Used 3 different fabrics for each strand.
2. Take 3 of the torn pieces and tie the ends together with a rubber band.
3. Braid the 3 pieces together and tie ends together with rubber band when done.
4. Repeat steps 2 & 3 for more strands. Remember you can make the strands any length you want, if run out of fabric, just weave more into the braid.
5. Once all the strands you want are braided, gather one end of each strand together and straight stitch together with sewing machine. Repeat for the other ends of the strands. Snip off any excess.
6. Gather ends of the necklace and sew together (snip excess) or a ribbon can be sewn at the ends to be able to tie the necklace closed, but I just sewed both ends together.
7. Voila! A nice way to make use of all your lovely scraps.
Sorry if the directions get you a little lost, but it really is easy. I promise. Maybe I should put some in the shop. Please share any other good ideas you may have of things that can be made with scraps. I would love to hear (read) them!

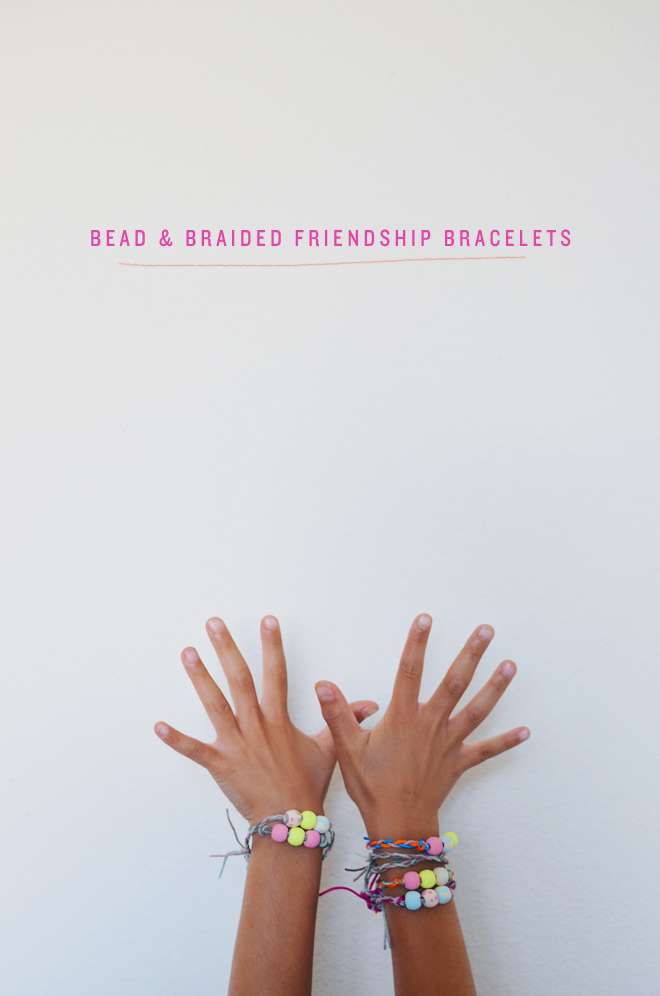 Bead & Braided Friendship Bracelets
 Directions: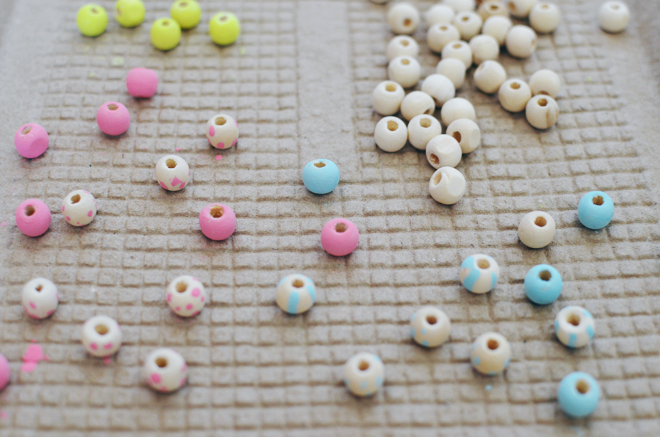
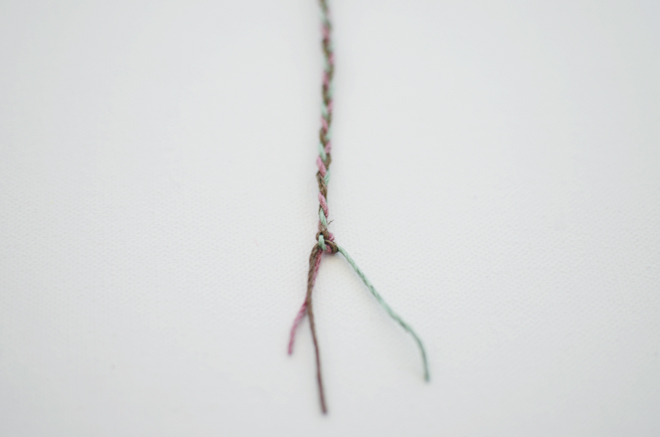
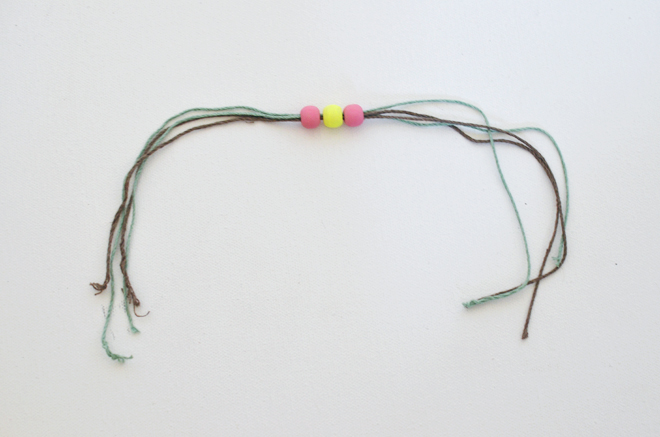 2. Knot the cording on both sides of the beads. Using a piece of tape, tape one end of the bracelet onto table (or heavy surface), braid the opposite end. When about 1 1/2″ from the end, knot the cording together to secure braid in place. Repeat for the opposite end. Keep going with the rest of your beads and cording and make a ton more bracelets!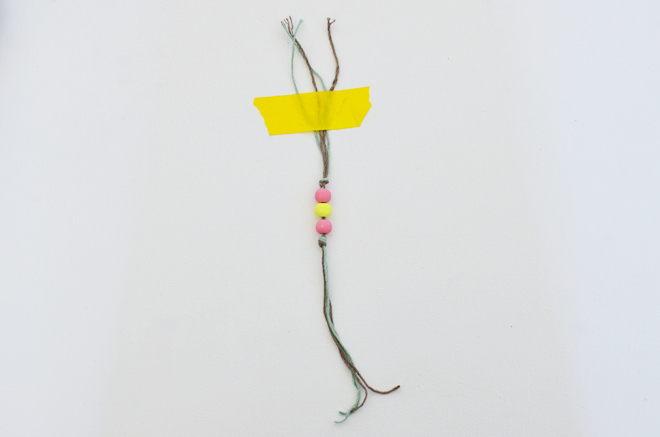
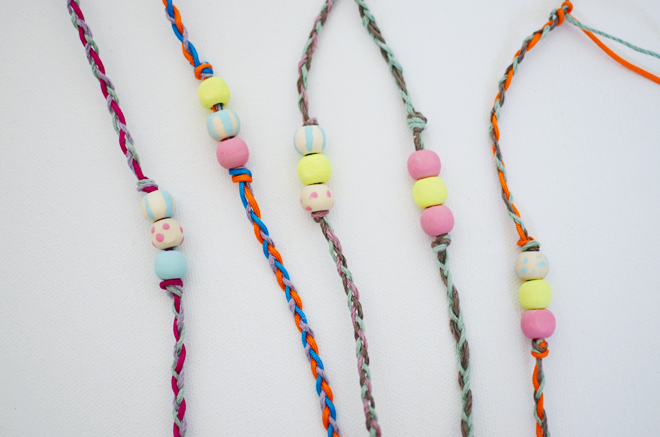
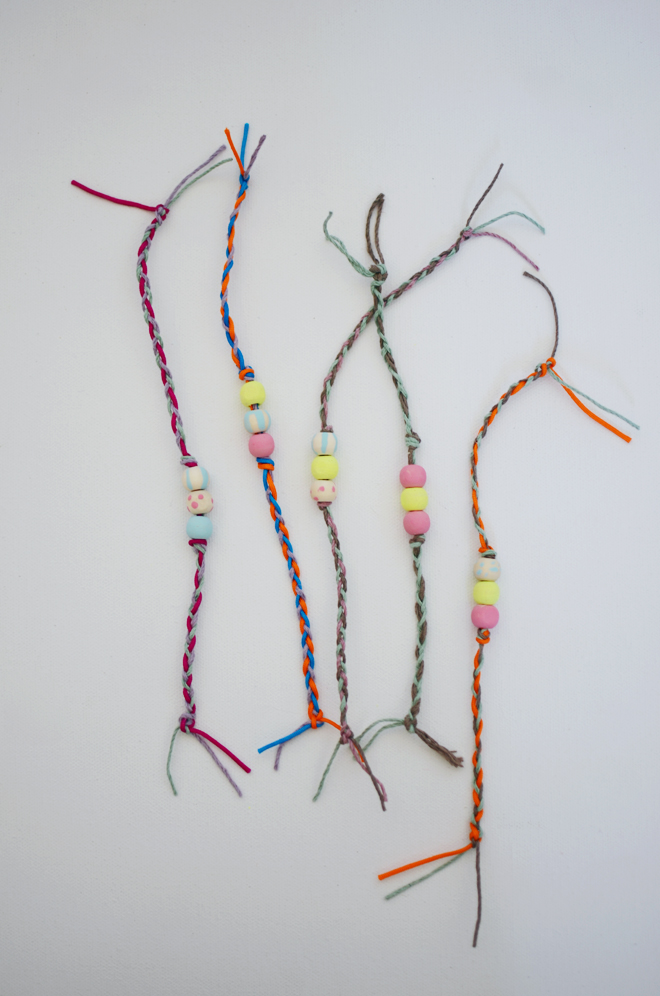 If making for a friend, use this sweet little burlap bags, paint a design in front, allow to dry completely, and slip one (or two) of the bracelets inside.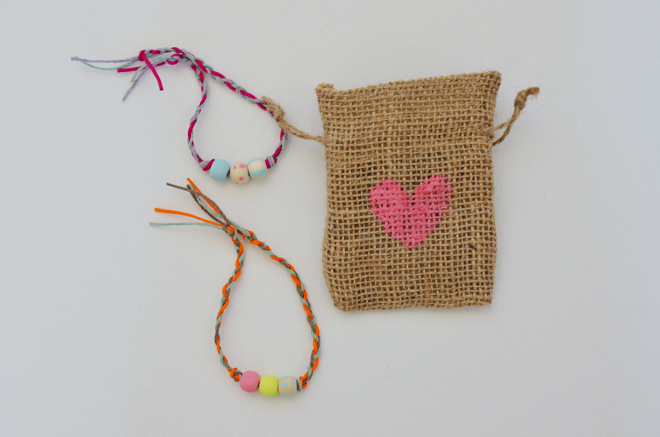
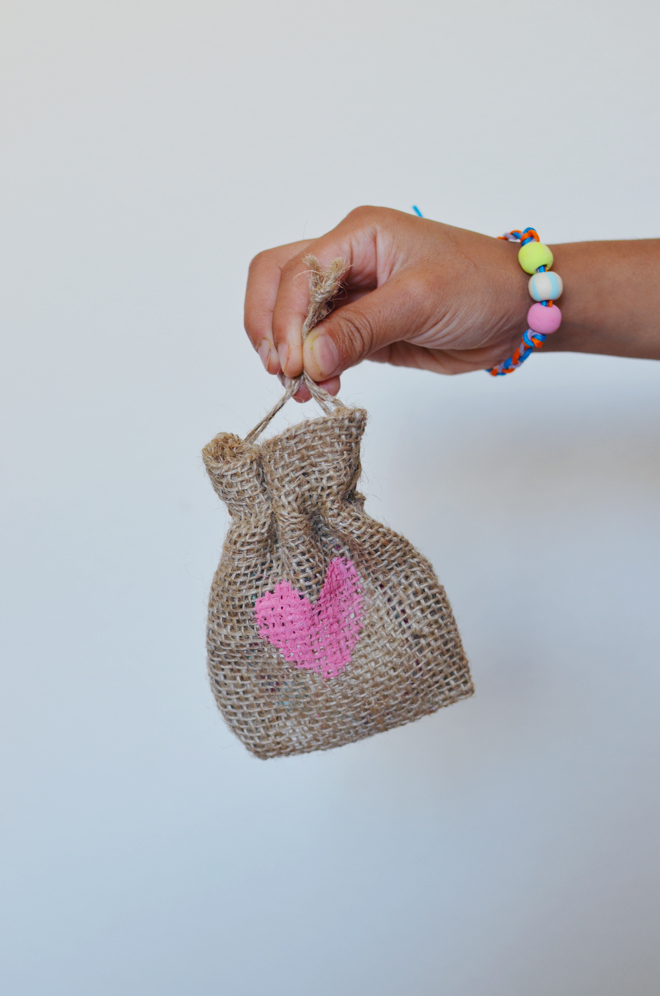
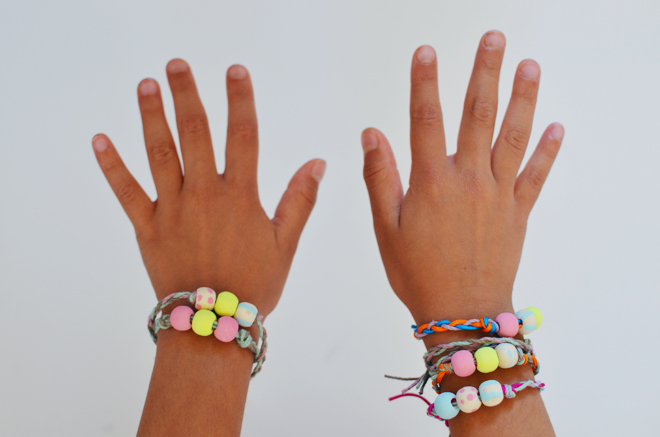 Traditionally, friendship bracelets use a type macrame, but I went simple since its for my little girls. They’ve been crazy about those Rainbow Loom bracelets (I find those little rubber bands all over the house!), so I knew they would have fun doing a little painting and braiding for these bracelets. They put together a couple in the burlap bag to give to one of their neighbor friends. Making friendship bracelets totally seems like a camp thing to do, so we made our own little version at home!