This is a dress I made earlier this summer to take along with me on our trip to Singapore (and to wear many more times after that). It’s inspired by this Ace & Jig dress I’ve always liked, but I’m not a fan of racerback tops, so I did my own tweaking and tinkering to come up with one that would work for me. I thrifted this linen fabric at the thrift store and knew it would be perfect for a summer dress. There are no darts since it’s just a loose dress, but I did do simple pleats all around the skirt. I really love being able to make my own clothes. To me, it’s like shopping, but without spending any money, especially when this fabric was only $5 for 5 yards of it!
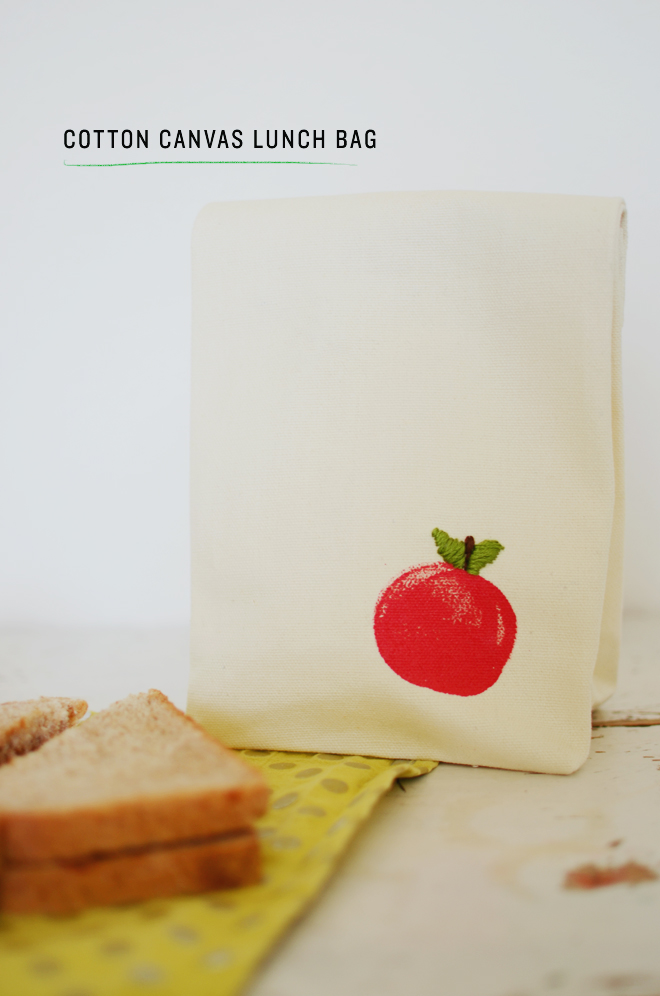
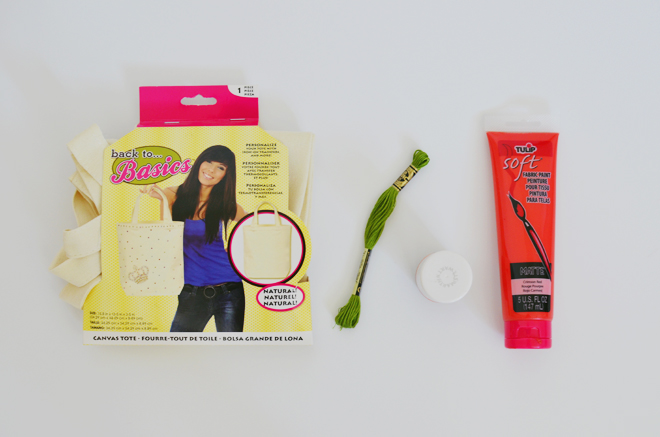
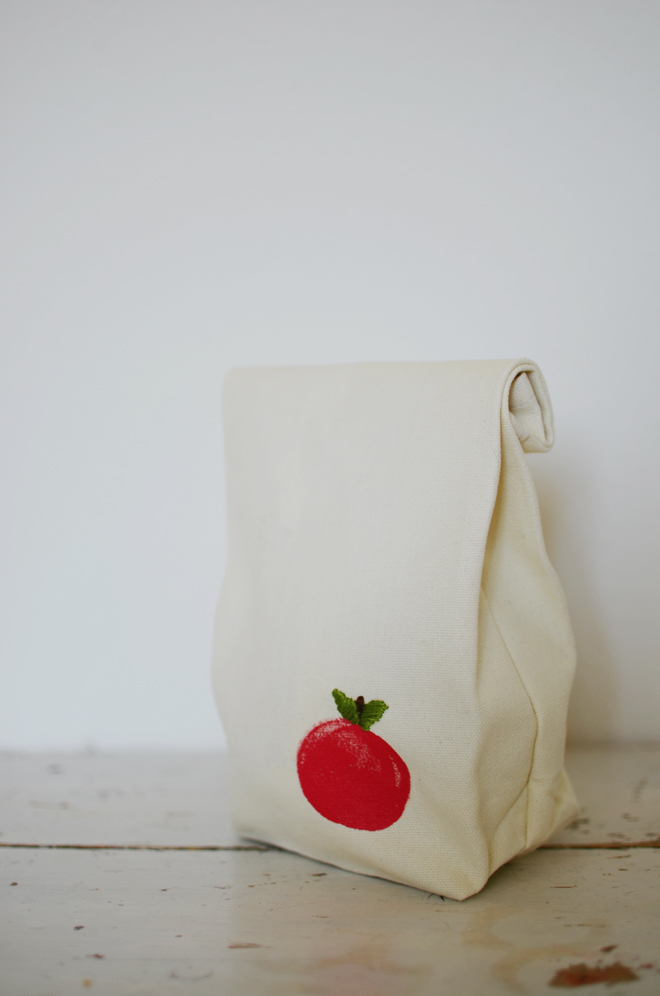
Supplies: Cotton canvas tote bag (13 1/2″ 13 1/2″ x 3 1/2″)
Scissors
Sewing machine
Coordinating thread Fabric Paint
Round sponge (or just paint a circle on) Embroidery floss
Hand-sewing needle
Pins
Iron & ironing board
Seam allowance: 1/4″
Directions:
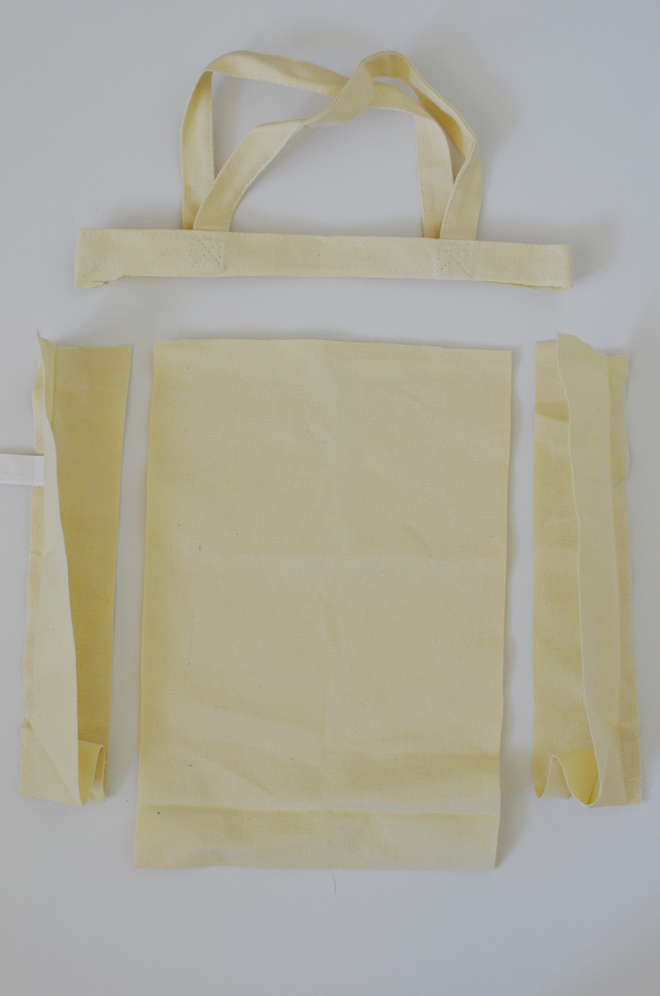
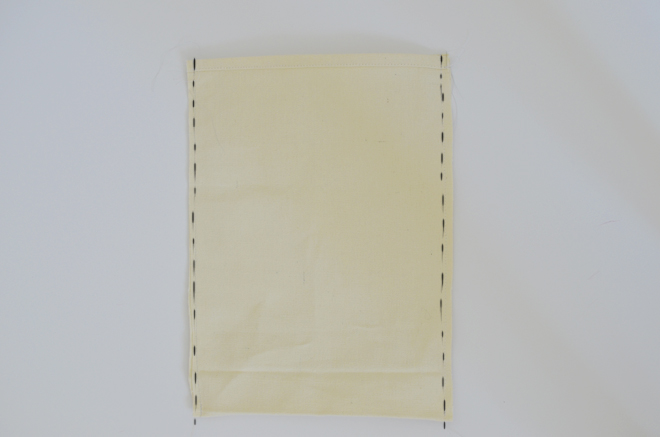
1. Iron the bag to remove any major creases. Cut off 1 1/4″ from the top of the bag (including the handles), and 2″ off both sides of the bag.
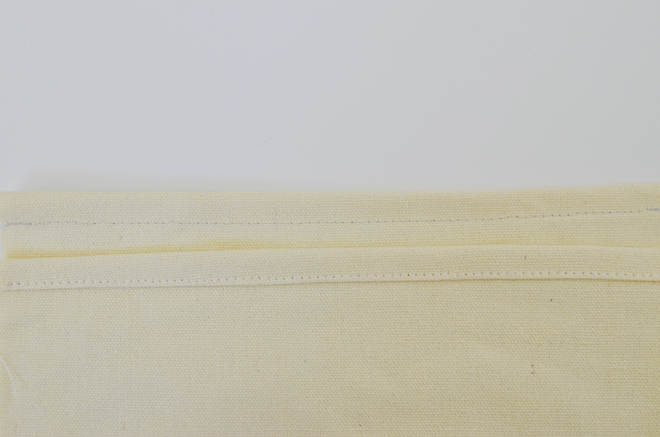
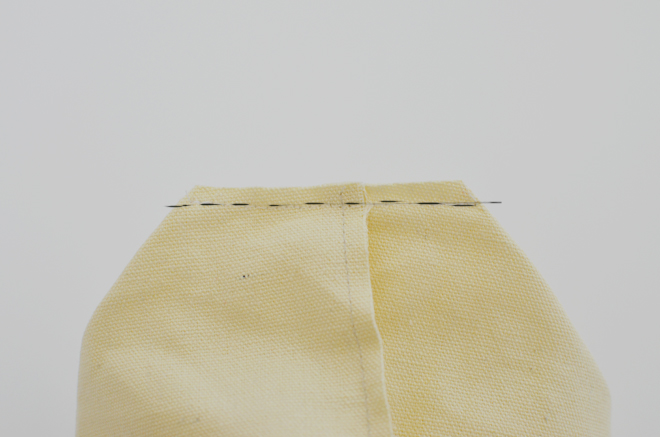
2. Fold down the top 1/4″, press, and fold another 1/2″, press and pin in place. Sew across the entire length.
3. Sew down the entire length of both sides of the bag.
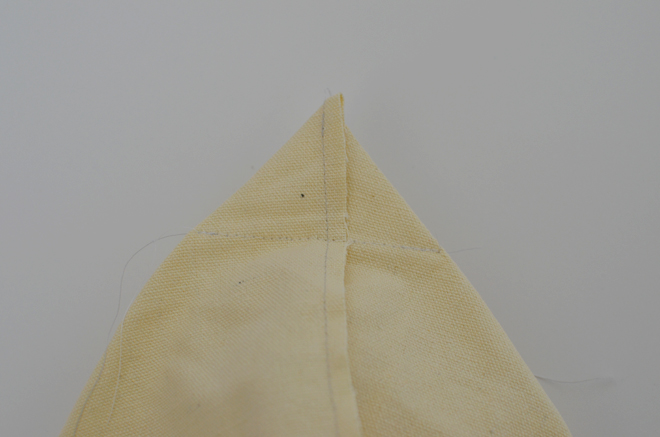
4. Box the corners by pinching each corner with the right sides together and aligning the sides seams with the bottom seam. With a fabric pencil and ruler, mark a line perpendicular to the side seam that is about 1 1/2″ from the corner and 3″ long. Pin, sew along that line, and cut the seam alliance. Repeat for the other side.
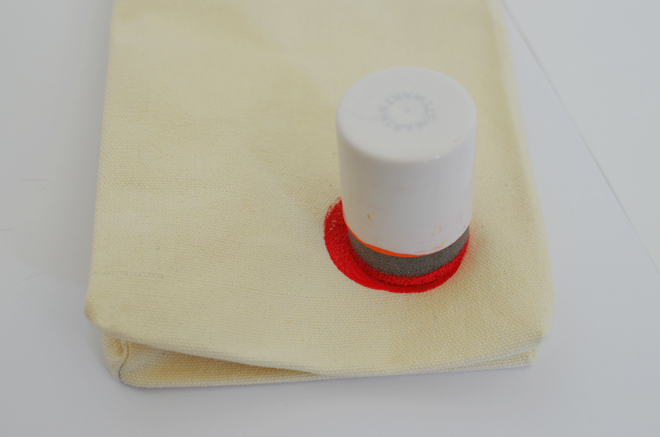
5. Insert a piece of palette paper into the bag and paint on your design. Allow to dry completely, then iron design (with a scrap piece of fabric over it) to heat set in place. Add extra touches with some embroidery. Iron your bag with the sides and bottom folded in to create the crease that brown lunch bags have.
If you have a serger, I recommend using it to sew the bag. If you don’t have one, use a zig zag stitch to enclose the seam allowance/fabric edges inside the bag to give it a more professional finish.
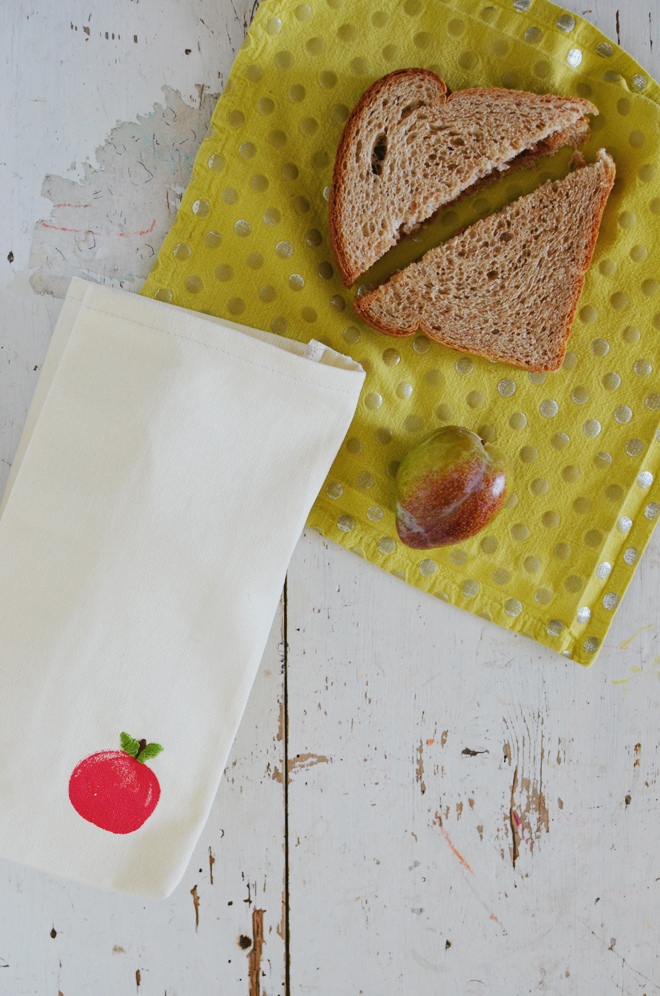
We’re waiting to hear word if Soul gets approved to start TK (transitional kindergarten) this year. If she is approved, we get to send her off (one day a week with her sisters) and this will be her lunch bag. The other girls use their own fabric lunch bags and I love that they are reusable, and I can just throw them in the wash to get cleaned with the rest of the laundry.
This post is part of the Michael’s Maker’s Series.
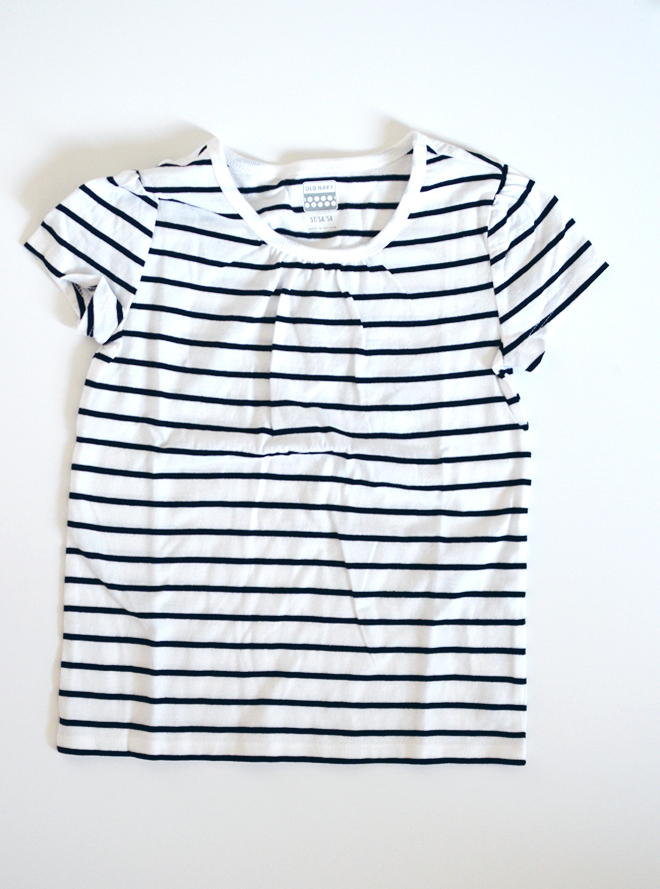
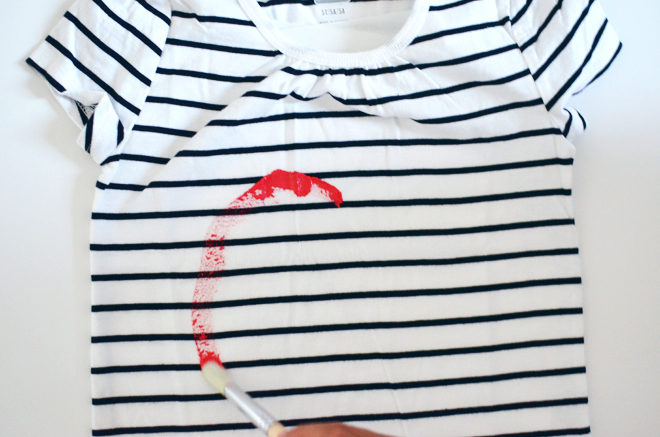
Supplies: Striped tee
Fabric paint (red & green)
Paintbrush
Palette paper
Directions:
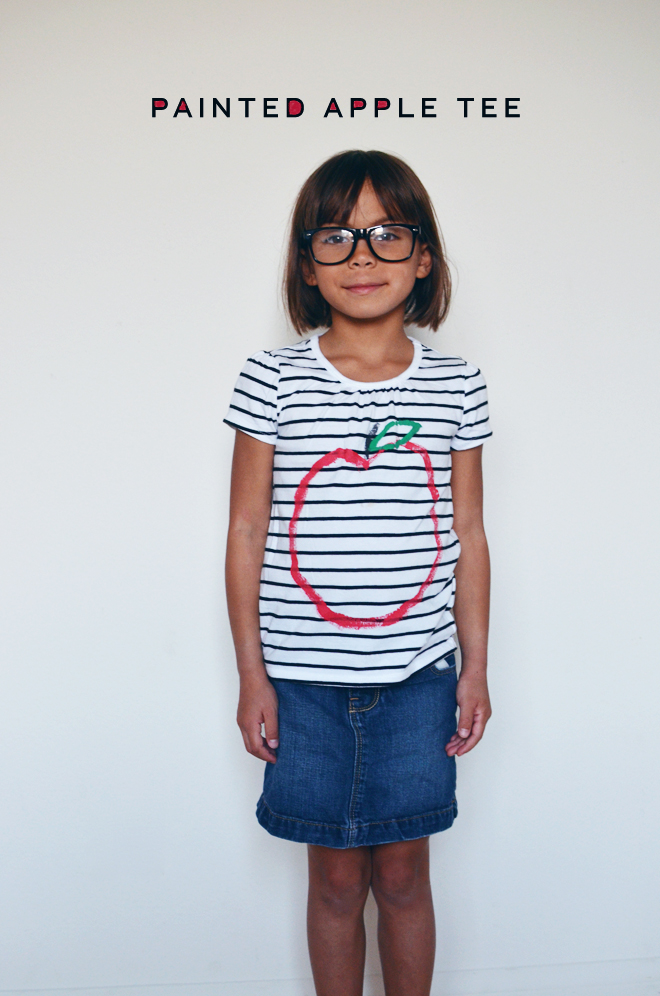
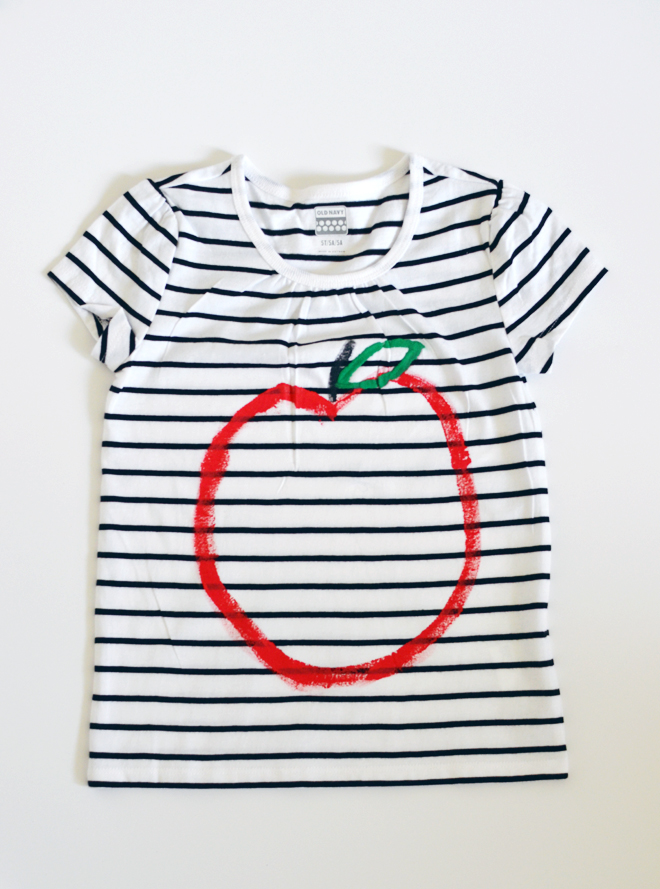
Insert a piece of palette paper (or a plastic bag) in between the front and back of the tee and paint your design on. Allow your design to dry completely, and then with a scrap piece of fabric completely covering your painted design, iron the tee to heat set the design on.
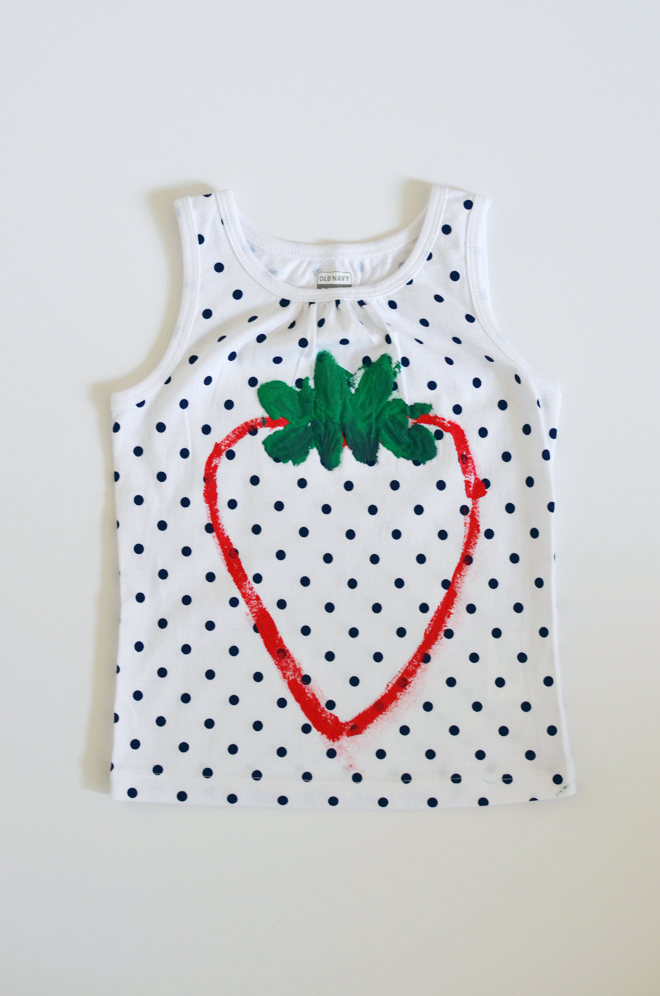
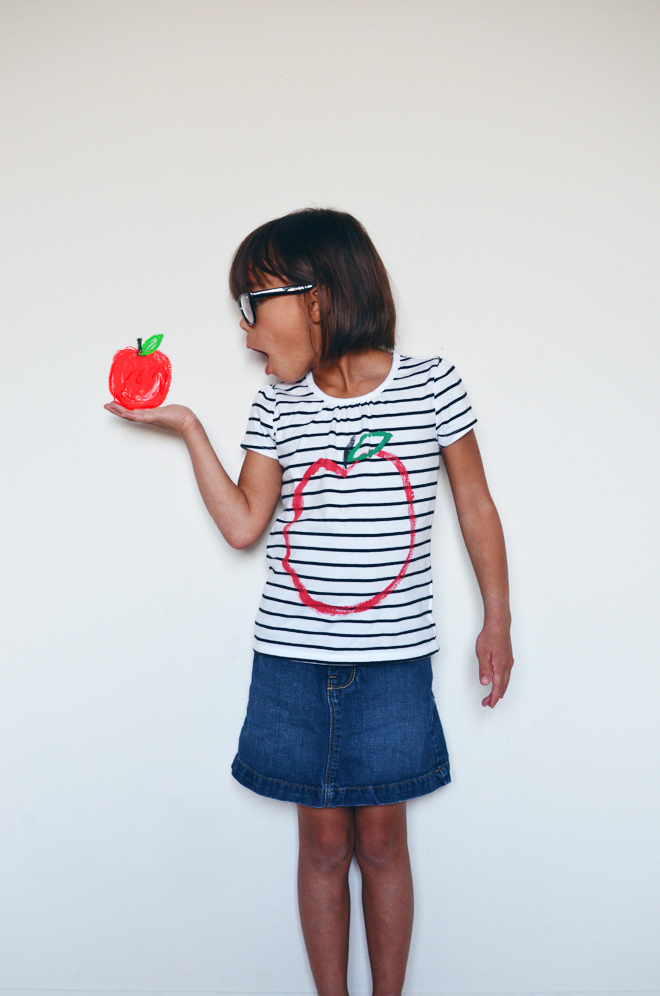
We got this striped shirt from Old Navy, and since going back to (home) school is just around the corner, we decided to paint an apple on it. Well, we also got the polkadot tank and couldn’t just stop at the apple (and Soul wanted her chance to paint too), so we made a strawberry on that one. The dots ended up perfect for that! True and Brave get to share the apple tee, and Soul and Glow share the strawberry one.
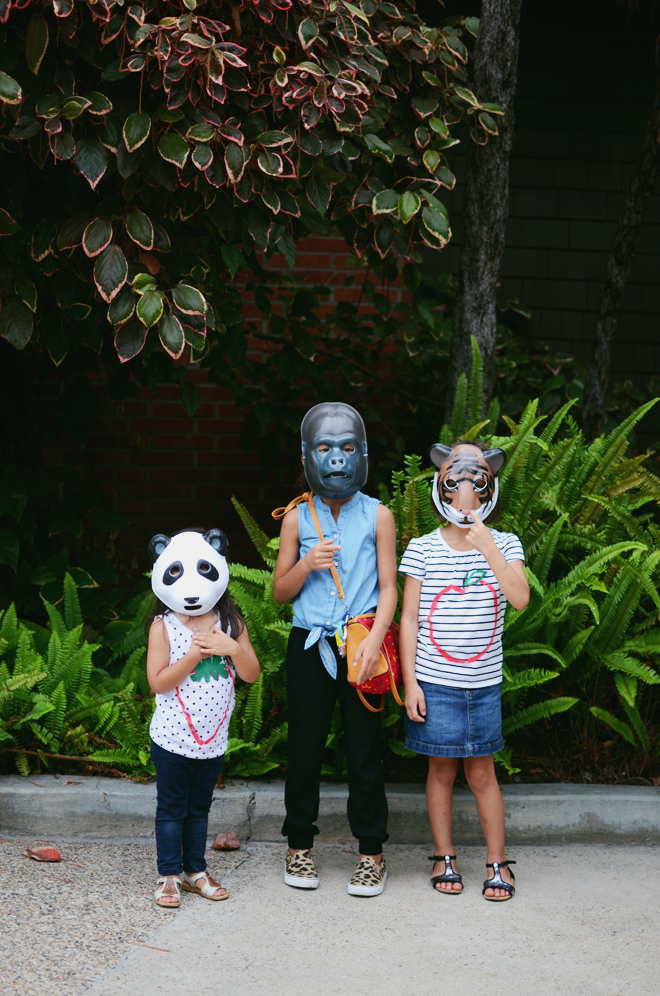
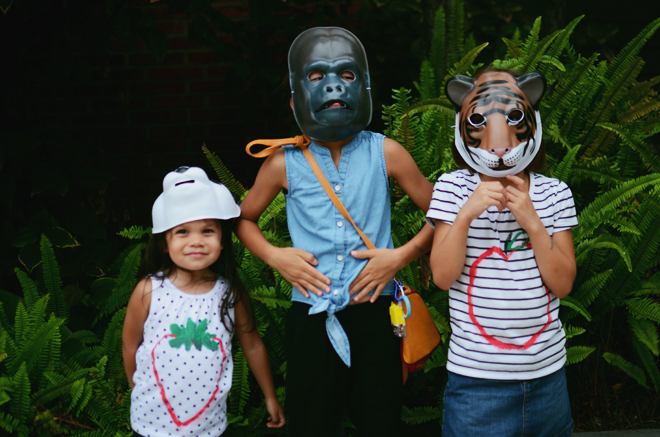
Here are the girls being silly and wearing their tees out in the wild (we went to the zoo)…
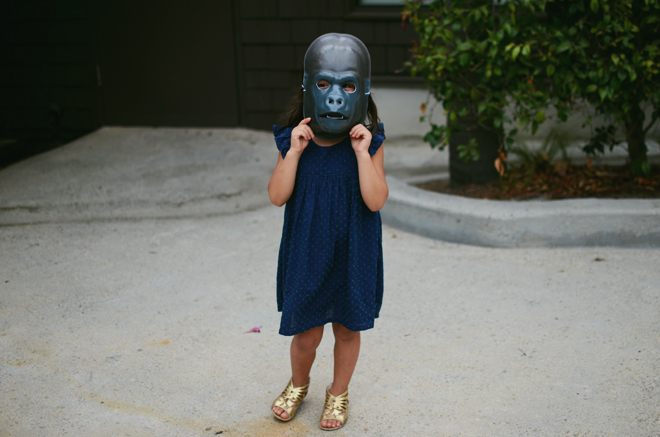
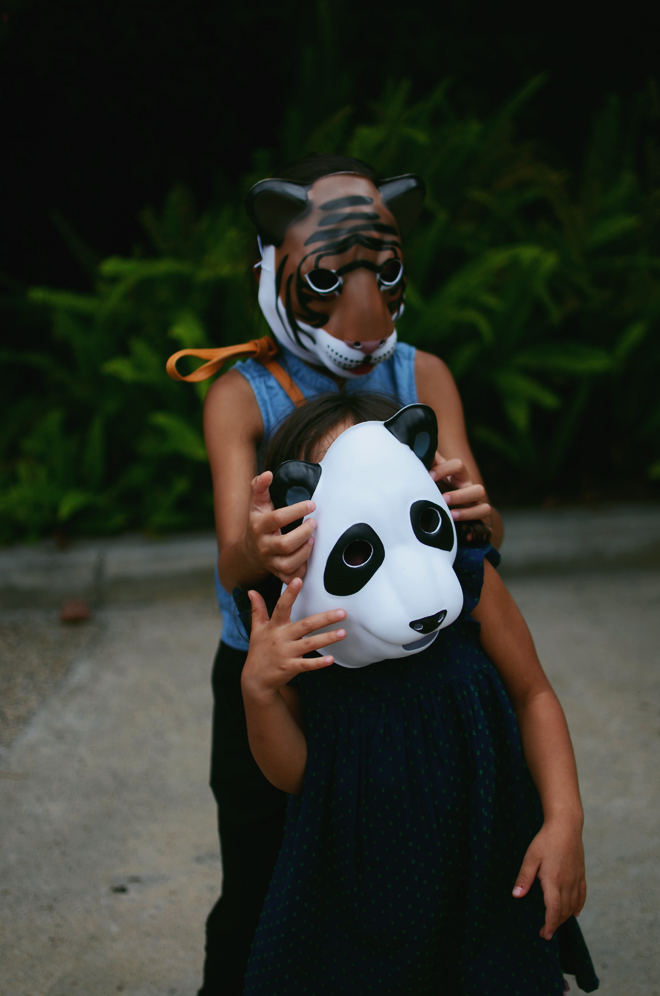
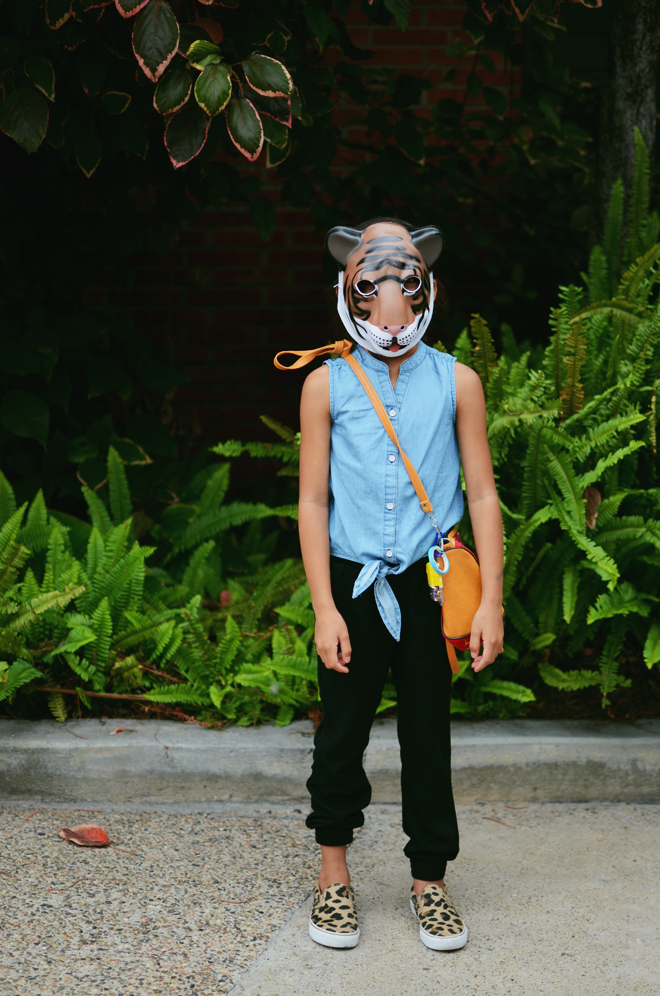
We all get such a kick out of those animals masks, but I think the gorilla looks pretty freaky. True’s latest accessory is her “craft bag.” She has a container full of brads and some washi tape attached to outside of it, and inside it is filled with masking tape, scissors, stickers, markers, paper, you name the craft item, it’s probably in there. She brings that bag everywhere! Apparently, she takes her crafting seriously that she must even tote that stuff to the zoo. You never know when inspiration may strike!
Supplies:
Embroidery floss in various colors
30″ Leather cording (can cut to a length appropriate for the child)
Scissors
3/8″ wooden beads (same ones used for this project)
Lacing needle
Directions:
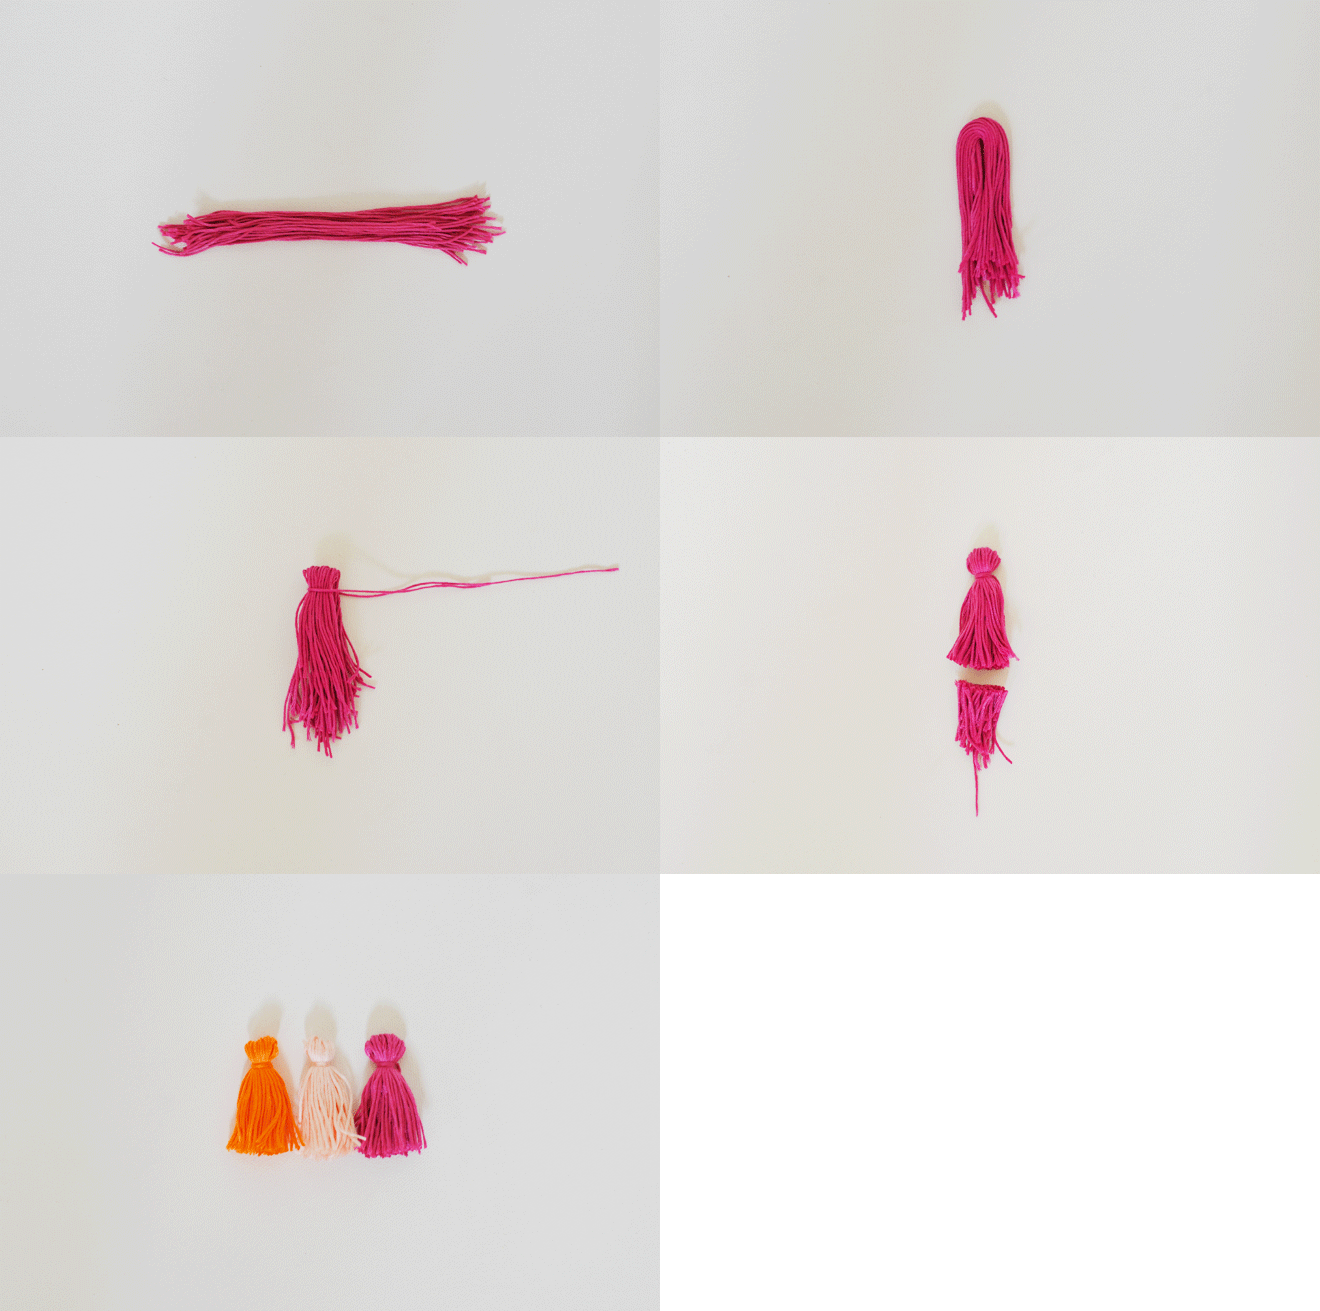
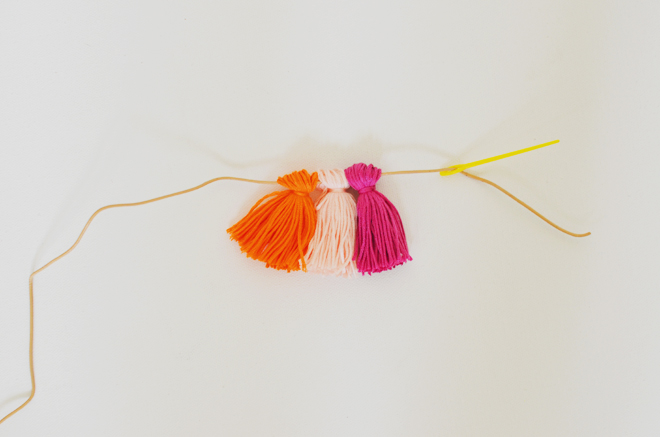
1.Cut about 30 – 6″ strands of embroidery floss (pretty much one skein of embroidery floss), fold it in half, place a 10″ strand of floss about 1/2″ down from the top of the fold, and wrap it around and knot to secure. Trim the bottom of the tassel to even out the length and make more tassels!
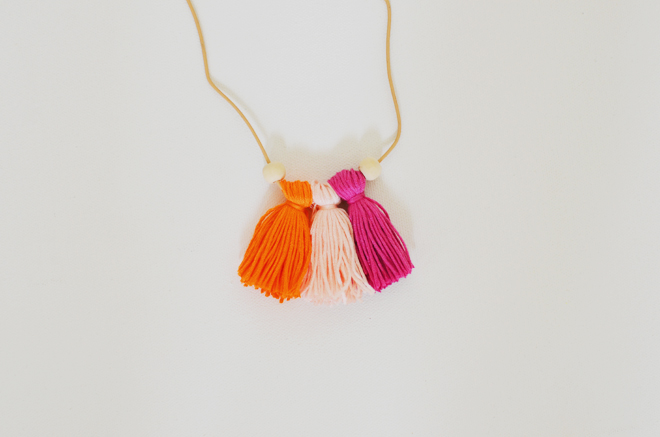
2. Feed your cording through the top of each tassel and add a wooden bead on each end of the cording (or alternate it with the tassels).
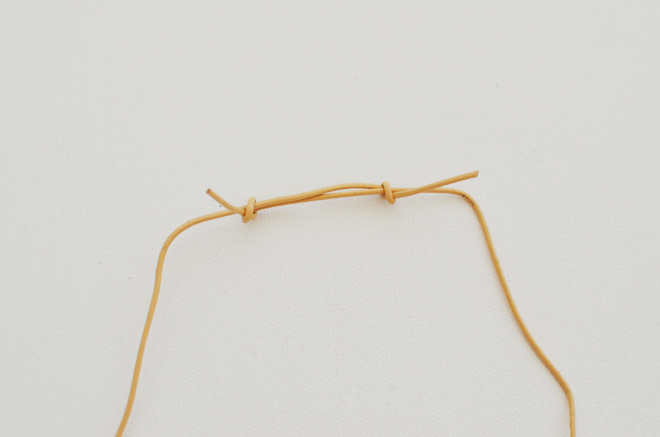
3. Create a sliding knot with each end of the cording (if don’t want the necklace to be adjustable, just knot the ends together) and trim any excess cording.
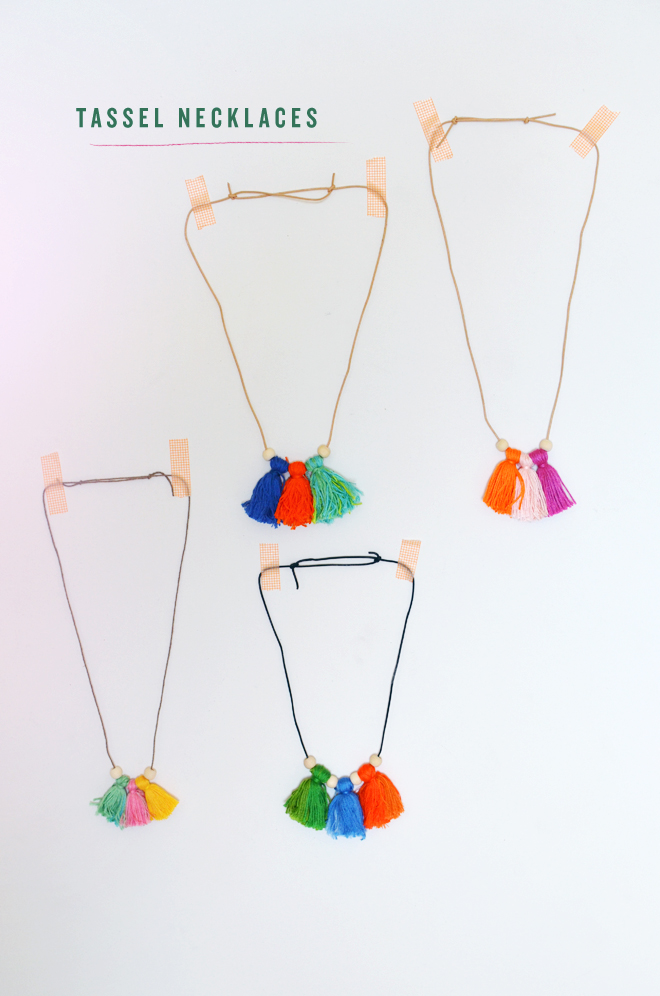
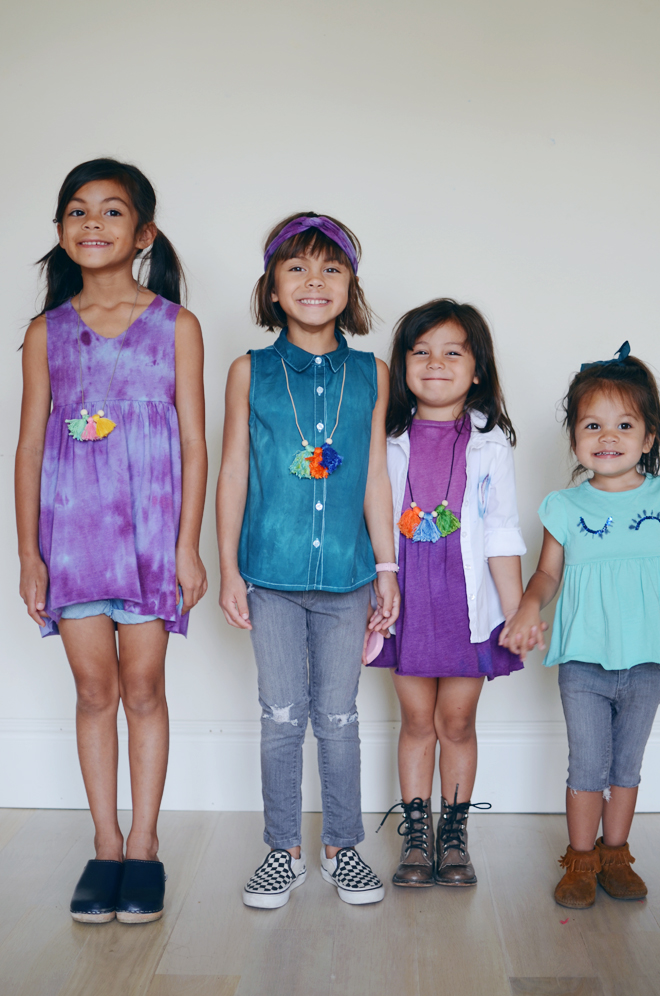
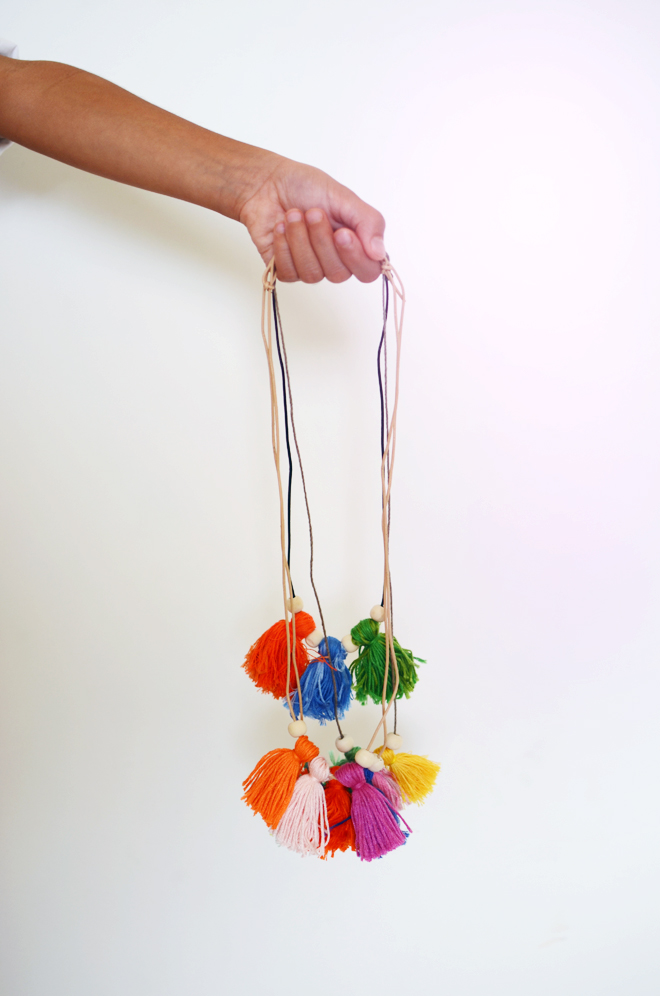
I’d totally wear these tassel necklaces. I want to pick up a few more supplies at the craft store and make another version for me; I think it’s definitely something children and adults can make and wear!
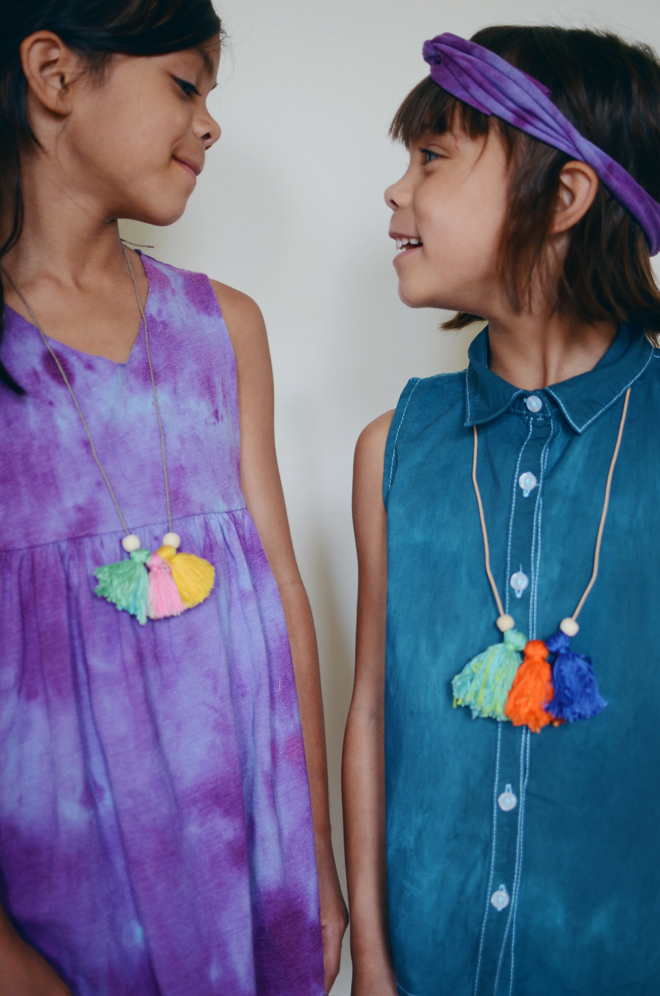
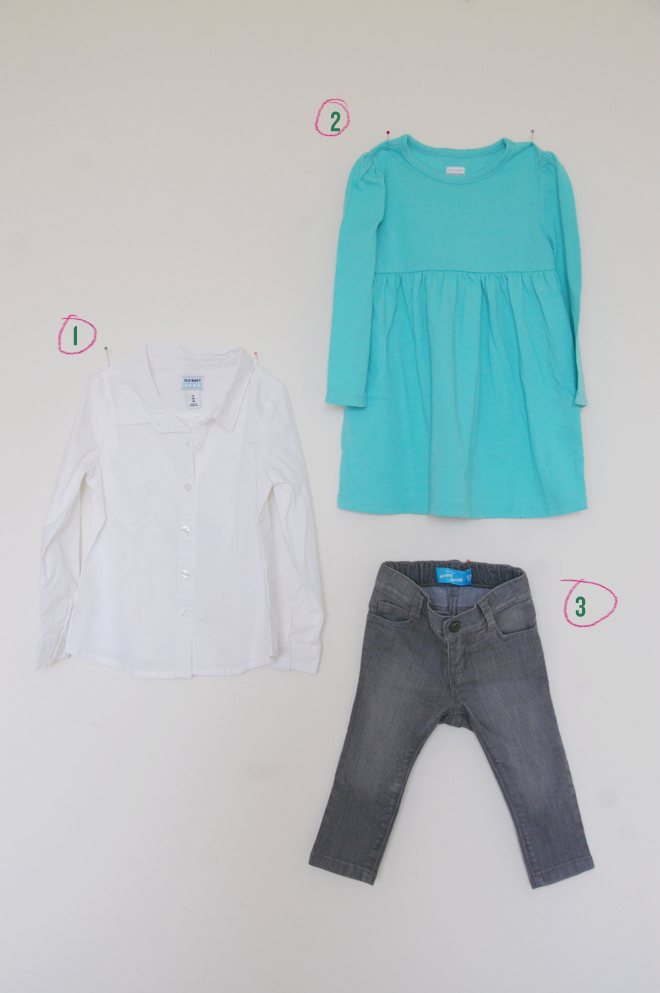
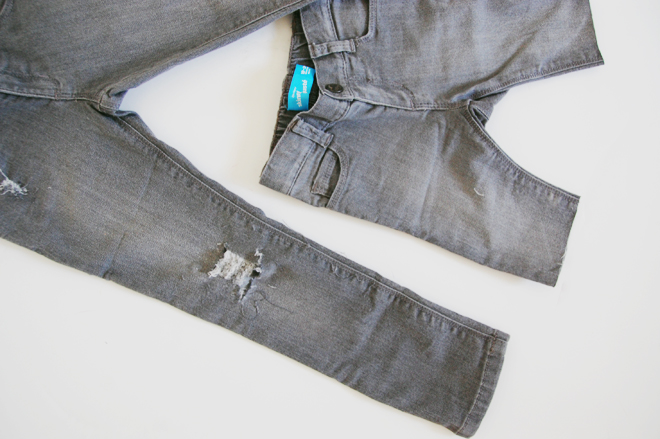
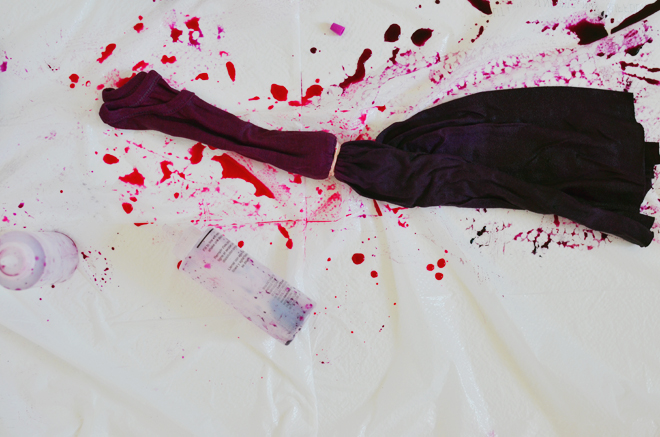
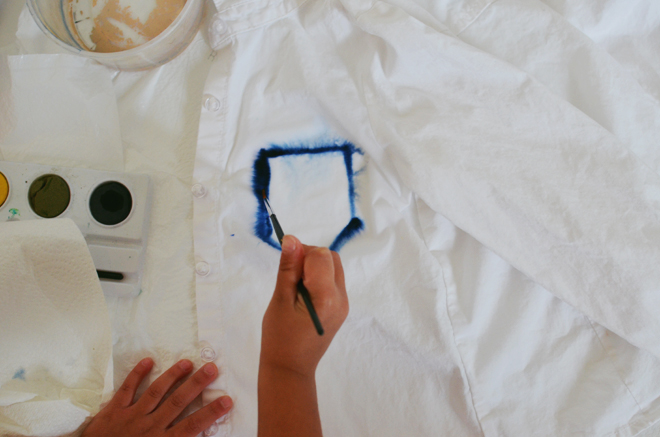
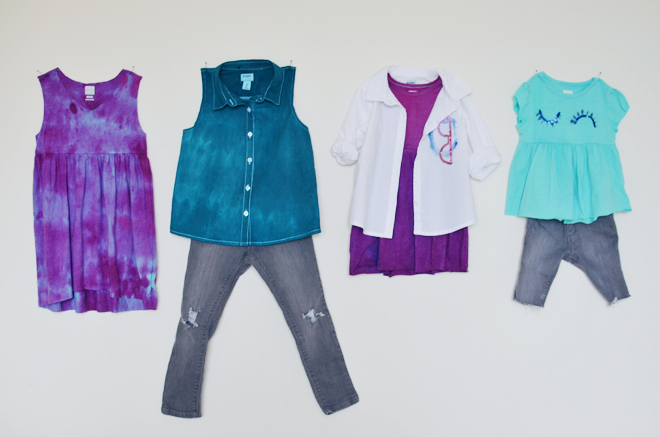
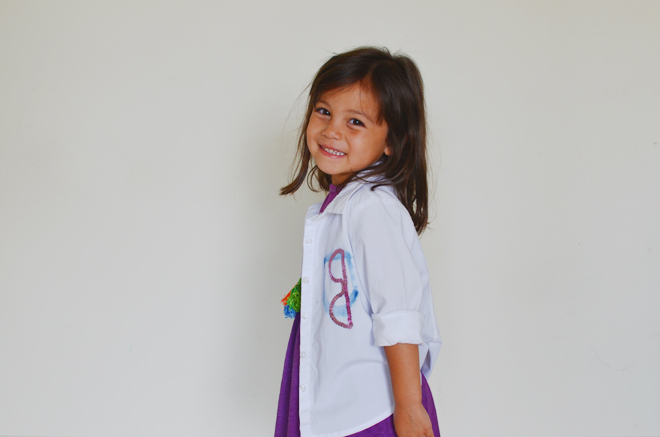
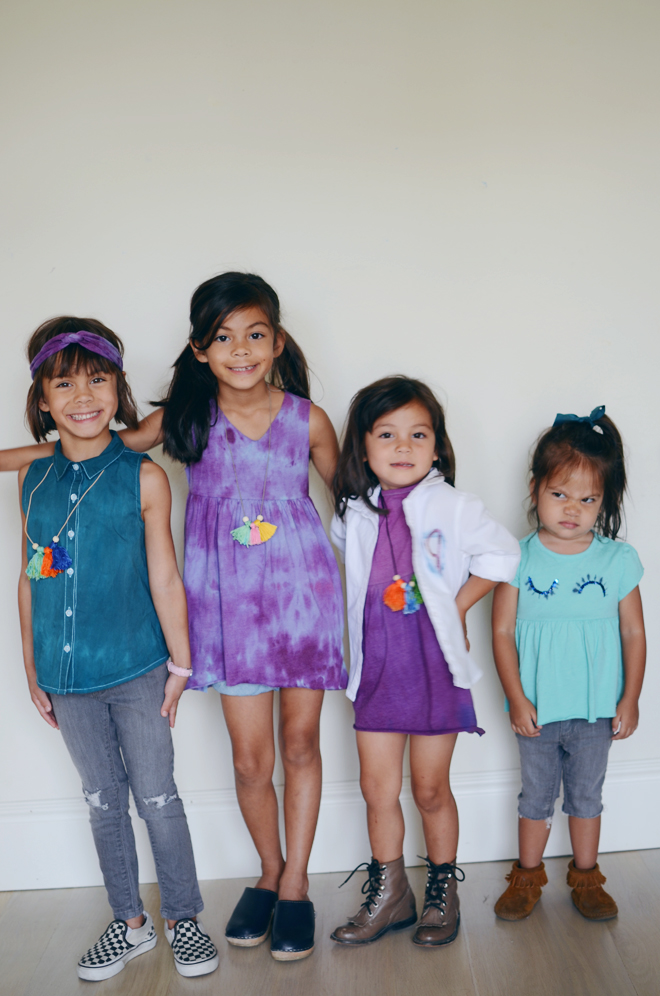
For the denim, we cut one into jorts (jean shorts), and another we distressed a bit in the knees (following this post). We dyed two of the aqua dresses in various shades of purple, with one having a more tie-dye effect, and the other dyed more solid. The aqua dress for Glow, we use sequins for eyes and painted on eyelashes (inspired by this sweater). One button down shirt was dyed teal, and I cut off the sleeves and finished it off on the sewing machine. The other button down Soul painted on a pocket, and we added some glasses hanging off of it. All the dresses got the sleeves cut; True’s got a high-low hem, Soul’s got cut to the length she liked (always short!), and Glow’s got turned into a shirt. We used one of the cut-off sleeves to make Brave a headband. The girls thought it was pretty fun to see how the same three items ended up looking up so differently.
Everyone was pretty happy with how their outfit turned out, well, maybe not Glow seeing how she’s giving that funny face there, though I think it’s her just being a silly goose. That girl always has funny expressions on her face. Later, True ended up wearing Soul’s white shirt because she said she liked the doctor jacket… ha!
This post is sponsored by Old Navy. I’m thankful for your support and the time you take to visit here!
I’ve been helping the BFF prep for her niece’s first birthday party. In the Korean culture, it’s called a dol and it’s a really big deal; it’s like a sweet sixteen, quinceañera (for latin cultures the big birthday celebration happens at 15), or a Philippines debut (Filipino culture have a debut on their 18th birthday).
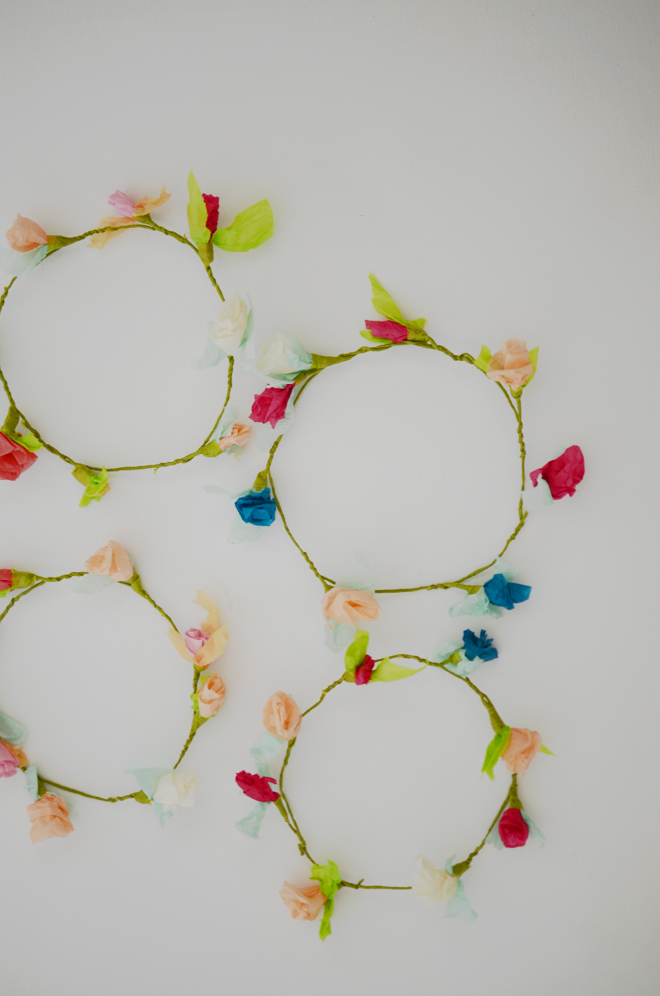
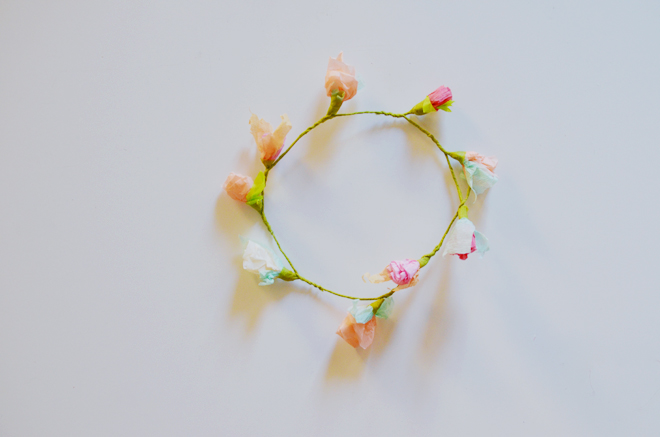
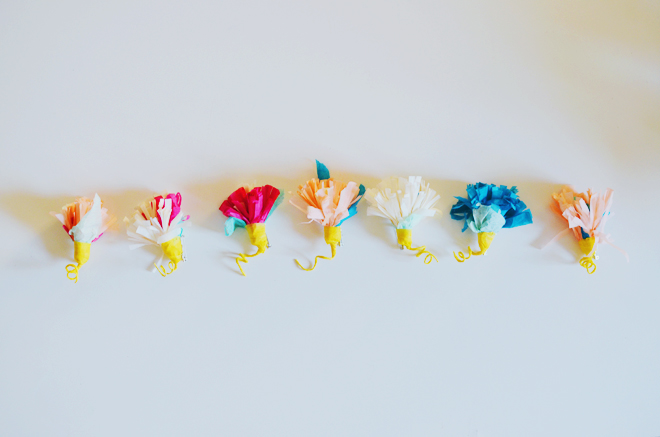
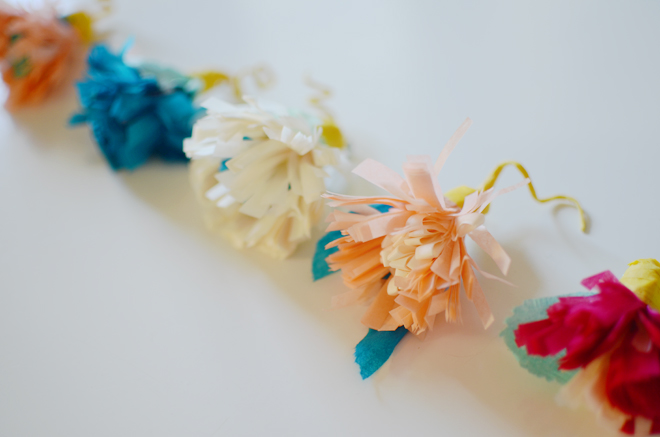
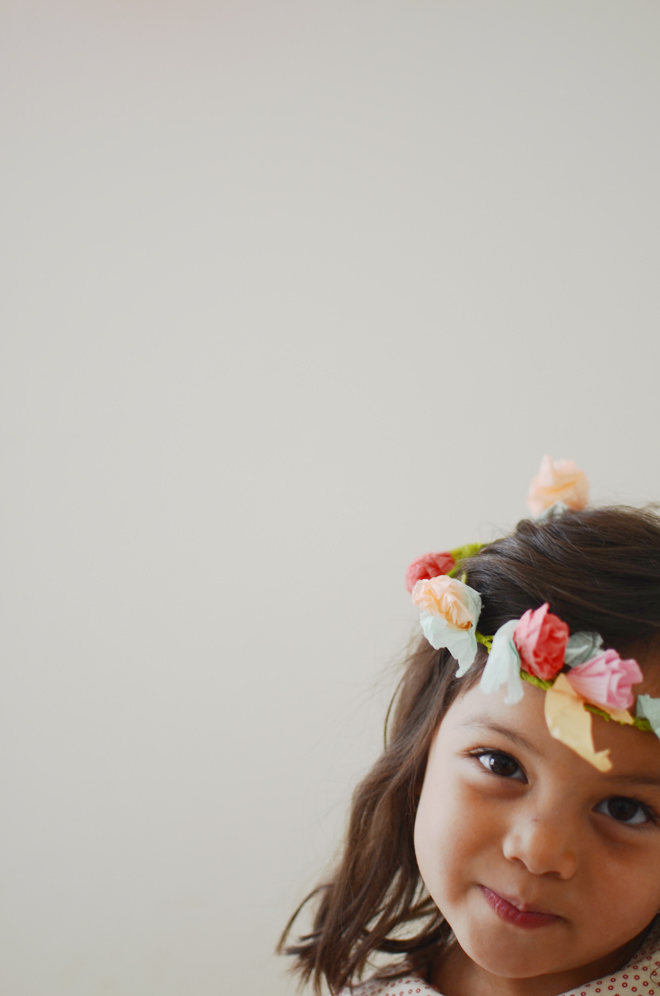
We made flower crowns for each little girl in attendance and flower pins for the little boys. I used the DIY crepe paper floral crown that I shared a long time ago, and I got to play florist again and made the flower arrangements for the party. It was so busy I barely snapped any pictures of the party, or the sweet celebrant and the felt flower crown I made for her. Though you can see a sneak of the party here and the happy celebrant with one of her aunties (and she’s wearing the floral crown I made). It was fun helping out since it wasn’t my party and the stress of planning wasn’t on me. Plus, Linda and I had fun chit-chatting as we were crafting away, and when the two of us are together we just blab and blab and blab… our husbands have to cover their ears when they’re around the two of us together because our volume skyrockets when we’re together.
Supplies:
3/16″ x 12″ dowel (cut in half, so you end up with two 6″ pieces)
Twelve 16″ x 20″ sheets of tissue paper (the gift assorted packs work well)
Colored masking tape
Scissors
Glue
Directions:
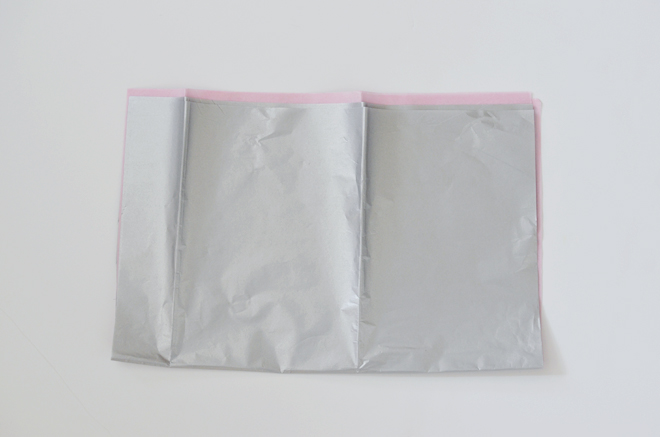
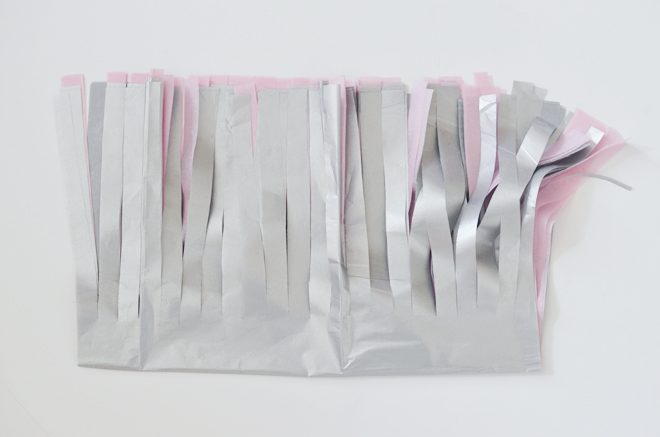
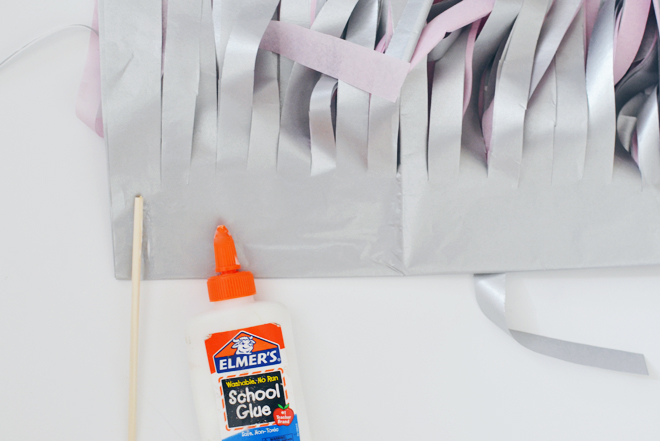
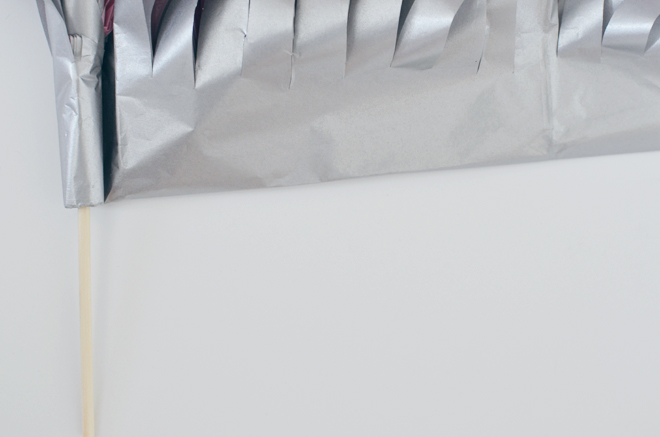
1. Stack 6 sheets of various colored tissue papers together, fold over so that each side is 10″. Cut 1/2″ slits down toward the fold (stopping 2″ away from the fold), all the way across the sheet.
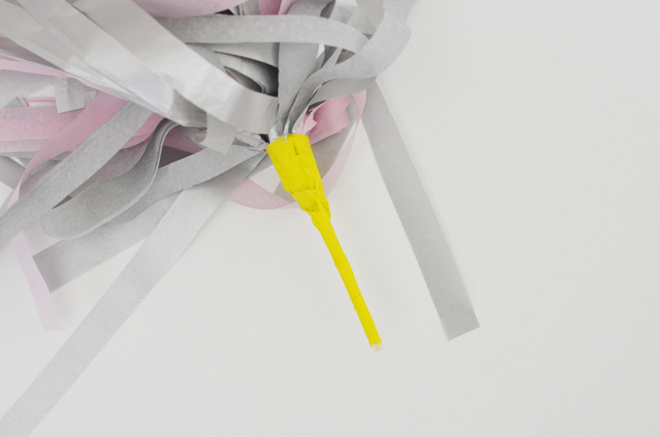
2. Overlap 2″ of the dowel onto the 2″ of the tissue paper, add a bit of glue, and start rolling the tissue paper (the part that isn’t cut) around the dowel. If needed, continue to add dabs of glue as you roll to secure. Once the entire length is rolled, wrap the 2″ of the tissue paper, where the dowel is wrapped, with your colored masking tape until the end of the dowel.
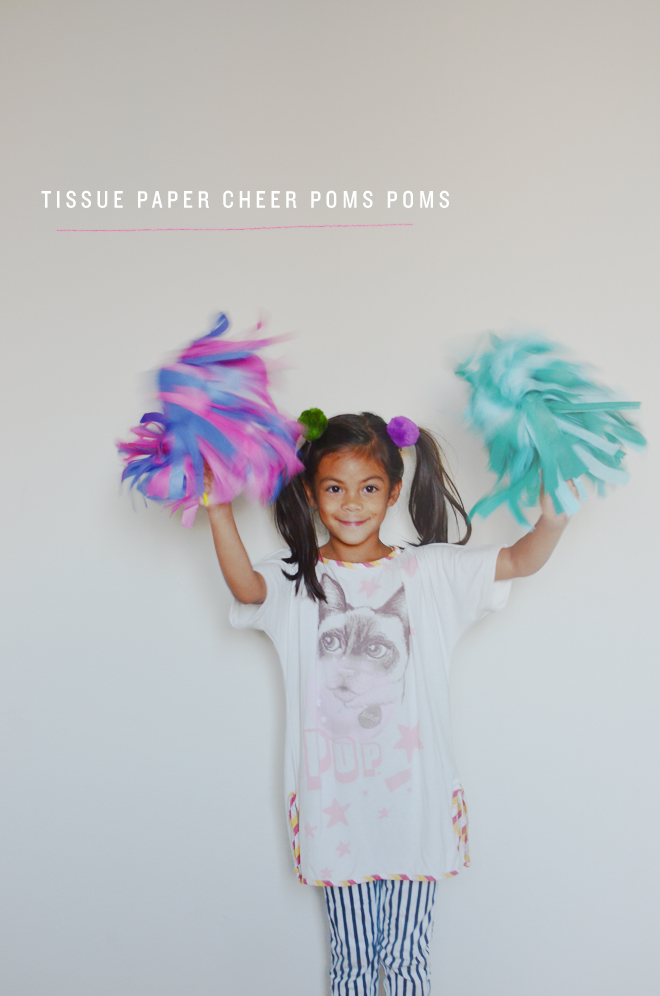
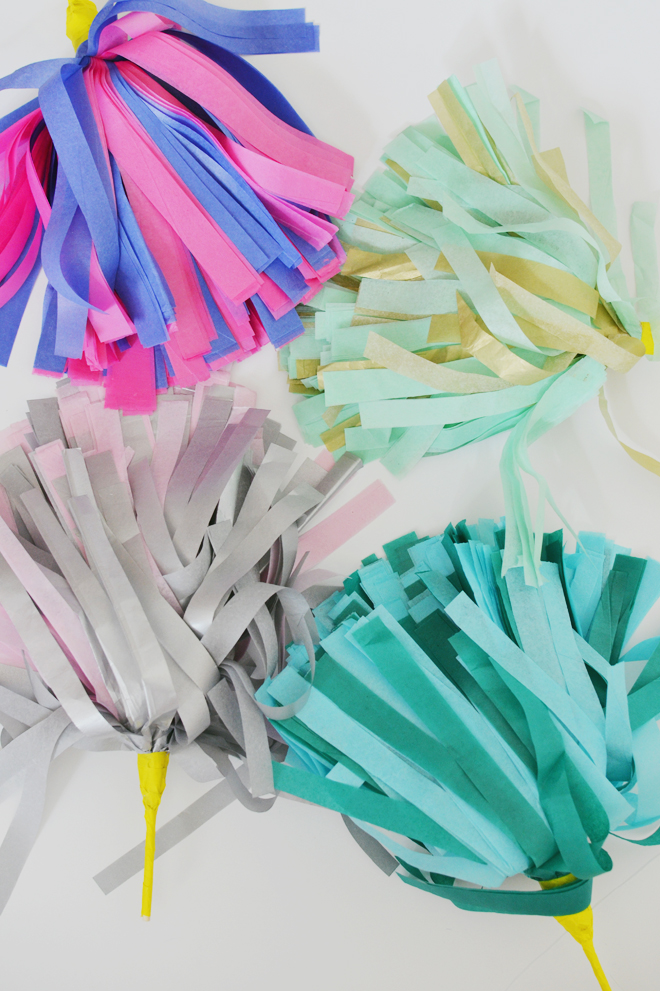
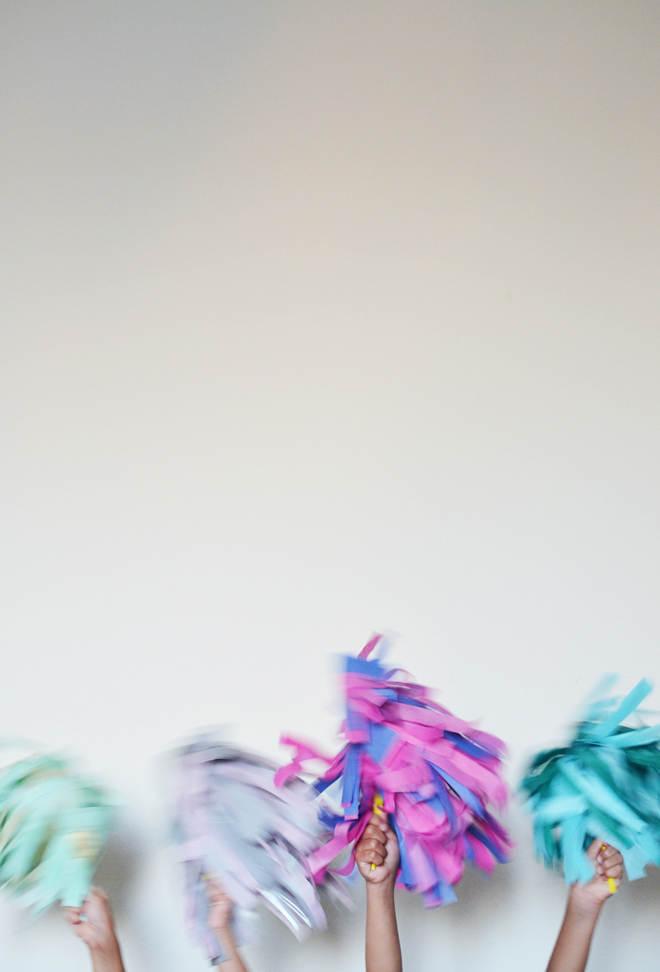
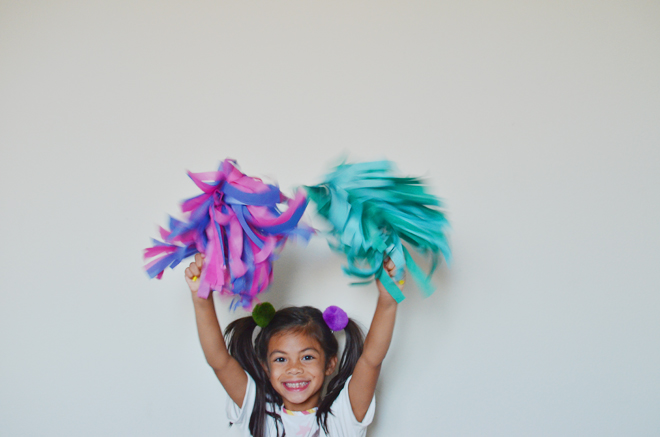
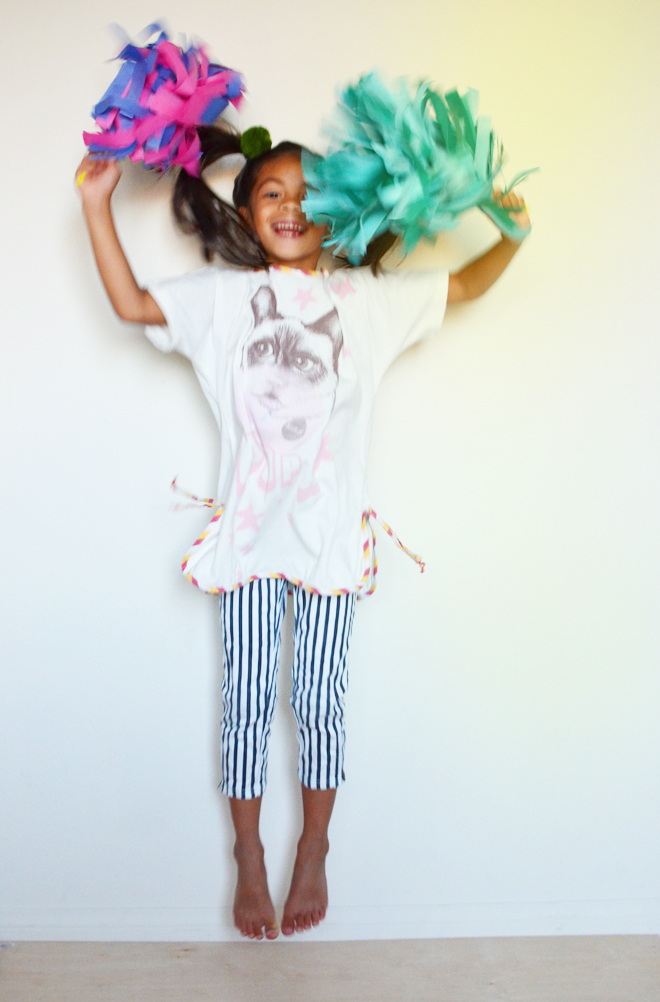
Let the kids turn your house into their very own cheer camp! Get ready for hootin’, hollerin’, and lots of jumping (possibly, somersaults too!). When I was in the second grade, it was my dream to be a Boston Celtics cheerleader and I distinctly remember drawing a picture of myself wearing a green cheer outfit and waving pom poms. My parents bought me a set of white, plastic, string ones, and I loved those a lot. Then, when I was in 4th grade I started taking private baton lessons and would compete doing baton (complete with sequins outfits, tight bun, and bright make-up). That changed my dream of being cheerleader for a basketball team into a baton twirler for a football team.
I loved the twirling, spinning, and catching the baton after it was spinning in the air. One time, I was practicing late in the backyard, my told me to come in since it was getting dark, but I didn’t listen… I was doing my routine, threw my baton high up in the air to spin, I spun around, then as I was waiting to catch it (it seemed to take a long time to come down and I couldn’t see it when I looked up), then BOING!, it hit me smack dab in the middle of my forehead and I got the biggest bump and bruise. I went to school the next day with a hat on.
Anyway, you never know what dreams your kids may come up with, and what they eventually will want to pursue. Therefore, it’s fun being able to create with them now and explore things they might fall in love with, you never know when that spark will light up within them and become part of their dreams for their future. Obviously, I never became a cheerleader or baton twirler, but those silly dreams and pursuits all have helped shaped who I am today.
I have a large growing pile of fabric scraps. I refuse to throw them away because I am sure they can be used for something. I have been seeing different types of interesting necklaces made of buttons, beads, and fabric. Then, I figured why not make one out of my scraps...
I think it made my white shirt a little less boring. This was so quick and easy to make.
How to make a recycled scraps necklace (which is very similar to the straps on my braided tablecloth bag):
1. Take your scrap fabric, I cut a .5''-1'' snip and tear the rest of the fabric down for a nice frayed edge. Used 3 different fabrics for each strand.
2. Take 3 of the torn pieces and tie the ends together with a rubber band.
3. Braid the 3 pieces together and tie ends together with rubber band when done.
4. Repeat steps 2 & 3 for more strands. Remember you can make the strands any length you want, if run out of fabric, just weave more into the braid.
5. Once all the strands you want are braided, gather one end of each strand together and straight stitch together with sewing machine. Repeat for the other ends of the strands. Snip off any excess.
6. Gather ends of the necklace and sew together (snip excess) or a ribbon can be sewn at the ends to be able to tie the necklace closed, but I just sewed both ends together.
7. Voila! A nice way to make use of all your lovely scraps.
Sorry if the directions get you a little lost, but it really is easy. I promise. Maybe I should put some in the shop. Please share any other good ideas you may have of things that can be made with scraps. I would love to hear (read) them!

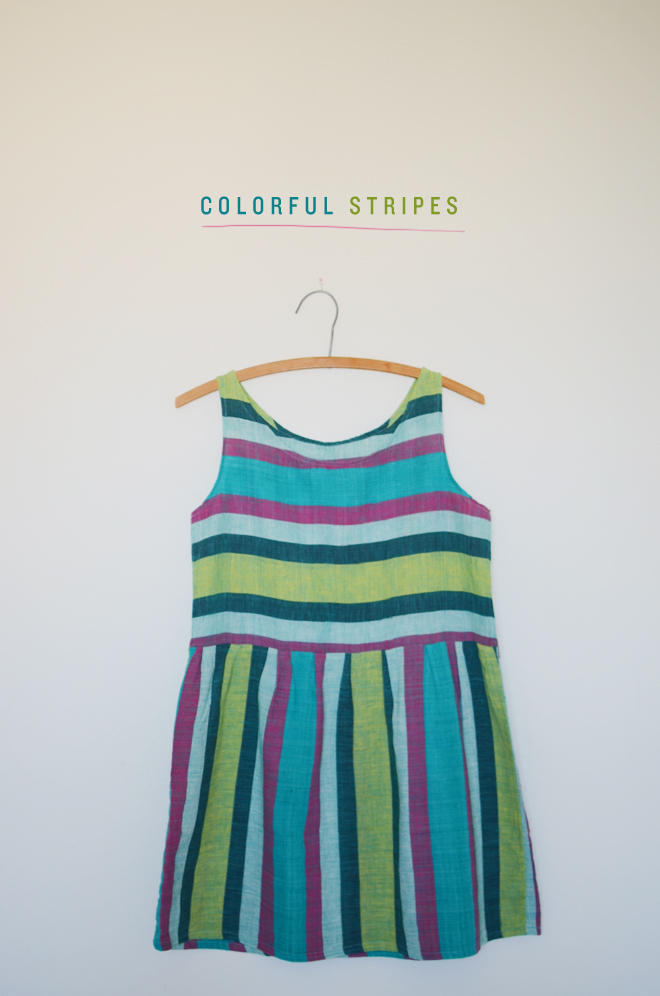 This is a dress I made earlier this summer to take along with me on our trip to Singapore (and to wear many more times after that). It’s inspired by this Ace & Jig dress I’ve always liked, but I’m not a fan of racerback tops, so I did my own tweaking and tinkering to come up with one that would work for me. I thrifted this linen fabric at the thrift store and knew it would be perfect for a summer dress. There are no darts since it’s just a loose dress, but I did do simple pleats all around the skirt. I really love being able to make my own clothes. To me, it’s like shopping, but without spending any money, especially when this fabric was only $5 for 5 yards of it!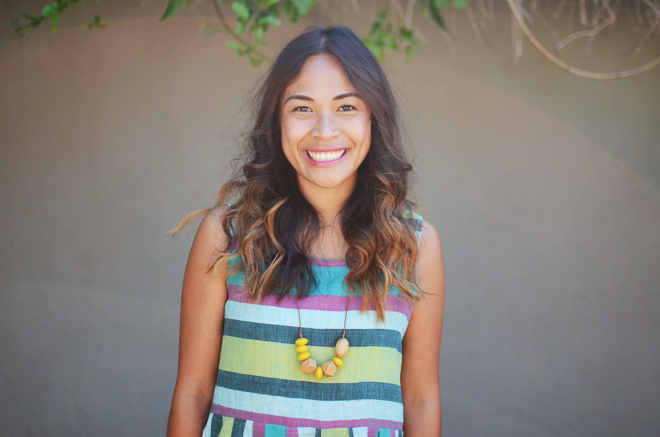
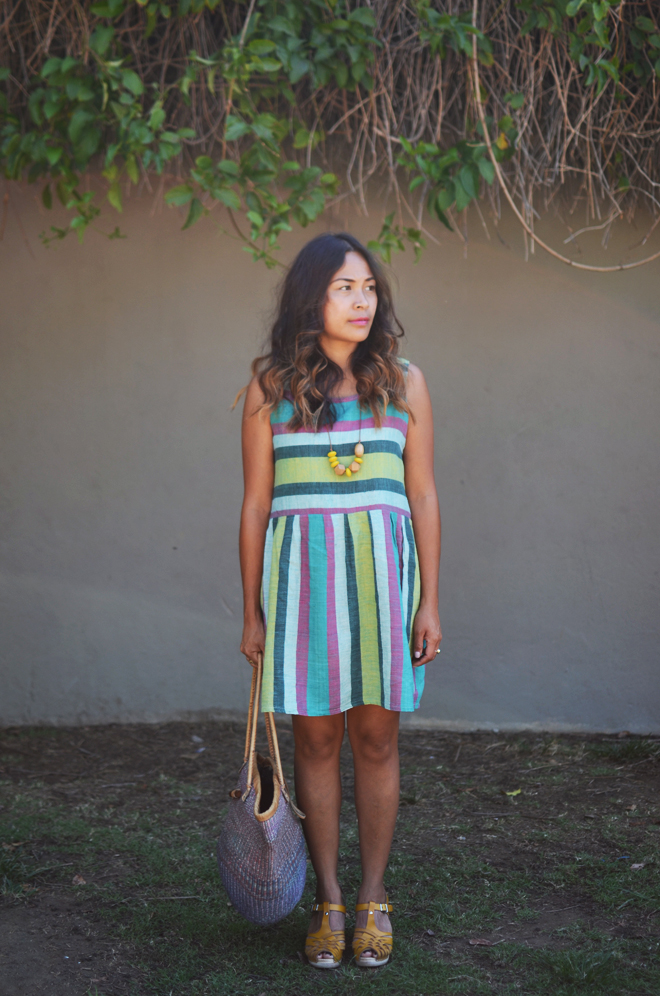
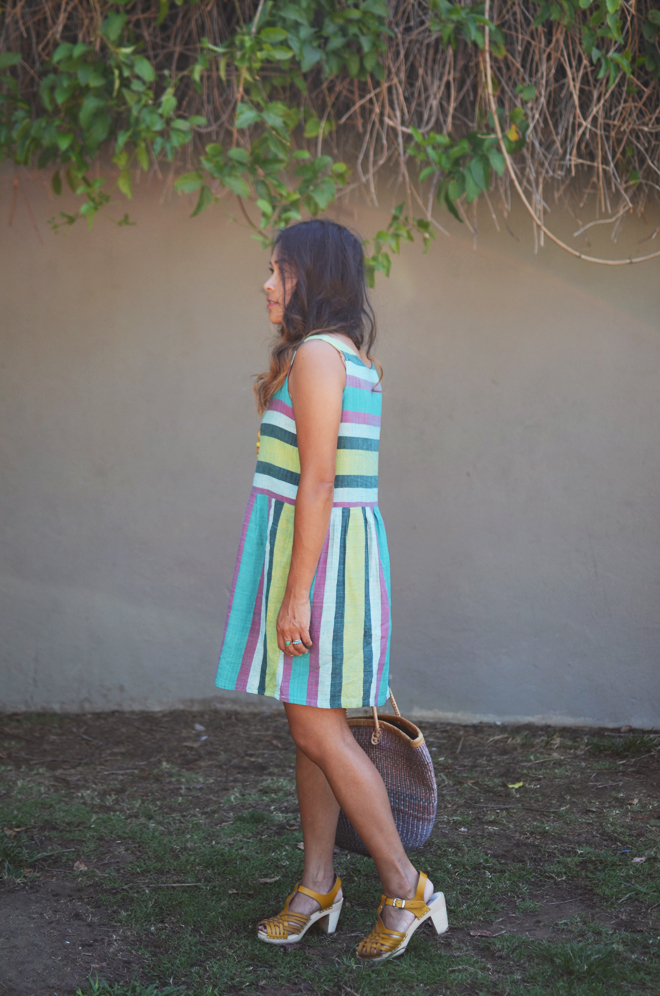
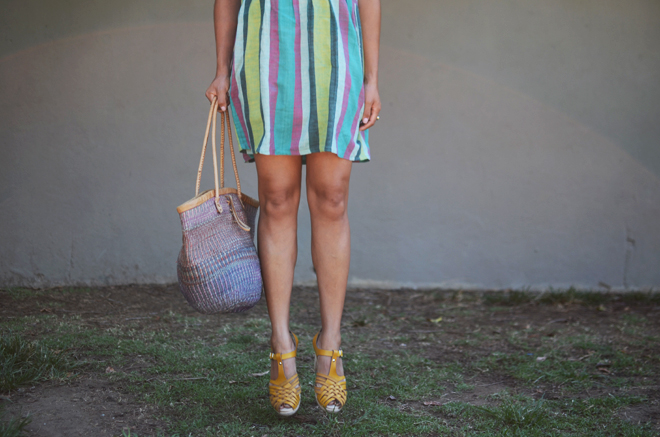 wearing: necklace, shop miquez. bag, thrifted. clogs, c/o lotta from stockholm.