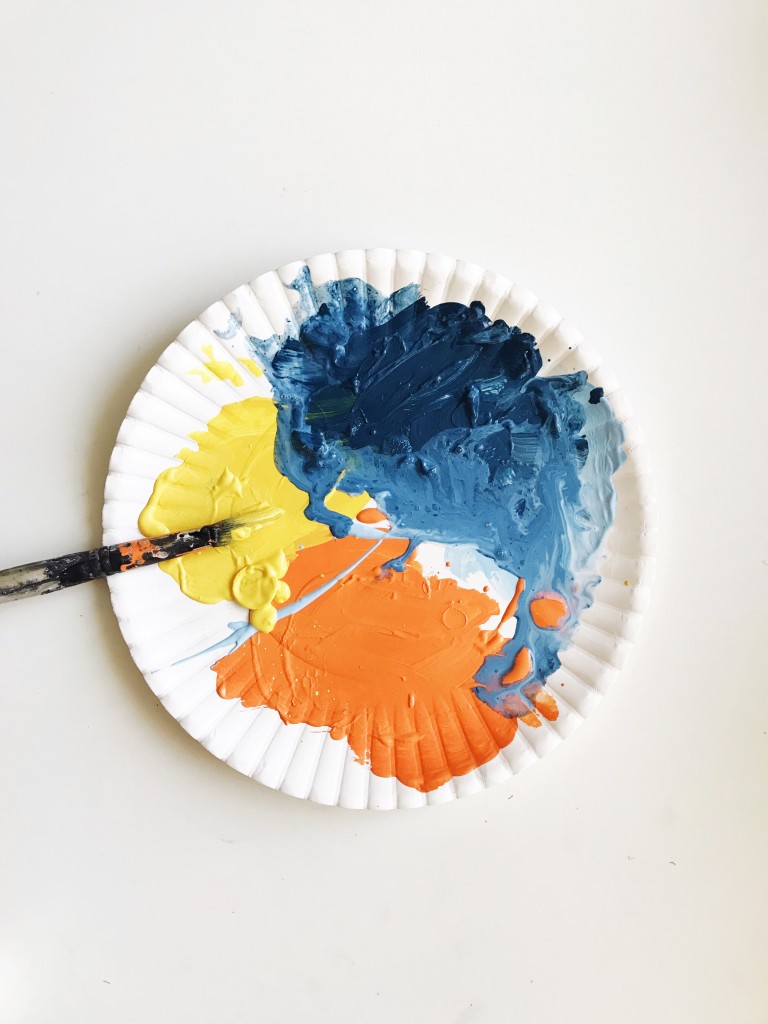
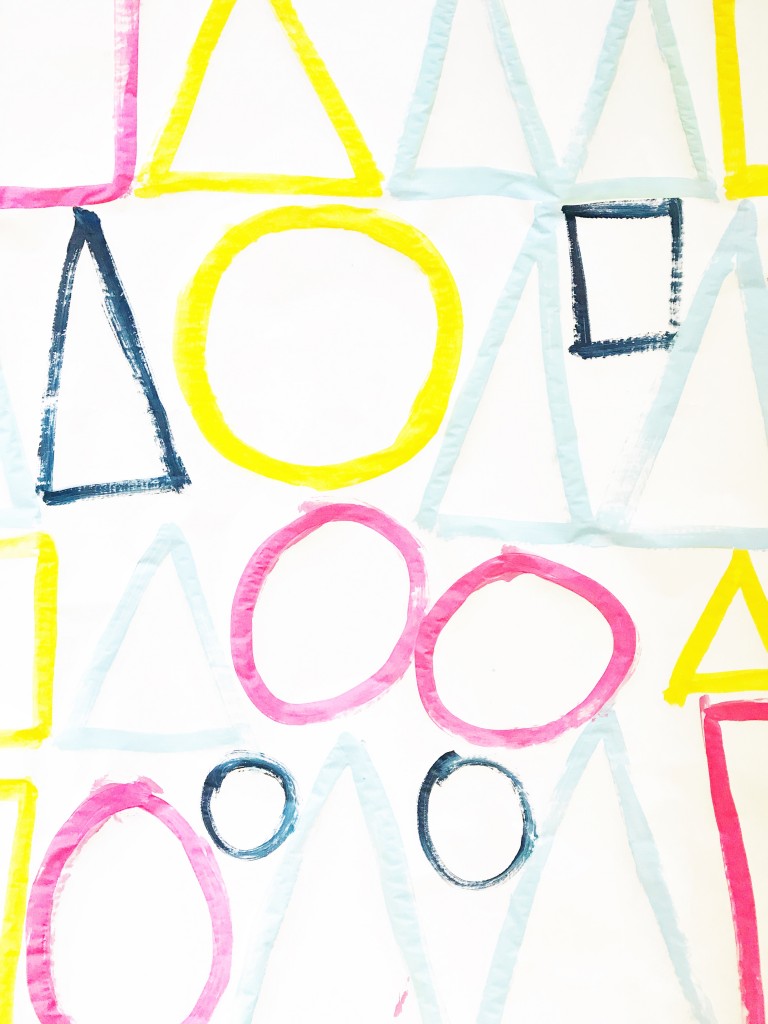
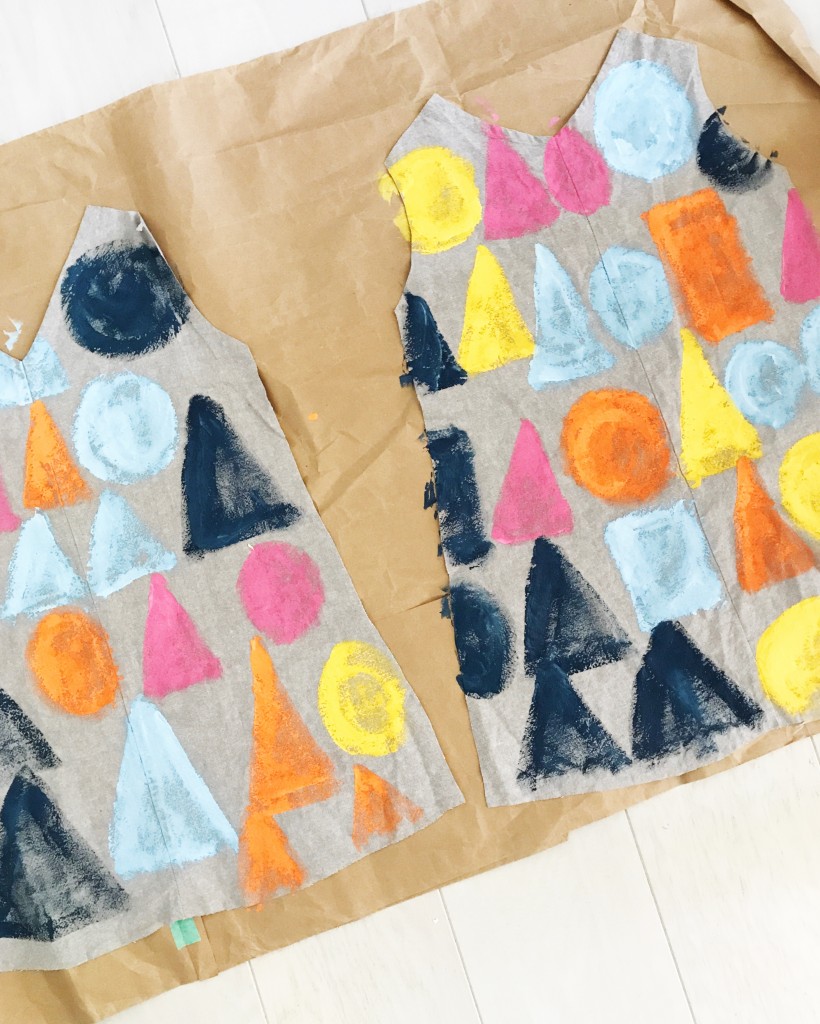
 My baby turns 6 in a few days (it seems like she was just born yesterday!), so we’re in overdrive prepping for her celebration. Right after her birthday last year, she declared that for her next birthday she wanted a “shape birthday.” I know, kind of random. I thought for sure she would change her mind, but it stuck. I’m finding more and more that once she has her mind set on something, that’s it. She’s a girl that knows what she wants, so shape birthday it is!
birthday prep
September 11, 2017
diy tooth fairy pillow
August 28, 2017

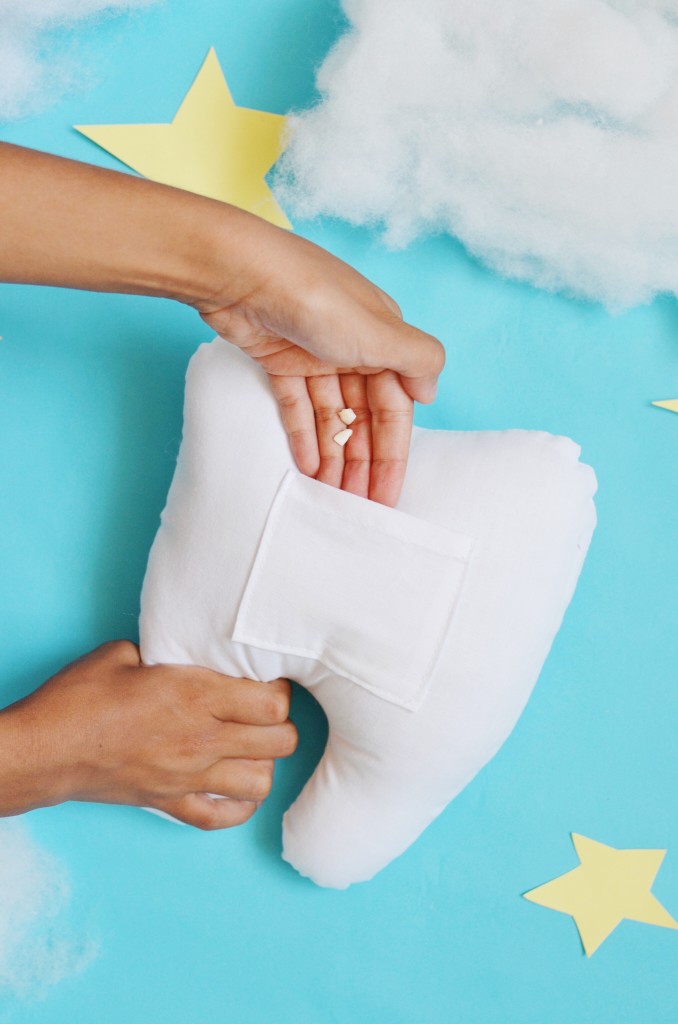
 No more digging under the pillow trying not to wake up your child while you look for their tooth. Make this pillow and place the little teeth safely in the back pocket. Get the full tutorial here at Babiekins Mag.
crepe paper pencil surprise on babiekins
August 21, 2017

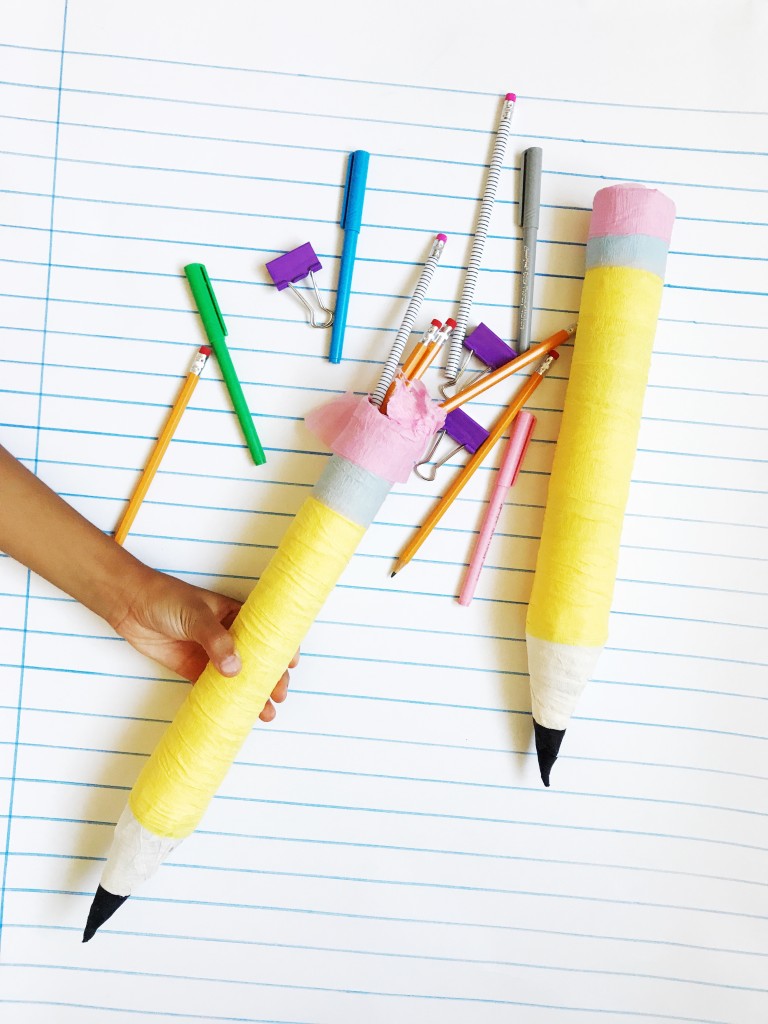 School will be back in session soon and some may have already started, but there is still time to make the littles ones this Crepe Paper Pencil Surprise filled with cool back-to-school supplies or sweet treats. Get the full tutorial right here on Babiekins Magazine.
rug to clutch
August 17, 2017
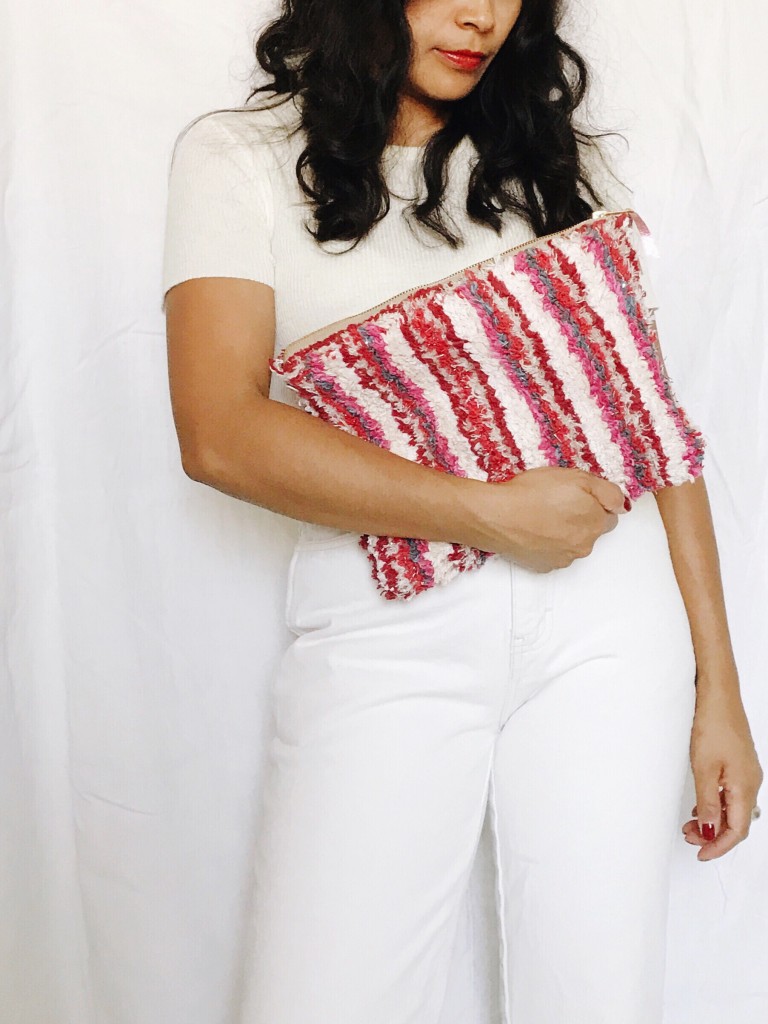 Rug to Clutch
from my book, Let’s Sew Together
Supplies:
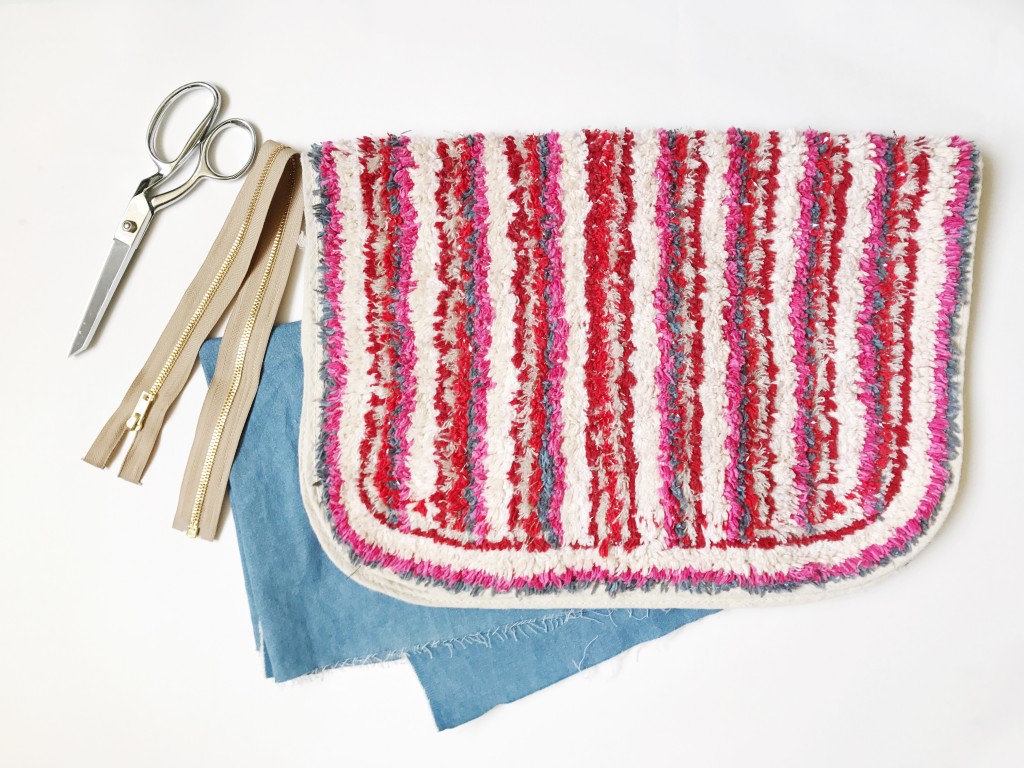
Bath rug cut into 2- 11 1/2″ x 9” exterior fabric pieces
2- 11 1/2″ x 9” lining fabric pieces
12” zipper (Mine was 20″ and I cut it down to size)
Scissors
Coordinating thread
Sewing machine
Seam Allowance: ½”
Directions:
1. Cut your bath rug to the clutch size. Place the exterior piece right side up, lay the zipper on the edge of the long side of the fabric with the teeth side down on top (make sure zipper pull is on the left), and place the lining fabric right side down on top of the zipper. Making sure that the fabric and zipper edges are lined up, pin in place. Start 1” away from zipper pull and sew ¼” from edge of fabric. Pull the zipper down to avoid it getting caught and sew the remaining 1” edge. Flip the fabrics so that the wrong sides are facing, and press.
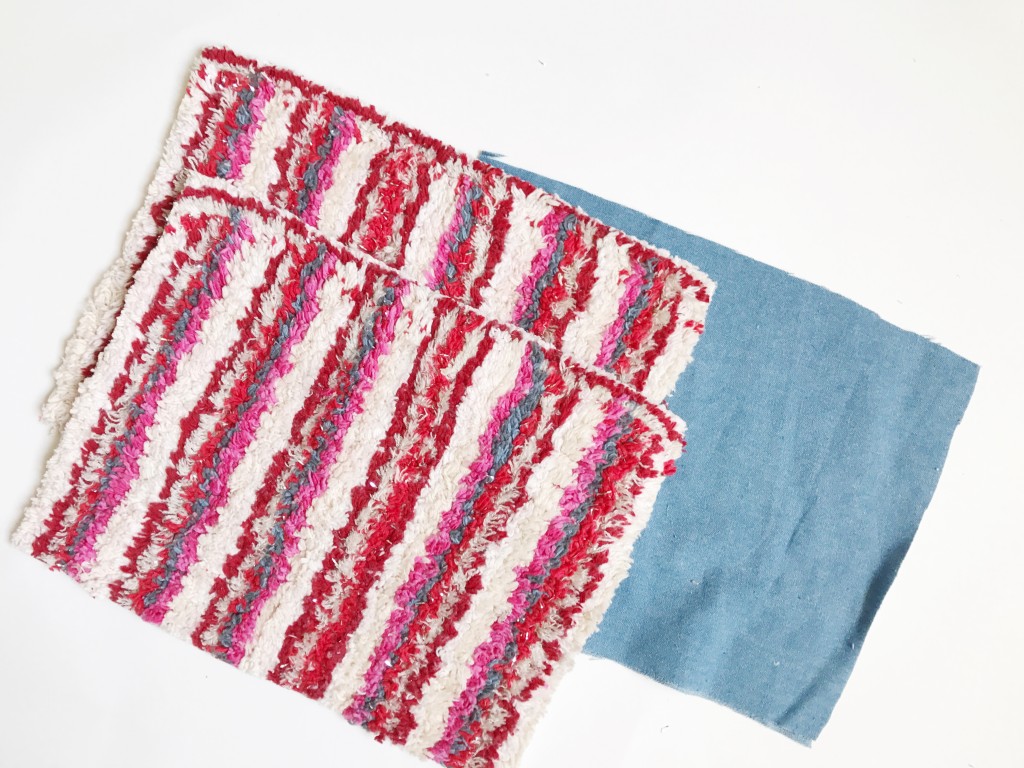
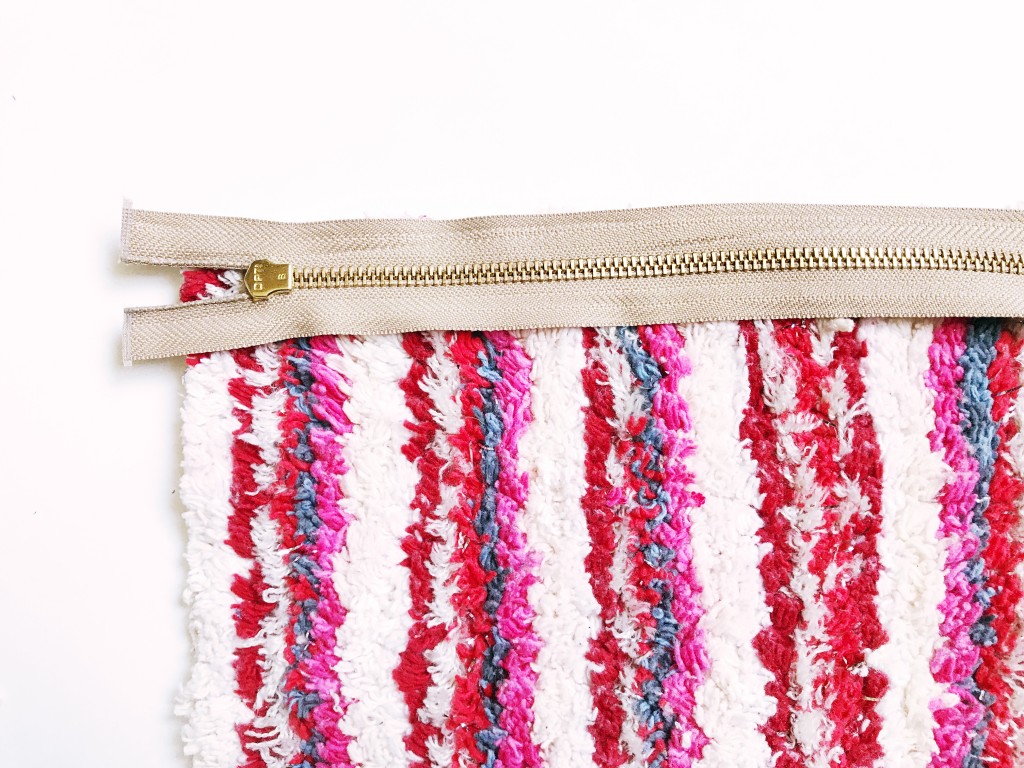 2. Place the remaining exterior fabric right side up; lay zipper (with the fabrics attached) on top, with the teeth side faced down and the zipper pull on the right. Place the lining fabric on top with right side faced down. Pin in place. Sew ¼” from edge of fabric, stopping short 1” from zipper pull. Pull the zipper away from the edge to prevent it from getting caught and continue to stitch along the remaining edge. Place wrong sides together and press.
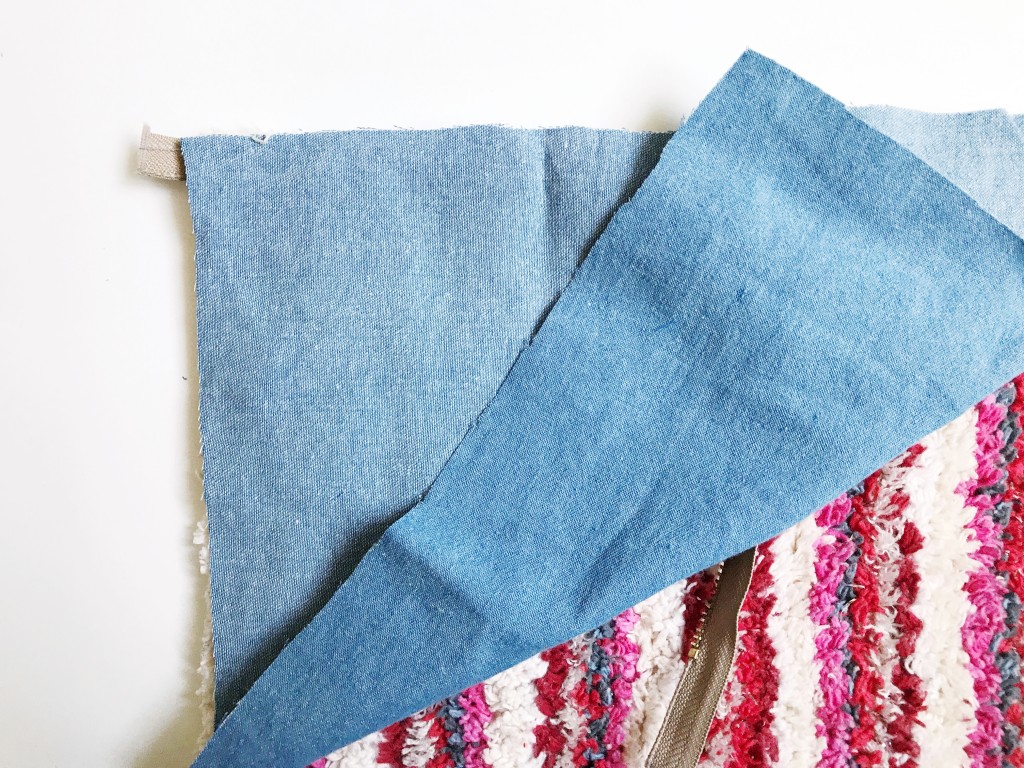
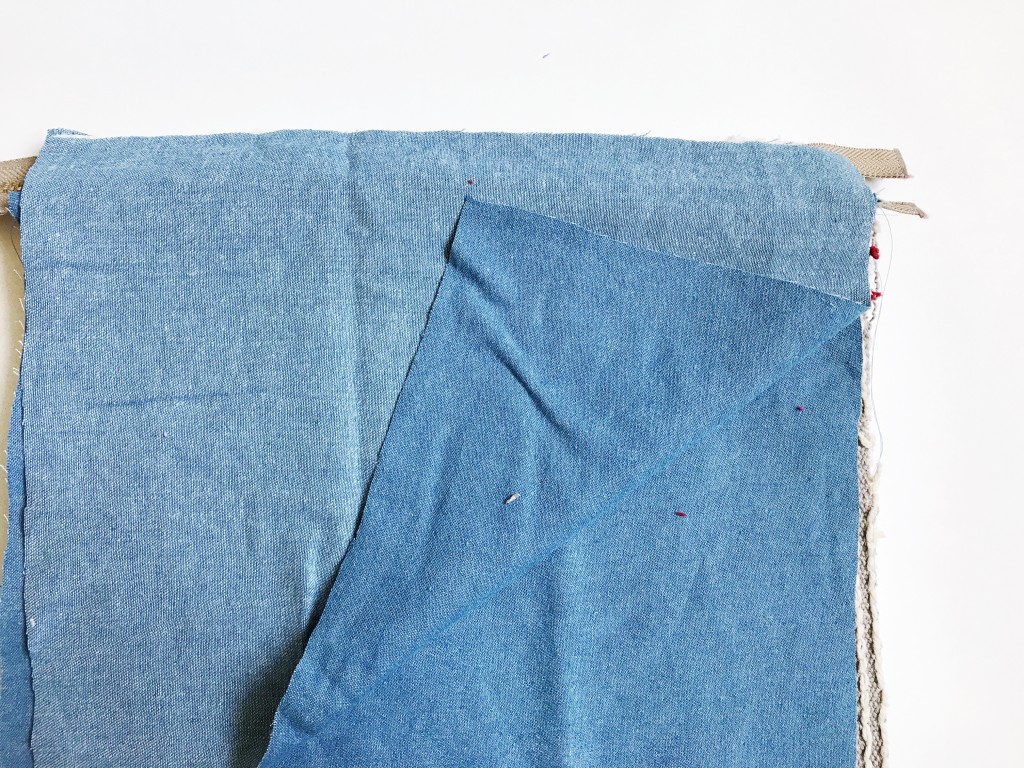 3. Open up fabrics so that the exterior pieces are right sides together and the lining pieces are right sides together. Pin in place. The zipper will be in the middle.
4. Sew around all the edges using a ½” seam allowance, but leave a 3” opening at the bottom of the lining fabric. Clip your corners to reduce bulk, but being careful not to cut the seam.
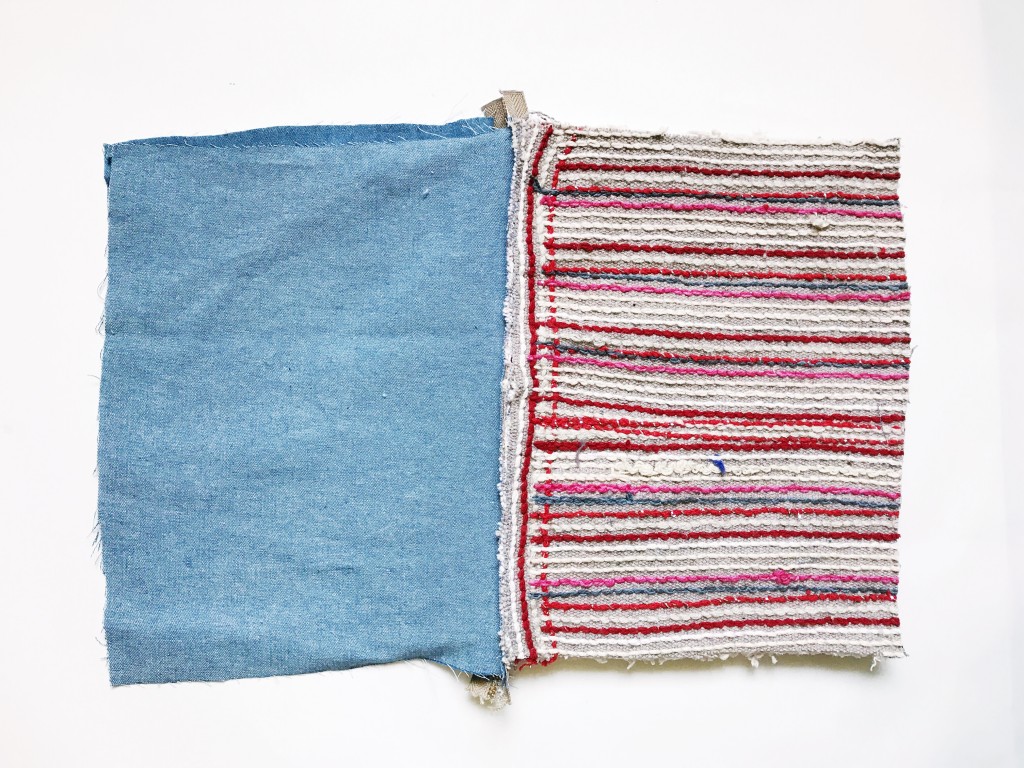
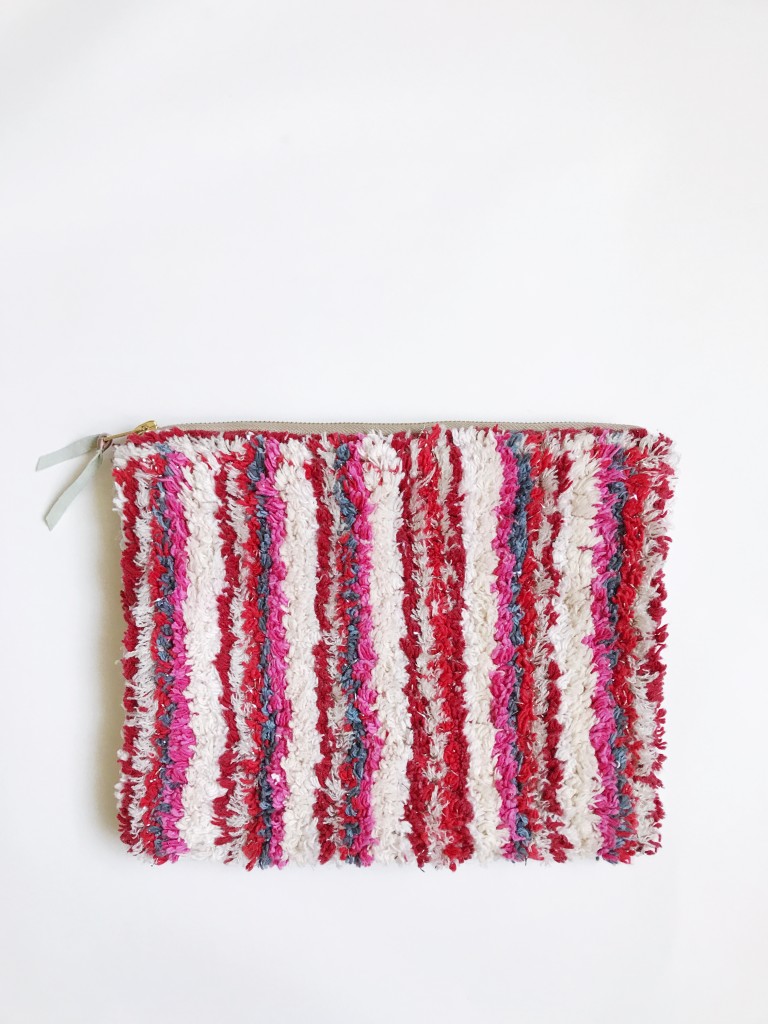
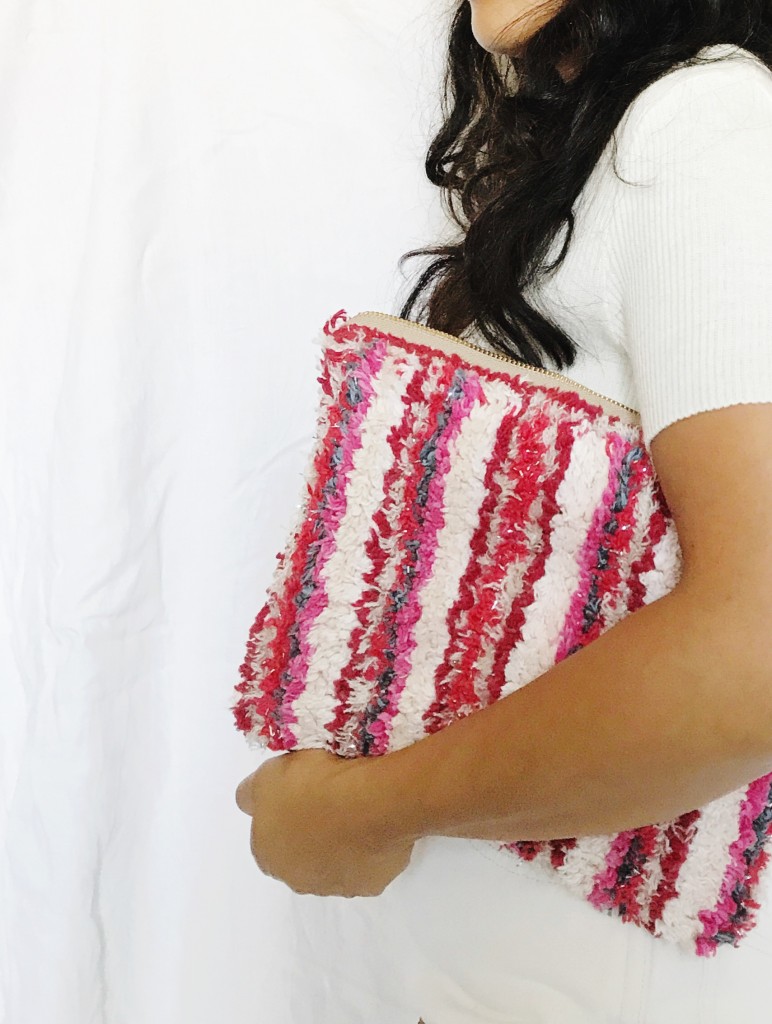 Found this cool bath rug at the 99¢ store and brought it home to make a clutch. It was made in India and it reminded me of Moroccan boucherouite rugs. This is pretty much exactly the same as this tapestry clutch, except slightly larger. I wanted something colorful like this to throw all my purse junk in, and then throw the clutch into one of my baskets. I bought another rug and plan to make another clutch with it, or a purse for the girls. Sometimes, the 99¢ store has some pretty good finds.
diy: mini leather clutch
August 1, 2017
Supplies:
8 1/2″ x 11″ leather piece
9″ zipper
Neon paint
Paintbrush
Tape
Scissors
Coordinating thread
Sewing machine
Seam allowance: 1/4″
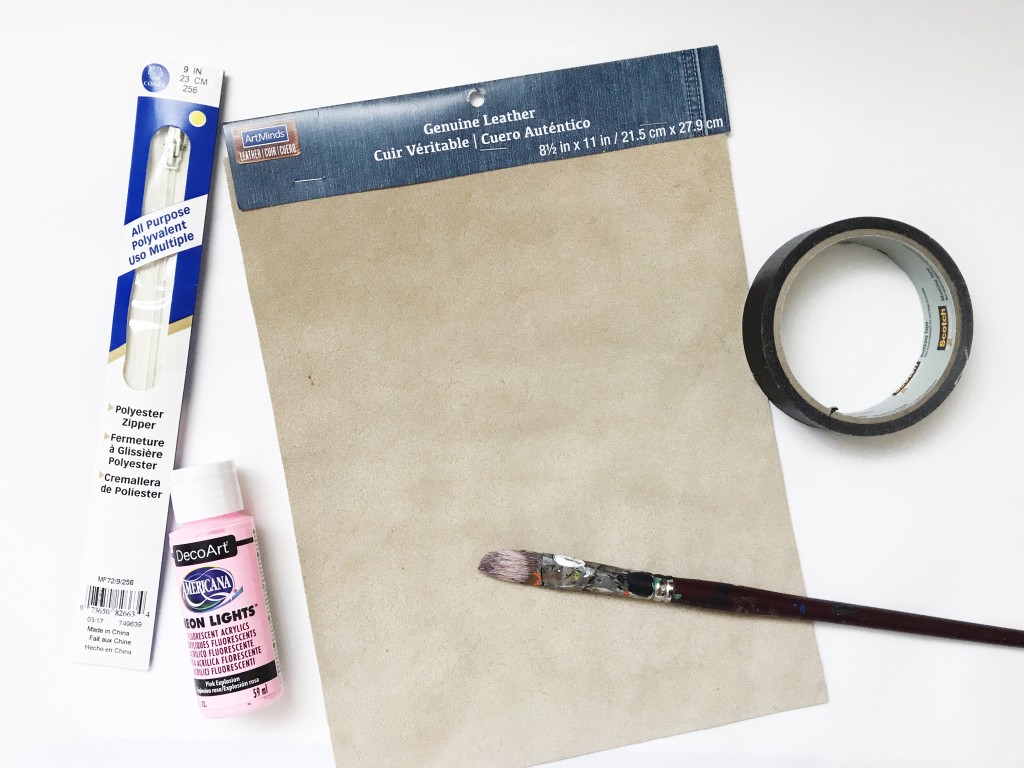 Directions:
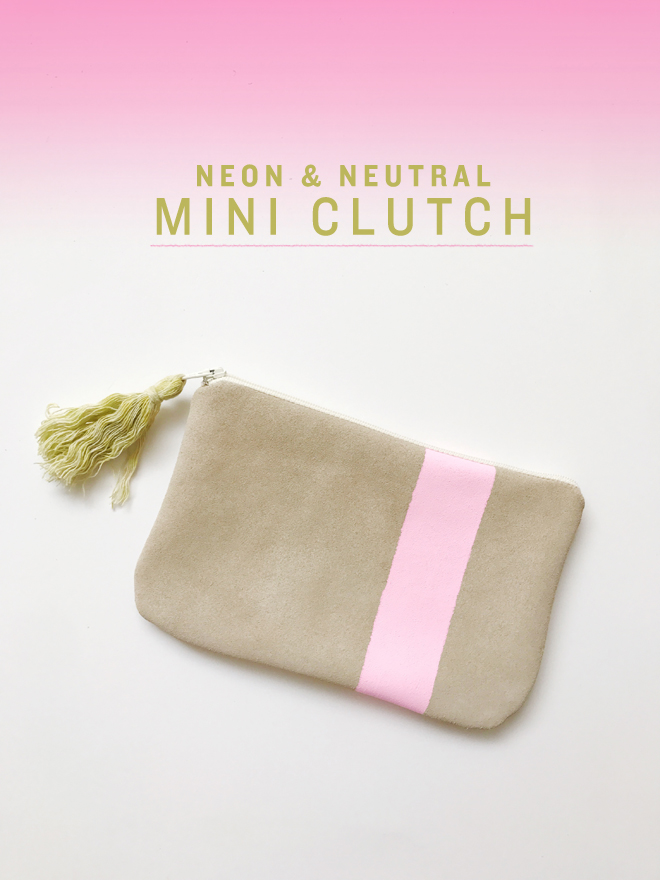
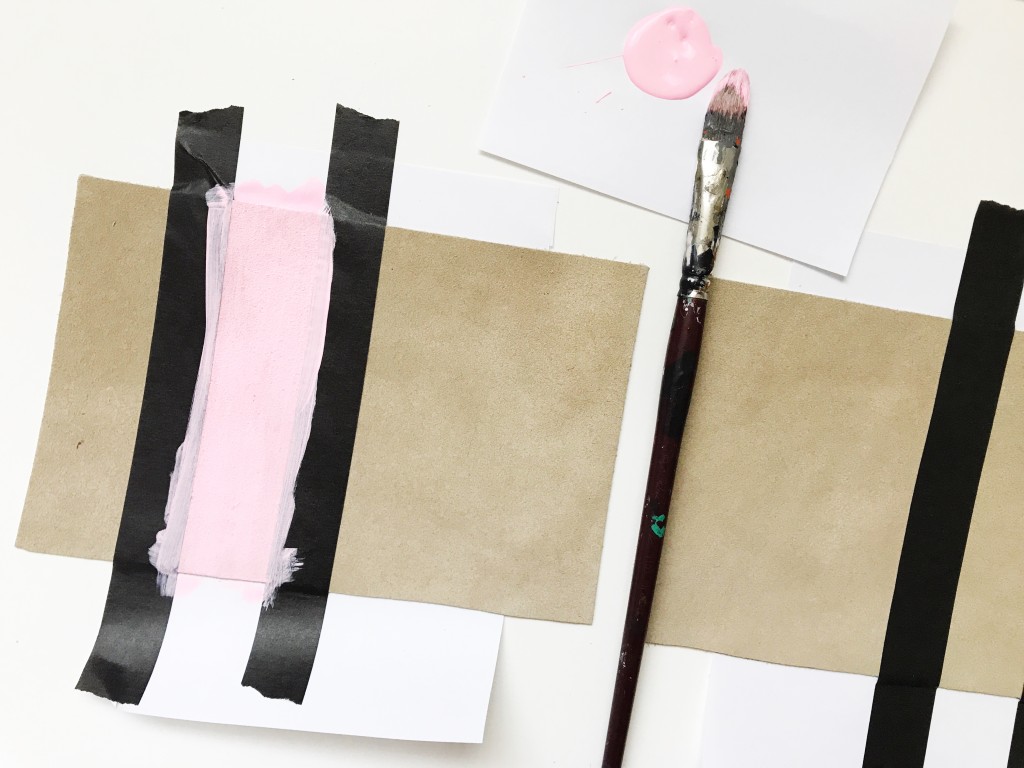
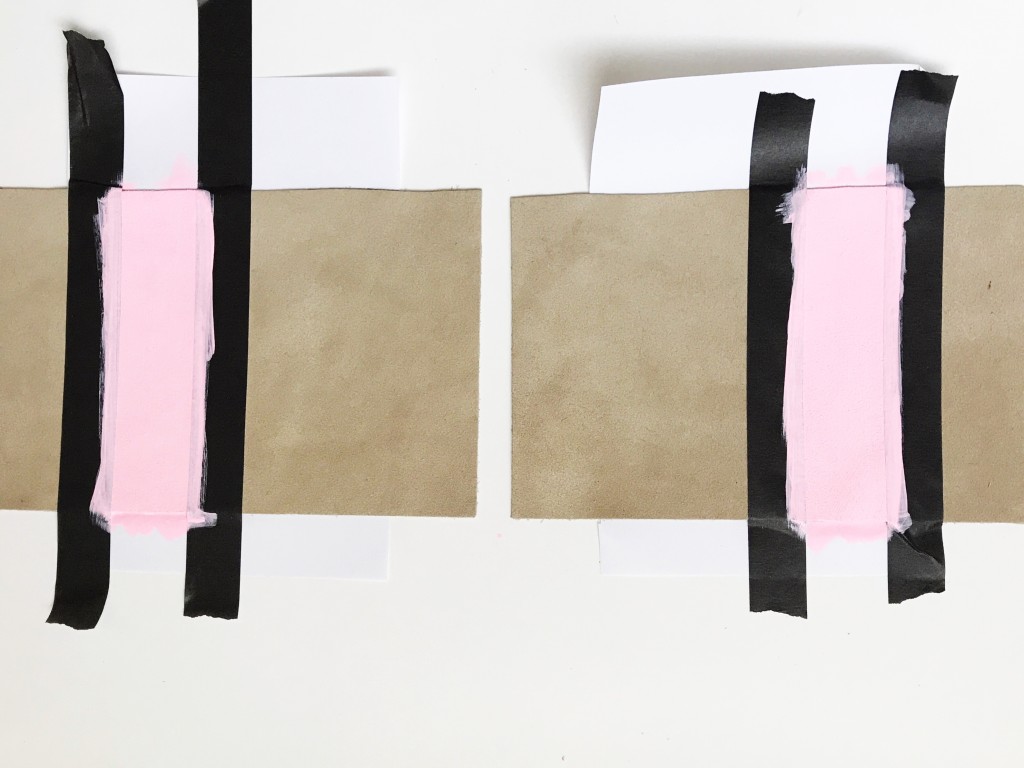
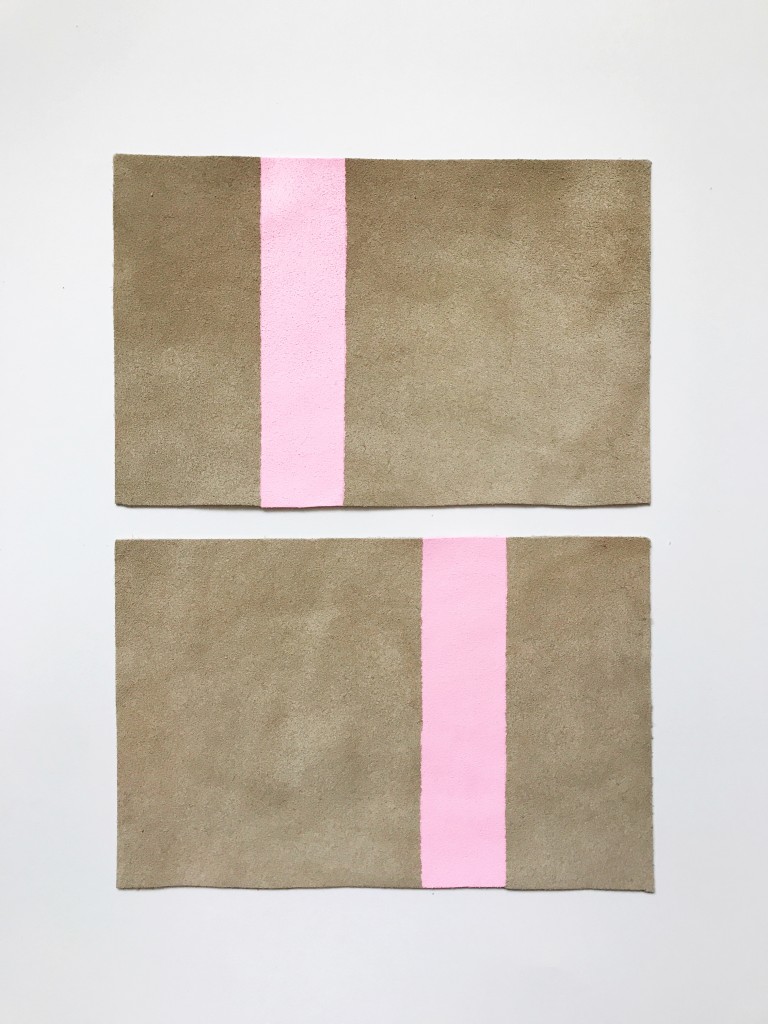
1. Cut your leather rectangular piece in half, so that each piece is 8 1/2″ x 5 1/2″. Tape off the portion of the clutch you would like to give a bright, neon stripe. I did ours about 2″ in from the edge, and make sure you paint the opposite side of the second leather piece, so that when you put the right sides together, the stripe ends up lining up.
Paint your stripe and allow to dry completely. I did 3 coats to get a nice bright pink. In black light, the pink glows!
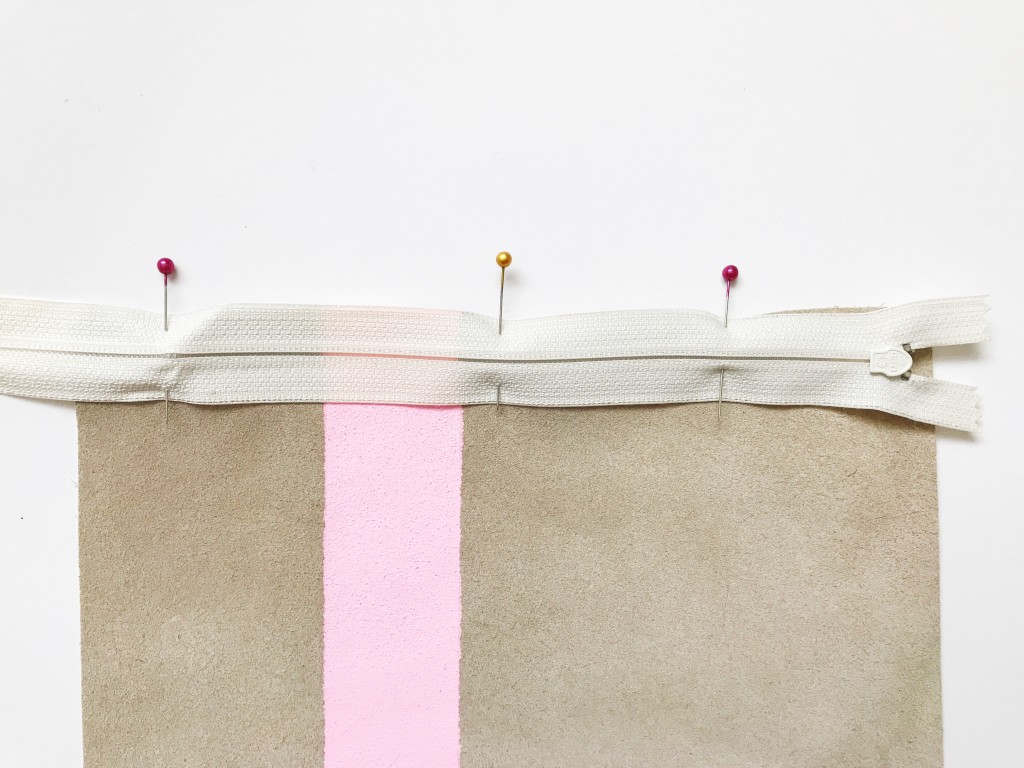
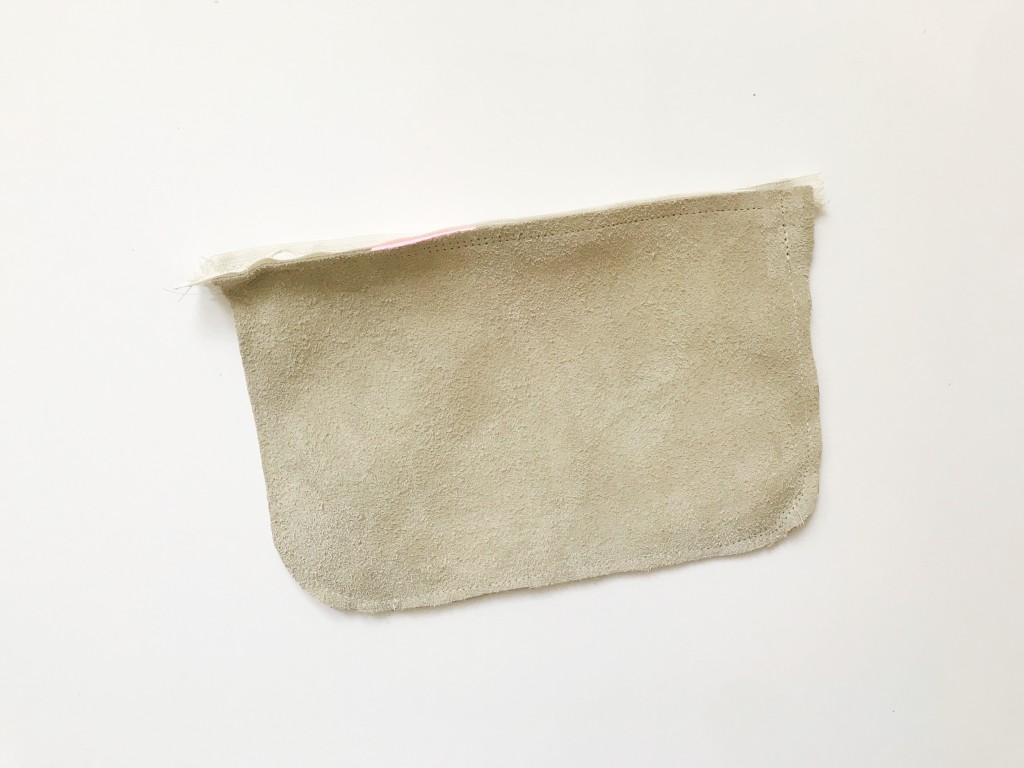
 2. With the zipper teeth down on the right side of one of leather pieces, line up your zipper, pin in place. Sew along the edge of the zipper.
 3. Place the second leather piece on top, with the right sides together, line up the zipper edge with the leather piece. Pin in place and sew along the entire length.
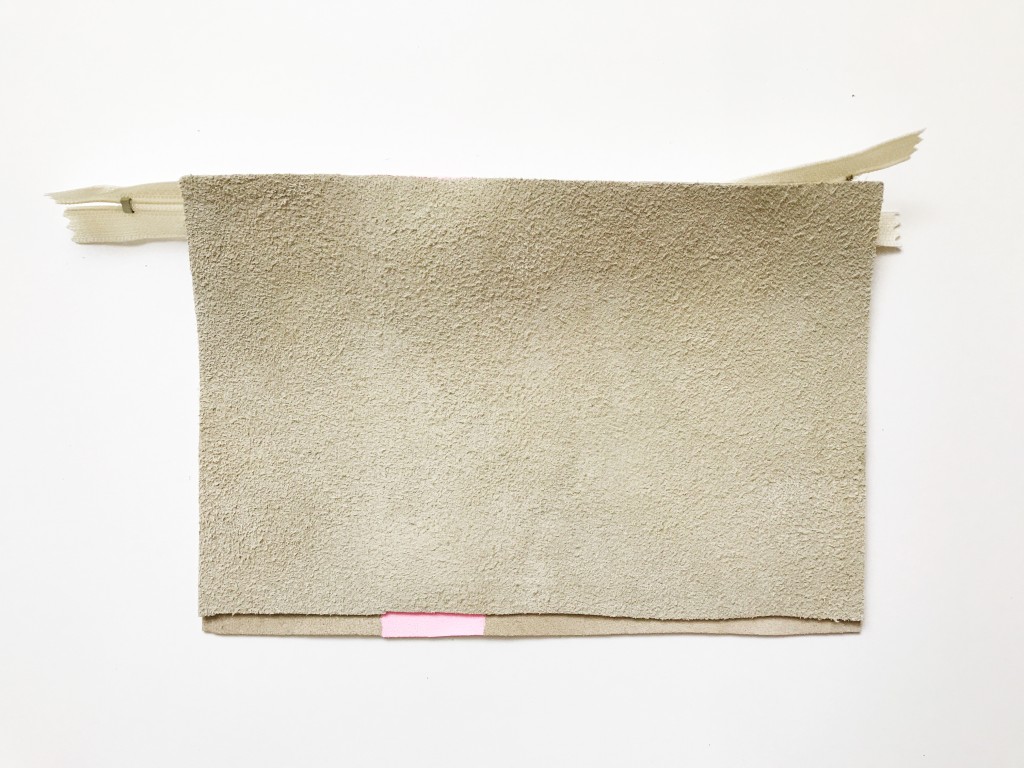
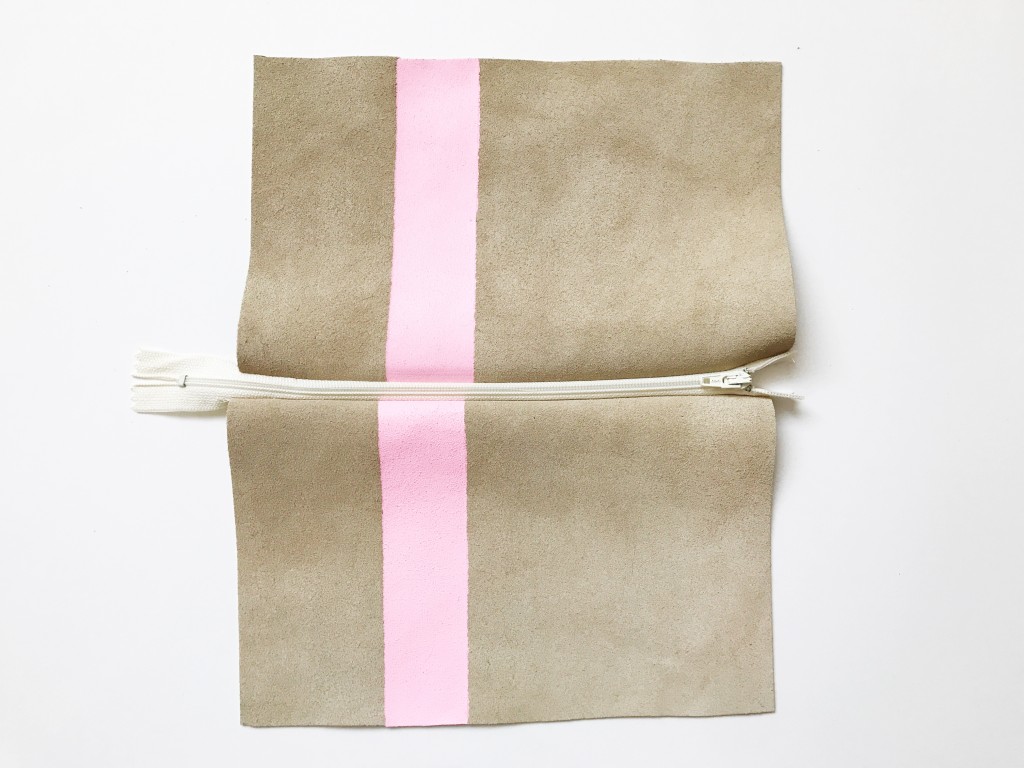 4. With the right sides of the leather pieces together (open the zipper, so that it can be turned inside out), sew along the sides and bottom of the clutch. I sewed ours with rounded corners. Once all sides have been sewn, turn right side out. Add a tassel in a fun color for a little bit more neon pop!
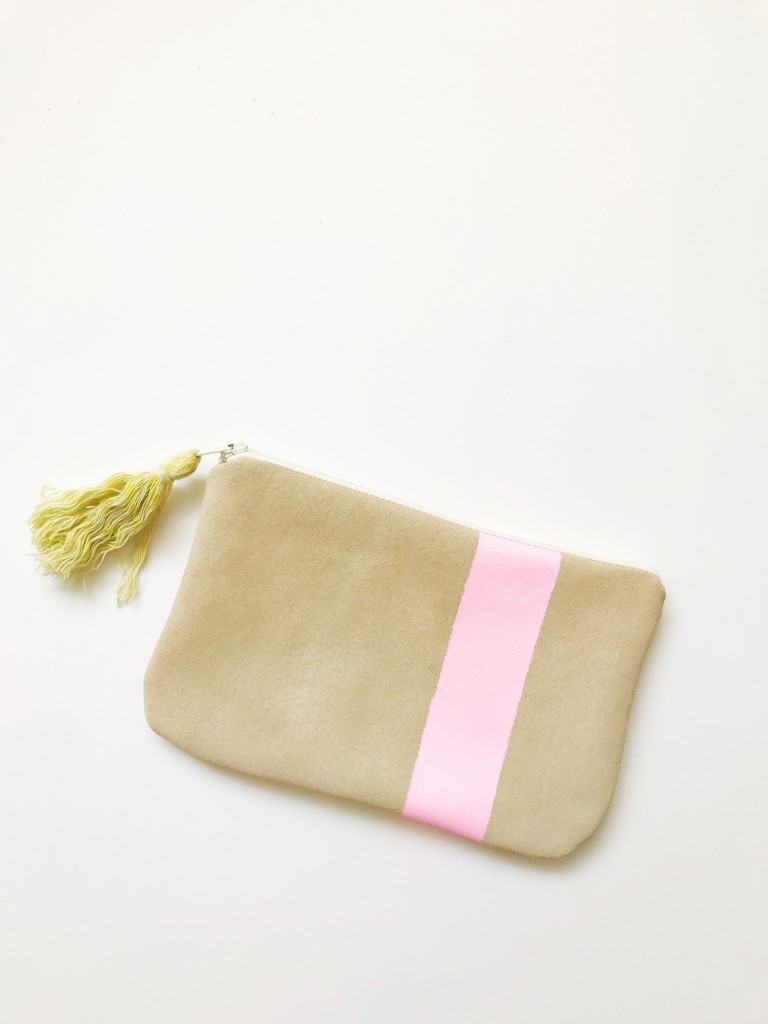
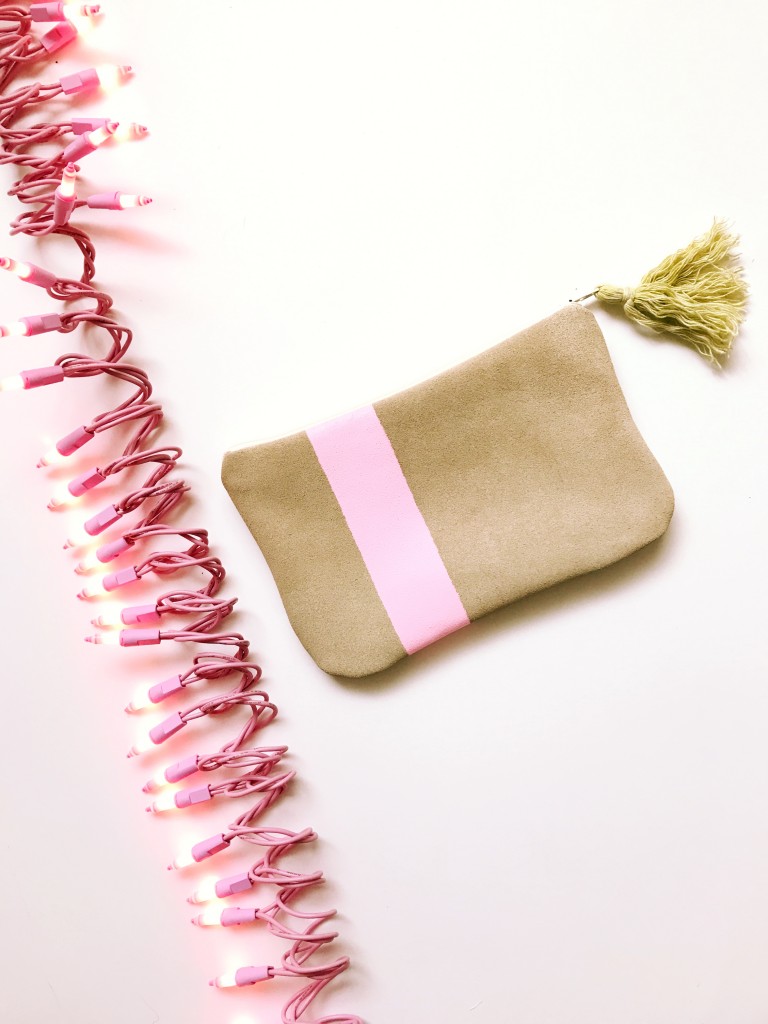 It could be a pencil pouch or a mini clutch for a night out. I haven’t decided if I’m going to give it to the girls to use (they want it!) or keep it for myself. Maybe, I’ll just have to make another.
Supplies provided as part of the Michaels’ Makers Series. From neons & neutrals, to bag charms & kawaii cuteness, Michaels has everything you need to head out Back To School in the latest trends.
 Loading InLinkz ...
child craft: beaded snake bracelet
June 28, 2017
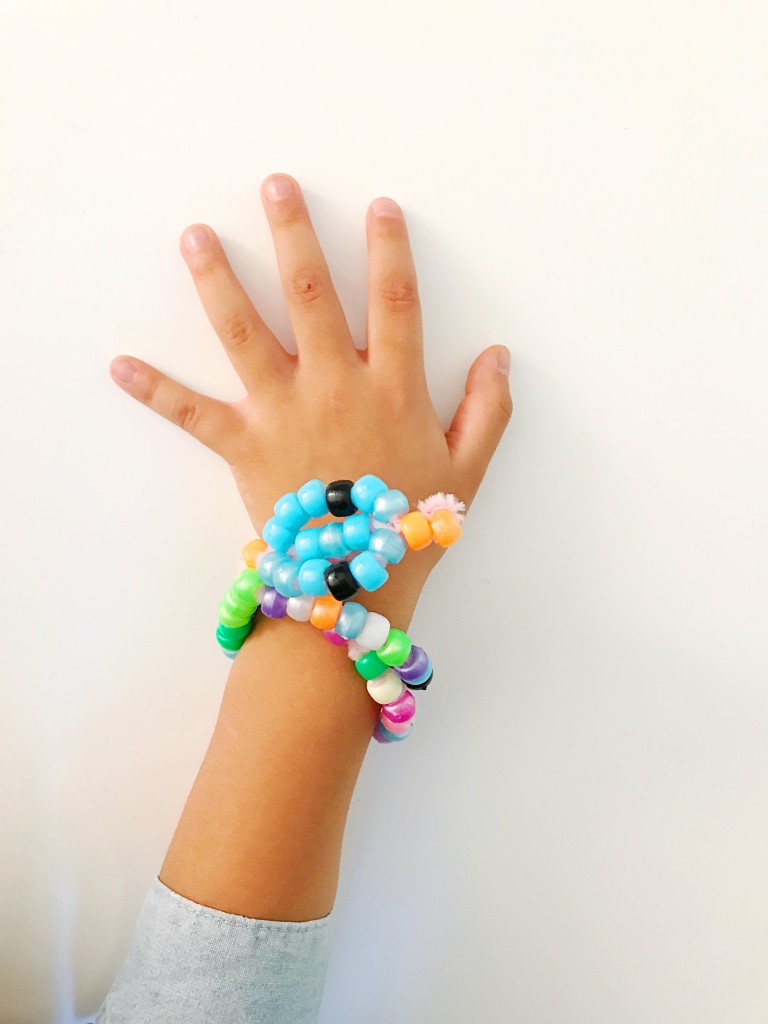
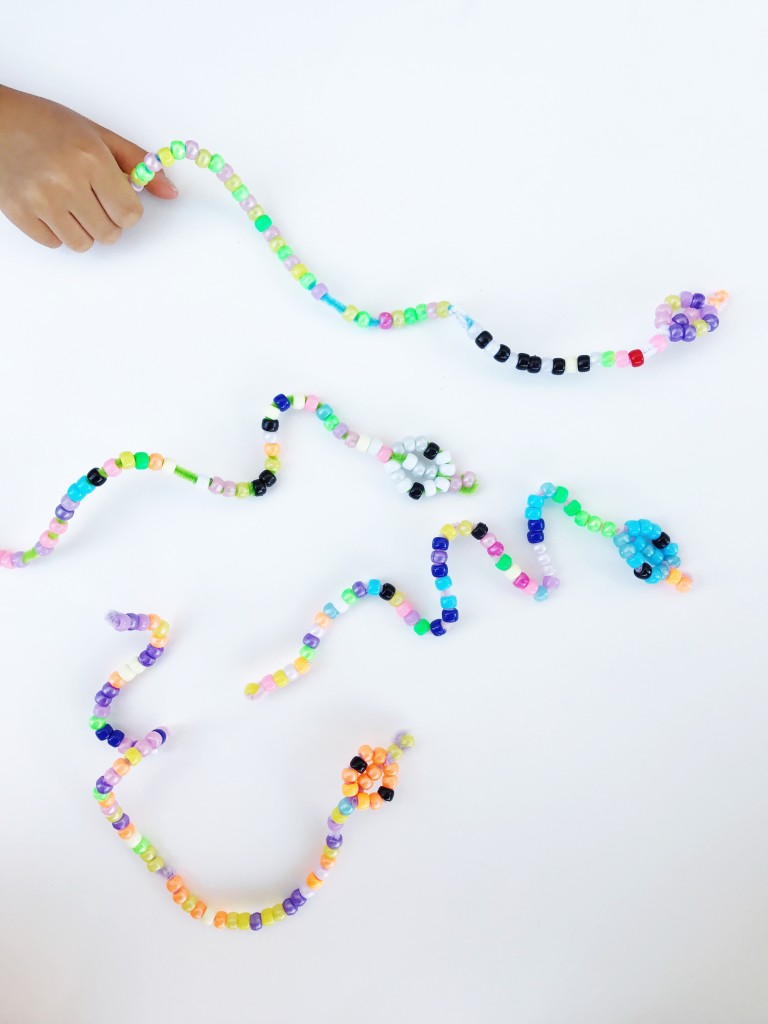 Beaded Snake Bracelet
adult supervision for little ones when crafting with small pieces
Supplies:
Chenille stems
Plastic beads
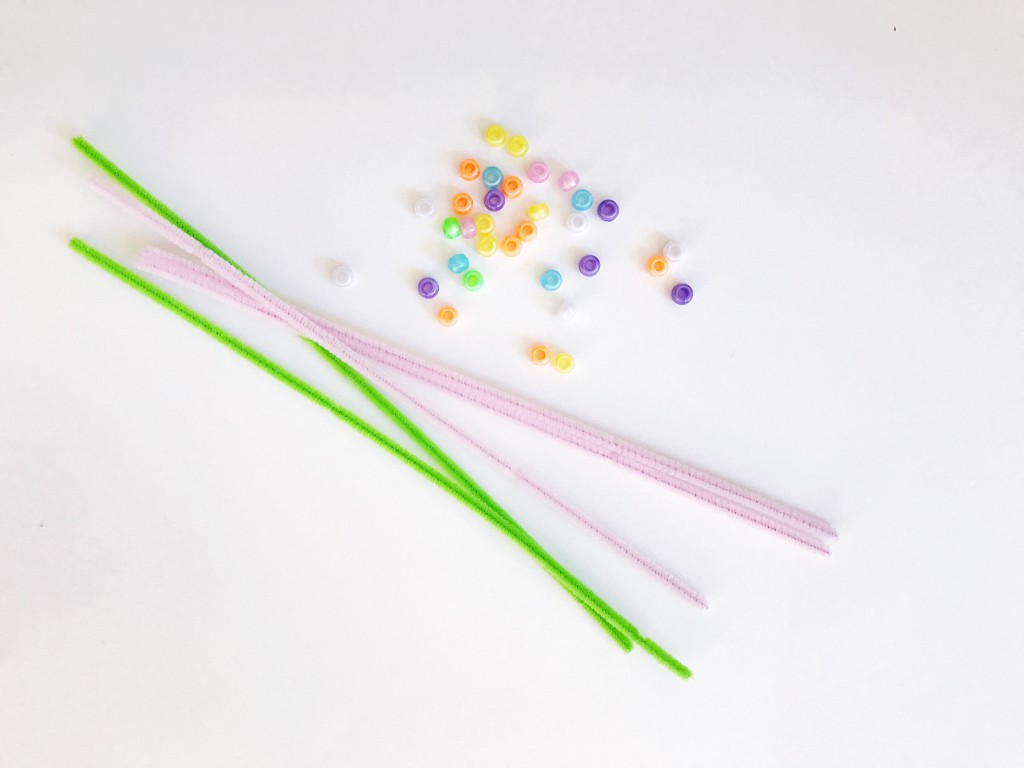 Directions:
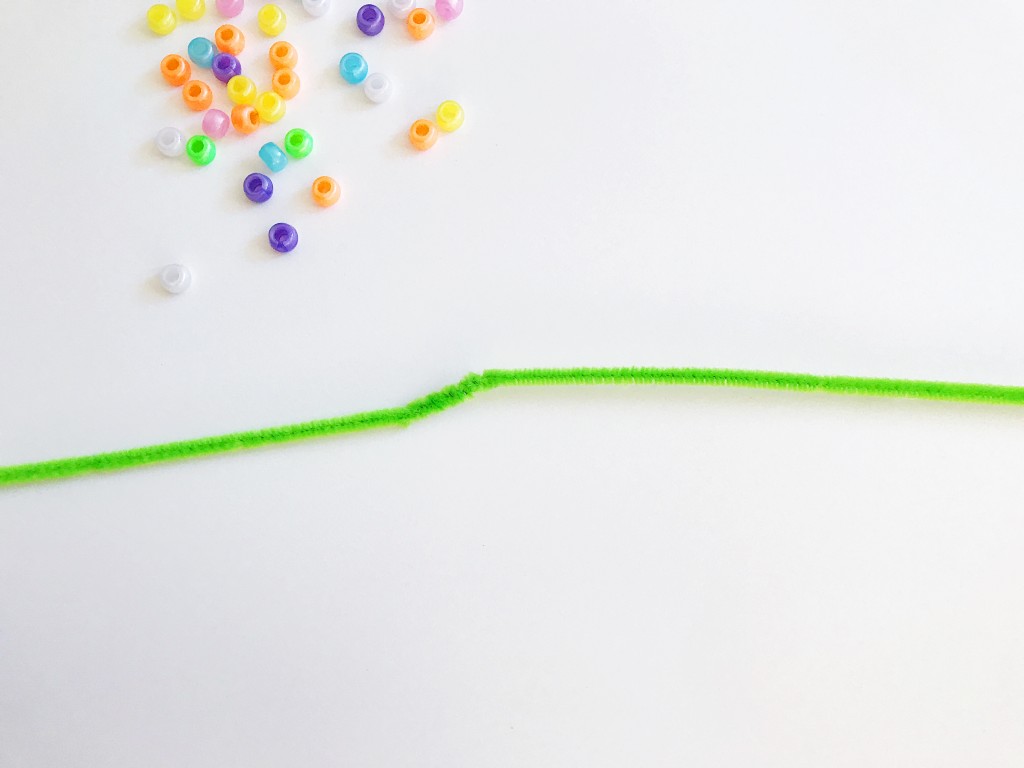
1. Hook two ends of 2 chenille stems together and twist. This joins two stems together to make a make really long one.
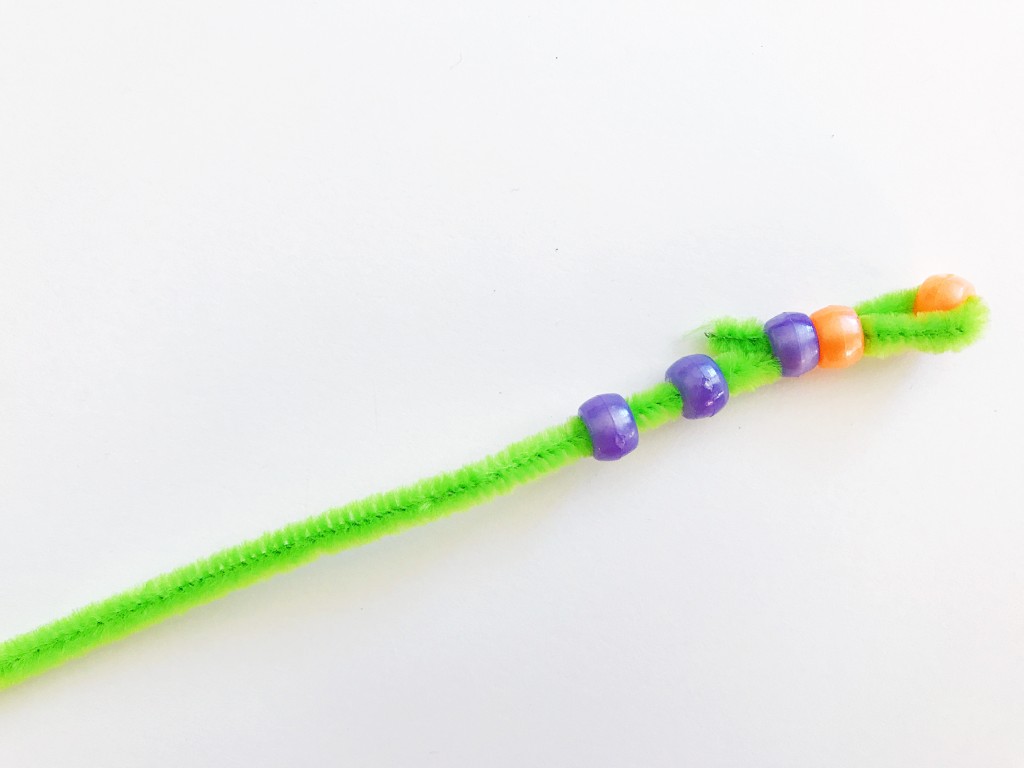
 2. To create the snake tail, feed a few beads through the end of the stem, hook the last two inches, then go around the last bead and feed the stem through the beads. This secures the end and prevents the beads from falling out.
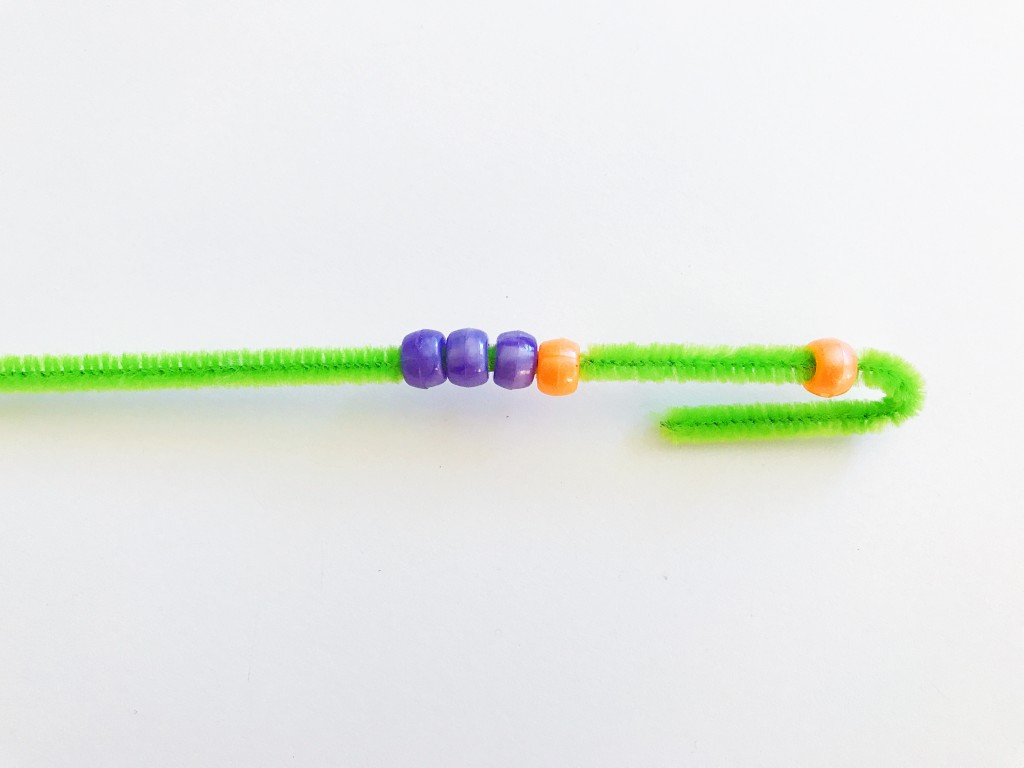
 3. Fill your stem with beads to make the snake body. Stop adding beads with about 7 inches left to go on the stem.
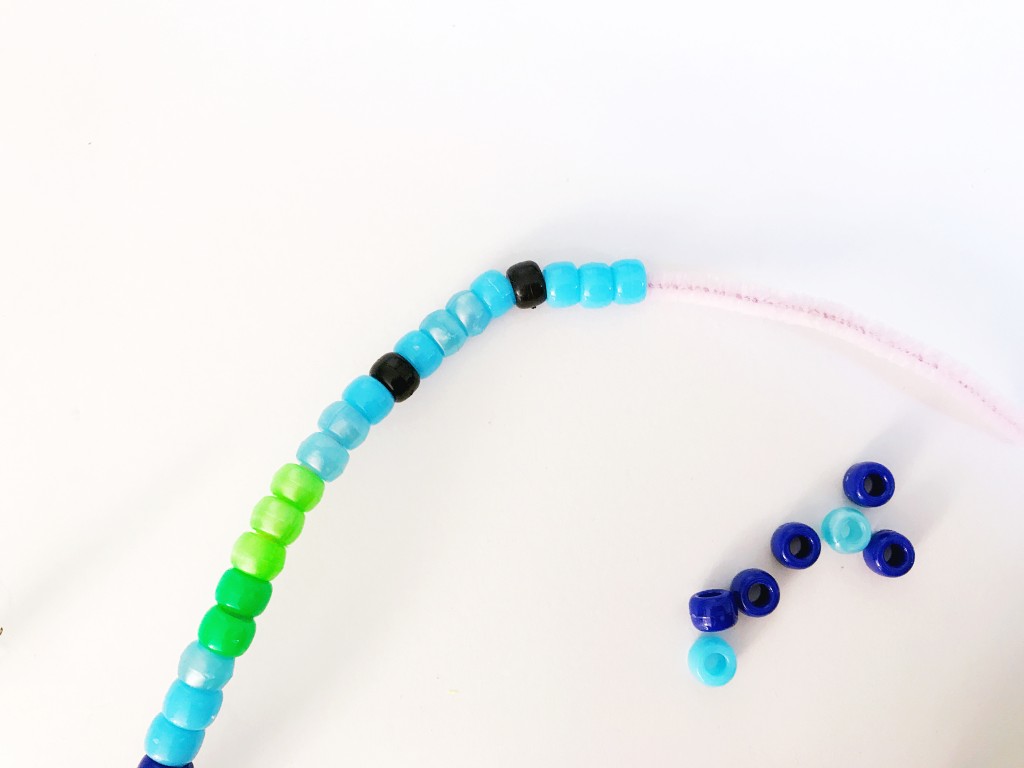
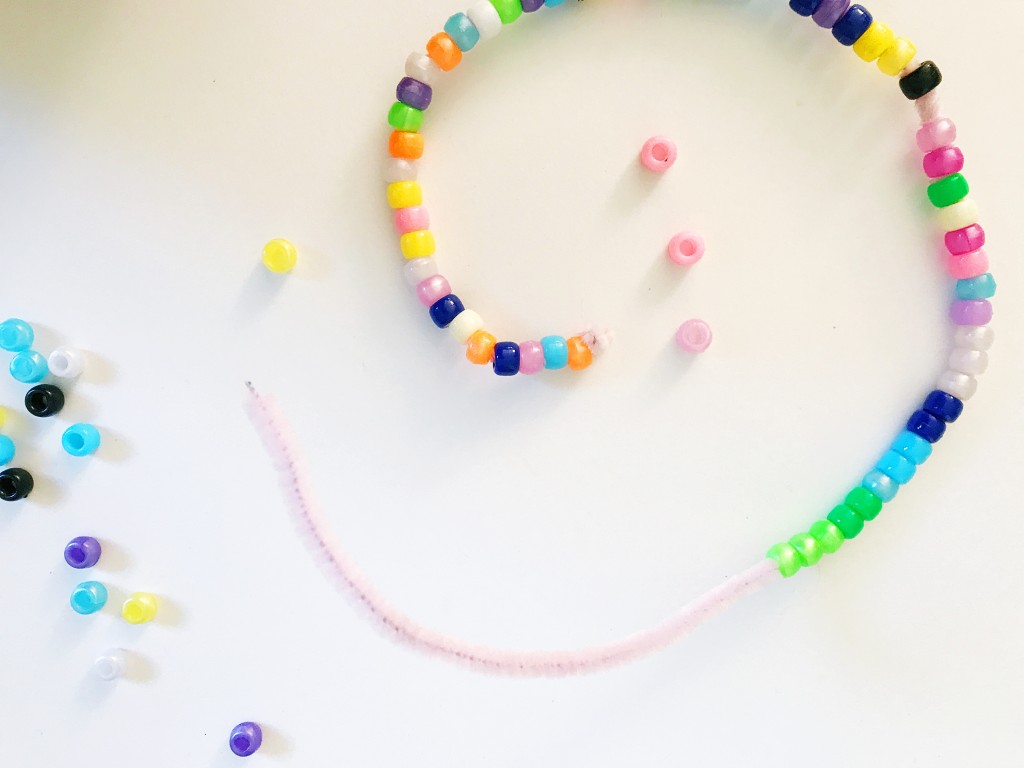 4. Add about 12 more beads to create the snake head. Notice the pattern we used to give our snake “eyes” with the black beads.
Allow some small spacing between the beads in the snake body, so it can wrap nicely when wrapping around the wrist to make a snake bracelet. Create a small loop with the head and twist.
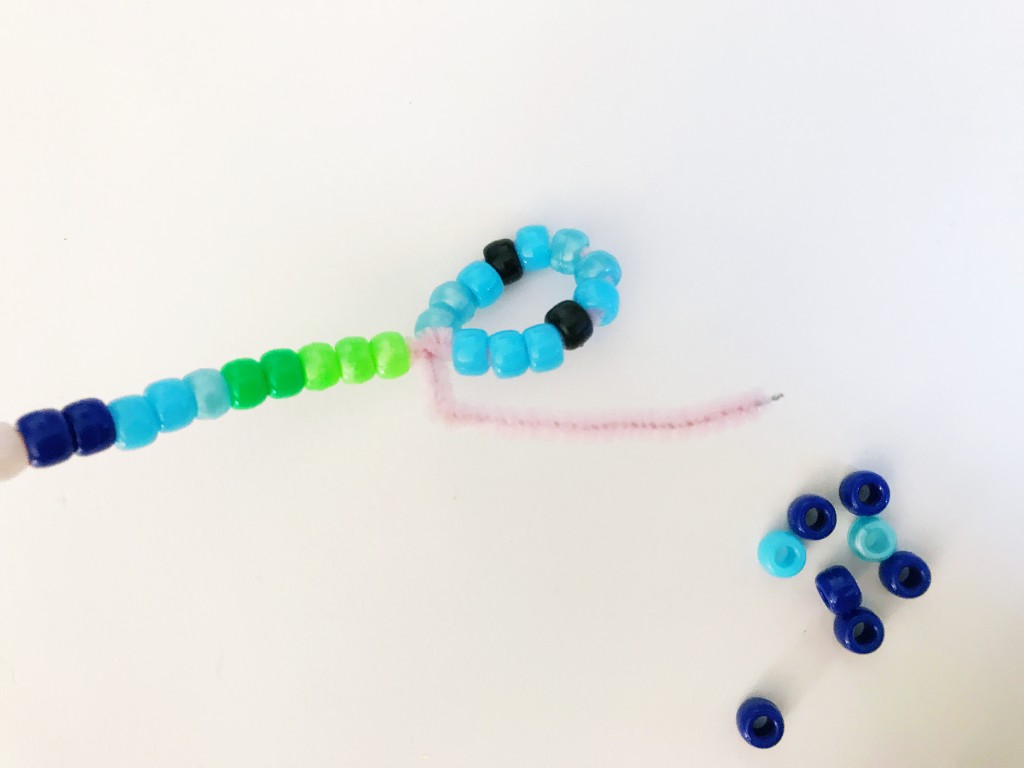
 5. To fill in the snake head, fill in the remaining stem with some beads. Bring the remaining end through the center of the head, twist the stem around the front head of the snake, and add two more beads for the tongue. Lastly, have the last bit of stem wrap around the last bead, and feed the stem through the previous bead to secure the end. Essentially, repeating what you did for the other end of the snake.
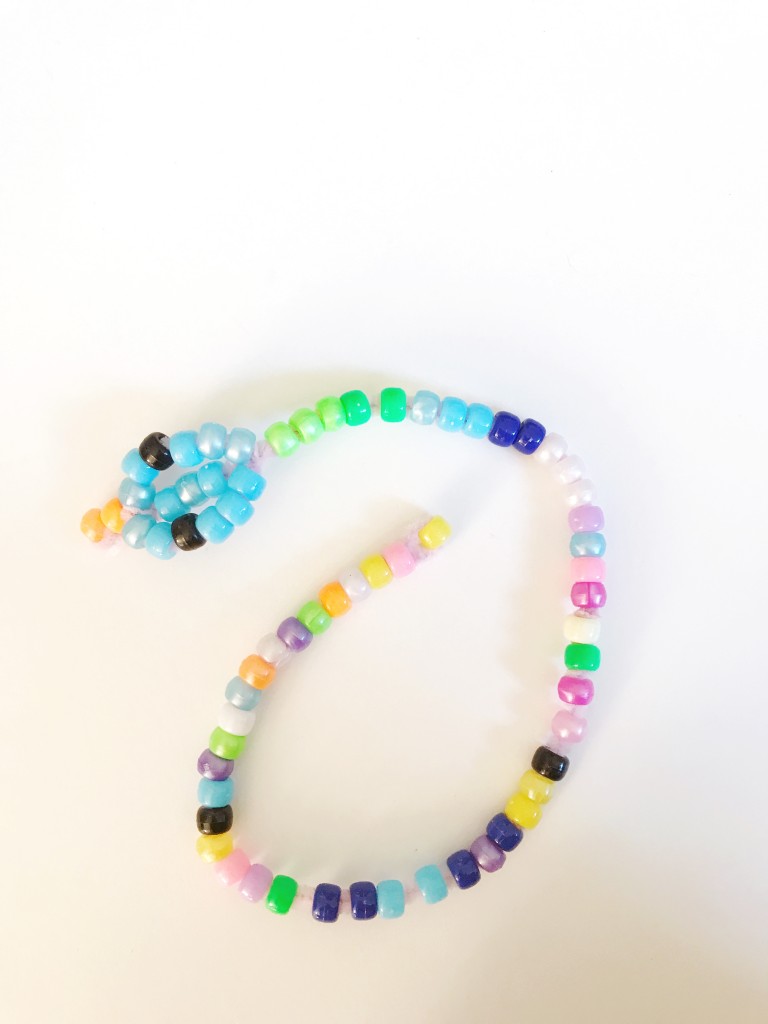
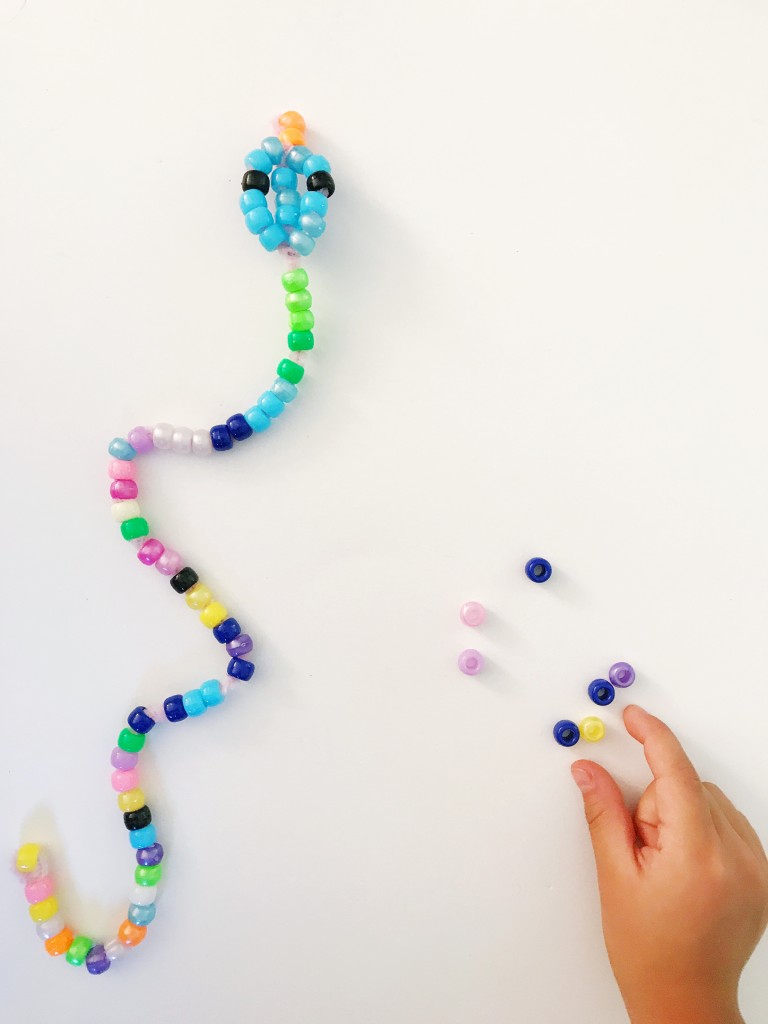
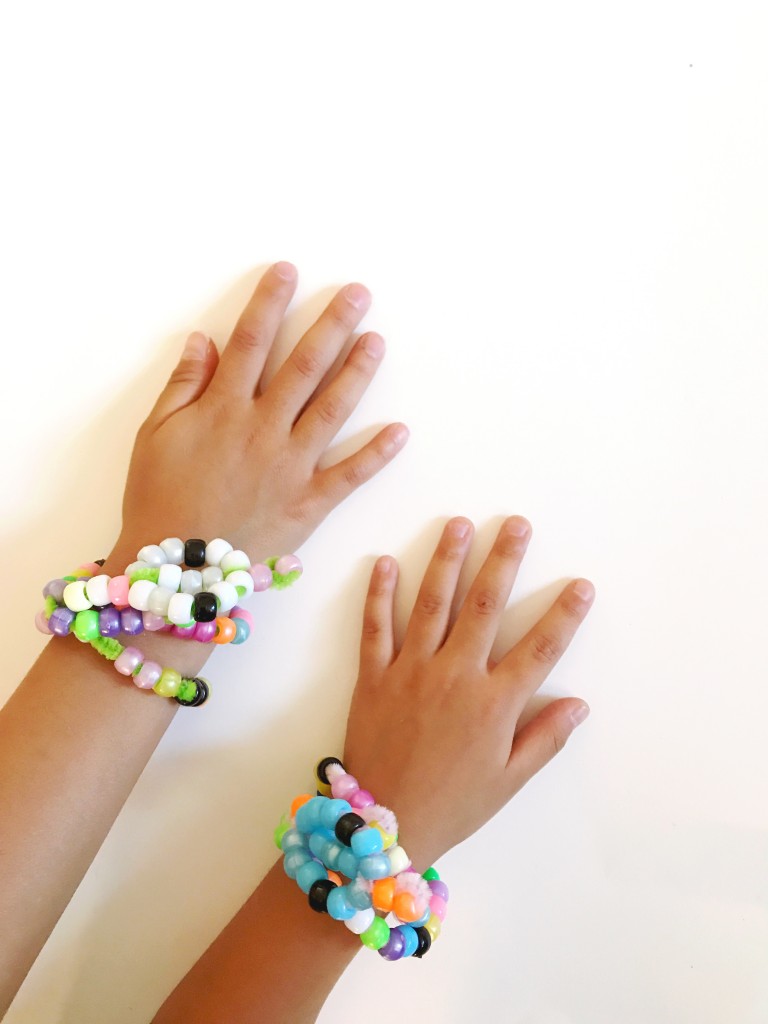 The girls liked this craft so much they made two each! And now each wrist is adorned with a snake bracelet. Their snakes even have names! I believe one is Lavender Chai and another Blue River. I’m not sure what the other two are!

