craft night with friends

October 29, 2015


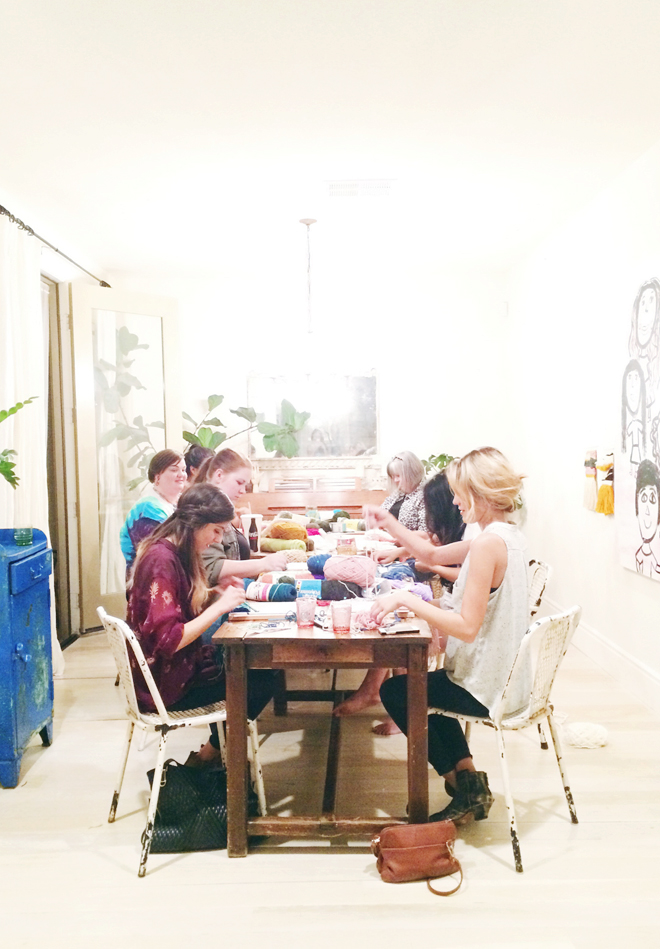
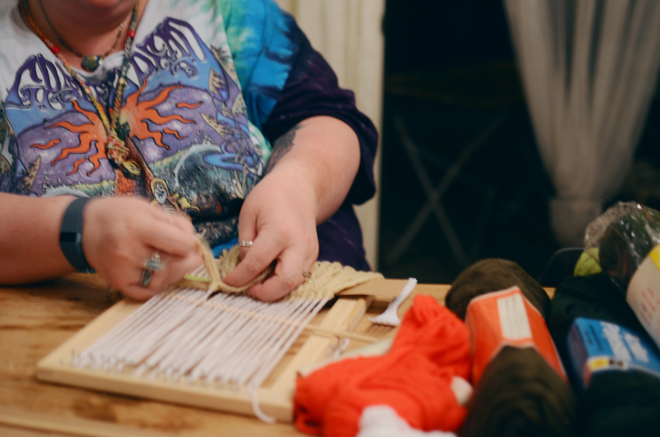
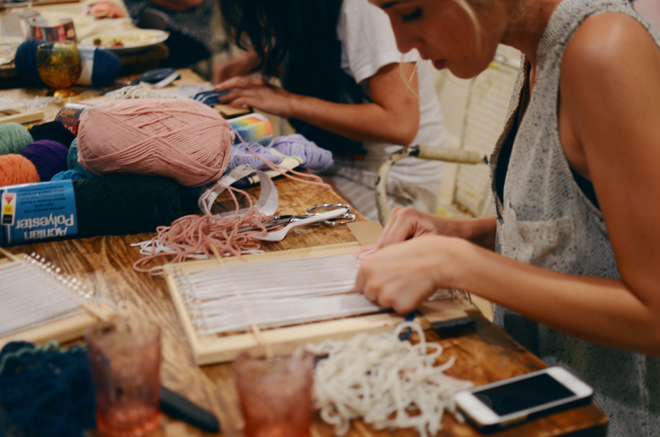
This past Saturday, some of the ladies from our church family came over for a hang out. We do a ladies hang out once a month, and someone hosts and teaches something. Last month, we learned how to make delicious fresh salsa. This month was my turn and I taught them the beginnings of weaving. It was a fun night of chatting and laughing as we shared funny stories about life, marriage, and kids. While everyone was listening and chatting away, everyone’s eyes were still zoomed in on their weaving, and they were definitely concentrating on each step as they weaved their way up the loom. I made some handmade looms (thanks to the weaving tutorials on CreativeBug) for everyone to borrow, and one friend bought in a giant box of vintage yarn (the price tag said $1.77 from Penney’s!).

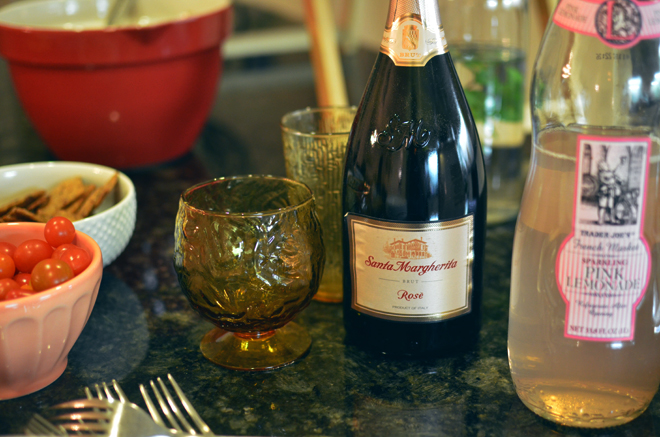
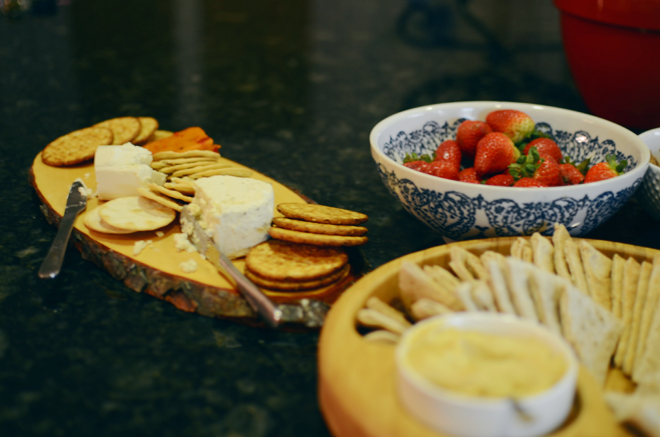
I had some cheese, crackers, and sun dried tomato pasta for guests to fill their tummies with. Lemonade, mint water, and rose were nearby to quench thirsts. When you only have a couple hours, you don’t get very far in your weaving (especially on your first try), but everyone took yarn with them, and were planning to continue it at home. I can’t wait to see everyone’s finished product! I highly recommend getting friends together for a craft night; it’s definitely good bonding time.

the sandals are going strong

October 28, 2015


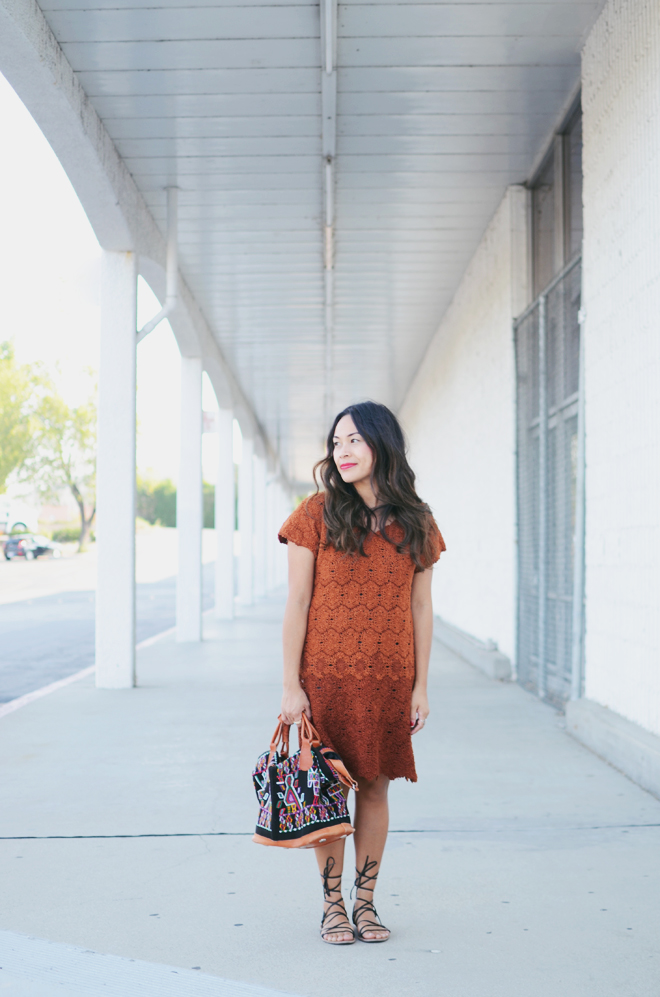
Whoa, you can see my hair is lightening up. I haven’t dyed it at all, but some of the color is fading (that blonde was bleached so much). I’m liking it so far, since it’s still pretty dark. Recently, I found 4 white strands of hair on my head, but I refuse to pull it out because my hair is already so thin that I’d rather keep my 4 white strands than lose my hair. Plus. I heard granny chic hair is in, right?! 😉

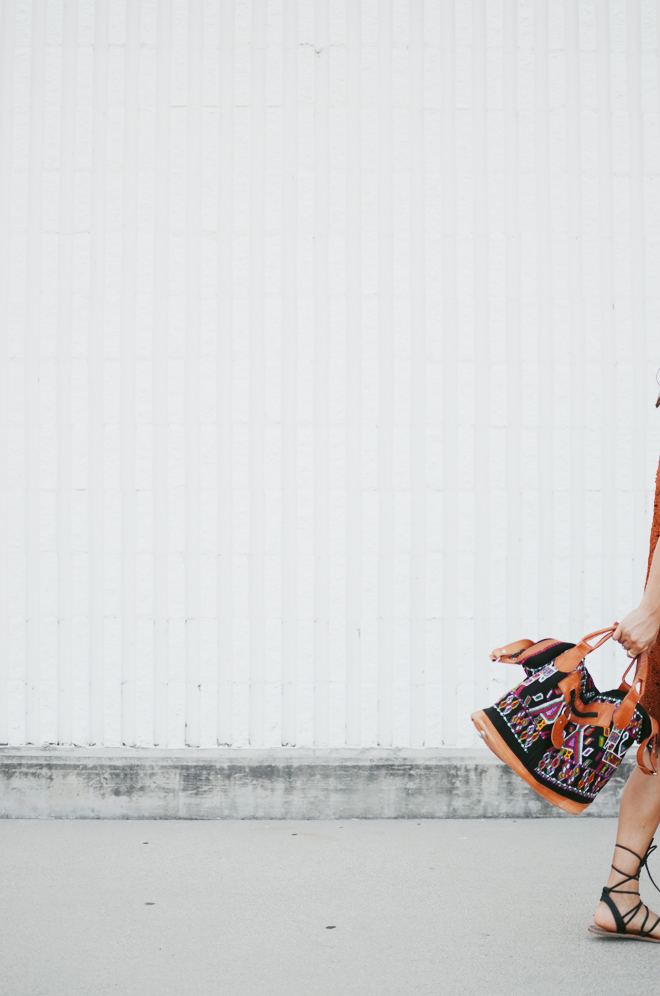
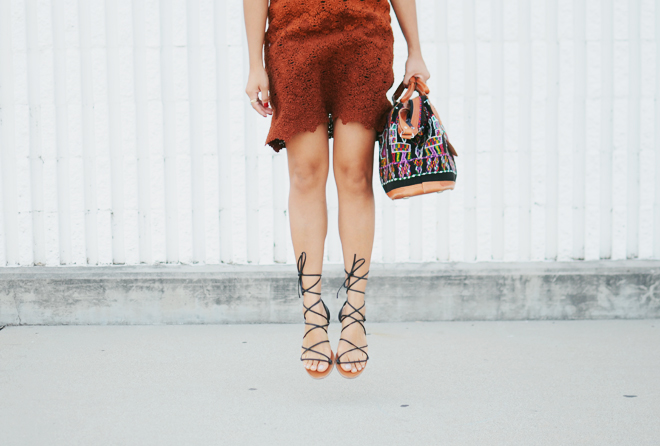
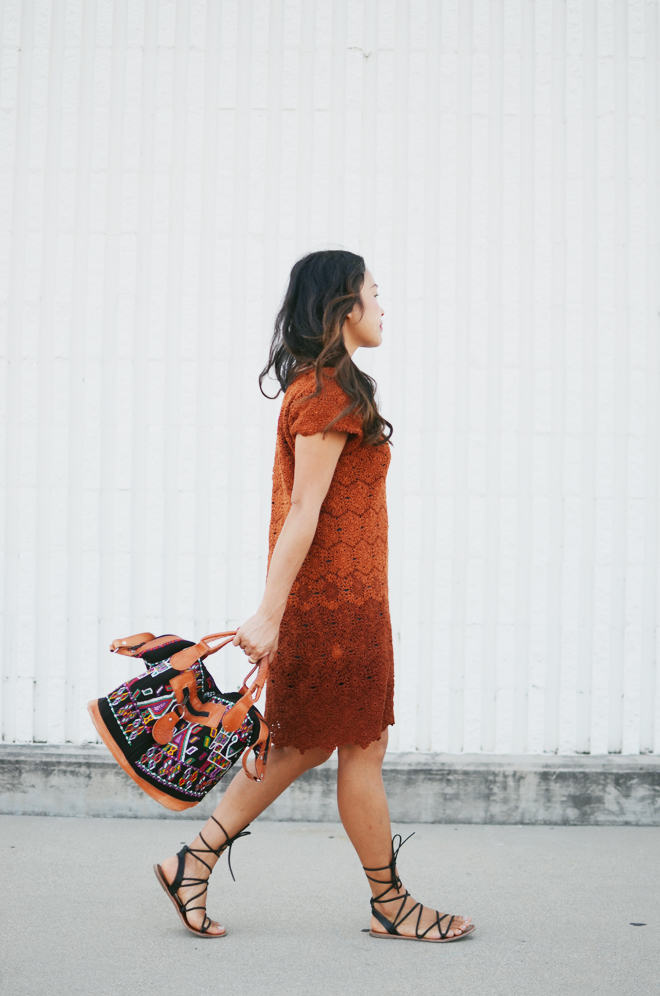
The colors on this dress (there’s really only two) scream fall, but the shoes say summer. Oh the perks of living in California; sandals can pretty much be worn all year round.

on me: dress, vintage from ms. tips (vintage here, new there). sandals, gap (sold out, but similar here). bag, humble hilo.


kids make the halloween decorations by true (and brave)

October 27, 2015


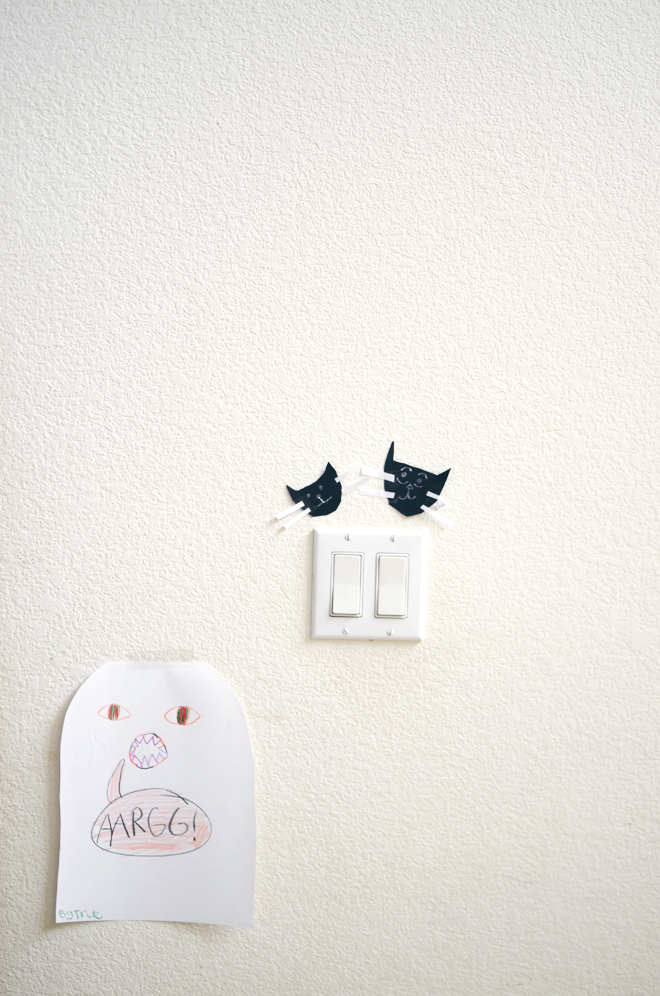
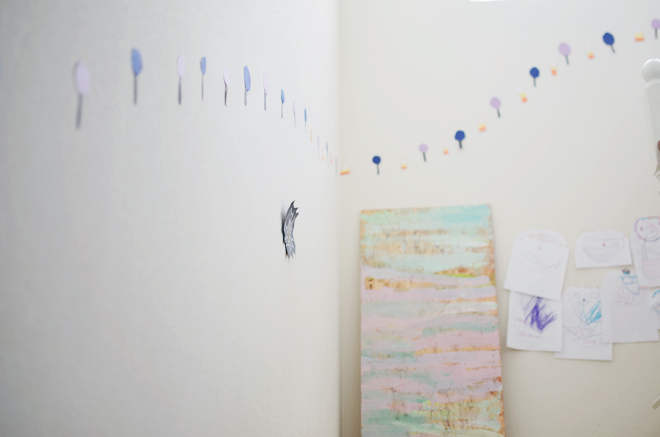
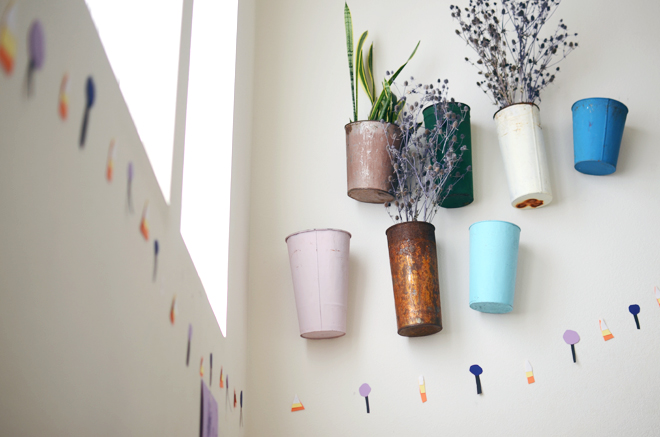
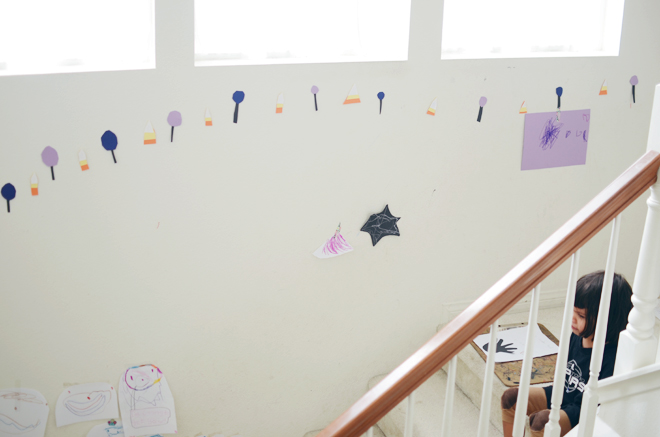
We made candy corns and lollipops and put them on the wall. We started decorating because mommy put a mask on our Clonette doll, so I wanted to teach my sisters how to decorate and make things.

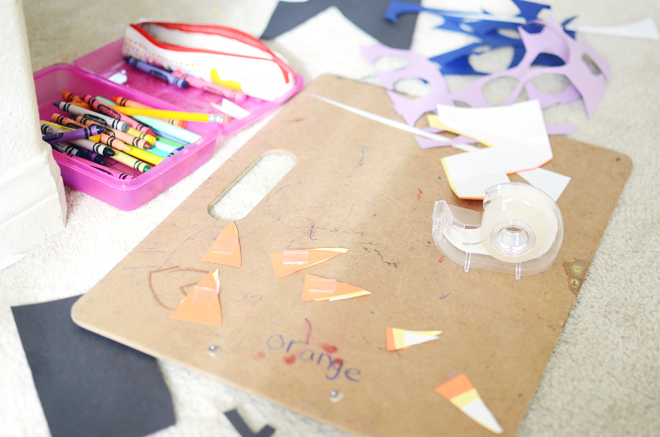
To make the candy corn and lollipops, I got some orange, yellow, white, blue, purple, and black paper. I also used scissors and clear tape. To create the candy corns, I placed the orange, yellow, and white paper on top of each other. Next, I cut out a triangle, and moved the yellow and white portion higher. Then, I taped the white and yellow onto the orange. Lastly, I taped each piece to the wall.

For the lollipop, I placed the blue and purple on top of each other. Second, I cut a circle out and I set the purple and blue circle out. Then, I cut some black paper about the size of my finger, and I taped it to the circle. I taped each piece to the wall too.

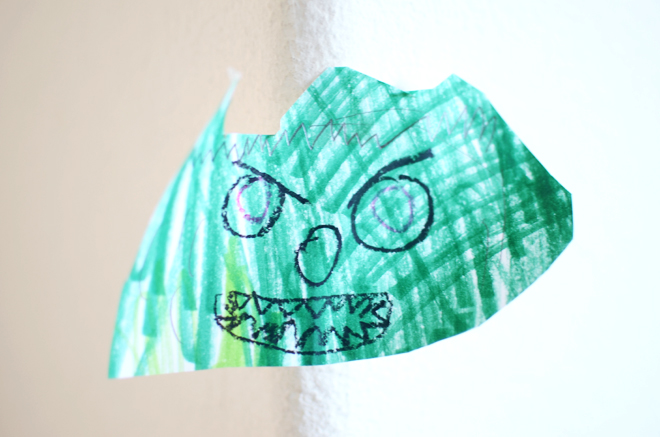
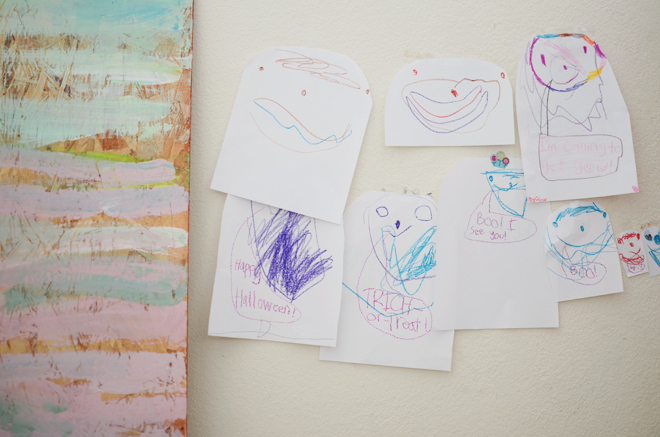
I was coloring some white paper green, and then I cut it into a monster shape, and drew a scary face. I taped that up too! To create some ghosts, I got some white paper and cut it into a ghost shape and Glow drew faces on it. I wrote what she wanted to say on it, put the dates on the back, and hung it up.

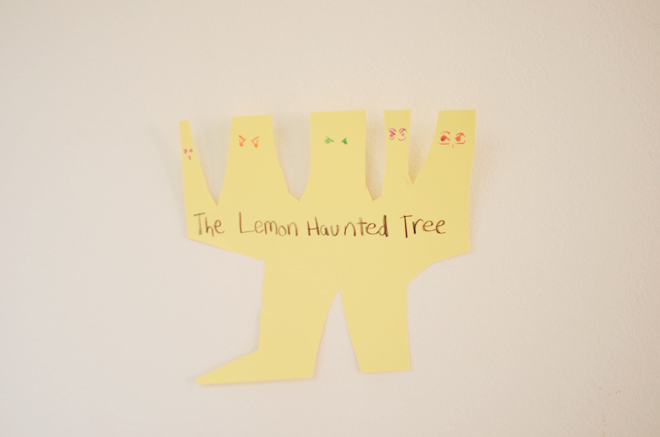
I made my haunted trees with just any colored piece of paper, scissors, and colored pencils. First, I cut the triangles out of the paper on the stop. Next, I cut out a shape on the side. Then, I cut one triangle on the bottom. I drew designs on it and gave it a name. Of course, that went on the wall too.

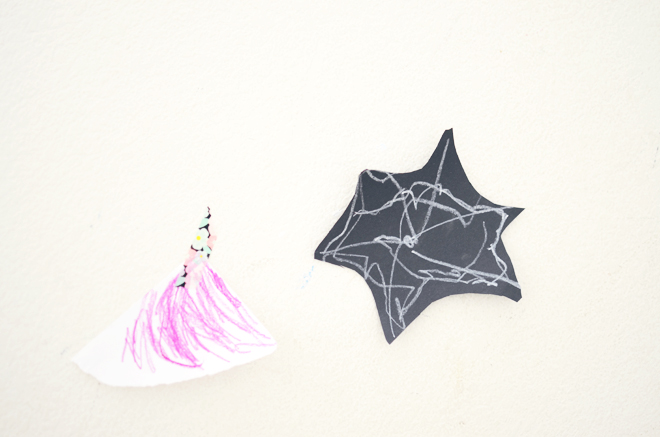
While I was doing all of this, Brave was drawing spider-webs! Hi, it’s Brave here to share how to make the webs. You will need black paper, scissors, and a white crayon. First, use the scissors to cut out the waves in a circle on the black paper. Next, use the crayon and put a dot in the middle of the paper and make lines coming out of the dot. Then, make wave-like lines 3 or 2 times with the crayon. Lastly, use tape on the back of the paper and put it up anywhere!

We hope you like the Halloween decorations we made! We are so excited for this Saturday!
– True and Brave


quirky iron on patches

October 26, 2015


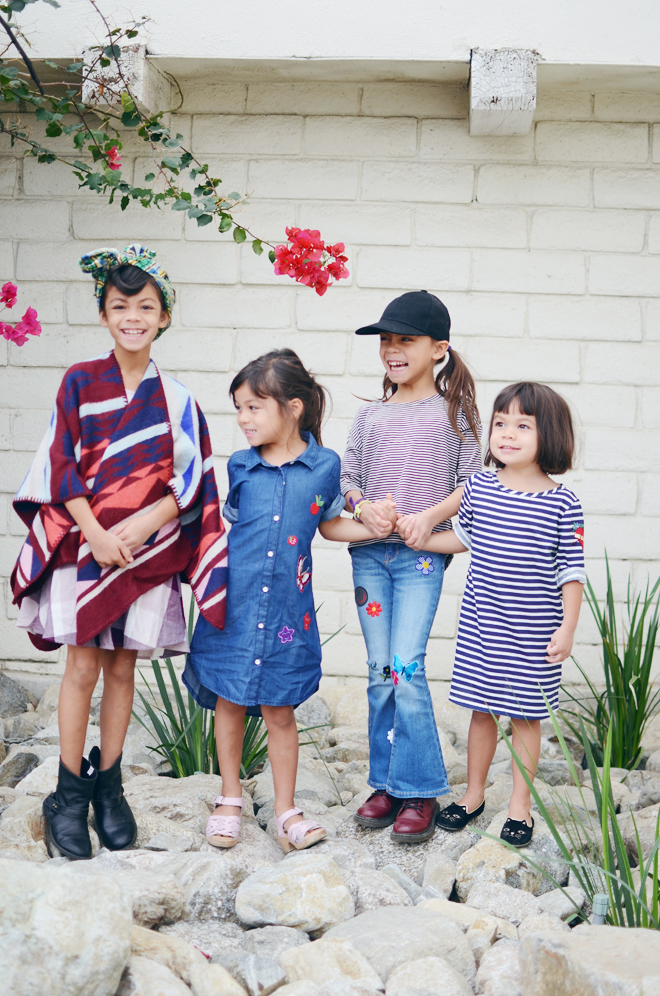
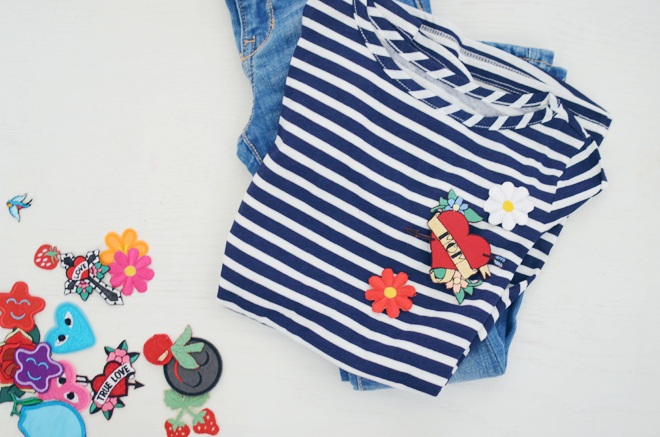
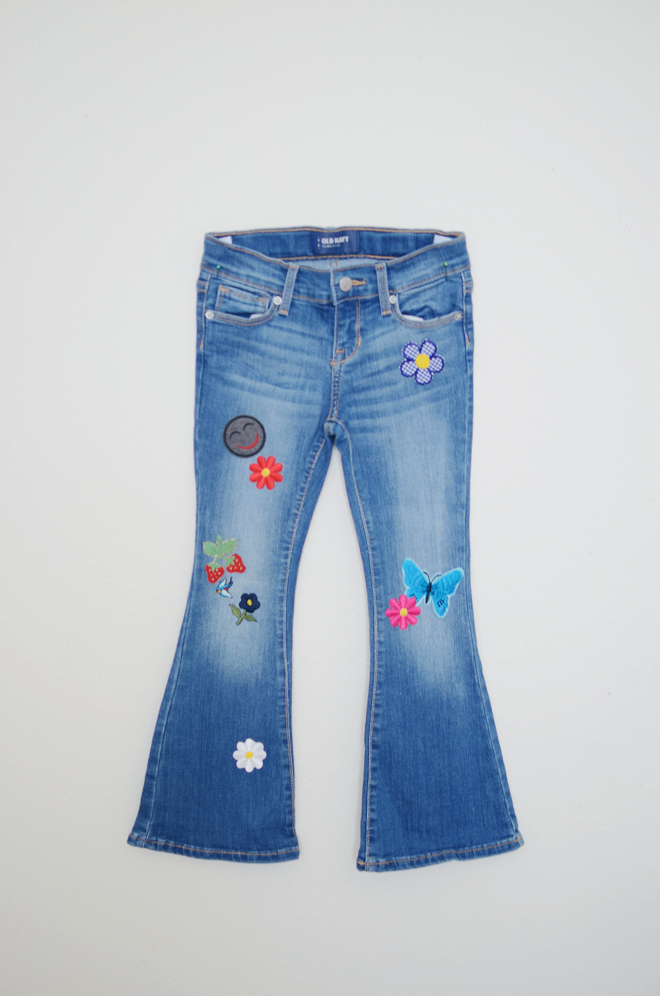
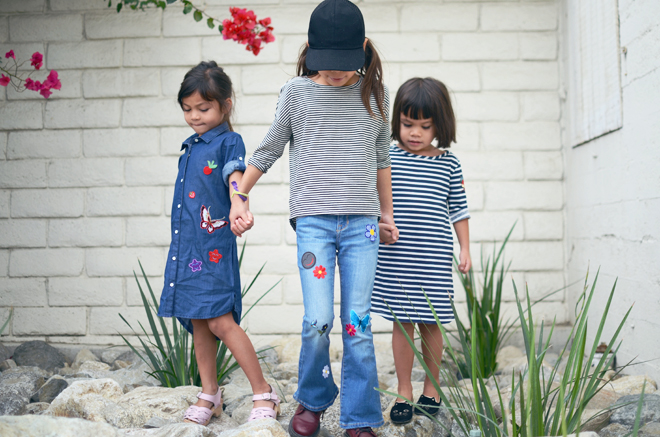
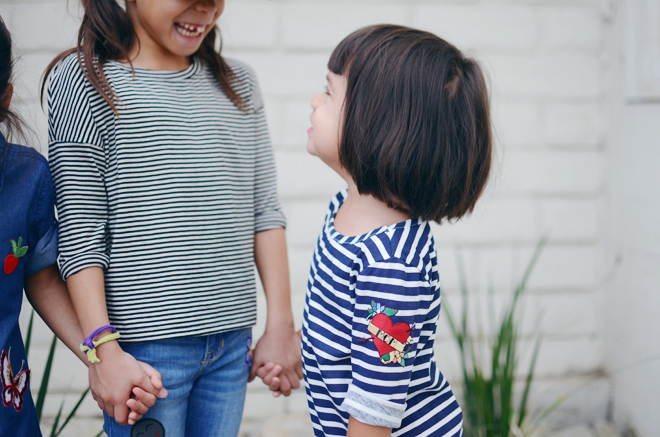
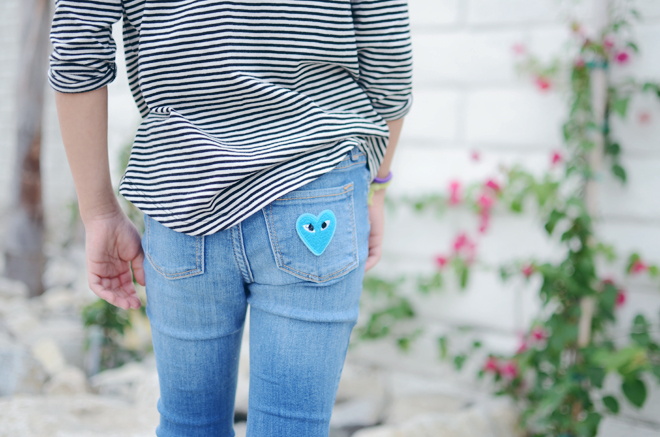
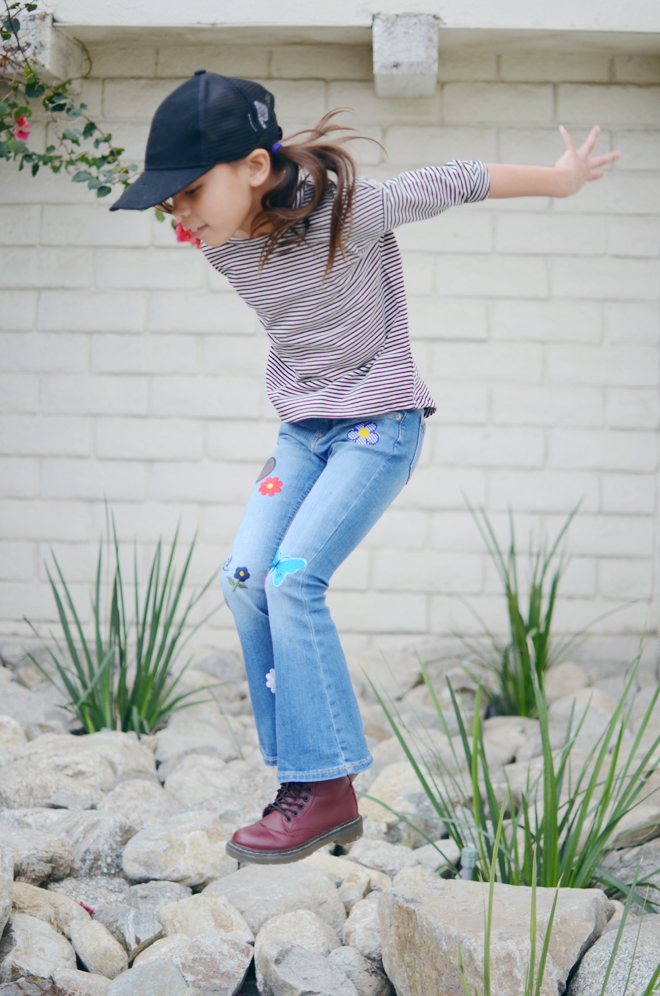
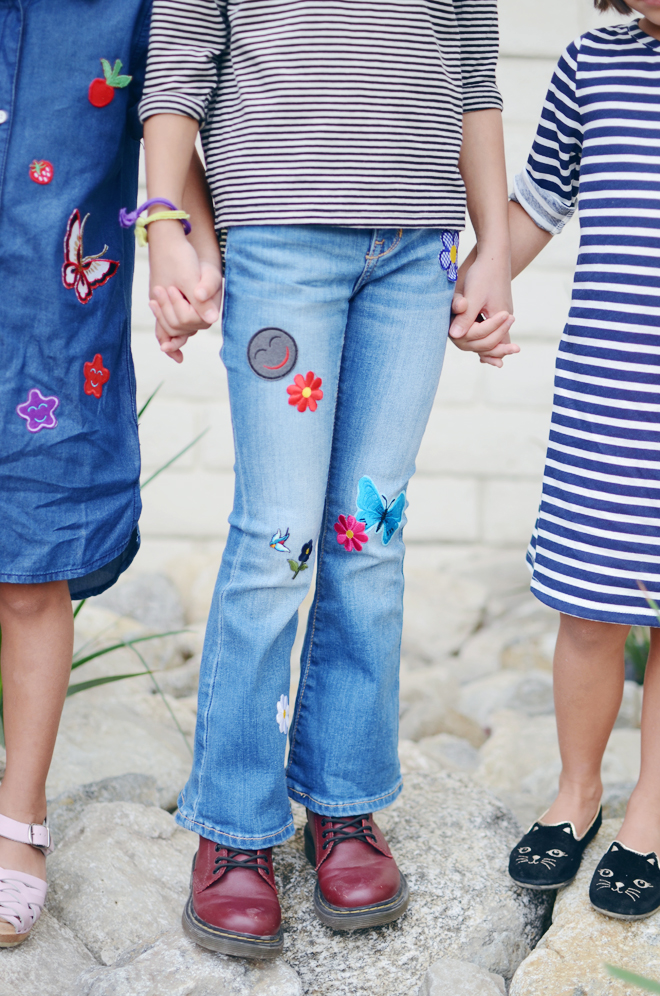
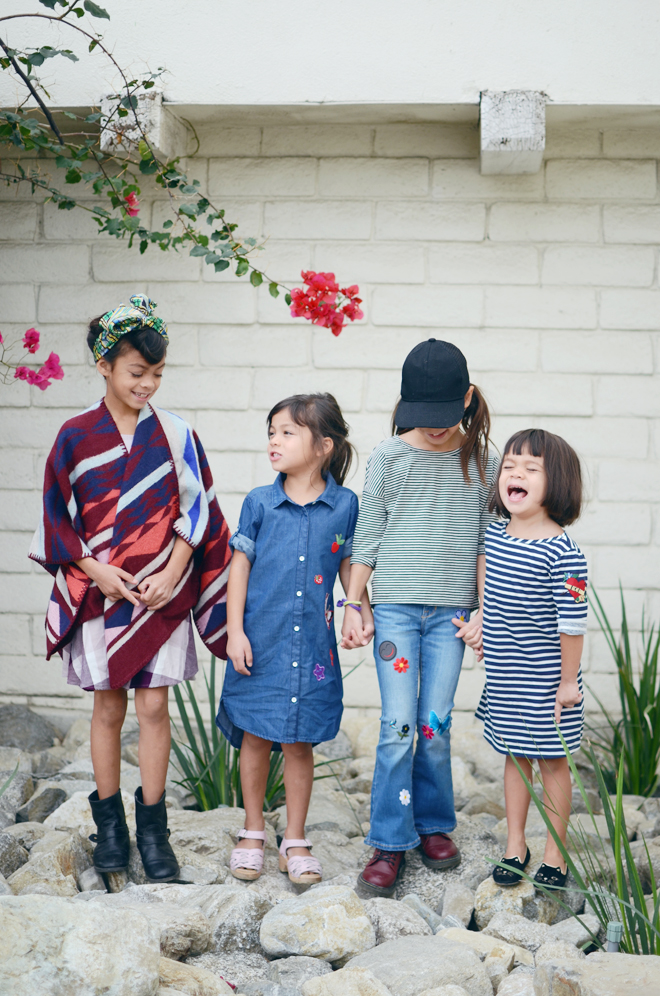
I had a couple vintage iron-on patches that the girls loved, so I ordered more (from here) so that we could use them to decorate some clothes. It was a quick project that we all loved doing together. They even got a kick out of doing the ironing themselves (with my supervision of course). We chose to put it on Brave’s denim flares, this denim dress, and this  striped dress. True’s dress is a buffalo plaid, and the patches looked too busy on it, so we didn’t iron anything on to hers.

There was one patch that was really old, so it didn’t stay on. I will have to hand-sew that one back on, and I plan on securing the rest as well. It was a simple and fun way to add some quirk to some of their clothes. We have plenty more to use for some other things.

Glow got the patch that said “MOM” because she always needs to be next to me. We joke that she is obsessed with mommy. When it’s family movie night, everyone is cuddling in bed, and I’m usually the last to join … typically, she can be found sitting by herself far away from everyone and saving me a spot. Once I get in, she snuggles right up to me, and she does not like to share mommy with anyone else. I guess that’s what happens when you’re the baby.

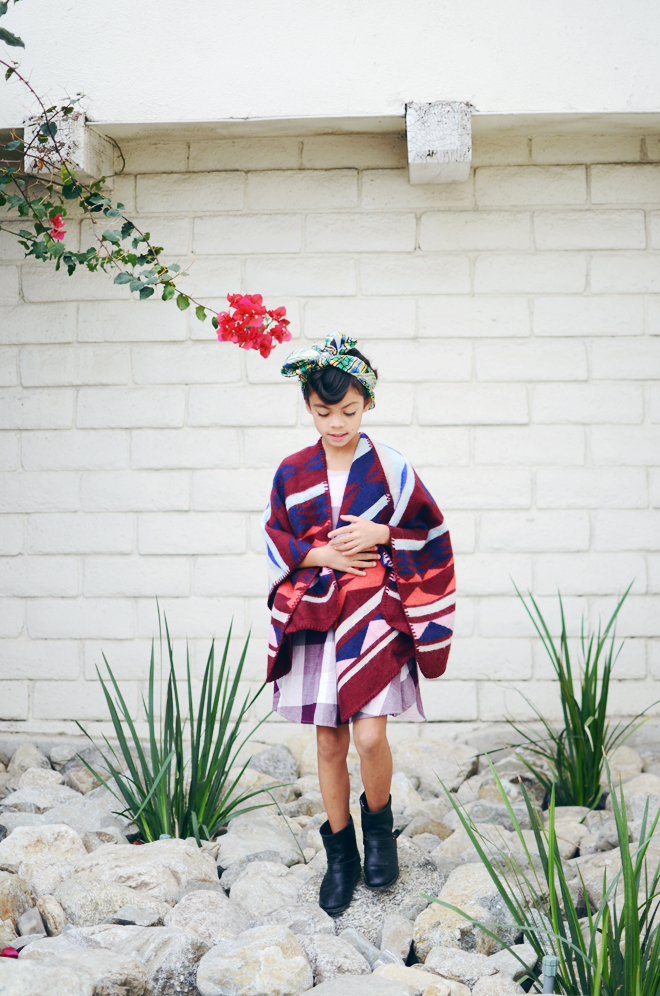
on true: buffalo plaid dress and sweater cape c/o old navy. boots, gap (similar here). on brave: striped tee, flares, and trucker hat, c/o old navy. docs, shoes.com (similar here). on soul: denim dress, c/o old navy. clogs, lotta from stockholm. on glow: striped dress & cat shoes, c/o old navy.

This post is sponsored by Old Navy. Thank you for your continuous support of this space and the brands I partner with.


artists at work

October 23, 2015


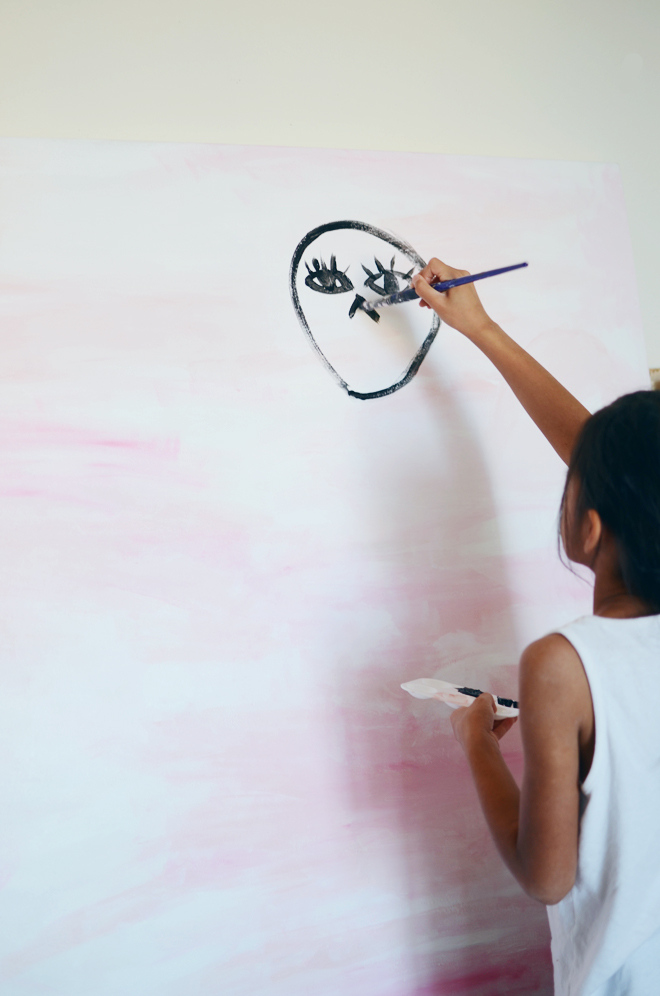
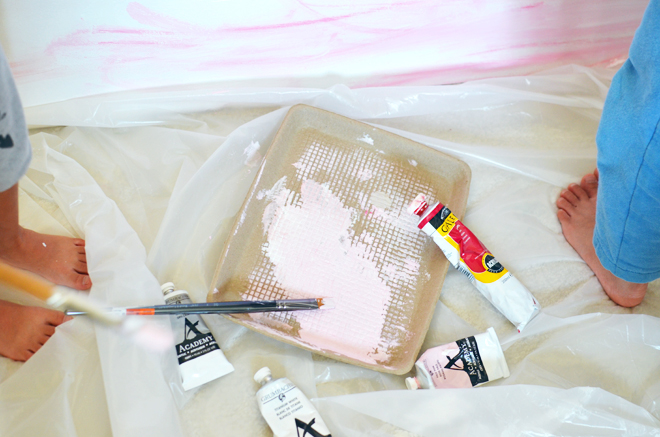
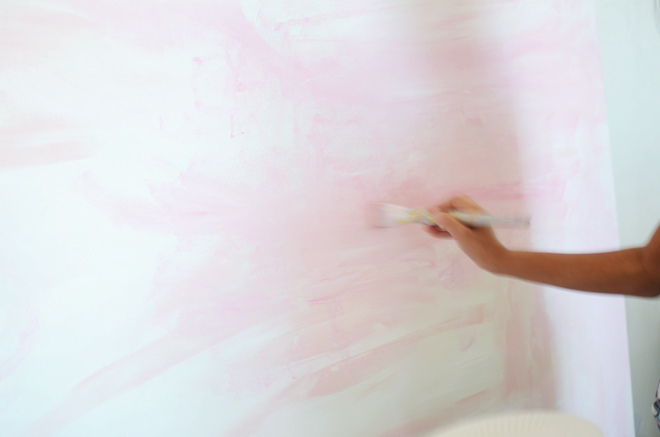
The girls worked on a giant canvas we started a couple months ago. We finally got back to it this week and the whole thing is all them (I did give direction on color and direction of paintbrush strokes). As they were working, I was a little nervous and unsure of the outcome. Letting kids go to town on a giant canvas is a real good lesson in learning how to release control and just let them be. They are much more talented than me, and the rawness that comes out in the artwork of children is just beautiful and unique. Thus, I figured it’s better to let them paint something than try my hand at it. They have to finish up a few things, but we will make sure Ben hangs it this weekend.

This week has been all about art projects for our home (the furniture shopping we did last Saturday got me in a decorating mood). Next up, finish Halloween costumes; fingers crossed that I finish them today!


colorful strings

October 21, 2015


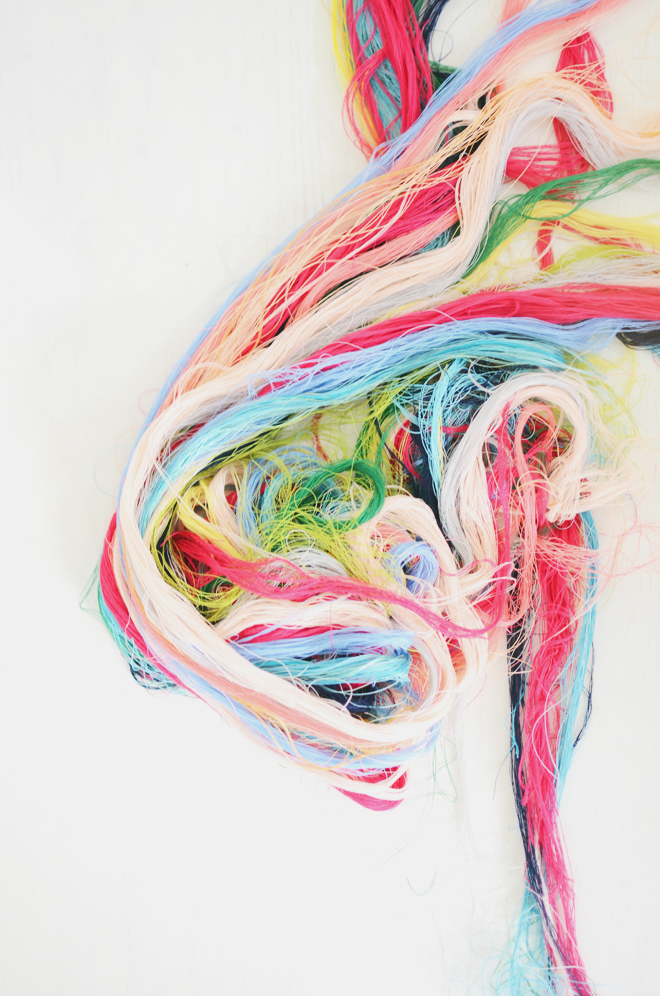
We had a day off from school on Monday, so the girls played, and I worked on a fun little project that popped into my head Sunday night. Thus, Monday was spent with lots of colorful thread, and I finished it in the wee hours of Tuesday morning. Yippee! Now, I just need Ben’s help to hang it. I will be sure to show you once it is up!

When I get an idea stuck in my head, or start on a new project, I can’t really rest until the idea or project is completed. I get obsessed. I’m motivated and working hard to complete it, but sometimes I drop the ball on other things. Anyone else the same way?


CAKIES
©
Design by Blog Milk