Directions:
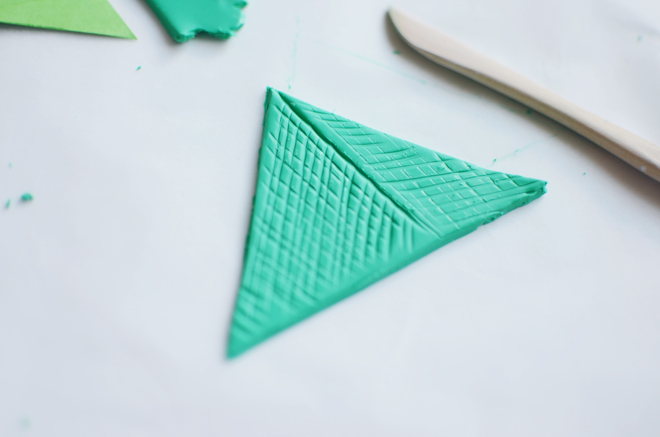
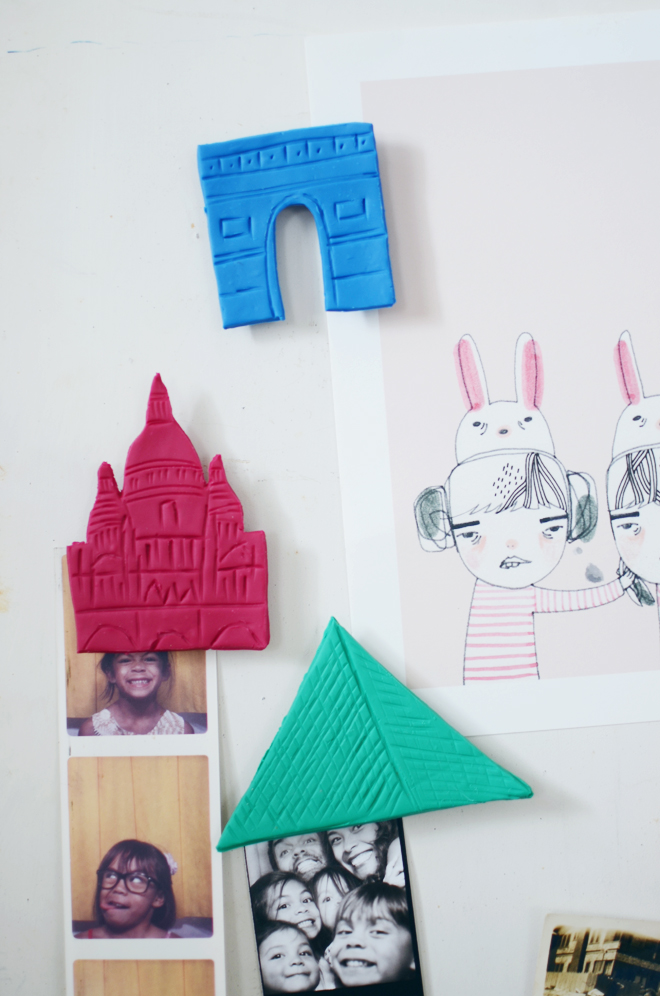
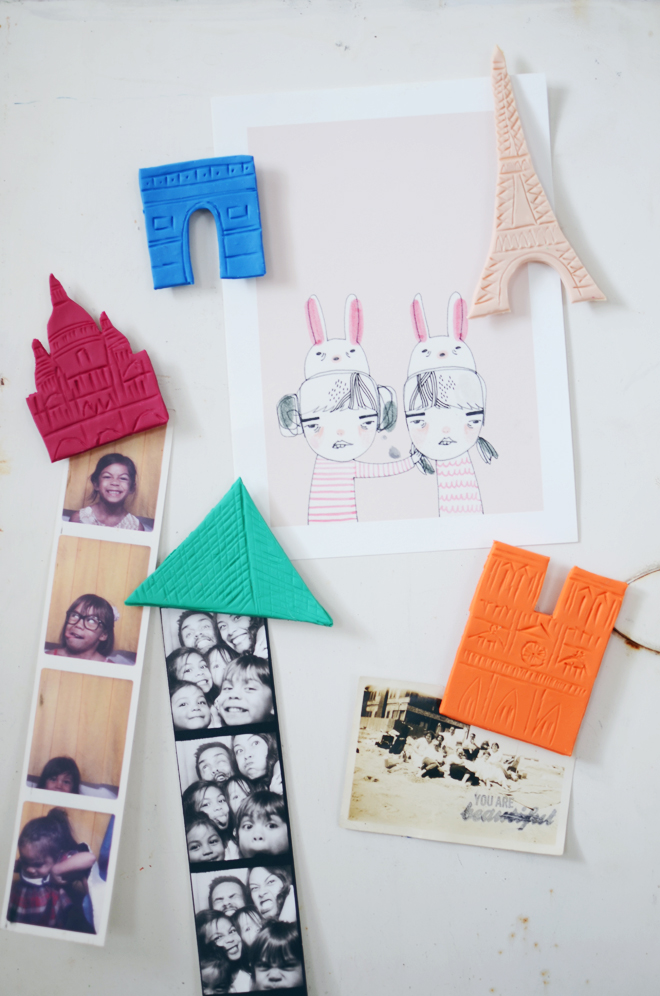
Tear out a sheet of parchment paper, and roll out the clay on top of it to about 1/4″ thickness. Place the template on top to use as a guide to carve out the shape. Next, use the tools to carve indents into the shapes to sort of “draw” the details onto the clay piece. Use the template as a guide to see the lines that could be carved into each piece.
Preheat the oven to 275°F. Place a sheet of parchment paper on top of the baking sheet, and place each carved clay piece on top of the baking sheet. Place in the oven and allow to bake for about 20 minutes, then remove and allow to cool completely.
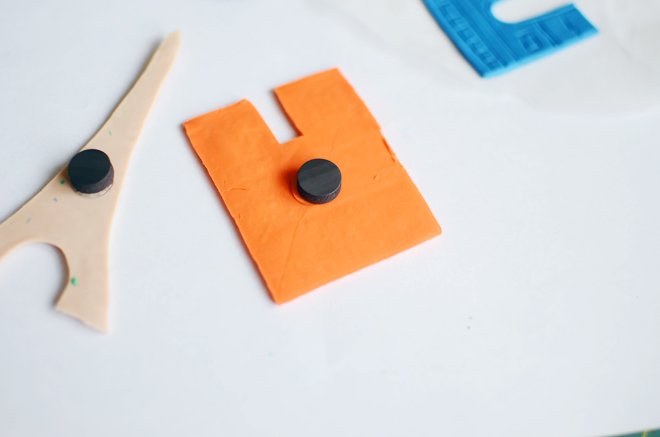
Once cooled, glue a magnet centered on the back of each clay piece.
I love how they turned out! Perhaps, if you were throwing a Parisian themed party, you could create lots of Eiffel Towers to include in the invite. Or, if you’re studying France or reading This is Pariswith your children, this would be a wonderful follow up activity to do with them. These magnets make me especially nostalgic for the trip I took to Paris while studying abroad in London many years ago. My parents also happen to be on a three week tour of Europe, so I’m excited for them to see all of this in person very soon.
All supplies for this project were provided by Michaels as part of the Michaels Makers Series. Currently, Michaels is conducting a contest for someone to win a four-night trip for two to Paris, 1,000 euros, a VIP tour of the Louvre, private classes including sketching, floral arranging, baking and more! Just create your own Parisian-inspired art, floral, baking or paper crafting project, and upload a photo to https://paris.michaels.com through March 31. You can also share your project on social media using #SpringtimeInParis. Good luck!
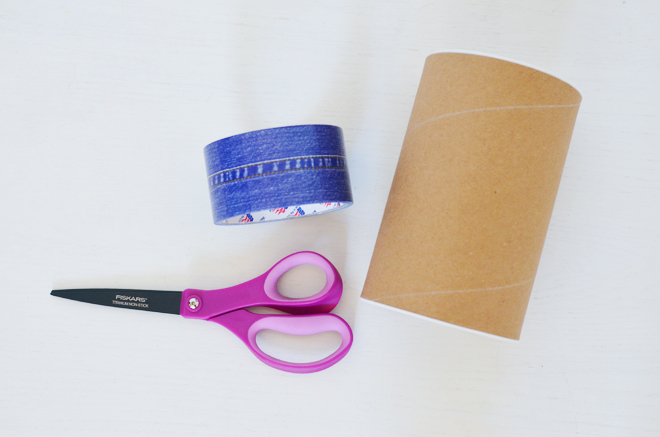
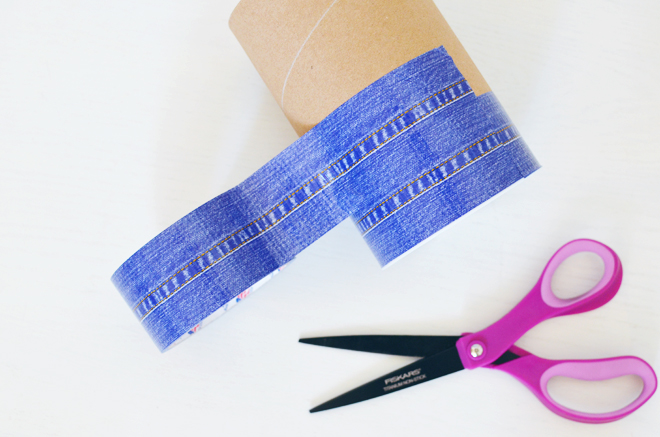
Directions: Wrap the tape around the canister. Be sure to keep it lined up as you go around, so the seams of the denim don’t end up looking crooked.
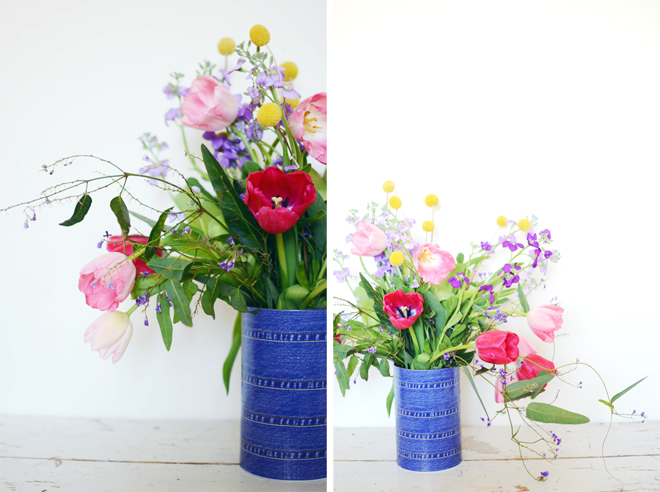
Obviously, you wouldn’t put water in a cardboard container, so I put the flowers in a mason jar, then put the mason jar in the canister… voila! Now, I’ve got a blue jean vase!
This might be the easiest (and quirkiest) DIY I have ever done. It totally looks like denim, but it’s not; the girls and I think it’s so funny. When the flowers die, we will use the canister to hold our markers. I’m so glad denim Duct Tape has been invented. What other quirky things can we make with it?!
Supplies for this project was provided as part of the Michaels Makers Series. Michaels Makers’ readers are getting the inside scoop on an upcoming craft contest that will send one lucky participant on the trip of a lifetime to Paris. Check back on my blog March 2 to get all the details on how to enter.
Supplies:
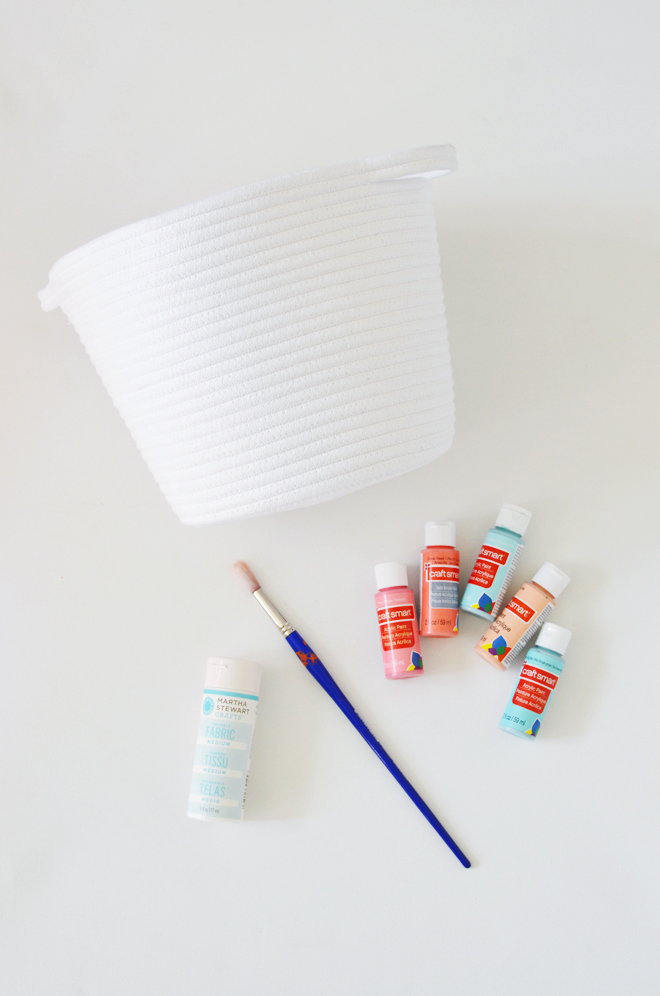
Rope basket from Michaels (can’t find it online, but it was picked up at my local shop) Craft paint Tintable fabric paint mix
Paintbrush
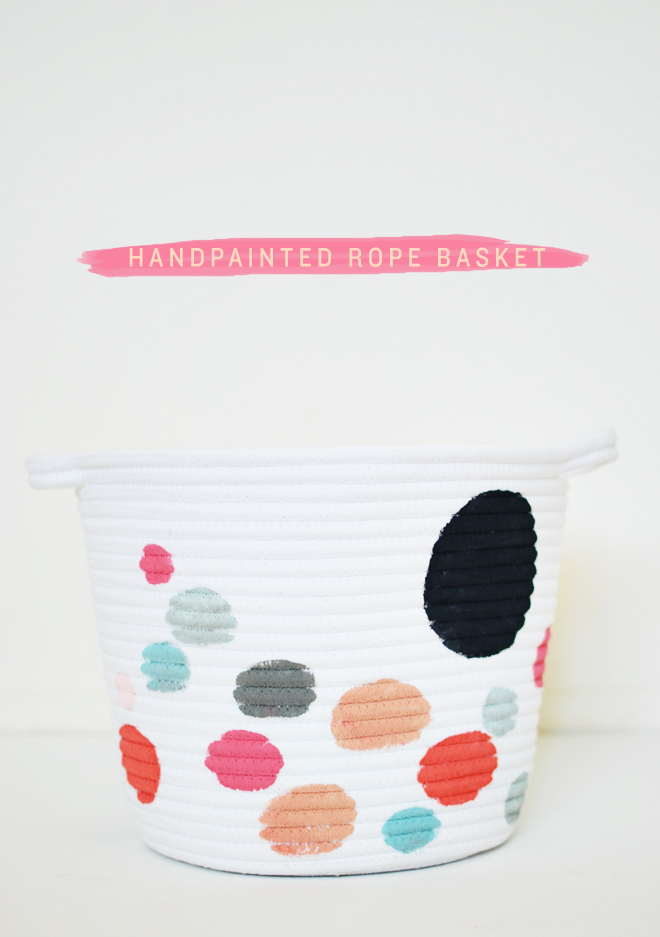
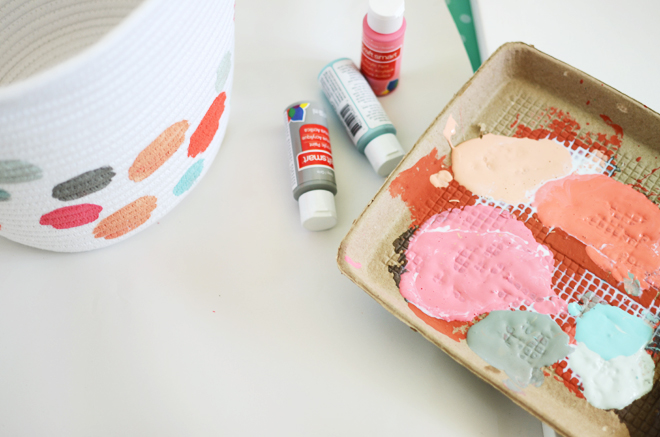
Directions: Mix your tintable fabric paint with your craft paint following the package instructions, then paint your design onto your rope basket.
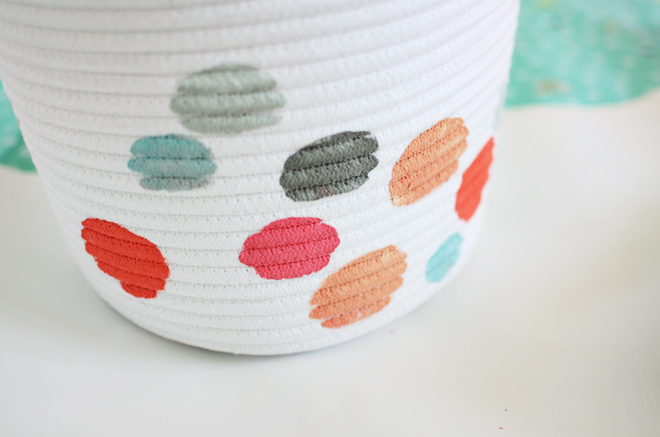
I had been wanting to sew a large basket, but haven’t had the time, but was so happy to see Michaels carried them. I’m thinking of picking up another and painting a different design on it. I’m no Gemma Patford, but it was fun to paint this basket.
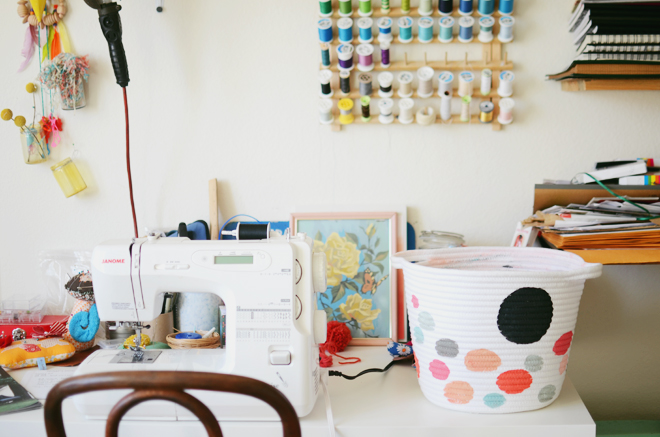
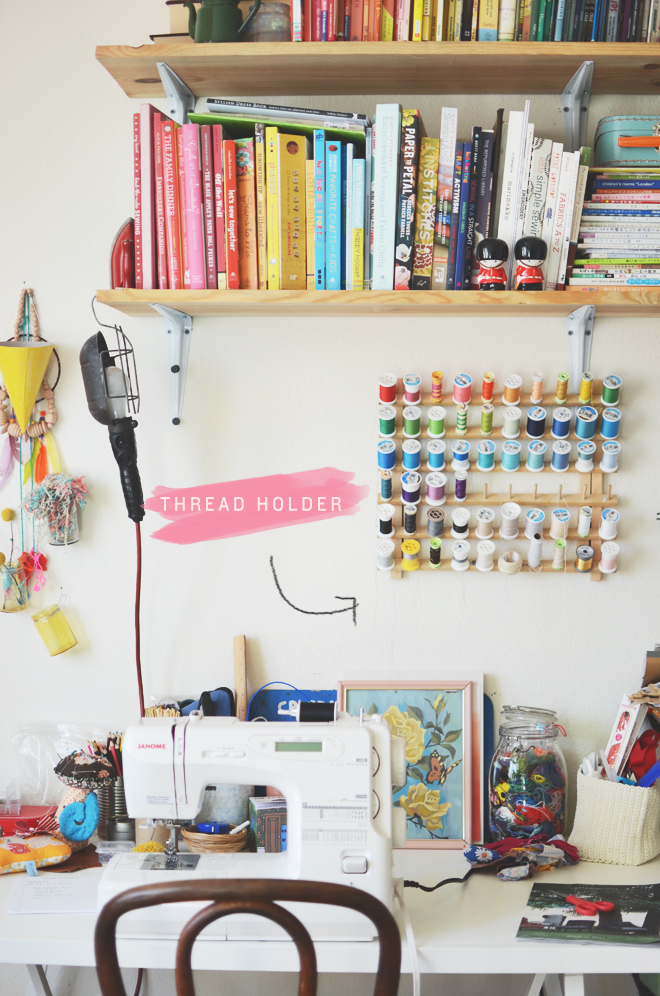
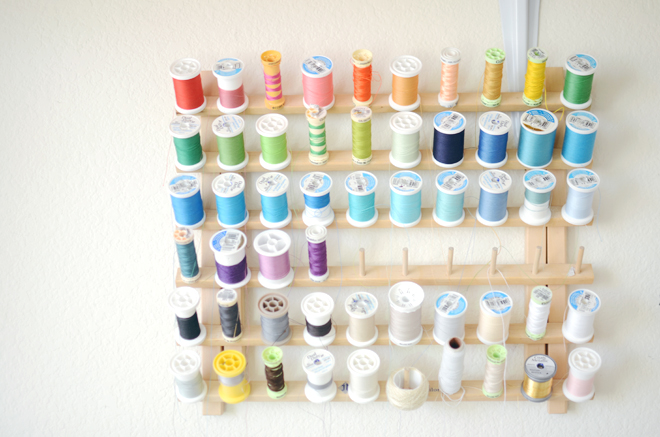
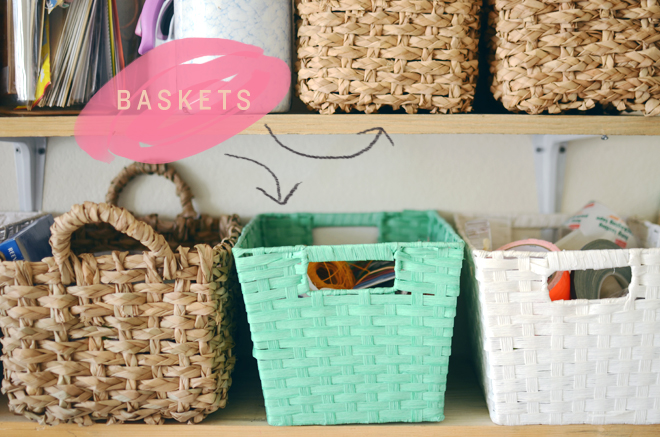
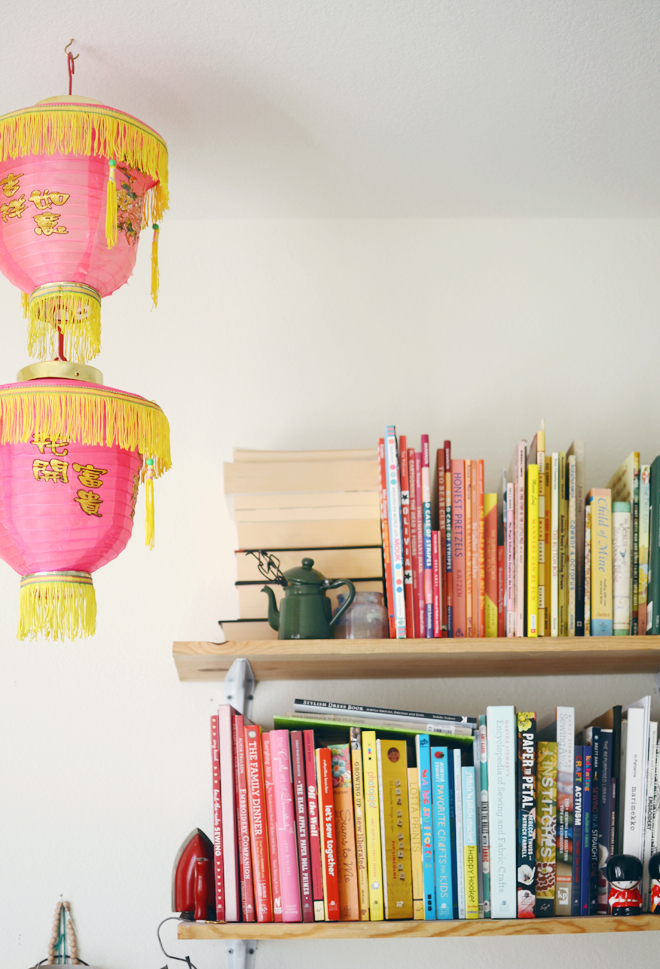
My little creative space is usually a crazy mess (proof here), but this month’s Michaels Makers Challenge has forced me to organize, which is a very good thing. The challenge was to organize our craft space a bit, so I picked up some baskets from Michaels (this and this one, the green one is from there too, but not online). Then, I had Ben mount a thread holder on the wall for me. Things are definitely feeling much better in that room, and I can’t wait to start making something so I can make a giant mess.
I will share more of the room soon, but I want to organize the closet first. Anyone remember that episode on Friends about Monica’s secret closet?! I have a closet just like that. I get stressed when I go in there, but that’s where all my fabric is, along with a whole lot of other (craft) junk. It needs major help, so I’m hoping I can give it some attention in the next month or so.
Directions:
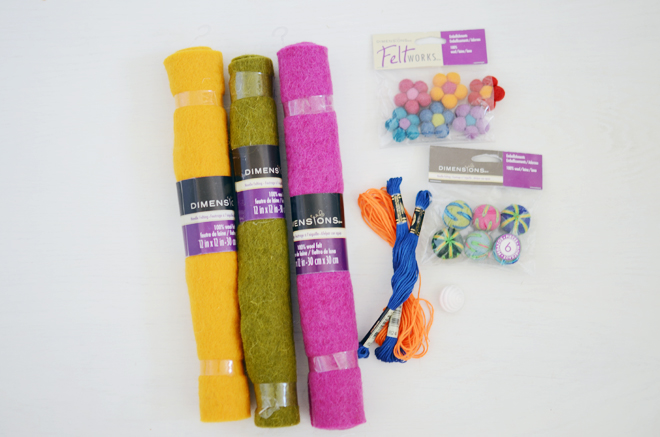
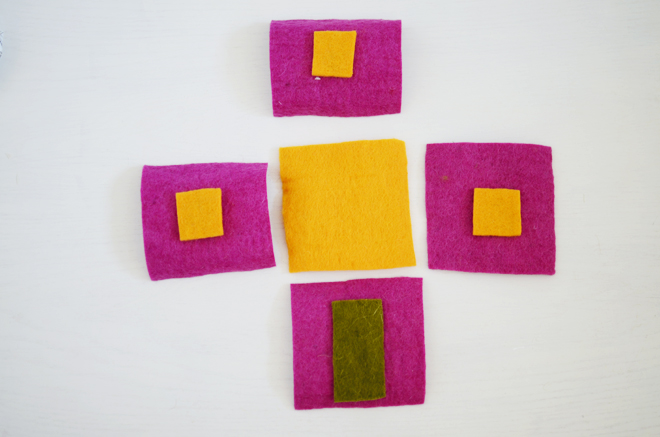
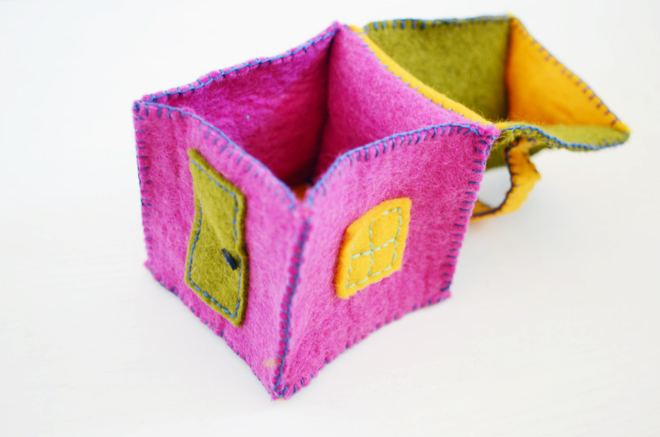
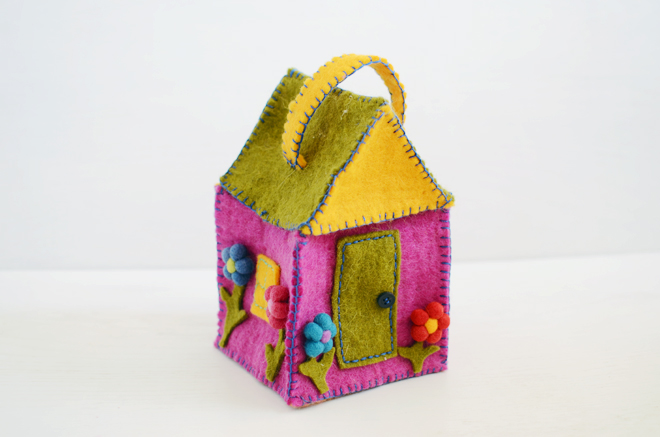
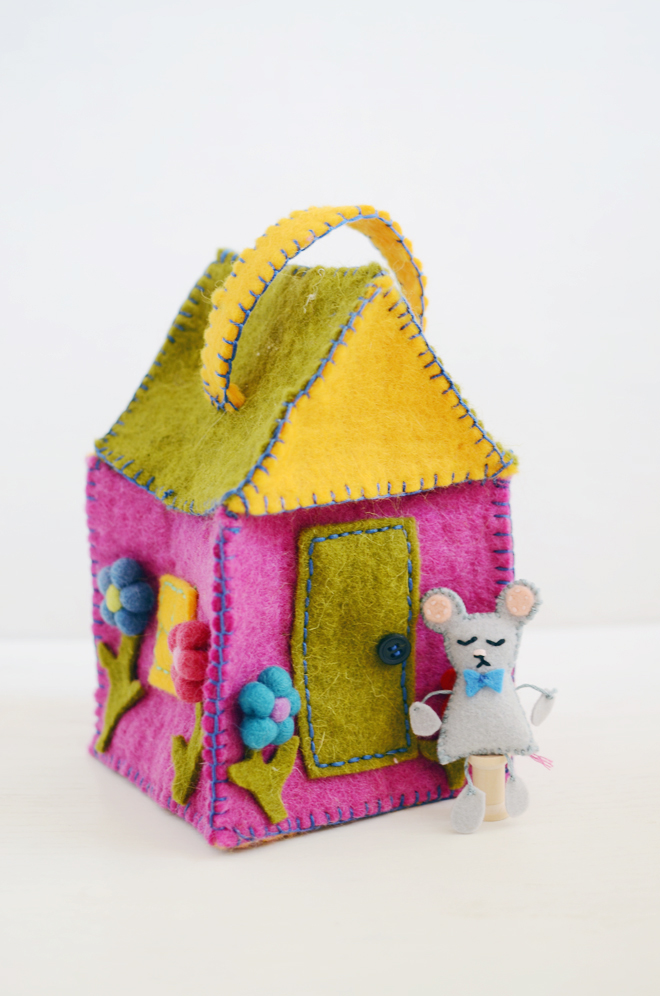
1. Using your template as a guide to cut out the triangle portions of the house roof. For the body of the house, cut out five 5″ squares from your wool felt fabric. For the side of the house roof, cut out two 4″ x 5″ wool felt pieces. For the windows, cut out three 2″ squares, and for the door, cut out a 2″ x 4″ piece of wool felt.
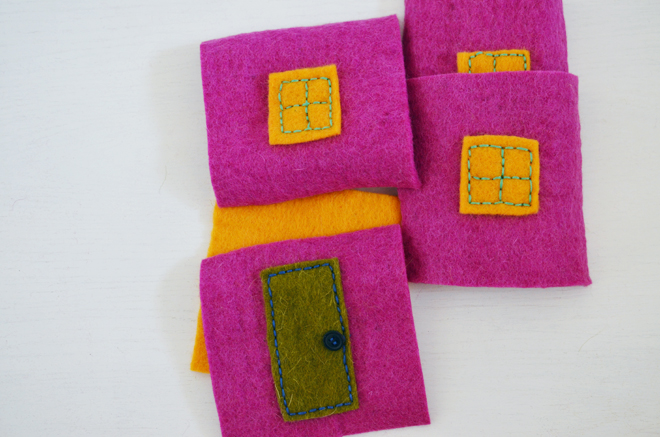
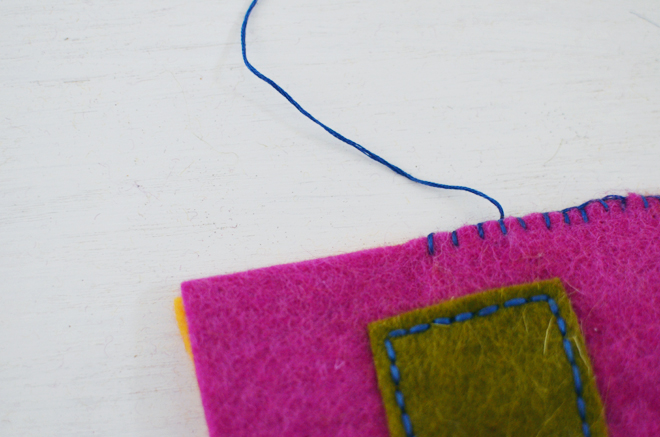
2. Hand sew your door and windows onto four of the 5″ squares, set aside one to be the bottom of the house.
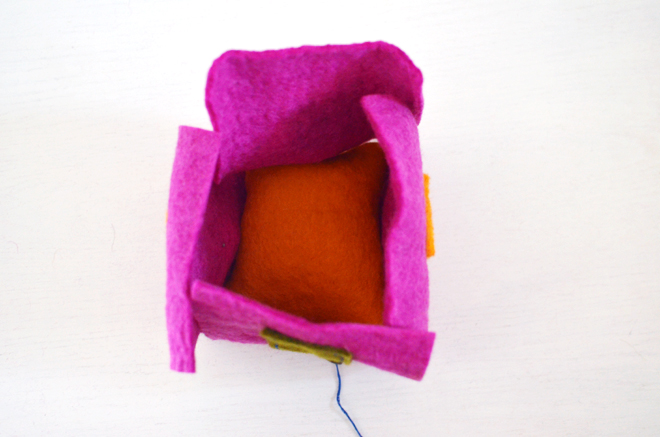
3. Pin the four walls of the house to one of the four sides to the bottom of the house. To attach, use a blanket stitch to connect each piece together. Go around sewing the all four sides of the bottom of the house. Continue sewing together the corners of each house. Then, sew three sides of the top of the house. Leave the top back of the house free of stitching.
4. To make the roof of the house, pin together the long side of the two 4″ x 5″ pieces together, then pin the ends to the two sides of the triangle (the 5″ side of the triangle should line up with the bottom of the roof. Blanket stitch all sides of the roof together, but leave the back bottom of the roof free of stitching. Then, pin together the back bottom of the roof to the top back of the house, and blanket stitch those two edges together.
Cut out a 1″ x 8″ piece of wool felt, sew each short end 3″ down from the top center of the roof with a blanket stitch, and continue to blanket stitch all the way around. This is the handle of the house. Using fabric glue, add the felt flowers and balls to decorate the house. This can also be hand sewn on as well.
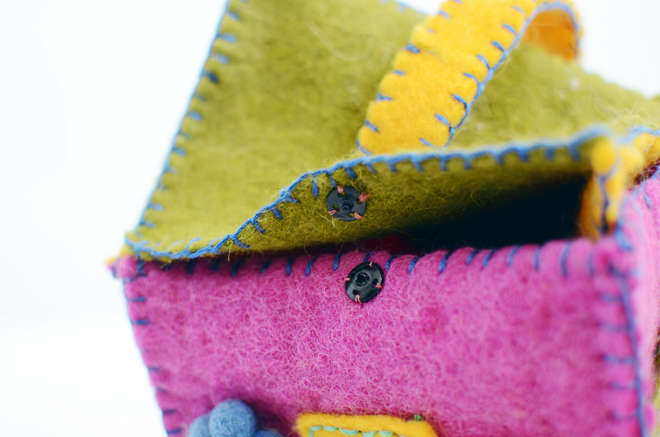
Sew on the snap buttons onto the top right and left of the house; one stud on the bottom center of the roof, and one socket on the top center of the house body.
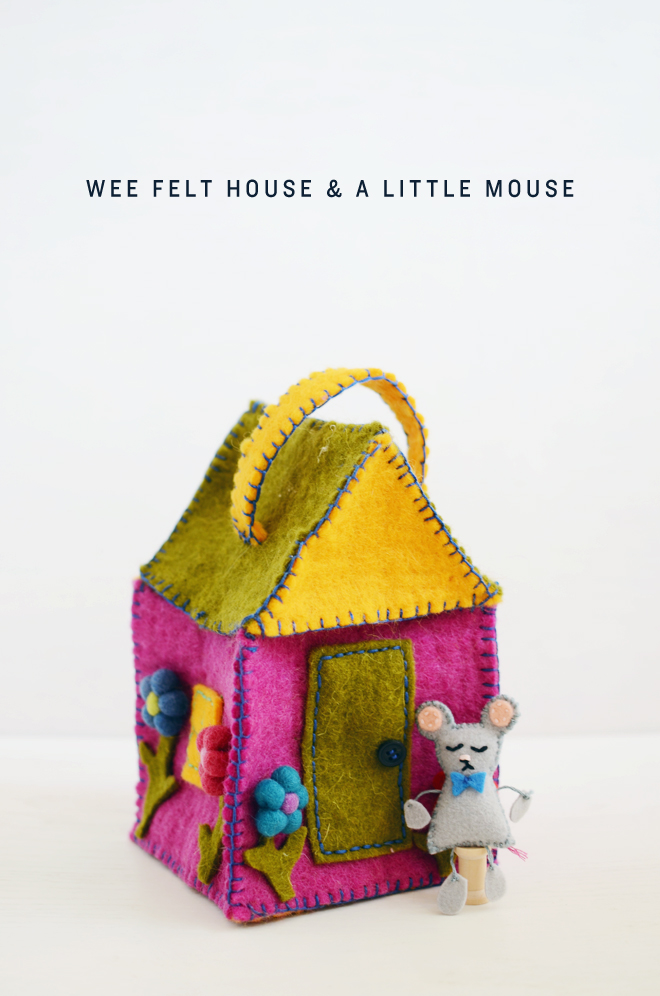
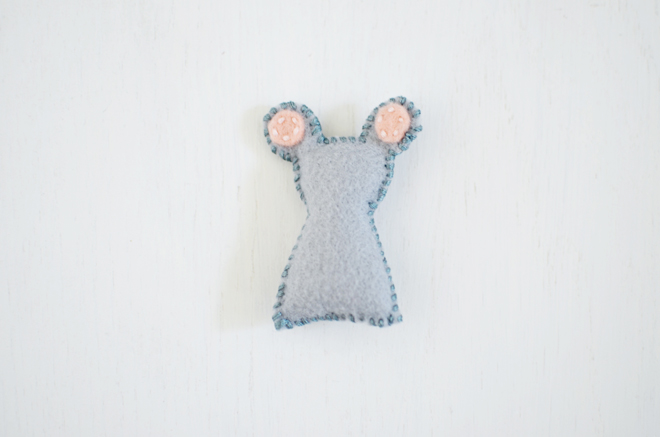
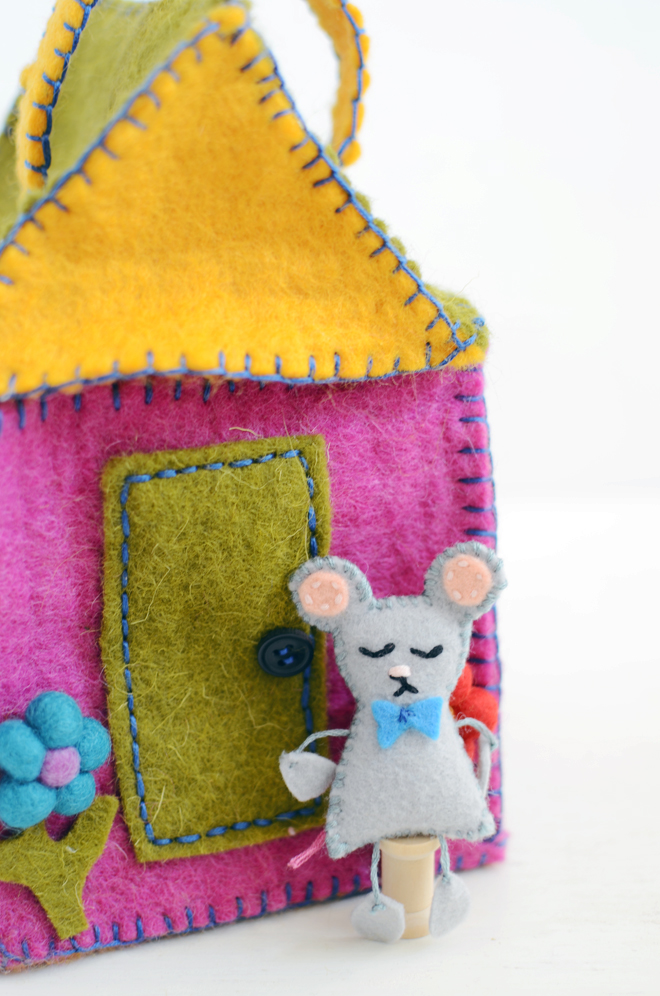
Wee Felt Mouse
Directions:
1. Cut out the felt pieces for your mouse using the template. Stitch on the inner ears onto one of the mouse body pieces; this will be the front of your mouse. Place the front and back mouse body pieces together, with the right side facing out, and stitch all the way around the edges of the mouse to create the mouse body. Leave a small opening, lightly stuff with Poly-Fil, and then continue to sew the opening closed.
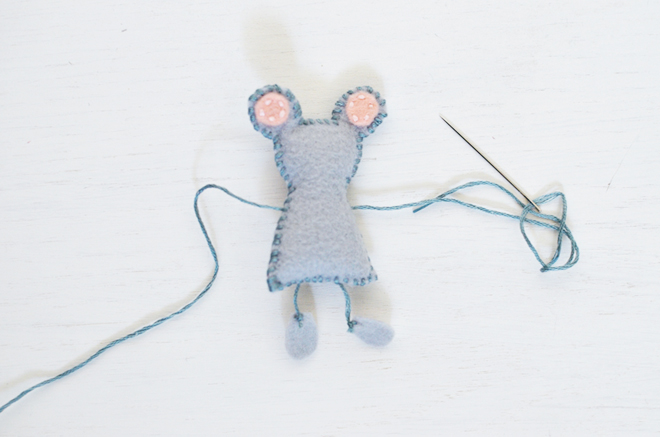
2. Sew a strand of floss up through the bottom for the little legs of the mouse. Sew on a little felt foot on each end and knot. The bottom of the feet end up dangling about 1″ down from the base of the body. Sew another strand of floss through one side of the body and out the other side for the mouse arms. Sew felt hands on each end and knot. The arms and hands extend about 1″ out on each side of the mouse body.
3. Embroider on the face of your mouse and add any additional touches you may like. I added a tiny bow tie on mine. With your embroidery floss, add on a tail at the back of your mouse.
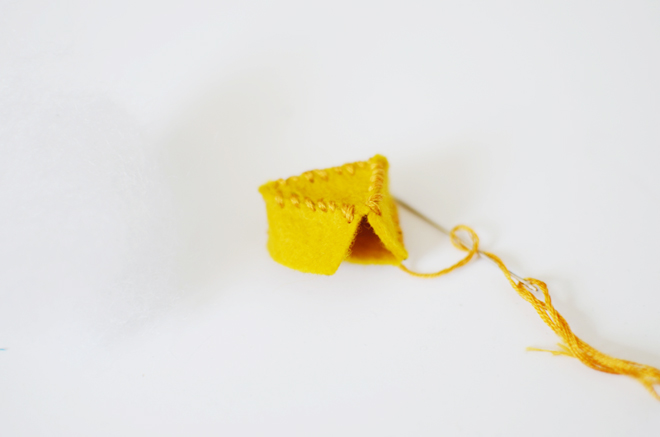
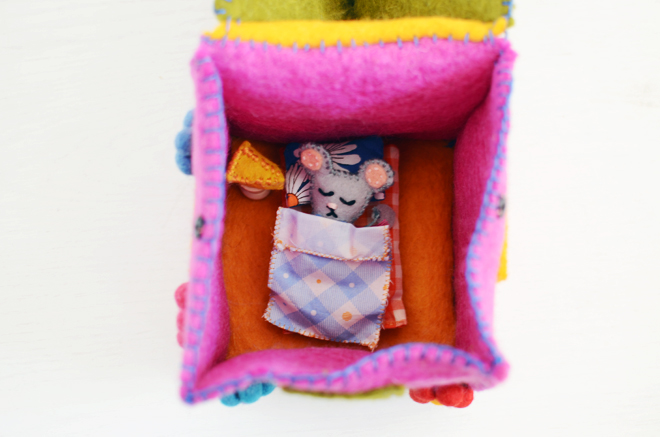
4. Line up the three cheese block sides with a triangle and stitch all the sides together to the triangle. Continue to sew the sides of the cheese block, and then add the bottom triangle and continue to stitch all the sides of that piece on. Before stitching the cheese block closed, add a tiny bit of Poly-Fil, and then stitch the cheese block closed. Make sure that all the sides, edges, and corners of the cheese block are stitched together. I had made all the pieces for this tiny mouse when I felt like he was missing something. Then it dawned on me: this little guy needs a cheese block. I think it was the perfect addition!
Isn’t this wee house and little mouse so cute?! He’s the perfect little friend to tote around with his wee house. You could also use the template to make a whole family of mice! There is certainly room for more to live in the house. This tiny house from a small box could also be used for the mouse (or mice) to live in. It’s a present for one of the girls, but I’m tempted to give it to her already. To help fight the temptation, I better wrap it up for Christmas and put it under the tree. This project is a fun one to make and would definitely be a good present to make for Christmas. It’s also a great project to do with older children, and they could make little mice for friends.
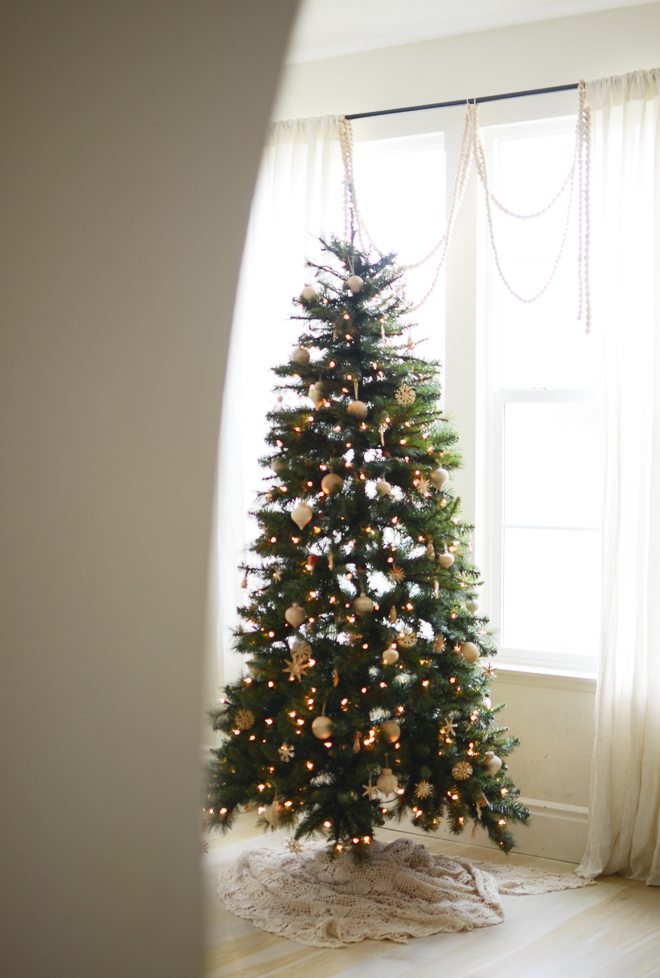
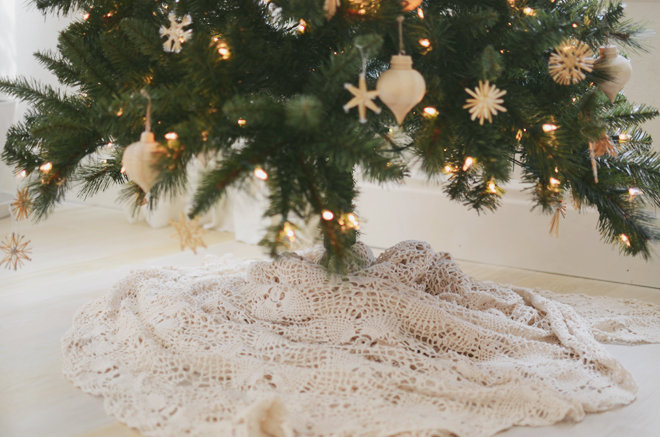
I’m definitely not a pro when it comes to putting together a fancy Christmas tree. I go for the sweet and simple when it comes to tree decorating, but I wanted to share some tips I remember my mom teaching me when we decorated the Christmas tree growing up…
-Spread out all the branches. We never had a real tree growing up, just my parents’ preference, so we had to take time to spread out all the wire-y branches.
-Don’t just put ornaments hanging from the edge of the branches, but put them in closer to the trunk too. You want to give use your ornaments to give your tree some depth.
-Check the tree from all angles. Everything might look fine and dandy from one side, but you look from another angle, and there’s a spot (or two) that need some ornaments. Make sure to spread them out!
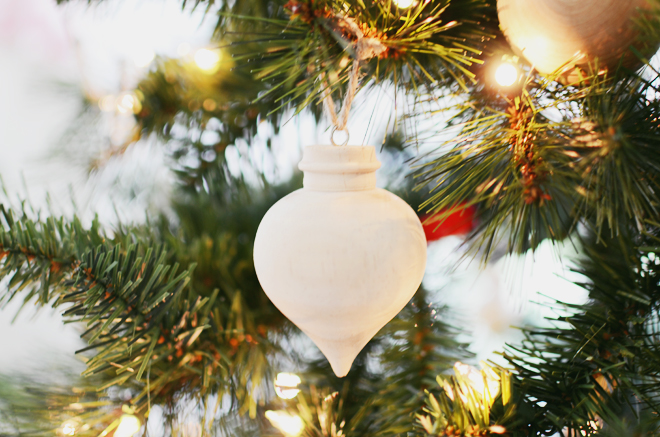
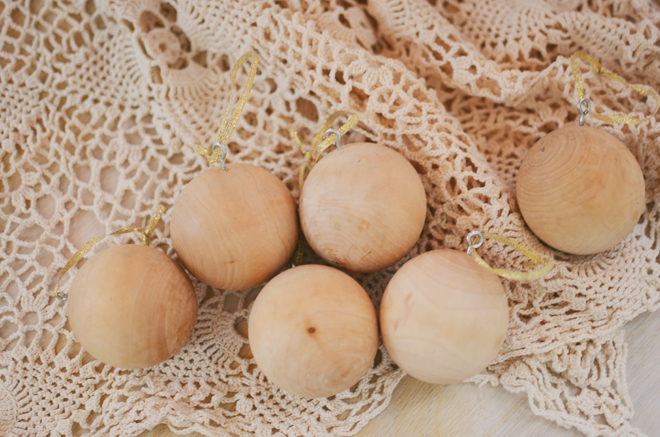
Besides the wooden ornaments from Michaels (we purchased these straw ones from eBay), I also created some additional ones with the wooden balls. I bought some tiny eye screws, drilled a tiny hole in each wooden ball (okay, had Ben drill holes!), then screwed in the eye-screw (okay, Ben did that too!). The girls added some string (they really did that!) and we hung them up!
When I was little, I would be gung-ho about decorating the tree as soon as my parents brought it out. Then, my drive would fizzle out at some point, and I would sit there and watch my mom finish it. She always took special care to make the tree just perfect for all of us. I love the festive feeling my mom (and dad) created in our home growing up, and I’m thankful for the opportunity to do that for my girls now.
If you want more tree inspiration, stop by The Glue String to see all 30 of the Michaels Makers’ trees. Some of them are pretty awesome. Like I said in this post, I would totally lose in a tree decorating contest.
Supplies for this project are provided by Michaels as part of the Michaels Makers series. No additional compensation was provided.
I know. You probably still have that Halloween hangover, and I’m on to Christmas already. It seems I even skipped over Thanksgiving. Trust me, this doesn’t feel natural. This is part of the Michaels Makers Series though and today is the day we are all sharing our Christmas tree with you.
Growing up, my mom went all out for the holidays. I remember one year, I went with her to the day after Christmas sale at Bullocks (anyone remember that department store?!), and was helping her buy all the gold ornaments we could find. She bought lots of ornaments that day, but every year after that our Christmas tree lit up with a lot of sparkling gold. She had a theme and she was sticking with it. Twenty years later, that theme is still going strong every Christmas and her tree always looks like it belongs in a department store.
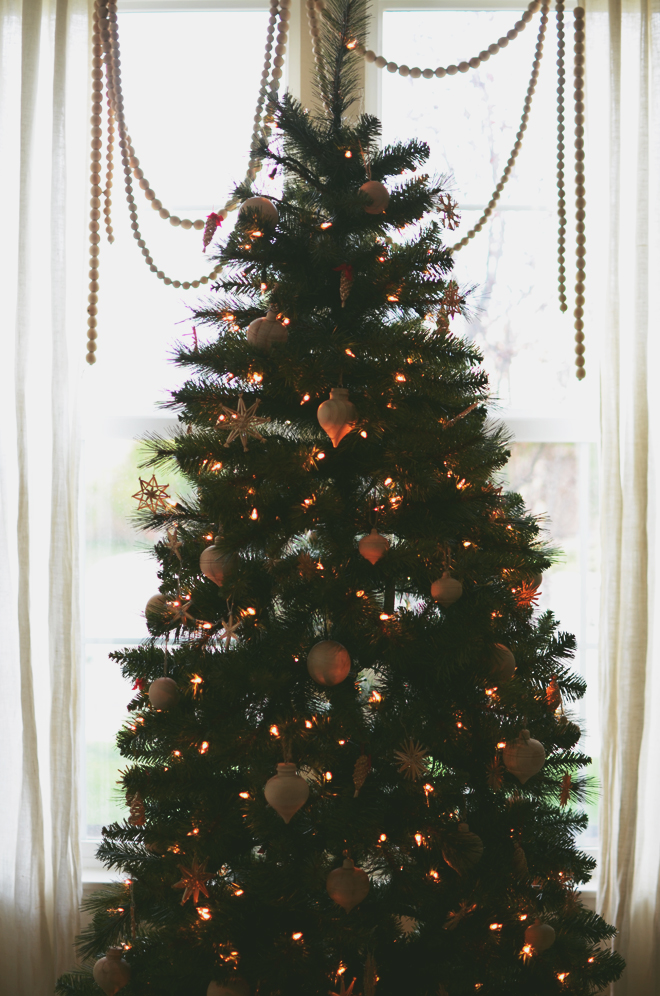
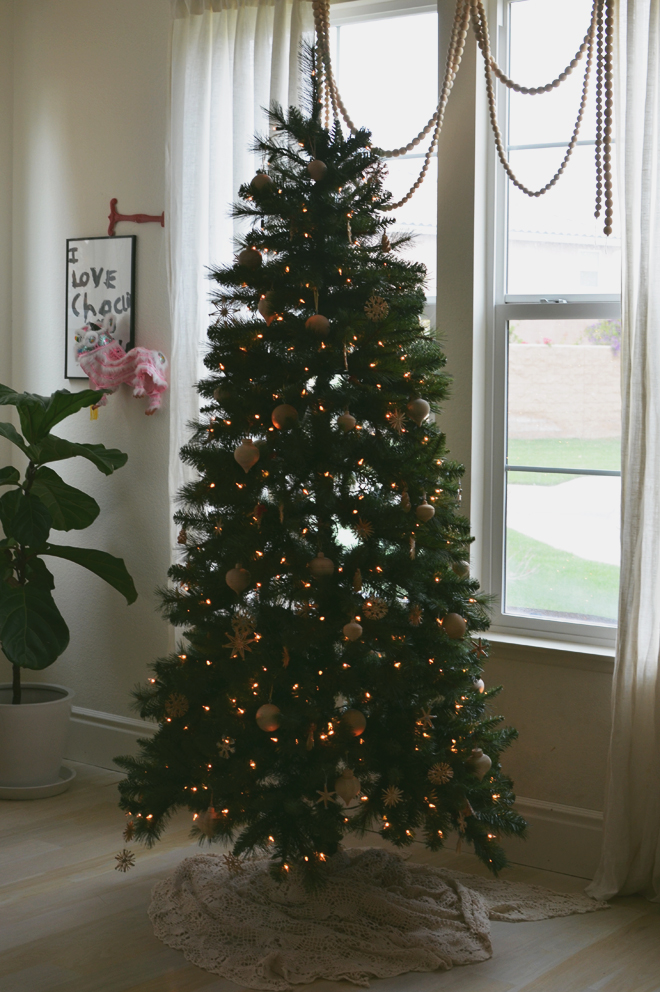
Here we are today, and I’m a more simple Christmas tree decorator. Usually, we just put up felt ball garland on the tree and that’s that. Though with Michaels Dream Tree Challenge, I had to work to get beyond the felt ball garland. I pinned some images, and this one was by far my favorite. Another simple tree, but I loved it so much. The girls and I set out to Michael’s to see what we could find to recreate it, and to my surprise, there were lots of wooden ornaments. I’m sure they are meant to be painted, but we aren’t doing any of that. We scooped up the ones we liked, as well as some wooden beads, and large wooden balls. We don’t have a star on top because I haven’t figured out one for that just yet.
So it’s November 1st, the turkey hasn’t even been bought yet, but we have a Christmas tree up in our home. I’m sure our neighbors noticed the twinkle lights in the front window when the girls and I are decorating it, and they probably think we’re crazy. Heck, I think it’s kind of crazy too, but my aunt and uncle get their Christmas tree up October 1st, and they have like 5 Christmas trees up in their home (each decorated to the nines), so I’m late if I’m going by their standards.
Don’t forget to stop by Michaels blog, The Glue String, to see all the trees that were out on November 1st by other Michaels Makers. If you’re in need of a tree, head into Michaels from November 2 through November 8 for the Make It Merry Event and get 50% off all trees 6ft. or taller. Then, you can join me in getting strange looks from your neighbors for having yours up so early too! We do have one neighbor who has had an artificial Christmas tree sitting on his front balcony for about 5 years straight now, so maybe we aren’t so strange after all. Happy November first friends!
Supplies for this project are provided by Michaels as part of the Michaels Makers series. No additional compensation was provided.
I have a large growing pile of fabric scraps. I refuse to throw them away because I am sure they can be used for something. I have been seeing different types of interesting necklaces made of buttons, beads, and fabric. Then, I figured why not make one out of my scraps...
I think it made my white shirt a little less boring. This was so quick and easy to make.
How to make a recycled scraps necklace (which is very similar to the straps on my braided tablecloth bag):
1. Take your scrap fabric, I cut a .5''-1'' snip and tear the rest of the fabric down for a nice frayed edge. Used 3 different fabrics for each strand.
2. Take 3 of the torn pieces and tie the ends together with a rubber band.
3. Braid the 3 pieces together and tie ends together with rubber band when done.
4. Repeat steps 2 & 3 for more strands. Remember you can make the strands any length you want, if run out of fabric, just weave more into the braid.
5. Once all the strands you want are braided, gather one end of each strand together and straight stitch together with sewing machine. Repeat for the other ends of the strands. Snip off any excess.
6. Gather ends of the necklace and sew together (snip excess) or a ribbon can be sewn at the ends to be able to tie the necklace closed, but I just sewed both ends together.
7. Voila! A nice way to make use of all your lovely scraps.
Sorry if the directions get you a little lost, but it really is easy. I promise. Maybe I should put some in the shop. Please share any other good ideas you may have of things that can be made with scraps. I would love to hear (read) them!

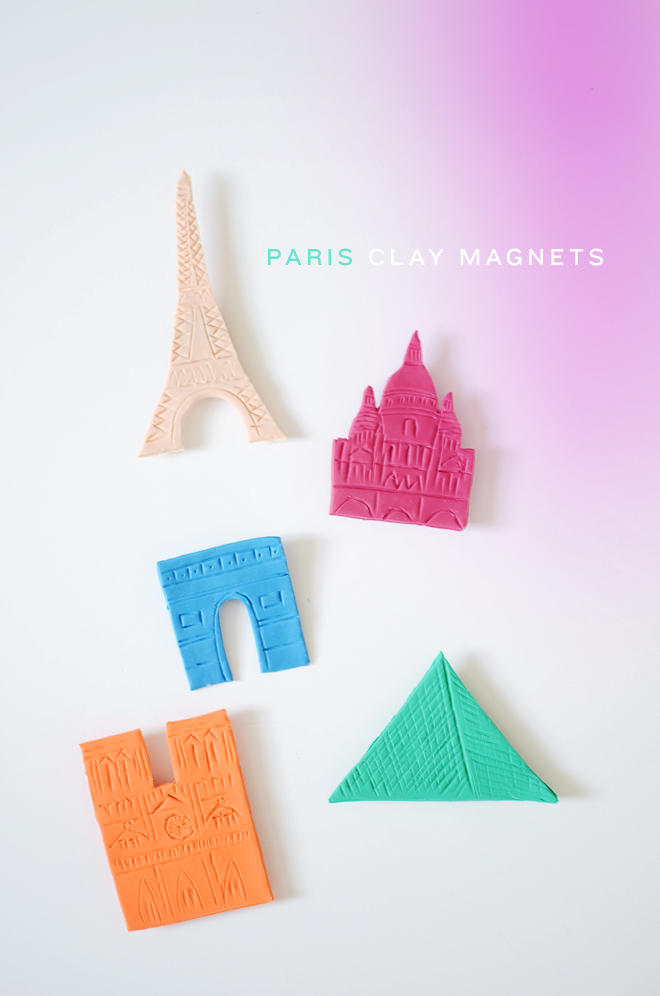 Paris Clay Magnets
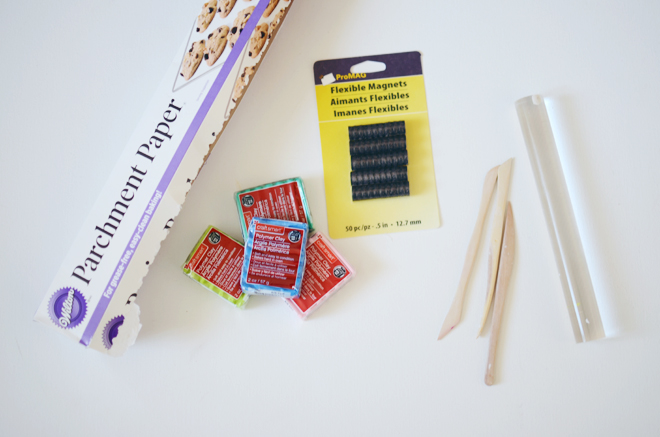 Directions:

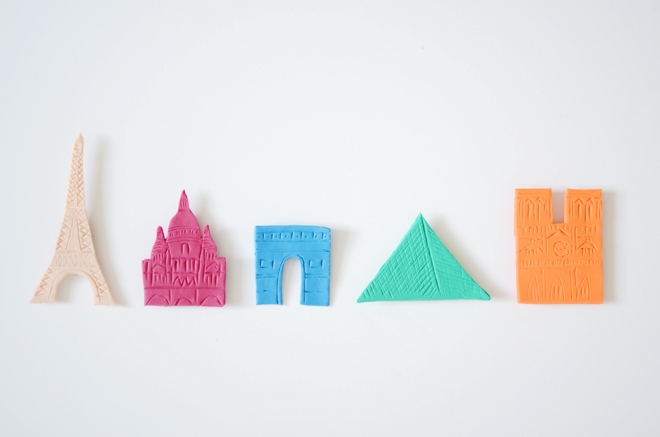
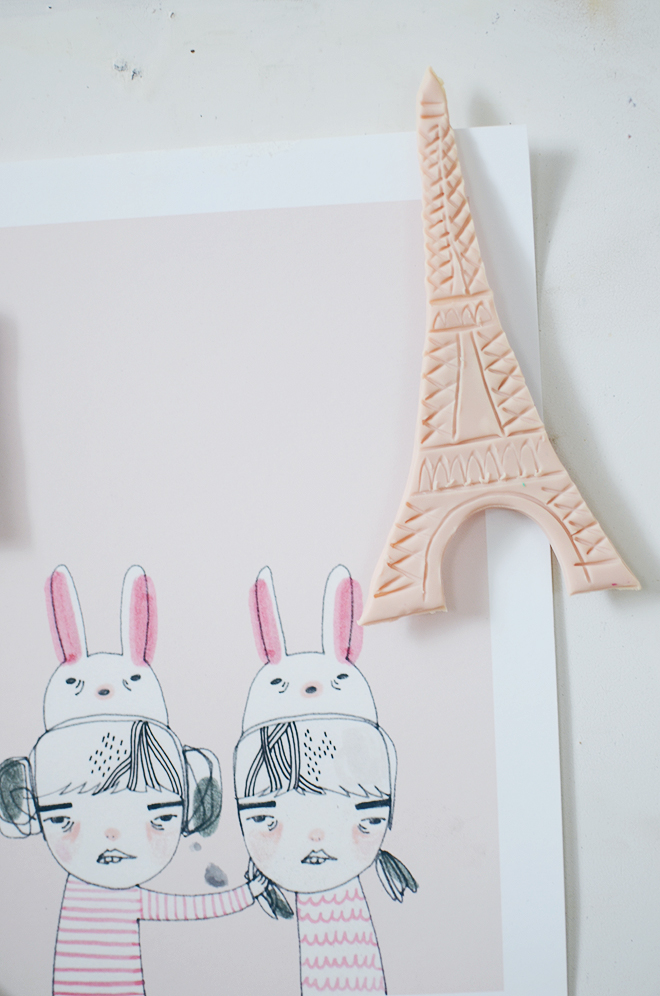
 I love how they turned out! Perhaps, if you were throwing a Parisian themed party, you could create lots of Eiffel Towers to include in the invite. Or, if you’re studying France or reading This is Paris with your children, this would be a wonderful follow up activity to do with them. These magnets make me especially nostalgic for the trip I took to Paris while studying abroad in London many years ago. My parents also happen to be on a three week tour of Europe, so I’m excited for them to see all of this in person very soon.
 Loading InLinkz ...