huzzah!

October 3, 2015


This week’s learned, links, and thankfulness…

When I went to the Michaels Makers Summit a few months back, I ended up winning an HP Sprout and it finally came in the mail this week. Excited to learn how to use it, but man I’ve been stuck trying to figure out how to enlarge the touch keyboard and use the wireless keyboard. Oye! Anyone have any tips or tricks?

Completed two more weavings this week. One already went to a friend, and another needs to get mailed off. It’s so therapeutic and relaxing to weave at night in bed.

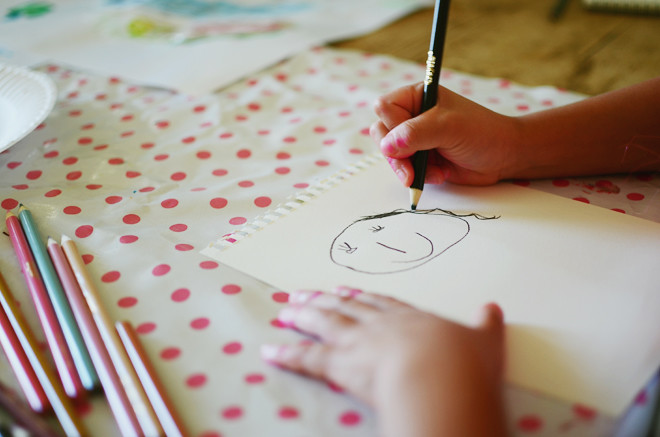
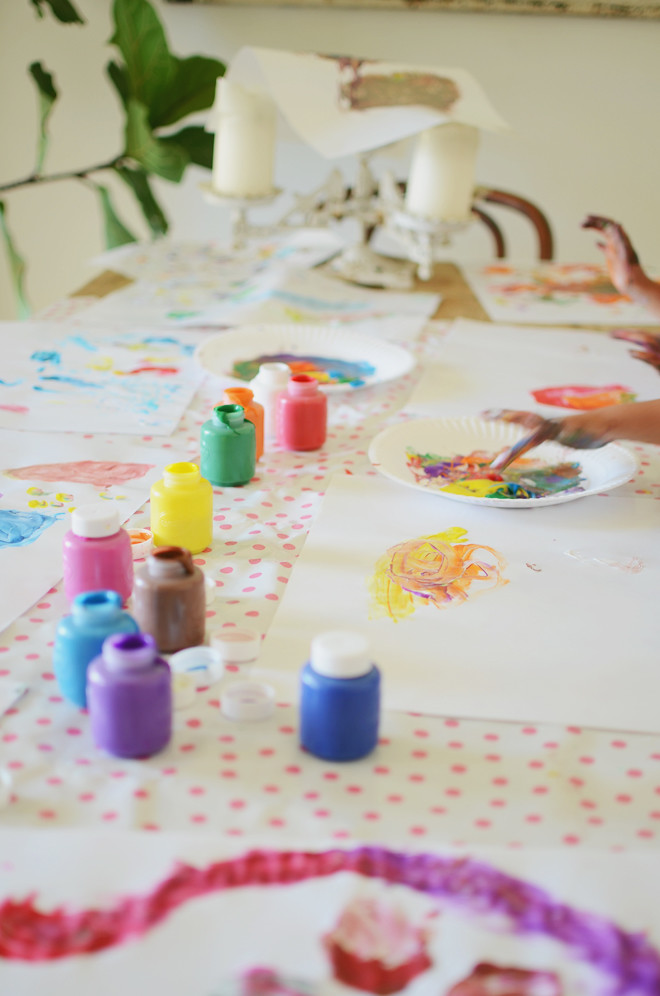
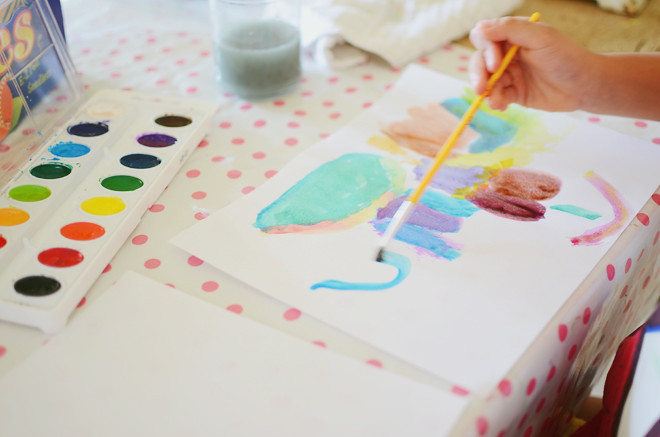
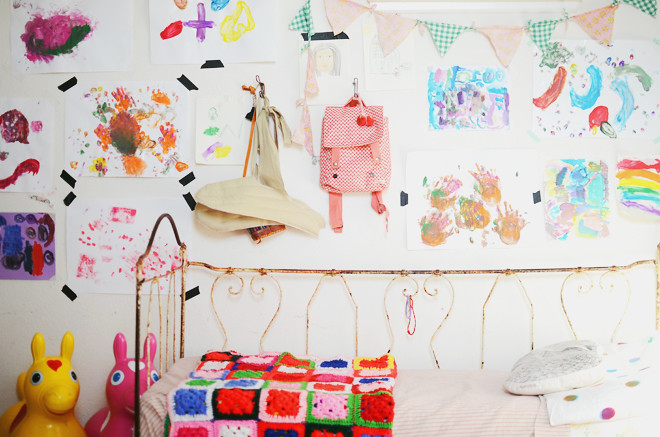
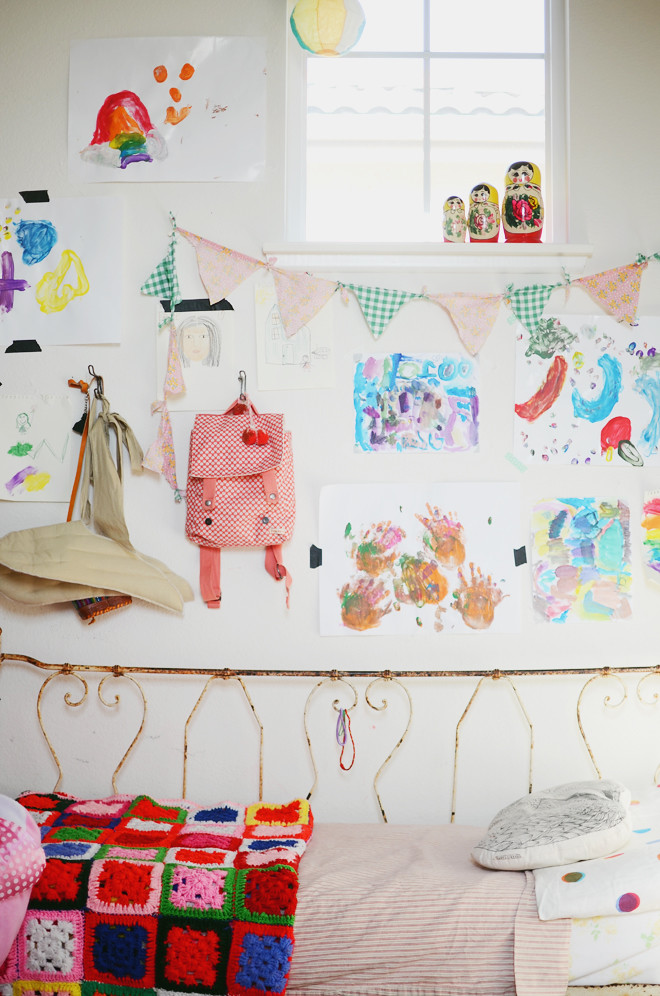
I want the girls to make some hand painted art like this. Maybe they can write a story about our family.

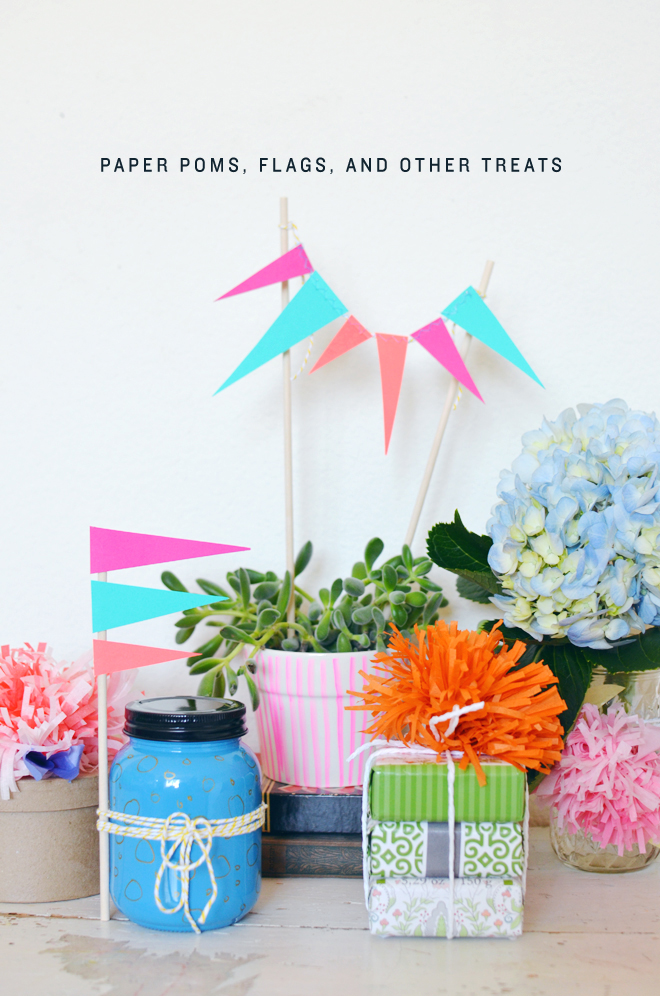
This unicorn birthday is darling. My girls would love that idea!

As my mom was preparing breakfast Thursday morning for my sister’s birthday, something exploded in their kitchen and she got hurt. She is okay, and it could have been worse, but she’s in a lot of pain (she has 18 stitches and her whole left forearm got burned). She has medication, but it makes her feel nauseous. Please pray for my mom’s healing.

This vintage little girl dress is perfect for fall! And I want to have another baby girl to get this dress; the pockets are just so adorable.

I love this simple rustic beach wind chime. It would look so pretty hanging on one of my walls.

This site Greaterskies is pretty cool because you can create personalized star chart based on a particular day. A print out of the constellations on the day you got married or the day your child was born would be sweet.

My daughters have been taking Spanish classes and I like how these simple animal memory cards are cute and colorful.

The girls and I want to tackle some of the Halloween crafting classes on CreativeBug.

Oh. Em. Gee. Did anyone watch this week’s Scandal?! I can’t wait to see what happens next. #teamjake

Happy weekending friends!


diy: ice cream cone costume

October 1, 2015


Ice Cream Cone Costume
perfectly sweet for any ice cream lover

Supplies:
2 rolls of tulle (2 for an adult, 1 for a child)
1 yard 3/4″ knit elastic
Scissors
Craft wooden sticks
Bar pins
Craft paint, various colors
Glue gun and glue stick
Hand sewing needle
Coordinating thread
Large brown paper (or grocery store brown paper bag)
Bobby pins (to keep cone on head)

Directions:
1. Measure the length you want your tutu, double that measurement, then add a couple more inches. This is the length you will want to cut out all your tutu pieces. For an adult tutu, I used almost 2 rolls, but if making for a child, 1 roll should be sufficient. Set aside about 4 feet of tulle for your headpiece.

2. Measure the waist with the elastic and then cut it about 5″ less than the waist measurement. This keeps it nice and snug on. Hand sew the short ends of the elastic together with with a straight stitch. Can also leave it the length of the waist, and then adjust after you have all your tulle pieces on.

3. Attach each piece of tulle on to the elastic using a slip knot. Fold the tulle strip in half, put the folded end under the elastic, pull the the other ends through it, and tighten around the elastic. Be sure to keep the elastic flat and not tighten it so much that it bunches up. Repeat until you have reached your desired fullness for your tutu.

4. Paint your craft sticks to resemble your favorite sprinkle colors. I only did one side, but you can do both if you’re feeling ambitious. Once that dries, glue pins to the back of each wooden stick.

5. On your brown paper,  create a circle with a 20″ diameter. If you’re using a grocery bag, you may need to make it smaller. Cut out your circle, then cut out 1/4 of the circle out. This gives a nice visual of the shape of the paper needed to make your cone. Roll your cone and glue the edge to keep the cone in place.

6. To creator the “fascinator” part of the cone, cut out two 24″ strips of tulle. Lay them on top of each, then tie the ends together with a small string or thread. Glue it inside the cone and adjust how you’d like it to spread out on the head.

7. Pin your cone in place with bobby pins. It’s best to pin where the tulle is and cut a tiny slit on the other side of the cone, and insert another bobby pin to affix that side to your head.

8. Pin on your sprinkles everywhere!

I wore a white dress with my tutu, otherwise a white top and white slip under the tutu would work too. Ya’ll know me, I love any excuse for ice cream!

This costume was inspired by this tutorial. A friend of mine asked if I could help her make it, and I excitedly said yes because… well, ice cream! The skirt they used is store bought, so I figured we could make our own using tulle. It’s really so easy to make a tutu. Their idea of using popsicle sticks as sprinkles is pretty genius, so there was really no need to change that. I did add some tulle to the cone because I thought the headpiece needed a little something more. I can’t wait to pass this costume over to my friend and see her in it!

This costume would definitely be adorable for little ones too! Maybe you can do black and white tulle to make cookies and cream ice cream and figure out a way to put Oreo looking chunks all over. Or do lots of different colors for the tulle and be a scoop of rainbow sherbet. There’s just so many costume ideas you could use this easy no-sew tutu for!

Supplies for this project were provided as part of the Michaels Makers Series.

 Loading InLinkz ...


smitten with weaving

September 8, 2015


I have long admired weaving since it popped into the crafting scene, but hesitated actually trying it. After the Michaels Makers Summit, and learning from Anabel, I was completely smitten with this craft. I find the movement of weaving the yarn through the loom very relaxing, and it makes it really hard to put down the loom once I get started. My new found love for weaving is probably what motivated me to clean my craft space, so that I could have a place to display my yarn. I have a few different looms, this one is the one we were given at the summit to learn on, I have a beautiful one from Lost Pond Looms that Anabel so graciously sent my way, and then I followed her tutorial on CreativeBug to make my own loom. I want to make a bigger loom, and maybe order this large one from Lost Pond Looms. I have no idea what to do with the weavings I make (I can only hang so many in my home), so my friends better be prepared to receive a weaving for their birthday or any special occasion that may come up.

Have you picked up any new craft hobbies lately?


diy: pipe cleaner pumpkins

September 1, 2015


Pipe Cleaner Pumpkins

Supplies:
Chenille pipe cleaners, various colors (we made our pumpkins in pink, yellow, and orange!)
Scissors
Pencil
String, optional

Directions:
Use about 6 pipe cleaners (or as many pipe cleaners as you’d like!) for the pumpkin body, twist the ends together to form a circle. Cut a green pipe cleaner in half, gather the orange circles together, and attach together with the green piper cleaner (the leaves) and twist the green stem in place. Use a pencil to make the pumpkin curls with the green pipe cleaners. Cut out a 5″ brown piece for the stem of the pumpkin, twist that onto the top, and curve the top of the stem like a hook. We made it like a hook so we could hang all our pumpkins on string to make a garland. Lastly, bring some of the circles through the other hoops, and spread them out to create the shape of a pumpkin. Once you have the circles spread out just the way you like, flatten it a bit to give it that squatty pumpkin look.

It’s the first of September and we are ready to bring in some fall vibes, even though it’s scorching hot outside. Thus, these colorful pumpkins were just the thing to kick off the autumn projects. I taught True how to make one pumpkin, and she took off from there, then she taught the rest of her sisters. After they made all the pumpkins, they continued making flowers and fruits with the pipe cleaners. I was pretty amazed at all the things they were making! They should probably do their own tutorial for the piper cleaner flowers and fruit!

If you have some chenille stems lying around, this project is perfect to do with the kids. They will have fun celebrating the coming season with this simple project!


Supplies for this project were provided as part Michaels Makers Series. Make your own type of craft pumpkin with Michaels and let your imagination run wild with all the different types of ways to make a pumpkin and celebrate fall!

 Loading InLinkz ...

summer art box

July 31, 2015


summer art boxsummer art boxsummer art boxsummer art boxsummer art boxsummer art boxsummer art boxsummer art boxWe filled up this little cuties crate with some of our favorite Crayola products and dubbed it our summer art box. It’s been sitting on our dining table since the beginning of summer, and it’s been getting lots of use during our days at home (when we don’t want to go out and face the heat). It completely captivated the attention of Soul and Glow, while their big sisters were gone. They spent many mornings and afternoons together painting and coloring while they listened to music. I’d join in from time to time too (we made a large poster together), but they were perfectly content creating together while I puttered about the house. The big sisters are back now, so everyone is catching up on the playing, but there has been some making happening too.

Soul and Glow have made so much art work that their walls are full of their masterpieces. One of the things we did while their big sisters were gone was redecorate their rooms, so they are proud to have their new art work on display. True and Brave came home saying, “We want to fill up our walls too!” I predict the last few weeks of summer will be filled with more painting, playing, and eat ice cream. Anyone thinking your future might look similar to mine?

Supplies were provided as part of the Michaels Makers Program.  Michaels carries a wide range of Crayola for you and your next kids’ next project in stores and on Michaels.com – and the best part, all Crayola product is on sale from 8/2-8/8!


paper poms, flags, and other treats

April 22, 2015


paper poms, flags, and other treatsPaper Poms, Flags, and Other Treats

Supplies:
Cardstock in various colors
3/16″ x 12″ dowels
Tissue paper
Paper rope (twine)
Glue gun and glue stick
Scissors
Sewing machine

paper pomsTo make the paper poms:
Cut out a stack of tissue paper in a rectangular shape (I used a stack of 10). Cut slits on both short ends towards the center, leaving about 1″-2″ of space uncut in the middle. Roll the tissue paper stack together, with an 8″ strand of twine tie the middle of the roll tightly, and knot to secure. Fold the tissue paper upwards to create your pom shape.

paper pomsYou can use a mason jar as a vase, and dress it up with flowers up top and tie on a paper pom on the side…

DSC_4177 copyGet a paper mache box, poke a hole in the center (be sure it is wide enough to fit the center section of the tissue paper pom), and insert the pom on top. May need to use glue to secure in place. Then, fill the box with some delectable sweets…

paper poms, flags, and other treatsDSC_4140 copypaper poms, flags, and other treatsUse the paper pom to top a stack of lovely smelling bath soaps…

paper poms, flags, and other treatsI got a plain ceramic pot and added some pattern with a ceramic marker. Then, I added a plant inside (of course!), and inserted the paper flag bunting…

paper poms, flags, and other treatsTo make the paper flag bunting:
For the bunting, cut out triangles in various sizes, then run the top through the sewing machine using a zigzag stitch (leaving some long strands on both ends), and tie the ends onto some wooden dowels.

paper poms, flags, and other treatsFor this one, I just glued some flags onto a dowel, and attached it to a scented candle in a jar. For a little more fun, you could also write something like, “You are scent-sational!”

paper poms, flags, and other treatspaper poms, flags, and other treatspaper poms, flags, and other treatsThis month’s challenge is all about celebrating! These simple gifts would be perfect to give to your child’s teacher, maybe for Mother’s Day (or Father’s Day), or even just to let a friend know how “scent-sational” they are! I got the mason jar, candles, chocolate, and even the soaps all from Michaels. They have lots of little goodies that would work as lovely gifts, and you could add a little oomph by dressing them up with paper poms and flags!

Supplies for this project were provided as part of the Michaels Makers Series. Michaels is celebrating every occasion this summer with gifts for Moms, Dads and teachers, and parties to celebrate birthdays, graduation, and the 4th of July! What are you celebrating this summer?

 Loading InLinkz ...


CAKIES
©
Design by Blog Milk