felt pom pom garland christmas tree

December 1, 2017


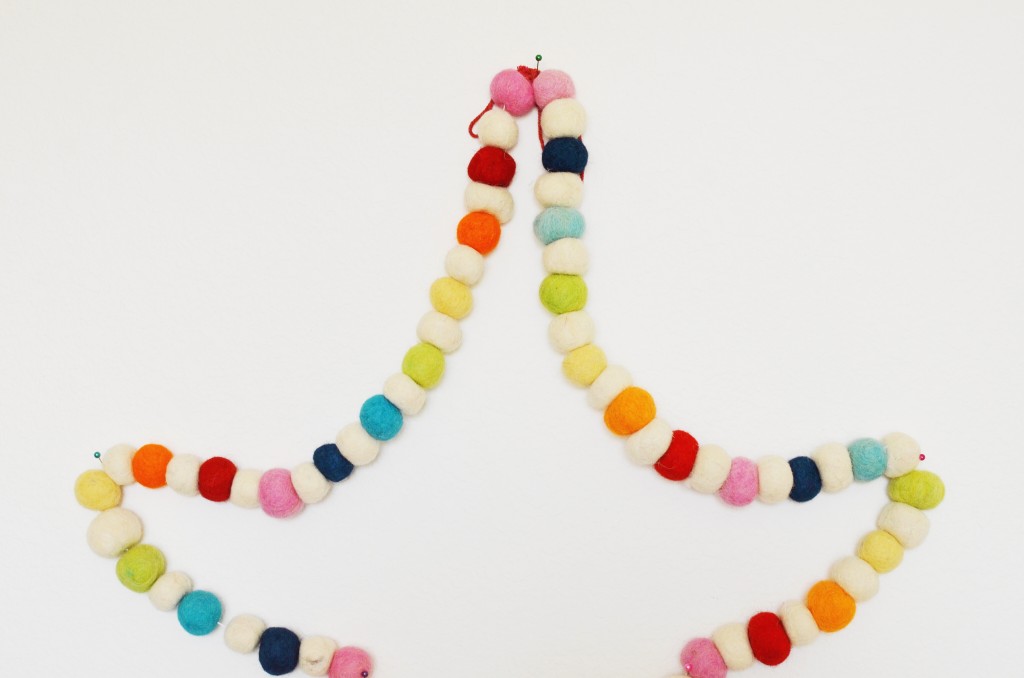
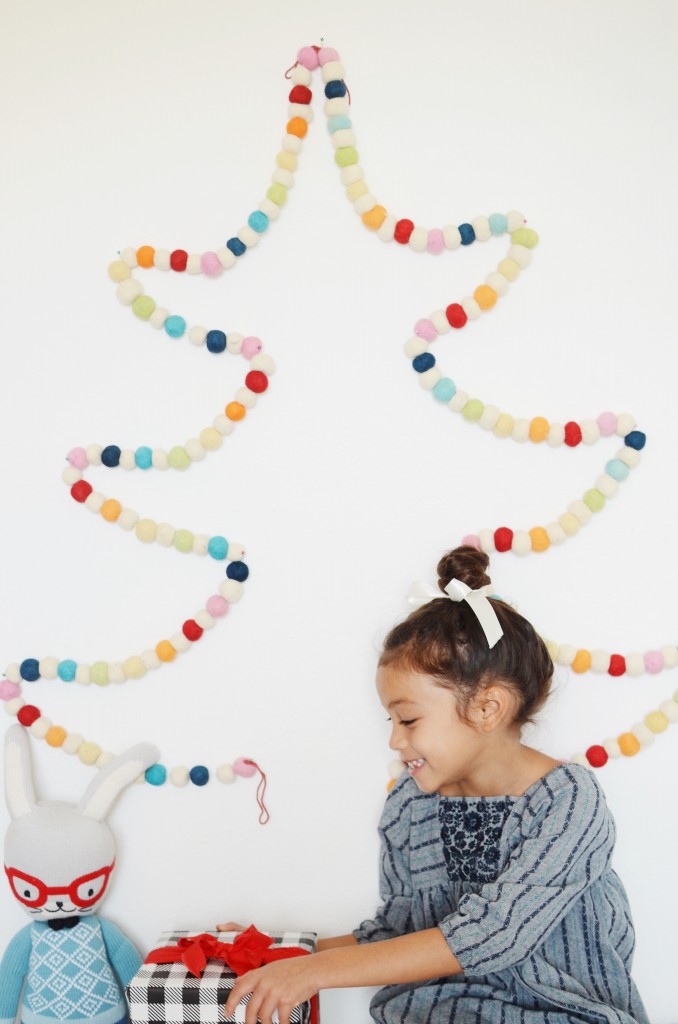
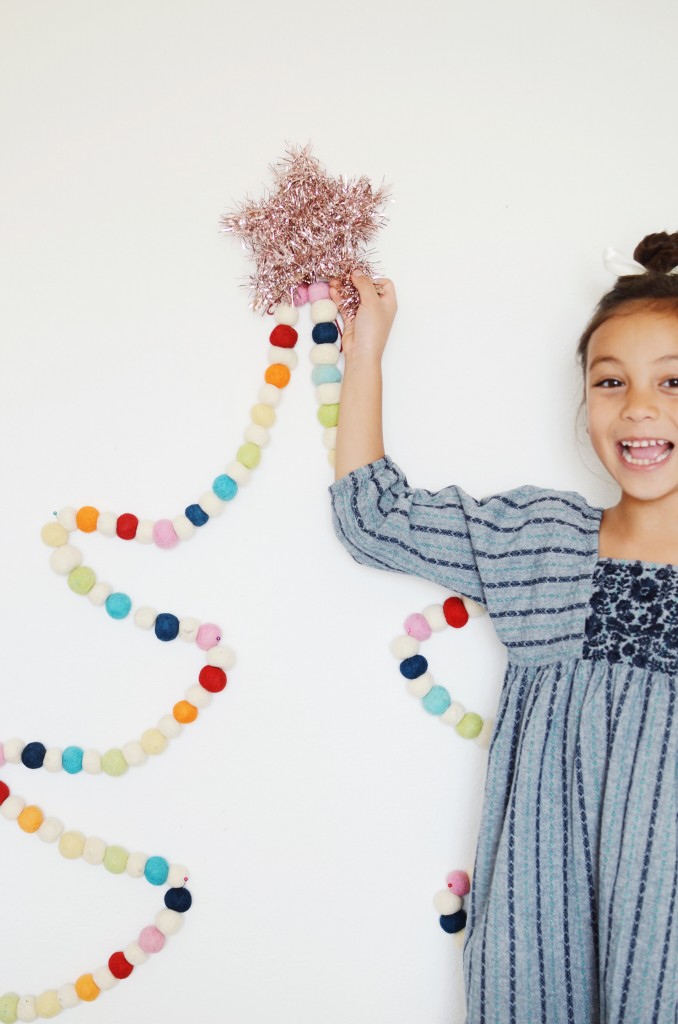
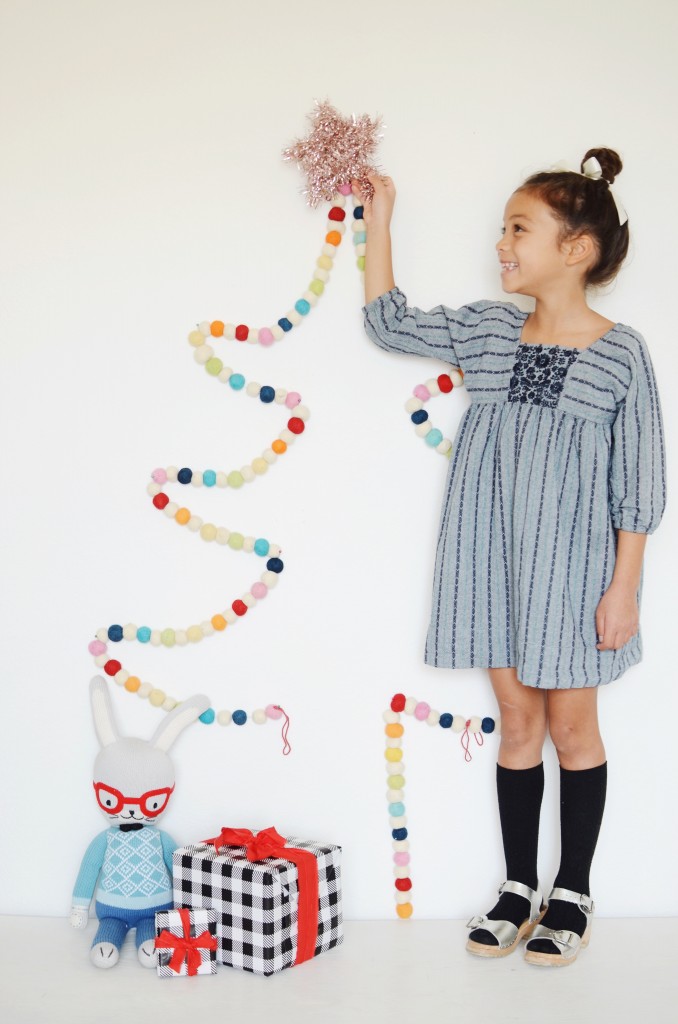
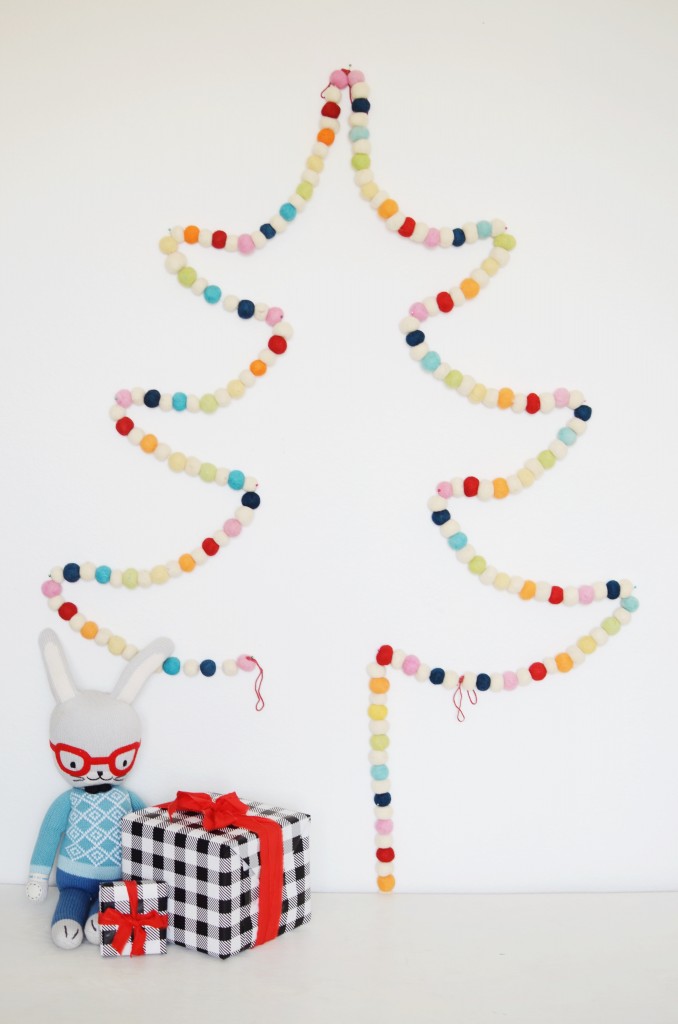
Felt Pom Pom Garland Christmas Tree

Supplies:
Template for the pin points
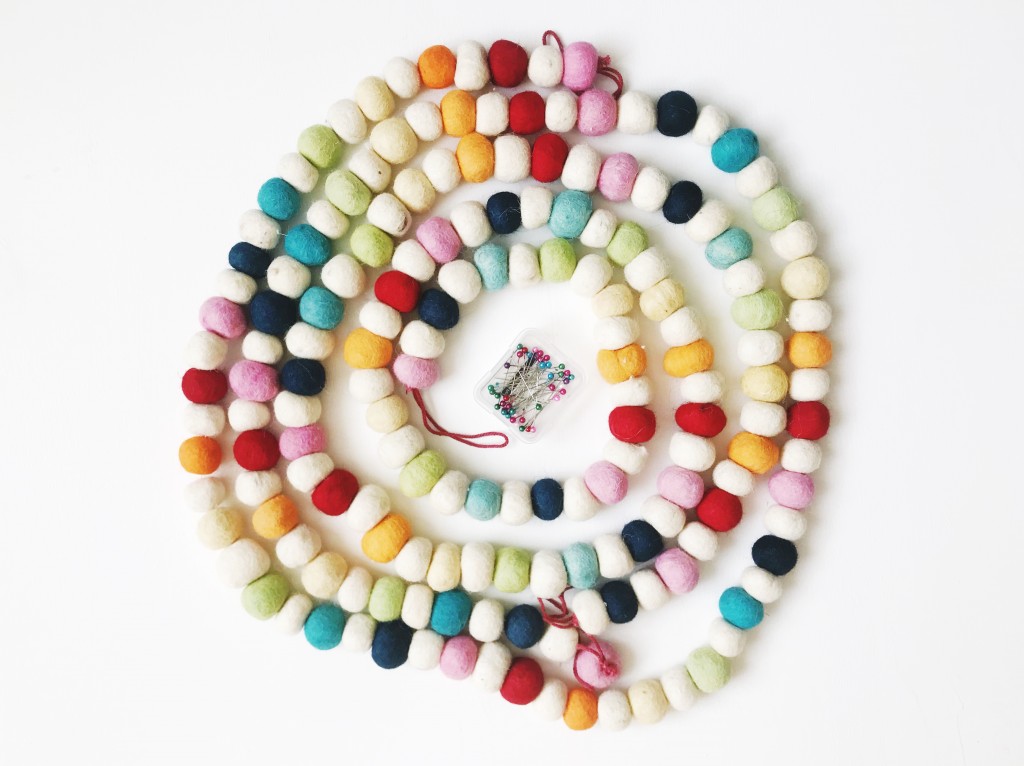
Felt pom pom garland (I used 3)
Sewing pins (or can use Command decorating hooks if you don’t want tiny holes in your wall)

Directions:
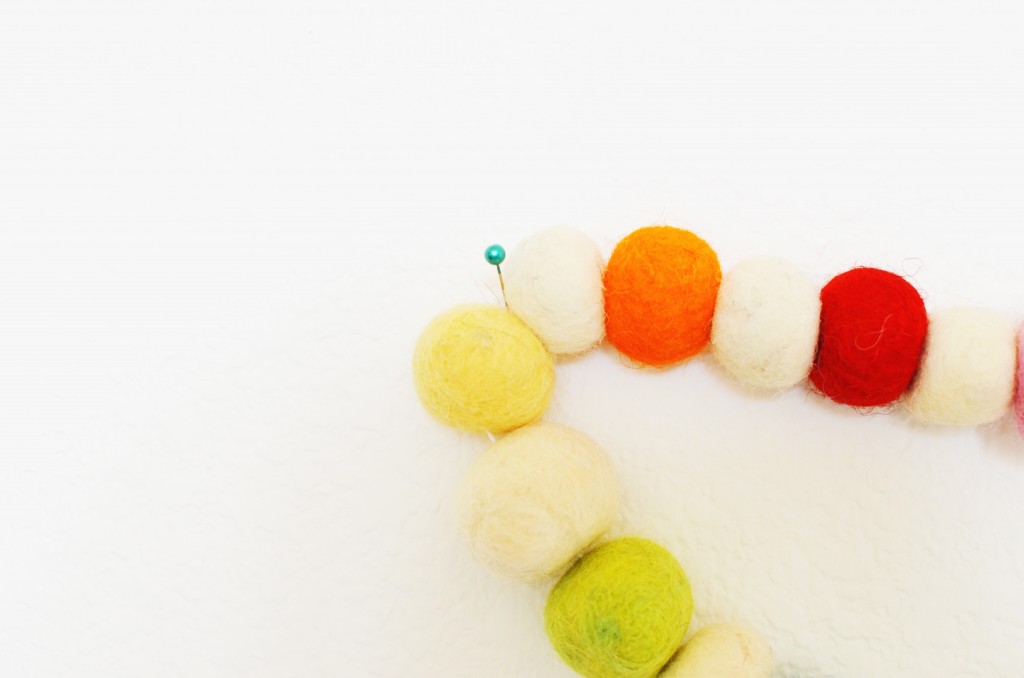
Place a pin at the top, from there continue to place your pin points on each side to make the shape of the tree. See template to determine pin points. Once the points have all been created, join the ends of two garlands together and place that at the top pin point of the tree. Continue shaping the tree, draping the garland on the next pin point until your tree is completed.

We used 3 garlands total and our tree is about 4 feet tall. If you want to make a larger tree, use more garland.

Isn’t so cute?! It’s so easy to make and gives such a fun holiday vibe. You could make it with a tinsel garland, tassel garland, or even simple string lights. Better yet, make an even bigger one with more garland attached. Maybe a giant wall one should be our tree this year! We are a bit behind in the Christmas decorating and this is the only thing we have up so far.

Also, I love this pom pom garland because I can use it way past Christmas. I’m all about things that have multiple uses, so you’ll probably see this garland repurposed in other DIYs throughout the coming year. Of course, you could certainly make your own felt ball garland, but with it being $5.99 at Michaels right now, I’d rather buy it than make it. So who’s going to give this festive, simple DIY a whirl?

Supplies provided as part of the Michaels’ Makers SeriesSanta’s MAKEshop is open at Michaels! From holiday décor to trimmings for your tree to DIY necessities, you can find everything you need to make your holiday magical!

1960s flower child costume

October 2, 2017


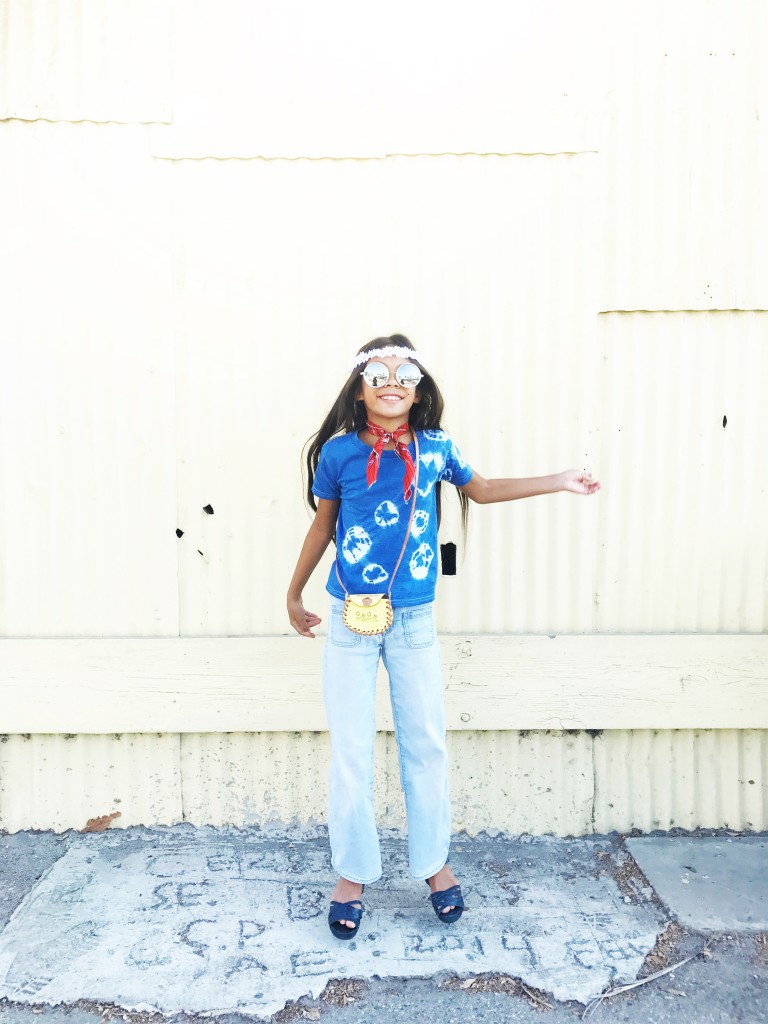
1960s Flower Child Costume

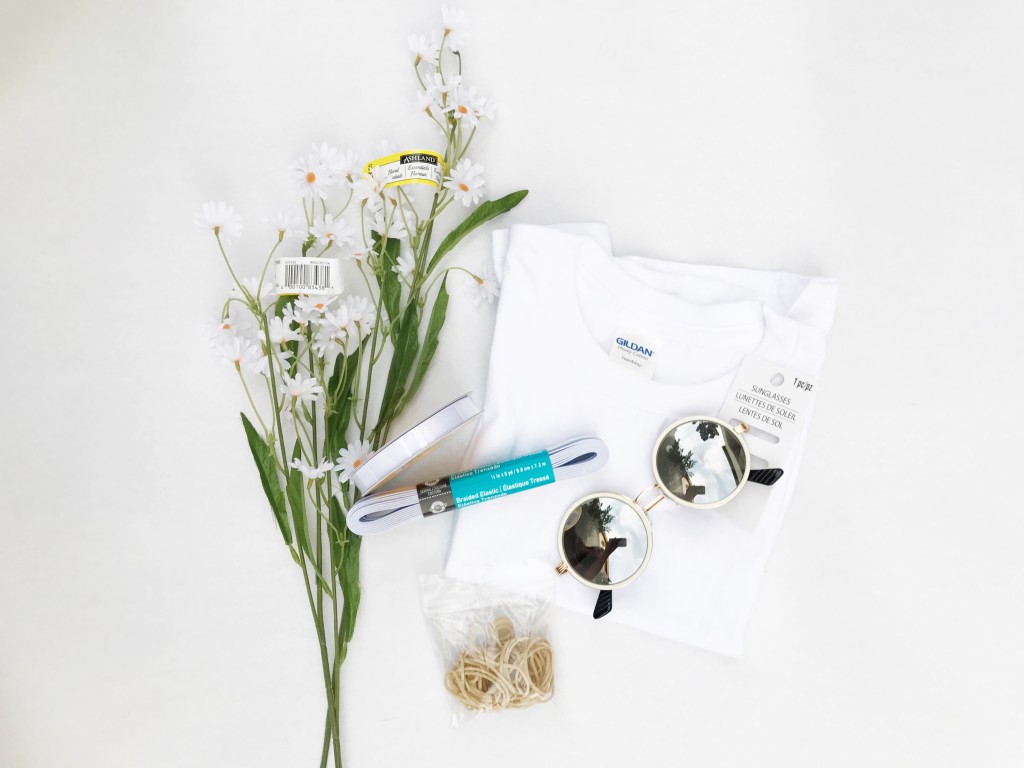
Supplies:
White t-shirt
Tie dye kit
Rubberbands
3/8″ elastic
Hand needle and thread (or sewing machine)
Faux spray daisy flowers (used 2 stems)
Ribbon
Glue gun and glue stick
Round sunglasses, optional (sold at Michaels)

To make the shirt:
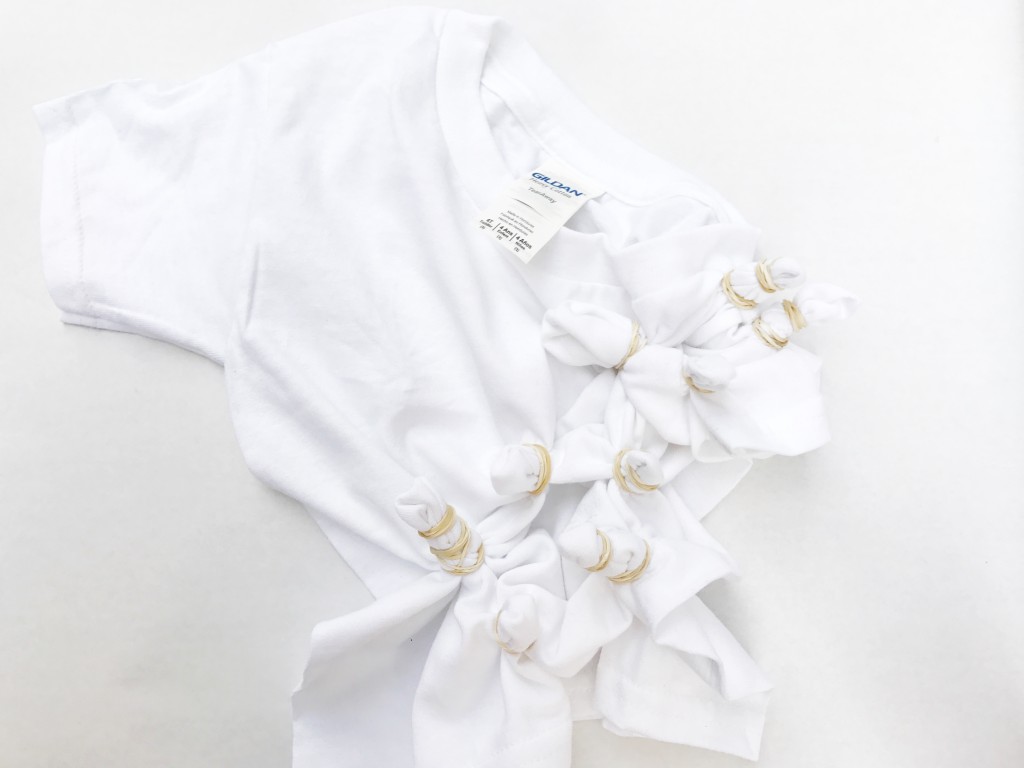
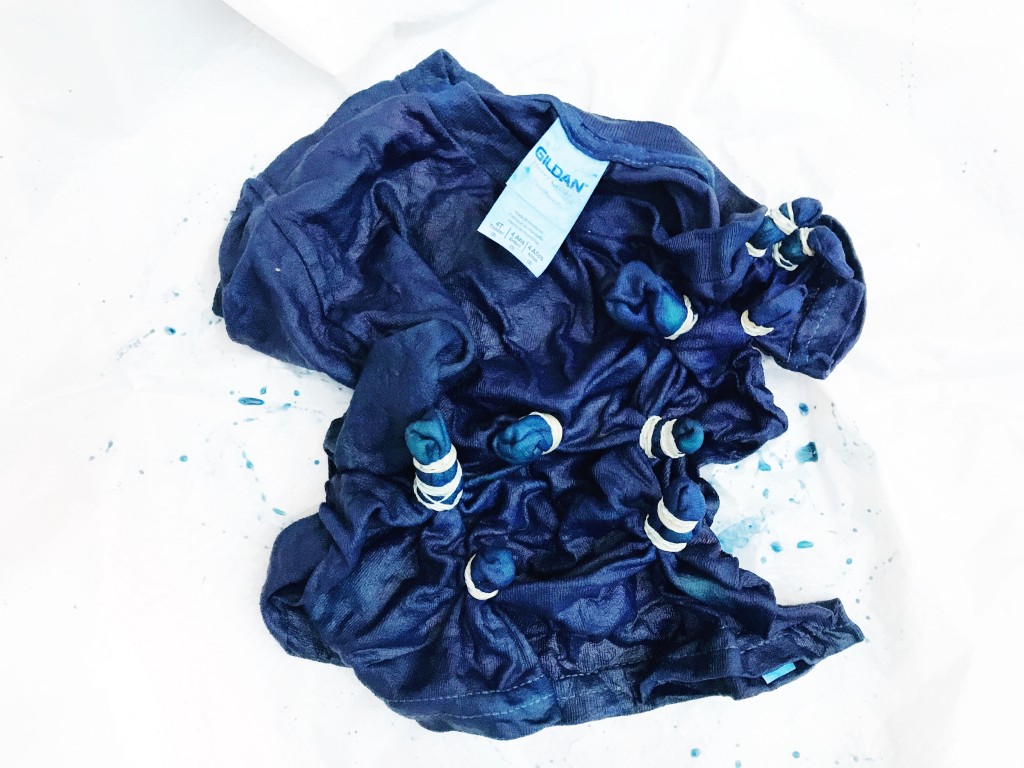
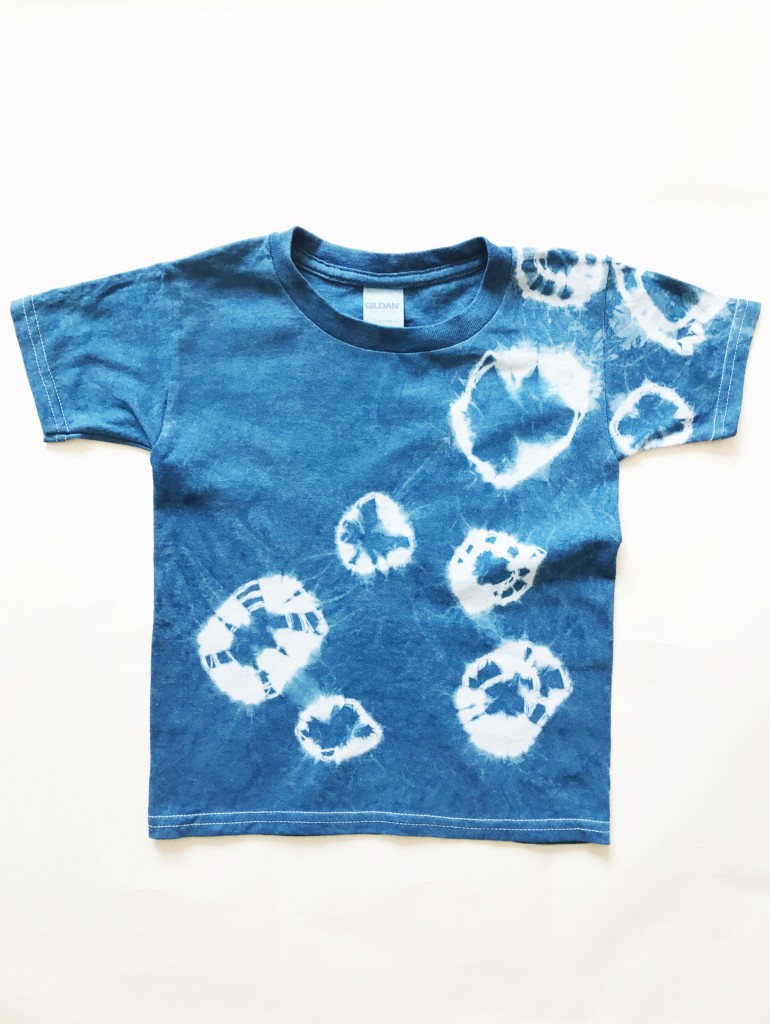
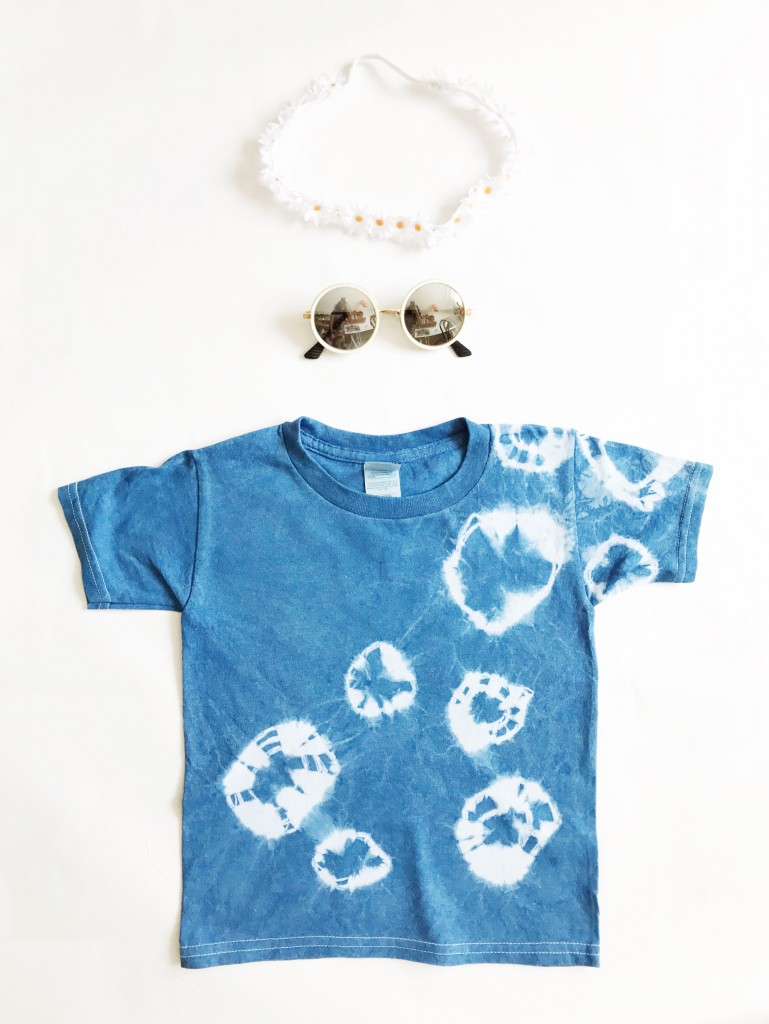
Bunch up an area on the shirt and tie one or two rubber bands around the bunched area. Do this several more times in various places on the shirt. Wet the shirt completely, then follow the instructions on dye kit to color the shirt.

To make the flower headband:
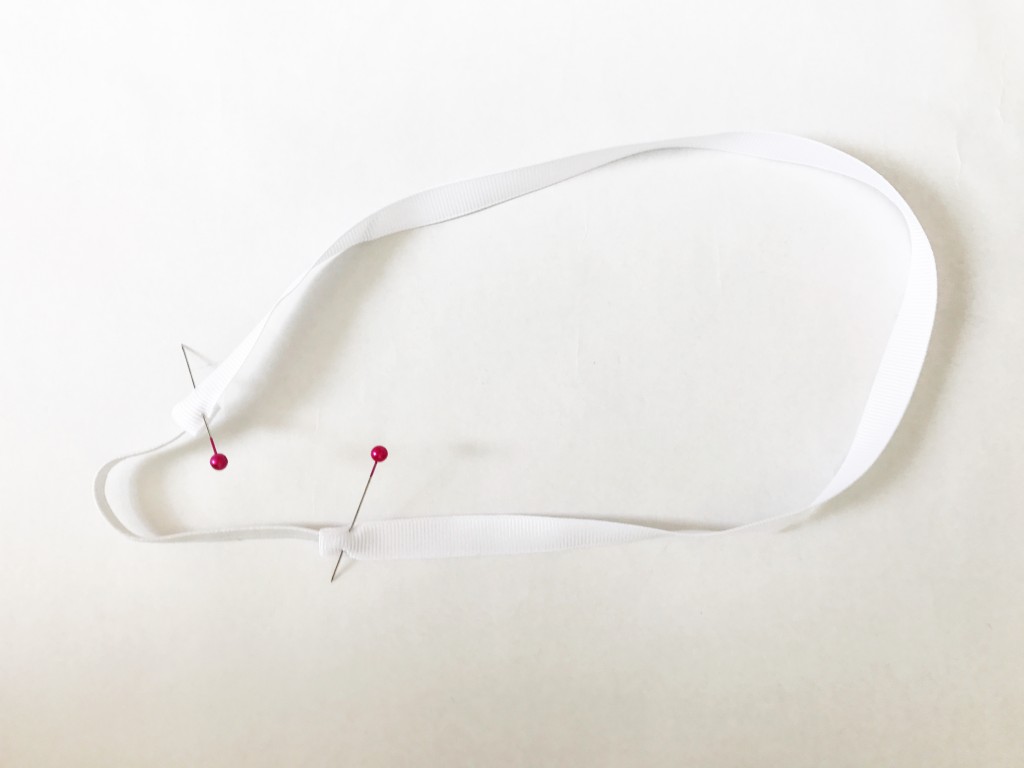
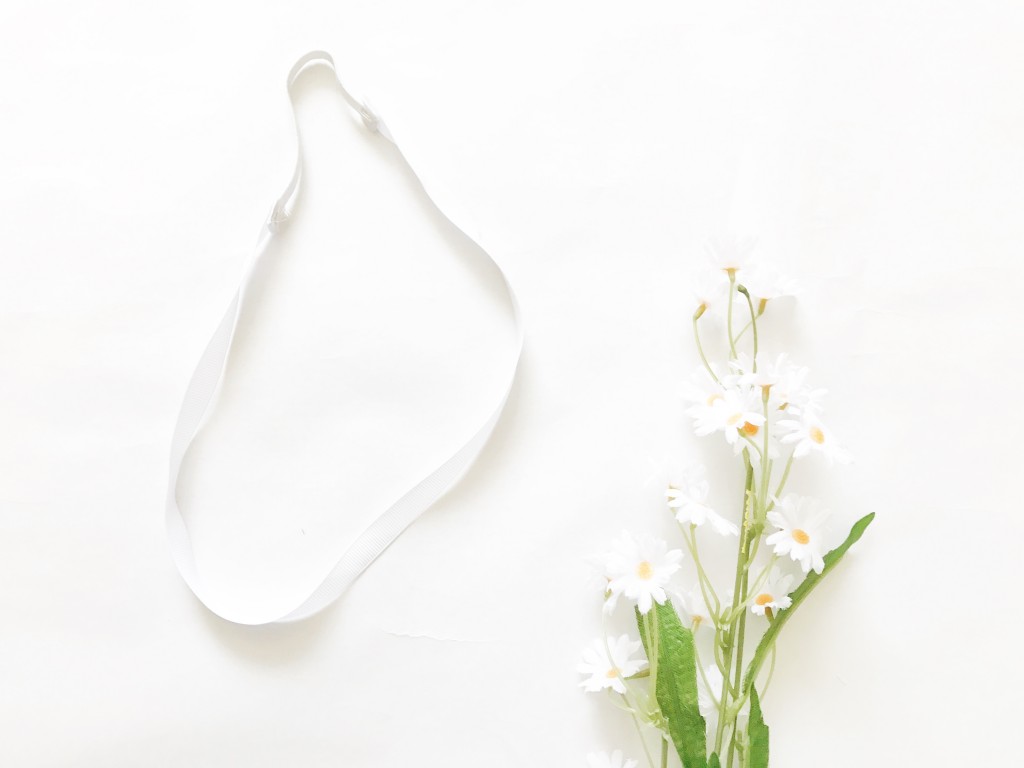
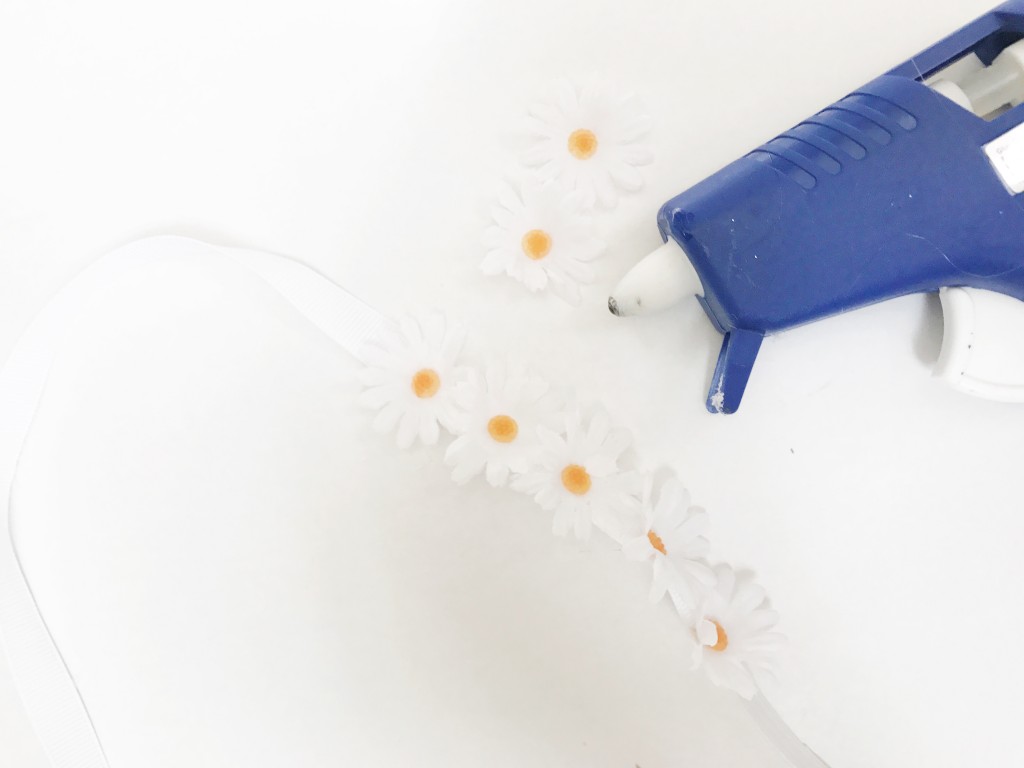
Measure around the head and cut the ribbon about 3/4″ around the head. Cut out an elastic piece that makes the remaining 1/4″ measurement around the head. Sew each end of the elastic to the end of the ribbon. With a little dab of glue on the ribbon, cut off a flower head and attach to the glue. Repeat until the entire ribbon is covered with flowers.

To put together the outfit:
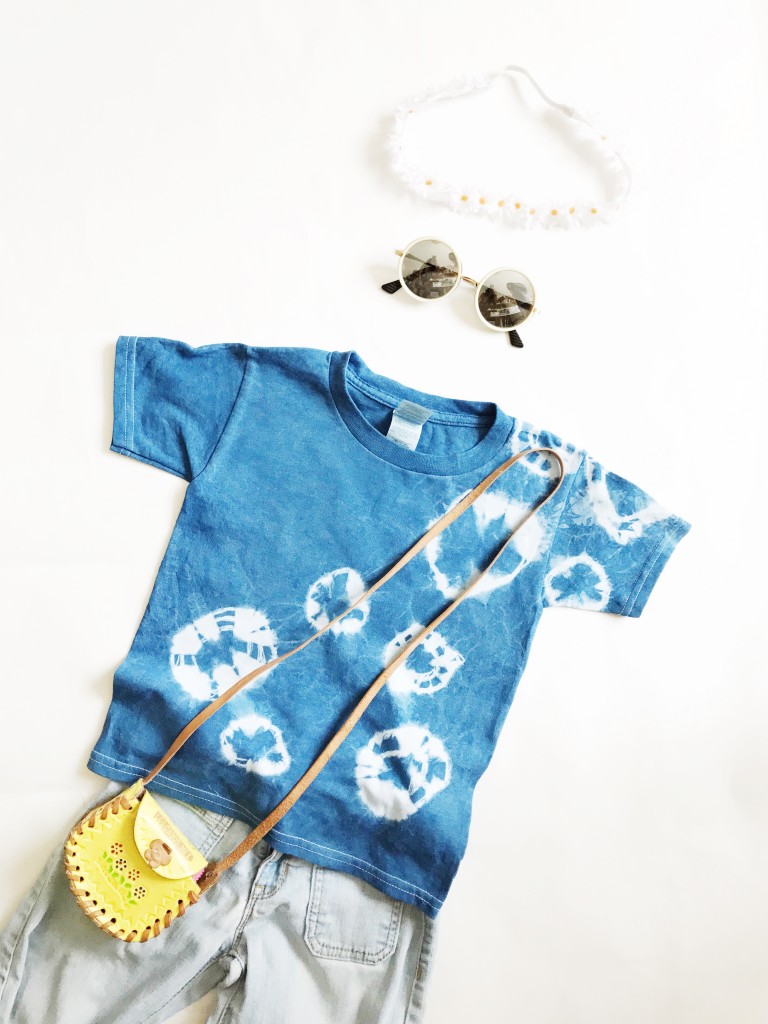
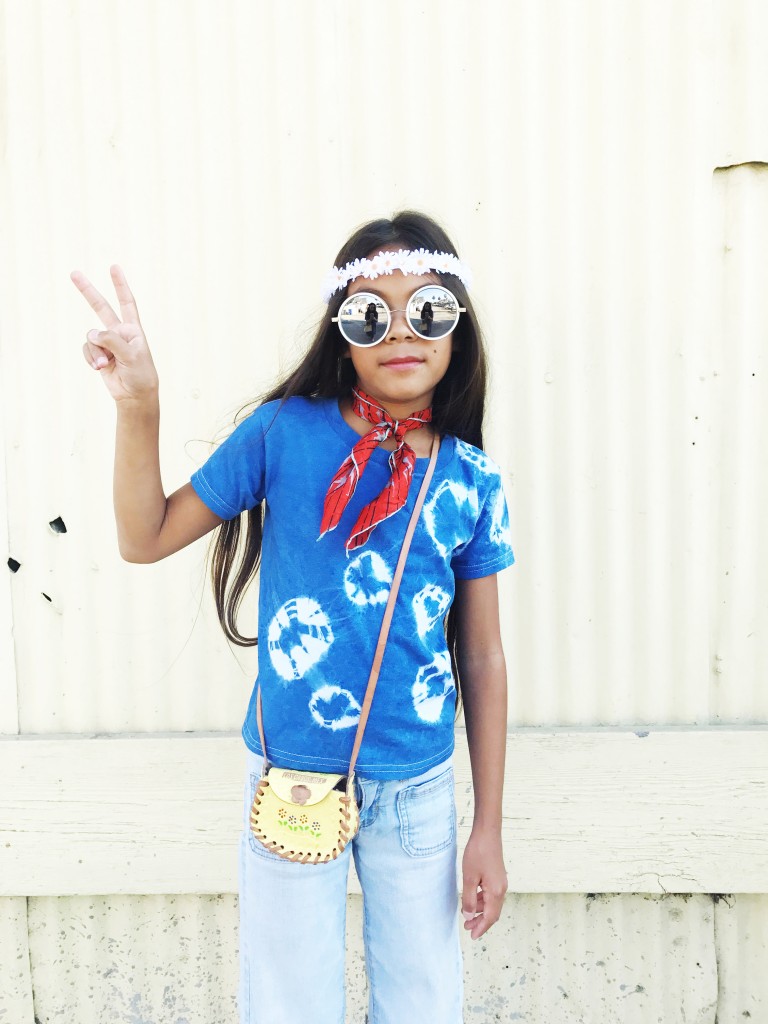
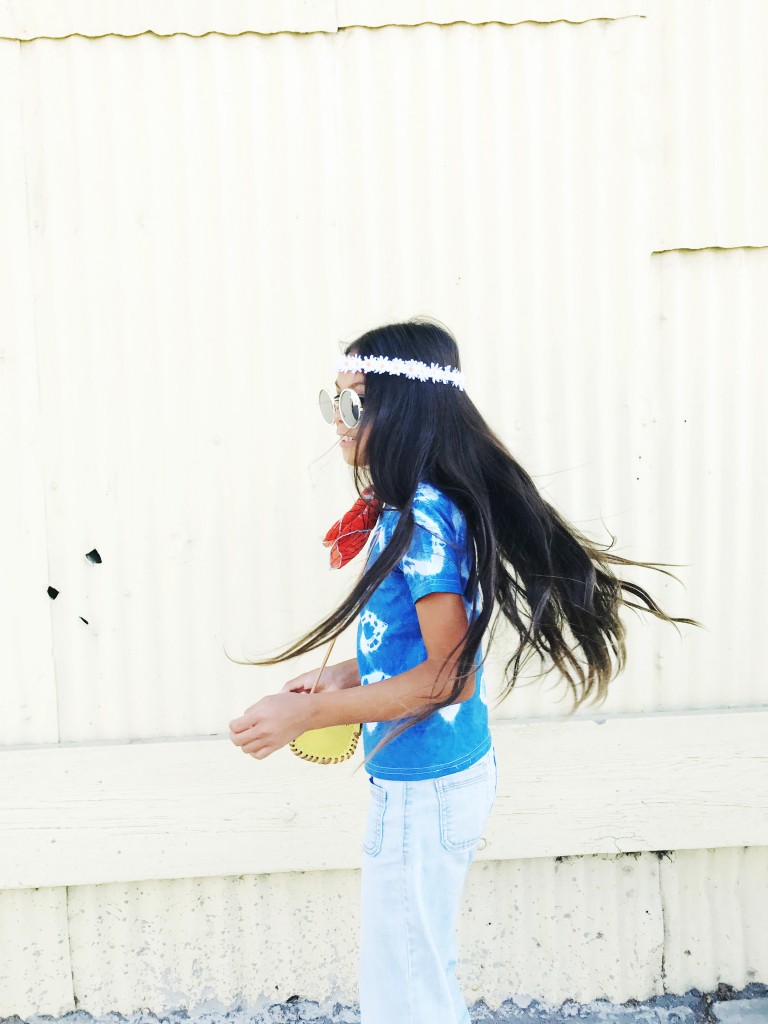
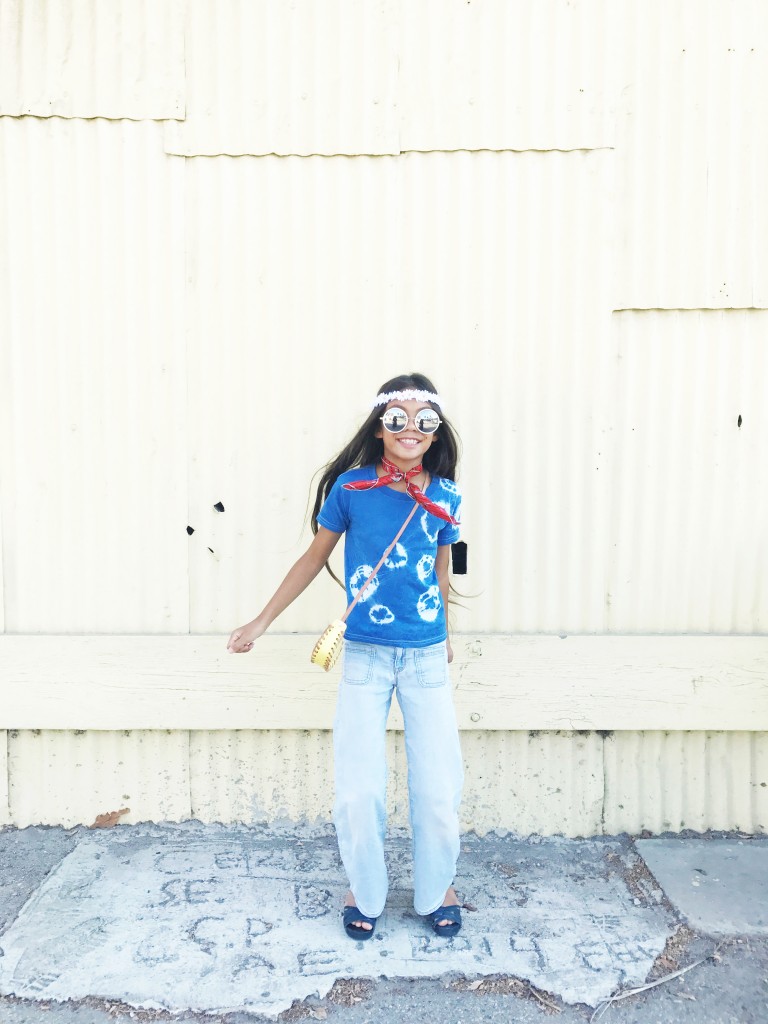
Grab a pair of jeans ( best if flared or wide legs) to pair with the tie dye top. Any wooden shoes/clogs would pair well, and add a scarf or handkerchief around the neck. Put on the round sunglasses and give a carefree smile while holding out the peace sign.

We loved putting together this costume and each piece is something they would definitely wear, not just on Halloween. Michaels also carries sunglasses, so these round ones were perfect to pair with the rest of the outfit. Maybe, I ought to sew the girls some wide leg bell bottoms. Thinking that project might get added to our craft list.

Are you a Halloween maker or shopper? My kids love handmade costumes, so we are definitely Halloween makers.

Supplies provided as part of the Michaels’ Makers SeriesThis Halloween, Michaels has everything you need to MAKE it Spooky!


diy: mini leather clutch

August 1, 2017


Mini Leather Clutch

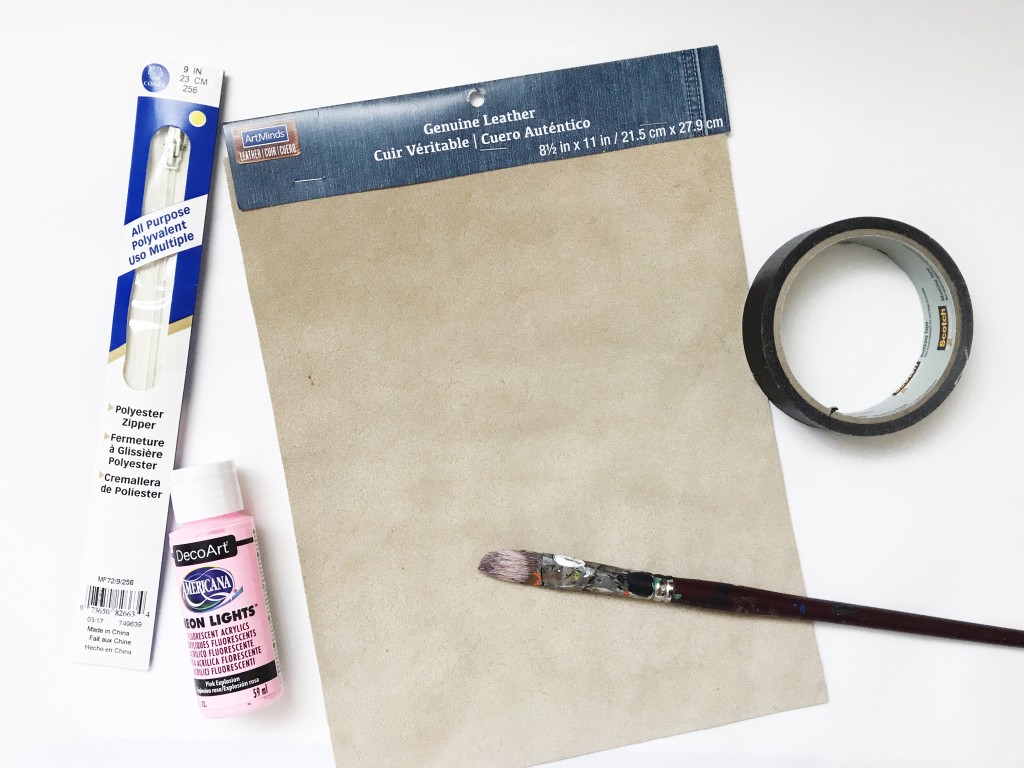
Supplies:
8 1/2″ x 11″ leather piece
9″ zipper
Neon paint
Paintbrush
Tape
Scissors
Coordinating thread
Sewing machine

Seam allowance: 1/4″

Directions:
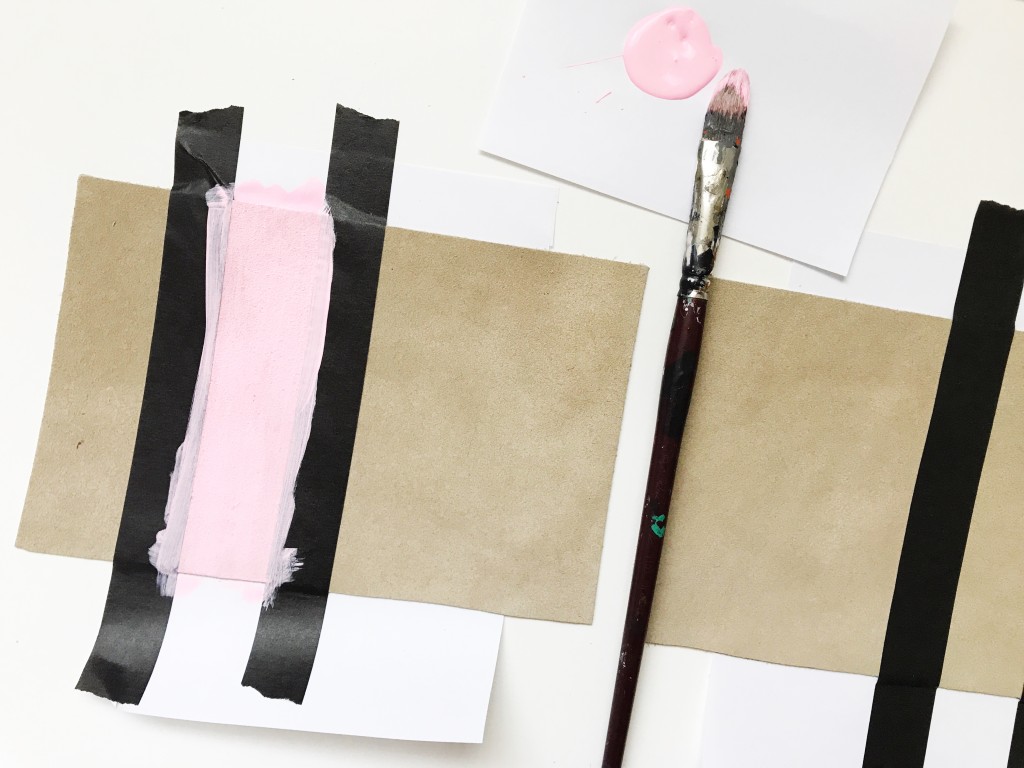
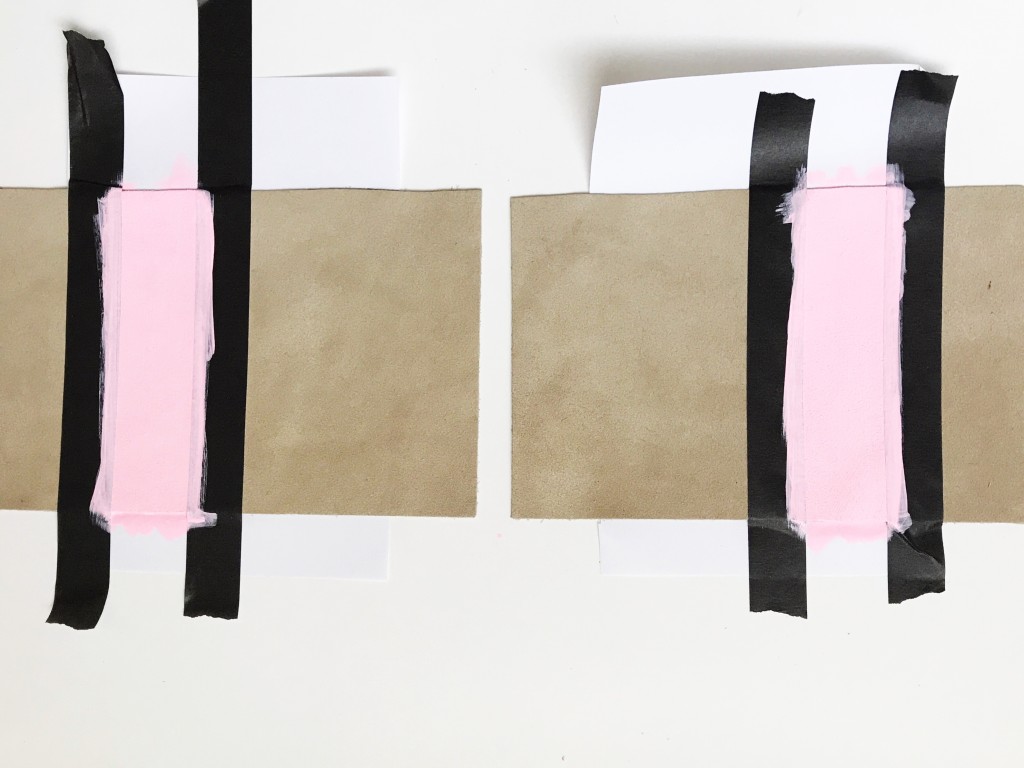
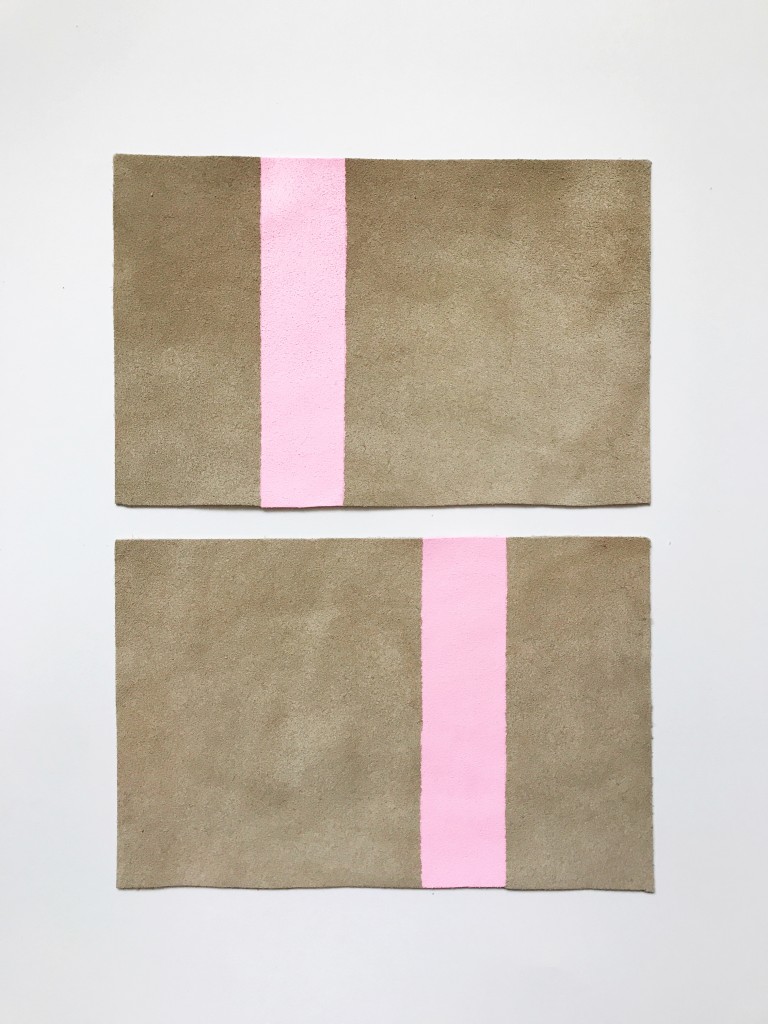
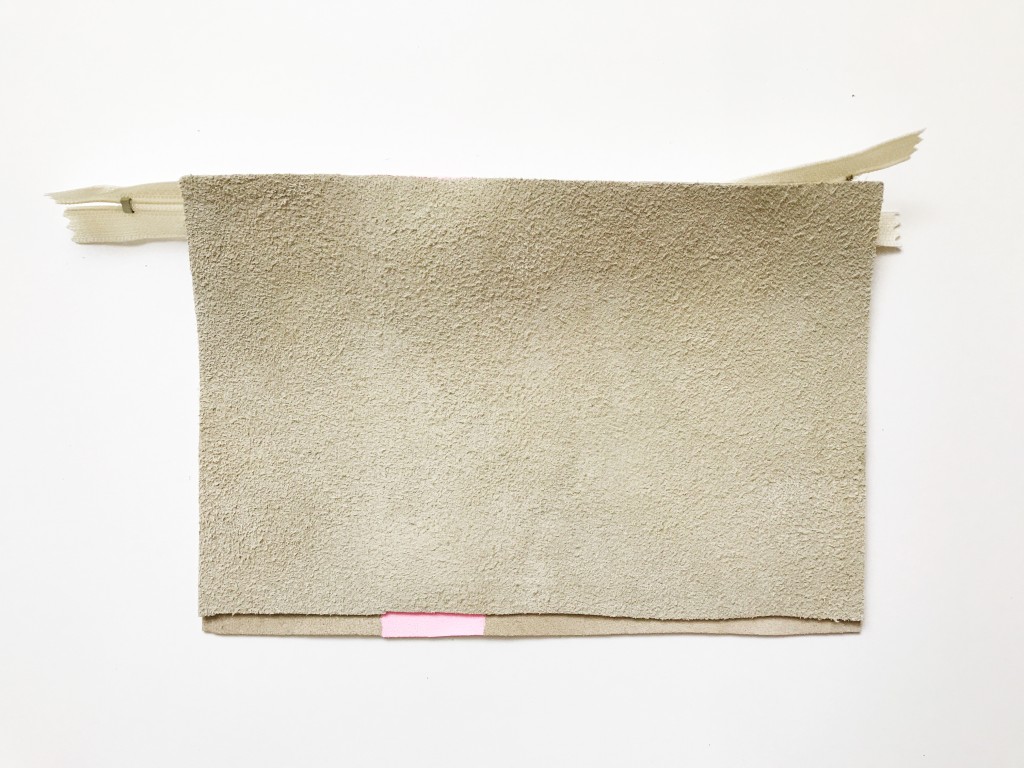
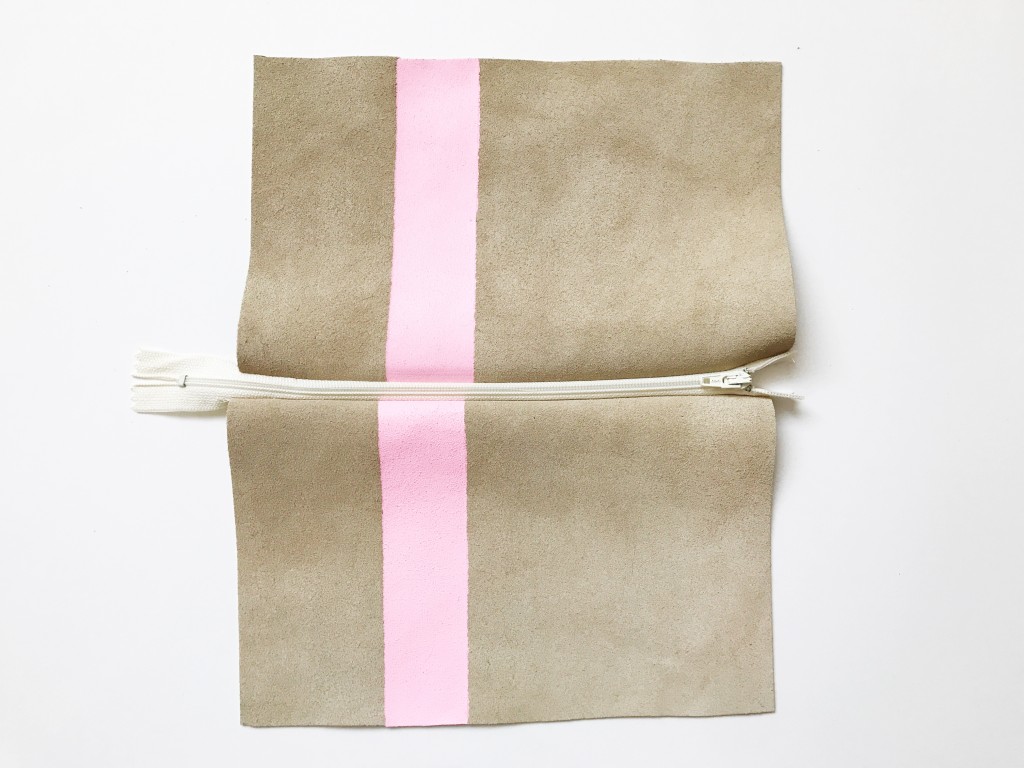
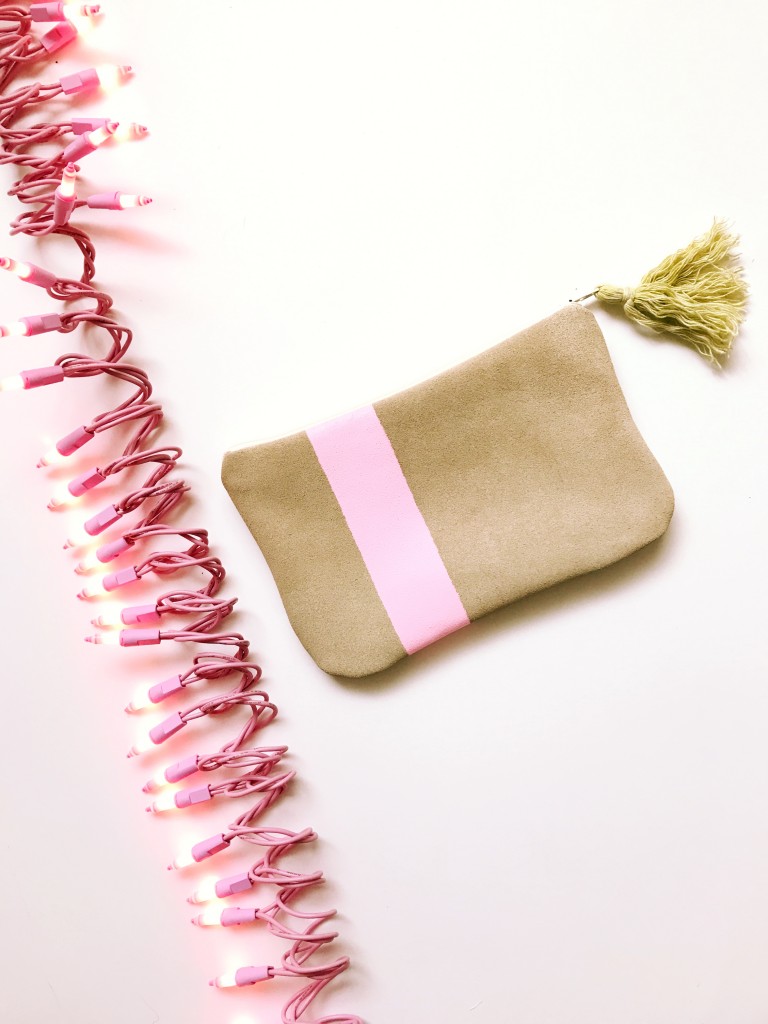
1. Cut your leather rectangular piece in half, so that each piece is 8 1/2″ x 5 1/2″. Tape off the portion of the clutch you would like to give a bright, neon stripe. I did ours about 2″ in from the edge, and make sure you paint the opposite side of the second leather piece, so that when you put the right sides together, the stripe ends up lining up.

Paint your stripe and allow to dry completely. I did 3 coats to get a nice bright pink. In black light, the pink glows!

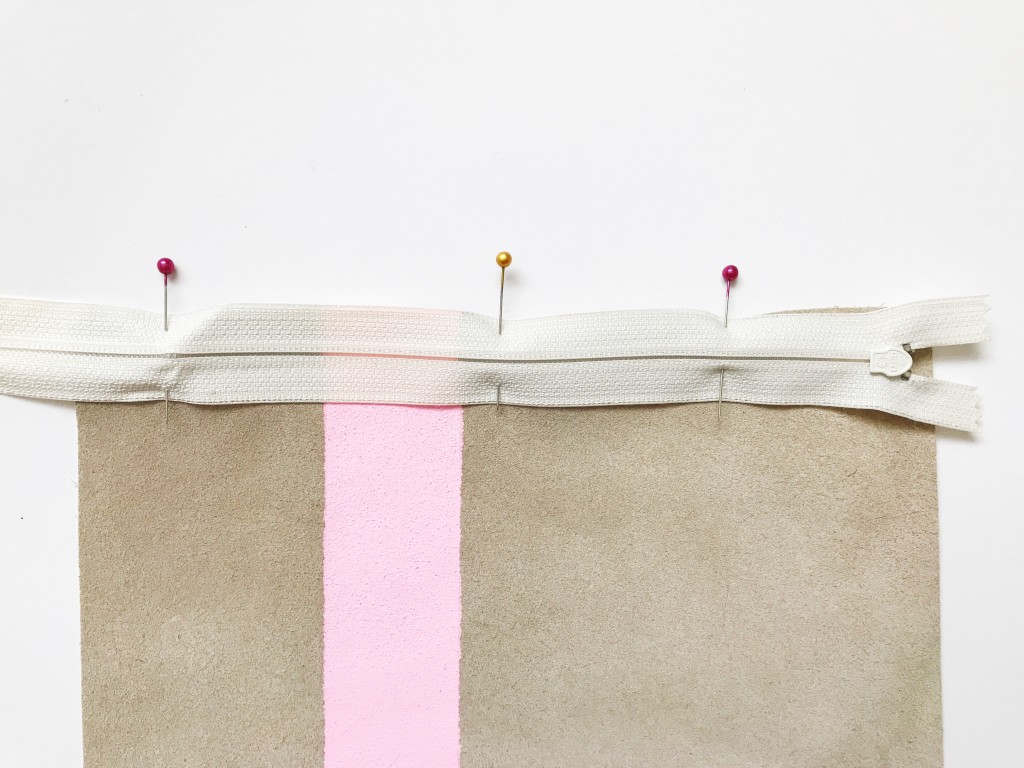
2. With the zipper teeth down on the right side of one of leather pieces, line up your zipper, pin in place. Sew along the edge of the zipper.

3. Place the second leather piece on top, with the right sides together, line up the zipper edge with the leather piece. Pin in place and sew along the entire length.

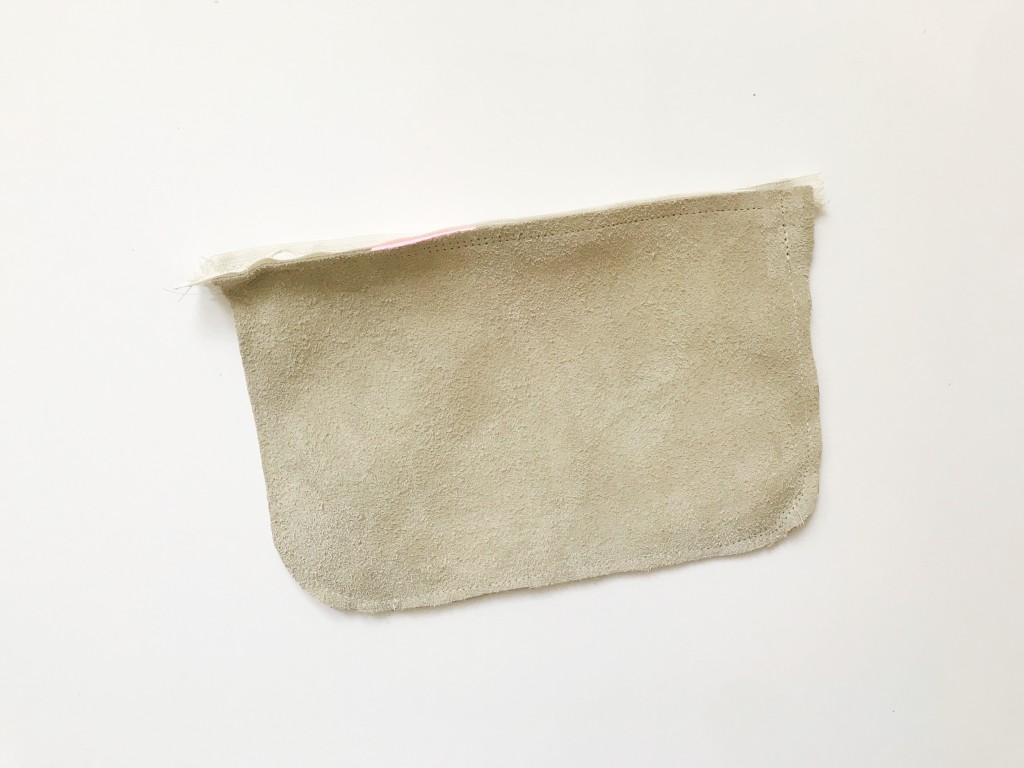
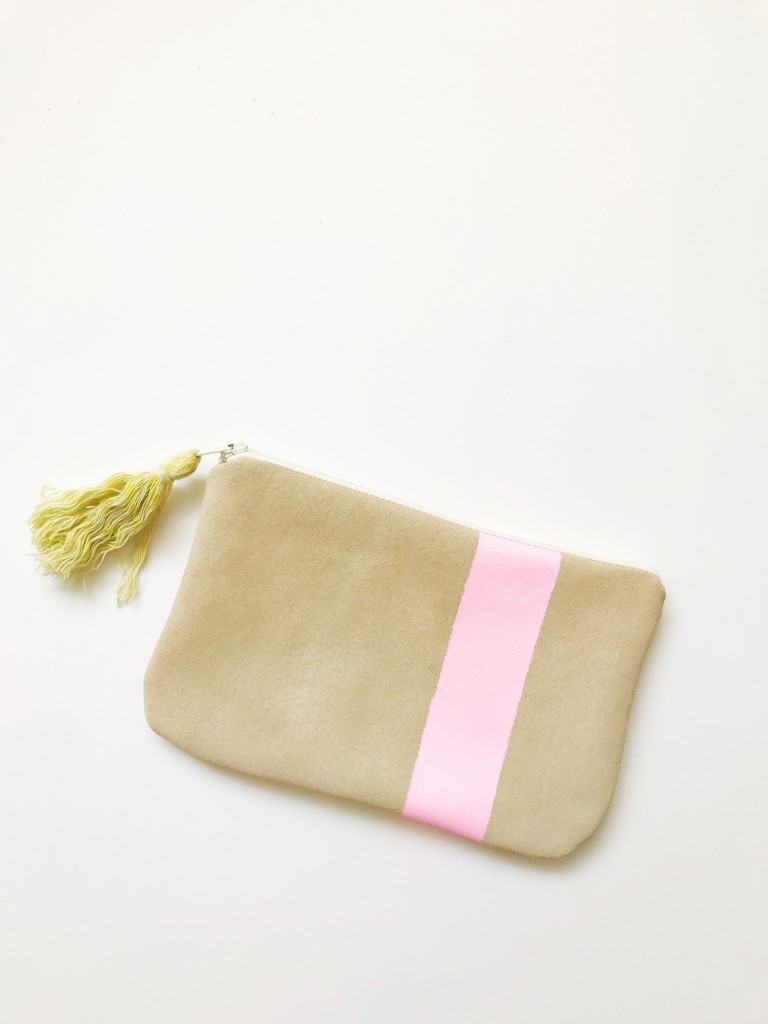
4. With the right sides of the leather pieces together (open the zipper, so that it can be turned inside out), sew along the sides and bottom of the clutch. I sewed ours with rounded corners. Once all sides have been sewn, turn right side out. Add a tassel in a fun color for a little bit more neon pop!

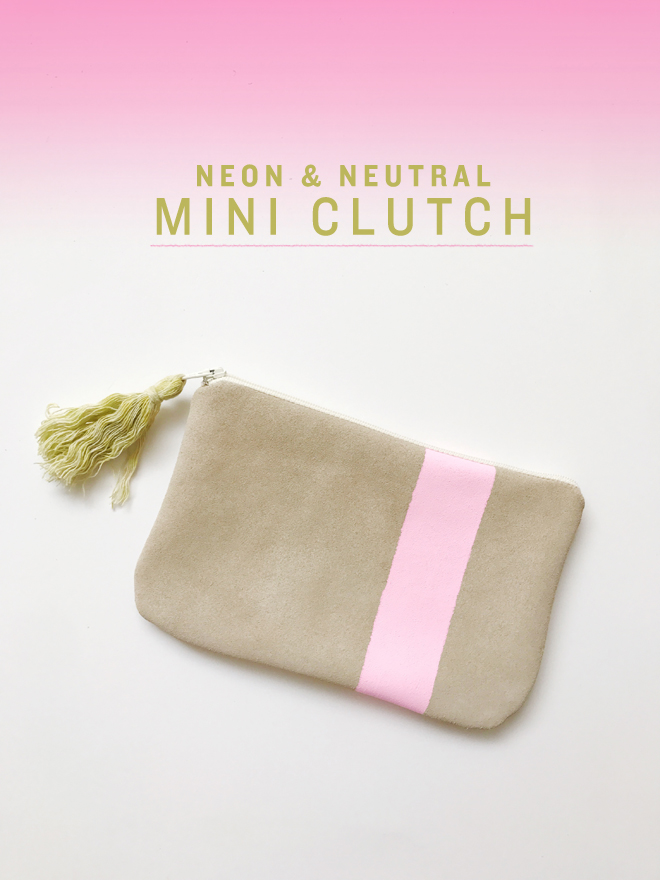
It could be a pencil pouch or a mini clutch for a night out. I haven’t decided if I’m going to give it to the girls to use (they want it!) or keep it for myself. Maybe, I’ll just have to make another.

Supplies provided as part of the Michaels’ Makers SeriesFrom neons & neutrals, to bag charms & kawaii cuteness, Michaels has everything you need to head out Back To School in the latest trends.

 Loading InLinkz ...
diy: pipe cleaner bunny pencil topper

April 3, 2017


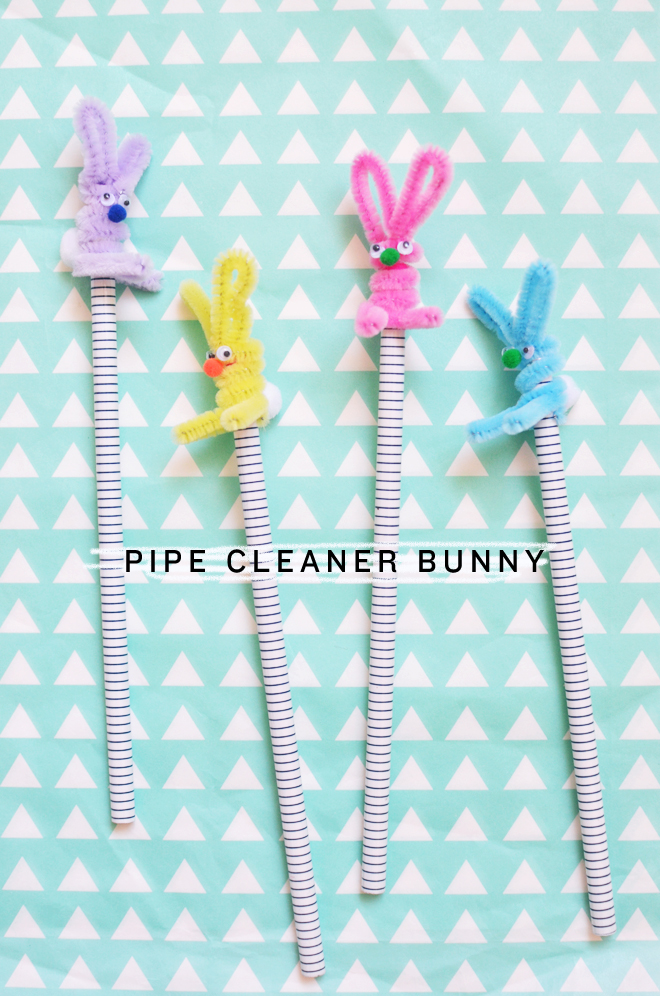
Pipe Cleaner Bunny

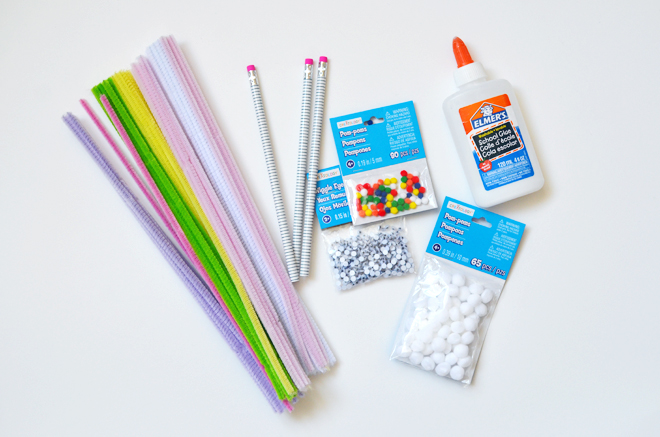
Supplies:
Pipe Cleaners
10mm pom-poms
5mm pom-poms
4 mm wiggly eyes
Glue
Pencil

Directions:
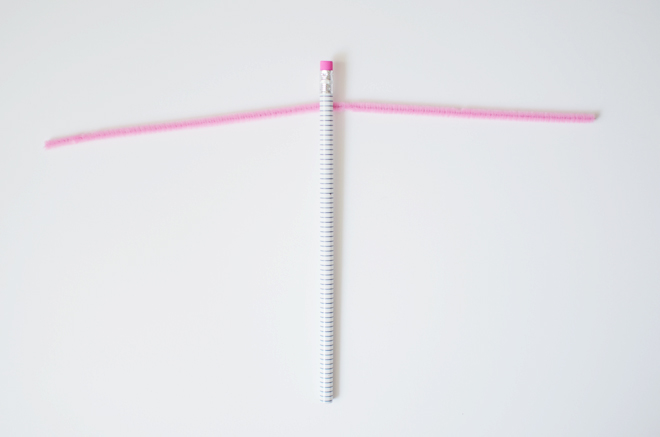
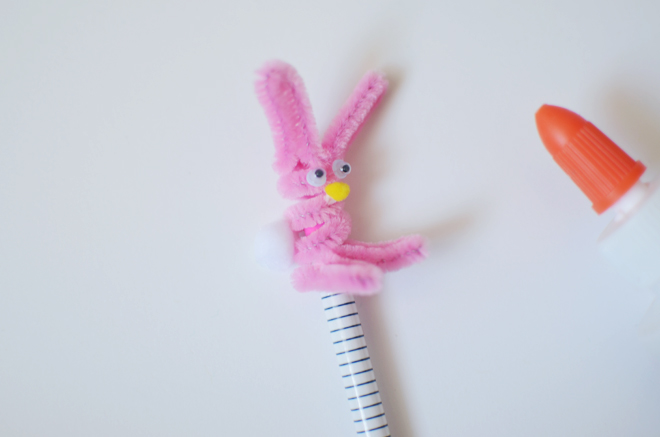
1. Place the pencil in the middle of the pipe cleaner, perpendicular to each other.

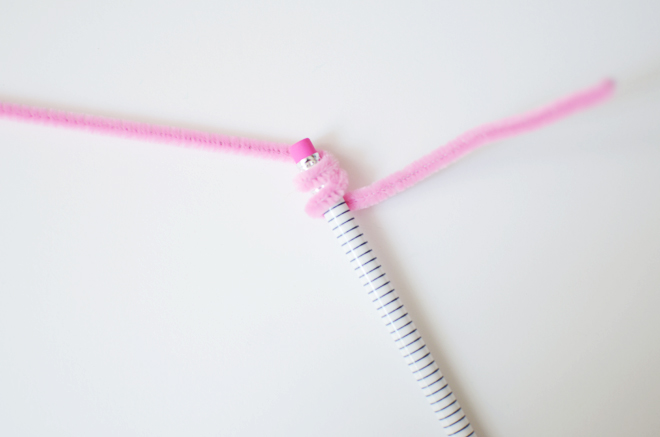
2. Wrap the stem on the right of the pencil, around the pencil two times.

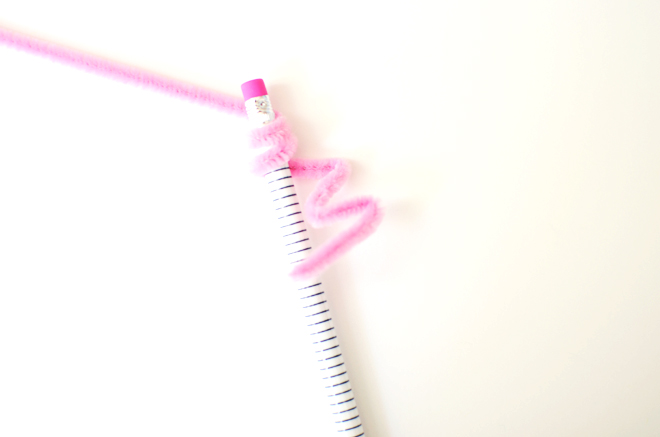
3. Create a little zig zag with the pipe cleaner to make the feet of the bunny.

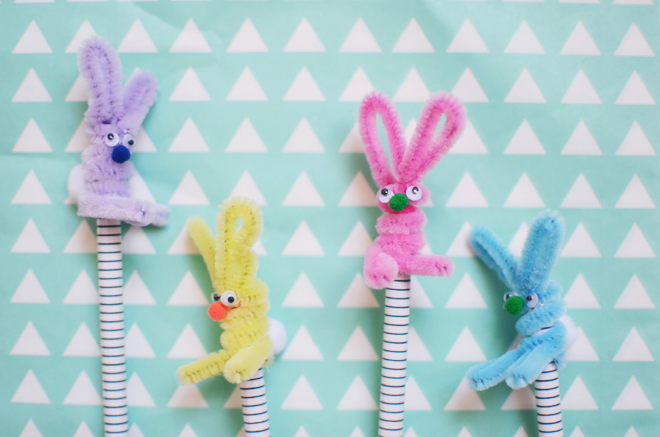
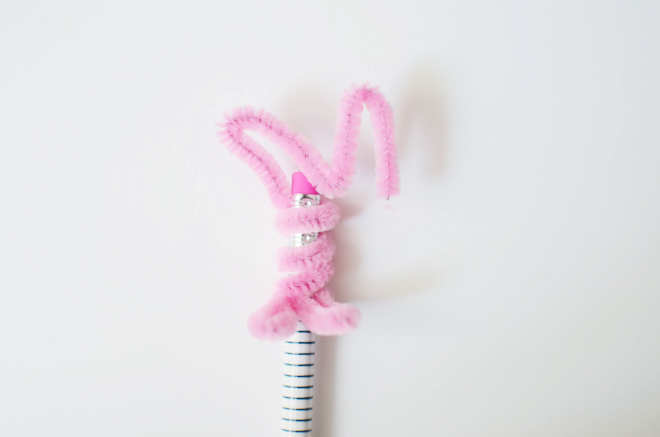
4. Wrap the pipe cleaner stem to the left around the top of the pencil almost twice around, and create a slightly larger zig zag (or M shape) with the remaining portion, and shape into the bunny’s ears.

5. Add two dabs of glue right under the ears, place the wiggly eyes on. Then, add a dad of glue between the eyes and on the back for the tail. Add on a small pom-pom for the nose and a larger pom-pom for the tail.

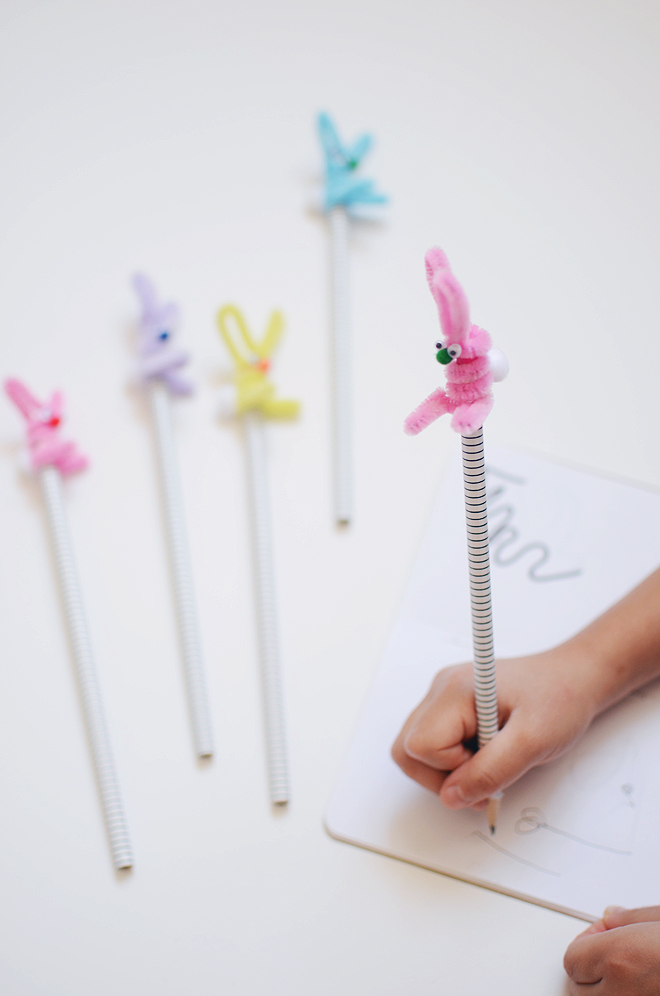
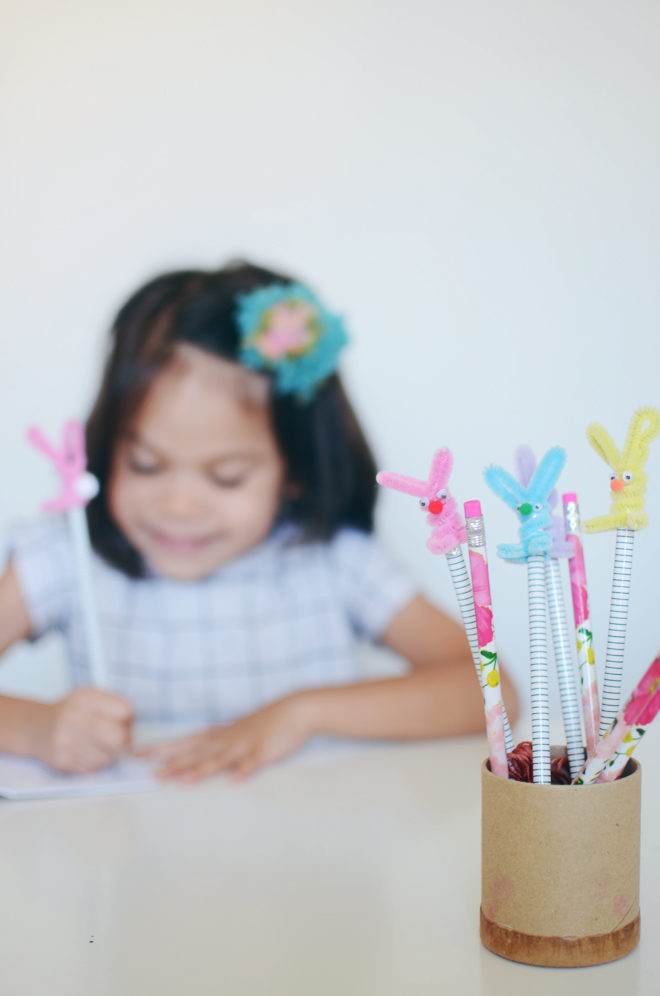
We were working on a video of True demonstrating how to make the bunny, but my camera wasn’t working right, so maybe we will have to figure out another way later this week. The girls had so much fun making lots of bunny toppers and they plan to pass them out to their friends for a little Easter gift. They currently obsessed with using pipe cleaners to make things, so I’m sure you’ll see plenty more shared in the next few weeks.

Supplies provided as part of the Michaels’ Makers Series. Make it the best Easter with Michaels! They have everything from eggs & baskets, to bunney décor and more!

 Loading InLinkz ...
Save


huzzah!

July 25, 2015


Nice to see you again Golden Gate. #goldengatebridge #michaelsmakersThis week’s learned, links, and thankfulness…

Thankful for a restful month with the two girls. It is definitely much easier to take care of two than four, but I’m ready for the crazy to ensue.

I’m thankful for friends who extend grace and gospel to me when my heart desperately needs it (which is everyday).

I want an occasion to make a pretty cake like this.

We got this hanging light installed in our room. It was actually in the big girls’ room, but I thought it would look better in ours (and less chance of them poking a hole in it), so we got them a new light for their room.

This origami playhouse is insane. I want to make this!

Would someone please make this ferrero rocher mousse cake for me?

I have a Madewell gift card that I have been hoarding and I’m thinking about getting these flares.

We have 3 weeks of vacation left, and I’m not quite ready to get back into the swing of school things. I’m ready for more adventures before we get our nose back in the books. I hope the next 3 weeks pass ever so slowly!

If you follow me on instagram (@cakiesblog), you know I’m in San Francisco with Michaels for their Makers Summit. Later though, I’ll be making my way from San Francisco to San Antonio to get my big girls and take them home with me! Yippee!


diy: woodland gnome costume

October 15, 2014


woodland gnome

Woodland Gnome Costume

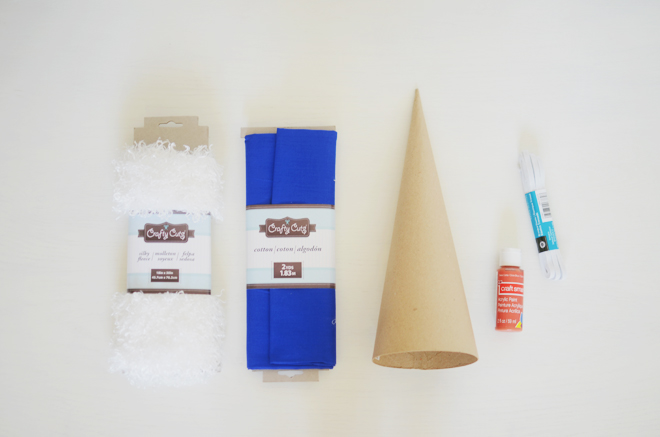
Supplies:
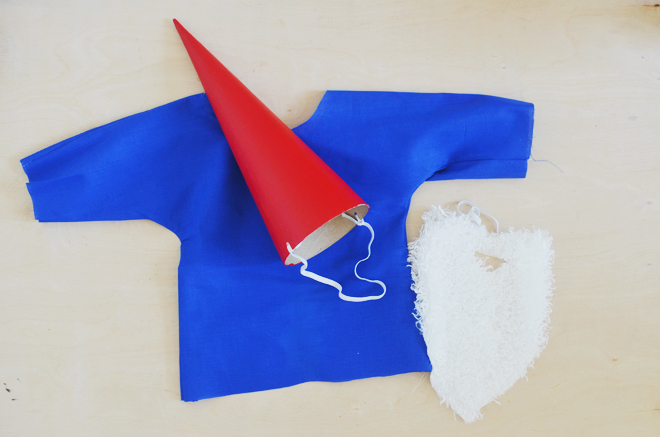
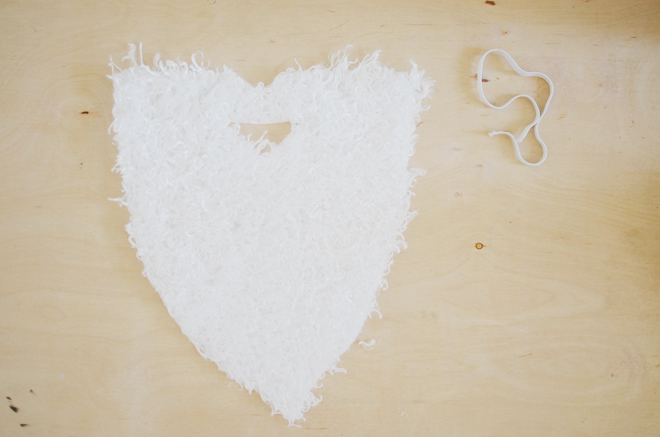
Gnome Beard Template
1/4 yard of silky fleece
1 yard of blue cotton fabric
1/4″ braided elastic
Paper mache cone
Red paint
Hole puncher
Scissors
Sewing machine
Coordinating thread

Seam allowance: 1/4″

woodland gnome

Directions:
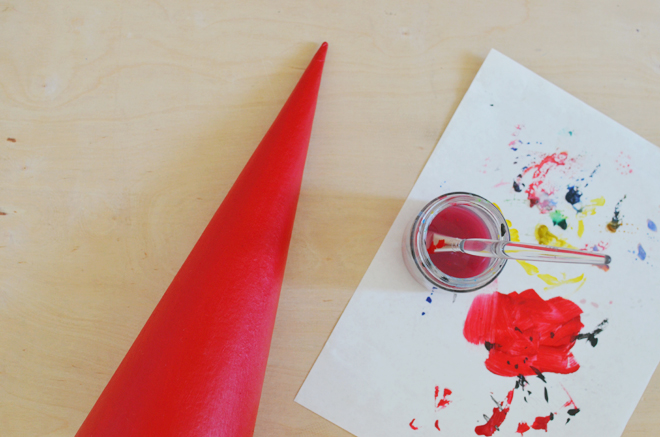
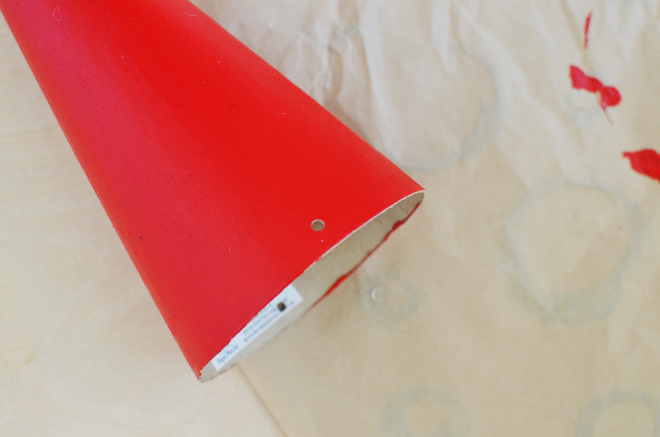
1. Paint your cone. We did two coats of red. Once it is completely dry, punch a small hole on one side of the cone for the elastic, and then another hole directly across for the other elastic end. Cut the elastic to a length that would be appropriate for your child’s head (or whoever is going to be wearing it), insert each end through the hole, and knot to secure.

woodland gnomewoodland gnome

2. Using the Gnome Beard Template, cut out the beard from the silky fleece fabric. After it is cut, shake off the beard to rid of any excess fleece fibers. Cut the elastic to a length that would be appropriate to be worn on top of the ears and around the back of the head. For my child, 9″ was a sufficient length for the elastic to be snugly worn around. Sew each end of the elastic in its place (see template for placement).

woodland gnome

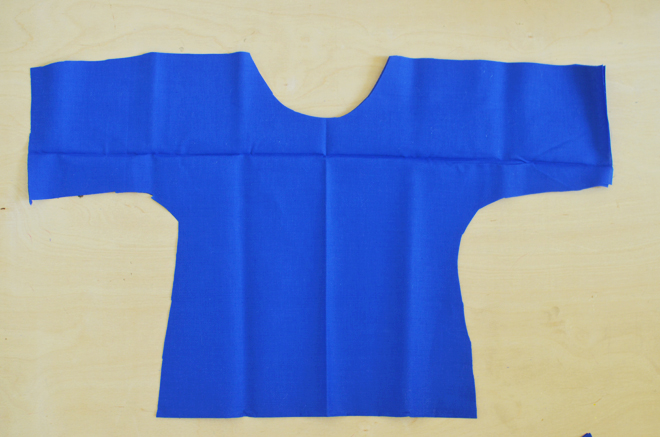
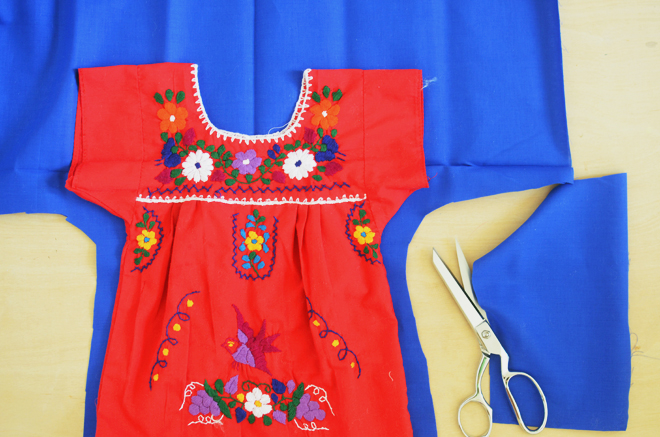
3. Using a loose shirt or dress as a guide, add an extra 1″ for the seam allowance, and cut out your gnome top in a kimono-like shape. With the right sides together, sew along the shoulders and down the sides of the shirt, turn right side out, and press. I left the neckline, bottom, and sleeve openings raw and unfinished. If unfinished edges drive you crazy, go ahead and fold those openings in 1/4″, press, fold another 1/2″, press, and then edge stitch around.

Typically, I would wash the fabric before sewing, press it, then cut out my pattern and sew it together. This time though, I skipped all of that. I was going for fast and easy!

woodland gnomewoodland gnomewoodland gnome

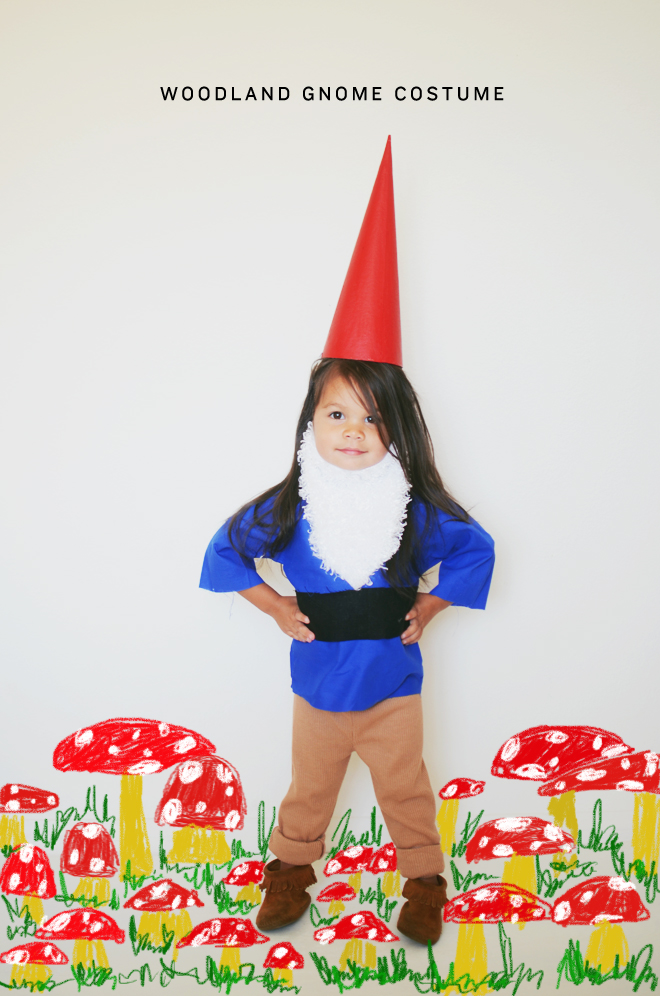
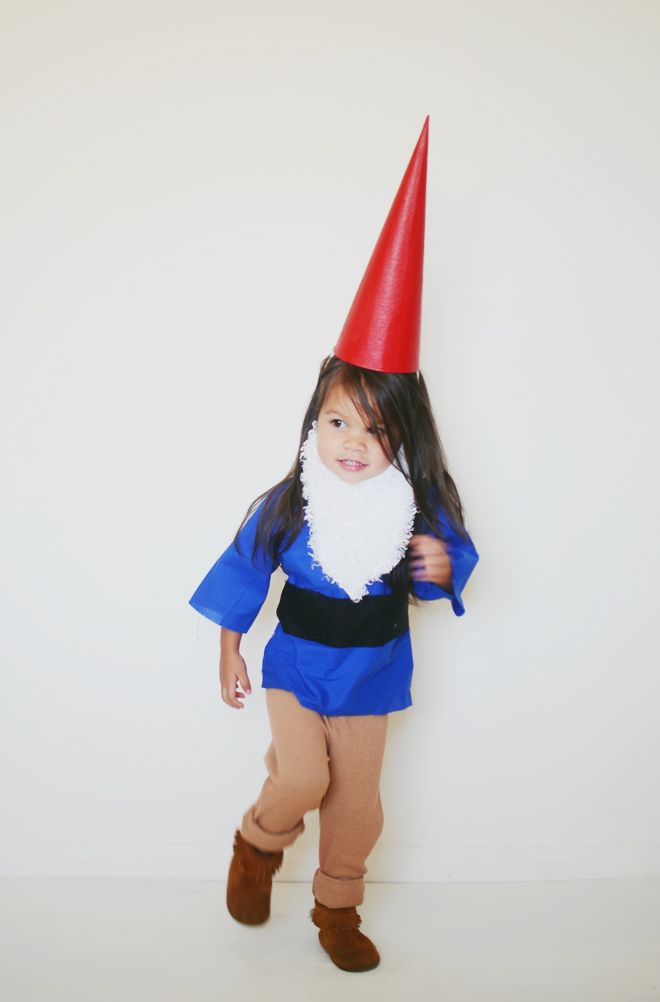
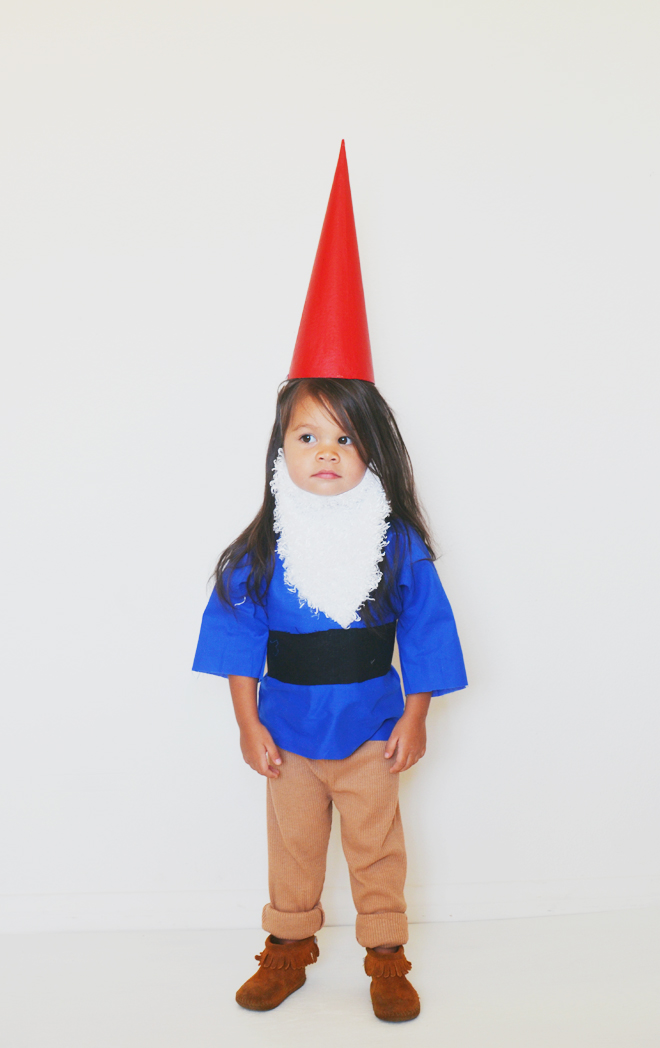
There you have it… the basics for a whimsical gnome costume. We already had some brown leggings, so we just used that for pants, I cut out a strip of black fabric to be used as a belt, and our gnome was complete. The tricky thing is getting your child to wear the beard (at least it was for me)! She refused to wear it under her nose, so I gladly settled for under her chin. If you think your child won’t want to wear it under his/her nose, don’t bother cutting out a place for their mouth, but as you can see here, you can’t even really see the hole that was cut out for it. And if I were going to do it again, I would have used black elastic instead so it would hide in her hair well.

woodland gnomewoodland gnomewoodland gnomewoodland gnome

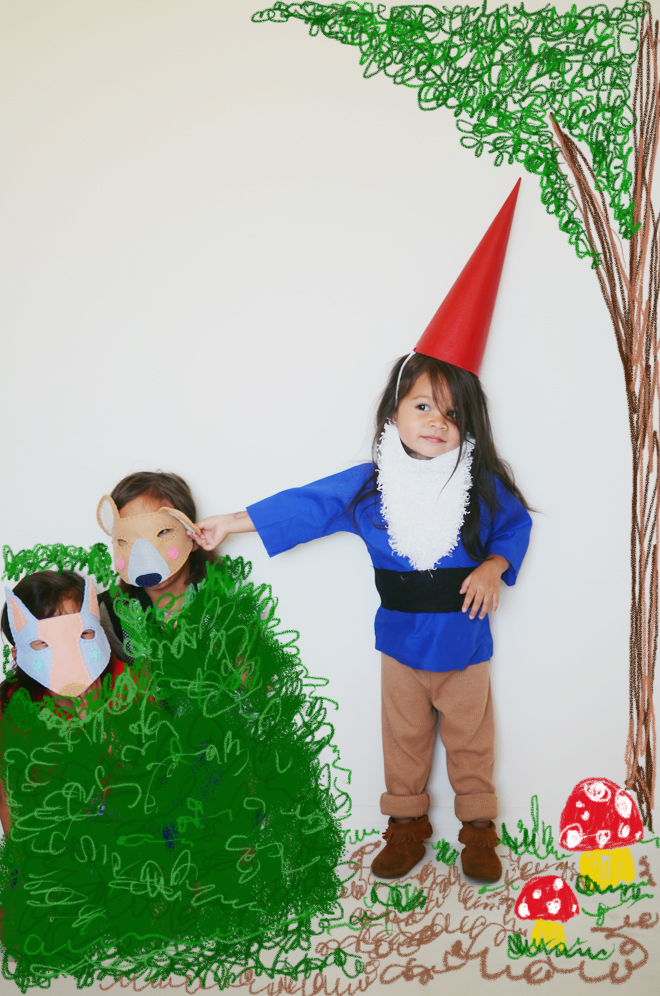
Make some woodland animal masks for the rest of the family and then you’re ready for a cohesive family costume, or you can even go for Snow White and the Seven Dwarfs. I called this a woodland gnome, but it most certainly could be a garden gnome, and you could make everyone else wear flower masks made from paper plates or something garden-y like that. In addition, I think making the gnome hats and beards would be cute for a woodland or garden party. My friend threw this woodsy one-derland party recently, and I wish I had this costume idea then to share with her.

We are not quite done making our costumes for this year, but I’m excited to share with you the story True wrote for it. As cute as Glow is as a woodland gnome, she won’t be appearing as a gnome for this year’s Halloween story. Do you have your costumes for this year figured out?

This post is part of the Michael’s Maker’s Series.
October-Challenge-Creative


CAKIES
©
Design by Blog Milk