flower pot costume

October 3, 2016


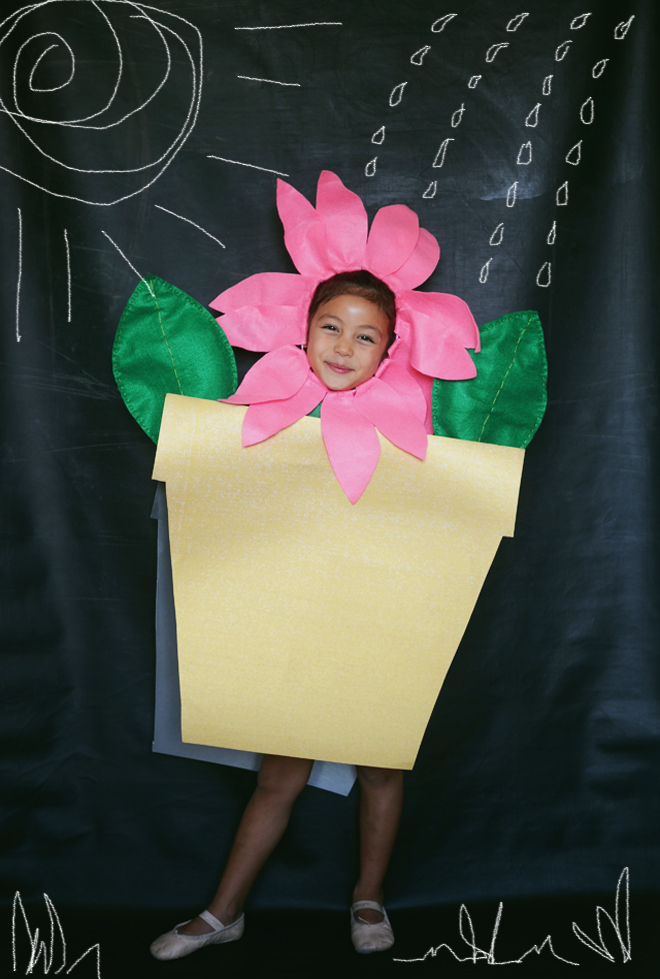
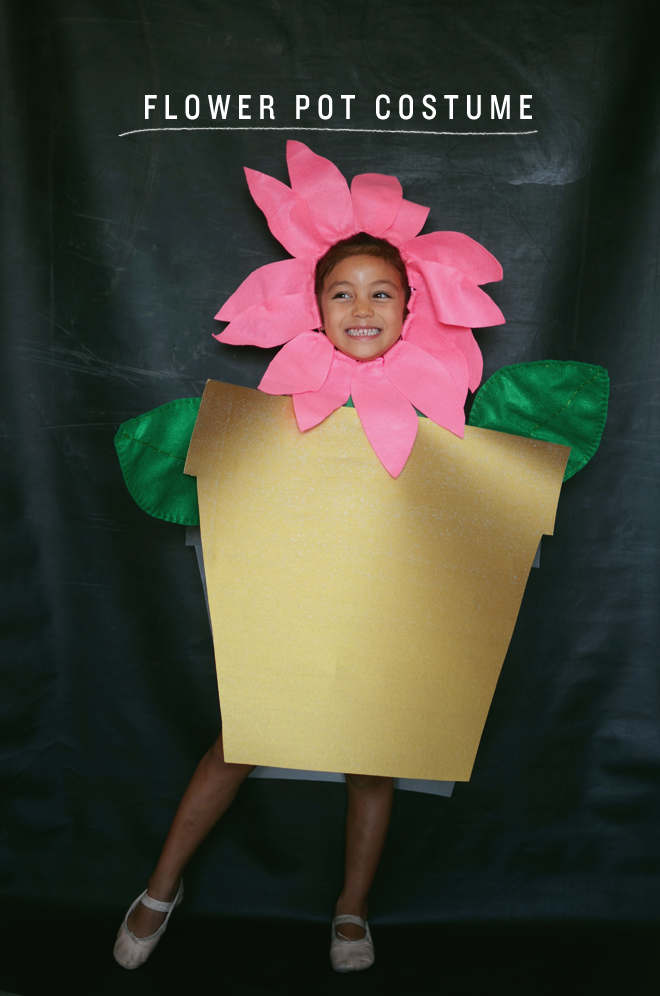
Flower Pot Costume

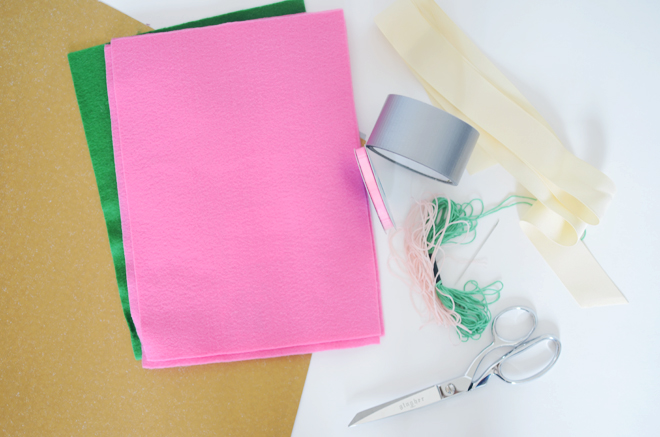
Supplies:
Petal template
Leaf template
4-5 sheets of felt for the flower petals
4 sheets of green felt for the leaves
Coordinating embroidery floss
2 poster boards, brown or gold for pot
Duct tape
Thick ribbon, for pot
1/4″ ribbon (or yarn), to string through the petals
Hand sewing needle
Scissors
Directions:
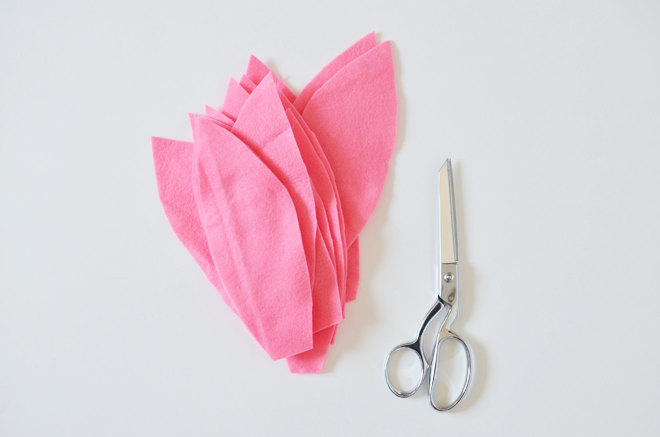
1.Cut out your flower petals from the felt. I used 14 flower petals for our headpiece, but the amount you use may differ based on the head size of the costume wearer.
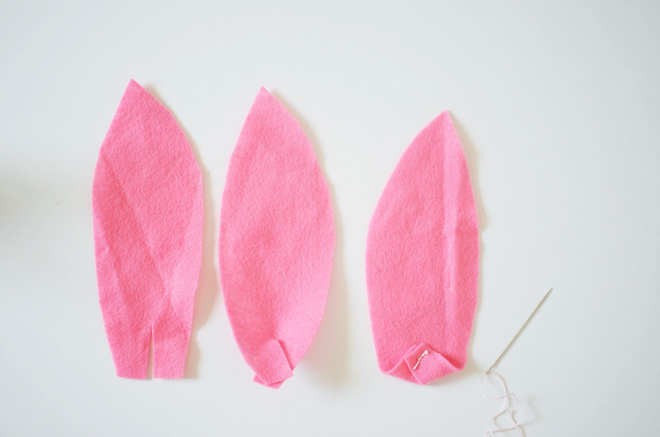
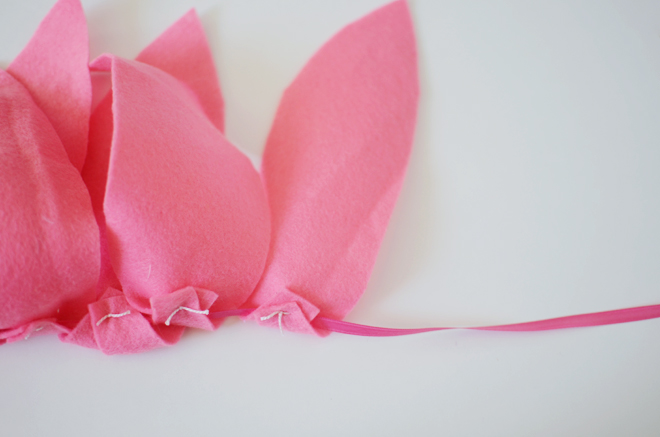
2. Cut a 1 1/2″ slit at the base of the petal, overlap the ends together, fold back, and sew it in place. Repeat with each petal piece. This creates the panel to string your ribbon through for the flower head bonnet.
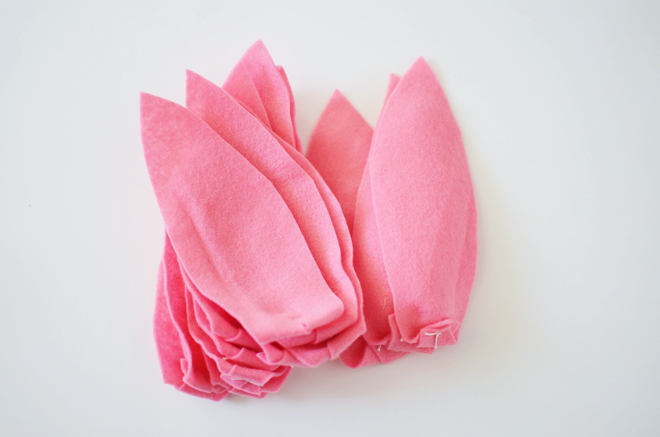
3. String your thin ribbon through each petal, add a 8″ extra on each end (so the ribbon can tie under the chin), then cut.
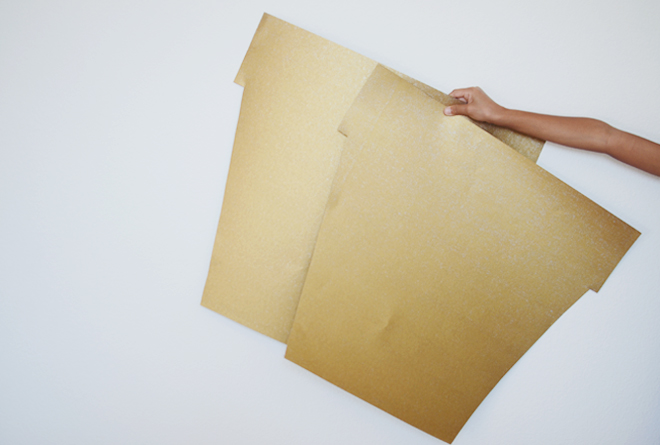
4. Cut out your pot shape from each poster board. Yours may be different based on the size you want for the costume wearer.
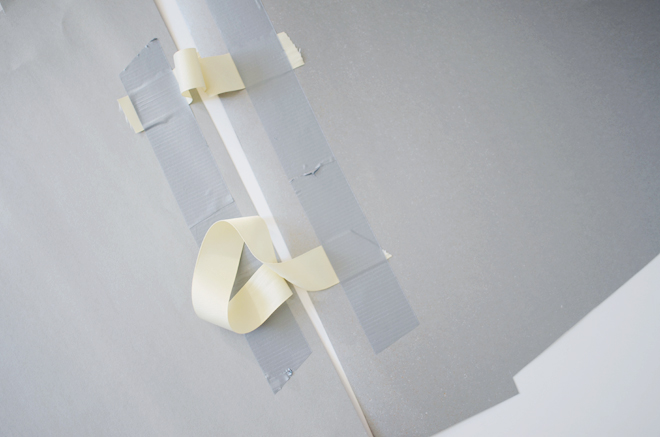
5. Cut out 2-15″ pieces of the thicker ribbon, place on desired spot on the inside of the poster board pot, about 6″ apart, and tape in place. May need to be adjusted based on the costume wearer and how low you want it to hang.
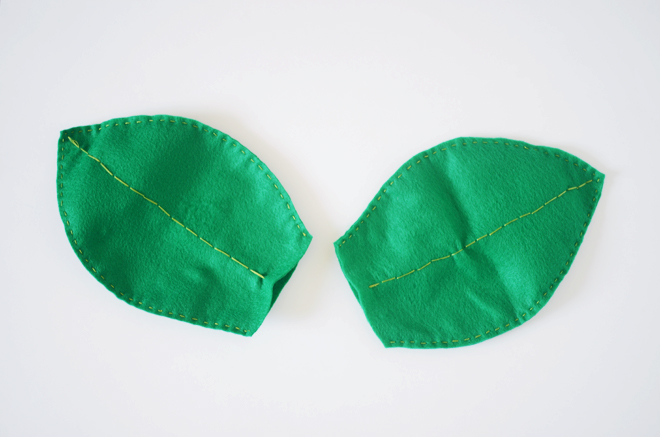
6. Cut out your leaves and sew two pieces together using a running stitch all the way around, but be sure to keep the base of the leaves open, so you can insert hands. If desired, add a decorative stitch along the middle of the leaves.
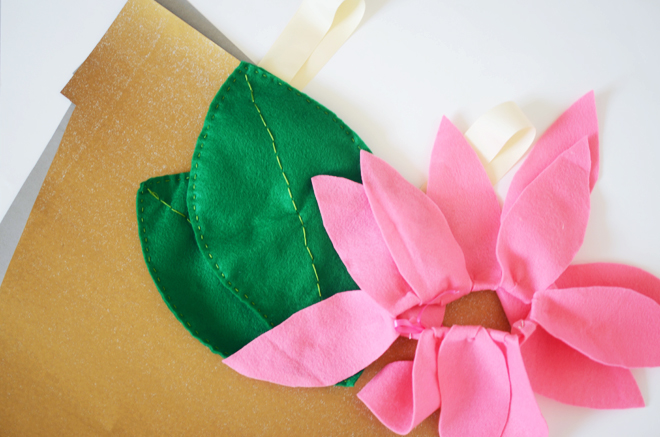
Put on the pot, tie the flower bonnet on (I used bobby pins to secure the petals in place), and put on the leave gloves. Another tip is to pull the felt petal to help it stick out a bit and not be so floppy.
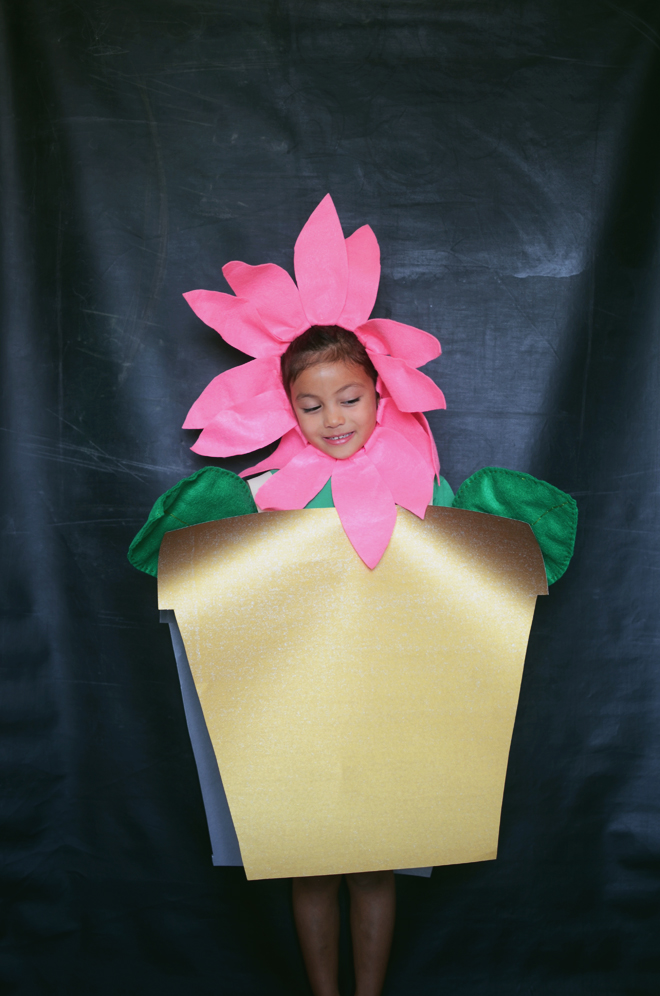
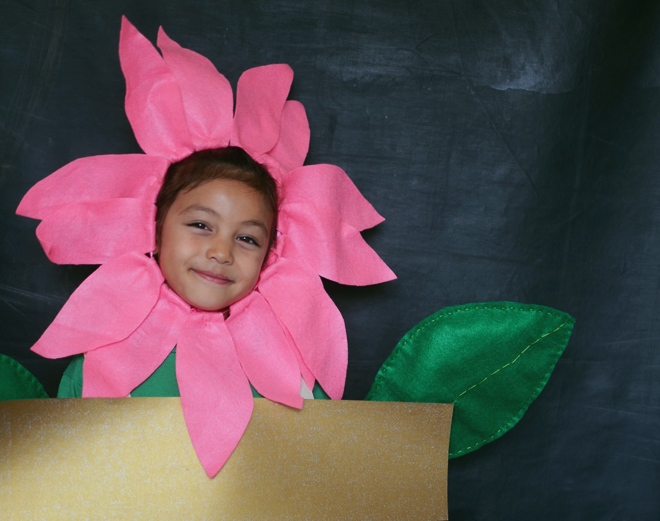
I can’t believe it’s October and the girls have been plotting our Halloween costumes for this year. We have a lot of costume crafting to do; I can’t wait to see it all come together. Have you decided what to dress up as for Halloween?

This post is part of the Michaels Makers Series. Whether you’re into spooky sights, playful pumpkins or giggling ghouls, Michaels is your Boo-It-Yourself Halloween Headquarters and has tons of ideas for DIY costumes and décor.

 Loading InLinkz ...
macrame

September 26, 2016


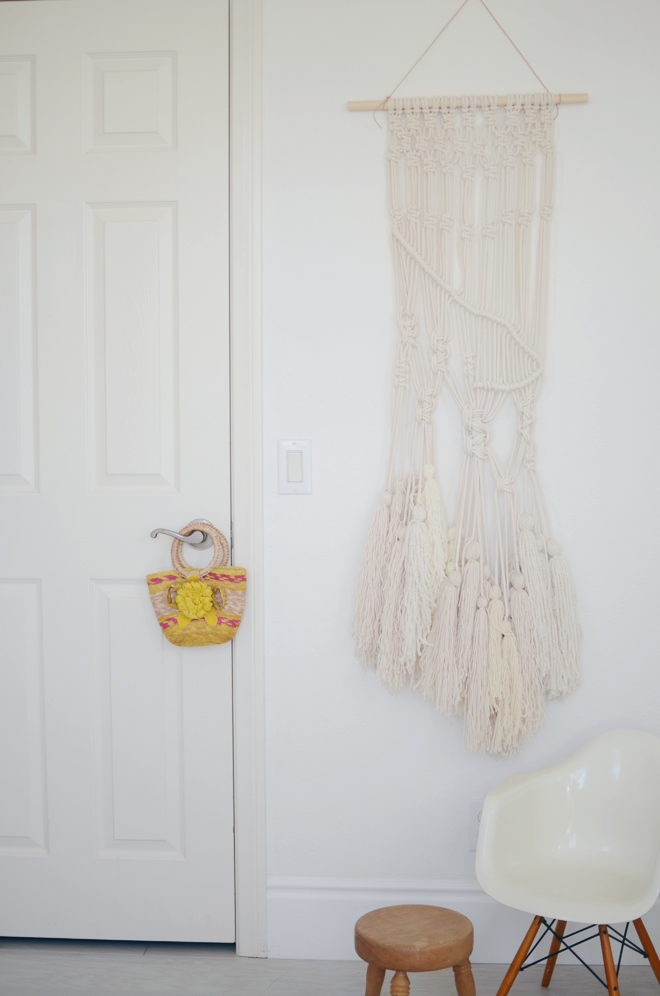
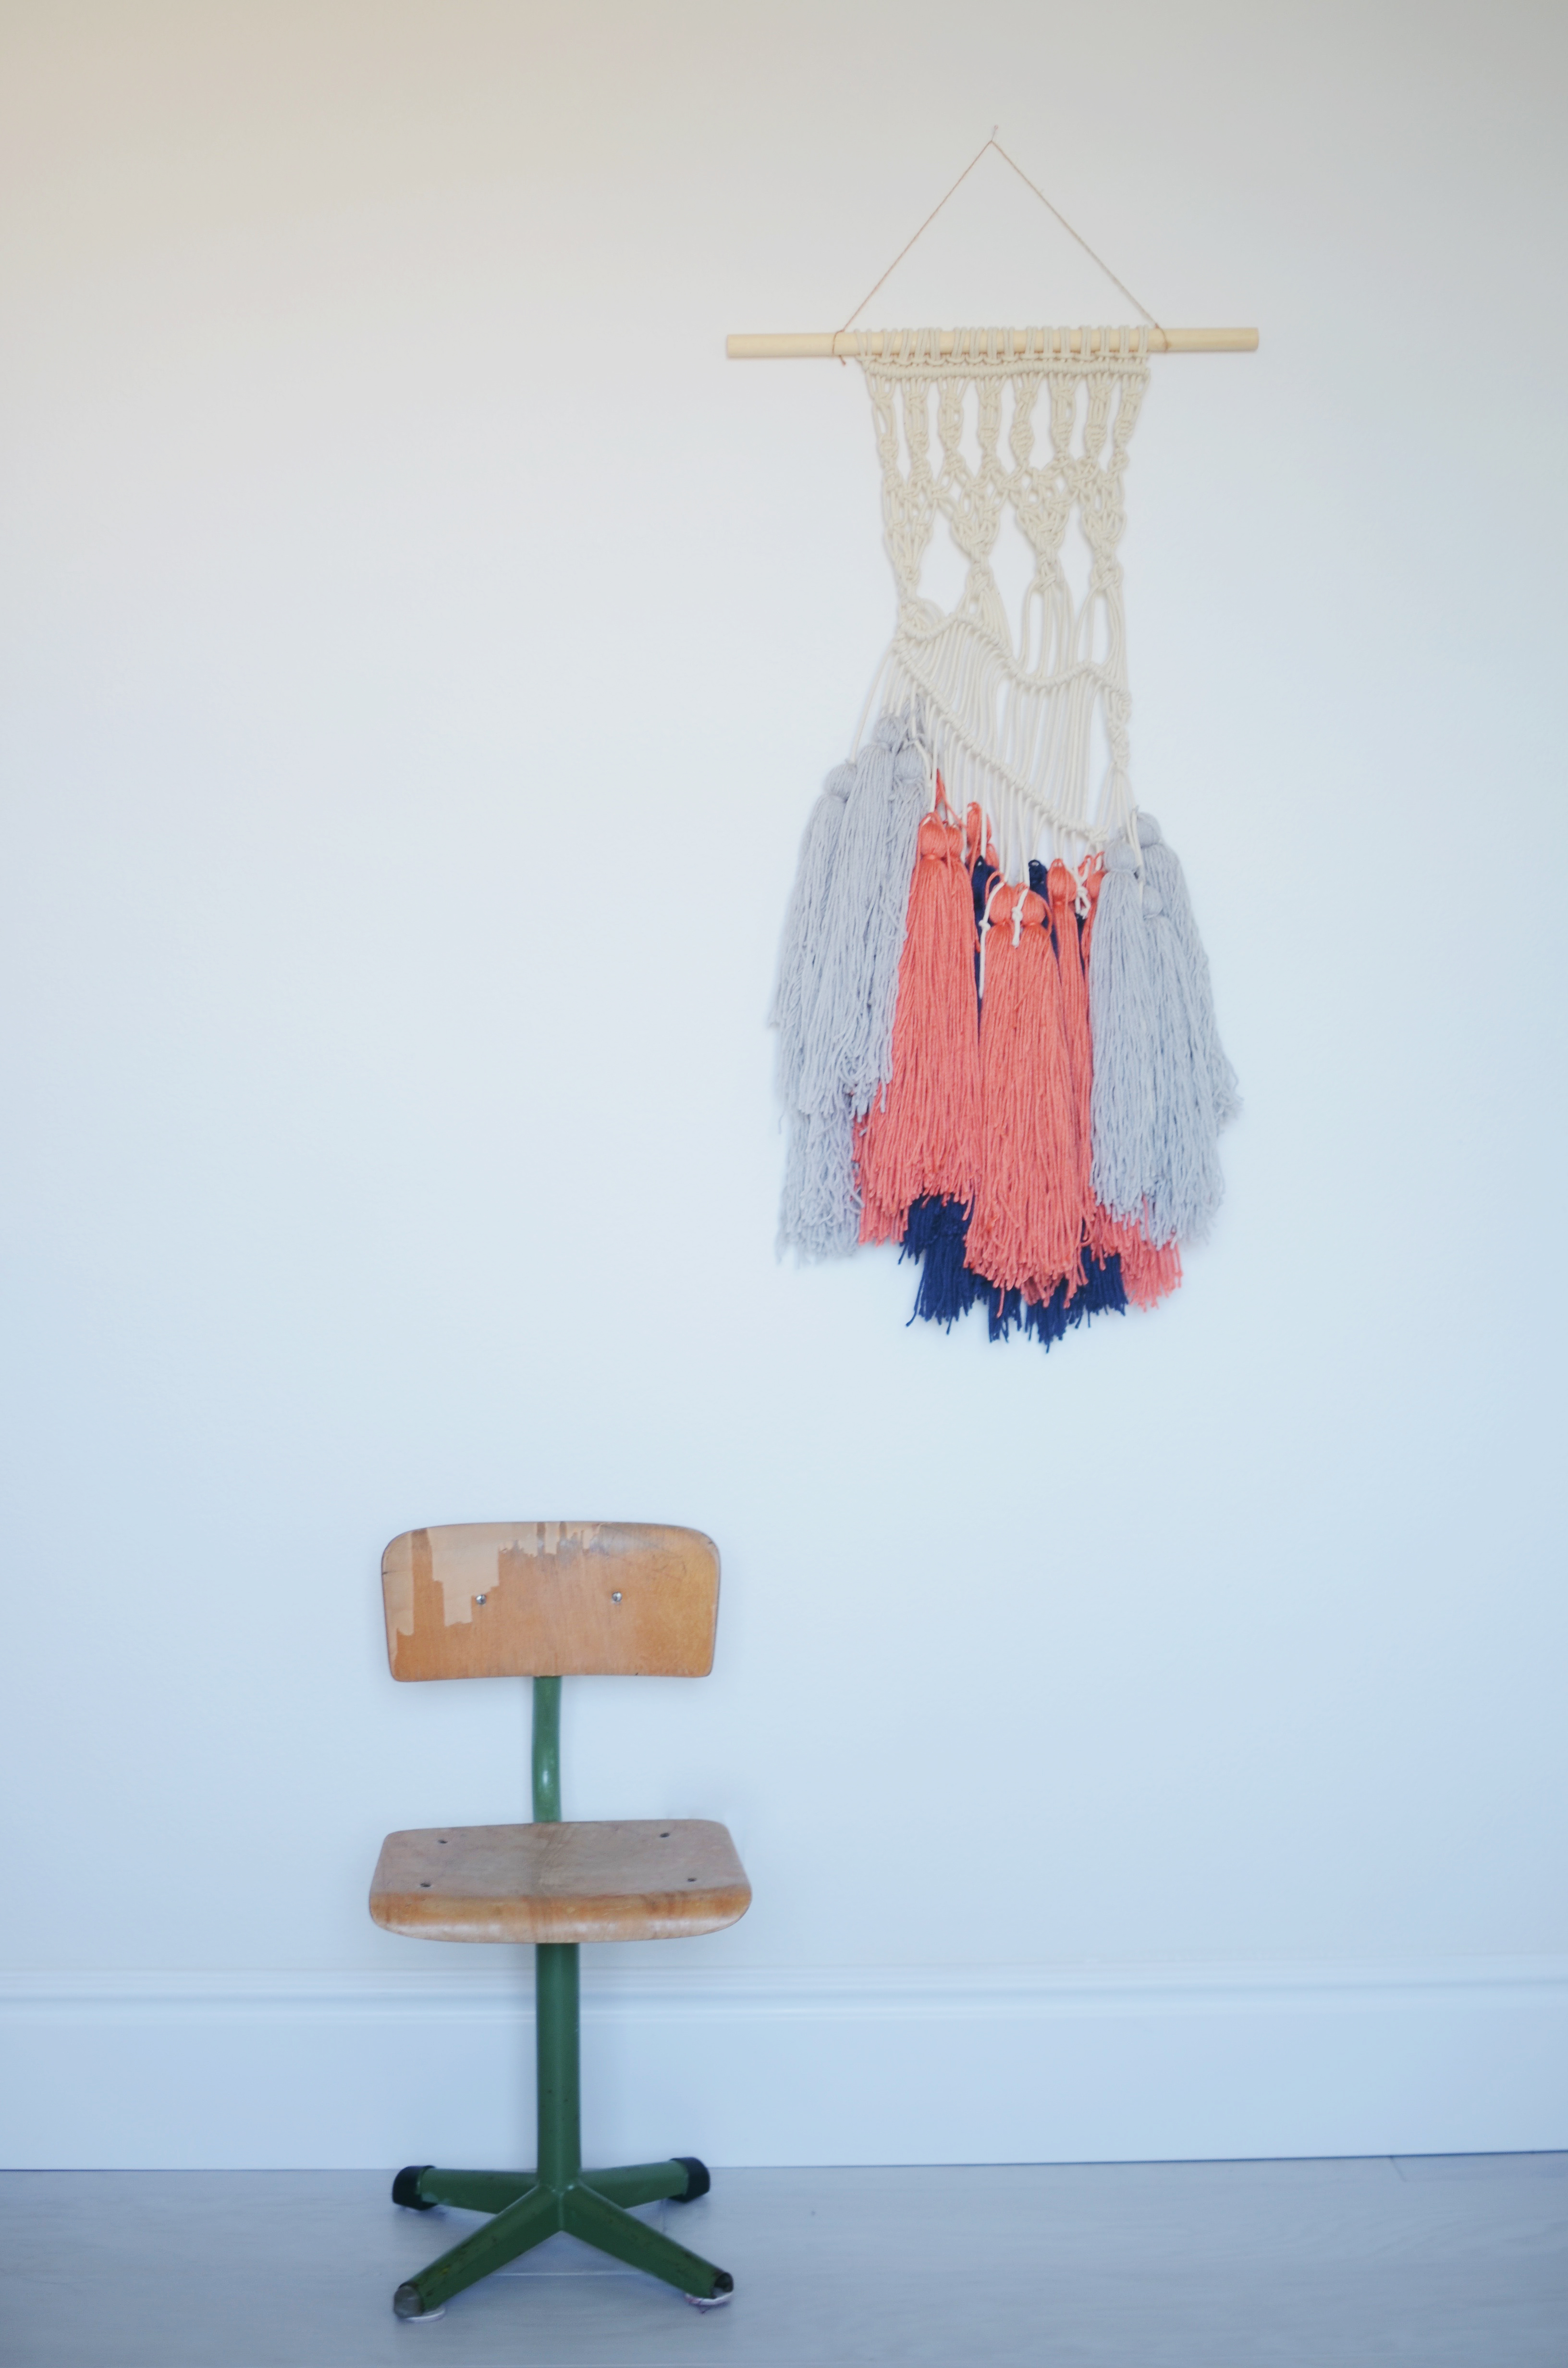
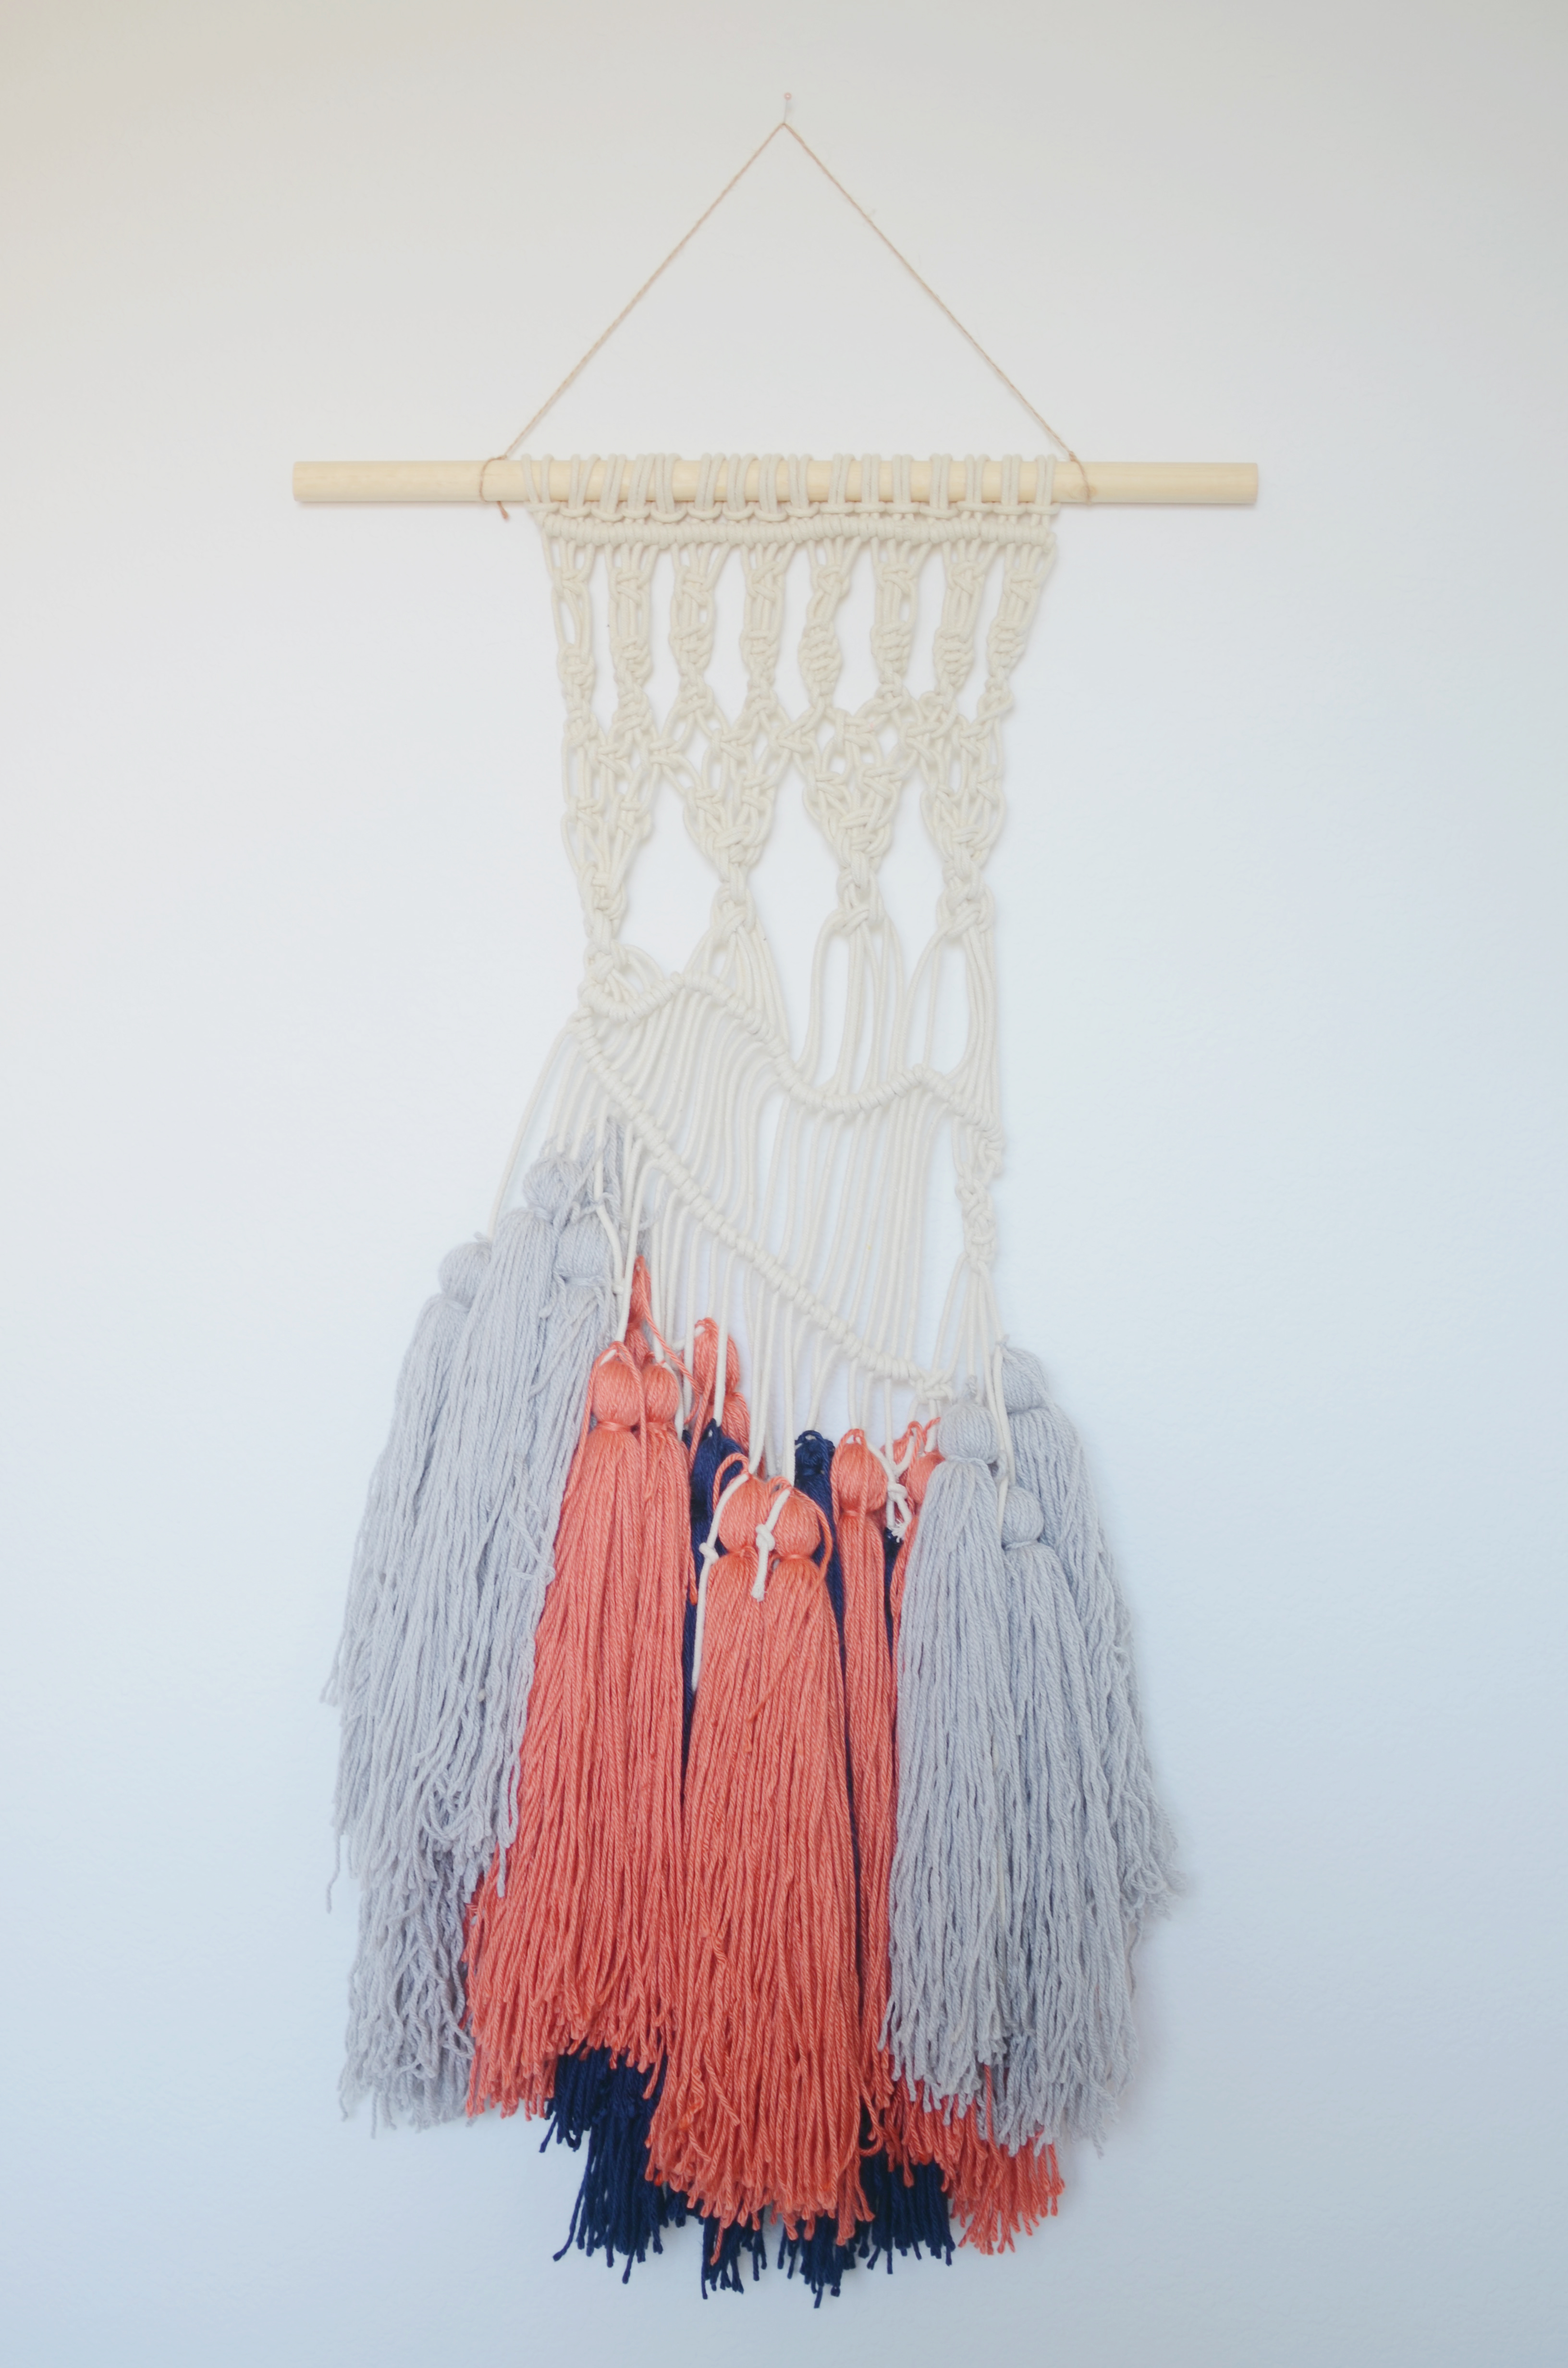
These are my two completed macrame pieces. I started the top one a few months ago when I took one of Emily Katz’s CreativeBug classes. Then, I learned again from Annabel at the Michael Makers Summit. They’re kind of hard to photograph since mine are a natural color on a white wall. I debated putting colorful tassels on the top one (it is in Soul and Glow’s room), but decided to keep it natural. I haven’t found a place in our home for the bottom one yet, so it’s been kind of floating around different rooms. For my next macrame project, I’d like to make a macrame bag or a really large wall hanging.


linen jumpsuit

September 22, 2016


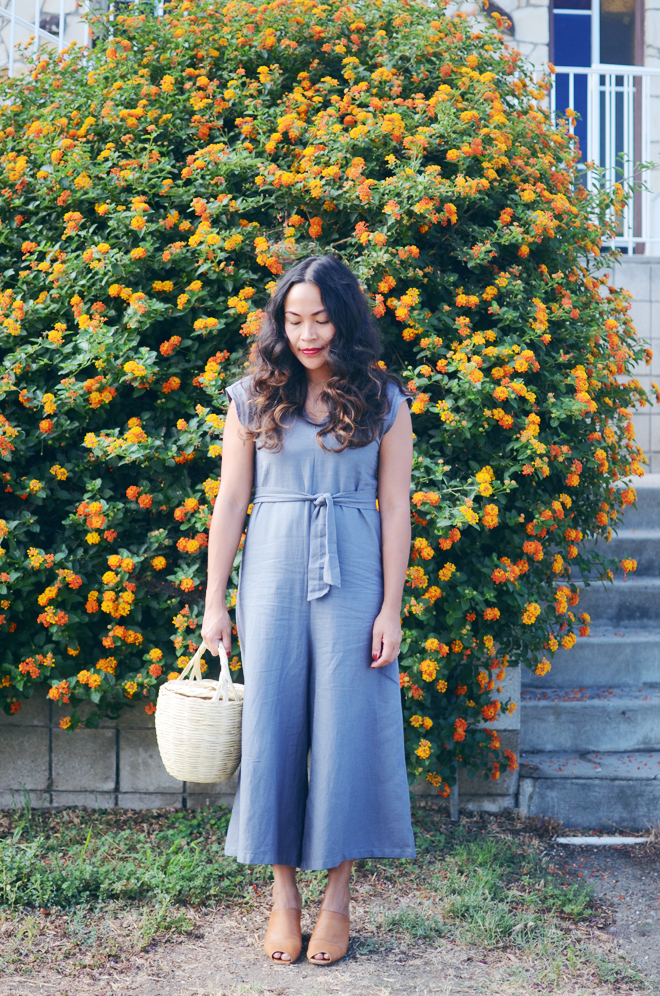
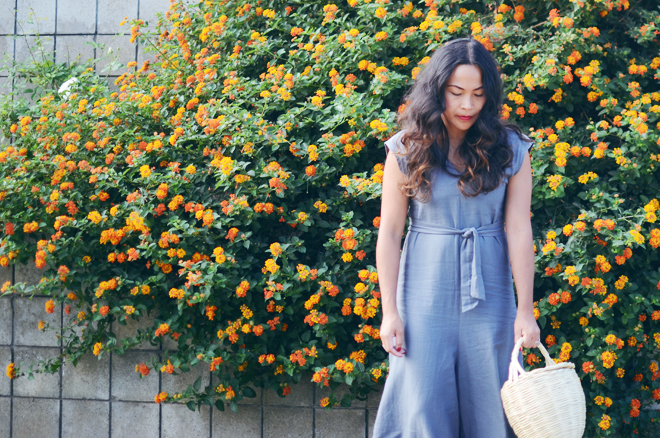
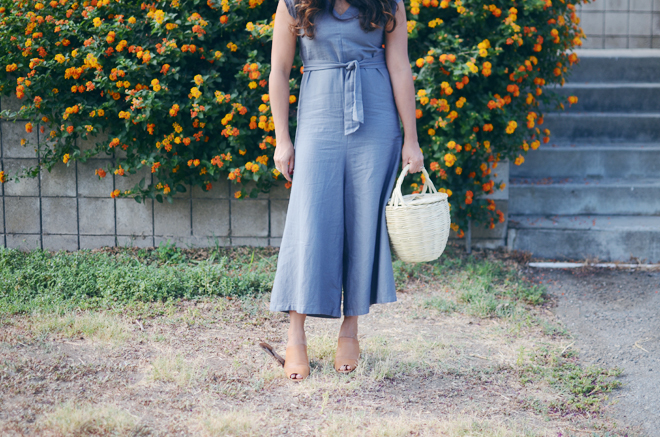
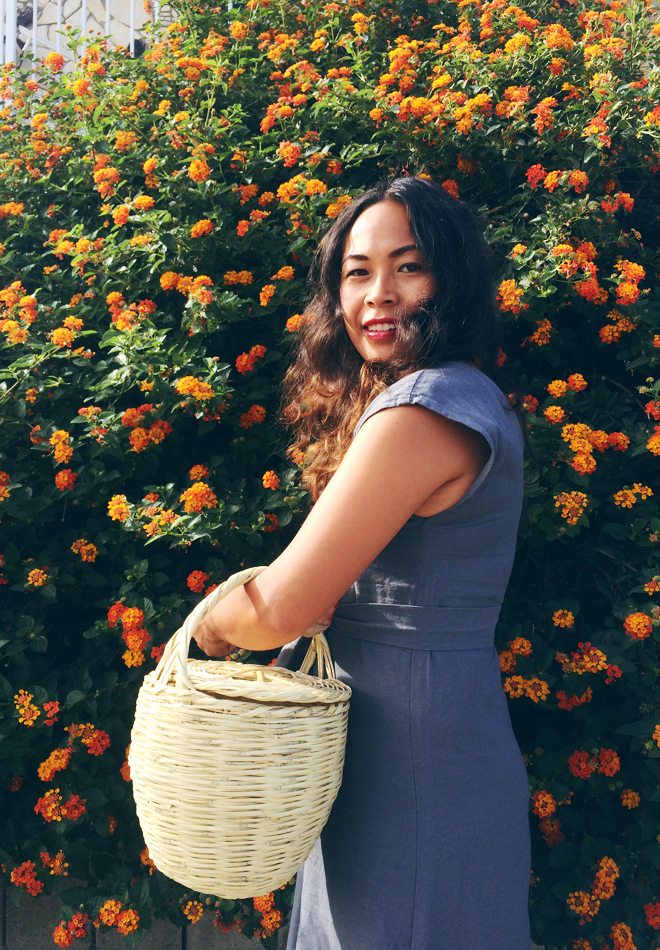
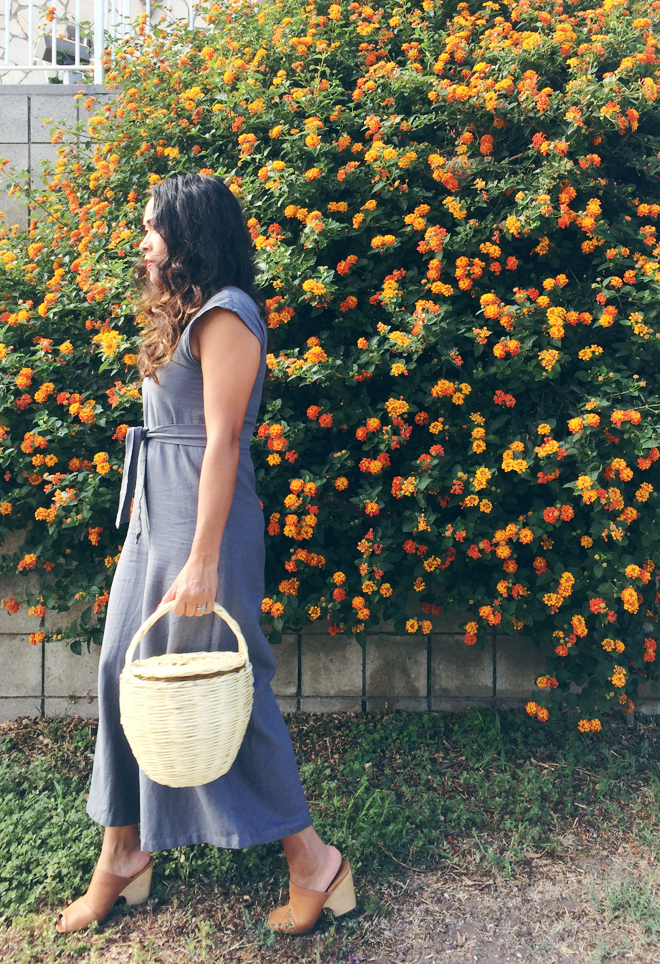
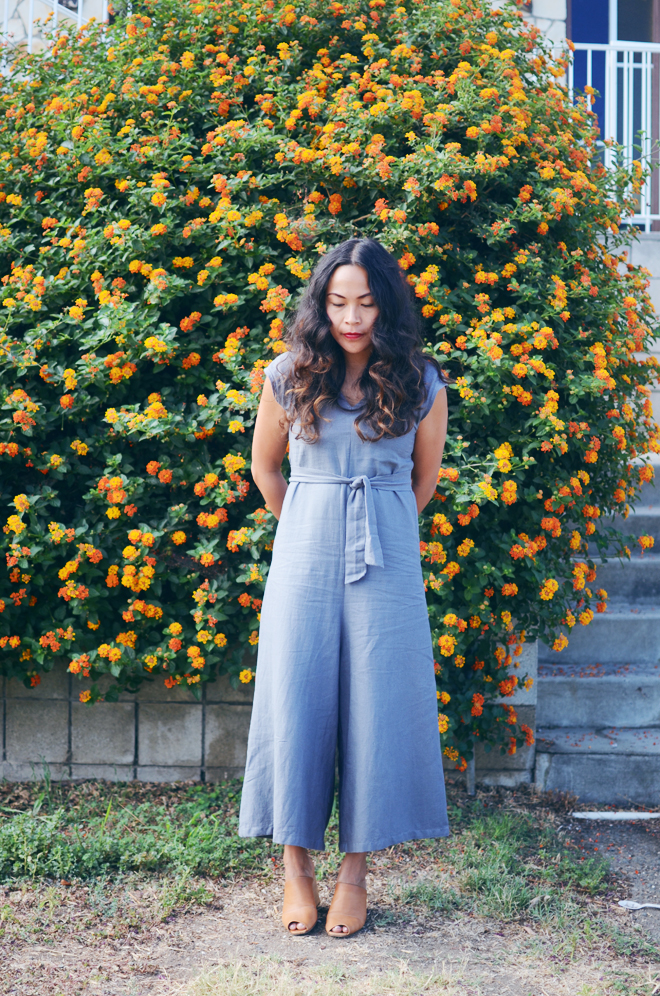
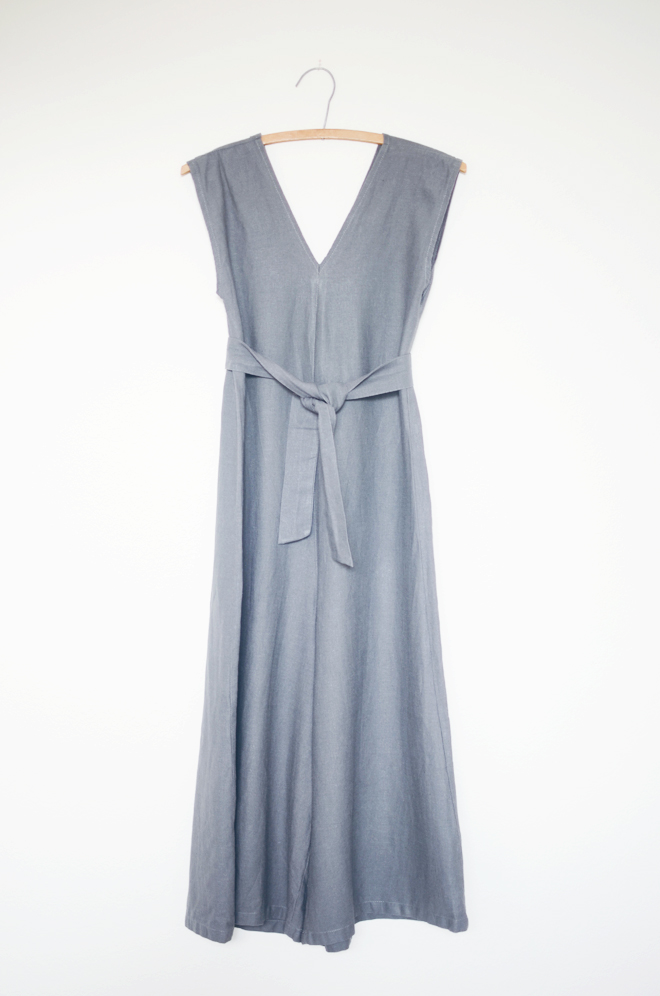
I started making this linen jumpsuit at the end of July for a wedding, but I didn’t have time to finish it until a couple weeks ago. As a result, I never wore it to the wedding like I had planned (I wore this instead), though I was able to take it with me to the Michaels Makers Summit and wore it there. This is my first go at a jumpsuit and I’d like to make another, but with a couple tweaks on the sleeves. I used 5 pieces total, including the belt, and there are no zippers or buttons. I used this vintage jumpsuit and this denim one as a pattern guide. I made it where I could wear it without the belt, when I really want that loose look, or with the belt for more waist definition. In the pictures of me wearing it, it looks more blue, but the color is closer to the picture below.

Home sewn clothes are my favorite, along with thrifted ones, but I haven’t come across much at the thrift stores lately. I’ve thought about giving away all the girls’ clothes and working with them to sew a whole new wardrobe, but that’s probably not practical right now. Maybe as they start to outgrow things, we can sew all the new things, but they have so much that still fit them. True has really taken an interest in sewing and even sewed her own bag recently without any help from me. I’m sure she’d love a mini version of this jumpsuit as she loves to try dress like me (Soul does too).

During the Makers Summit, I was talking with Annabel about ways I could actually make patterns from the clothing I make and she had some pretty good suggestions. Some of you have asked for patterns in the past, and I’m not quite sure how to make that happen yet, but I am brainstorming ideas to see what can be done (not promising anything though).

on me: jumpsuit, homesewn. mule, rachel comey (but scored mine on ebay). birkin basket, space rocket store.


recycled art

September 13, 2016


Recycled Art
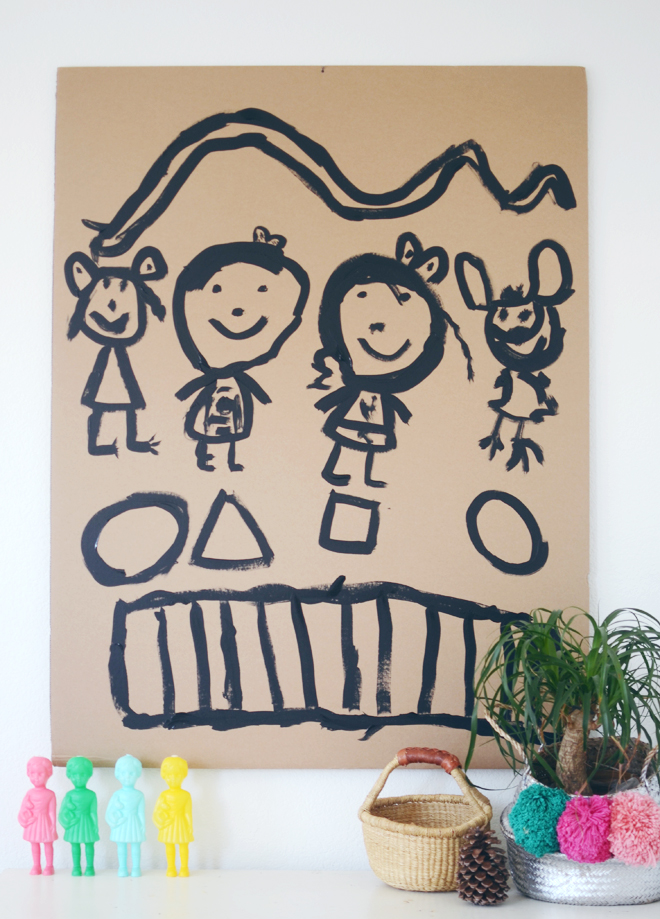
use cardboard from a shipping box as a canvas

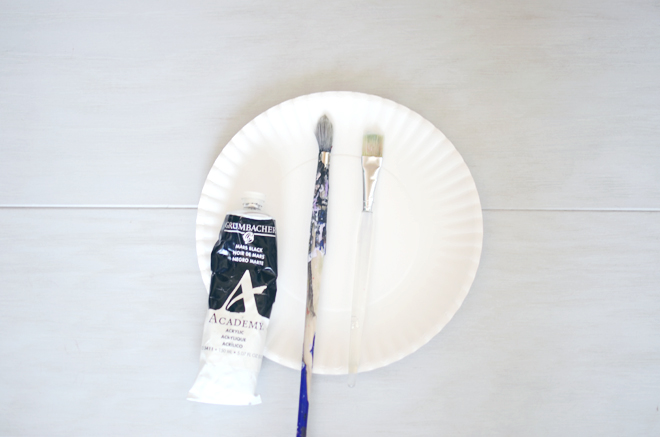
Supplies:
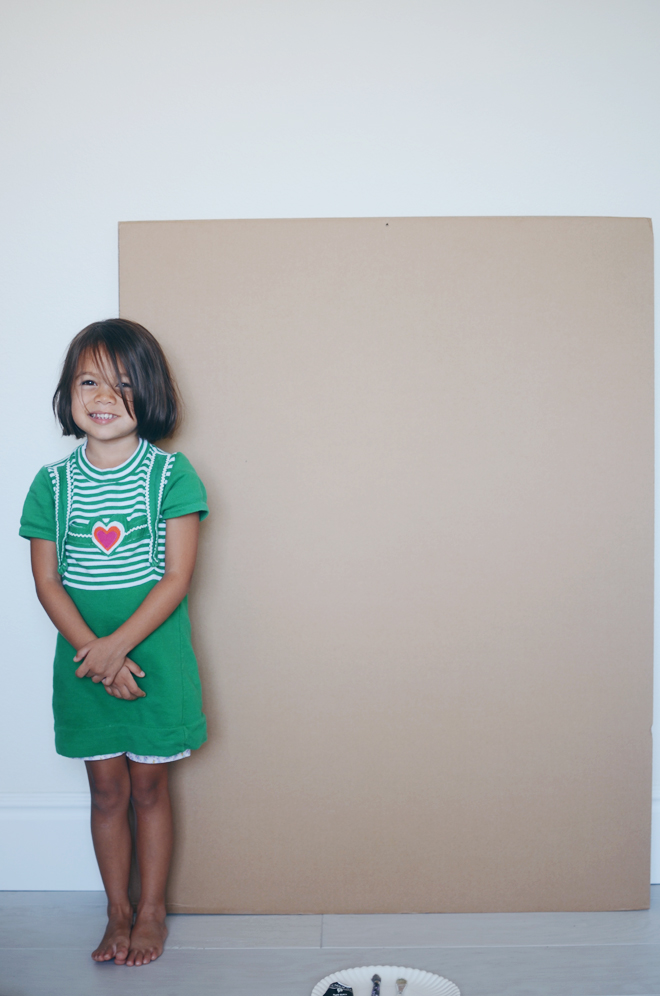
Cardboard, cut to desired size
Paintbrush
Paint

Directions:
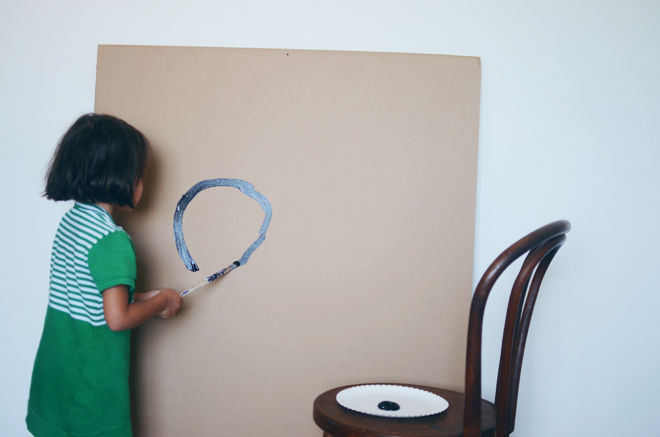
Give your child a piece of cardboard (the bigger, the better), along with a paintbrush and some paint, and have them go to town painting!

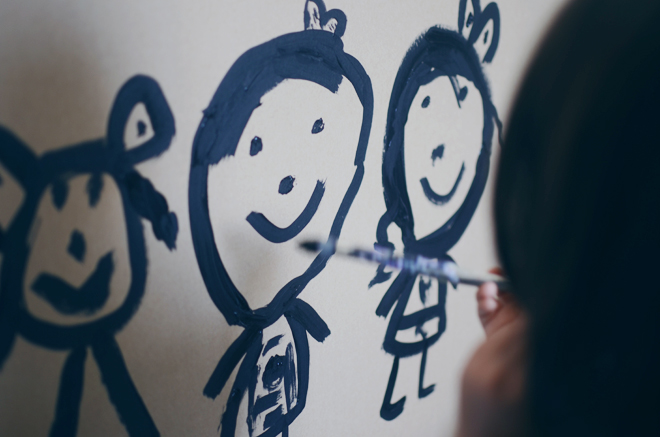
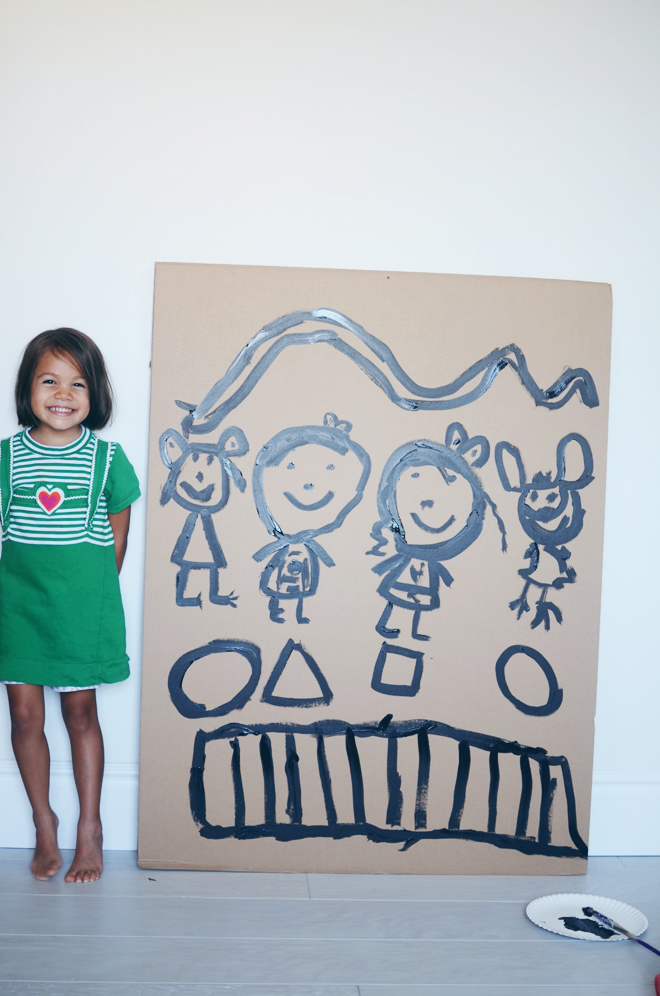
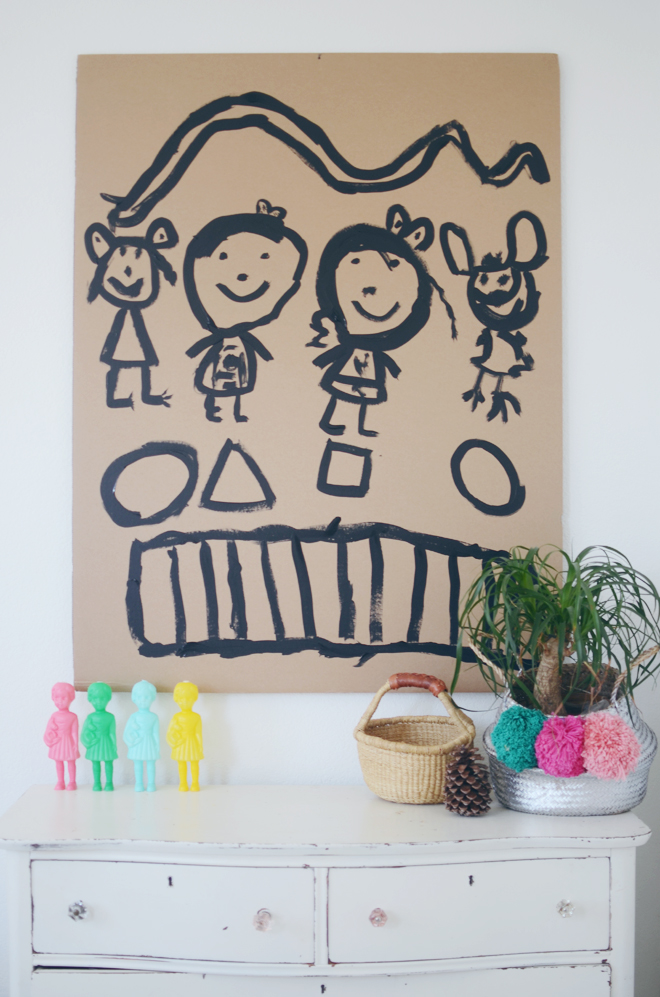
We needed a big piece of art over Soul and Glow’s dresser, and when I saw this scrap of cardboard from the box our new whiteboard came in, I knew that it would make a nice surface to paint on. Glow loves drawing, so she was commissioned to create this artwork (and we worked on this while the other girls were at school).

I only gave her one direction… draw something big. Thus, she proceeded to draw herself, then Soul, and continued on with her bear and Yoda. Then, she painted some shapes and put everything under a roof. Her last touch was to add a bridge on the bottom. Apparently, according to Glow, bridges in a house is the norm. I punched a hole on the top and hung it up! It’s quirky and cute, and it was just what their room needed. Kid art is always my fave, and they’re always proud to see their artwork displayed too.

When the big three came home from school, the first thing she did was show them what she made. Of course, her big sisters ooh-ed and ahh-ed over it, then asked when they would get to make one too.


wildflower bouquets

September 6, 2016


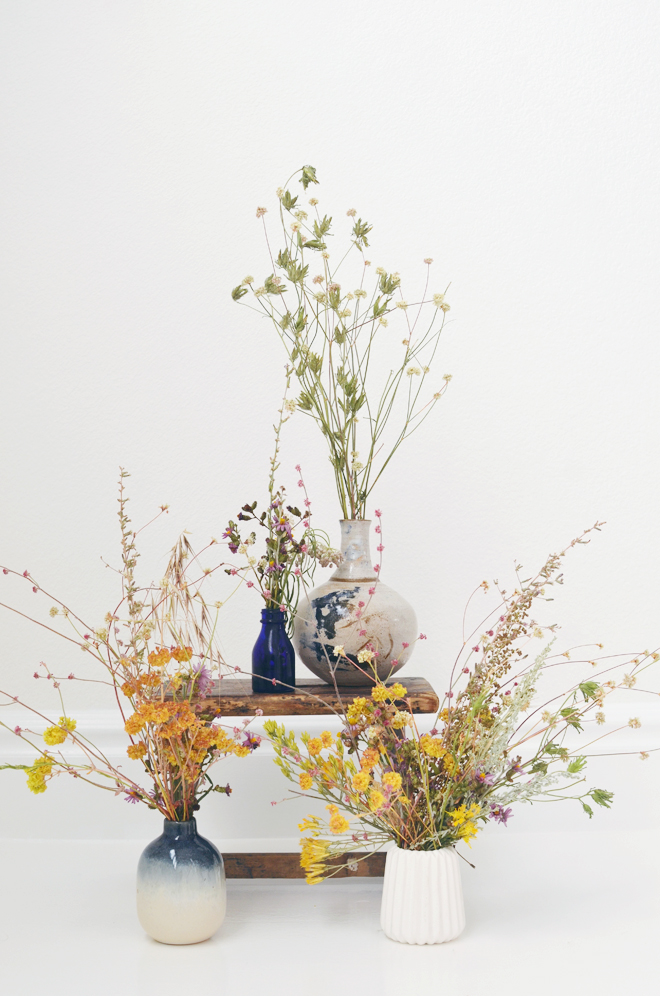
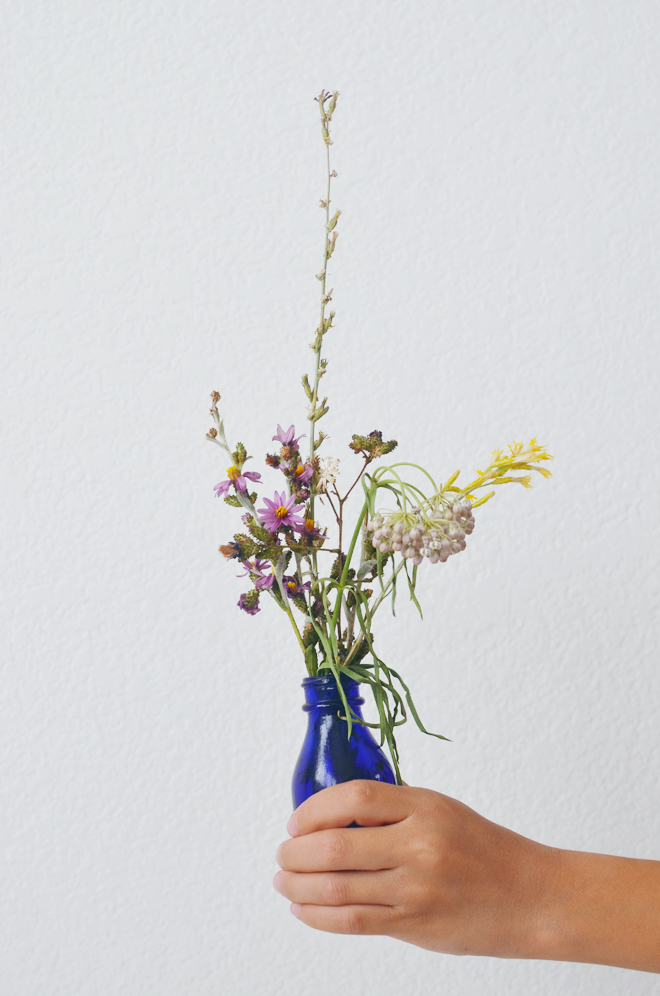
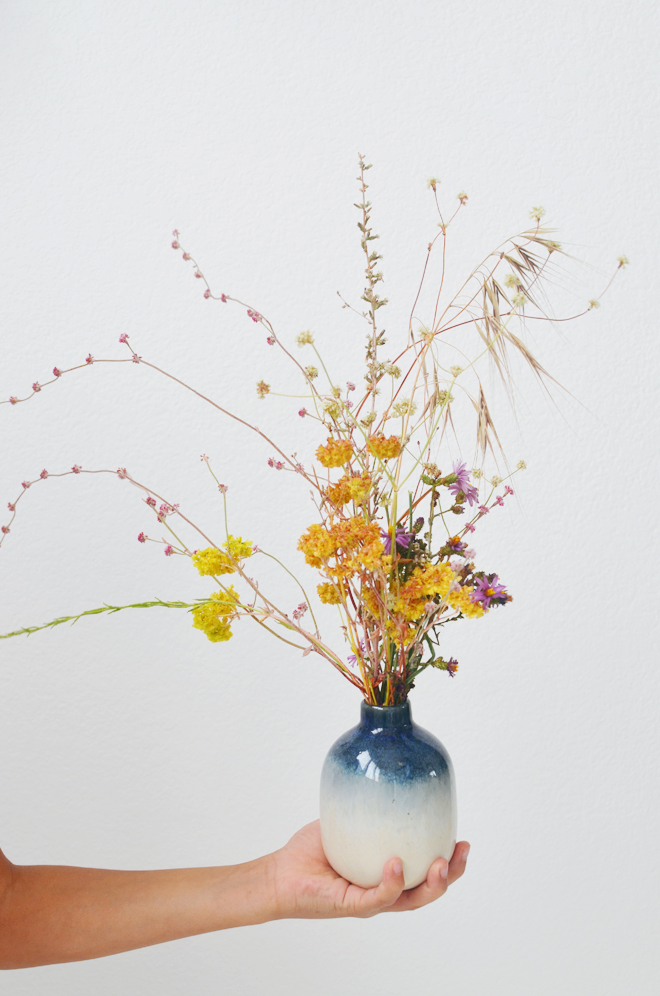
We went on our first camping adventure this weekend, and while on our hikes, the girls loved collecting wildflowers. They picked and picked until they had a perfectly full bundle. We put them in paper cups and water to keep them alive, and when we got home, I put them in little vases just the way they had them arranged. Soul was the only one who didn’t make a bouquet because she was busy collecting rocks and acorns.

The simplest arrangement was the one I made (grey vase with blue design). Glow’s collection is in the tiny blue vase, True’s is in the ombre-ish blue vase, and Brave’s is in the white one. They are displayed all over the house now, and I smile each time I pass one. It reminds me of our fun weekend, my girls’ love for collecting things, and the glory of God displayed in these sweet wildflowers.


wine-colored dress

September 1, 2016


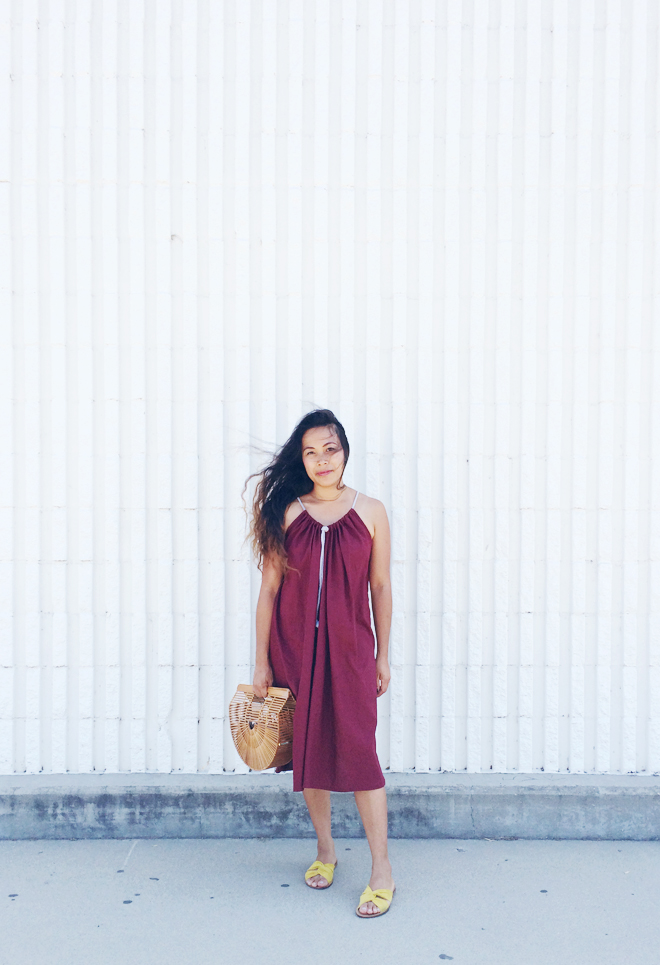
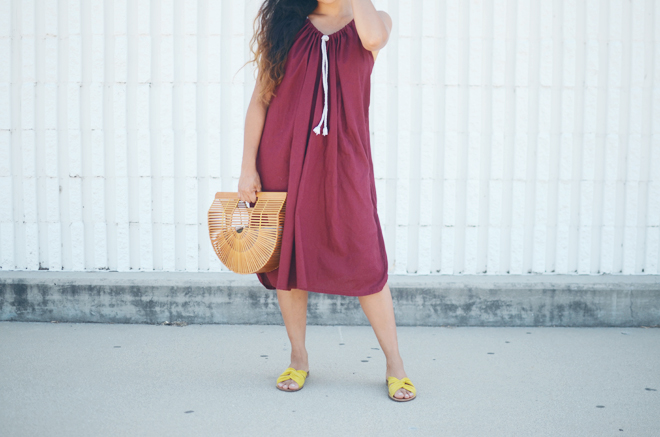
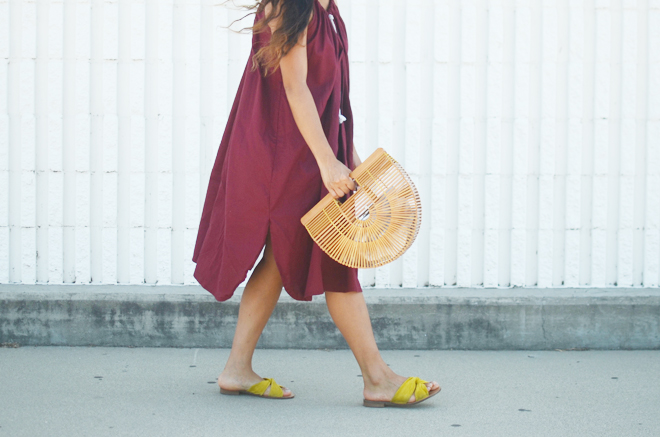
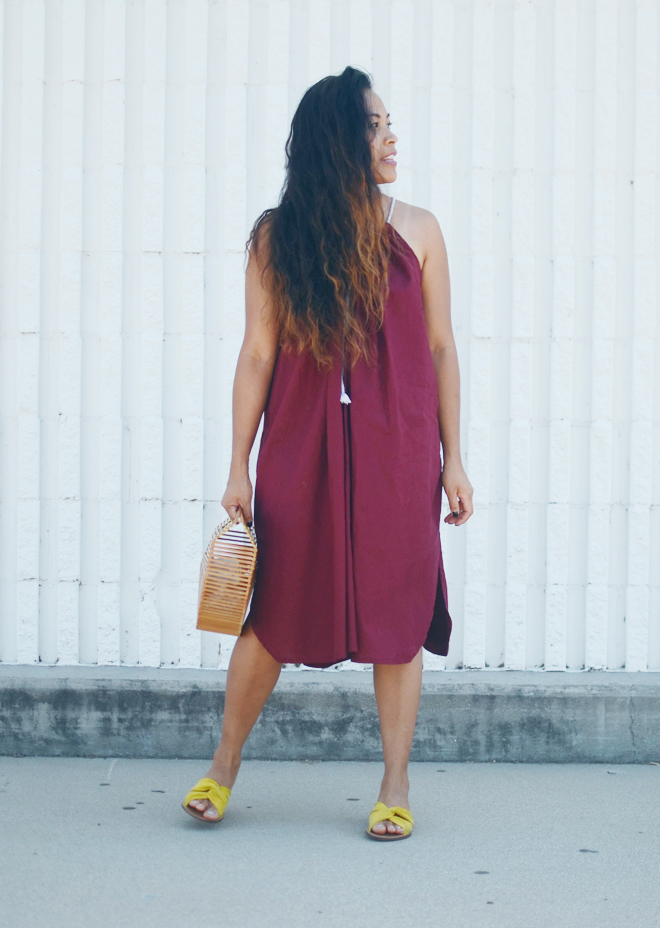
This has been one of my go-to dresses this summer. I woke up at 5am on a Sunday morning, itching to make something, and this was the result. Of course, it got worn to church gathering later that morning. This pin is what the dressed is modeled after, and if you’ve been following here long enough, you know I’d rather make than buy. I love the deep red of that dress, and when I found this linen fabric at the store, I knew I had to make my own. I made the straps using braided cotton rope that I dyed grey.

When the chilly temps come in, I can wear my cotton crew from Everlane (worn here) underneath to continue giving this dress love. Let’s be real though, summer goes on forever in SoCal, so I can probably keep wearing this exact ensemble until Thanksgiving. If I want more autumn vibes, I’ll switch out my slides for clogs.

I shared my love for these shoes a couple “huzzah” posts ago, and now they are on sale for 30% off! Just in case any of you were interested.

on me: dress: handmade. bag, vintage (reproduced ones here). slides, banana republic.


CAKIES
©
Design by Blog Milk