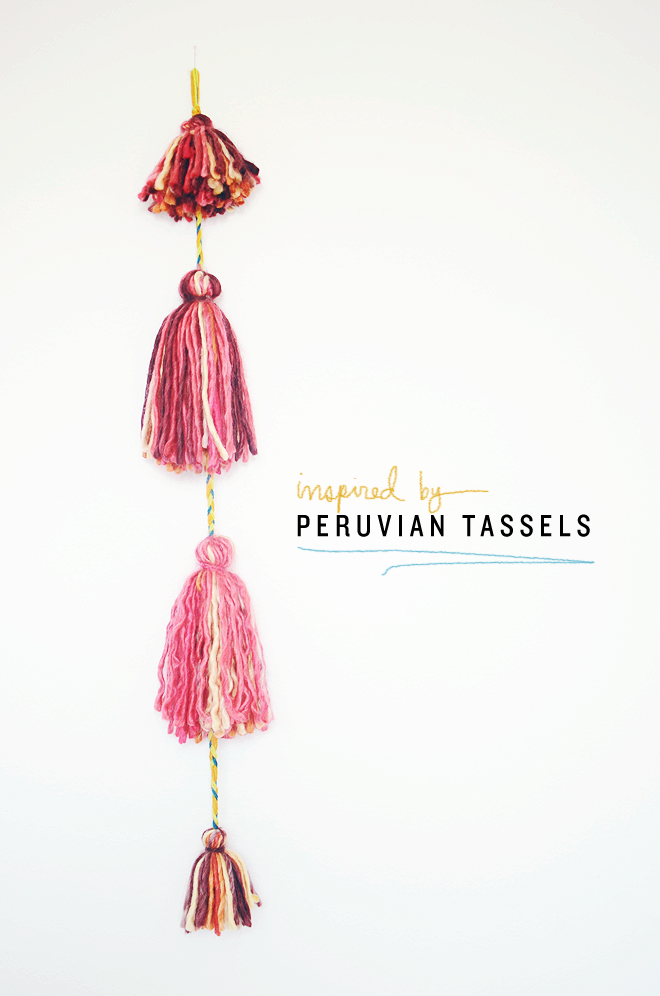
diy inspired by peruvian tassels

August 24, 2016


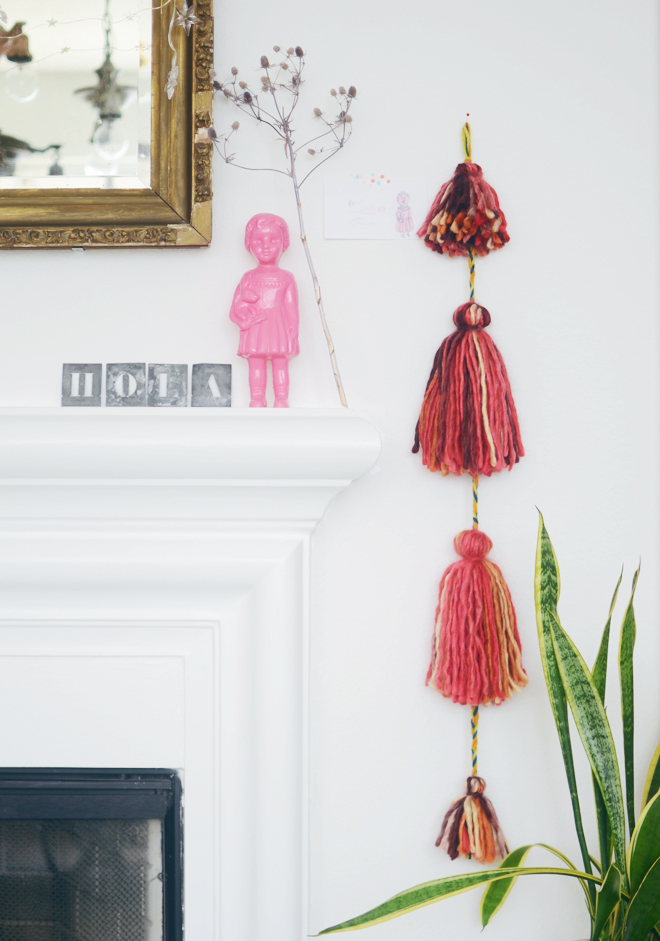
Peruvian Tassels
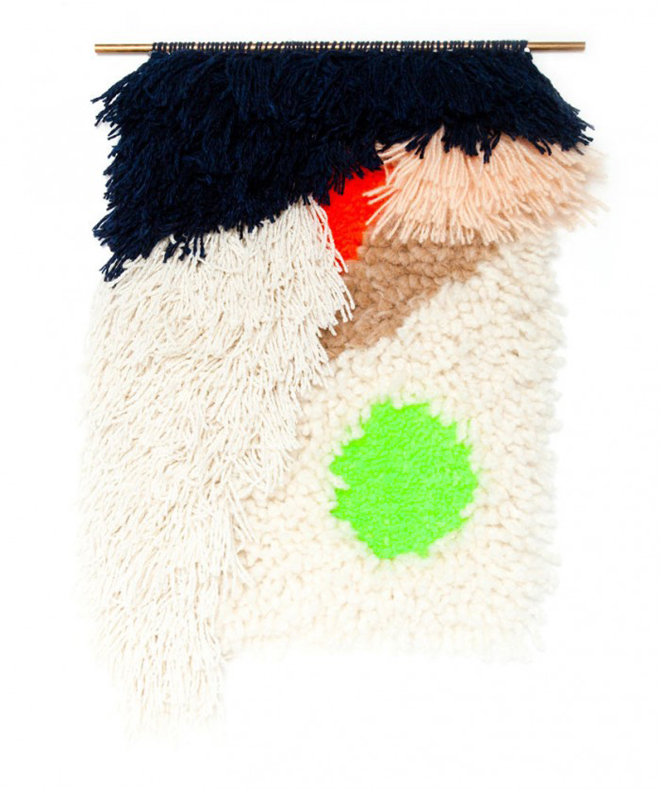
inspired by gorgeous ones like these

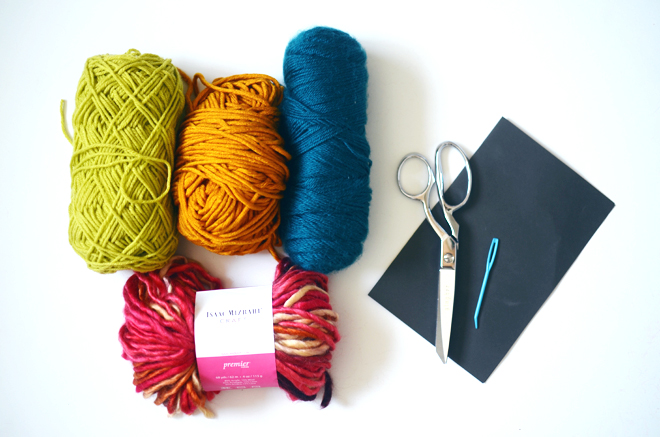
Supplies:
Colorful skeins of yarn (this Isaac Mizrahi one had perfect fall colors)
8 1/2″ x 11″ card stock folded in half width-wise
Scissors
Plastic sewing needle
Directions:
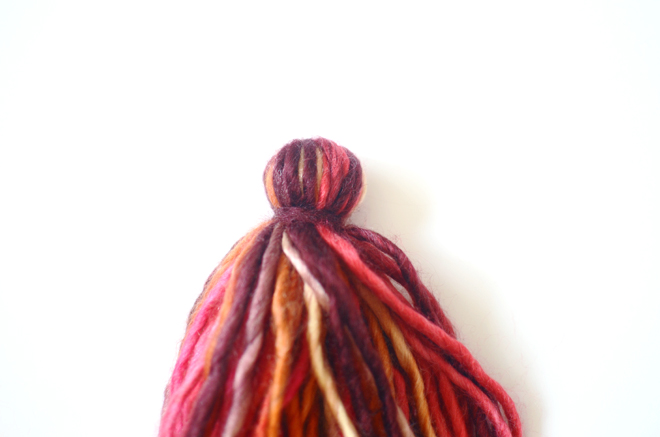
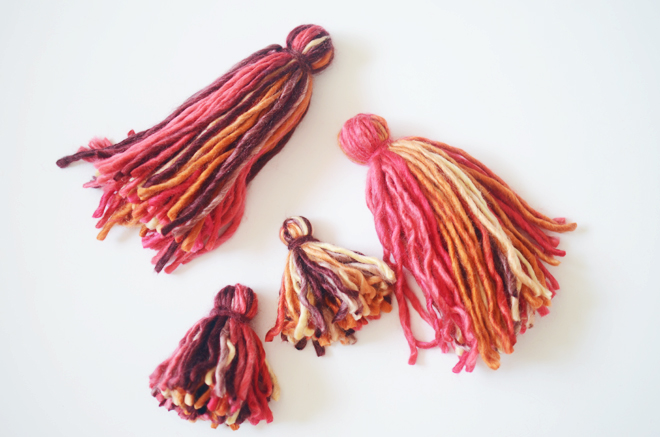
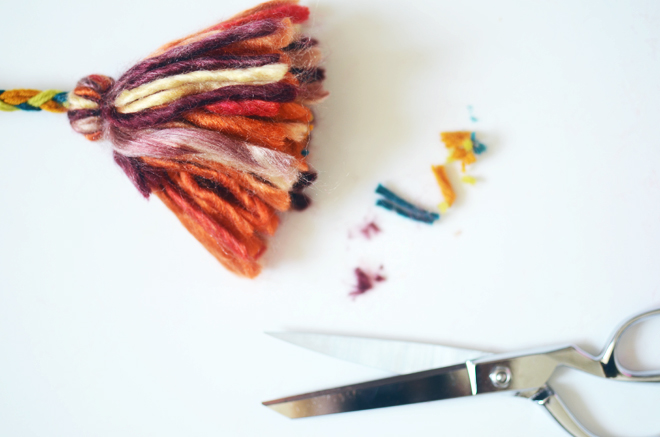
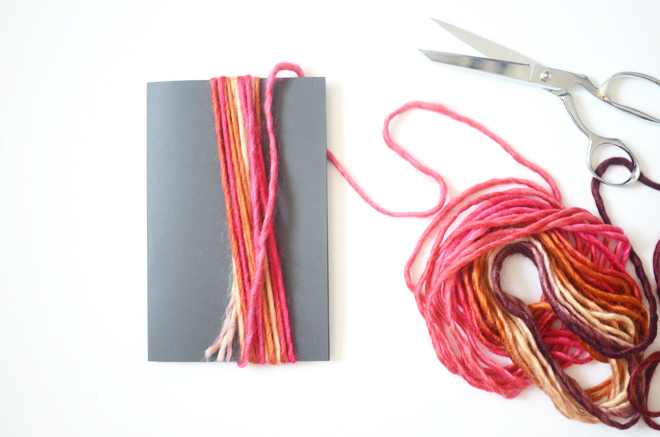
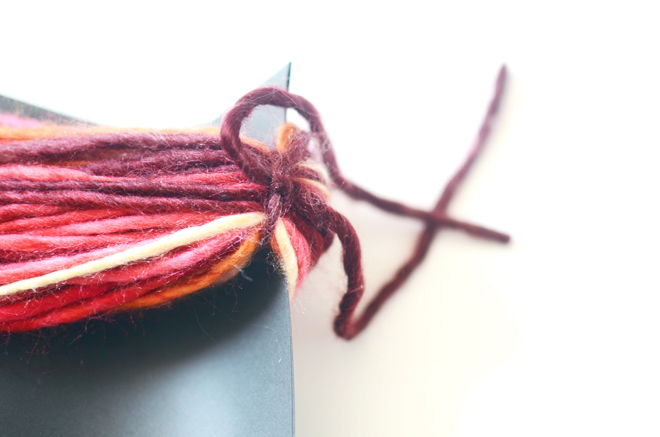
1. To make the tassels, wrap yarn around the card stock about 50 times (for the larger tassels). Using a new strand of yarn, tie it at the top, and double knot to secure. With another new strand of yarn, wrap around tassel about 6 times (about 1″ down from the top), while pulling to make sure it is snug around. Tie a knot and bury the end inside the tassel. Trim tassel ends evenly. For the smaller tassels, I fold card stock in half again and only wrapped the yarn around about 25 times.
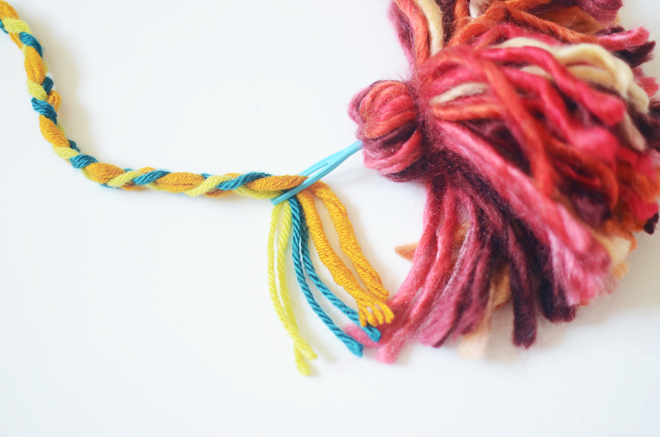
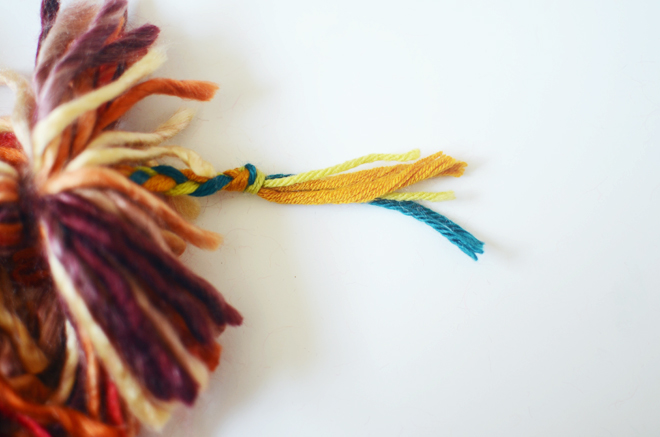
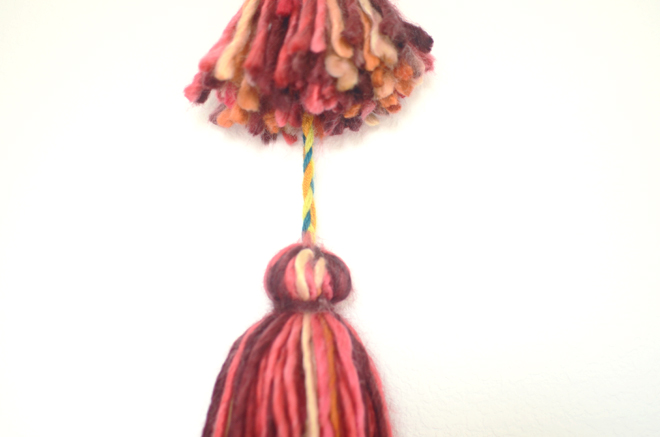
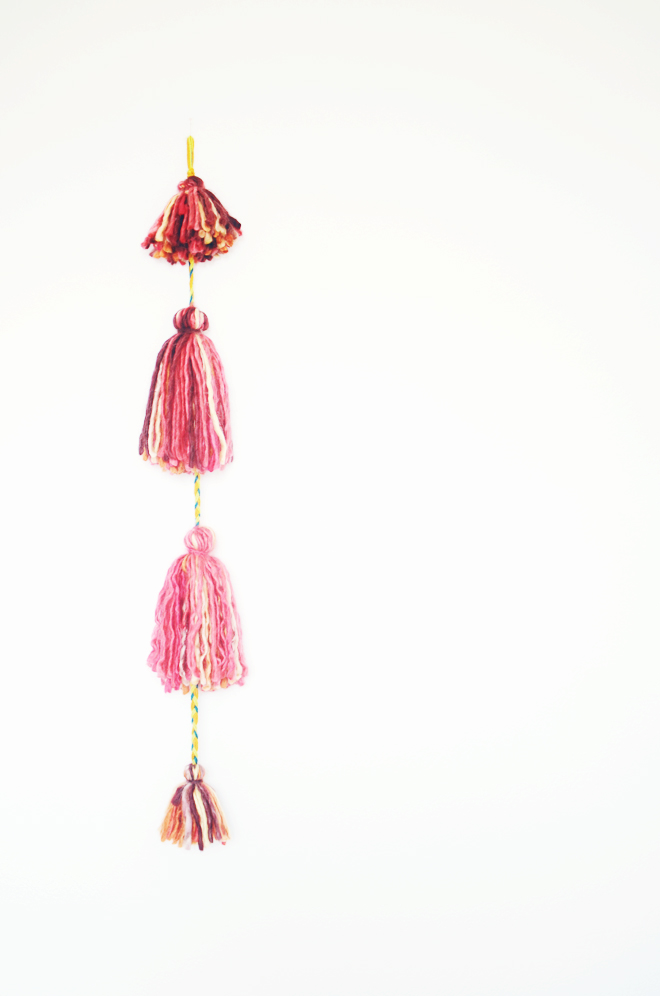
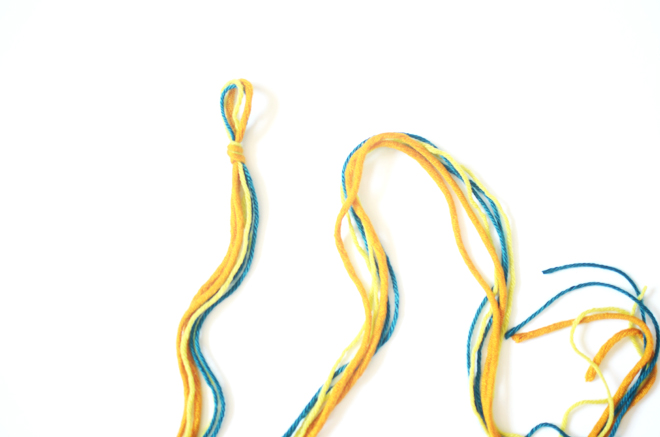
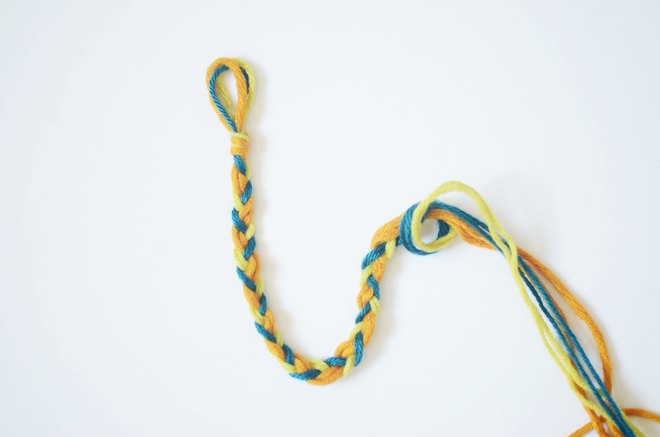
2. To make the braided yarn strand, cut 3- 80″ length strands of yarn (I used three different colors). Fold in half and knot the center, and continue braiding the entire length of the yarn. Using a plastic needle, insert the open end of the braided yarn though the center top of each tassel. String each tassel onto the braided yarn, knot the end of the braided yarn, pull the last tassel down to cover the knot, and trim tassel ends evenly. Spread out the rest of the tassels on the braided yarn.
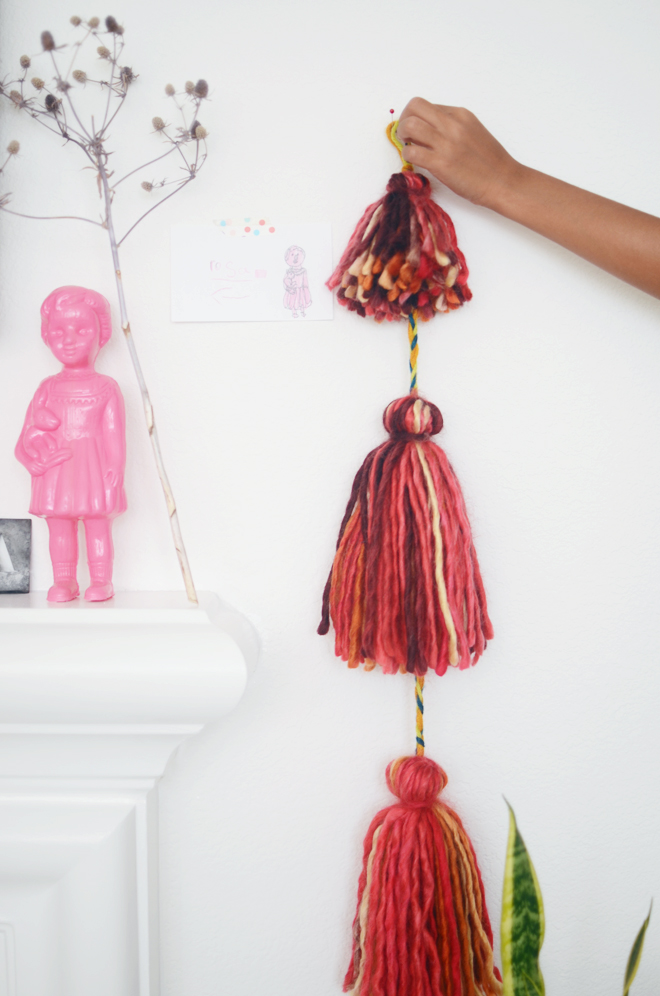
I wanted add some fall color into our home decor and did so with these Peruvian inspired tassels. This skein of yarn had perfect fall colors, so I thought it would make lovely, colorful, fall tassels. I think a bunch of these hanging tassels would make a pretty backdrop for a party table; they also look fun hanging from a dowel like this.

This post is part of the Michaels Makers series. This project is the beginning of some other autumn inspired crafts. What do you plan to make this new season?

 Loading InLinkz ...

beaded bow headband

August 11, 2016


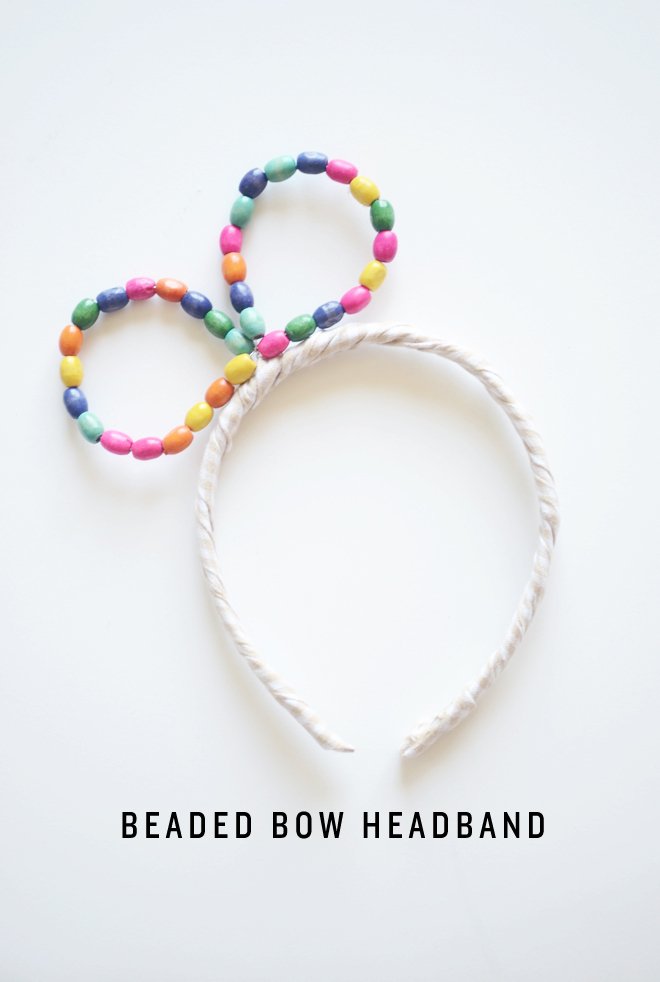
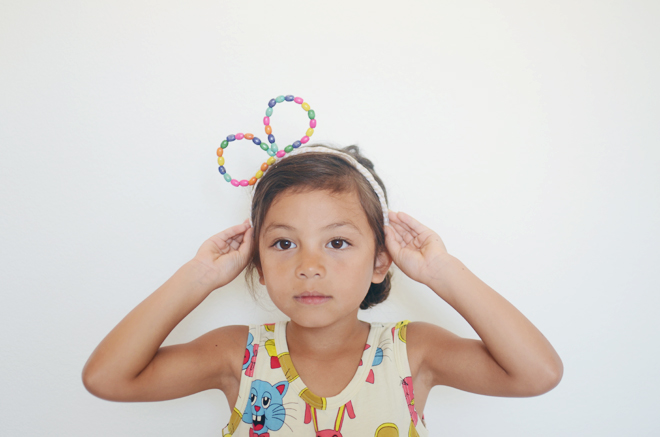
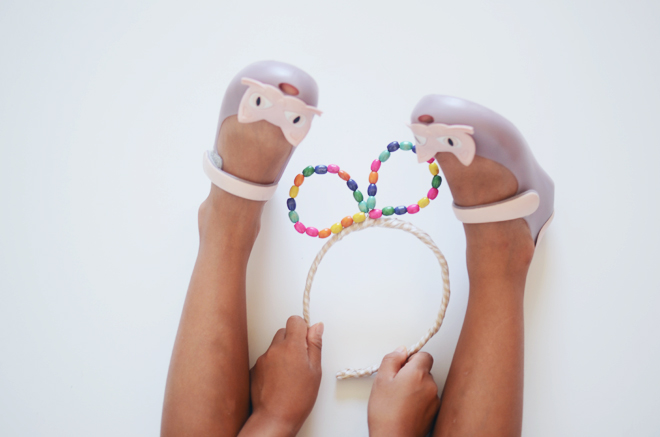
Beaded Bow Headband

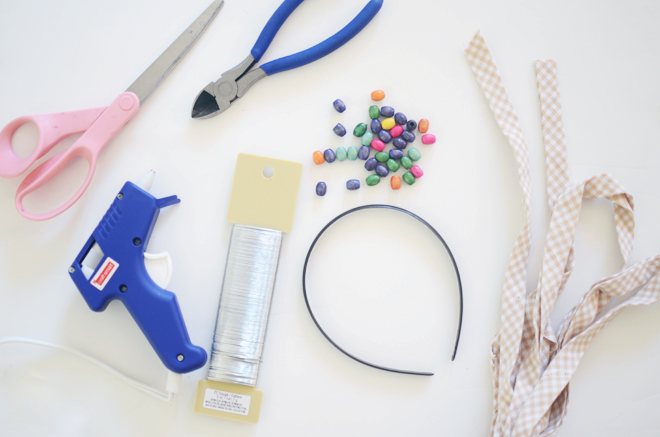
Supplies:
Wooden beads
22 gauge wire
Plastic headband
Fabric strip/ribbon
Glue gun and glue stick
Scissors
Wire cutter

Directions:
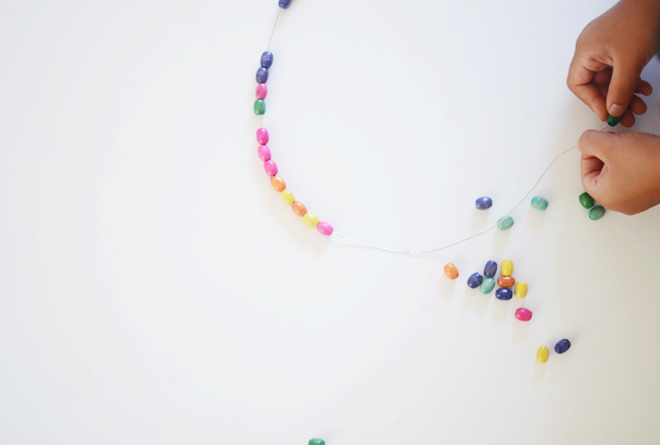
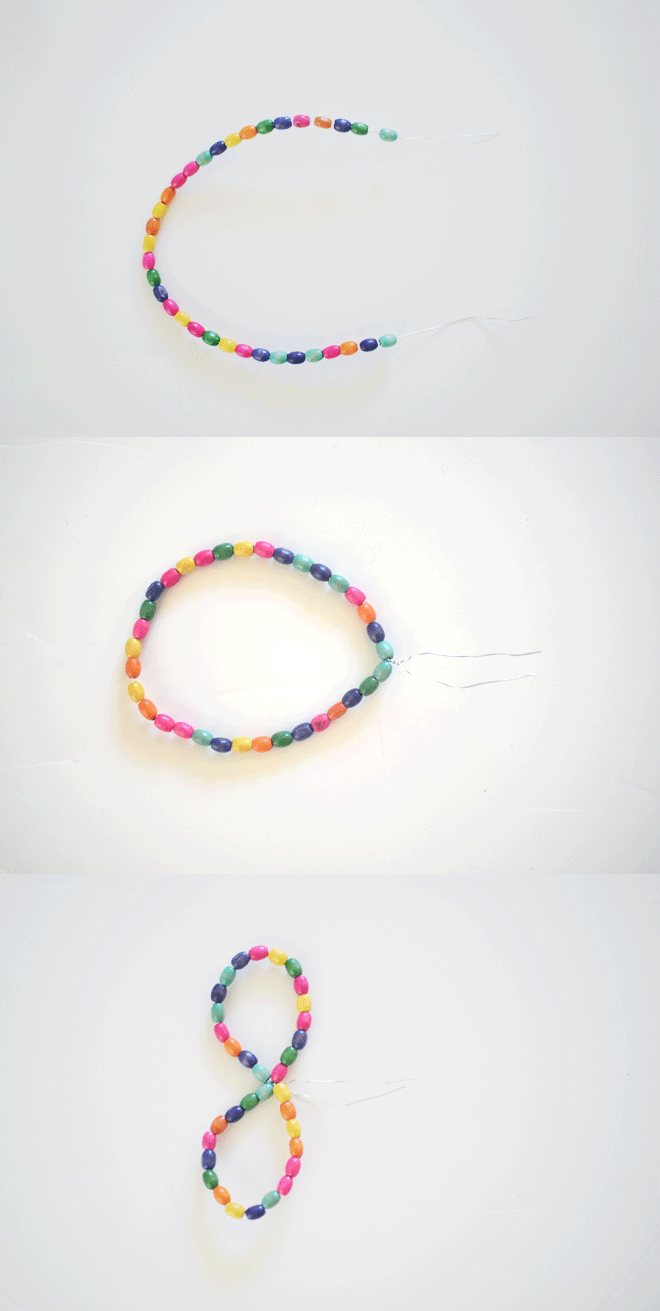
1. Cut a 20″ strand of wire. String beads on the wire, but leave 3″ of each end unfilled.

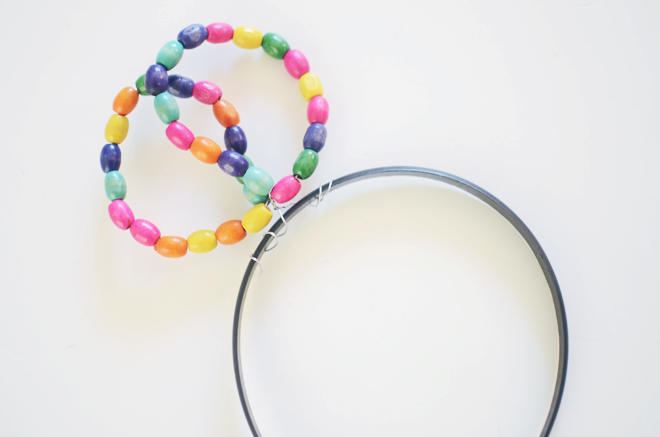
2. Twist the wire where the beads end together (leave a little slack for the beads) to create a closed circle. Twist the wires at the center to create the bow shape.

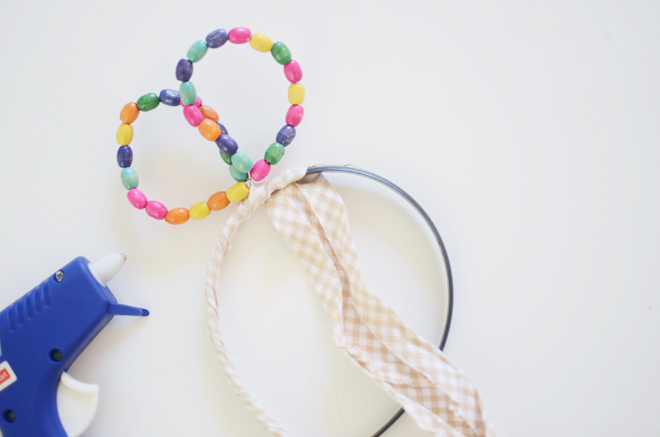
3. Identify placement of the bow on your headband, then twist the wire ends around the headband to secure on.

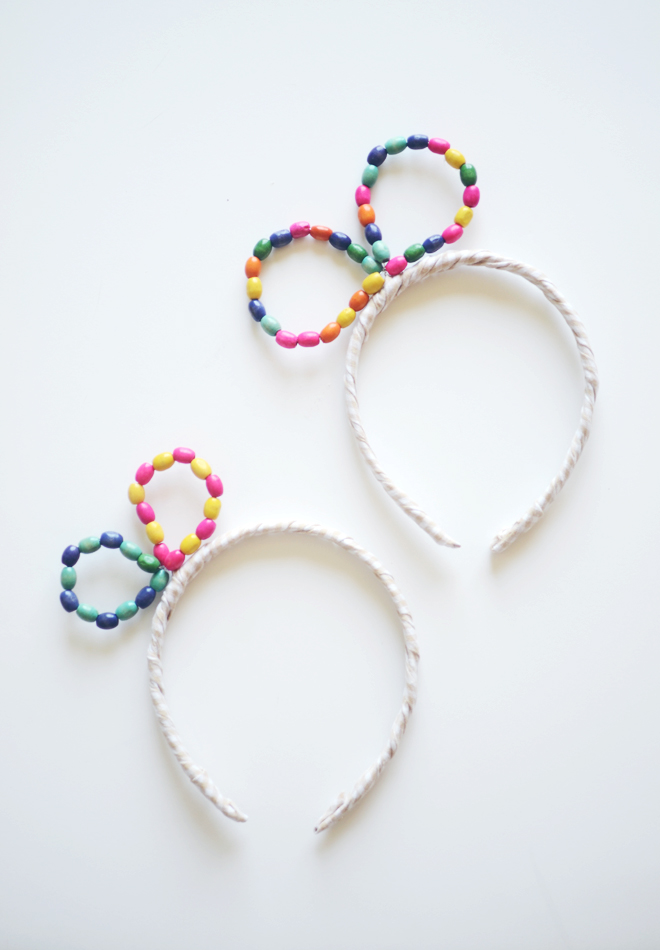
4. Add a dab of glue to one end of the headband to attach the fabric/ribbon. Wrap entire length of the headband with your fabric strip/ribbon, continue to glue as needed until the entire headband is wrapped. Lastly, adjust the beaded bows in place.

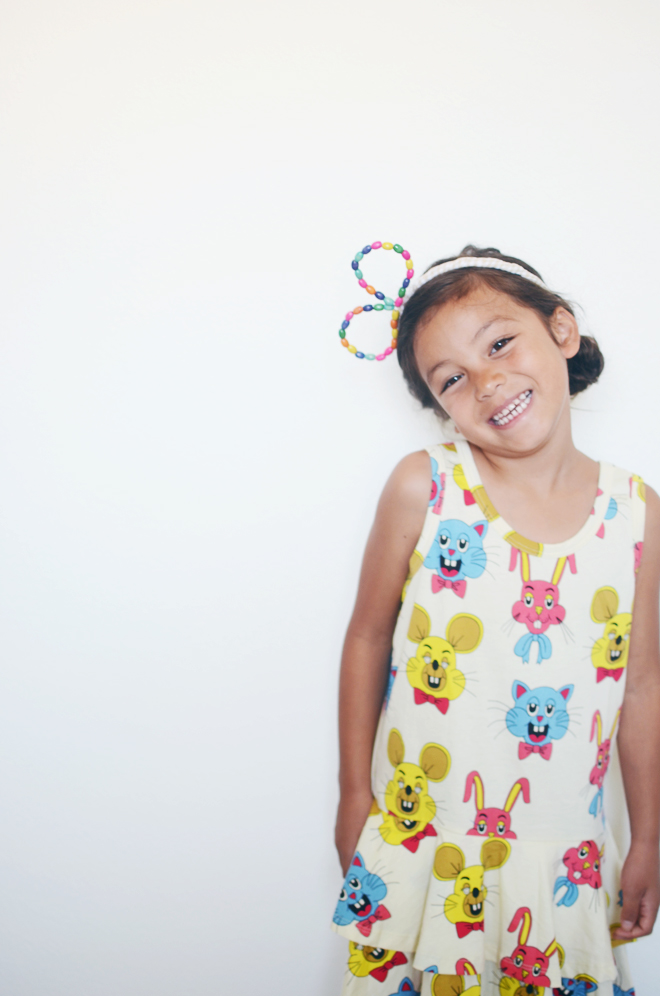
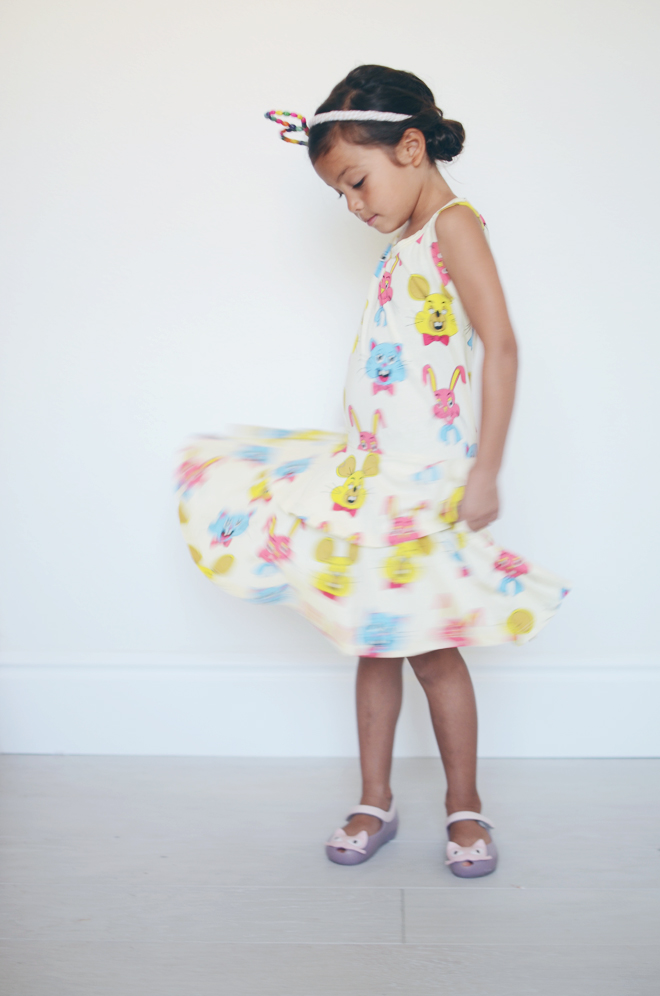
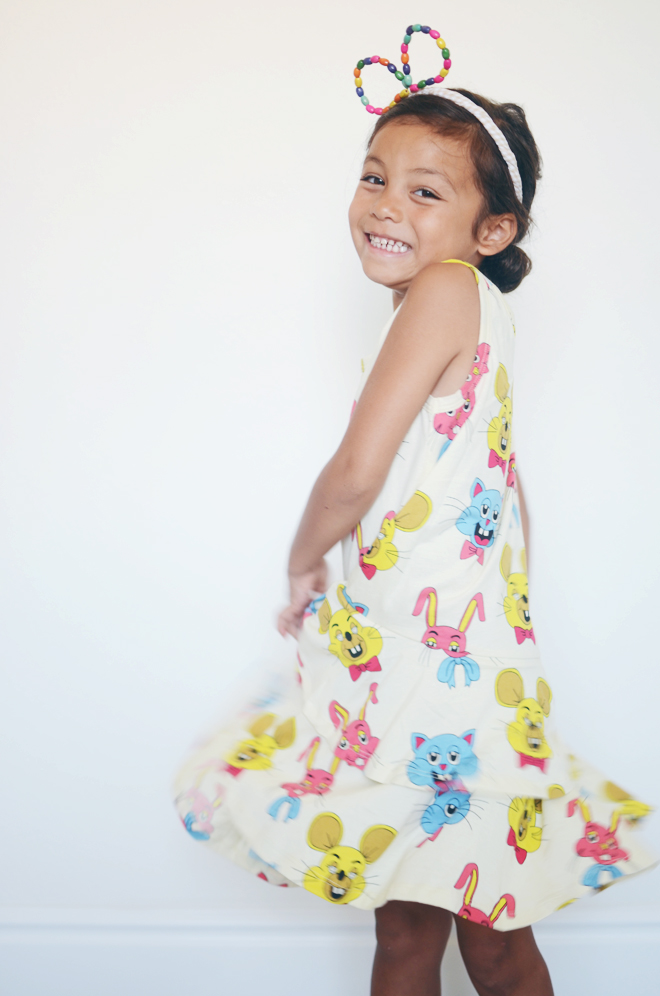
Soul wears her beaded heart headband all the time, so I thought it was time to make a bow one.  Maybe we should have made a cat ears to match her dress. If you want a bigger bow, use a longer wire, and smaller bow, smaller wire. We made two different sizes and Soul claimed both as her own (I had to remind her to share).

on soul: cat dress (similar here) and cat shoes, c/o childrensalon.


linen pillowcases

July 6, 2016


I’ve been wanting linen bed sheets and pillowcases. I came close to purchasing some this past fall, but I couldn’t get myself to spend the money (maybe one day I’ll bite the bullet and get them). They cost quite a few pennies, but I wasn’t sure if they really are worth it.

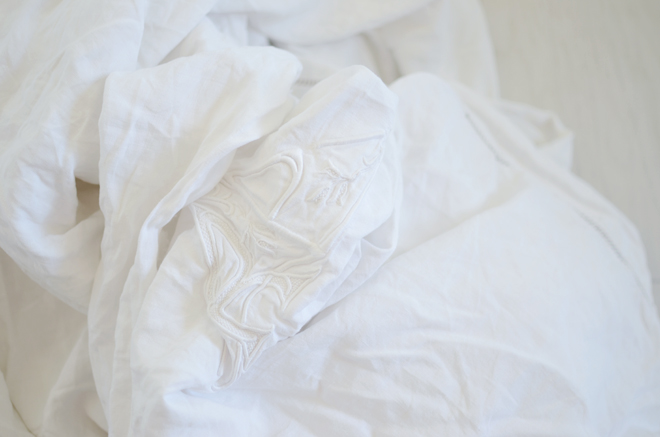
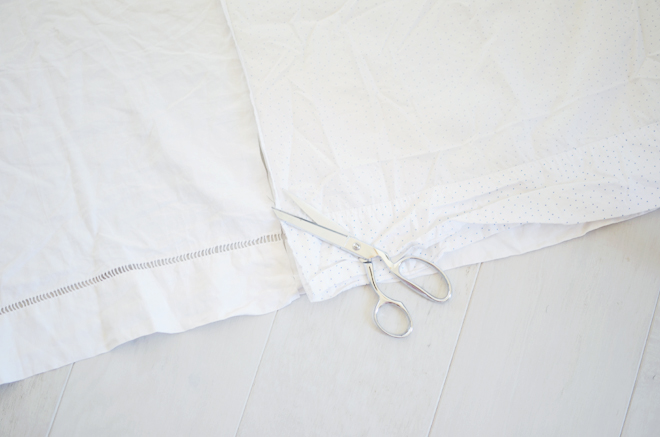
I’ve had this extra-large, vintage, French linen bed sheet for several years, but it had a giant hole in the middle. I used it as a table cloth, but other than that, it’s mainly been stored away. As I was organizing, in preparation for the wood floors coming in, I found the sheet. Then, it dawned on me that I could make some pillowcases out of it, so yesterday afternoon was spent doing just that.

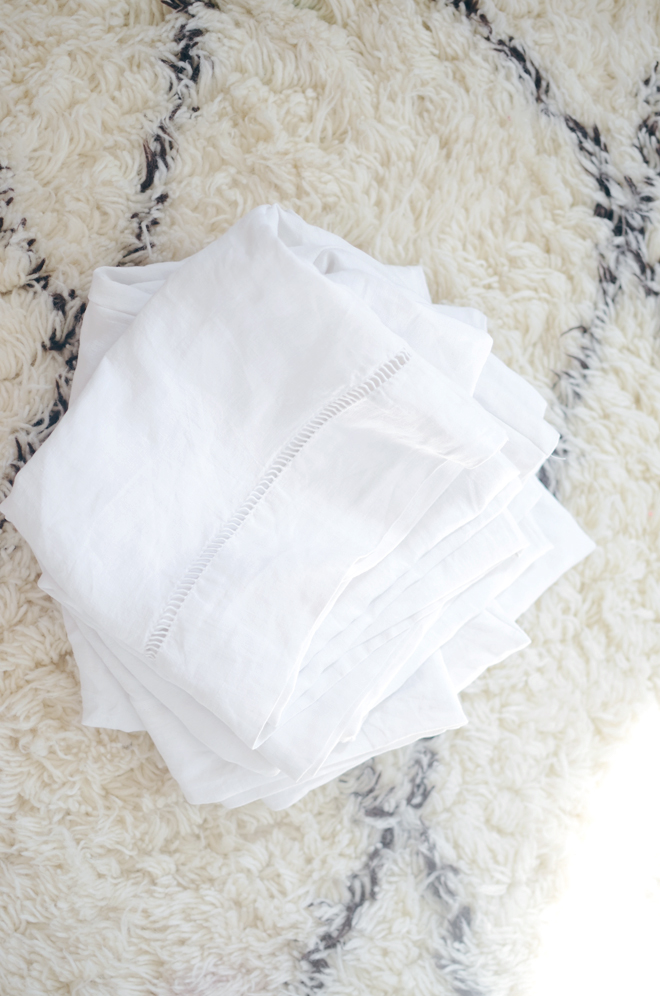
From the fabric, I was able to make 2 king size pillowcases and 2 standard size ones. Thus, our bed is now outfitted with some pillows encased in linen. I’ll see how we like these and maybe one day, if we really love these, I will bit the bullet at order some linen sheets. For now, these homemade pillowcases from vintage linen is a great start.


july fourth star crown

July 2, 2016


July Fourth Star Crown
get in the holiday spirit with this 5 minute project

Supplies:
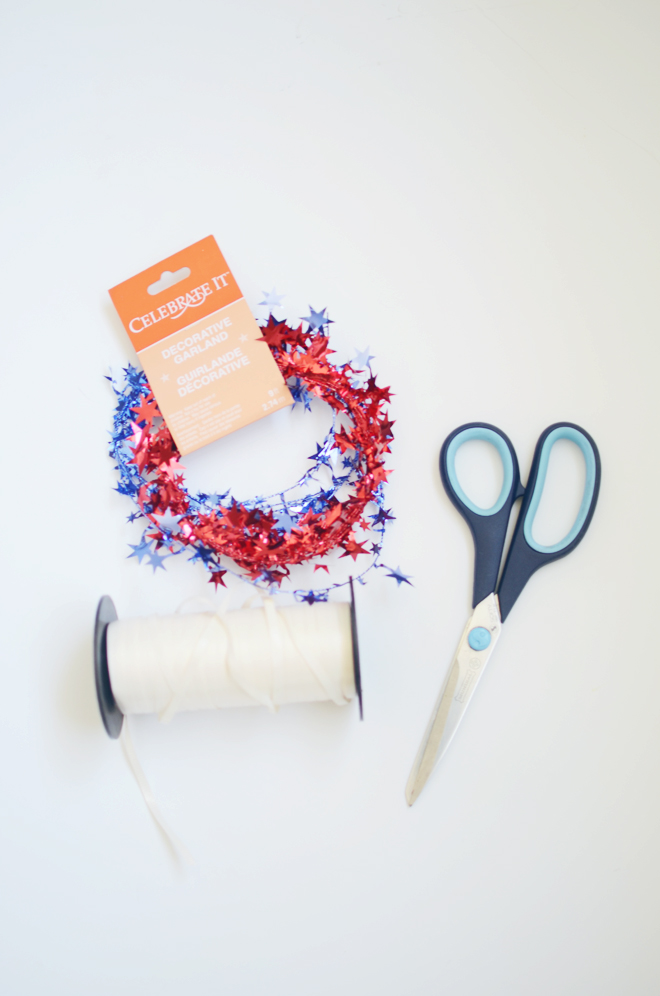
Star decorative wire garland
Curling ribbon
Scissors

Directions:
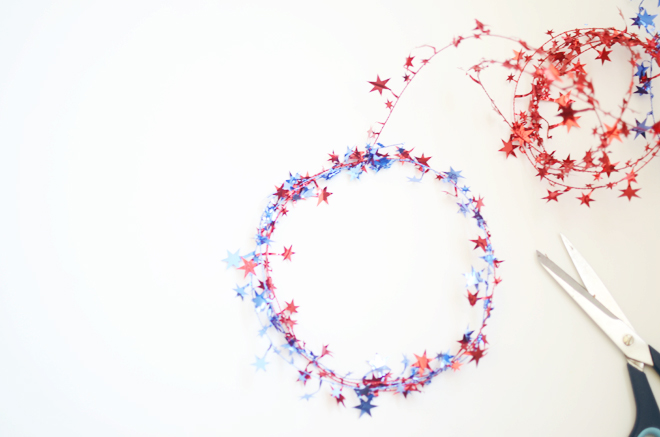
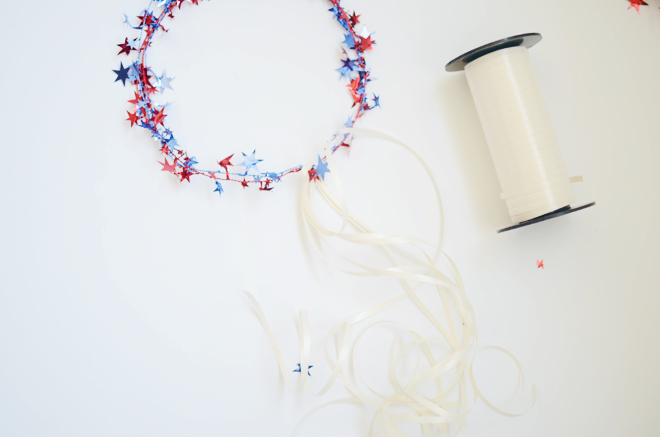
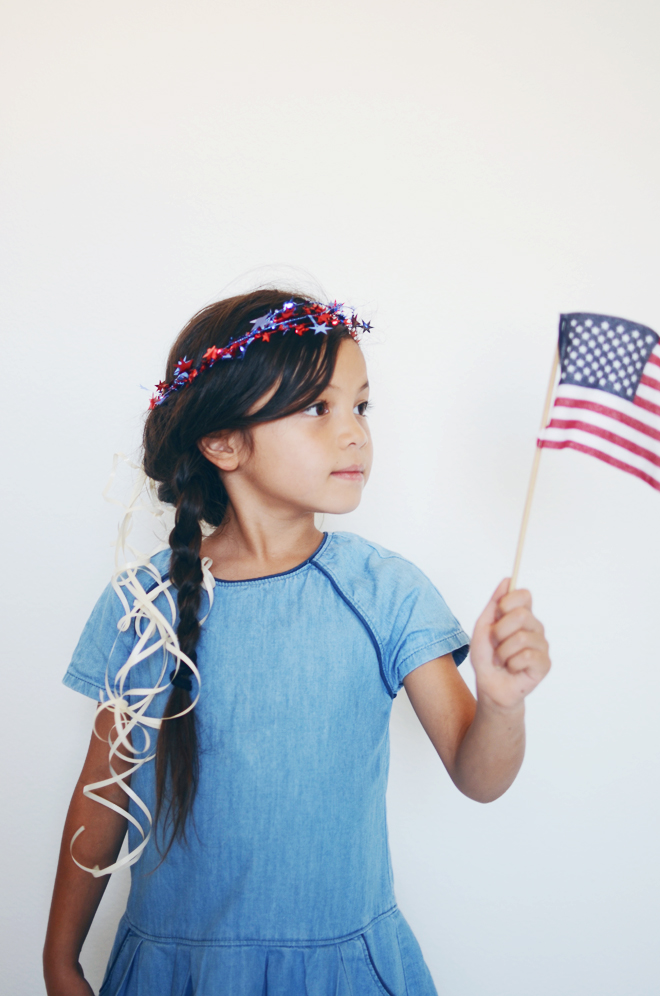
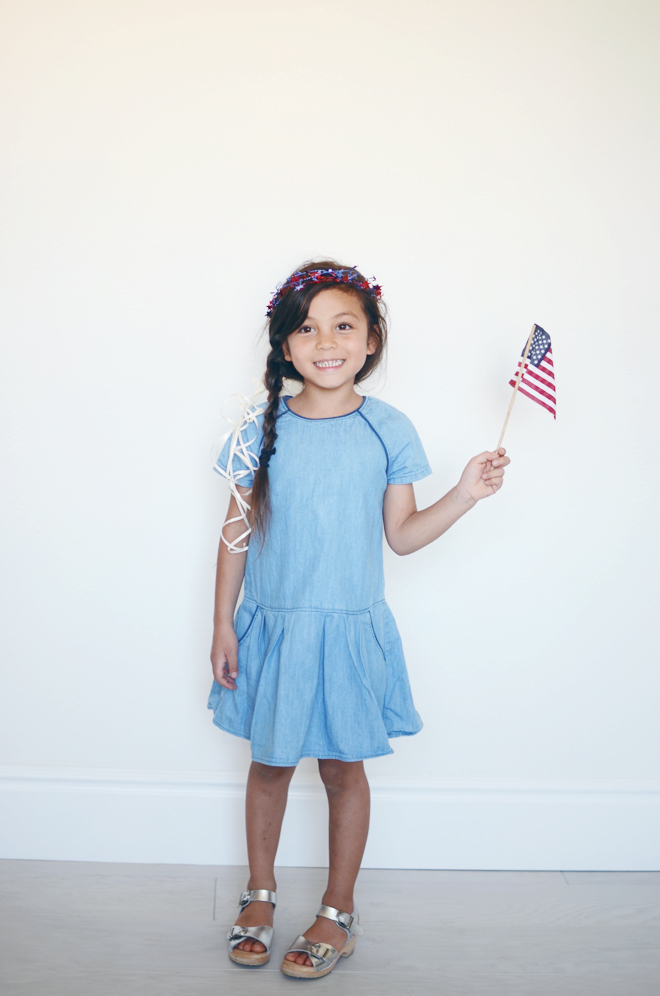
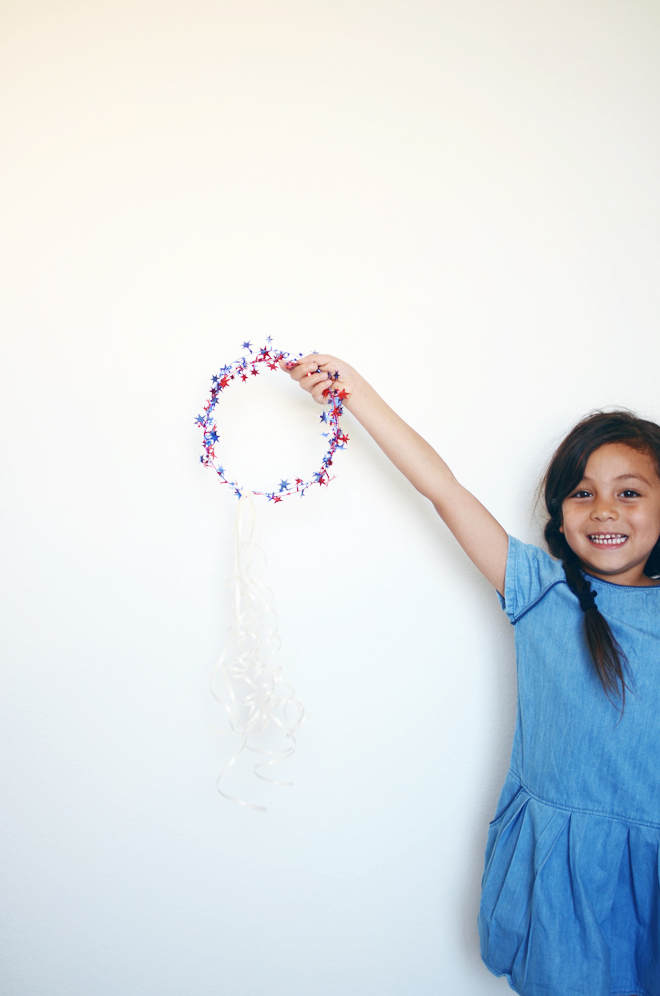
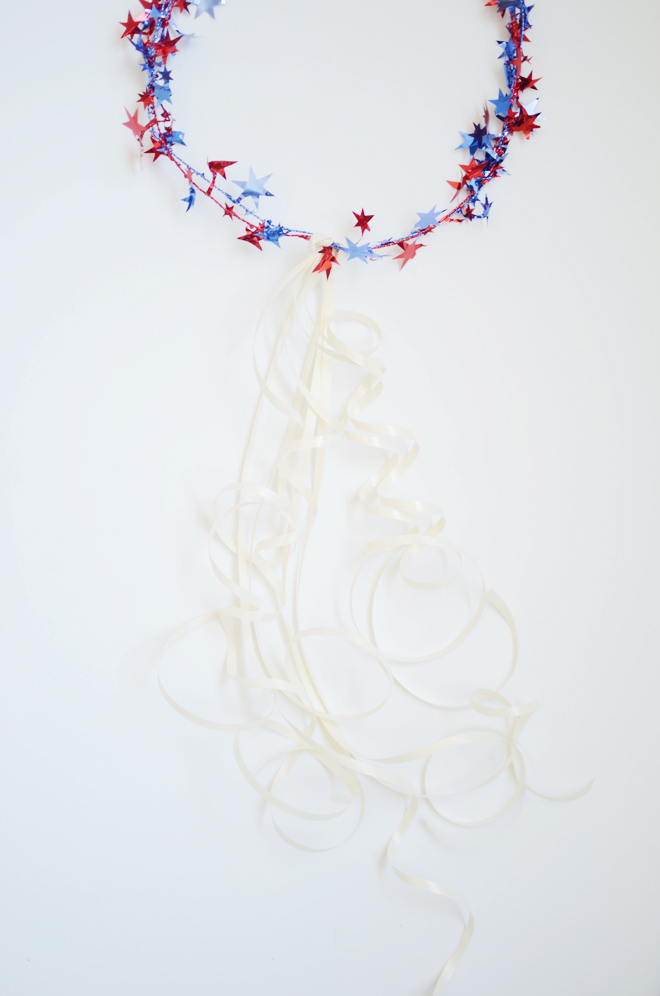
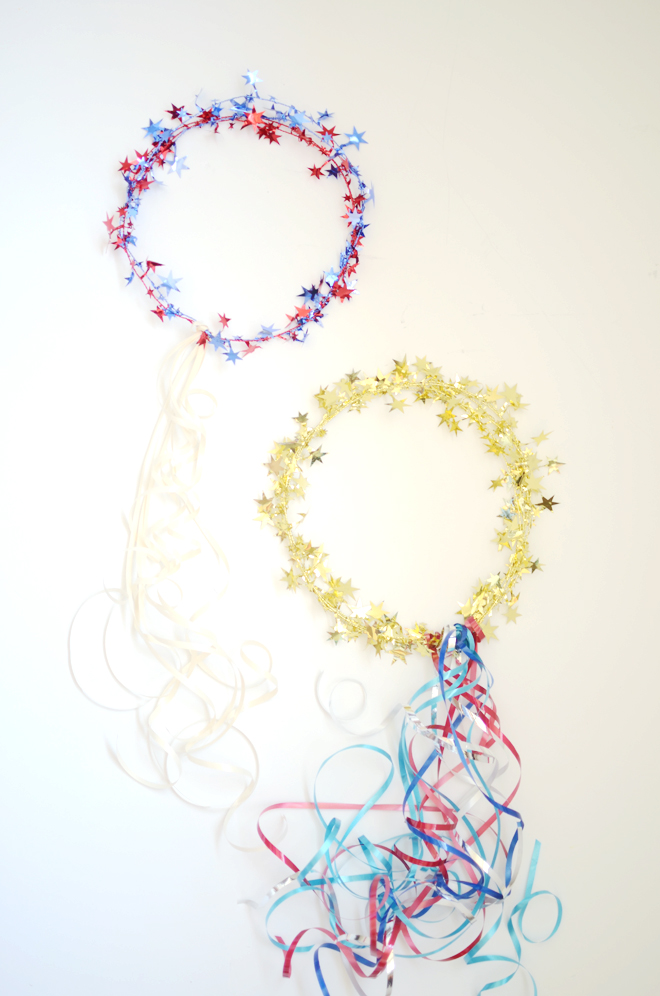
1. To measure, wrap around the head of the child to a size that would be comfortable. Wrap garland around a few times and cut. Twist wire ends around the wires on the crown to secure in place. 2. Cut about 3 strands of curling ribbon in desired length. Gather the strands together and Lark’s head knot the center around the crown. Pull tight to secure in place.With the non-cutting edge of your scissors, gently slide along the length of the ribbon to curl.

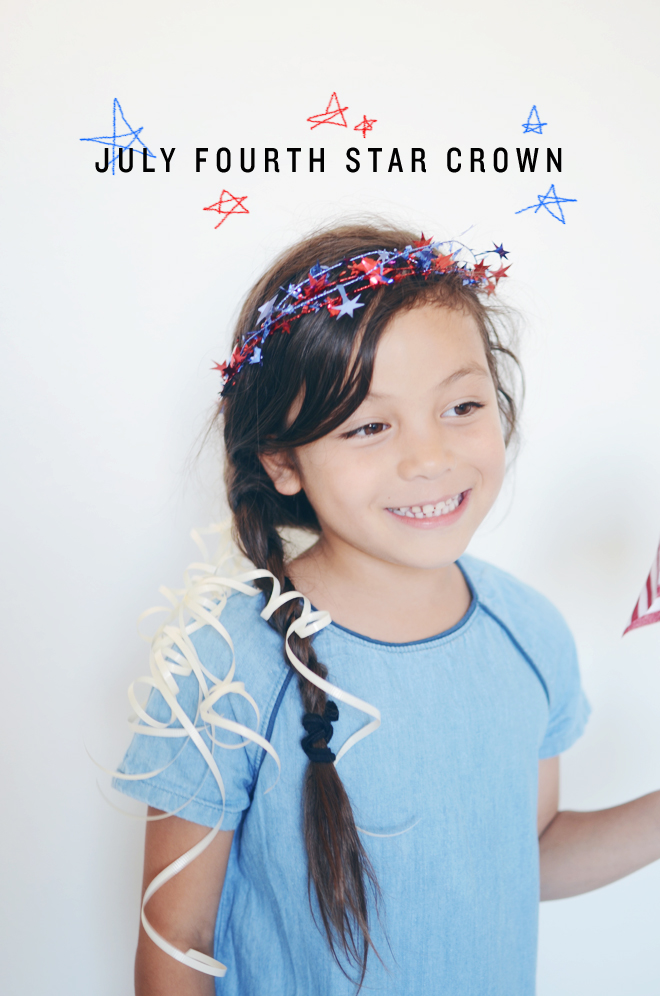
When I was a kid, I remember being at a carnival (or maybe it was Disneyland) and they had these types of crowns for sale. I begged my parents to buy me one. I chose a purple one and I remember feeling like a princess. With the decorative wire garland that’s easy to pick up at any party/craft store, you can make your own. We made ours in red, white, and blue in preparation for the coming holiday, but if you’re seeing this after the fourth, these would be just as lovely in other colors too.

Soul and Glow each have their own crown ready for Monday (they plan to wear it on Sunday too). I have to finish sewing their Independence Day skirts and then we will be all ready to get decked out in red, white, and blue. We have no plans on Monday, but to watch movies and relax in bed, but we will definitely still be in the holiday spirit.

on soul: dress, gap kids (similar here). clogs, c/o hanna andersson


weaving and macrame love

July 1, 2016


by maryann moodie

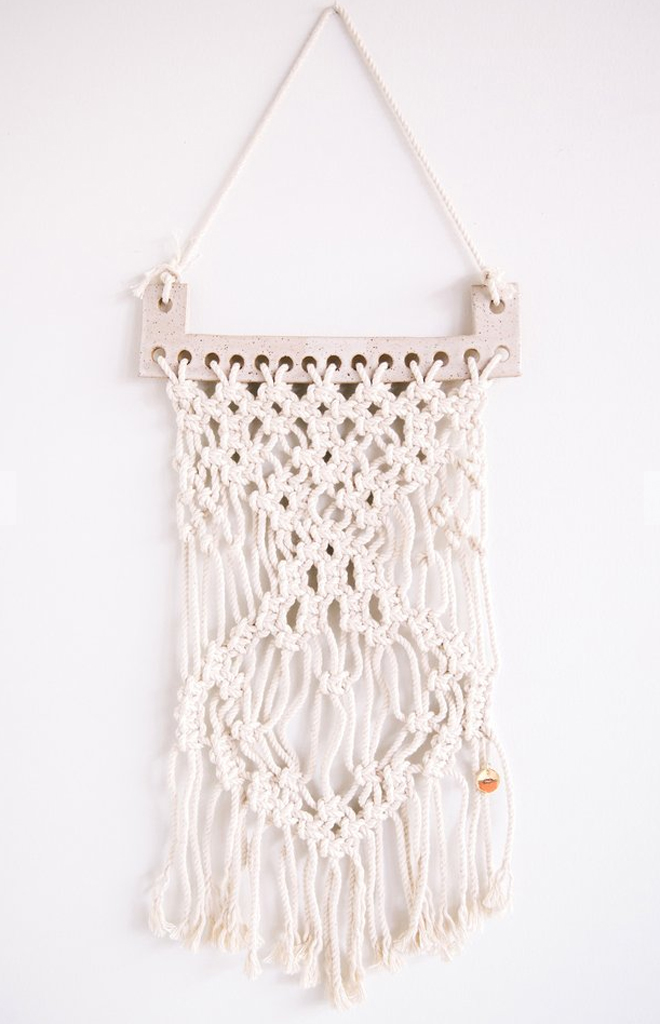
by cold picnic

by emily katz

It took me awhile to try loom weaving (I wanted to make sure I really liked the looks of it and not because it was trendy), but once I did, I fell in love. I started doing macrame a few months ago, and fell in love with that too. Yep, they are both big trends in the craft world right now, but I love the texture in them and the different patterns that could be created. Plus, the process of both is so relaxing. It’s kind of like painting with yarn or cotton cording (I’ve used this one).

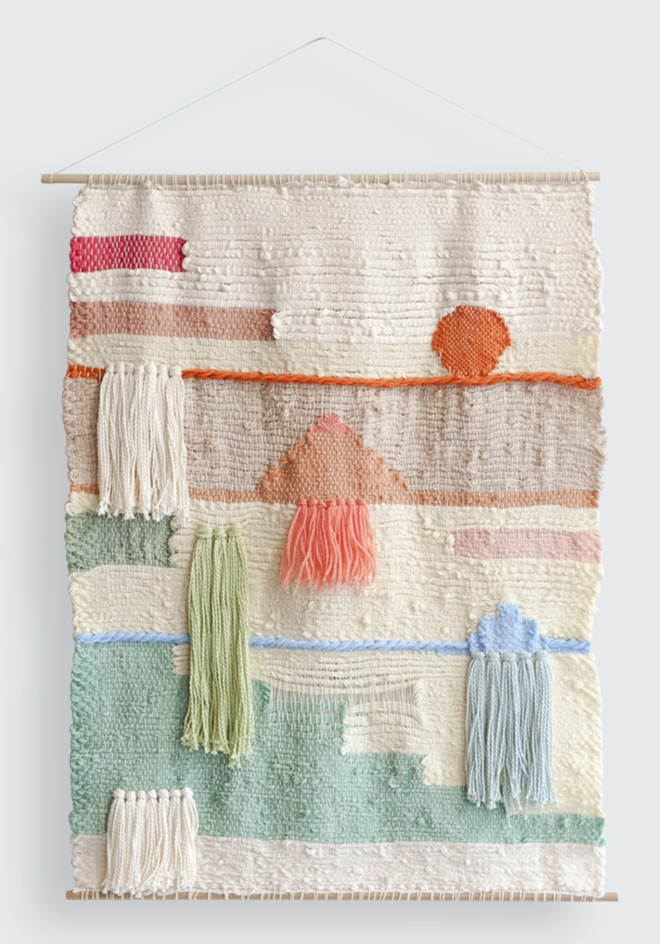
I want to make a large wall hanging for our home. I’m thinking something about 4′ by 3′ (or larger) and I’ll make a loom from a large canvas. I’ve made small looms from canvases I have picked up from Michaels, so I think I’ll try to see if one of their large ones will work as a frame. I’d love something large for our entry way or the big girls’ room. Once all this house renovation stuff is done, I can’t wait to move forward and get started on some creative projects.

What craft trends are you into right now?

This post is part of the Michaels Makers series. From tie-dyeing to lettering to tassels, pom poms and even unicorns, Michaels has everything you need for the latest and hottest DIY trends!

 Loading InLinkz ...

fourth of july crafts with family fun magazine

June 29, 2016


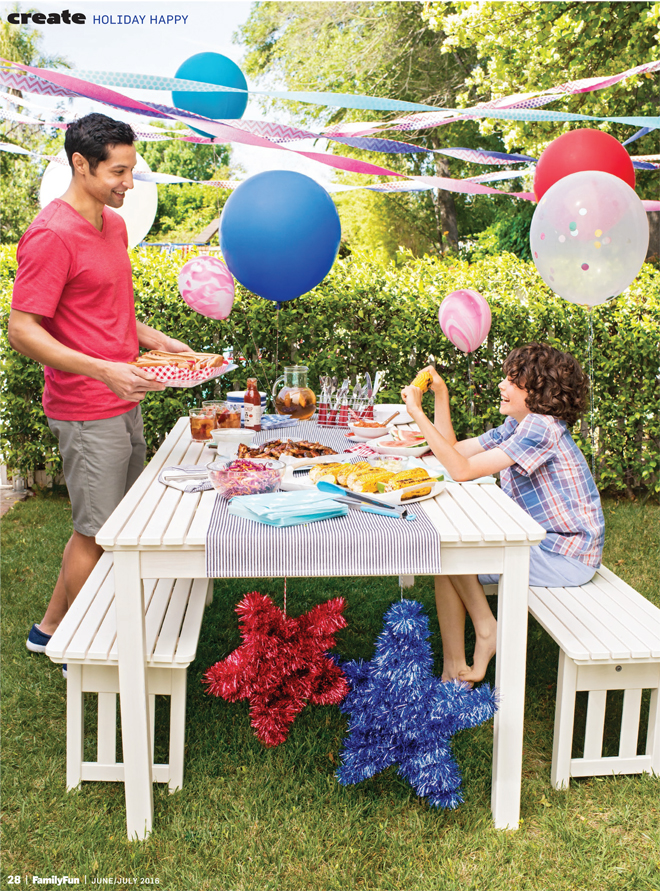
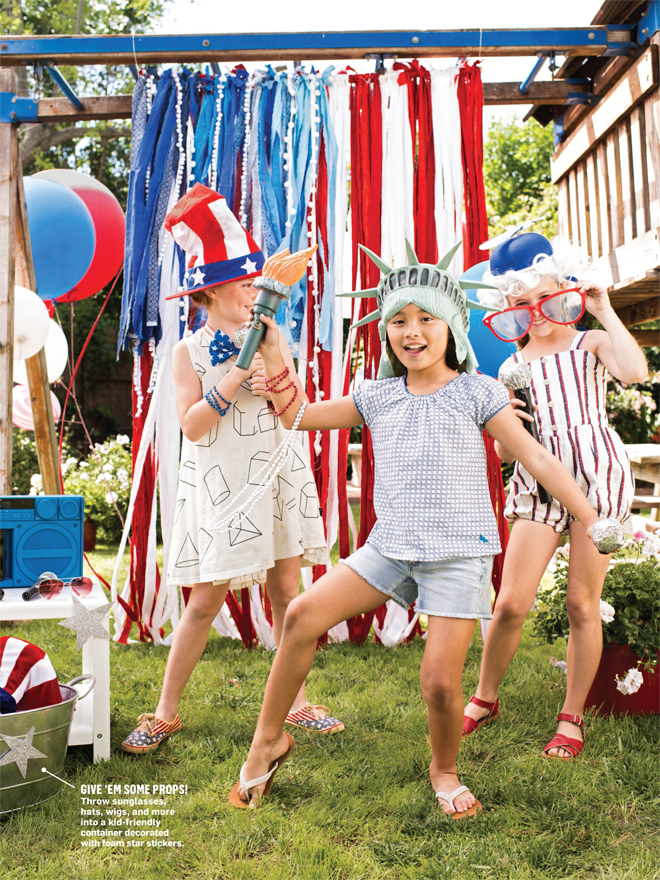
I did some craft styling a couple months ago for this month’s issue of Family Fun Magazine. If you still need some craft and decoration ideas for July 4th, I suggest picking up a copy of the magazine. A lot of the ideas are pretty simple with things you already have lying around the house. Use some Christmas tinsel to make supersize stars (I get my tinsel from Christmas Central), make a giant flag from fabric scraps, throw a lip sync contest with these glitter microphones, and pass out these playful trophies. If those aren’t enough to keep you busy, bust out some macaroni and have the kids make some Yankee Doodle necklaces.

The girls and I made a fun July 4th crown, but my studio is upside down and I can’t find them to get a proper picture. I’m hoping to share them with you on Friday (after I go digging through all my misplaced things due to our renovation). It’s been so chaotic here with our house stuff that my plans for July 4th involve a whole lot of chilling in bed and watching movies. We will get to celebrate the holiday the day before with my family for our annual seafood feast. My tummy is eagerly anticipating that celebration.

photography, sabrina helas. wardrobe styling, heather rome. craft styling, rubyellen bratcher. prop styling, amy lipnis.


CAKIES
©
Design by Blog Milk