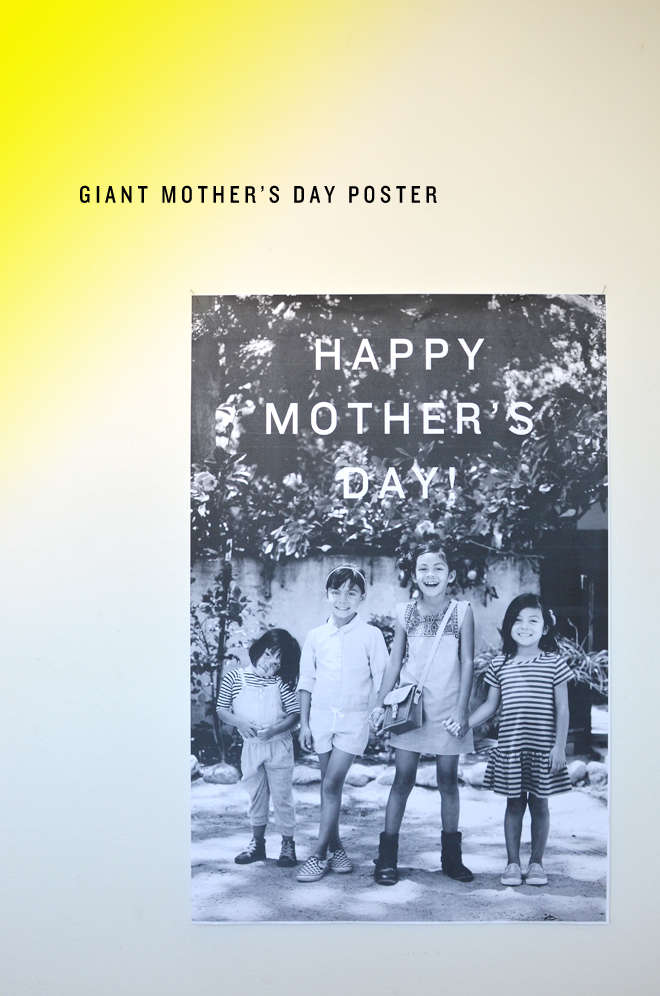
diy: giant mother’s day poster

May 5, 2015


DSC_8490 copyDSC_8453 copyDSC_8471 copyGiant Mother’s Day Poster

Directions:
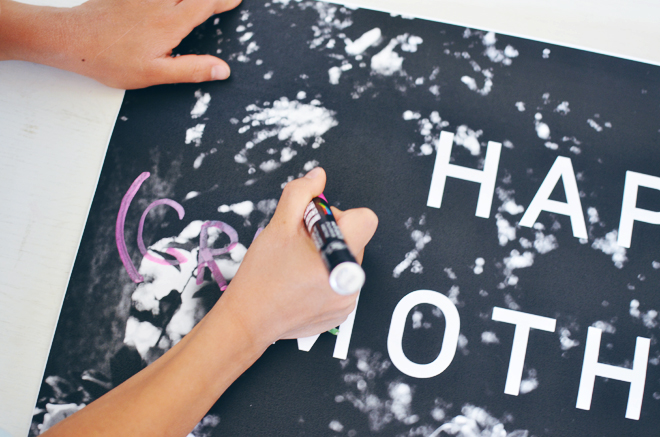
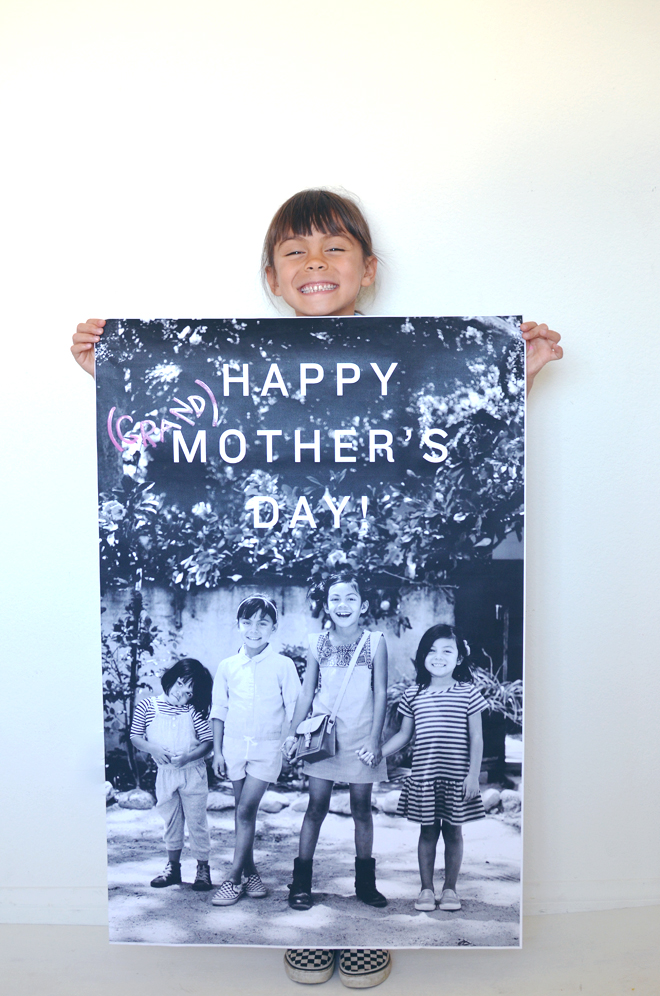
We took some photos this past weekend, and I chose one to use for our poster. In Photoshop, I switched the color image to black and white, added the Mother’s Day greeting, then saved it to be printed as a 24″ x 36″ poster. I went to our local copy store, and asked them to make a blueprint copy of the file. It prints out in black and white on thin paper (ours came out to $3.89 each). Since this is something we will be giving to our mothers, Ben’s and mine, we had the girls write “grand” (using paint marker) in parenthesis next to the word mother. I guess we could have gone with “Happy Grandmother’s Day!” on the poster, but I thought if the kids wrote the “grand” part, it would give it a sweet touch.

I got a poster shipping tube to send it off to Ben’s mom, and we will see my mom, so we can hand it to her in person. If you don’t have access to Photoshop, just have the children (or yourself) write the greeting onto the print. I think the large poster packs a nice punch, and of course, what mother or grandmother wouldn’t want a large poster of her children/grandchildren?! You can also keep this idea in your back pocket for Father’s Day!
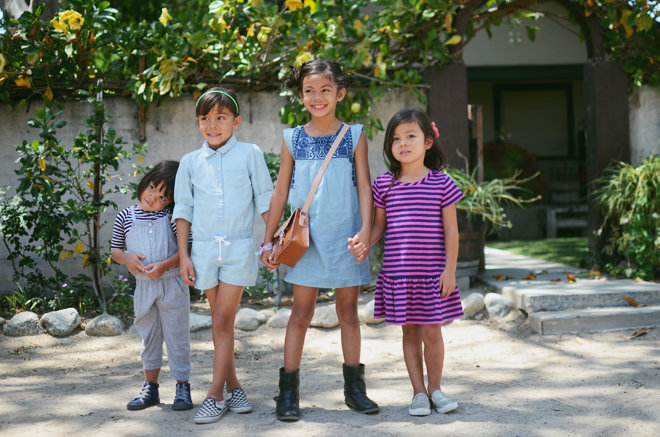
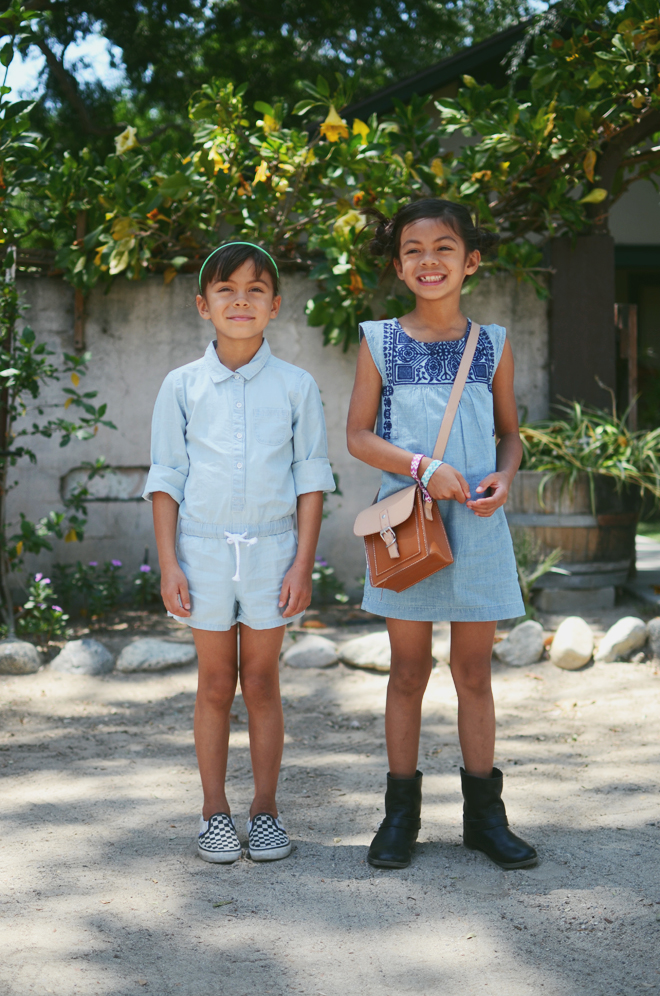
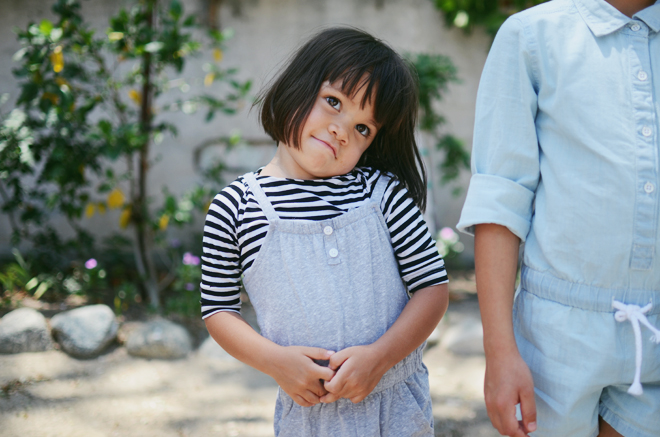
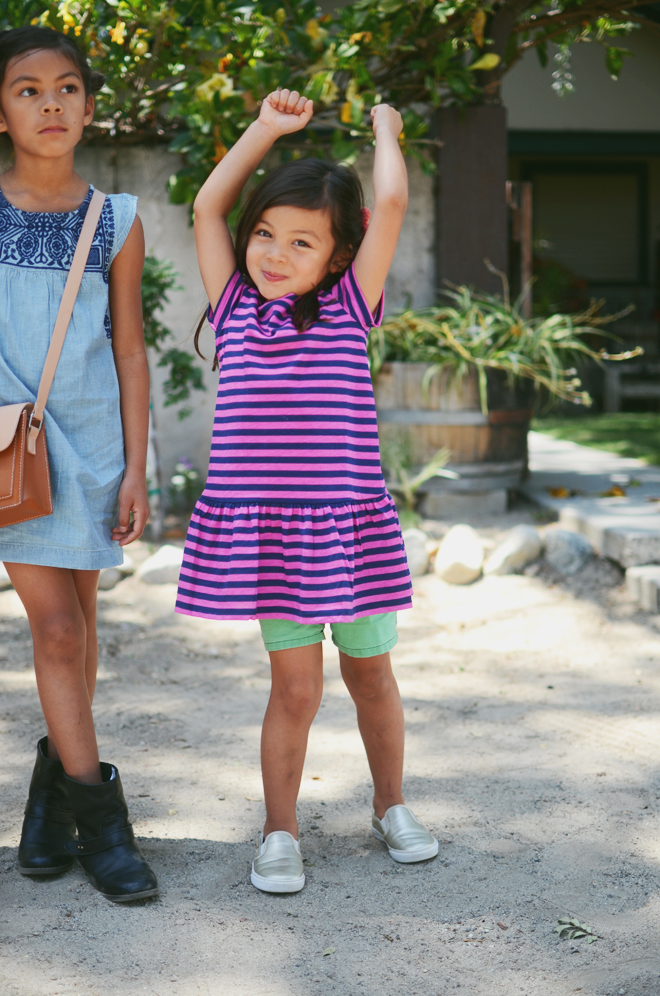
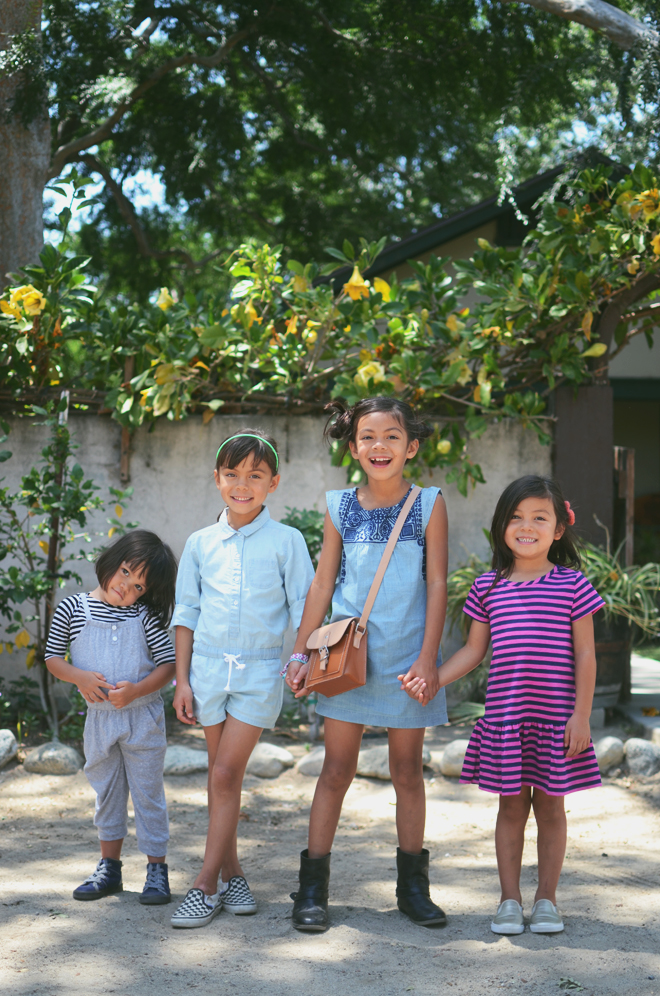
DSC_8174 copyDSC_8142 copyDSC_8185 copyDSC_8157 copyDSC_8178 copyOne thing I just realized is that none of my girls like spaghetti strap tops or dresses. Now that I think of it, I don’t either. I got this cute romper for Glow, but she didn’t want to wear it without a shirt underneath. She put up a fuss, until I offered her a top to wear under. I’d totally wear Brave’s romper and True’s dress (seriously considered ordering it in an XXL), and pair it with those exact shoes too! The fabrics are nice and light, perfect for the summer temperatures we had this weekend. Soul was super excited to get her own pair of slip-on sneakers. True and Brave have some that they share, so she’s been wanting that style to be like them… and now she can!

on true: chambray embroidered dress, c/o old navy. biker boots, gap kids (similar here). on brave: chambray romper, c/o old navy. checkered vans, shoes.com. on soul: stripe dress & slip-ons, c/o old navy. on glow: shirt, misha lulu. jersey romper & sneakers, c/o old navy.

This post is sponsored by Old Navy. In honor of the 101st Mother’s Day celebration, Old Navy is partnering with artist to bring some of your favorite memories as a a mom, or with your mom, to life in watercolor. To enter, see here for details. Thank you for the support you give me, this space, and the brands I choose to partner with!



diy: paper plate cake stands

May 1, 2015


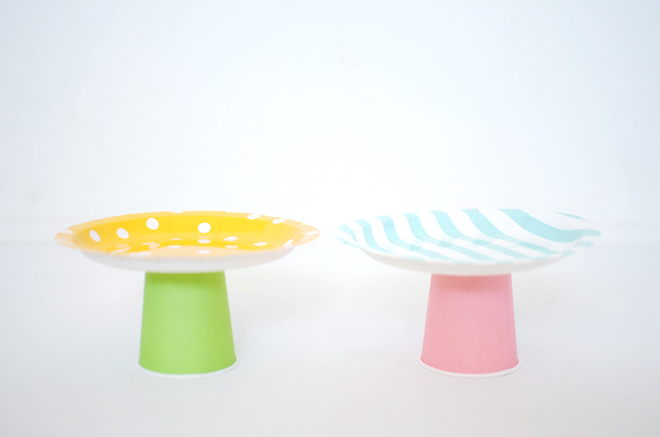
paper plate cake standsPaper Plate Cake Stands

Supplies:
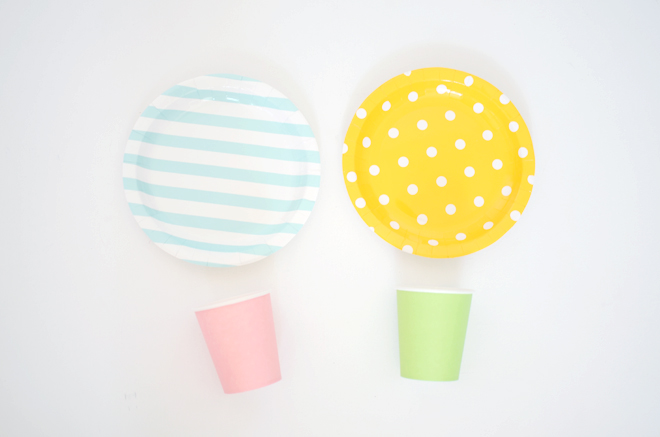
Paper plates
Cups (be sure it’s proportionate to the plate and not too small)
Glue gun/glue stick

Directions:
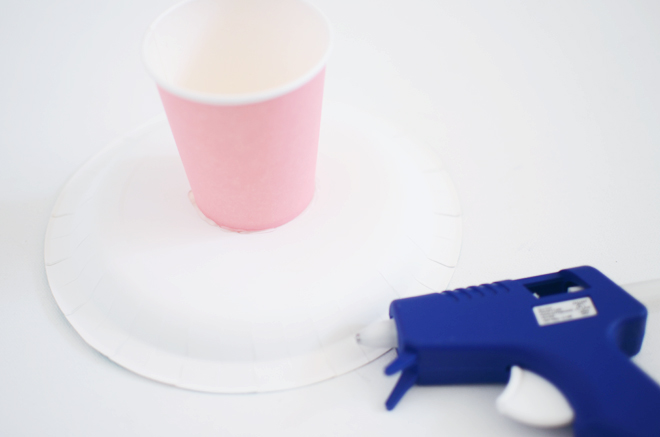
Add some glue to the bottom rim of the cup, center it on the bottom of the paper plate, and attach to set in place.

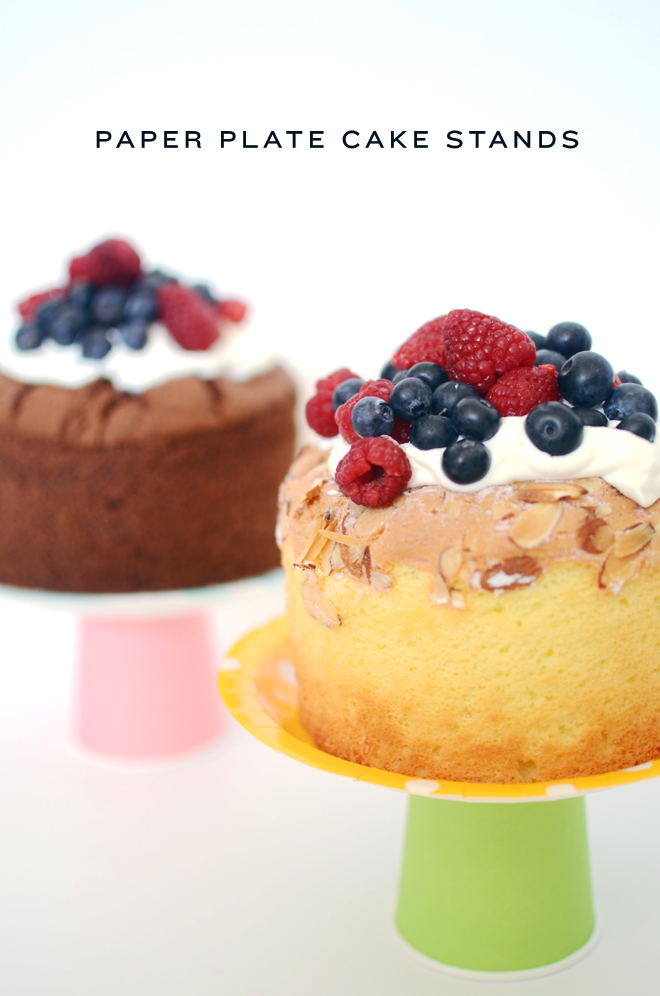
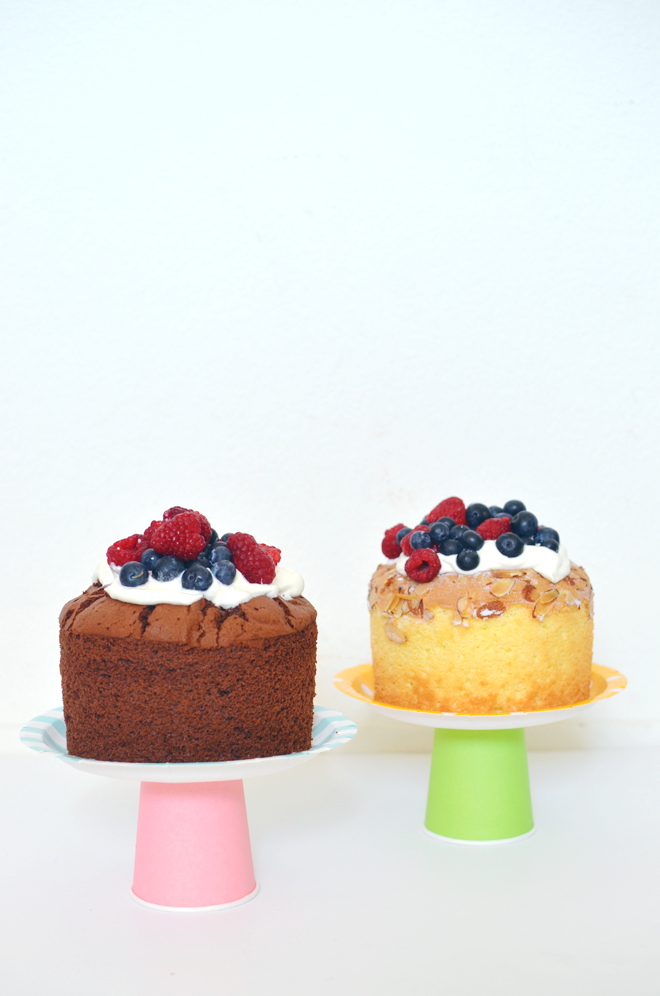
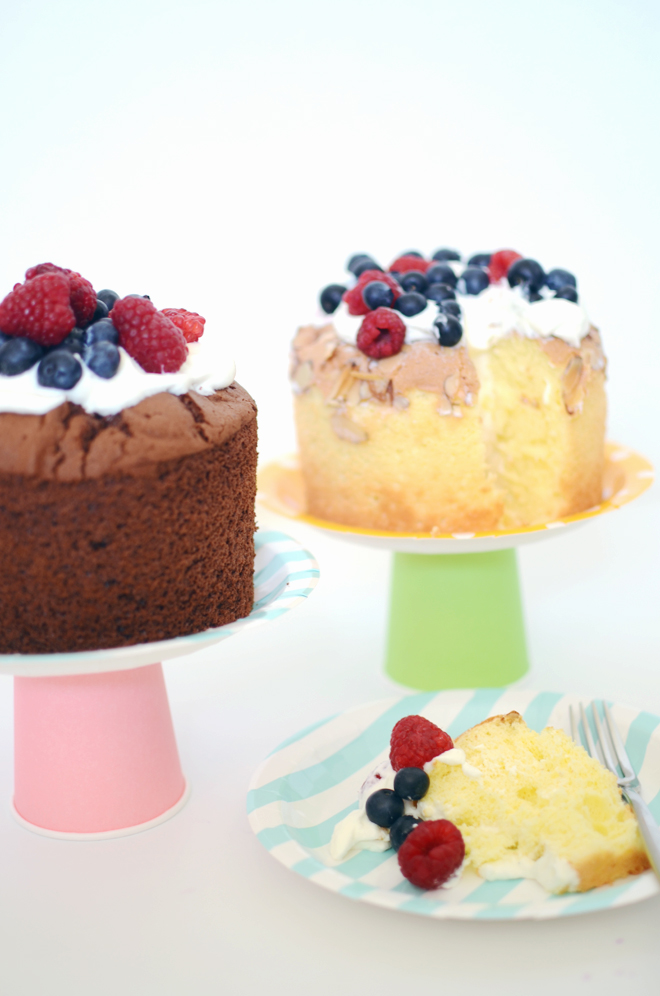
paper plate cake standspaper plate cake standspaper plate cake standsI needed 9 cake stands for True’s mini hotel party, and I thought about lugging 9 small cake stands with me, but decided against it once I saw these patterned paper plates at Daiso. I put these together in our hotel room (see here), and once all the mini bundt cakes were eaten, to the trash the cake stands went. It’s basically a paper plate on top of a paper cup, but it did the job I needed it to do, and they looked cute while doing it! I’m not sure how it would hold up with a larger cake, but I think for mini ones like these, they worked great.

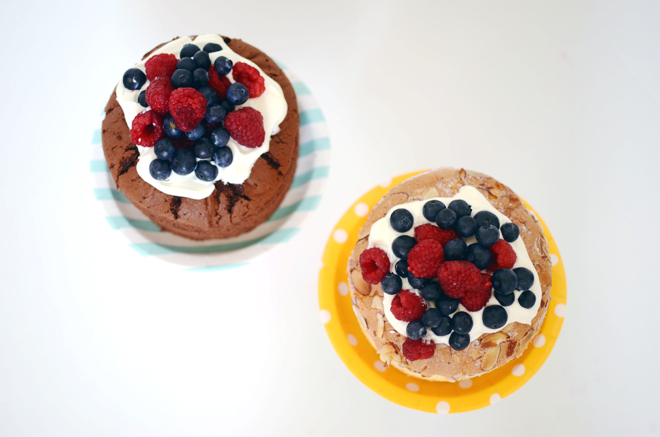
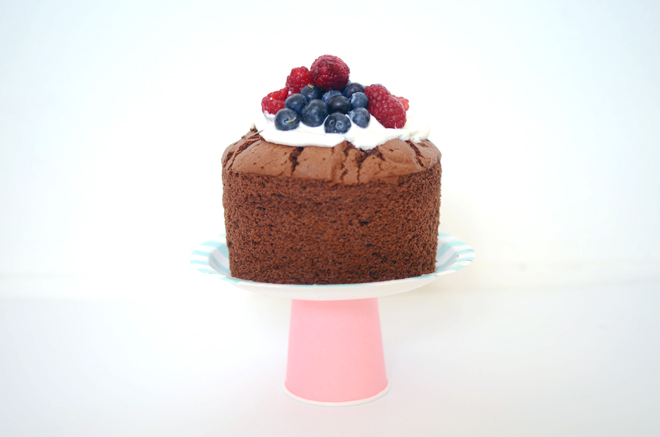
paper plate cake standspaper plate cake standspaper plate cake standspaper plate cake standsThe cakes here are from 85 Degrees, one of our favorite local bakeries; one cake was chocolate chiffon, and the other vanilla bean chiffon. It was so light, fluffy, and mildly sweet. The cake didn’t come with the berries and cream, I just added that myself. My girls would agree that it complemented the cake nicely, and it was the perfect cake to use for our paper plate cake stands!


spider-man dress from t-shirts

April 30, 2015


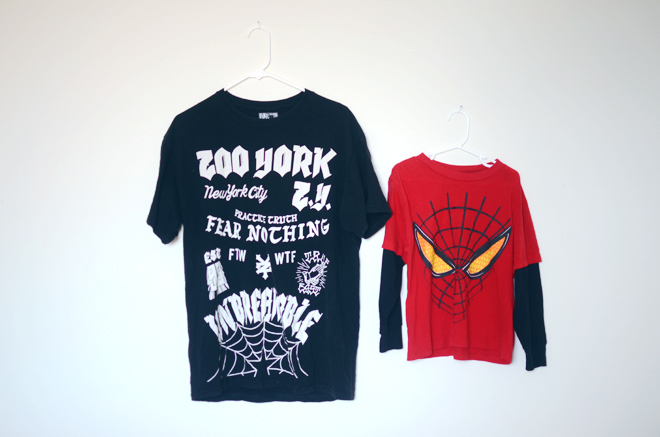
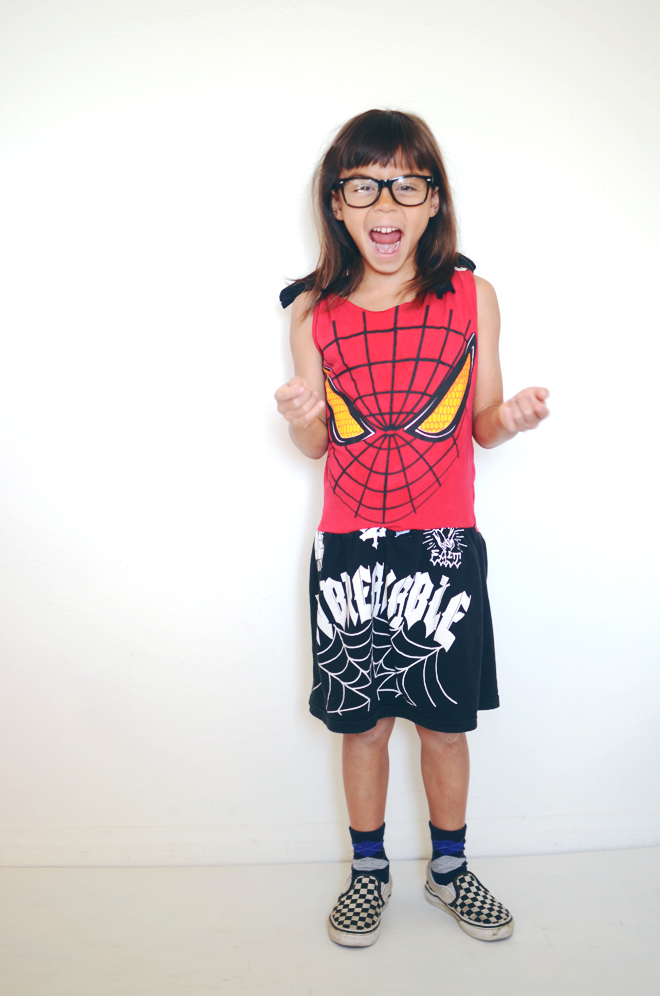
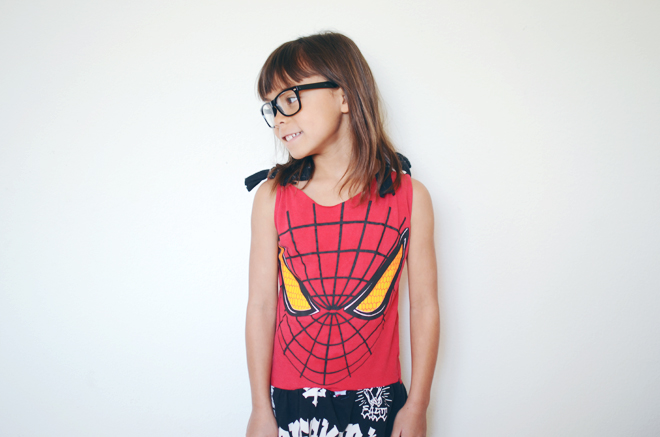
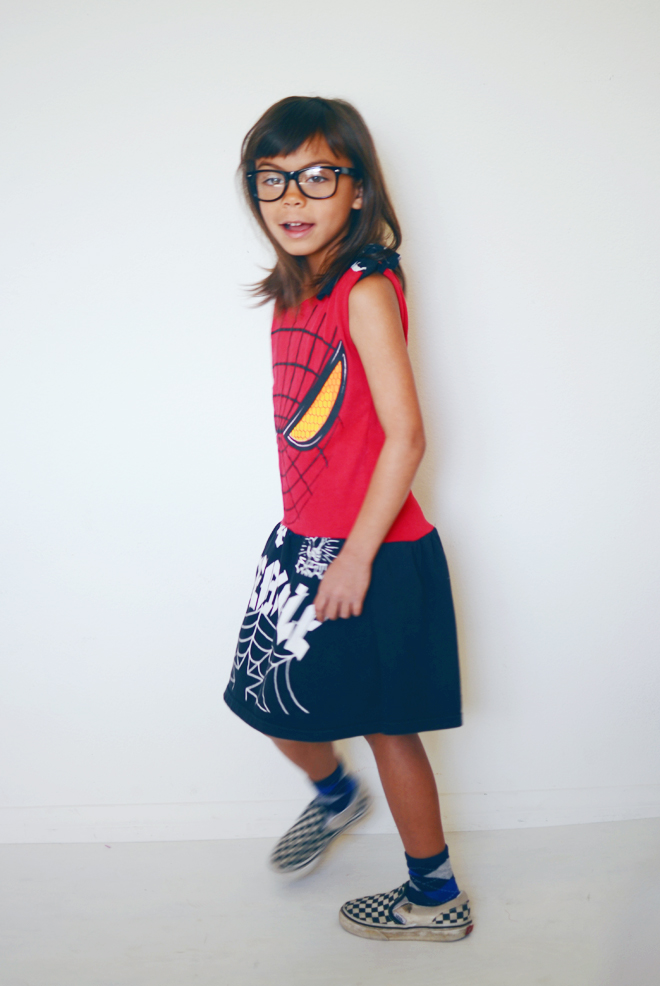
spider-man t-shirt dressspider-man t-shirt dressspider-man t-shirt dressspider-man t-shirt dressspider-man t-shirt dressspider-man t-shirt dressspider-man t-shirt dressBrave’s still adores all things Spider-Man. When she started, we thought it might be a phase that would end, but it’s still going strong. Typically, she insists on wearing blue or red (with her faux black rimmed glasses like Peter Parker) to represent Spider-Man, but she’s been getting into Nancy Drew the past year, so she also tries to dress like a detective. What you get with Brave is a Spider-Man meets Nancy Drew kind of vibe.

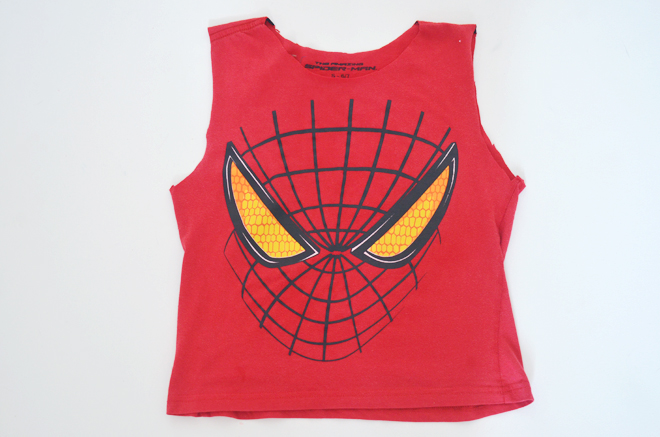
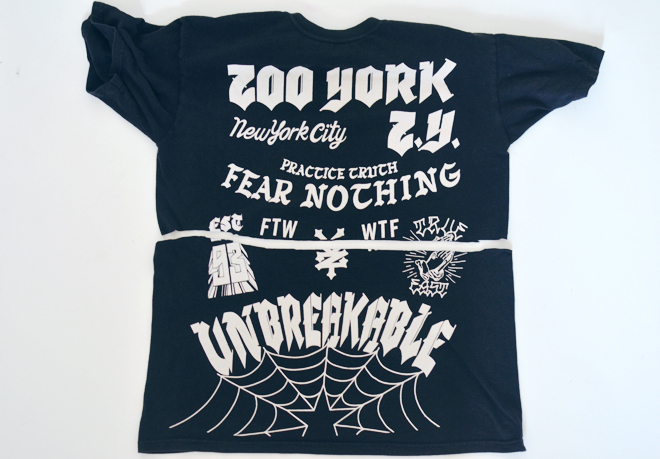
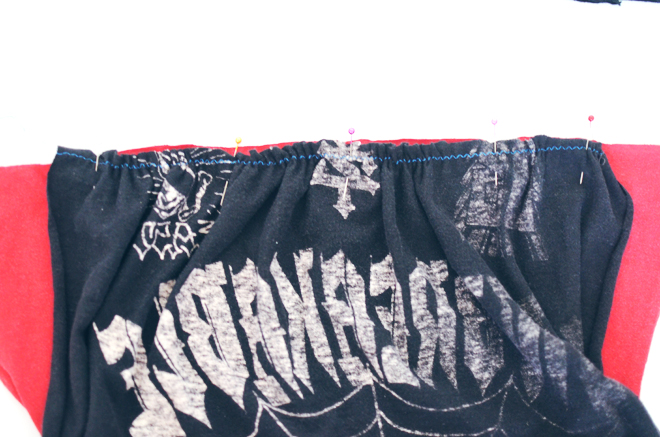
We thrifted these t-shirts and thought it would go well together for a Spider-Man dress. I cut off the sleeves from the Spidey shirt for the dress top, and then cut off the bottom of the larger shirt to make the skirt. Next, I gathered the skirt, and then sewed them both together. It was my first try at this style, and I’m not completely satisfied. I think mostly cause I wish we found a larger Spider-Man shirt for the top to make a looser style of dress. I wanna try again soon, and once I get it exactly right, I’ll share the tutorial here. You can get a rough idea from what I did in the pictures above. I’m not super wild about this one, but Brave is, so I guess that’s all that matters!

She was so excited when I made this dress, and what she doesn’t know is the reason I made the dress. It’s all in preparation to go watch Marvel Universe Live, so the girls are going to get a big surprise this weekend! We will have to round up all our Spider-Man gear and get all the girls decked out, but I can’t wait to see their faces once we enter the arena. They will flip out from excitement, especially my Brave.

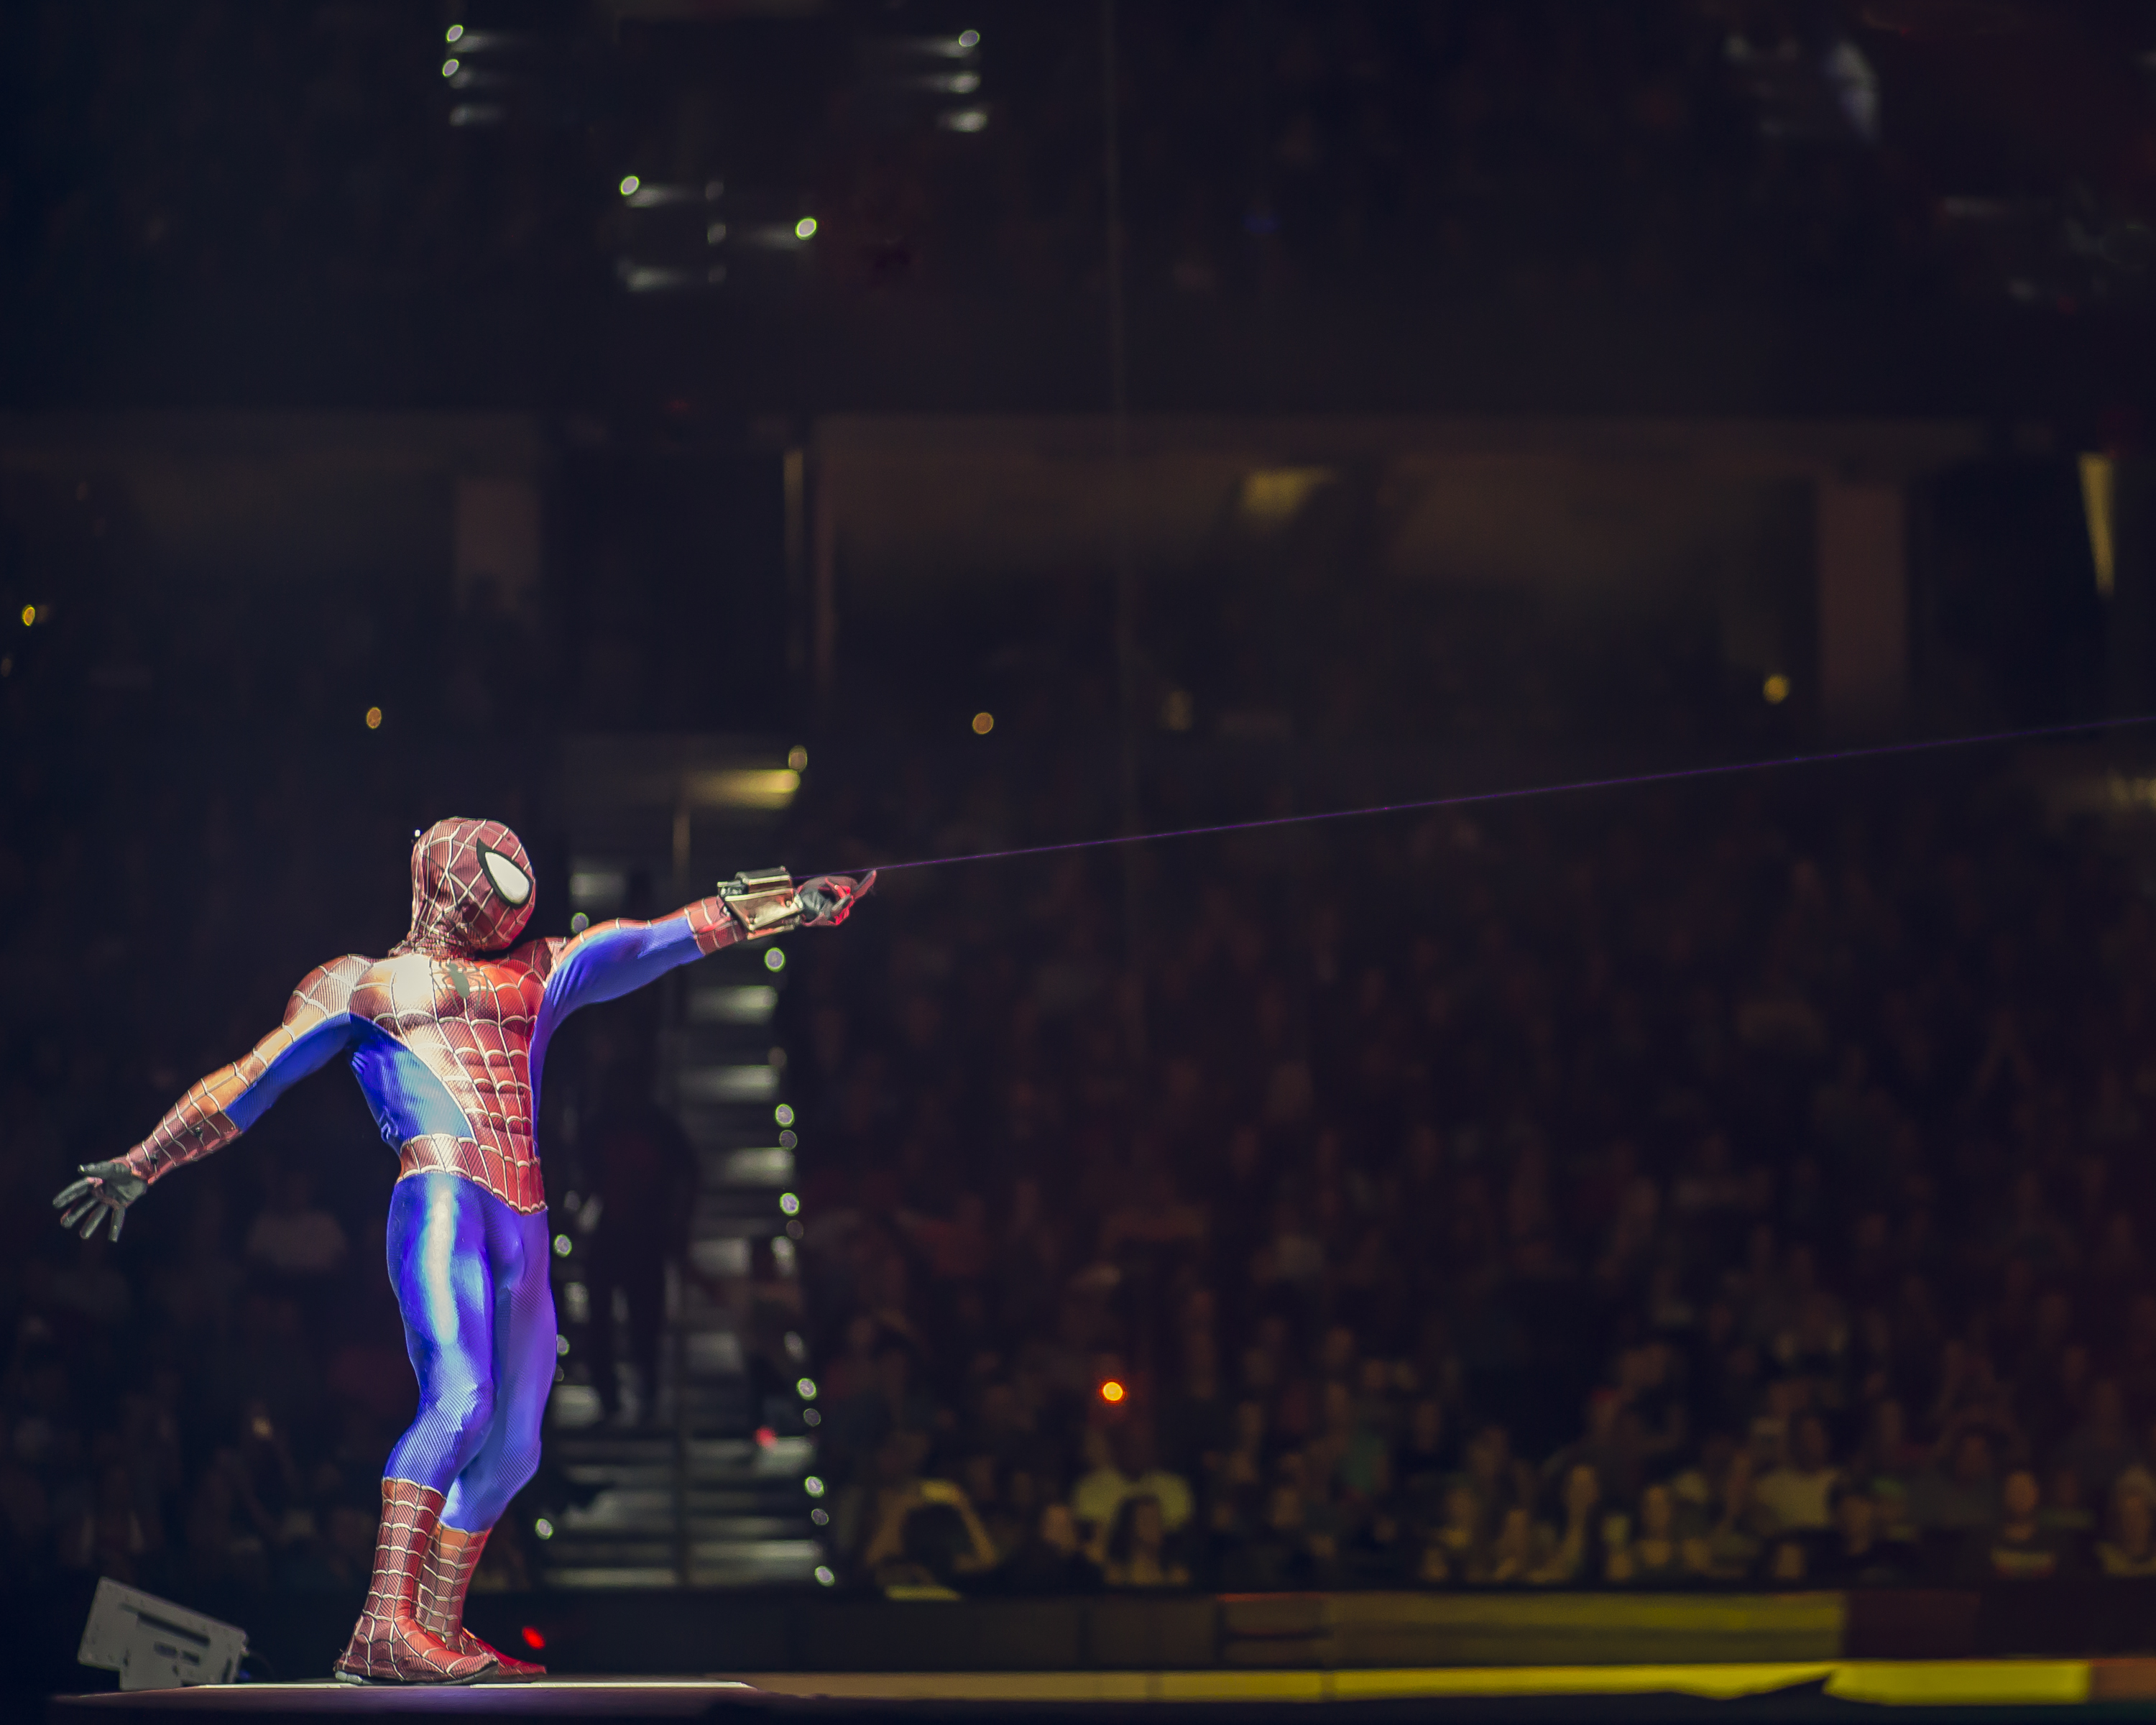
MUL_20140710_0860-Editmarvel universe liveMarvel Universe Live will be going on at The Forum, which I haven’t been to in ages, from Friday, May 1, until Sunday, May 3. A special discount ticket offer is now available for all city of Los Angeles/Inglewood residents for Marvel Universe Live! If you’re local, you can receive 30% off tickets by using promo code: CITY in the offer code prompt on Ticketmaster. Click here for tickets. Offer valid through May 3, or while supplies last. This is a touring show, so if you aren’t local, it might be coming to a city near you. Just check out Marvel Universe Live for more info.

Eek!!! Ben and I can’t wait to surprise them!!! Now, I just have to make sure Brave doesn’t read this post before then (they like to read my blog).

This post is in partnership with Feld Entertainment as a Feld Family Ambassador; complimentary tickets for the show were provided. I’m always so thankful opportunities such as this, and also for the time you take to support me and this space.


her ninth birthday dress

April 29, 2015


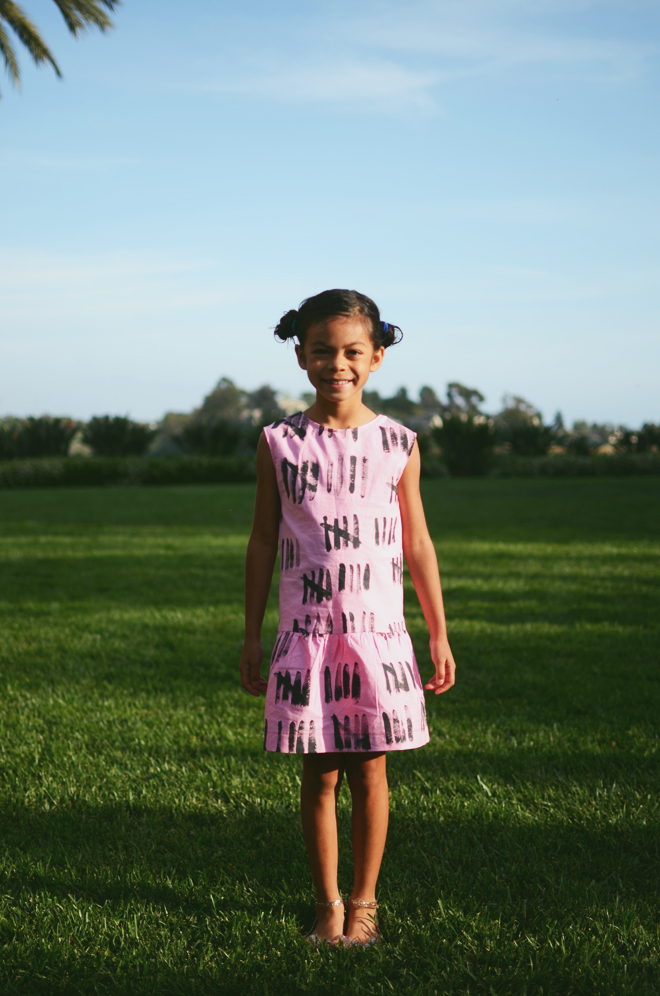
true turns ninetrue turns ninetrue turns ninetrue turns ninetrue turns ninetrue turns nineIf you follow on instagram, then you know our biggest girl just turned 9 this past weekend! I can hardly believe it! I remember the day she was born so clearly, just as if it happened yesterday. These past nine years have been really hard, but not because she’s difficult, but it has been a battle of fighting my own self-centeredness. I’m the difficult one. I have no clue how these kids live with me! Being a mother, at least a good mother, is a role that demands a lot of selflessness, and honestly, that doesn’t come natural to me. It’s taken a long time for my heart to understand denying myself, trusting in Jesus, and living out grace. Even still, I suck at it and that is precisely why I need more Jesus. Every single day goes like this… I mess up, ask for forgiveness, pray my heart believes the grace and mercy given at the cross, and things are fine and dandy, but then… boom! And repeat all of that about twenty times over.

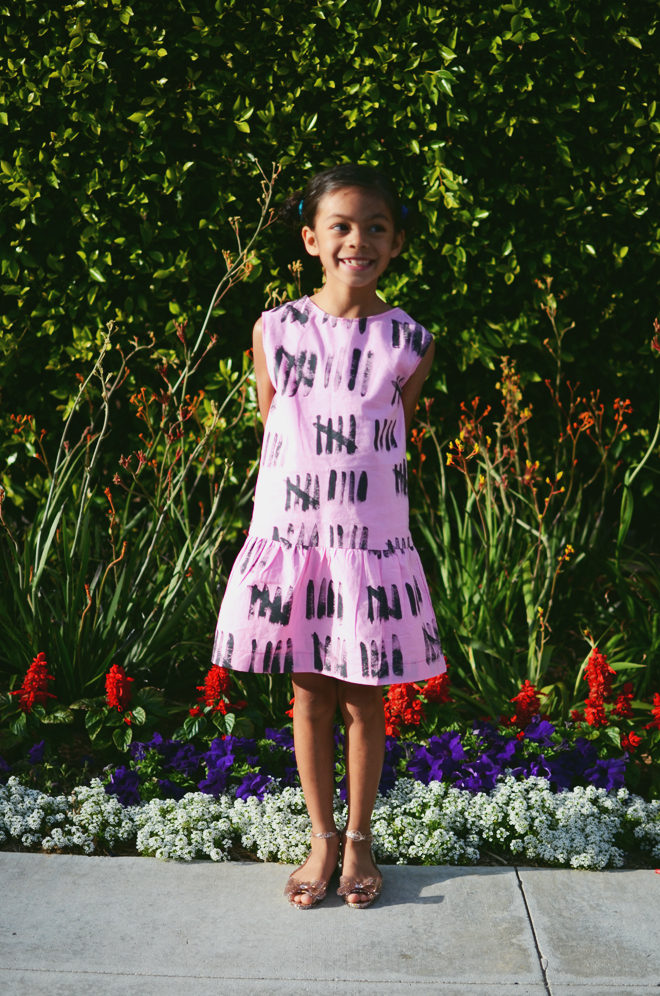
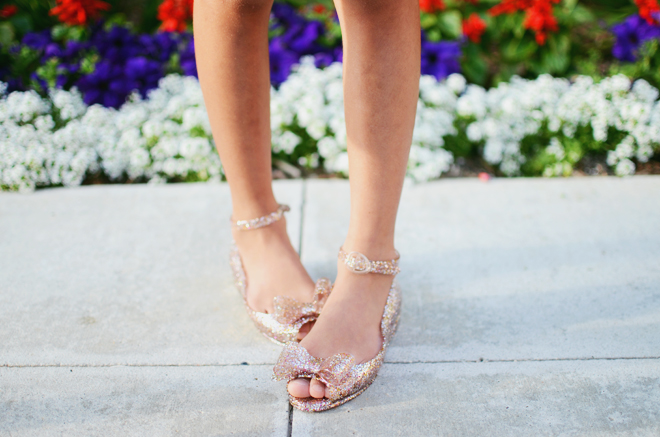
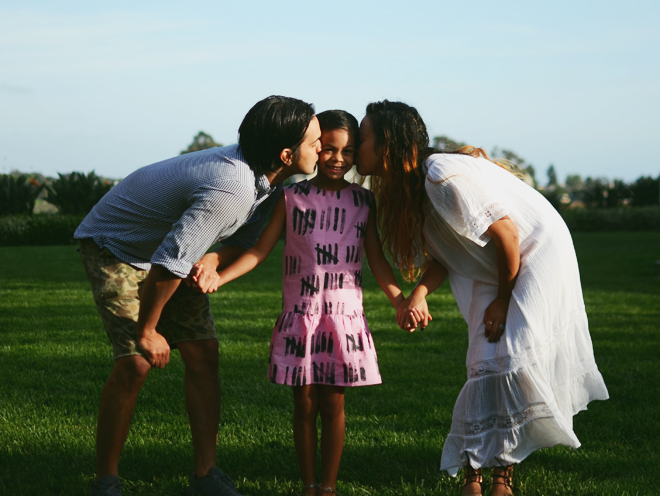
I chose a pink fabric for her birthday dress because pink is her favorite color. I was going to do grey and something similar to my eye dress, but knew she would like pink much more. Just like the eye dress, I had initially planned to do a shift style, but with the girly glitter shoes she was going to get for her birthday, I thought a drop waist would be much more adorable. To make the nine tally marks, I just used black fabric paint and hand-painted them on. If you have my book, you know we are all about creating our own patterns on fabric. And of course, before you do any painting or sewing on your fabric, it is best to wash your fabric first. Next, iron it, and then go to town painting (or sewing). To heat set the design on, I allowed the paint to dry completely, and then press the fabric again to heat set in place (use some scrap fabric between in case any of the paint bleeds off).

Happy birthday my dear True! We love you whole heck of a lot! 

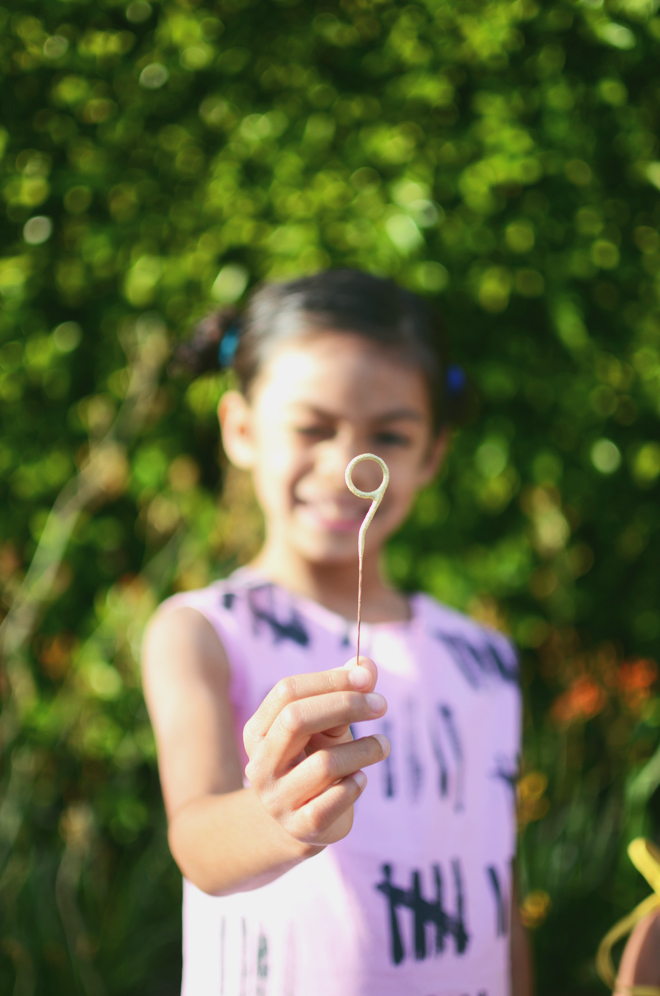
*I got the 9 sparkler from Nothing Bundt Cakes, but this one from amazon is similar.


paper poms, flags, and other treats

April 22, 2015


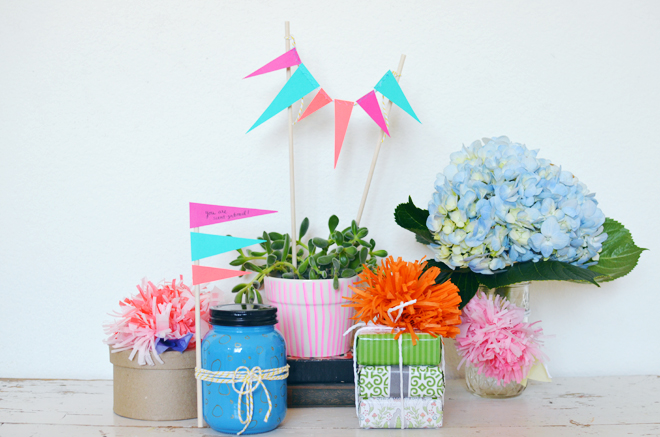
paper poms, flags, and other treatsPaper Poms, Flags, and Other Treats

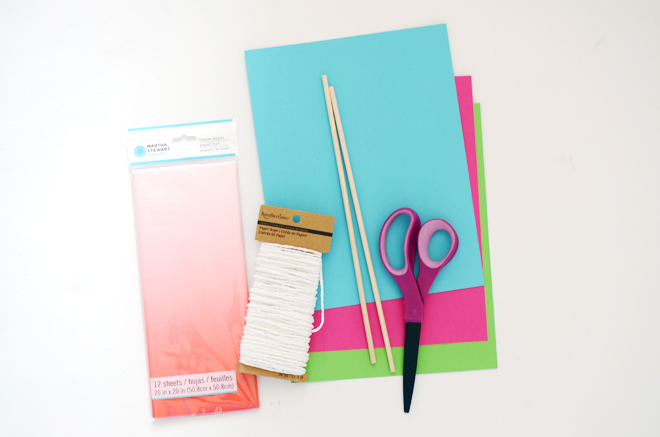
Supplies:
Cardstock in various colors
3/16″ x 12″ dowels
Tissue paper
Paper rope (twine)
Glue gun and glue stick
Scissors
Sewing machine

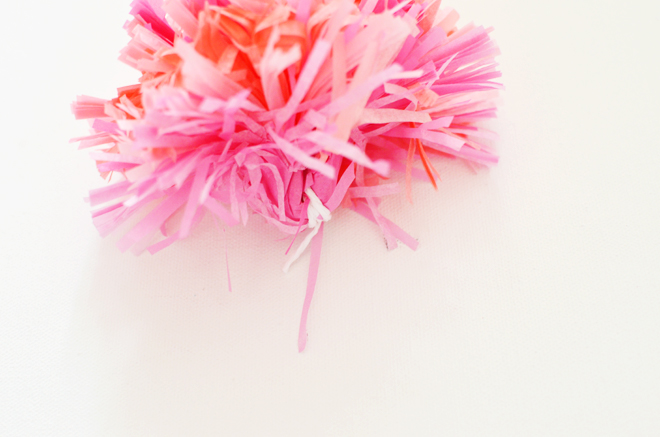
paper pomsTo make the paper poms:
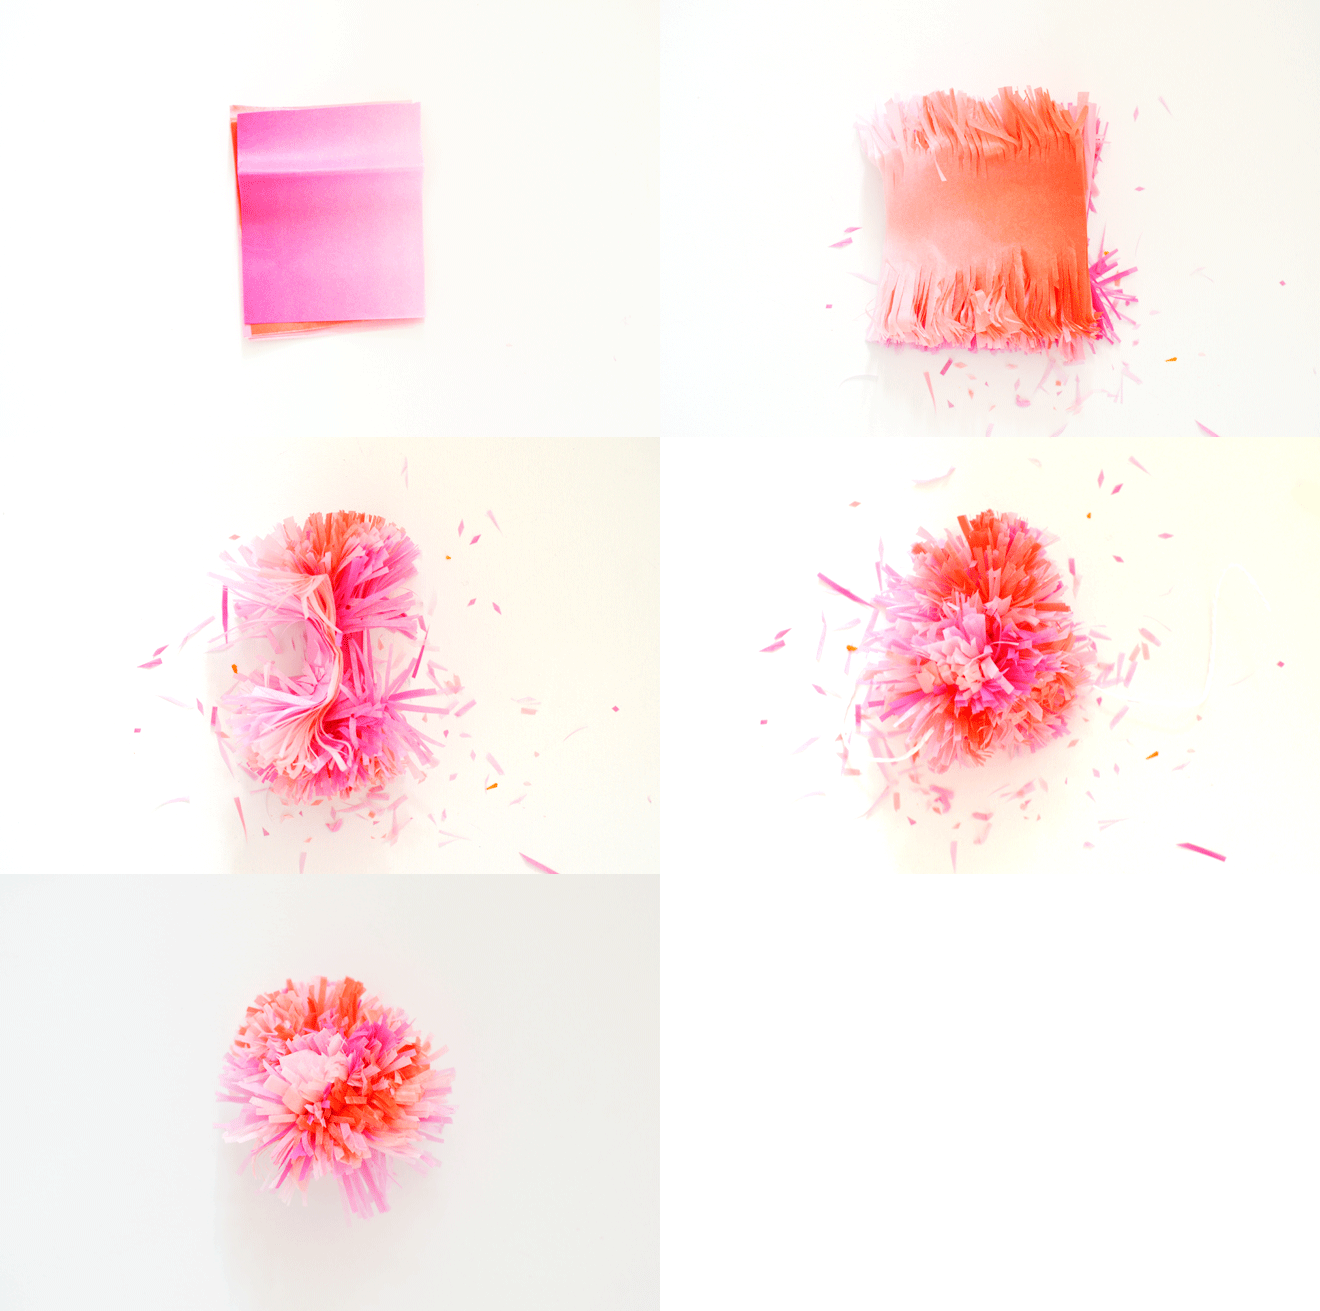
Cut out a stack of tissue paper in a rectangular shape (I used a stack of 10). Cut slits on both short ends towards the center, leaving about 1″-2″ of space uncut in the middle. Roll the tissue paper stack together, with an 8″ strand of twine tie the middle of the roll tightly, and knot to secure. Fold the tissue paper upwards to create your pom shape.

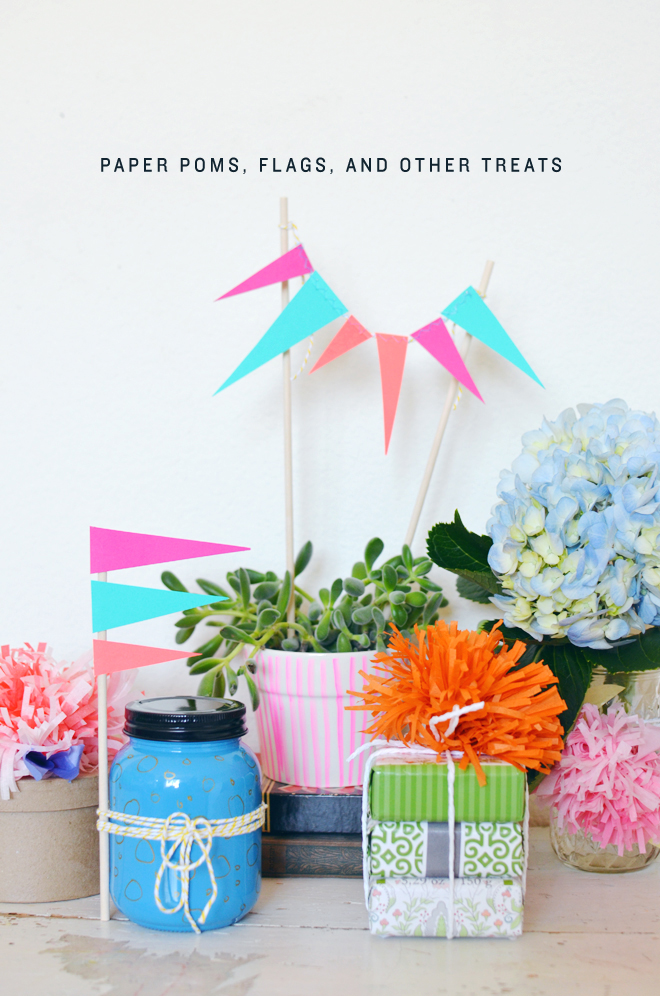
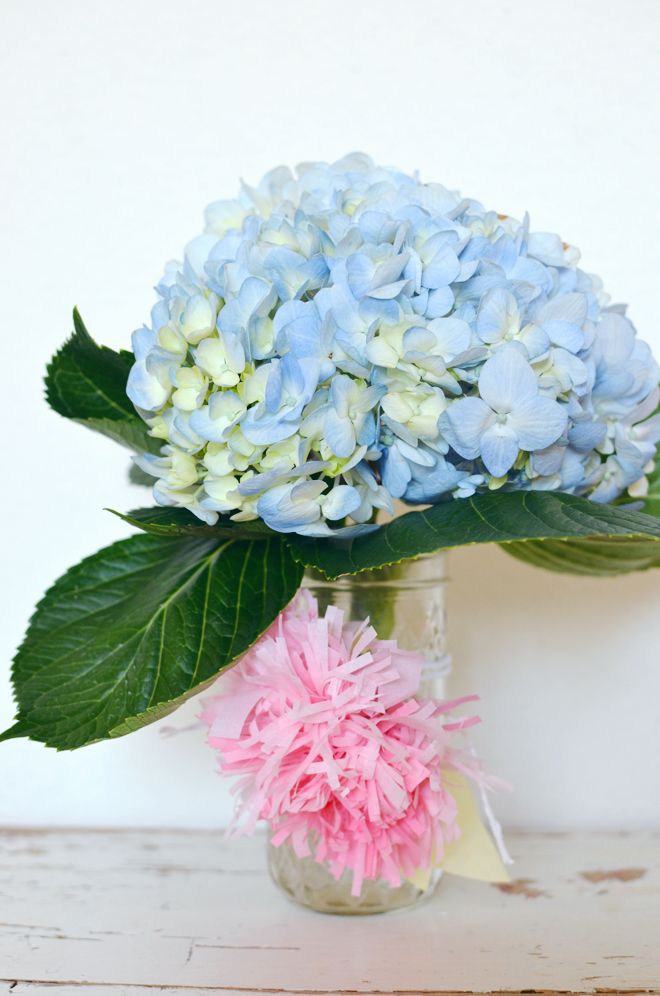
paper pomsYou can use a mason jar as a vase, and dress it up with flowers up top and tie on a paper pom on the side…

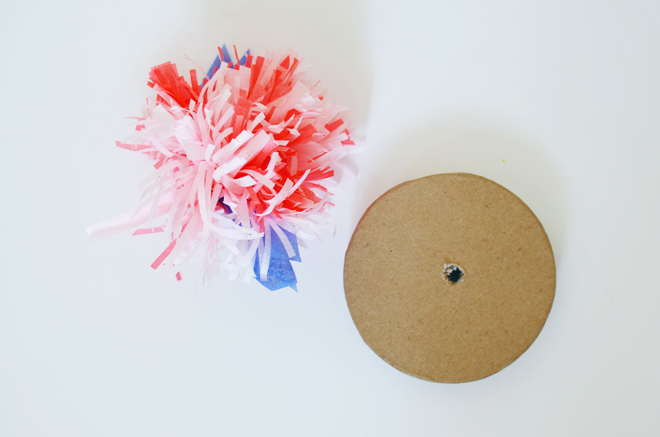
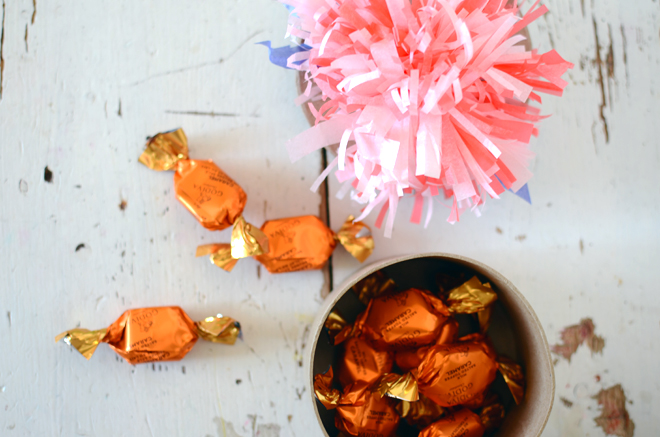
DSC_4177 copyGet a paper mache box, poke a hole in the center (be sure it is wide enough to fit the center section of the tissue paper pom), and insert the pom on top. May need to use glue to secure in place. Then, fill the box with some delectable sweets…

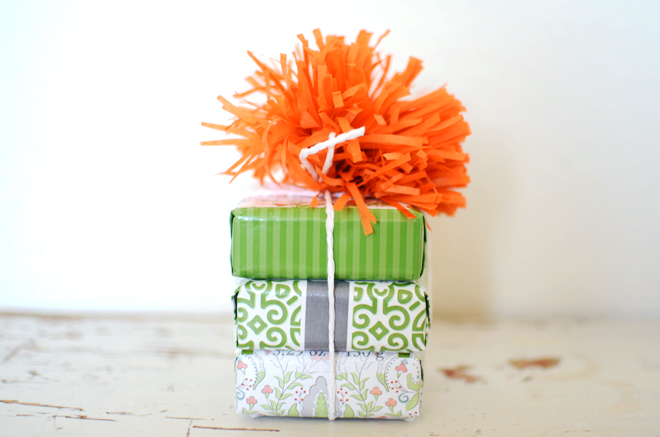
paper poms, flags, and other treatsDSC_4140 copypaper poms, flags, and other treatsUse the paper pom to top a stack of lovely smelling bath soaps…

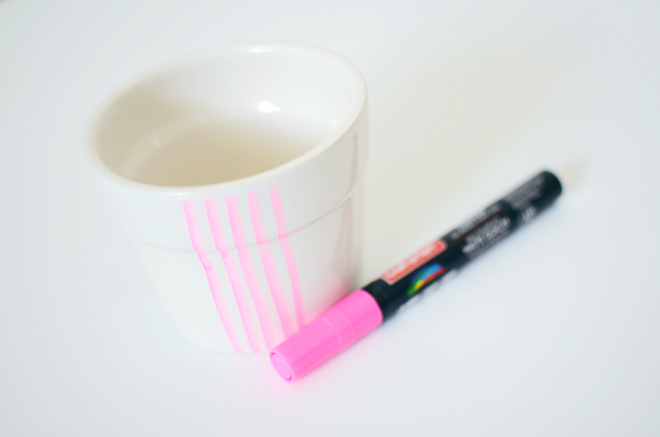
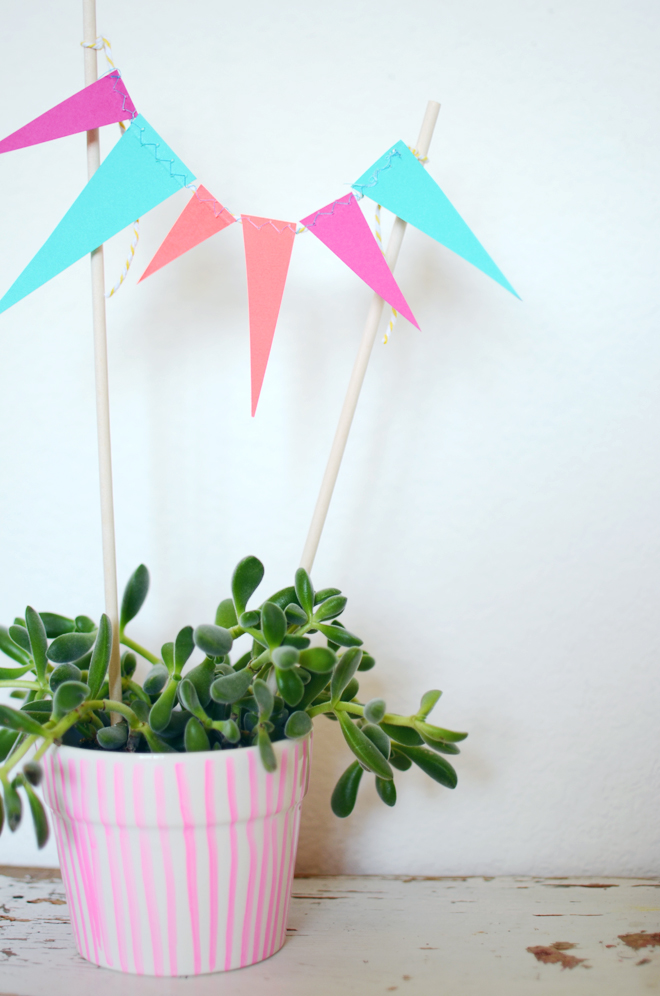
paper poms, flags, and other treatsI got a plain ceramic pot and added some pattern with a ceramic marker. Then, I added a plant inside (of course!), and inserted the paper flag bunting…

paper poms, flags, and other treatsTo make the paper flag bunting:
For the bunting, cut out triangles in various sizes, then run the top through the sewing machine using a zigzag stitch (leaving some long strands on both ends), and tie the ends onto some wooden dowels.

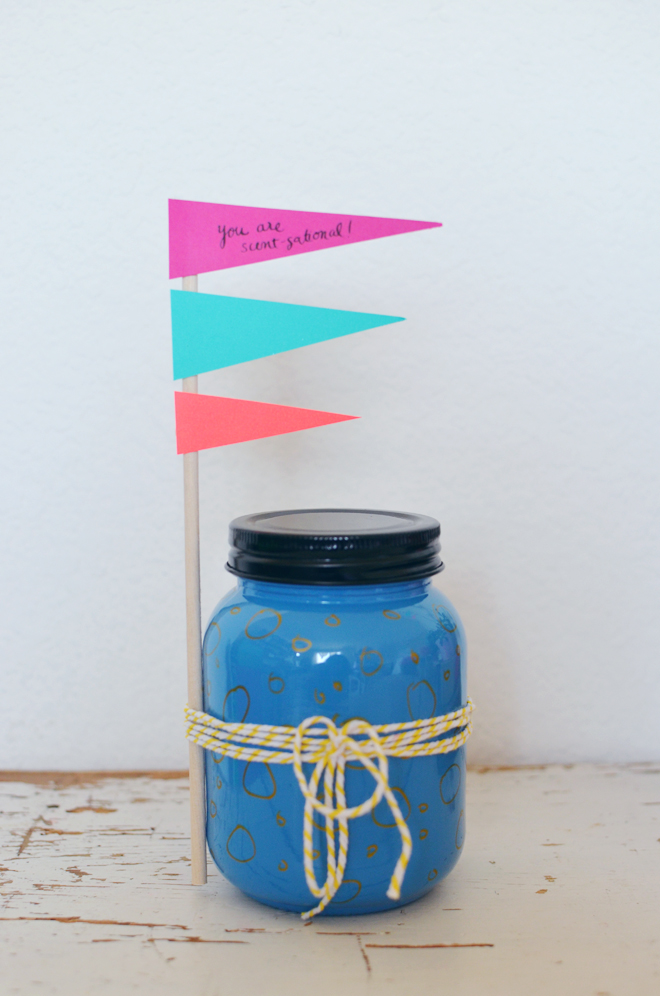
paper poms, flags, and other treatsFor this one, I just glued some flags onto a dowel, and attached it to a scented candle in a jar. For a little more fun, you could also write something like, “You are scent-sational!”

paper poms, flags, and other treatspaper poms, flags, and other treatspaper poms, flags, and other treatsThis month’s challenge is all about celebrating! These simple gifts would be perfect to give to your child’s teacher, maybe for Mother’s Day (or Father’s Day), or even just to let a friend know how “scent-sational” they are! I got the mason jar, candles, chocolate, and even the soaps all from Michaels. They have lots of little goodies that would work as lovely gifts, and you could add a little oomph by dressing them up with paper poms and flags!

Supplies for this project were provided as part of the Michaels Makers Series. Michaels is celebrating every occasion this summer with gifts for Moms, Dads and teachers, and parties to celebrate birthdays, graduation, and the 4th of July! What are you celebrating this summer?

 Loading InLinkz ...


diy: pom pom headband & clips

April 10, 2015


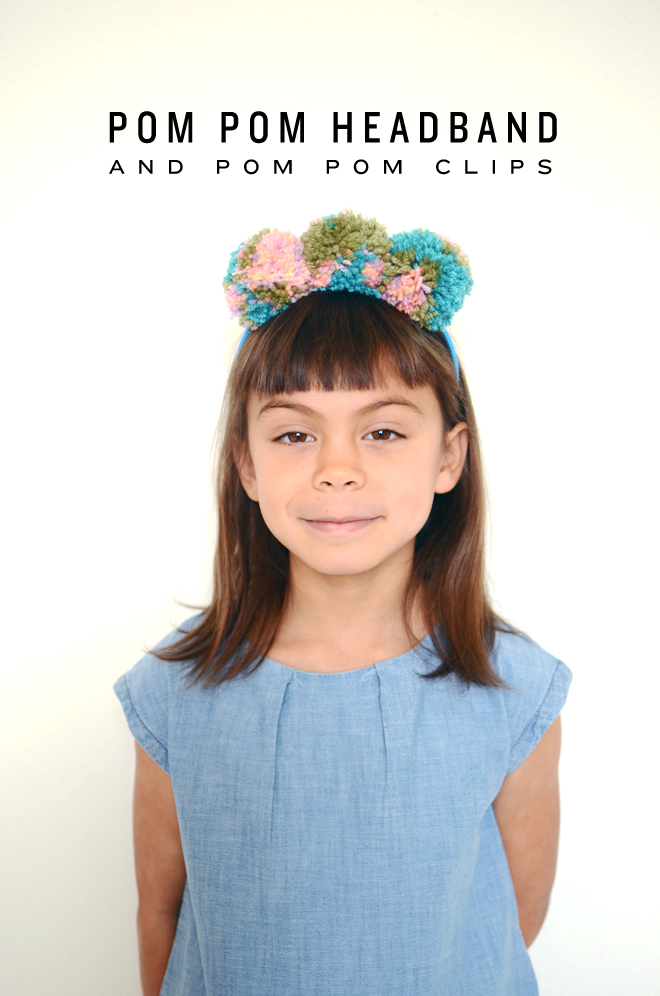
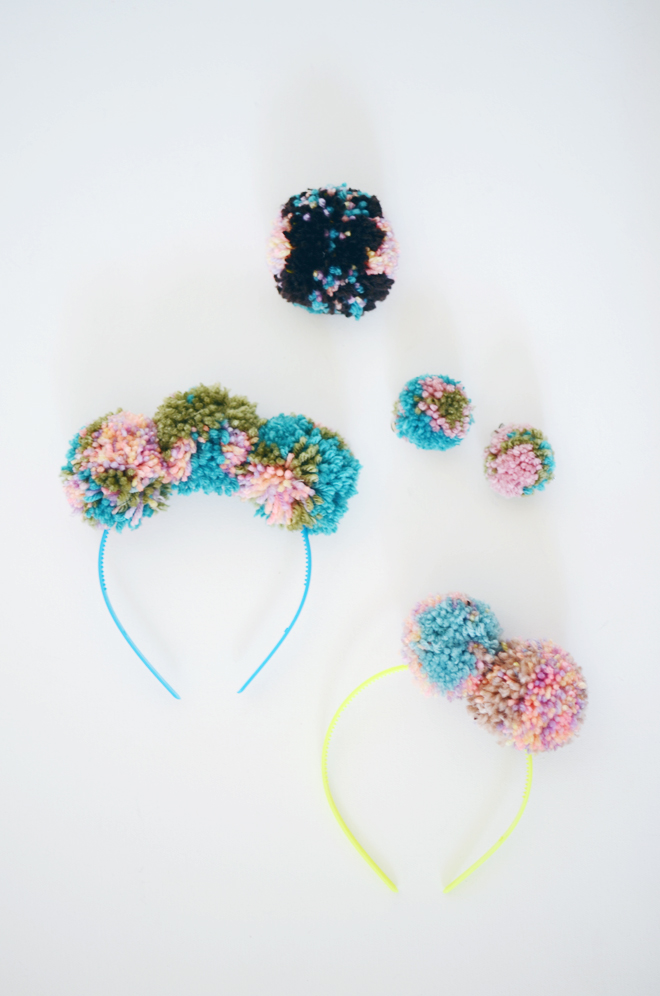
pom pom headbandsPom Pom Headband & Clips

Supplies:
Yarn (in various colors)
Scissors
Headbands
Alligator clips (we used this 4.5cm and this 6cm)
3″ x 4″ piece of cardboard (for pom pom making)
Glue gun/glue stick

Directions:
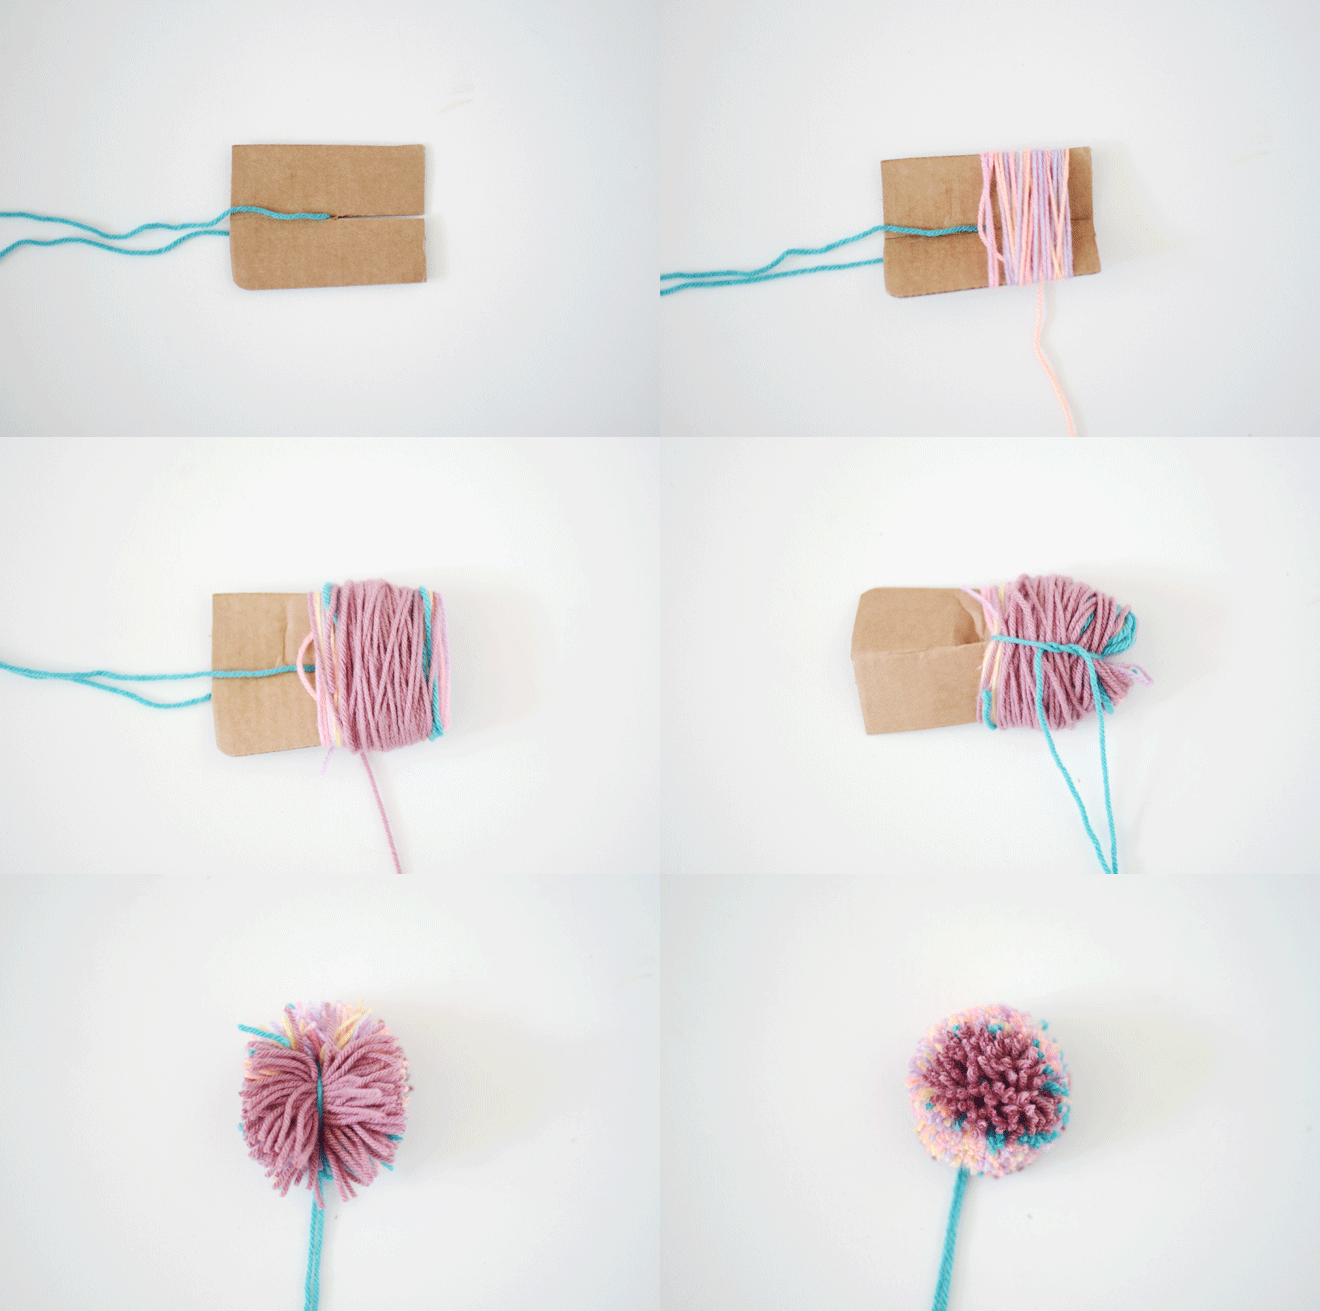
1. To make your pom poms: Cut a slit across the middle to the center of the cardboard piece. Insert a 10″ strand of yarn and let it hang evenly on both sides of the slit. Wrap yard around the cardboard until you reach the desired thickness. Using the 10″ strand, tie a secure knot around the wrapped yarn. Mature sure to pull it tight before knotting. Slide the pom pom off the cardboard. Cut through all the loops and shape your pom pom by trimming around as needed.

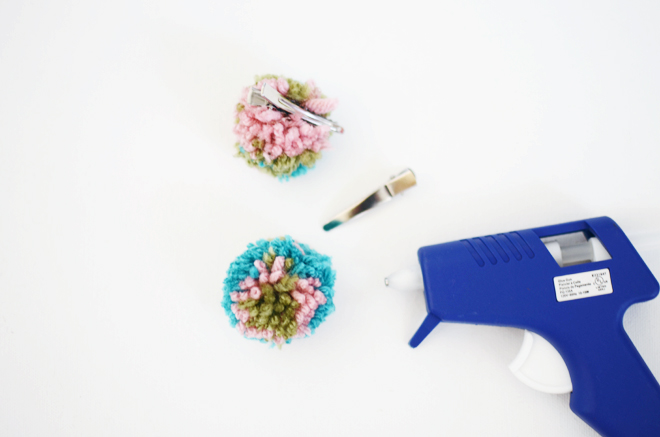
2. For the headband, add a dab of glue where your pom pom will go, and attach the pom on that spot. Continue to use your long strands to knot the pom pom onto the headband by knotting on the bottom, and taking the long strands and knotting tightly at the top too. For the clips, add a dab of glue near the knotted portion of the pom, and attach alligator clip. Snip any long strands to blend with the rest of the pom pom.

Note: To make the smaller pom poms, I just wrapped the yarn around two of my fingers.

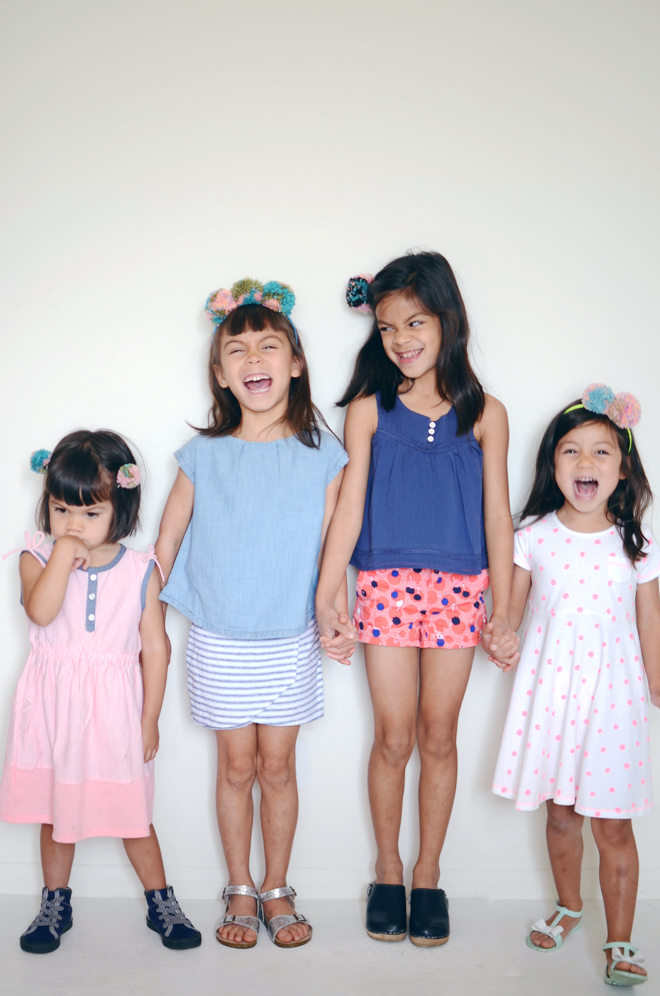
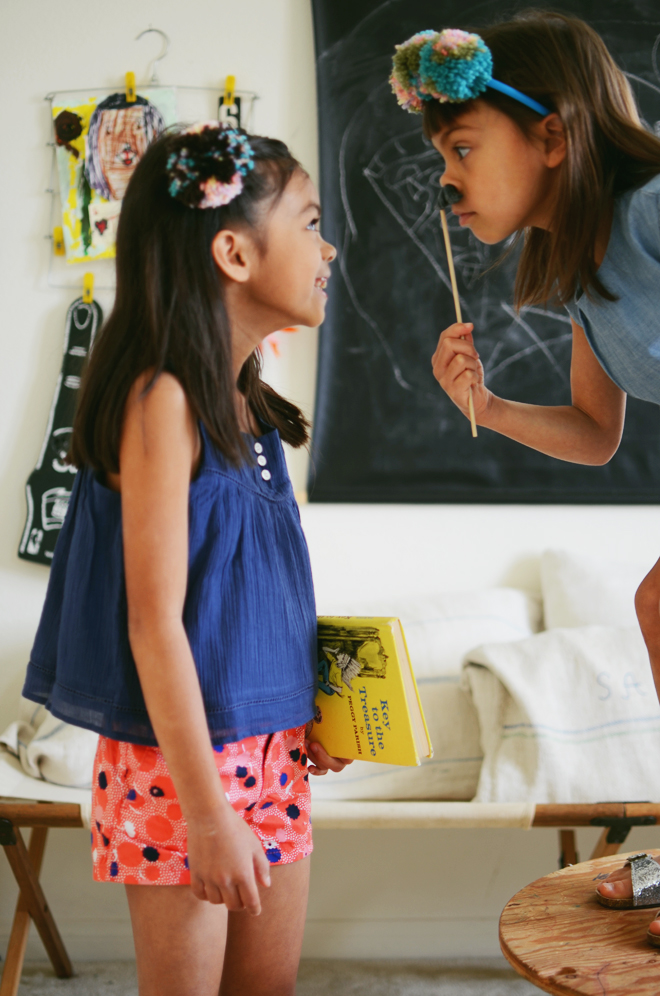
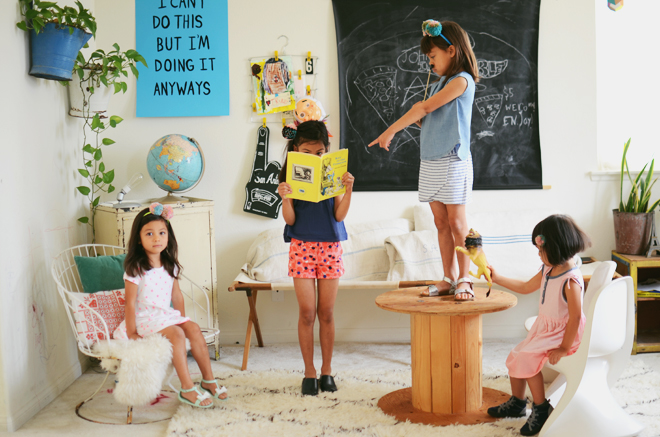
pom pompom pompom pom headbandsAnd boom! We have another fun hair accessory! These girls are always asking to make new ones. Brave looks like some sort of pom pom princess with her three poms. It would be adorable to use brown yarn, spread them apart on the headband, and make it look little like bear ears. I bet most of you already have the supplies to make this. It’s such an easy DIY that definitely adds a fun pop to a spring outfit.

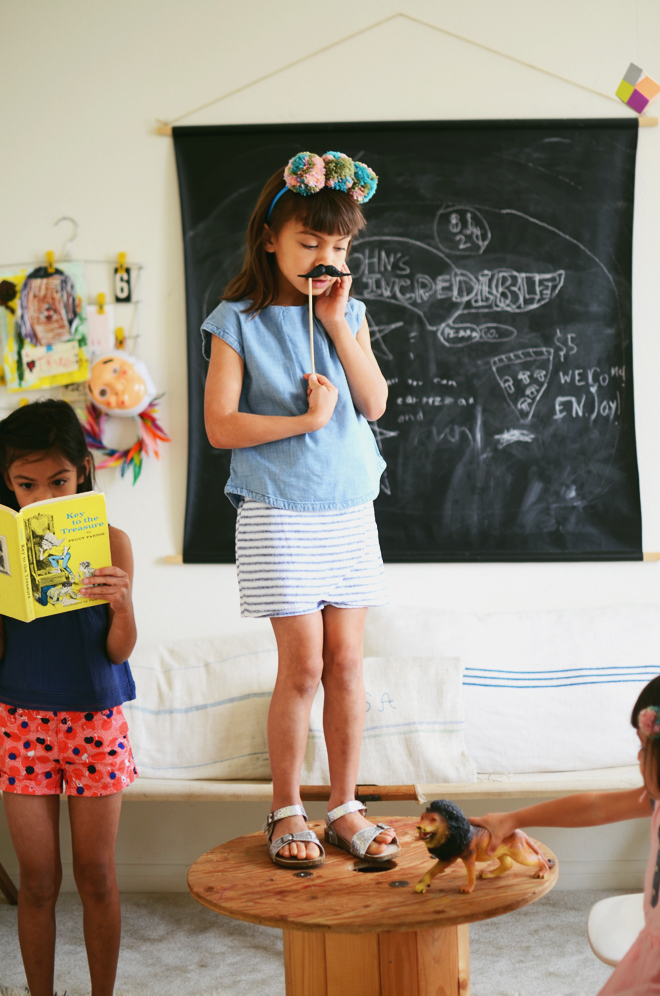
pom pom headbandspom pom headbandspom pom headbandspom pom headbandsThese girls are such a riot! As long as they’re home, there’s never a dull moment (while I love them home, I also cherish the dull moments I get from time to time). Based on how hormonal I get, I know the teenage years ahead will be tumultuous ones with someone going through some sort of feels all the darn time. Poor Ben, he will need a safe hiding place sometimes. I feel like “we’re living la vida loca,” but I wouldn’t have it any other way. We really love having four girls; they refine me so much!

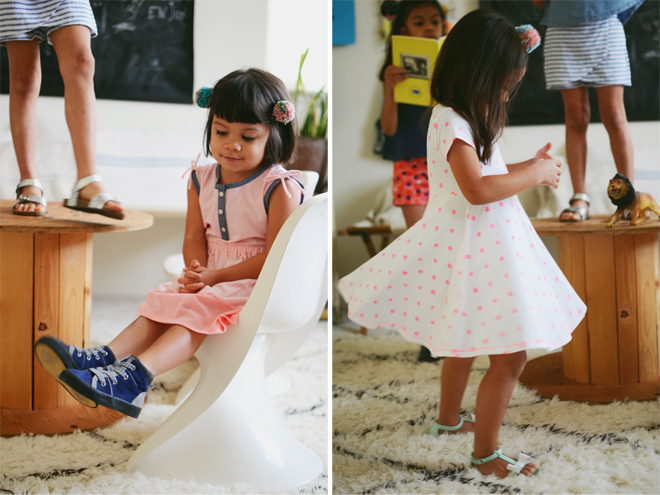
I guess the skort is back. I’ve seen them for adults and I love the pair Brave’s wearing. I was a total skort person back in the day, and I loved pairing them with my flatform sneakers. Actually, I’d totally wear Brave’s whole ensemble from her birk-esque silver sandals to her denim top. I’ve been wanting a denim top just like that (I’ll probably just sew one, or thrift one and refashion it). Soul proclaimed her dress is perfect for twirling (that is one of her criteria in determining if she likes something). True’s going through that long and lanky stage, and wearing shorts make that quite evident. And Glow, sweet Glow, she’s the baby and just goes with the flow of whatever is going on. Though, she is slowly starting to become more vocal about things she likes and doesn’t like.

on true: boho top & patterned shorts, c/o old navy. clogs, lotta from stockholm. on brave: denim top (similar here), linen skorts, and silver sandals, c/o old navy. on soul: jersey dress & jelly sandals, c/o old navy. on glow: color-blocked dress & sneakers, c/o old navy.

This post is sponsored by Old Navy. I’m very grateful for the continuous support you have given this space and the brands I partner with! 

CAKIES
©
Design by Blog Milk