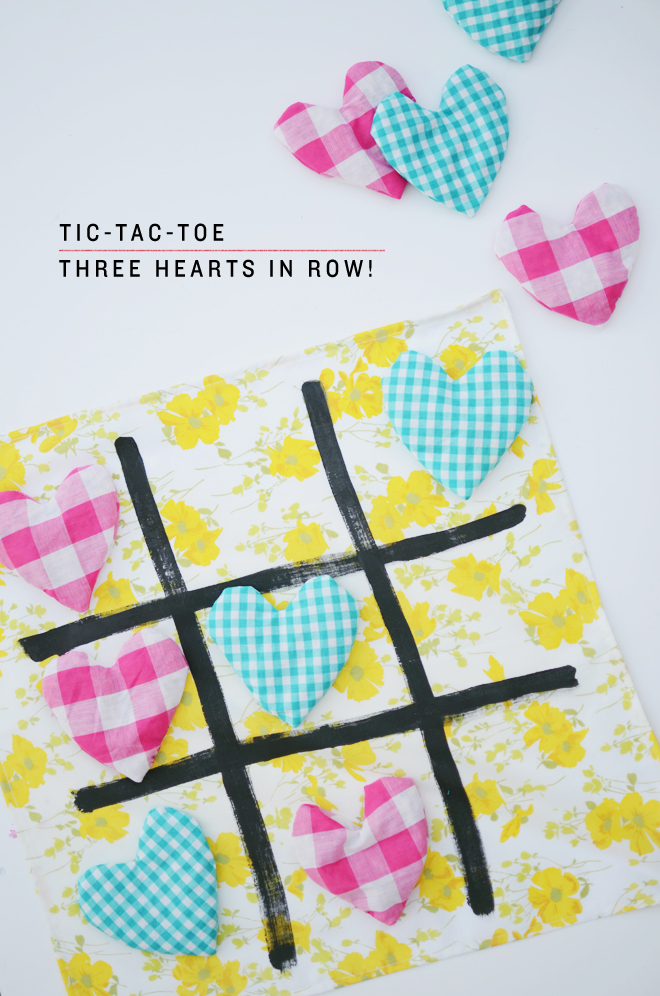
handmade fabric tic-tac-toe

February 11, 2015


tic tac toeTic-Tac-Toe, Three Hearts in a Row!
perfect for Valentine’s Day

Supplies:
21″ square piece of fabric for the “fabric board”
1/4 yard patterned fabric for one set of hearts (5 hearts total)
1/4 yard patterned fabric for contrasting set of hearts (5 hearts total)
Fabric paint
Paintbrush
Bag of beans
Hand-sewing needle
Coordinating thread
Cardstock
Scissors
Pins
Sewing machine

Seam allowance: 1/4″

Directions for the fabric board:
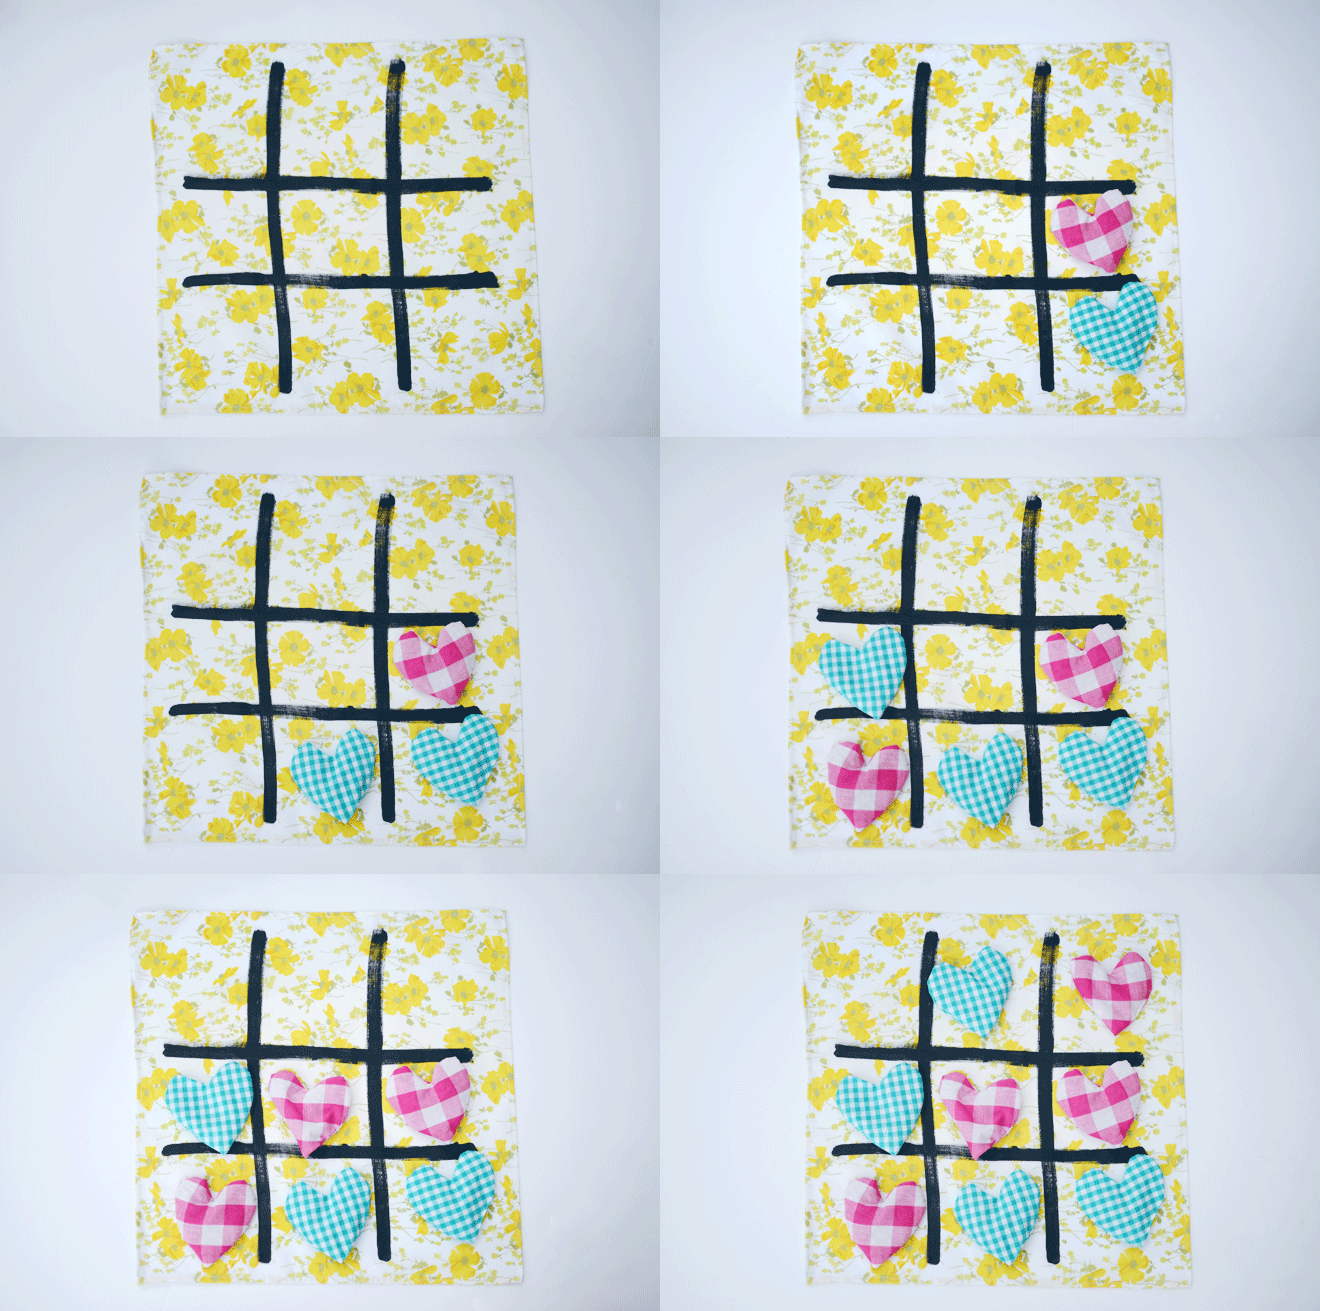
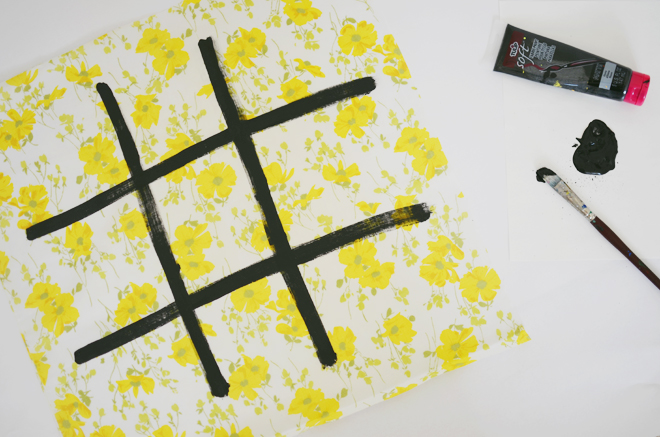
Paint your 3×3 grid onto the right side of the fabric. Allow to dry completely, then iron to heat-set the design on. Fold in the edges 1/4″, press, fold another 1/4″ press, and pin in place. Sew around the entire perimeter of your square fabric.
tic tac toeDirections for the heart beanbags:
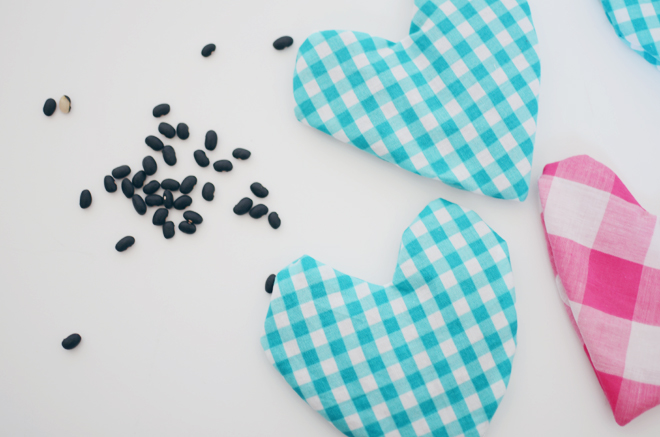
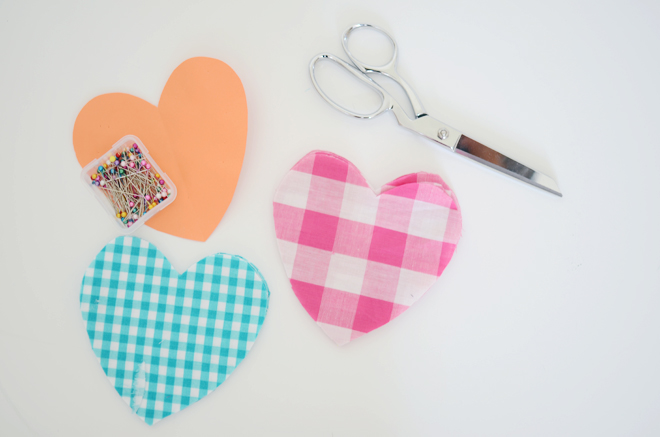
Create your heart template by drawing a heart about the size of the center square. Using that template, cut out 2 pieces of fabric per beanbag. With the right sides together, stitch around the perimeter, leaving a 2″ opening for turning. Clip the curves around the heart, turn, and press. Fill the beanbags with beans and slip stitch the opening closed. If you want to avoid any hand-sewing, just fold in the opening, press, and edge stitch as close to the folded edge as possible.
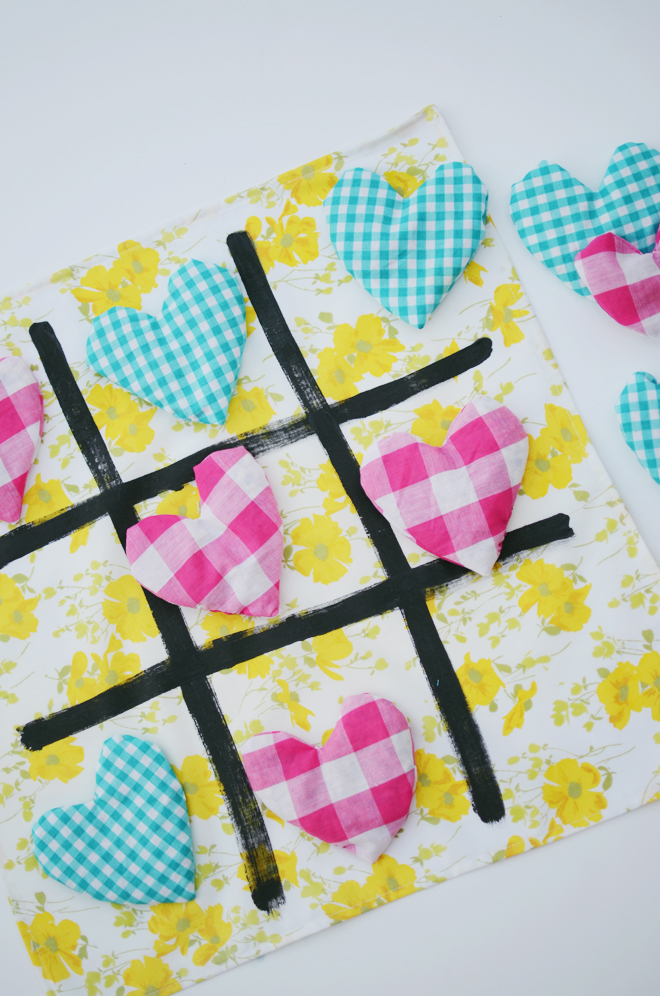
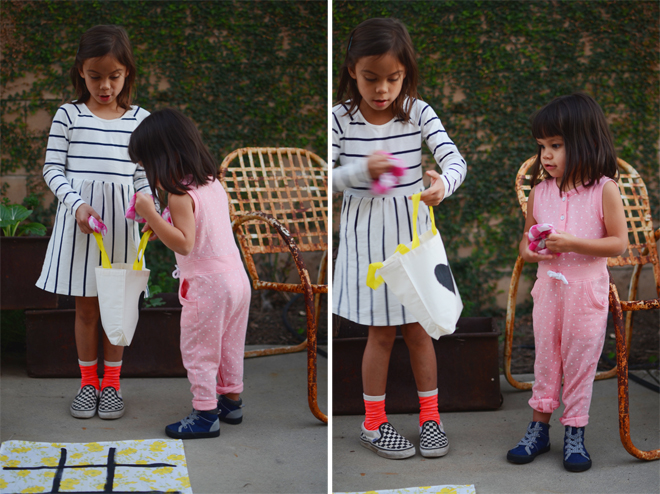
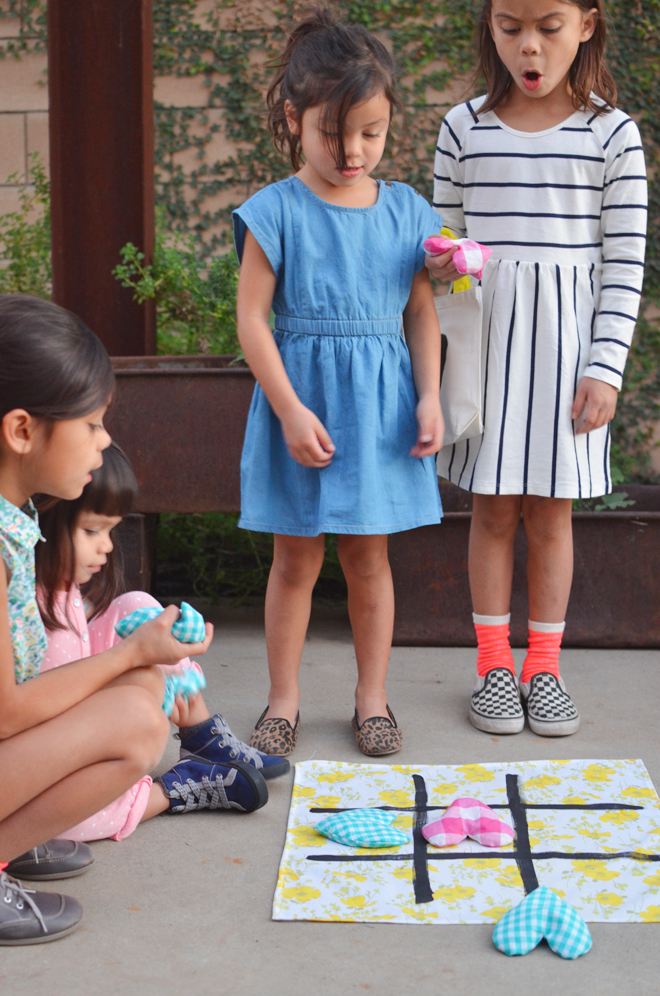
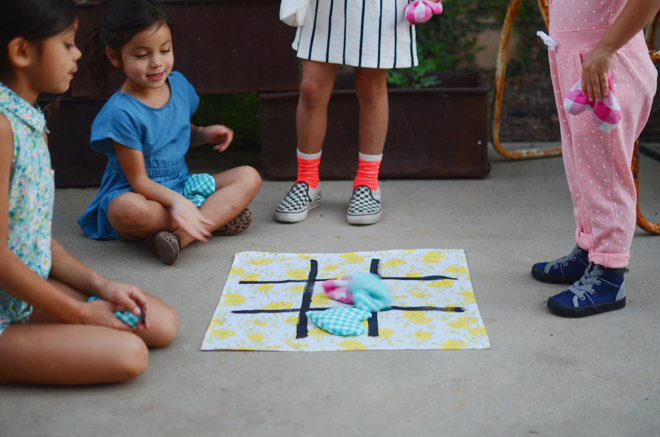
tic tac toetic tac toetic tac toeIf you’re not making this for a gift, it’s a good project that children can help out with. They are usually pro at tic-tac-toe, so more than likely they can paint on the grid with their eyes closed. Filling the beans bags are also good for little hands and helps them develop their motor skills. Of course once it’s all made,  the kids will have fun playing this game over and over again. If you just want to make the beanbags, you can have children draw a 3×3 grid on the concrete with chalk; I’m sure they will love that too. We painted a heart on a little tote, and put all the pieces of the game inside, so we can keep everything together.
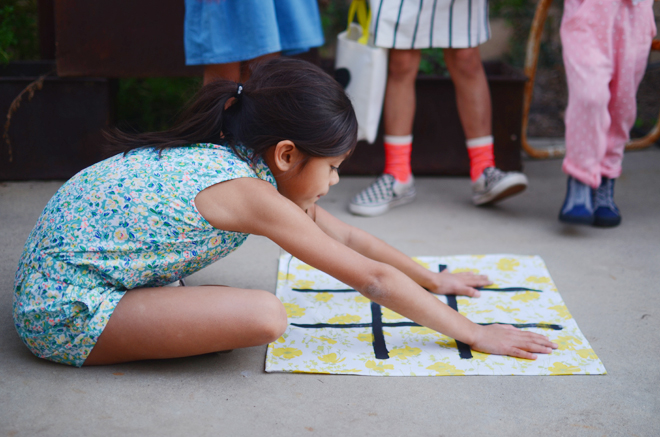
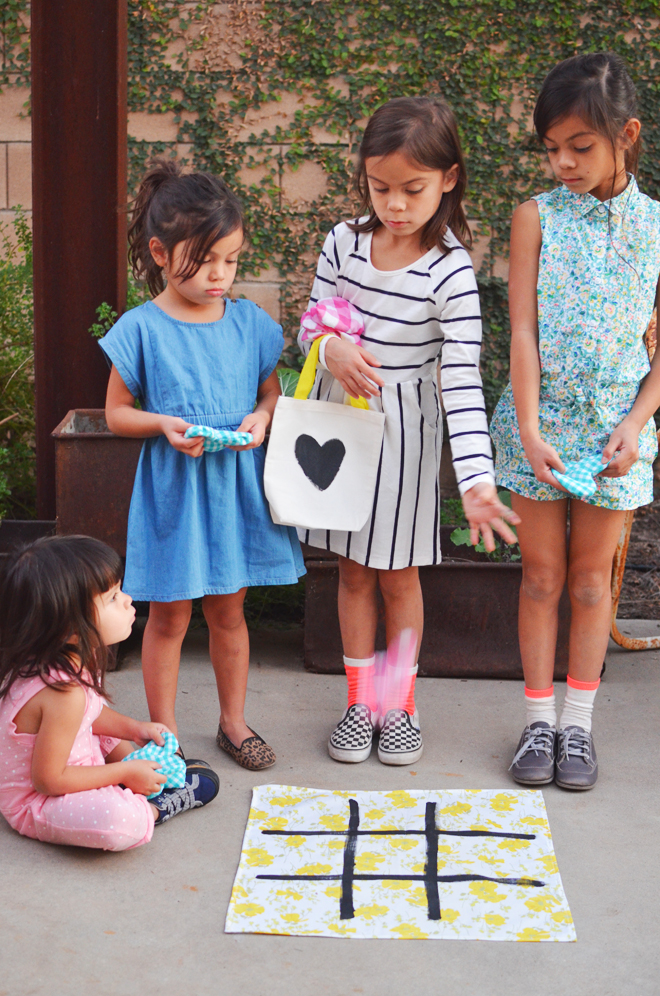
tic tac towtic tac towtic tac towtic tac towtic tac towtic tac towThe California weather has been extra glorious and we are ready for spring. Well, I guess since it’s California, it’s pretty much spring already. I totally love the look of rompers and jumpsuits, and while I try to rock it, children are way more capable of pulling it off. It won’t stop me from trying though! True’s floral number and Glow’s polka-dotted one (this one is so cute too!) are both so adorable and perfectly suited for welcoming spring. Glow loves hers so much that she was asking if she could wear it to sleep too. Soul’s not one for rompers, as she needs a dress or skirt because it must always have some “twirl” she says. Brave’s been into wearing bright socks lately, so these were just the radiance she was looking for. If it’s not “play tic-tac-toe outside kind-of-weather” for you yet, hang in there, spring will come!

on true: floral romper & socks, c/o old navy. shoes, vintage. on brave: striped dress & socks, c/o old navy. checkered vans, shoes.com. on soul: chambray dress & leopard shoes (we cut off the elastic), c/o old navy. on glow: pink romper & sneakers, c/o old navy.

This post is sponsored by Old Navy. All kids & baby items are currently on sale (until 2/12) at Old Navy, so be sure to check them out online or your local store. Thank you for your continuous support of this space and the brands I partner with. 


diy: hanging paper hearts

February 9, 2015


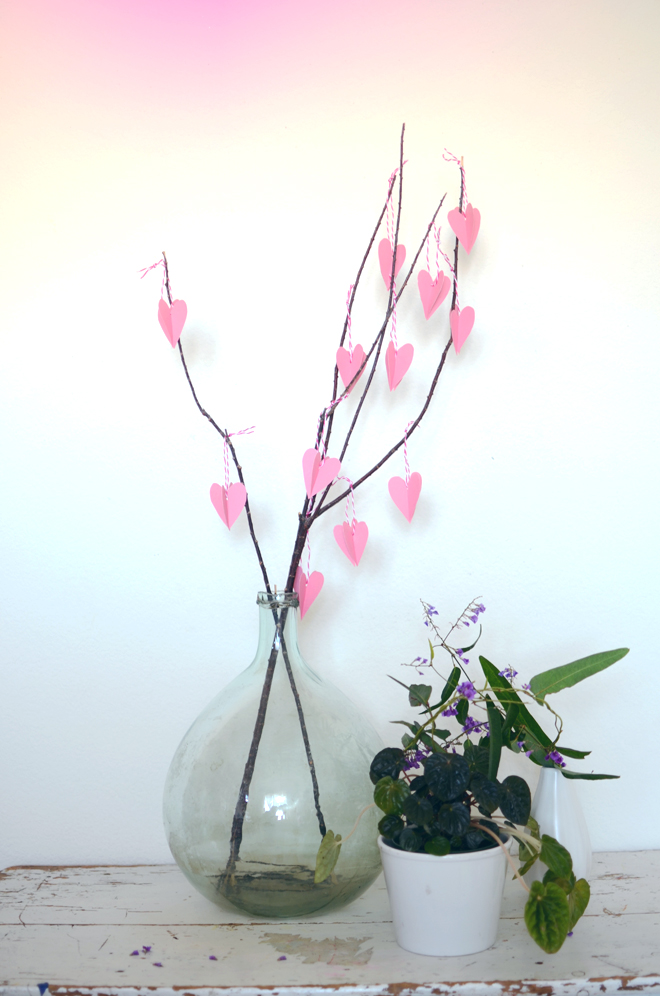
hanging paper heartsHanging Paper Ornaments
inspired by this pin 

Supplies:
Cardstock
1/8″ hole puncher
Scissors
Baker’s twine, cut to 6″ strands for each hanging heart

Directions:
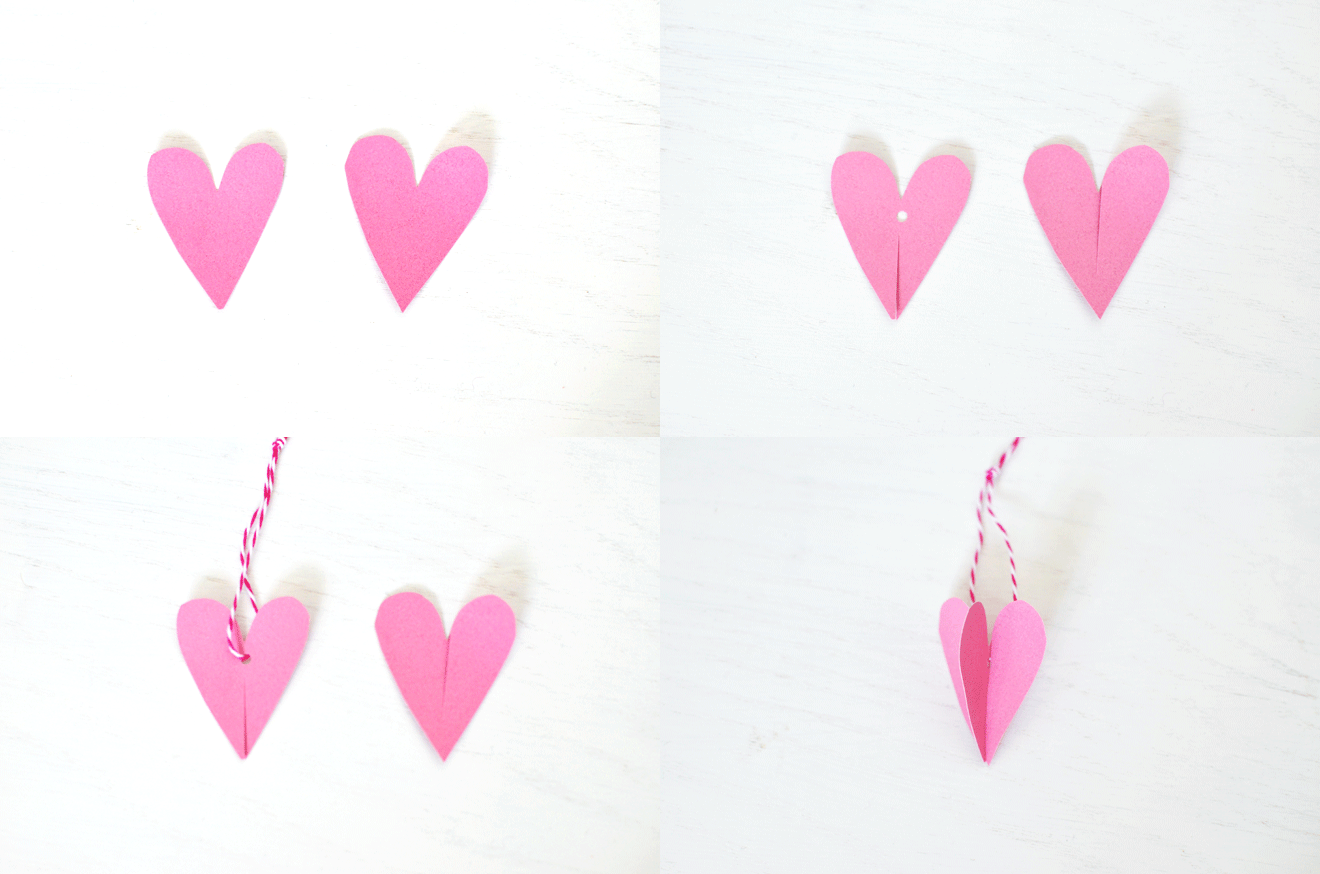
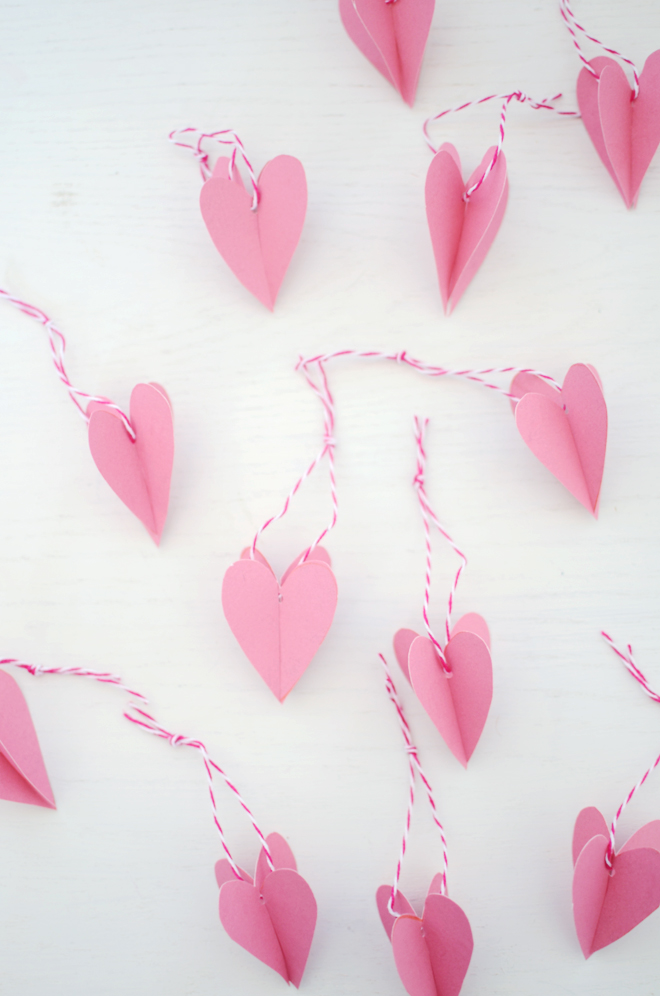
Draw your heart, and cut it out to use as a template to create other hearts. Cut out all your heart pieces; each ornament uses two hearts. Pair up all of your hearts. On one of the pairs punch a hole near the top (below the center V), and then cut a slit 2/3 of the way up towards the hole. On the second heart, cut a slit 2/3 of the way downward toward the bottom point of the heart. Tie your twine through the hole, and knot the ends together. Insert the two slits together to form your 3-dimensional heart.

hanging heartshanging heartsAfter doing some research to see the source of this pin, it led me to this Valentine’s Day tree project (from house that lars built). Her tree is a bit fancier with the addition of wee birds and multicolored hearts; it’s so whimsical and fun! We are perfectly happy with our simple tree, and it’s getting the girls excited for Saturday. We do have some gifts for the girls, so we will put it under the hanging hearts, and we will be celebrating the day with an adventure and probably dessert. Honestly, I’ll take dessert any day.


wives can romance their husbands too

February 9, 2015


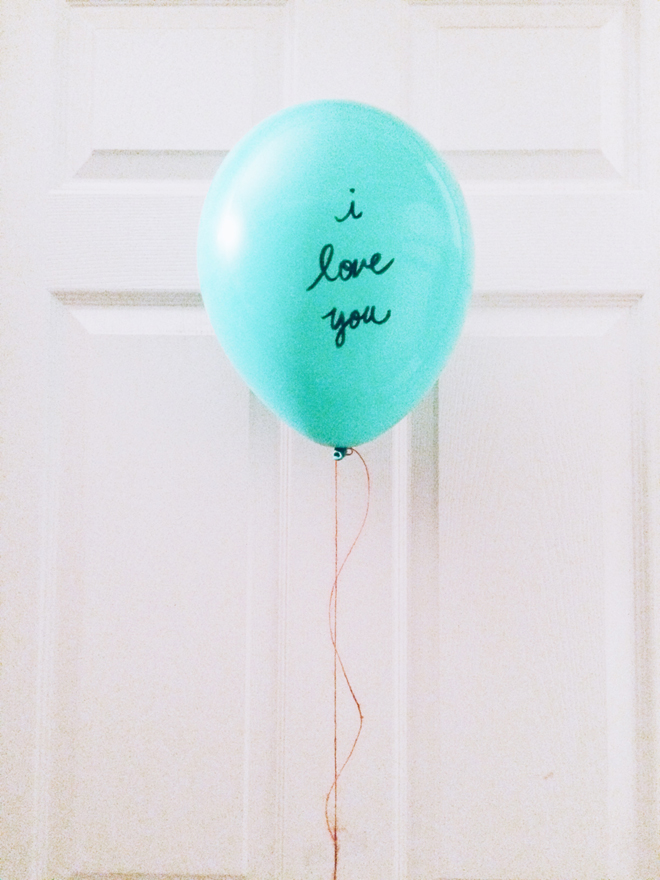
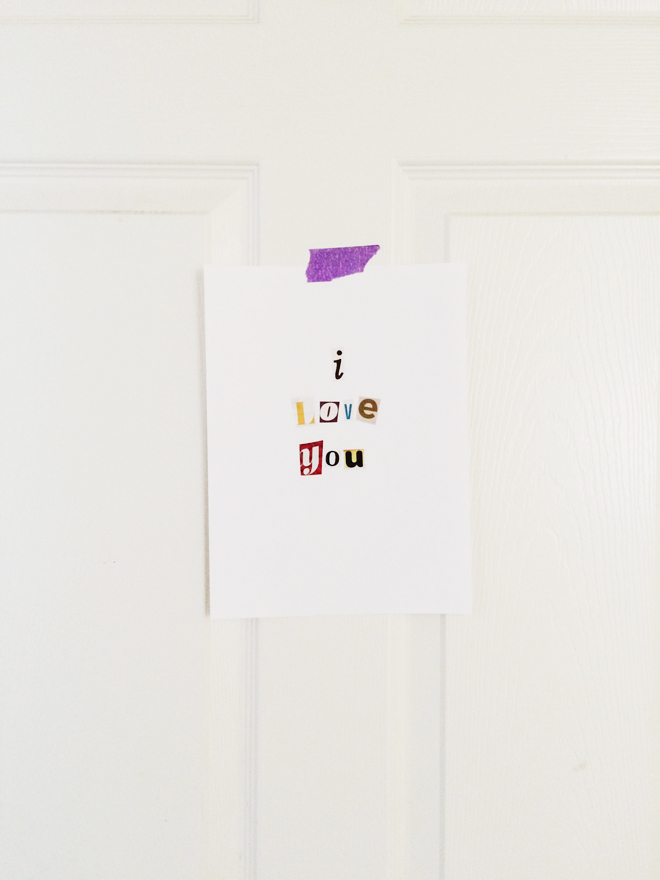
i love youi love youi love youi love youi love youI posted about this little thing I’ve been doing for Ben this past week over on my instagram (see here), and I think that was my longest caption ever on instagram. It’s probably why I’m better at blogging than instagram-ing; I like to chat (type) a lot. When I think back to when Ben and I were dating, we were surprising each other with things up the wazoo. Nothing expensive, just thoughtful ways of letting each other know how much we loved and appreciated one another. I used to surprise Ben with a bouquet of flowers (who said only boys had to give flowers), and notes on his windshield, and other little sweet things. Now, after 10 years if marriage (almost), and four kids later, those extra sweet things are few and far between. Ben is really good and does something something unexpected from time to time (like this), but I realized I don’t really do anything like that anymore.

I know the way we show love to each other is by me tending household (and children) things, and he goes to work everyday. Those things are great acts of love and very much appreciated, and neither of us is complaining about wanting more from each other. We know by the end of the day, we are both spent, and we are both working hard for our family. We are a team. But marriage is work, and we should never ever stop working, so I’ve been reminding myself that lately. It’s work to stay on the same page, communicate, and to keep the fire alive.

I’m thankful both our parents modeled good and loving marriages to us. He saw parents who communicated well and worked as a team, and I saw passionate fiery love from my parents (they were a team too!). Of course, both our parents fought, his were probably much more civil than mine (I totally remember my mom kicking my dad out of the house a couple times… hi mom and dad!), but both worked together to get through these things. There was a lot of messiness, but there was a lot of love and forgiveness too. I think that’s normal in marriages. By the way, I’m no expert, I’ve only been married (almost) ten years, so I’m sure so many of you are much wiser than me. And I’ve had a taste to see how really messy marriages can be, but I’ve also seen God work through extremely hard situations and bring restoration, so I’m not ignorant to the really lows of marriage.

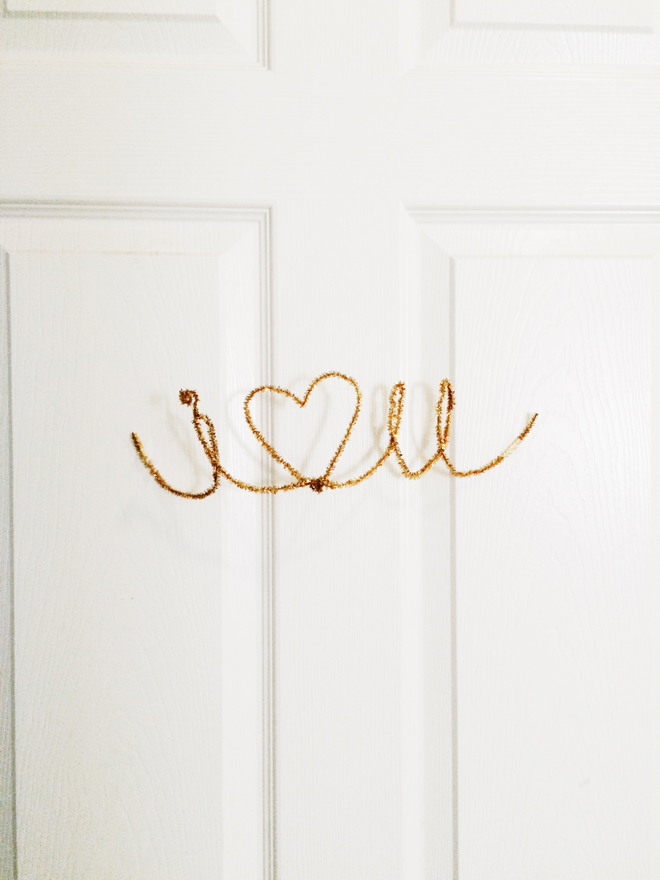
That’s why I think we all have to work. If we base marriage on feelings, those feelings will definitely fade. Sometimes, I don’t feel like loving Ben, especially when we are fighting. My phrase after, is always, “Okay, I love you again.” So while I do love him a lot, I do want to (and need to) go the extra mile to let him know. This extra mile isn’t being walked everyday, but I do want to challenge myself more often than I have been doing. Thus, this past week, I’ve been leaving him an “I love you” note on the door, so he sees it when he comes home from work. It’s been fun trying to think of various ways to present this, and I get all giggly inside right before he comes home because I’m excited for him to see it.

I know I love romance (though I’m not much of a romantic movie watcher) and romantic gestures from my husband, I realize I could be doing the romancing too. Also, I think if we as wives go the extra mile, it might encourage our husbands to do the same. I’ve had friends complain that their husband isn’t romantic, but I say, “Why not be the romantic one!” That may spark something in our husbands, so you never know. For sure it would encourage him and let him know you love him, and I’m sure he would love that. So I encourage you ladies, work on going the extra mile once in awhile. I know we’re busy and our plates are full, but it doesn’t even have to be fancy… just a sweet little reminder that you love him!


happy groundhog day!

February 2, 2015


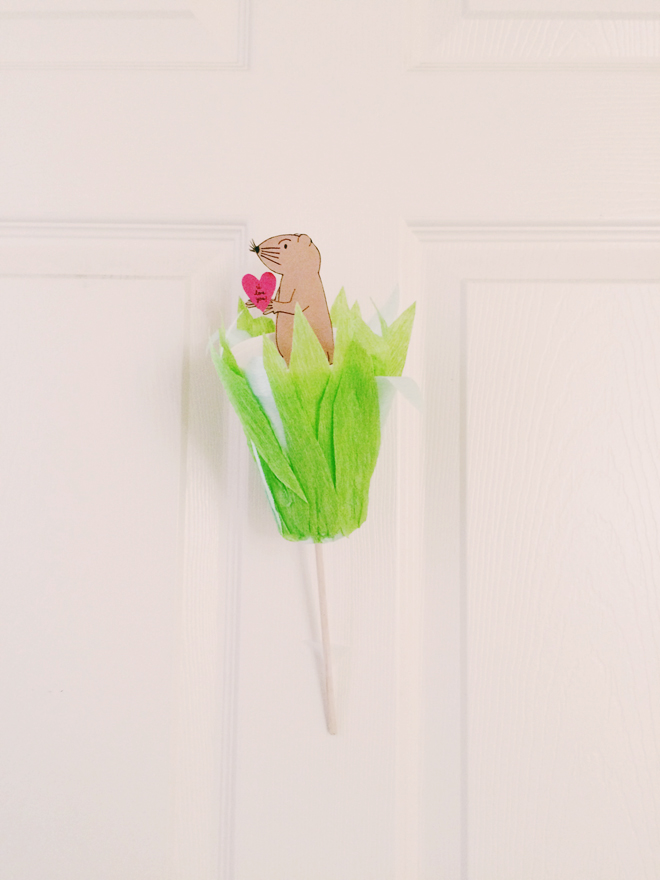
I shared this quick project over on my Instagram (@cakiesblog), so if you want to learn how to make it, get the directions here. This was part of Soul’s lesson for the day, but we all ended up making one. I added a little message on mine because I’m going to hide it for Ben to find when he gets home. I love when Ben romances me, but I totally think girls could (and should) do the romancing too. Anyway, according to Punxsutawney Phil, looks like we will get six more weeks of winter, so most people can’t frolic in their spring clothes just yet.


diy: wooden ring holder

January 29, 2015


wooden ring holderWooden Ring Holder 

Supplies:
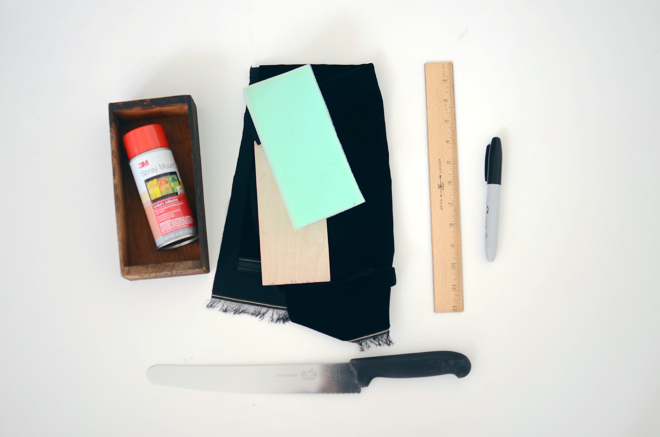
Small wooden box
High density foam (size will depend on the height of your box)
Spray adhesive
1/32″ thick birch plywood sheet
black velvet fabric (size needed will depend on size of your box; I needed a 1/4 yard for my box)
Ruler
Marker
Scissors
Serrated bread knife
2-3 small pins (or staple gun)

wooden ring holderDirections:
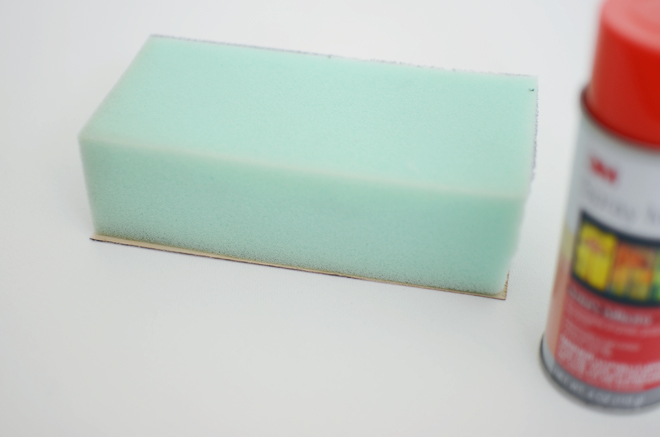
1. Measure your box. Cut out a piece of birch plywood 1/4″ smaller (all around) than the size of the inside of your box (the plywood is so thin, I used scissors to cut it). Next, cut out the foam just 1/8″ smaller than the inside of the box. Then, use the spray adhesive to attach the foam to the piece of birch plywood. The inside dimensions of my box is about 3″ x 2″ x 7″, so a 2″ thick foam worked for what I needed.

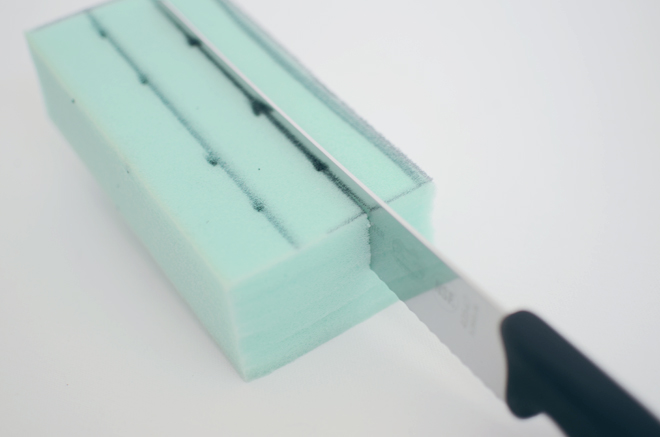
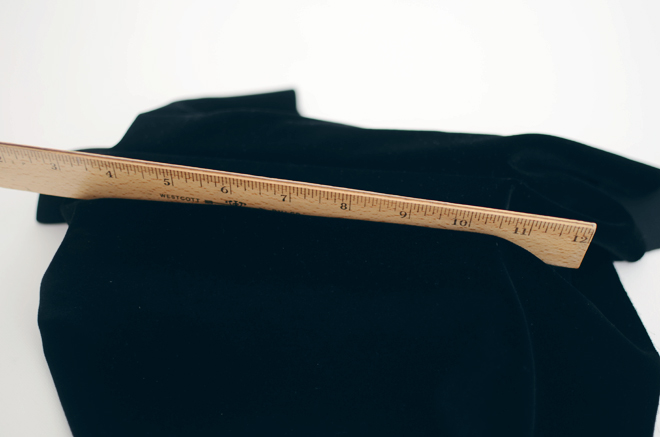
wooden ring holder2. Measure and mark your rows (mine are about 1″ apart from each other), then using your serrated knife, cut straight down into the foam, stopping about 1/2″ away from the bottom of the foam piece. Cut out your velvet fabric about 5″-6″ longer on each side. You’ll want to make sure the fabric is large enough that it will cover all the sides, keeping in mind some of the fabric will also be inserted into the rows.

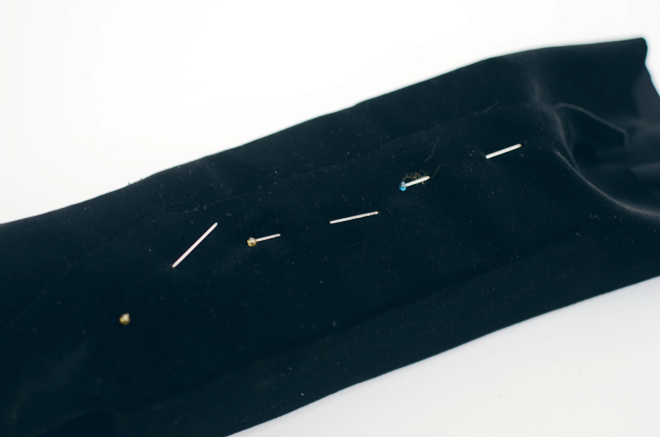
wooden ring holder3. Center the fabric on top of the foam, and with your ruler (straight edge), insert it down into one of the rows until it is nice and snug in the crevice. You’ll want to do this slowly to prevent as many wrinkles as possible. Repeat for remaining rows. Fold the fabric neatly around the bottom, and overlap the fabric ends together (the long side) and pin. I originally wanted to staple the fabric to the bottom, but my staple gun wasn’t working, and my glass pins are so tiny that it worked just as well. Make sure all the fabric edges are folded around the foam and secure, then insert into the wooden box. I just pinned the long fabric ends and folded my short ends in as I carefully inserted the foam into the box.

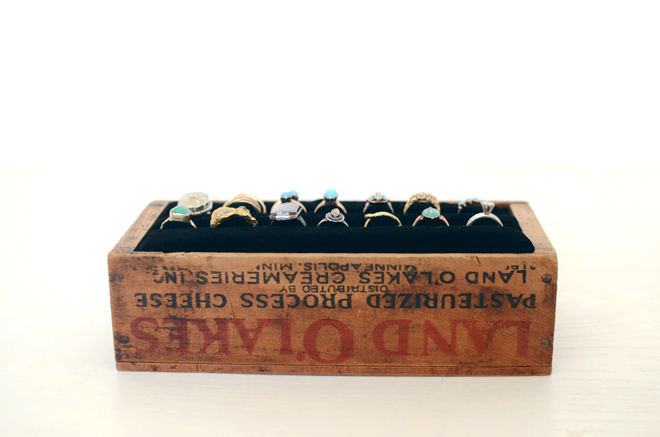
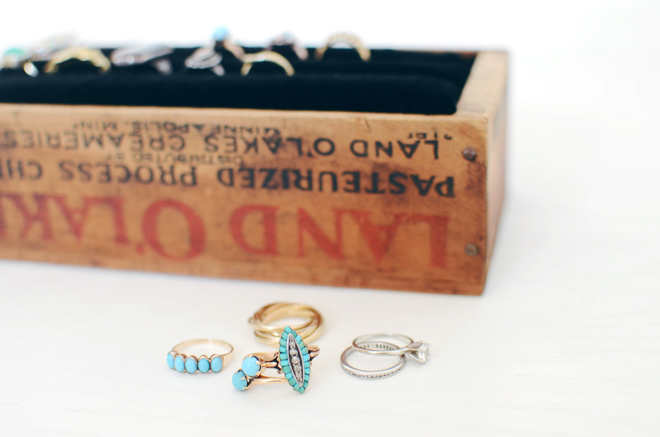
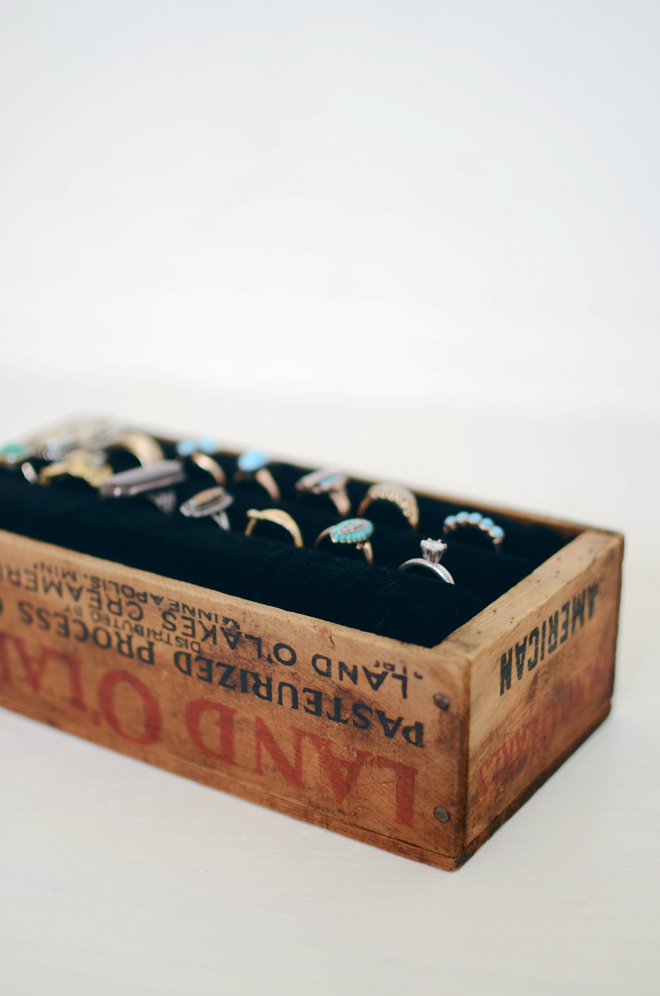
wooden ring holderwooden ring holderwooden ring holderI wanted something to hold some of my rings, and in my research came across these instructions on how to use foam ring holders in drawers. I don’t have that many rings where I needed a whole drawer, but thought a small little box might do. Thus, when I came across this old, wooden, cheese box, I knew it was just what I needed. And because I think my box was much smaller, I was able to do without some of their suggested steps. I didn’t have to staple between each row as my velvet stayed put once I used my straightedge to insert it in, so that saved me a step (and time). I loved the way it turned out and now I can see all my rings when deciding what stack to wear for the day.

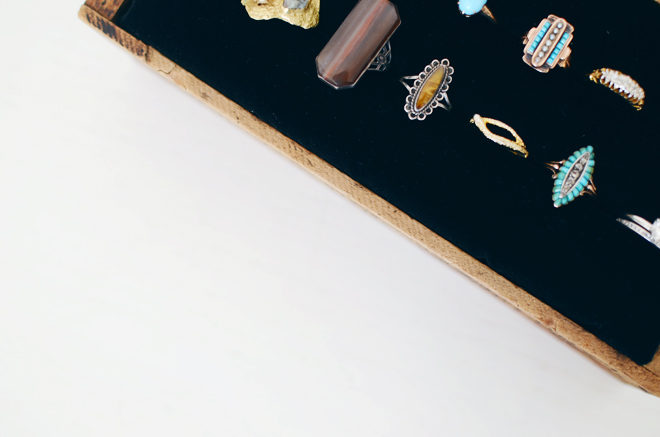
wooden ring holderwooden ring holderwooden ring holderMost of them are from Ben, a couple from his mom, a couple from my parents, one from my sister-in-law, and a couple I gifted to myself. Each one has a little story, and as you can tell, turquoise is my favorite. Also, most of them are antique pieces (it’s something I collect!). There are two modern rings in there though, one made by Emilie Shapiro (this ring) and another from etsy (this one that my parents got me a few years ago).


diy: sweater snake softie

January 21, 2015


sweater snake softieSweater Snake Softie

Supplies:
Old sweaters (I used the sleeves of 2 sweaters)
Coordinating thread
Scissors
Pins
2 buttons
Small scrap of wool felt
Poly-fil
Sewing machine

Seam allowance: 1/2″

sweater snake softieDirections:
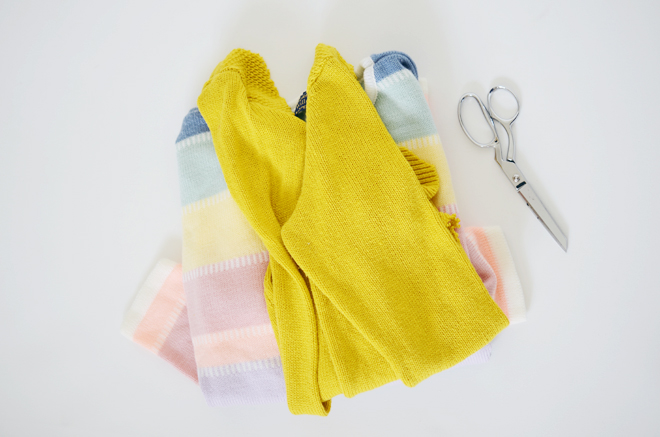
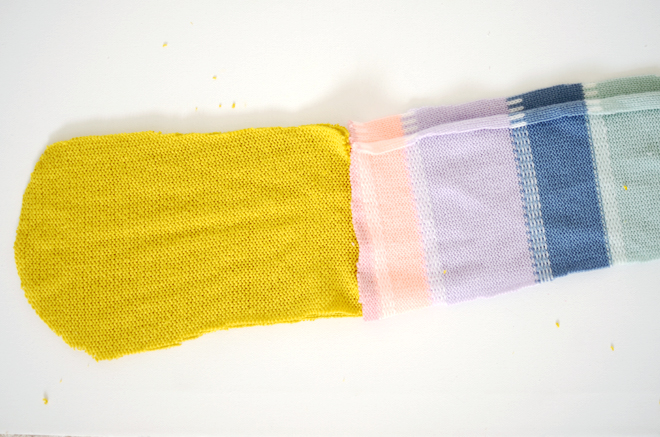
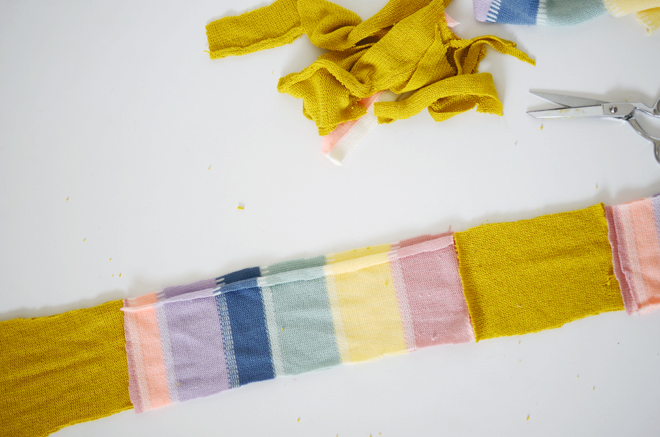
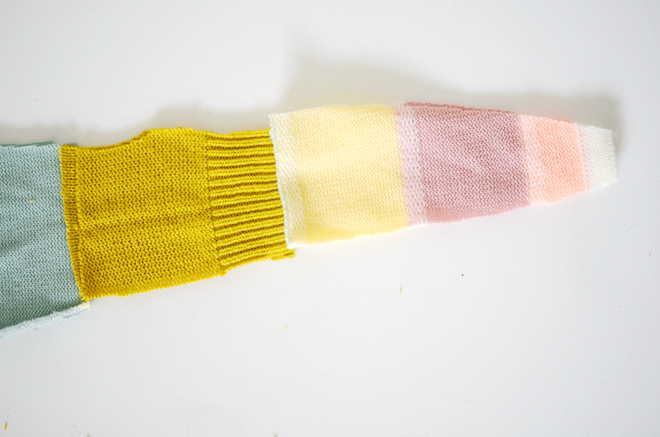
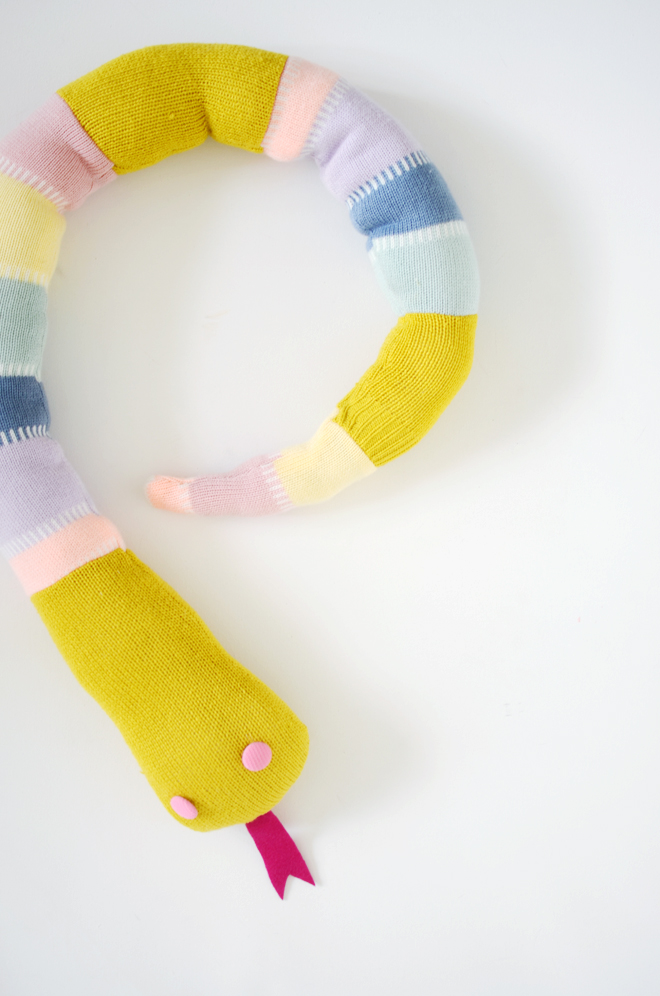
1.  Create your snake body from the sweaters. I used the sleeves on both sweaters and cut them open to create my snake body. Cut the head out with a large round shape, and cut other rectangle-ish shapes from the sweaters (work your way down towards the tail), tapering each piece until you get to the end of the snake body. Remember, you’ll want to taper the body down towards the tail to get that snake shape. I alternated between the two different sweaters to give the snake body some variety. Our snake ended up being about 4.5′ long.

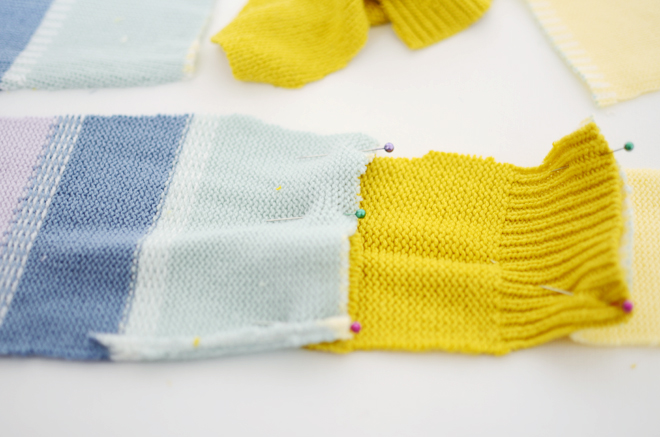
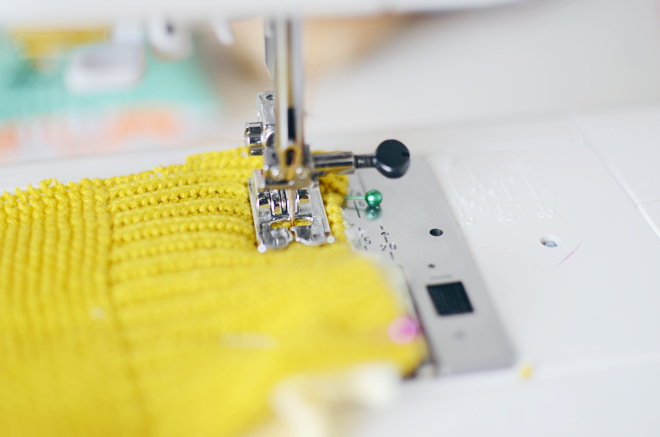
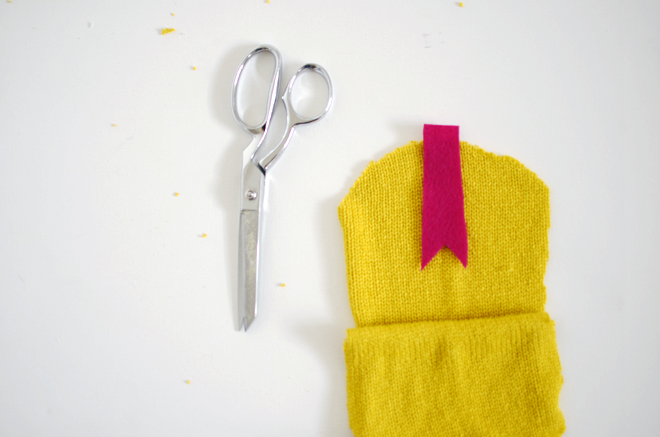
sweater snake softiesweater snake softiesweater snake softie2. If alternating sweaters for the body, pin one section with the coordinating next section, with their right sides together and sew. Continue until you have created one side of the snake and repeat for the other side. Once both sides of the body have been sewn, cut out a small tongue shape from the wool felt. Place the tongue at the top of the snake, between the front and back head section, with the V towards the snake body. Place the right sides of the snake together, pin around the entire snake, and sew. Don’t forget to leave a 4″ opening for turning.

sweater snake softiesweater snake softiesweater snake softie3. Turn the snake right side out, stuff with poly-fil, and slip stitch the opening closed. It takes bit of time to make the body smooth with the poly-fil, otherwise if it looks too lumpy, it may look like your snake just had lunch. Lastly, sew eyes on the snake head.

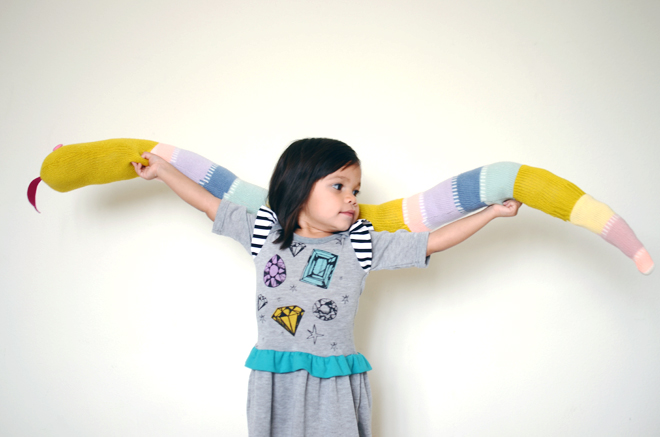
sweater snake softiesweater snake softiesweater snake softieOf course, the snake softie is for Glow, our stuffed animal hoarder. She barely has any room on her bed to sleep because it’s filled with stuffed animals! I thought about adding a little jingle inside the end of the tail, but I wanted to throw the snake in the wash, so I just left the jingle out. A rattle would be kind of fun to put in there though, and would make a sweet gift for a baby (not that I’m trying to freak a baby out or anything). I like how cute a snake looks around a changing table in this room.

If you’re looking for sewing projects, my book, Let’s Sew Together, has plenty to choose from!

on glow: gems dress, misha lulu. boots, thrifted.


CAKIES
©
Design by Blog Milk