flowers for ella

May 14, 2014


flowers for ellaflowers for ellaflowers for ellaflowers for ellaflowers for ellaWe have this really sweet neighborhood girl, Ella, that’s the same age as True, and she often comes over to say hello and bring the girls a treat. One time, True was feeling especially shy, and didn’t say a word to her. Ben and I were so frustrated because it came across rude. We know True isn’t being rude intentionally, but it’s just her shyness takes over, and it comes across that way. That moment prompted us to practice with all the girls how to greet someone at the door and just basic common manners when talking with someone.

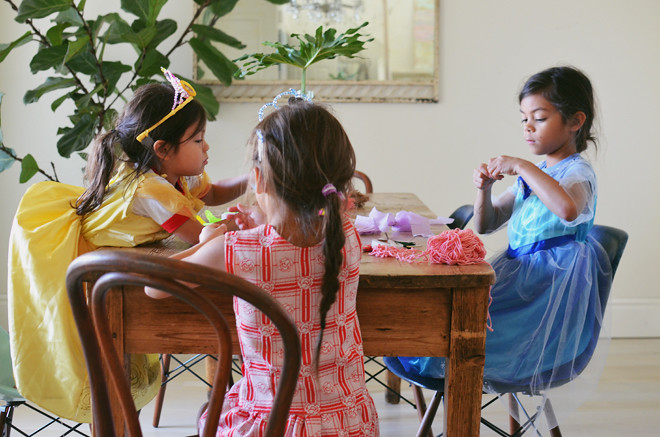
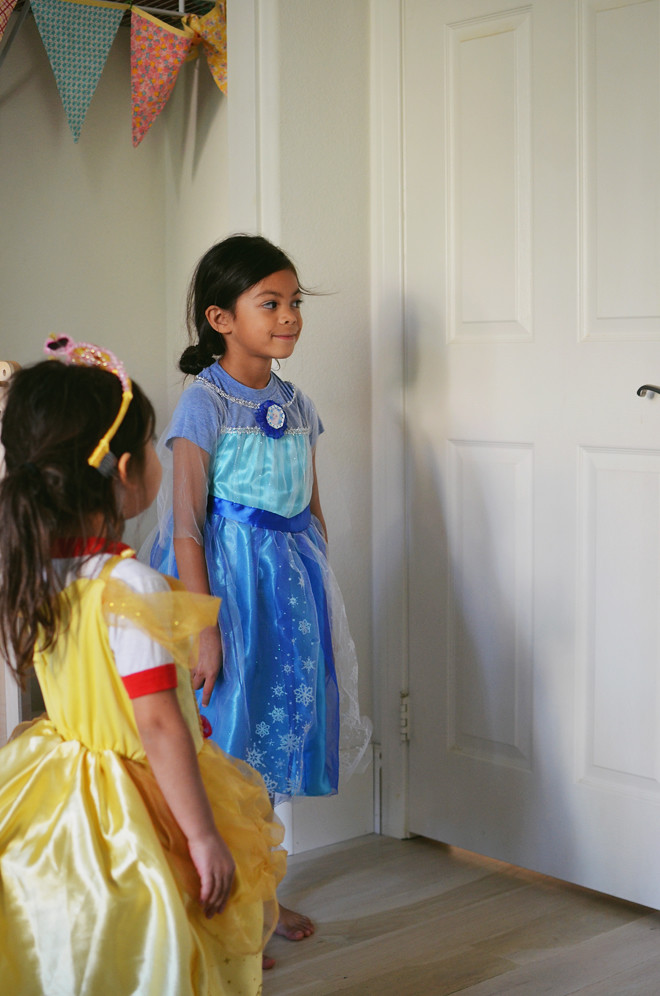
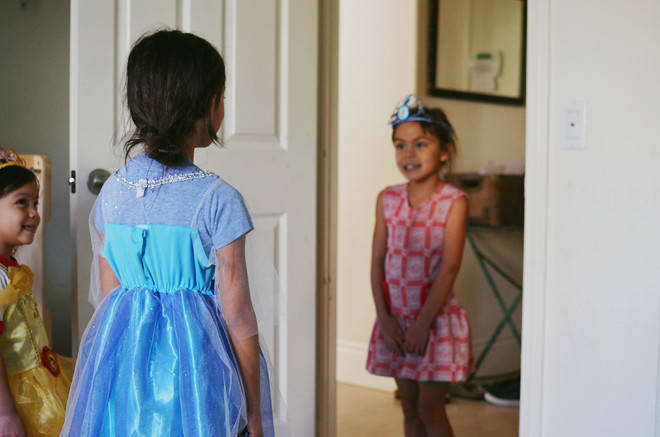
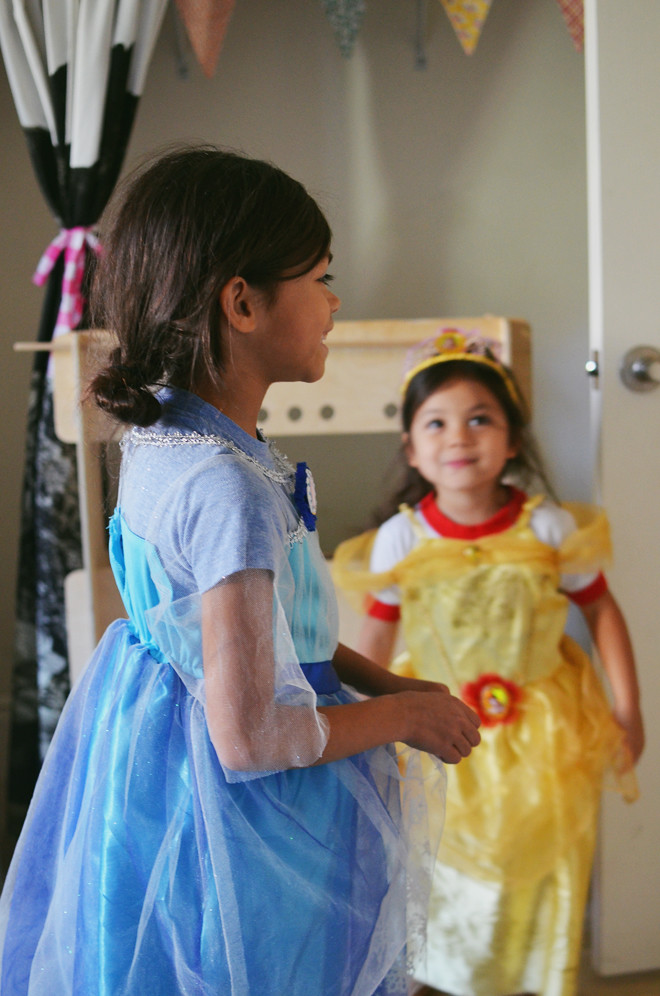
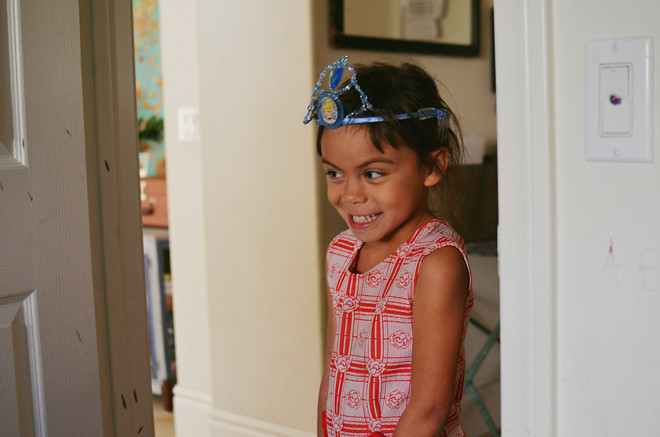
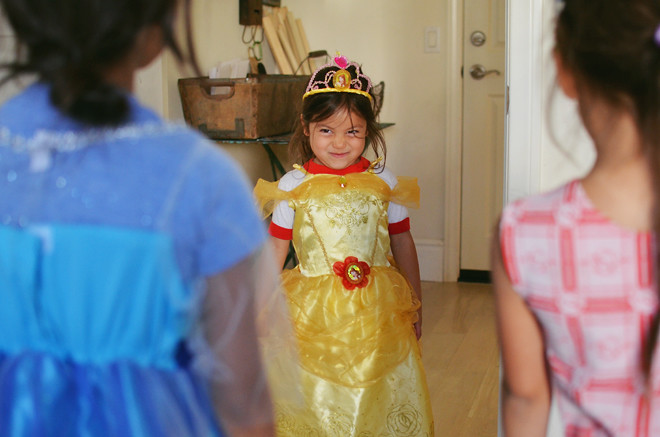
We value her shyness, and know it’s part of her, but we also want to encourage her to still exercise politeness towards others. They pretend all the time to be this or that princess or hero, so this time we just took turns pretending to be our neighbor donned in their Belle and Elsa costumes (we got them from Target) and how courteous we should be when they come over to say hello. Brave was the first to pretend to be “Ella,” so she wore the Cinderella crown. She started knocking on the door, then we practiced the polite back and forth exchange of hellos and how are yous. True was still acting quite shy in the beginning, even with it just being her own sister, but we kept doing it until she felt comfortable, and she eventually got it.

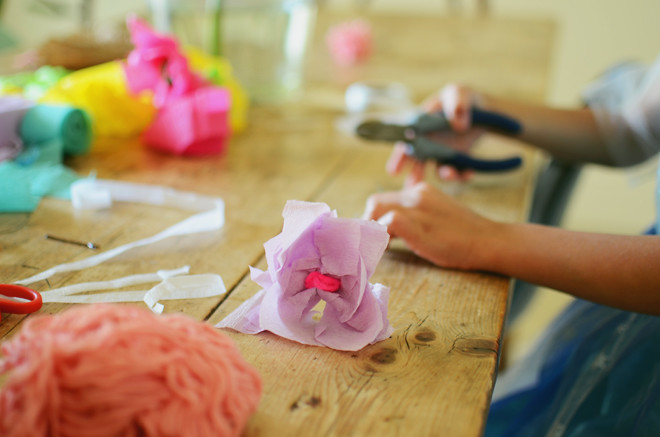
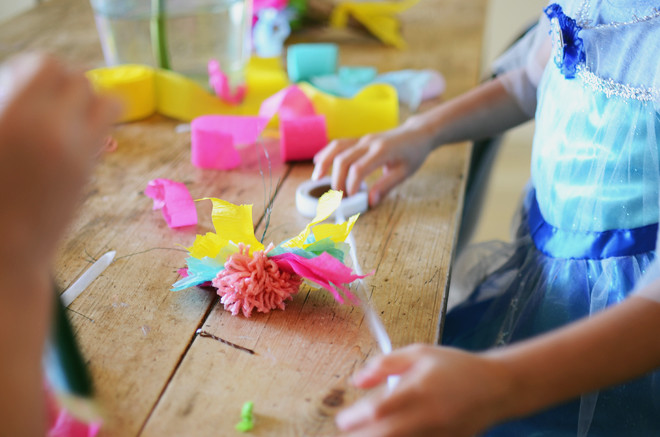
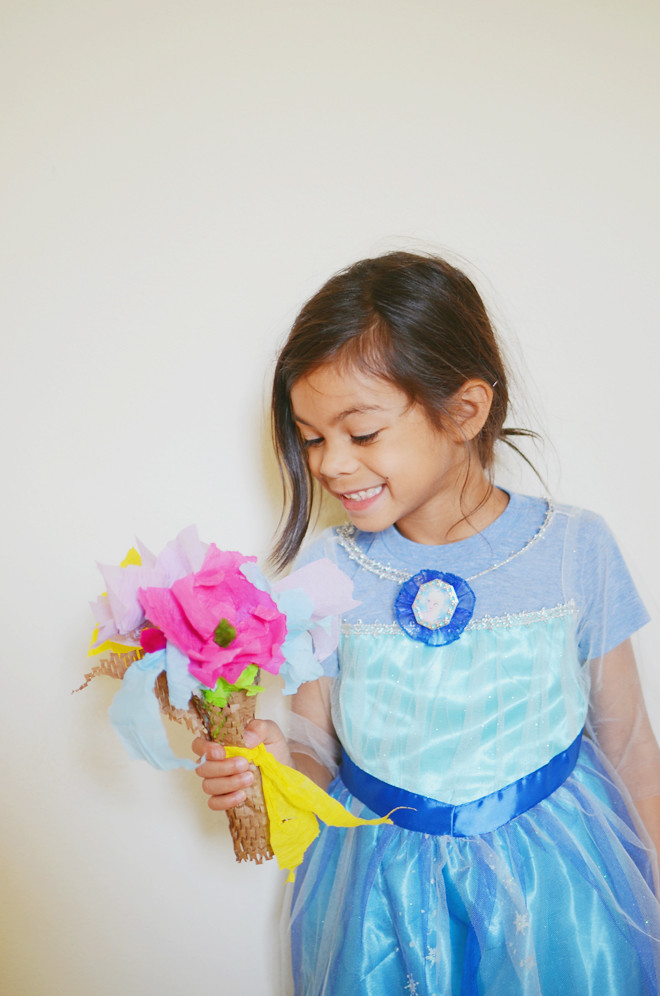
To let them put into action their practice of being attentive and courteous, we’re going to go over to Ella’s this week and bring her a little thank you gift for the cupcakes she brought us last week. I didn’t want the girls to go over empty handed, so I taught the girls an easy way to make some crepe paper flowers, and they went town making her a little bouquet.
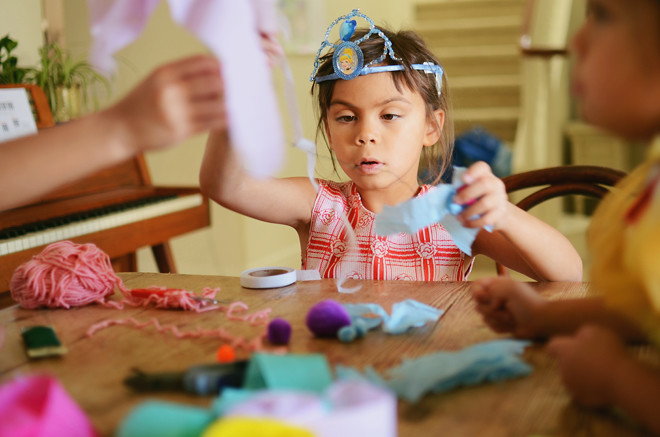
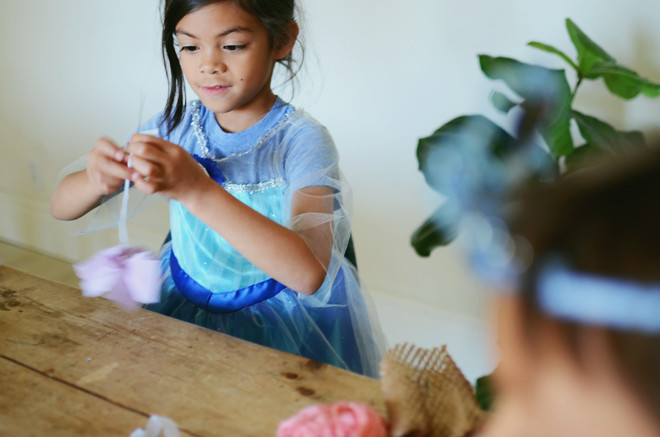
flowers for ellaflowers for ellaflowers for ellaflowers for ellaflowers for ellapaper flowersCrepe Paper Streamer Flowers

Supplies:
Crepe paper streamers
Pom poms
26 gauge floral wire
Floral stem tape
Wire cutter

Directions:
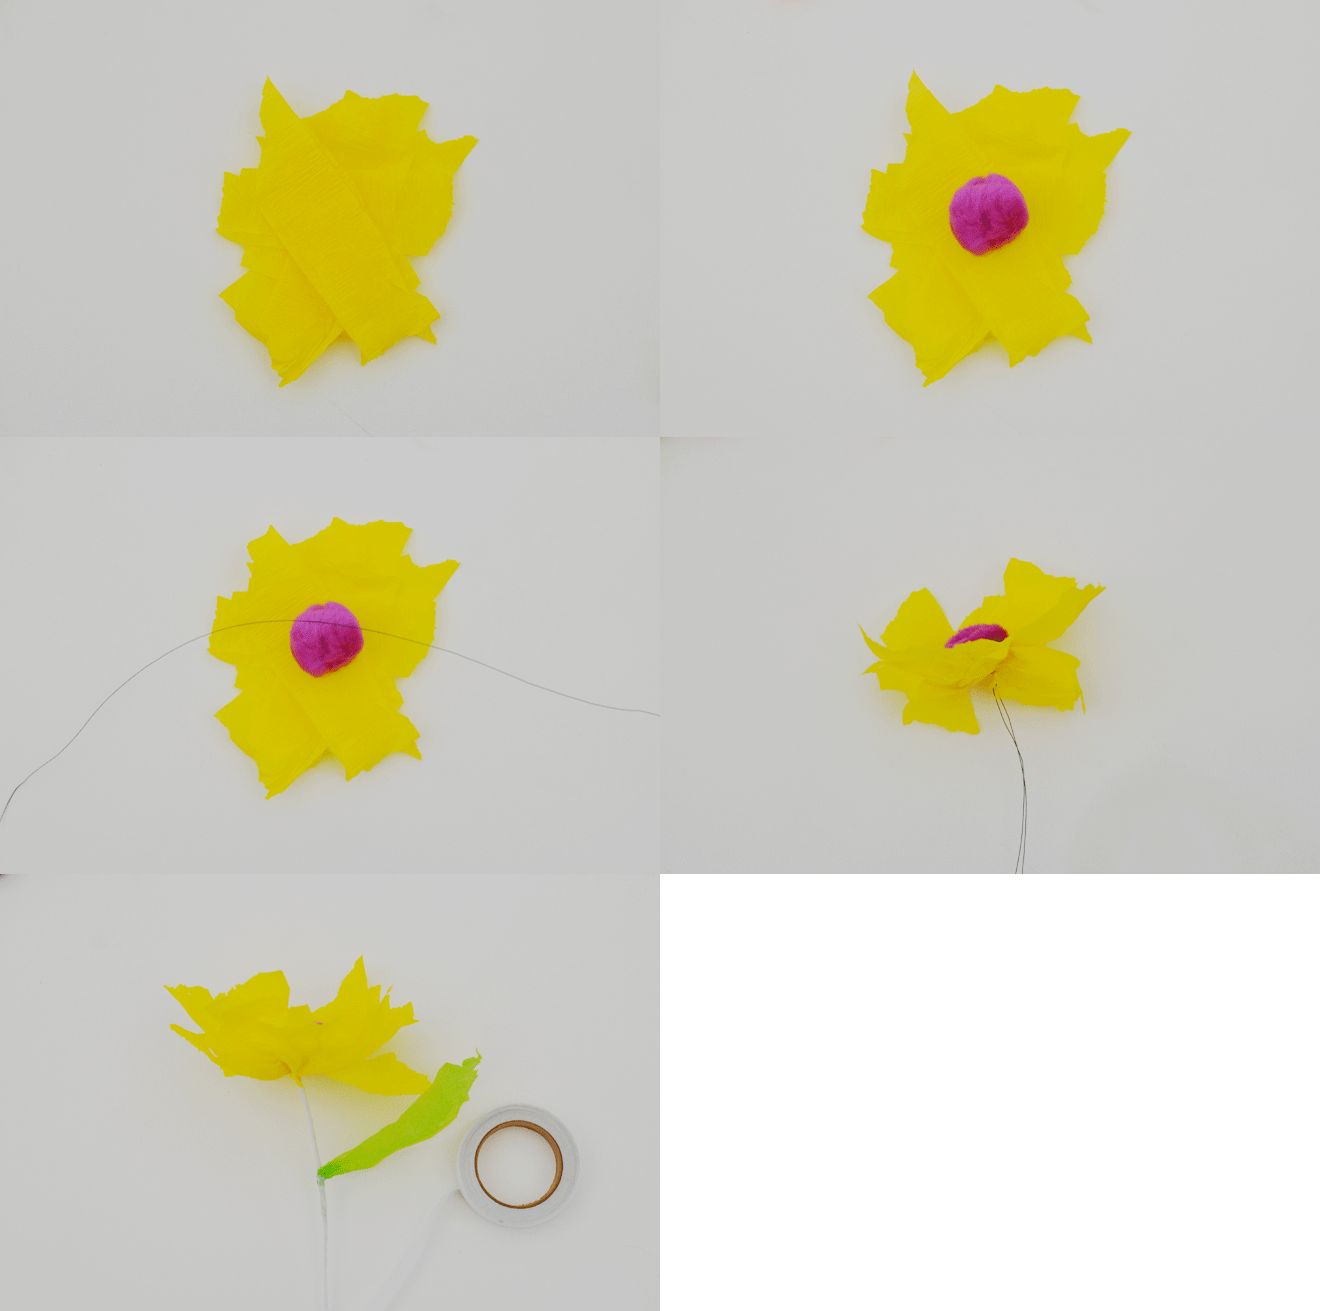
Cut (or rip) ten 5″ strips of crepe paper streamers, and layer them on top of each other (spread them out like a fan). Place a pom pom centered on top, cut out a 12″ piece of floral wire and center that on top of the pom. Bend the wire tightly behind the flower and twist, securing the pom and crepe paper strips in place. Spread out flower petals and fluff. Wrap the flower stem with floral tape, and add a 4″ piece of green crepe paper half way down the stem, then continue to wrap the rest of the stem.
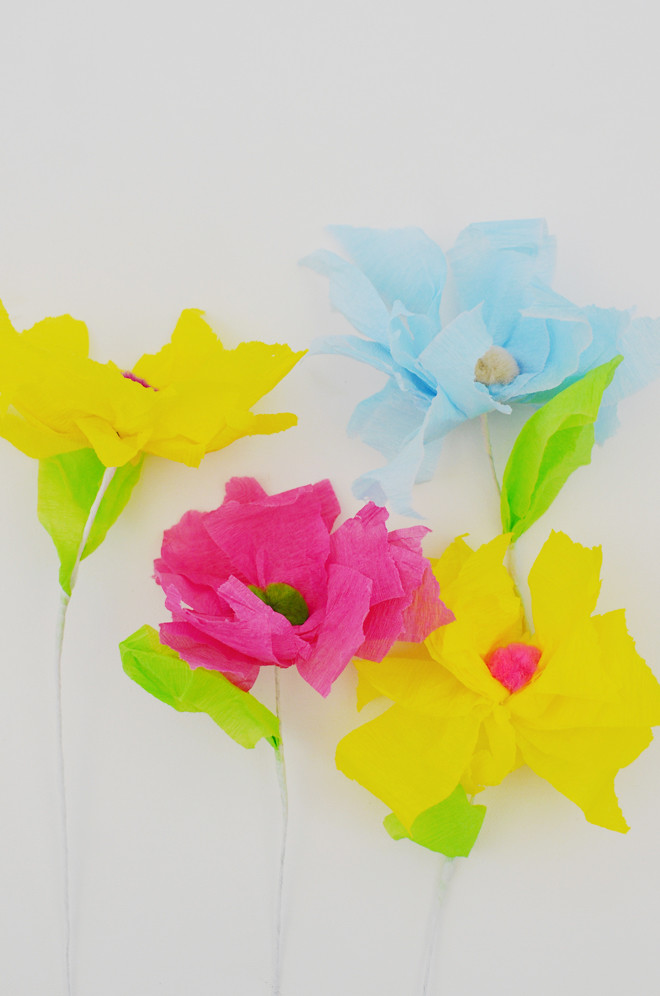
paper flowersI taught the kids how to make one, and they took it off with it and made a bunch more. They even surprised me and used their new flower making skills to make me a bouquet for Mother’s Day. Well, the girls are pretty excited to go over to Ella’s house and bring her the homemade bouquet of flowers, so I’m hoping our role playing will have them ready to put their politeness into action.

This post is sponsored by Target. More Princesses, More Sparkle: Blur the lines of fantasy and reality with your favorite Disney princesses at Target. Thank you for your continuous support of this space and the sponsors I work with! xoxo


my refashioned denim dress and my girls

May 12, 2014


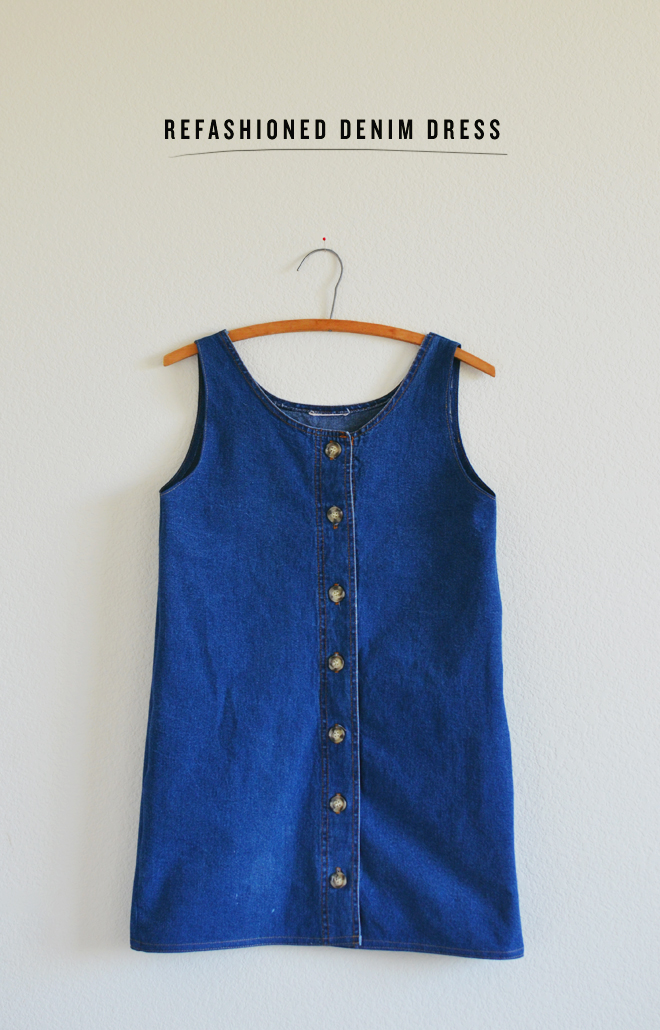
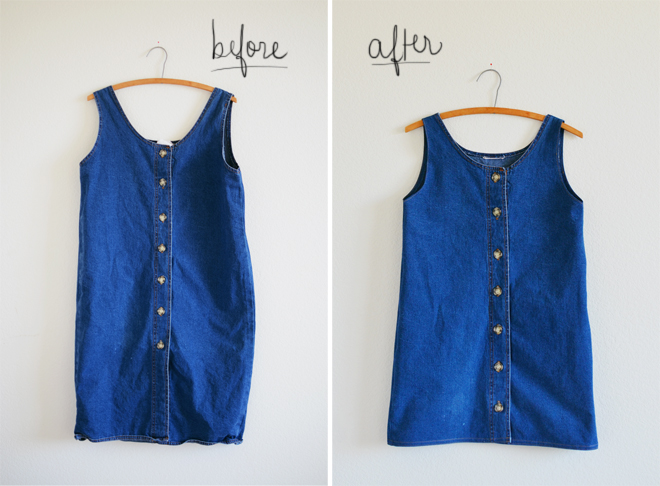
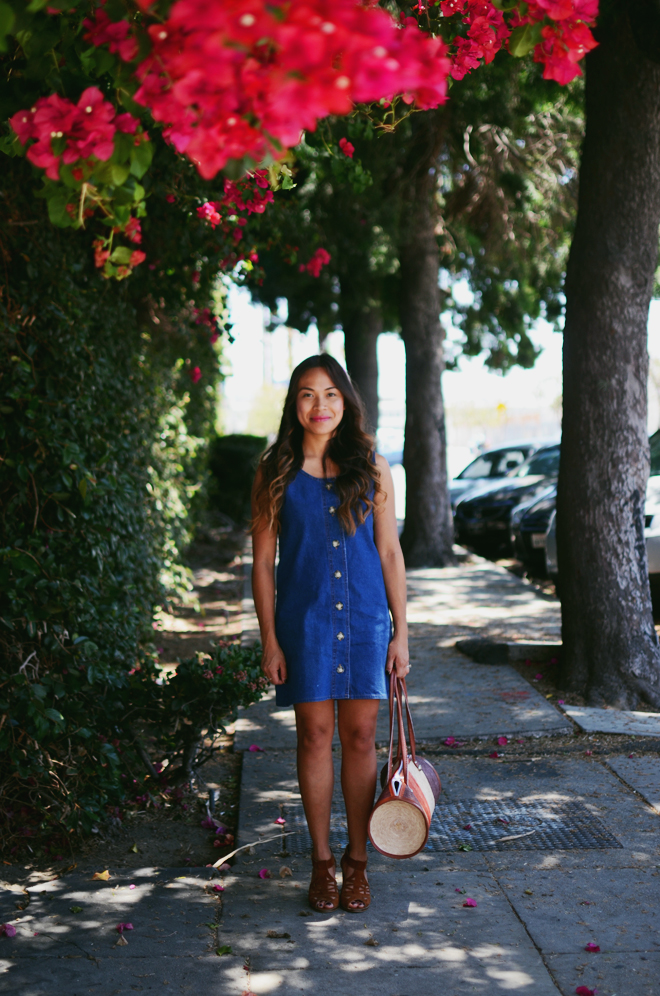
denim dressdenim dressI scored at my last trip to the thrift store and thrifted this denim dress. It was about 5 sizes bigger, and I just cut the sleeves a bit narrower, change the cut of the dress, made it shorter, and these couple of quick fixes gave me another nice basic. The dress was only $4, so I feel like I scored big time. I already wore the dress a few times last week, but decided it would also make the perfect Mother’s Day dress too.
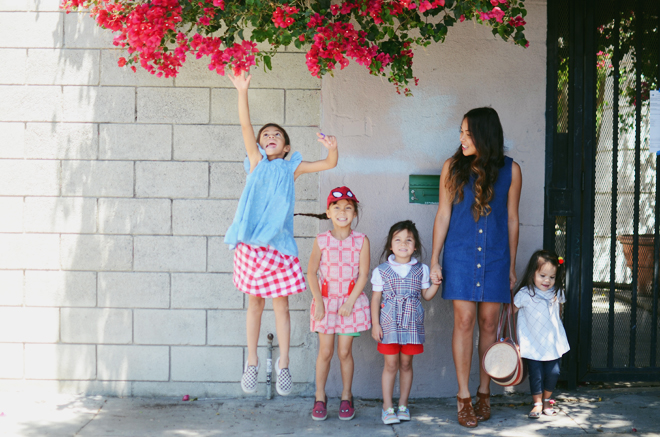
my girls and memy girls and memy girls and meOn Saturday night, True slept in the clothes she was going to wear for Mother’s Day because she said she wanted to be ready early to help Ben make breakfast in bed for me. Totally funny and adorable! These girls of mine, I love them. Motherhood is like a roller coaster, exhilarating and terrifying all at the same time. Well, I love roller coasters, but if you’re just plain frightened of them, then that analogy wouldn’t work for you.


read & make: house block pillow

May 7, 2014


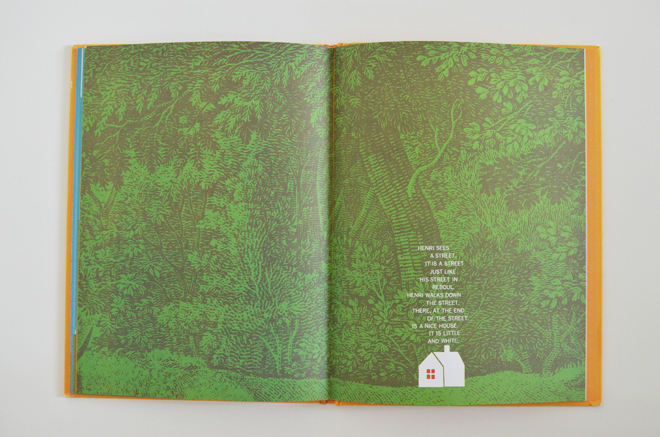
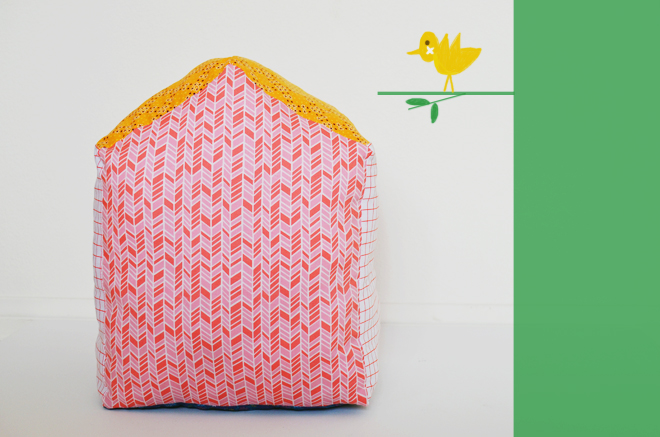
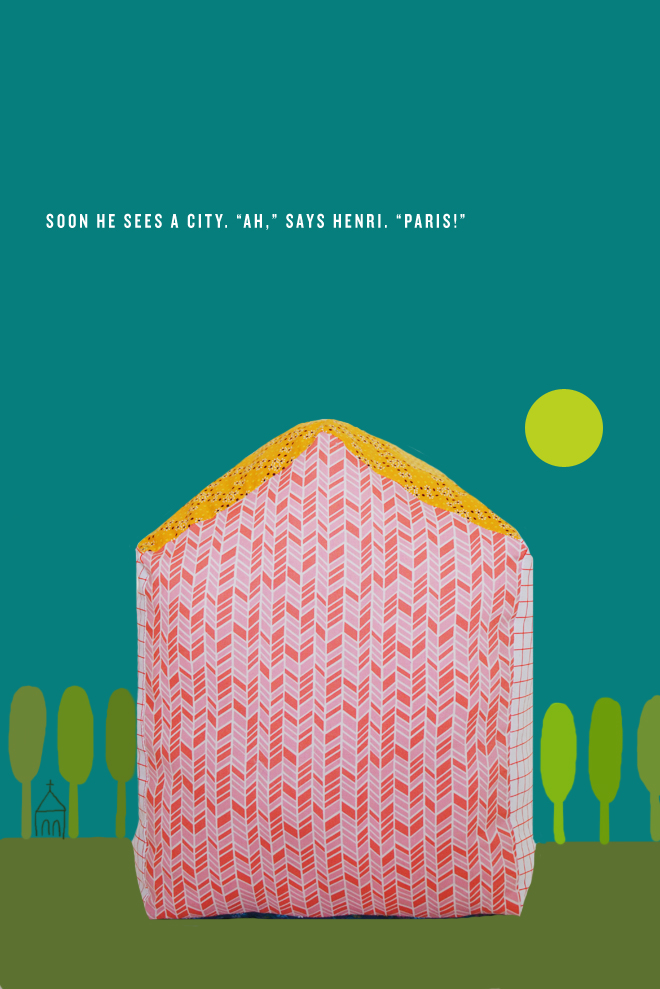
house blockhouse blockI remember the first time I came across Henri’s Walk to Paris. I loved the vibrant colors and simplicity of it all; It was just darn so stunning! Then, I started researching where to buy the book, but it was out of print at the time, and well, that was that (vintage ones were expensive!). When the book finally came back into print, I was so ecstatic and very happy that Amazon could get books to my house in lightening speed. It’s been one of our favorites ever since… you could get a whole slew of project ideas from this story!

House Block Plush

Supplies:
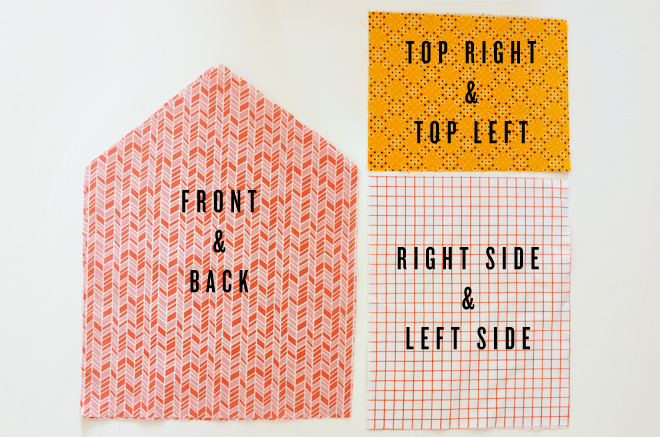
House Block Plush Illustration (gives measurements for each fabric piece of the house block cushion)
Scissors
1 yard for house front & back (mix up patterns and colors to get a cute & quirky house!)
1/2 yard fabric for house side
1/2 yard fabric for house roof
Polyester fiber-fill
Sewing machine
Coordinating thread
Hand sewing needle (to sew the cushion close)

Seam allowance: 1/2″

Directions:
1. Cut out all your fabric pieces. Use this to get fabric measurements.

2. With their right sides together, sew the 11 1/2″ sides of the left side fabric and the left roof fabric together, and press the seam open. Repeat for the right side.

3. Place the left side fabric and front fabric with their right sides together (be sure to line up the edges from the roof top to the bottom of the house), pin in place. Starting 1/2″ down from the rooftop, sew down the entire length. Repeat this step again to join the right side fabric with the front fabric.

4. Place the left side fabric and back fabric with their right sides together (be sure to line up the edges from the roof top to the bottom of the house), pin in place. Starting 1/2″ down from the rooftop, sew down the entire length. Repeat this step again to join the right side fabric with the back fabric.

5. With the right sides of the roof together (they pretty much face that way because of the sides being sewn together), sew across the entire length of the roof top opening.

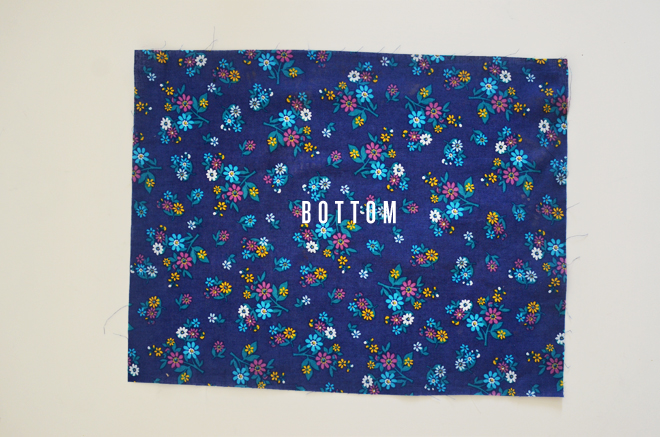
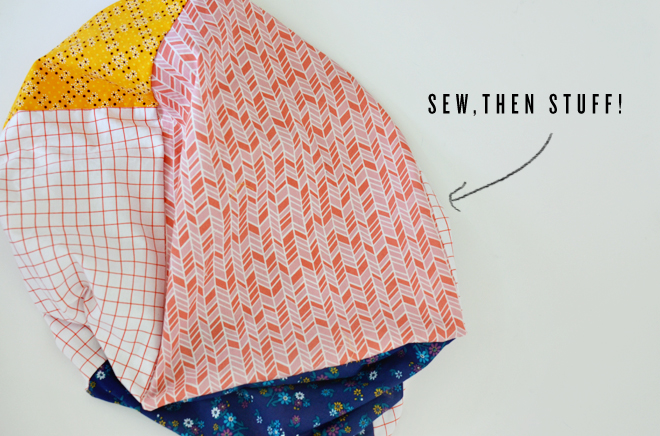
6. With their right sides together, line up the edges of the bottom fabric to the what is now the main body of the house (the 10 1/2″ side coordinates with the 10 1/2″ side, and the 14″ side with the 14″ side), and sew around the perimeter of the bottom, but be sure to leave a 4″ opening for turning. Clip any corners, turn right side out (poke out any corners), and fill with poly-fil. Fill until desired firmness, then hand sew the opening closed. You may need to fluff, press, squeeze, and hug to get your house just right after you get all your stuffing in.
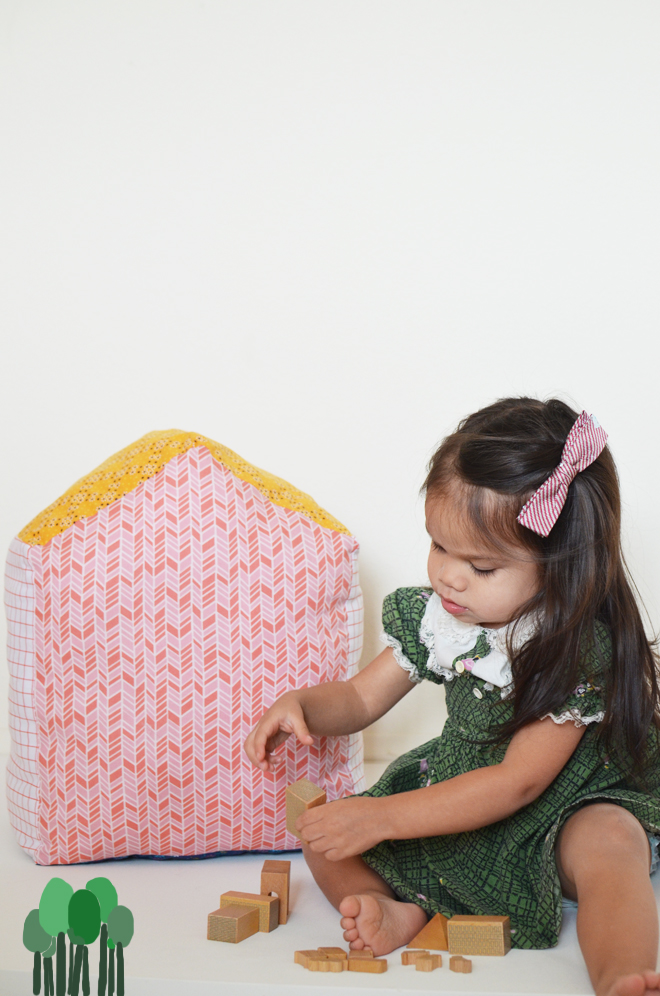
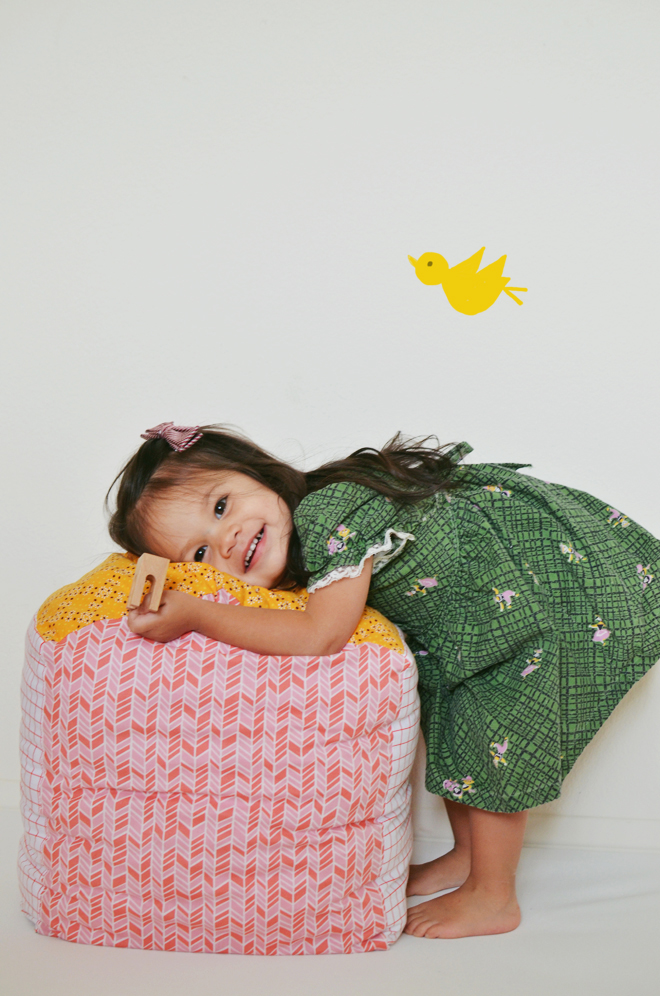
henry's walk to parishenry's walk to parishenry's walk to parishouse blockhouse blockhouse blockhouse blockWe love this house block! I pretend the baby is a monster and she crushes the house by sitting on it. It has nothing to do with the story, but it’s really funny. The house block is especially good for leaning on when reading stories like Henri’s Walk to Paris together. It’s nice, thick, and cushiony.  This would definitely be just as cute if you made smaller house block plushes, and that would make a really good present to gift to a child along with the book.

If you want even more sewing projects, don’t forget to pre-order my book, Let’s Sew Together! Release day will be here very soon… yay!!!


homesewn dress

May 5, 2014


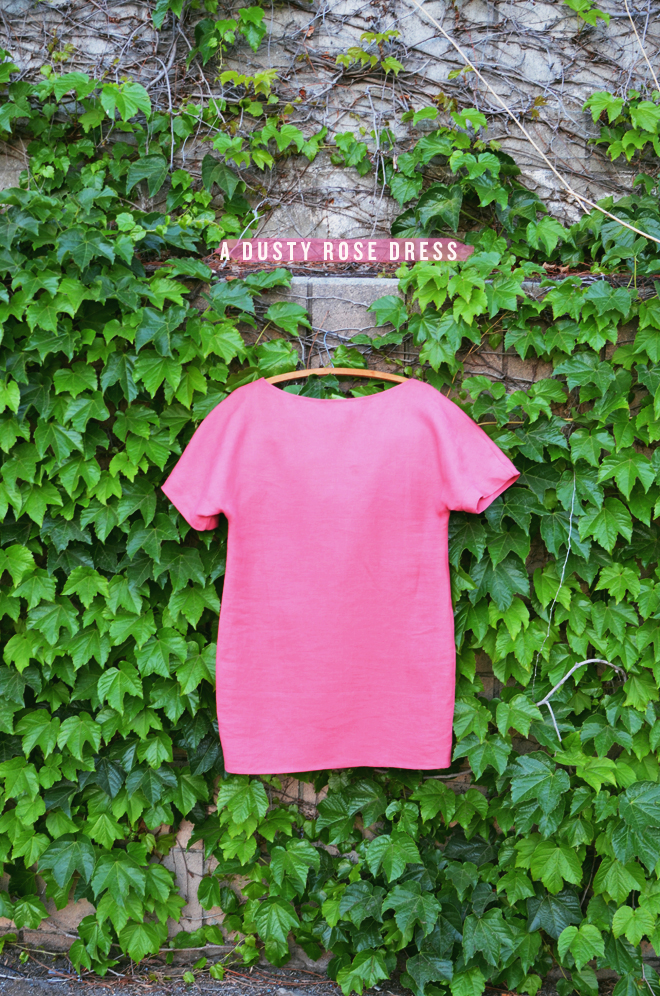
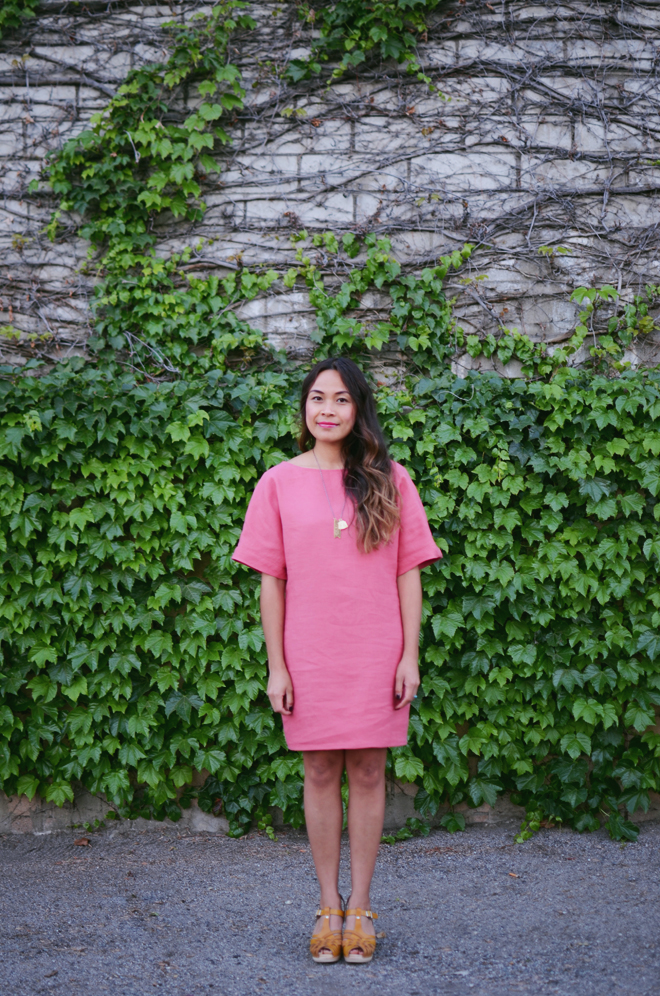
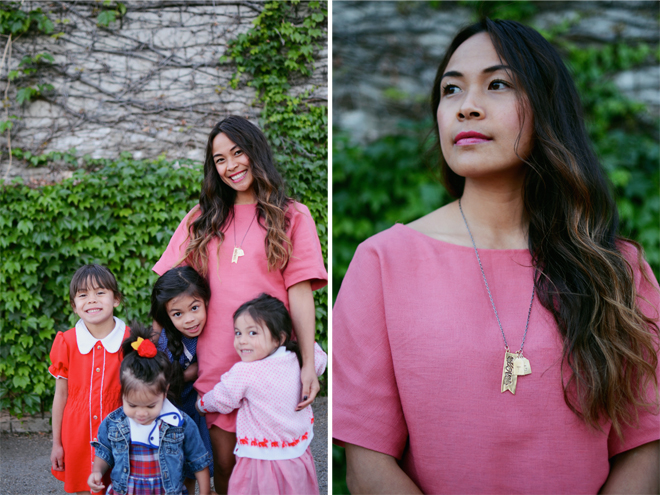
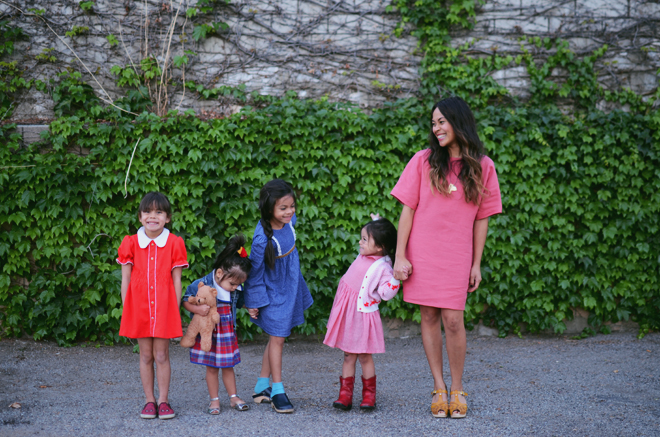
dusty rosedusty rosedusty rosedusty roseI love the shapeless, loose dresses that have been popping up lately. I can do without spanx underneath and those dresses are just so comfortable. Sure they aren’t super flattering, but whatever, I like them. Now, the ones that have been popping up are like oh-my-freakin-guacamole-expensivo, so while I have bought a $400 pair of shoes once (this is full disclosure with a story behind it, and not my proudest moment, but hey! I wear them a lot and they’re my faves), I can’t pay that much for a shapeless dress. 1) It’s shapeless, so it’s not that hard to sew. 2) I’d rather buy nice shoes, than a dress, probably because I sew. I’m sure the dresses that go for that kind of Benjamins are handmade with love in the USA with the finest of fabric (and I’m all for small businesses, so I’m glad people support them), but hey, mine is handmade with love too (in the USA) and with linen, which is nice fabric, and only cost me $20, so that works for me.

I’m pretty happy with how my dress turned out, and seriously after you sew yourself a dress, it feels like you just went shopping without spending any money, especially if you have had the fabric for awhile. I have no pattern for you, but I have this sketch that you can use as a guide to make your own. It’s only two pieces (front and back) and it’s loose, so just use one of your looser dresses as a sizing guide, and I made the cut of the bottom portion more cocoon-like, and I did a wide band at the sleeves. It’s easy, I promise, just try it! My book won’t teach you how to make this dress, but it will teach you enough about sewing that you will eventually be able to make this dress and many more other things.

dusty rosedusty roseI also got to be part of Lisa Leonard’s lookbook, so I’m wearing her gold love banner necklace (sorry it’s sold out now). The girls love that I have a necklace with their letters, they declare this one their favorite necklace of mine.

Are you yea or nay on loose shapeless dresses? Would you try and make your own?

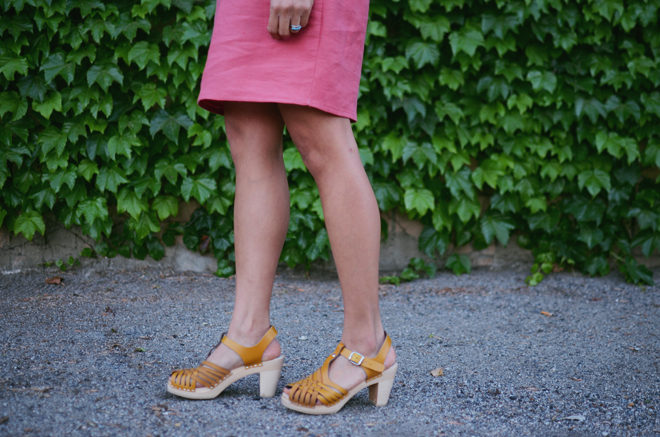
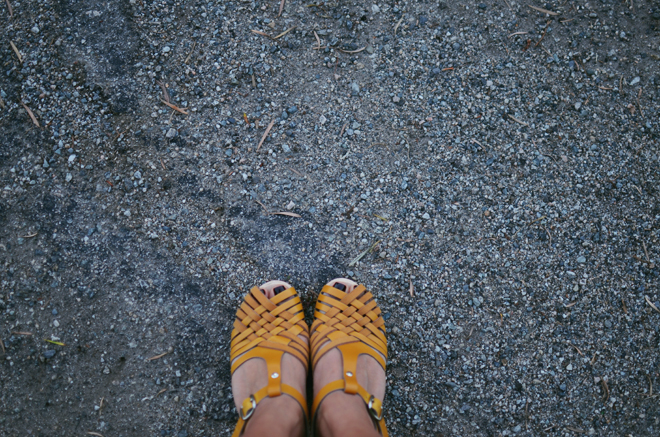
on me: dress, handmade by me (duh!). necklace, c/o lisa leonard. shoes, c/o lotta from stockholm. on true: dress, misha lulu. on the rest of the girls: dresses, vintage.


her homesewn 8th birthday dress

April 30, 2014


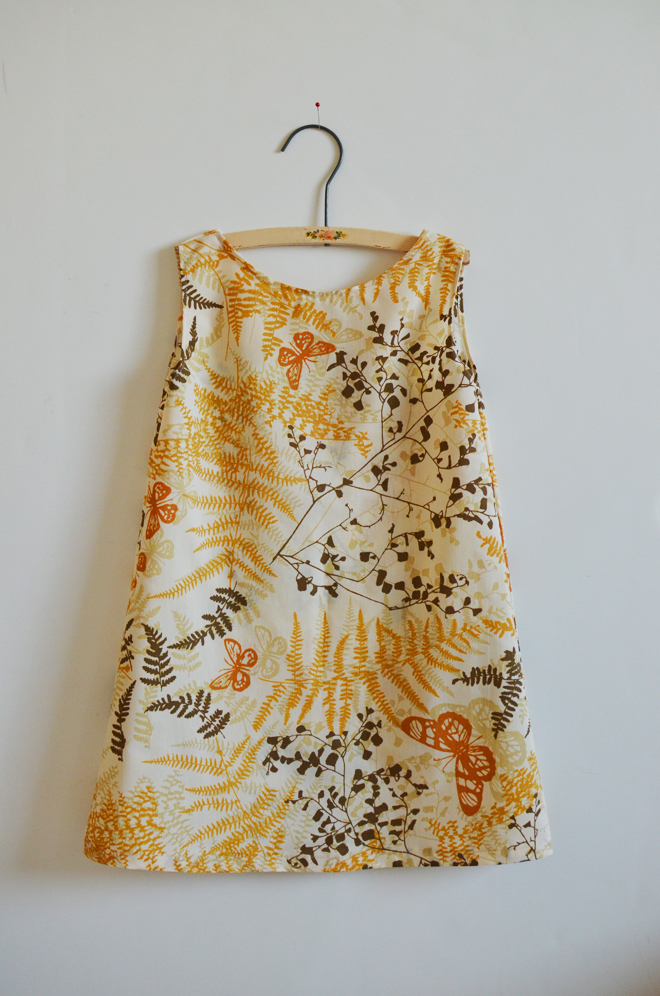
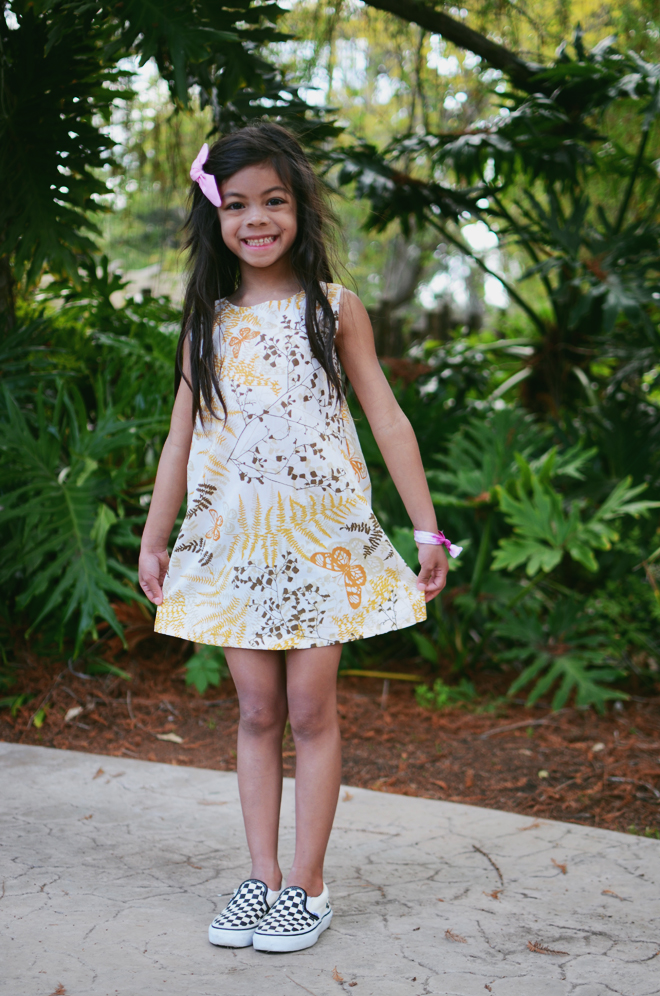
fluttershy inspired dressThis is the birthday dress I came up with since True was having a Fluttershy My Little Pony party for her 8th birthday (a peek at it here). I bought yellow fabric to make one like I sketched in this post (and actually started cutting and sewing it), but as I was making it, I wasn’t feeling it, so I switched to sewing a simple shift dress from this vintage bed sheet I had. It had yellow and butterflies like Fluttershy, and then I made her a pink bow to go in her hair, and it made the perfect 8th birthday dress for my biggest girl.

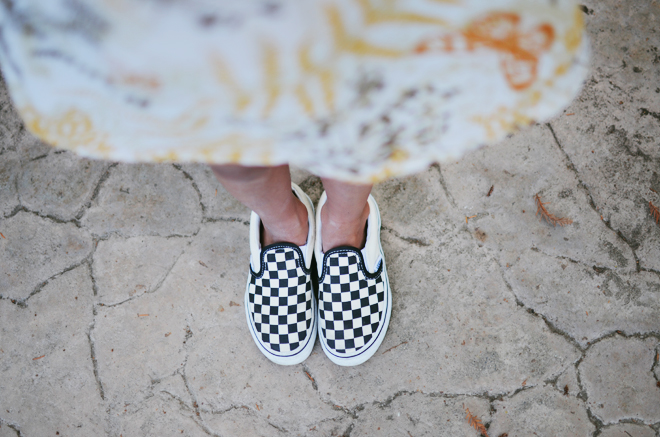
DSC_7101DSC_7104She loved it and pretty much had it on all weekend (when she wasn’t wearing her bathing suit). Also, on her birthday wish list were these checkered slip-on Vans, so she was super excited when she opened the box to see she received them. She declared them her new favorite shoes, although this wasn’t her favorite birthday present; the winner present of the weekend was a planner! Yup, my 8 year old girl asked for a planner for her birthday. She’s already started writing in it and marking dates. I think I have a type-A personality on my hands.

And if you want to learn how to sew (or want a few sewing projects to add to your to-do list), don’t forget to pre-order my book, Let’s Sew Together. Sewing can be intimidating, but I’m telling you it isn’t. It’s so much fun and it’s even more fun to do for and with your kiddos!


do you want build a snowman? party

April 28, 2014


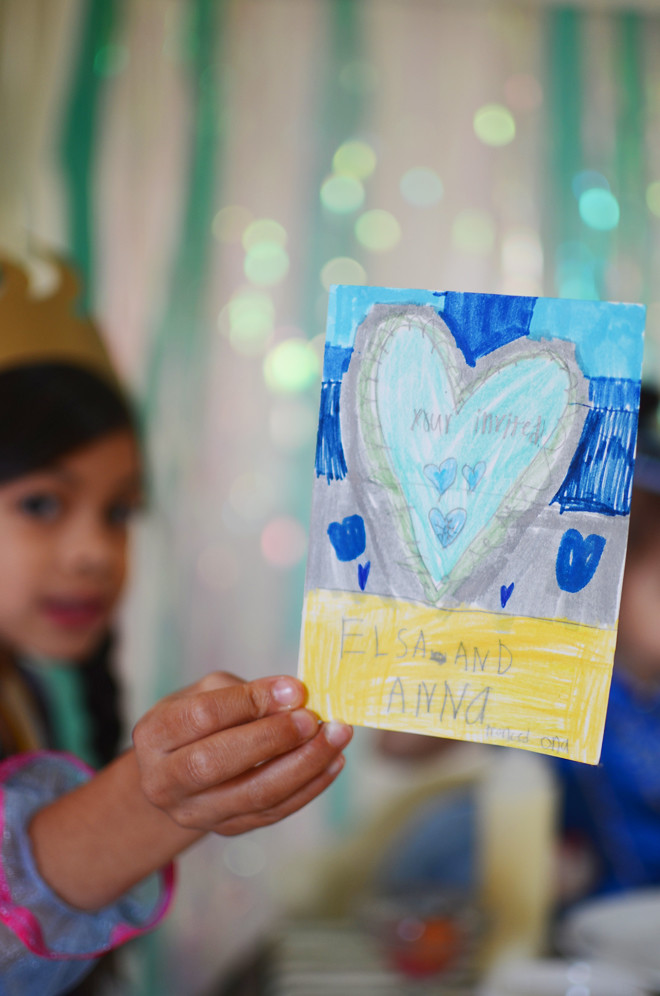
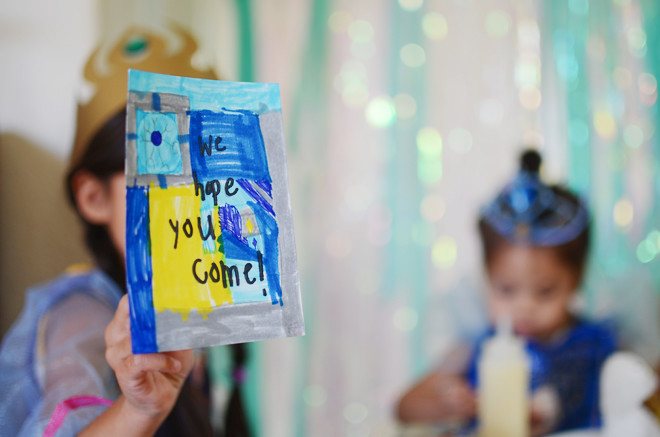
frozen partyfrozen partyWell, you already know we’re big Frozen fans over here (as proof here). One day, as I was cleaning their room for like the umpteenth time, I saw this card that True and Brave had made inviting other princesses to a party. I know they made it only for their “pretend” party, but I thought it would be fun to make their little princess party come to life. Seeing their card (from Elsa and Anna) sparked an idea to have a “Snowman Building Party” with shaved ice!

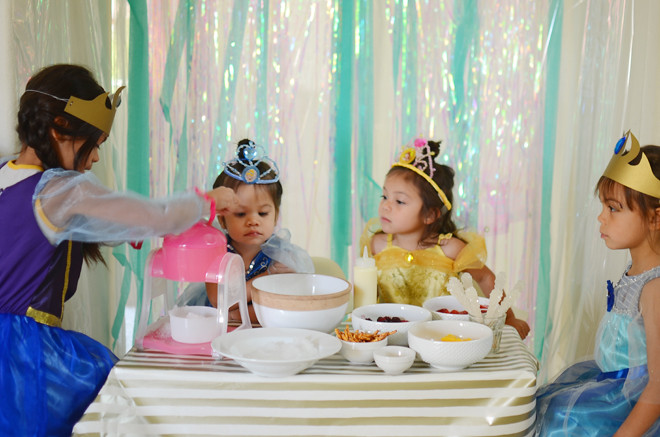
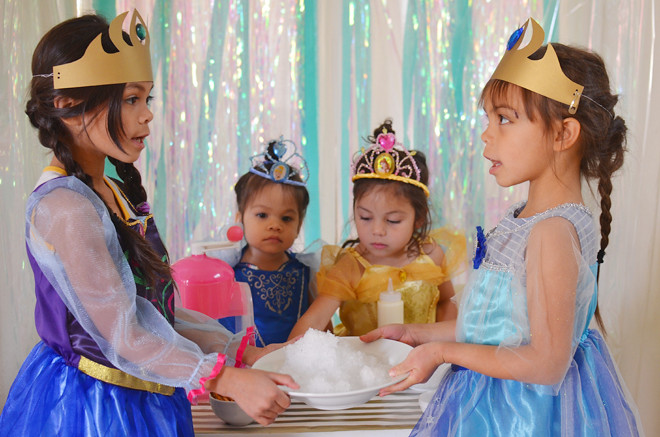
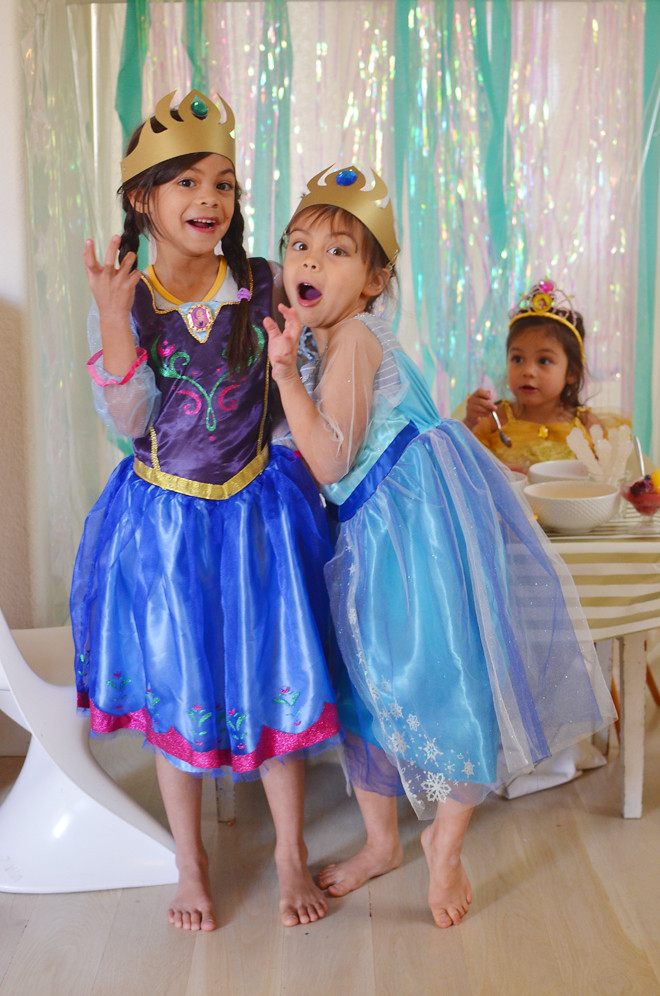
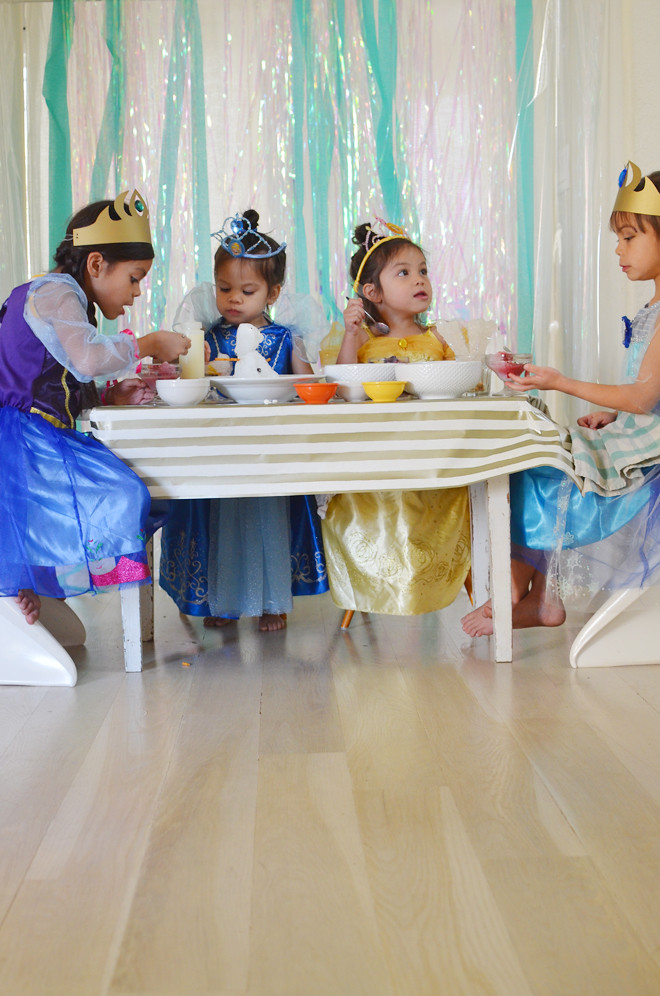
So one afternoon, while they were on spring break, I told them to get dressed up (my MIL had gotten them the Elsa and Anna Frozen costumes from Target in Texas because they were totally sold out in California), and since she got True and Brave a costume, I went to Target to make sure Soul and Glow had a (Cinderella and Belle) costume too. Can you tell they love it?! And their crowns have become a normal accessory that they, oh you know, wear to the grocery store. HA! Soul has been saying she wants a princess party for her 5th birthday, so I’m hoping she’s cool if we re-use this for that occasion (and they also wore it when Brave performed “Let It Go”). We didn’t have Elsa and Anna crowns, so I created this template, cut it out of gold poster board, added elastic to the back, glued on a jewel, and they were set to go.

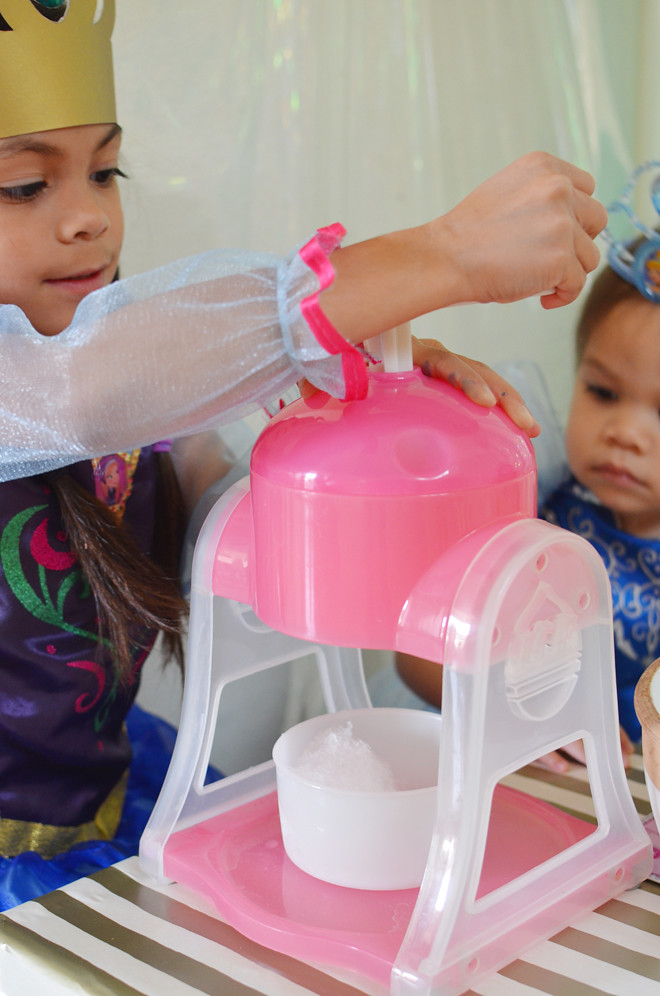
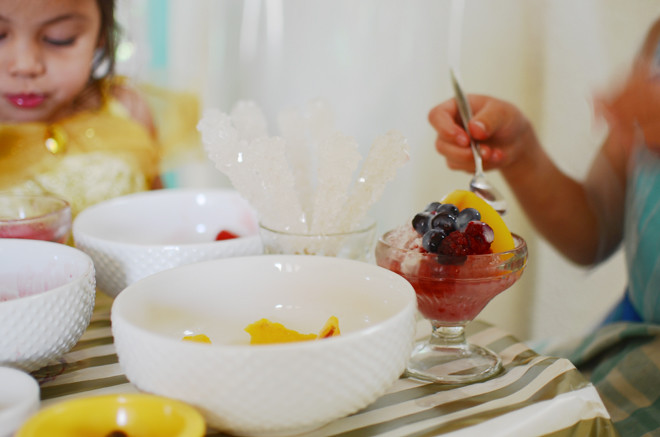
I got some simple streamers that were Frozen-esque, and draped them over a tension rod between our arches (see arch here), I covered their play table in a striped, metallic gift wrapping paper, and then I laid out all the snowman building party fixings. I didn’t tell the girls what we were going to do, and they were so curious and watched me lay all these things out. I made sure to remind them all to wash their hands before the party started, and once they sat down, saw the ice shaver and ice, they figured it out… they were going to build a snowman!

We all love Olaf, he’s my favorite character in the movie and I totally crack up when he gets grabbed by the ice monster and says, “All good thing, all good things.” I thought since True and Brave had made the invitation and signed it “Elsa and Anna,” well, we couldn’t leave Olaf out now, could we?! So having princess sisters and their princess friends build a snowman to bring our version of Olaf come to life would be something they would totally have fun with!

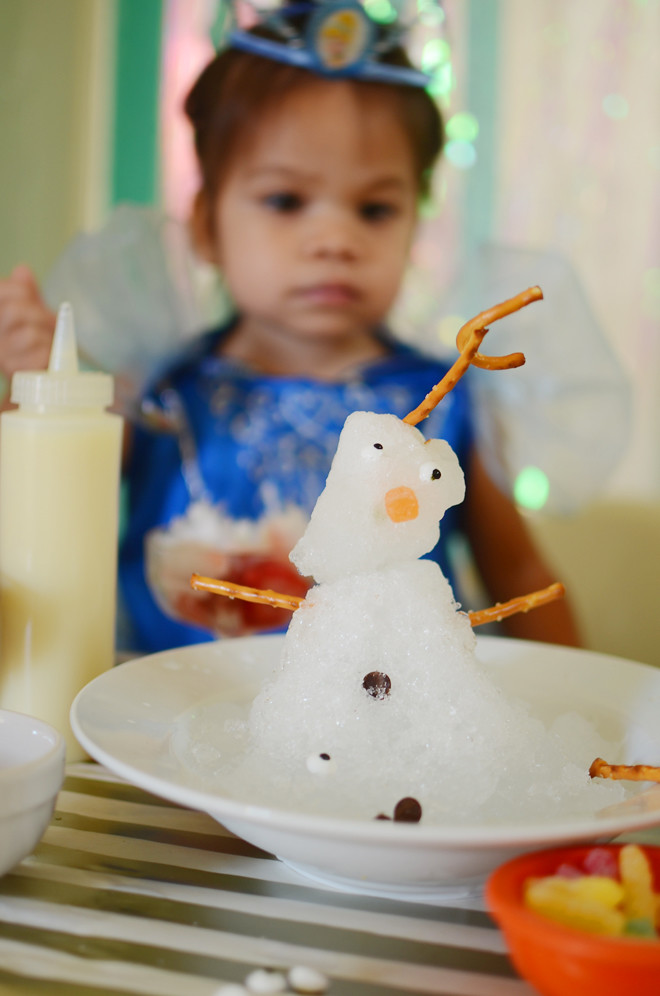
Build Your Own Snowman
best to use an ice shaver (this one should do the job), but putting ice in a vita-mix works too (the kids plowed through the snow so fast, that we used both methods to get shaved ice)

Ingredients:
Shaved ice
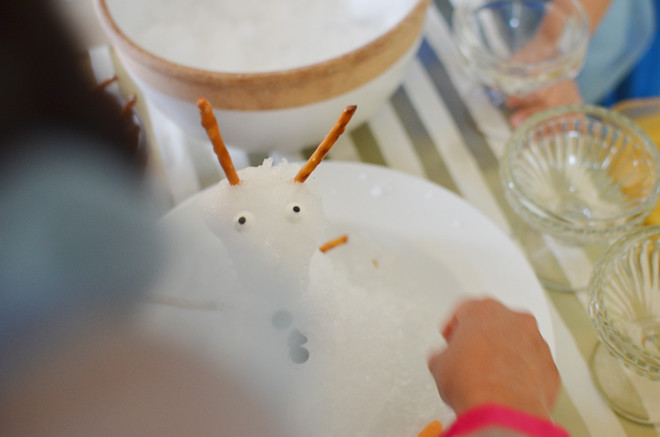
Pretzel sticks (for arms and hair)
Sugar candy eyes (from Target in the baking section)
Sour Patch Kids (for the nose)
Chocolate chips (for the buttons)

Tips for building your snowman:
You’ll want to build your snowman in a bowl, so you don’t have water spilling out as it melts. Build the bottom of the snowman first, then add the head on top, and let the kids decorate. We used a small spoon to help carve into the shaved ice to insert the different parts of the snowman.

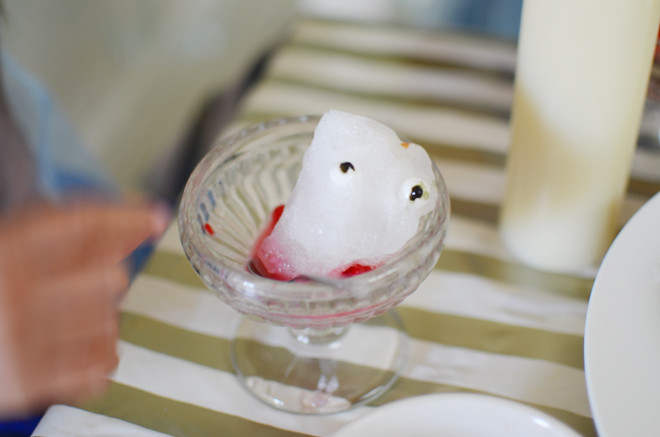
frozen partyfrozen partyfrozen partyfrozen partyfrozen partyfrozen partyfrozen partyfrozen partyfrozen partyfrozen partyfrozen partyfrozen partyThey had such a fun afternoon of Olaf building and shaved iced sundaes. True said, “Mom, it felt like we were in the North Mountain.” So I guess if it felt like we were really there, then it was a job well done. We were all laughing at how silly our Olaf turned out, and then he kept melting away as they were indulging in their own shaved ice sundaes. Eventually, True plopped Olaf’s head into her bowl and ate him. She kept saying, “I’m eating Olaf!” and the other girls thought that was so hilarious! And of course, throughout their mini party, they kept singing, “Do you want to build a snowman?…”

Shaved Ice Sundaes
inspired by Taiwanese shaved ice

Ingredients:
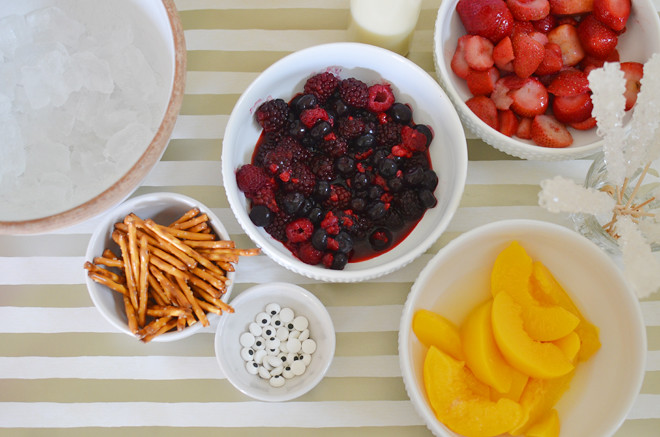
Shaved ice
Condensed milk (I put ours in a dispenser bottle)
Fresh fruit (we used berries, strawberries and peaches, but bananas and mangos are also yummy)

Directions:
Place your shaved ice in a bowl, put the fruit on top, and then generously drizzle condensed milk all over.

Shaved ice sundaes are so refreshing and simple to make. The girls ate bowls full that afternoon, which overflowed into evening — all they wanted for dinner was pretzels, and then we called it a night. We cleaned up the messes, bid the princesses farewell, and it was off to bed they go. “In summer” (sang Olaf style), we are definitely going to have another snowman and shaved ice party. Who wants to come this time?

Download the crown template
Cut out on poster board, punch holes, add elastic, glue on a jewel, and you’re set!

This post is sponsored by Target. More Princesses, More Sparkle: Blur the lines of fantasy and reality with your favorite Disney princesses at Target. Thank you for the time you take to visit this space!


CAKIES
©
Design by Blog Milk