felt pom pom garland christmas tree

December 1, 2017


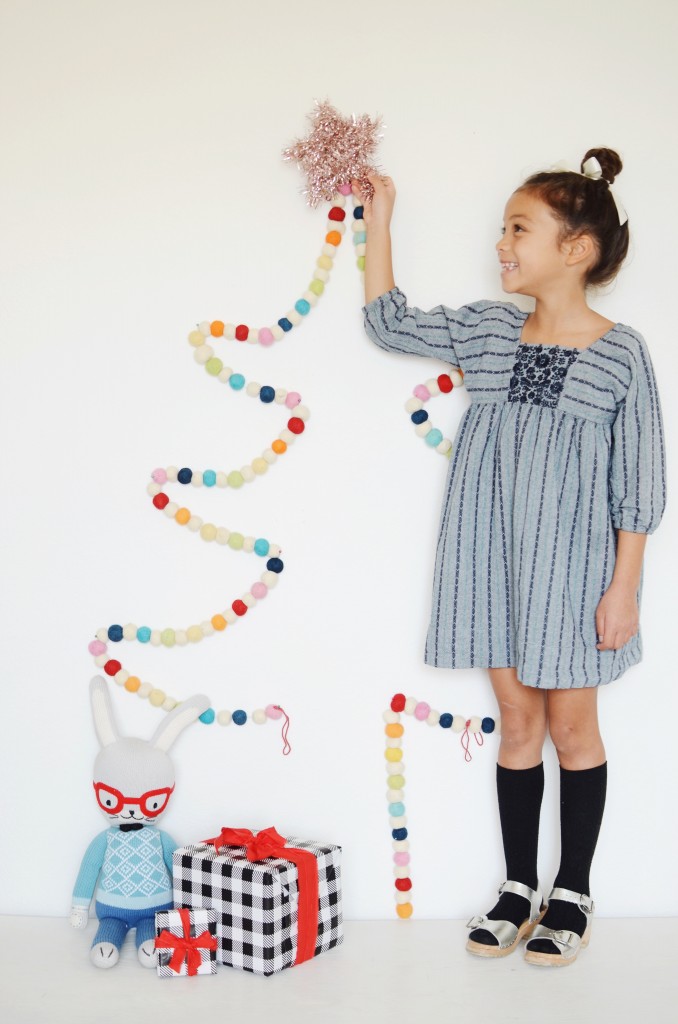
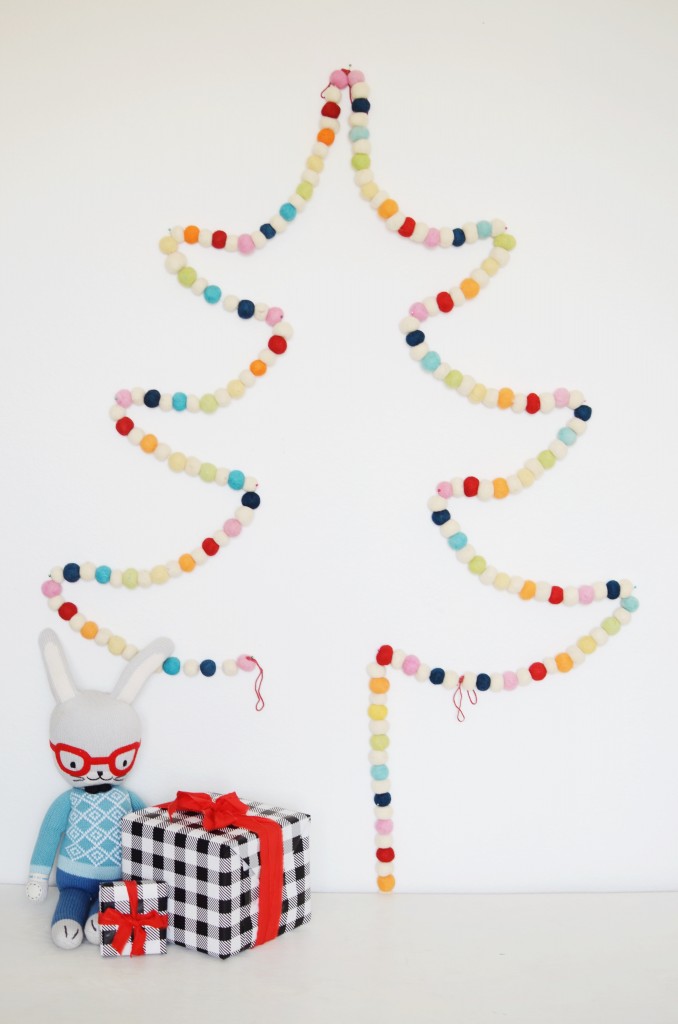
Felt Pom Pom Garland Christmas Tree

Supplies:
Template for the pin points
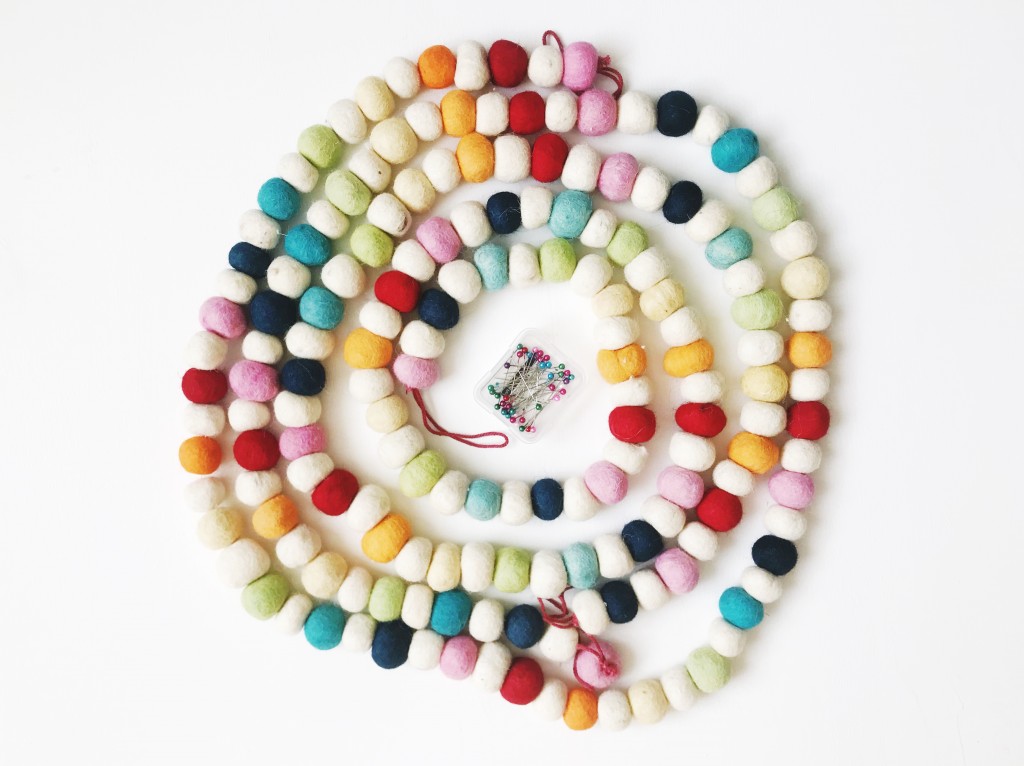
Felt pom pom garland (I used 3)
Sewing pins (or can use Command decorating hooks if you don’t want tiny holes in your wall)

Directions:
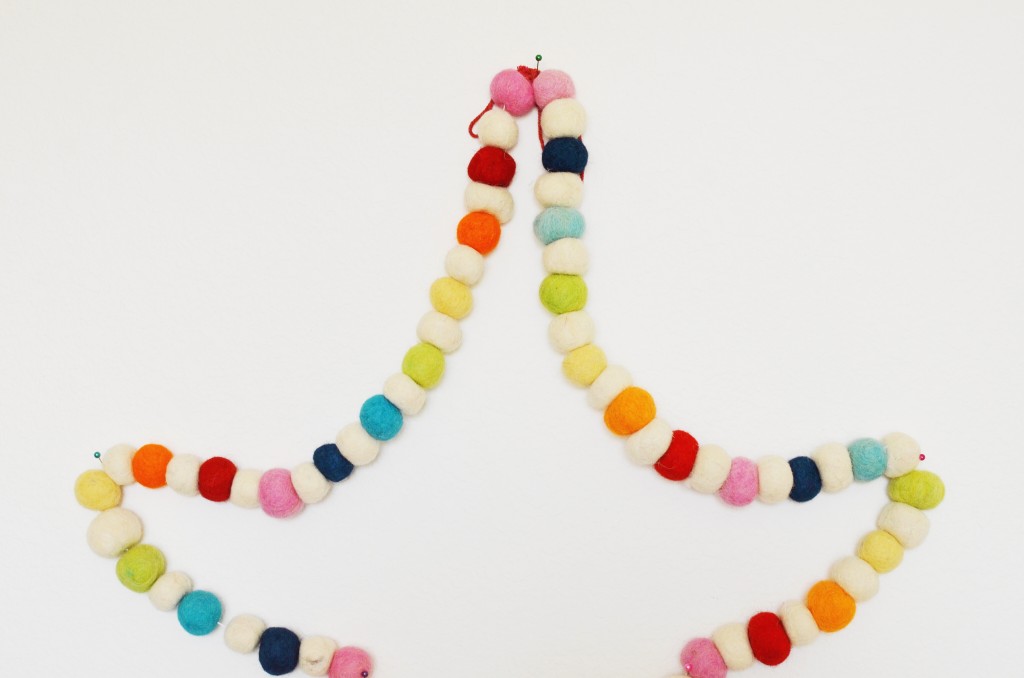
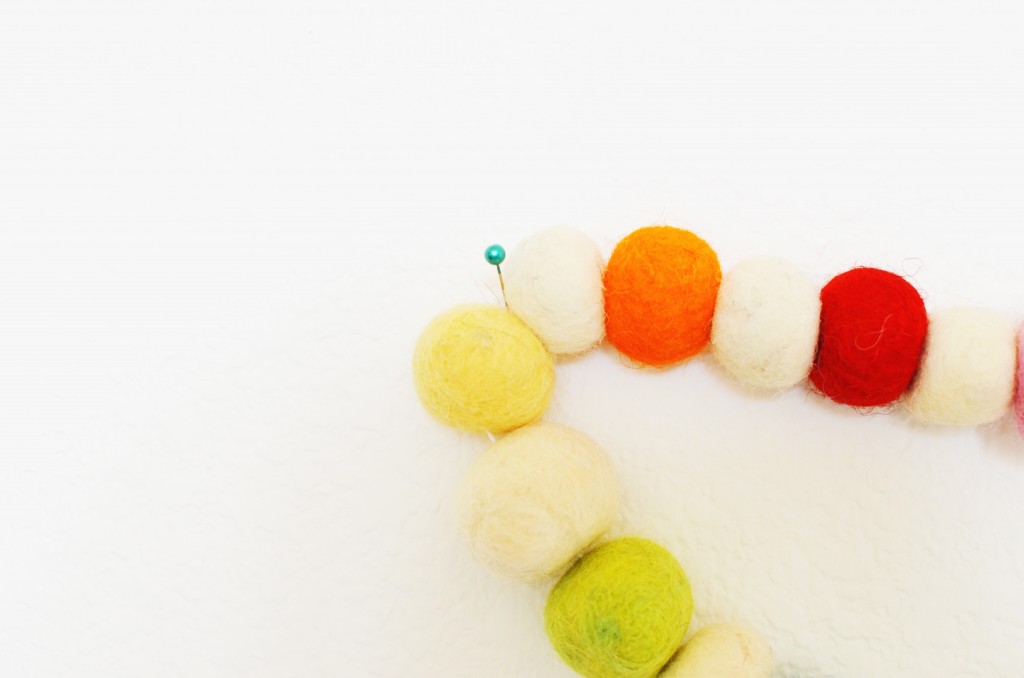
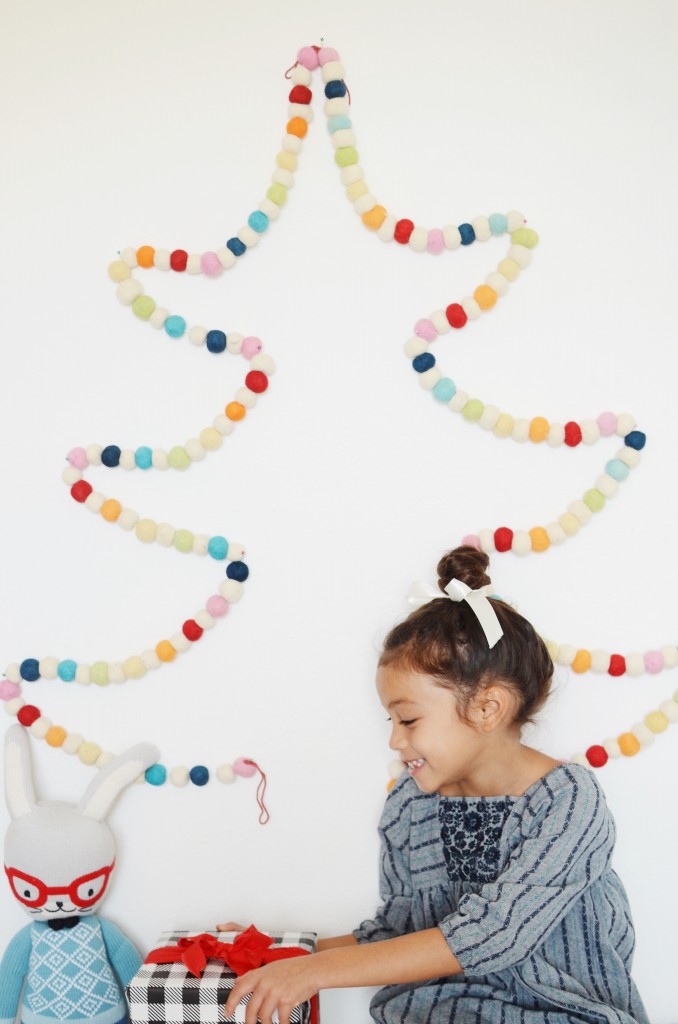
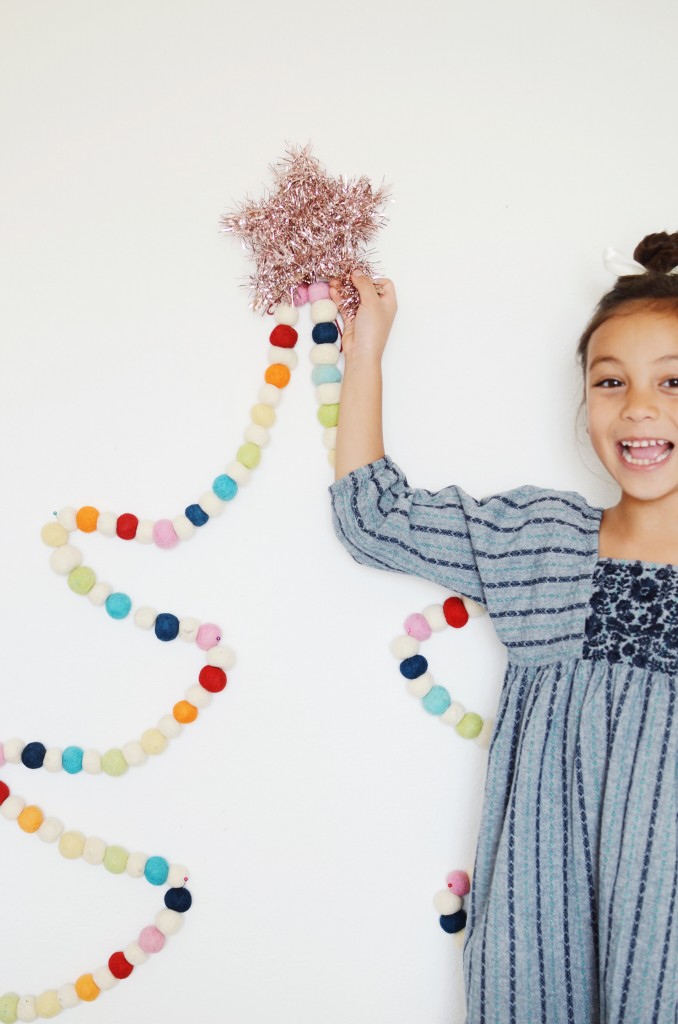
Place a pin at the top, from there continue to place your pin points on each side to make the shape of the tree. See template to determine pin points. Once the points have all been created, join the ends of two garlands together and place that at the top pin point of the tree. Continue shaping the tree, draping the garland on the next pin point until your tree is completed.

We used 3 garlands total and our tree is about 4 feet tall. If you want to make a larger tree, use more garland.

Isn’t so cute?! It’s so easy to make and gives such a fun holiday vibe. You could make it with a tinsel garland, tassel garland, or even simple string lights. Better yet, make an even bigger one with more garland attached. Maybe a giant wall one should be our tree this year! We are a bit behind in the Christmas decorating and this is the only thing we have up so far.

Also, I love this pom pom garland because I can use it way past Christmas. I’m all about things that have multiple uses, so you’ll probably see this garland repurposed in other DIYs throughout the coming year. Of course, you could certainly make your own felt ball garland, but with it being $5.99 at Michaels right now, I’d rather buy it than make it. So who’s going to give this festive, simple DIY a whirl?

Supplies provided as part of the Michaels’ Makers SeriesSanta’s MAKEshop is open at Michaels! From holiday décor to trimmings for your tree to DIY necessities, you can find everything you need to make your holiday magical!

fabric shopping

November 29, 2017


One of the girls has a birthday coming up, which means a birthday dress needs to be made, but I haven’t had time to go to my favorite fabric store (it’s about 40 minutes away with no traffic, and in SoCal, there’s always traffic), so online fabric shopping it is. I got introduced to Fabric.com and I’ve been impressed with the wide array of choices they have. I was looking at their designer apparel fabrics by the yard and there’s so much to choose from. They even have Amy Butler stuff. I went through a big Amy Butler phase when I first started to sew. Typically, with fabric, I like to touch and feel it before I decide, but these days I don’t have time to drive out to my go-to shop, so I’m giving online fabric shopping a whirl.

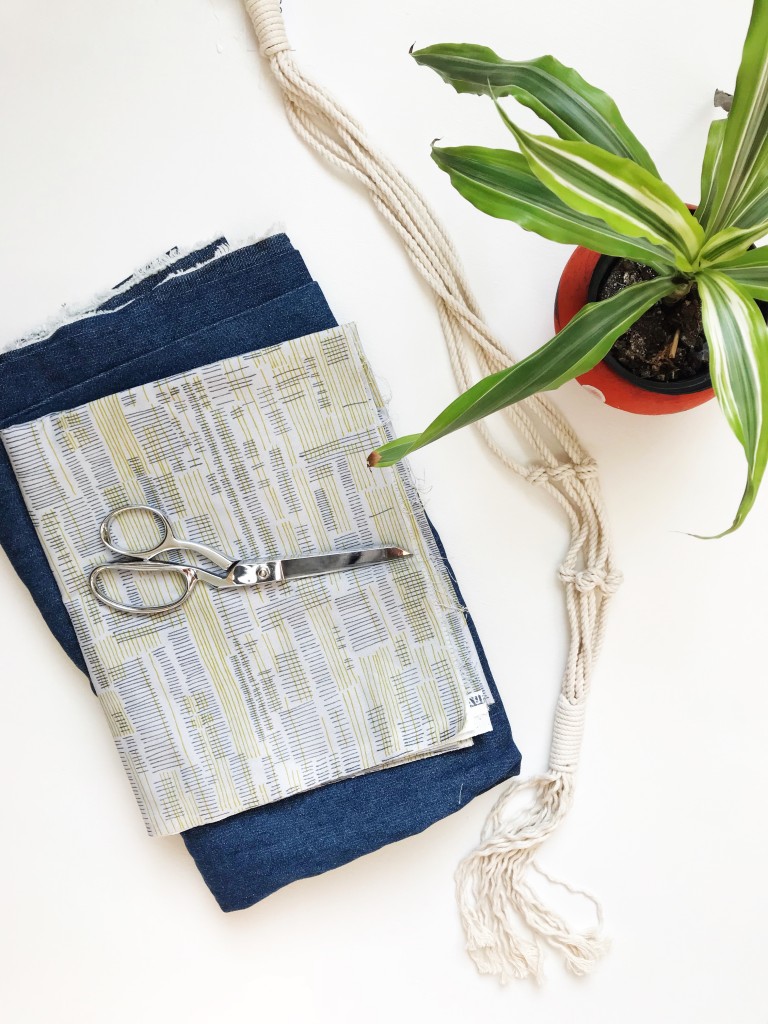
My go to fabrics are always cotton and linen. I’m eyeing this natural denim and this linen rose blend. I love sewing apparel with denim for myself and the girls (see here and here), and linen is a common fabric I stock up on too. This Anna Maria Horner pattern give me Ace & Jig vibes and would be fun for a dress for one of the girls. For me, I’d love this pinstripe linen for a tie front top. I’m thrilled to see designer apparel fabrics that I’m familiar with. Makes online fabric shopping easier because I already know that designer and its quality are reliable. Fabric.com also has so many more linen choices than my go-to shop and this makes this seamstress super excited. It’s taking some real constraint to not fill my cart with lots of fabric.

Now that I think about it, I haven’t sewed myself anything to wear this year. I’ve altered thrifted things, and I’ve made the girls plenty of things for their wardrobe (I’ve been using fabric from old dresses I no longer wear to make them something), but nothing for myself. I think I have to change that before the end of the year and pick out some fabric to sew myself something. I’m thinking something in a soft indigo denim with a tie front. Although, before I can do that, I need to make Soul’s birthday dress. That’s top on my to-do list.

Do you sew? If so, where’s your go-to place to get fabric? Have you ordered fabric online or are you a must touch and feel fabric shopper?


her love for crochet

November 22, 2017


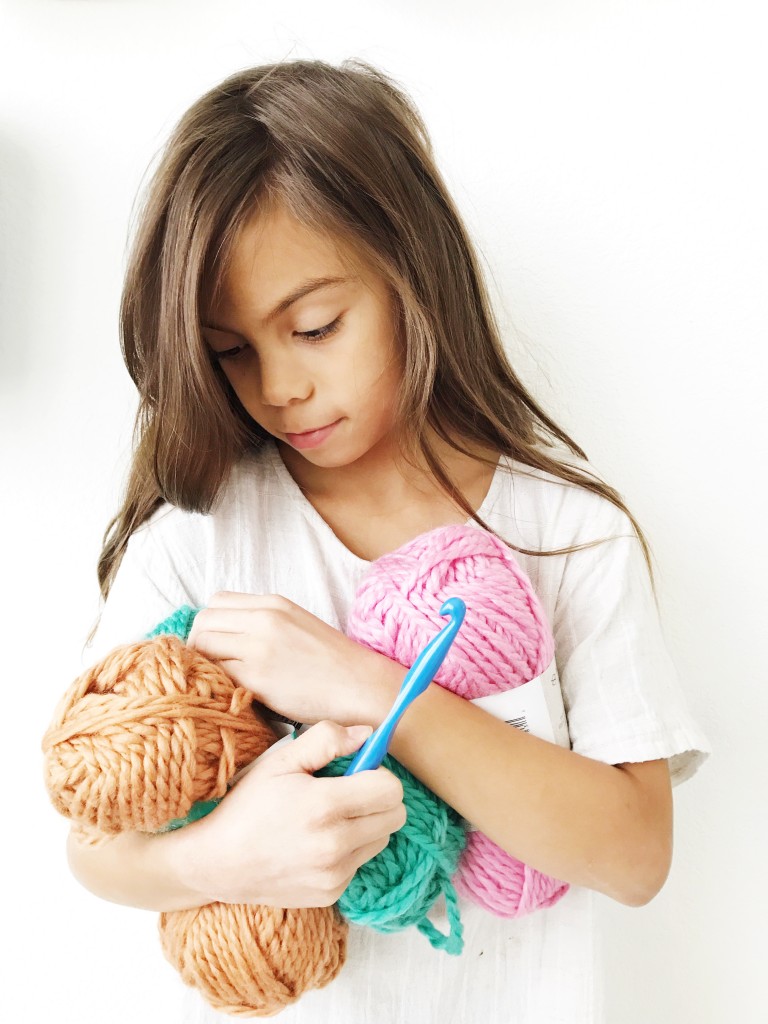
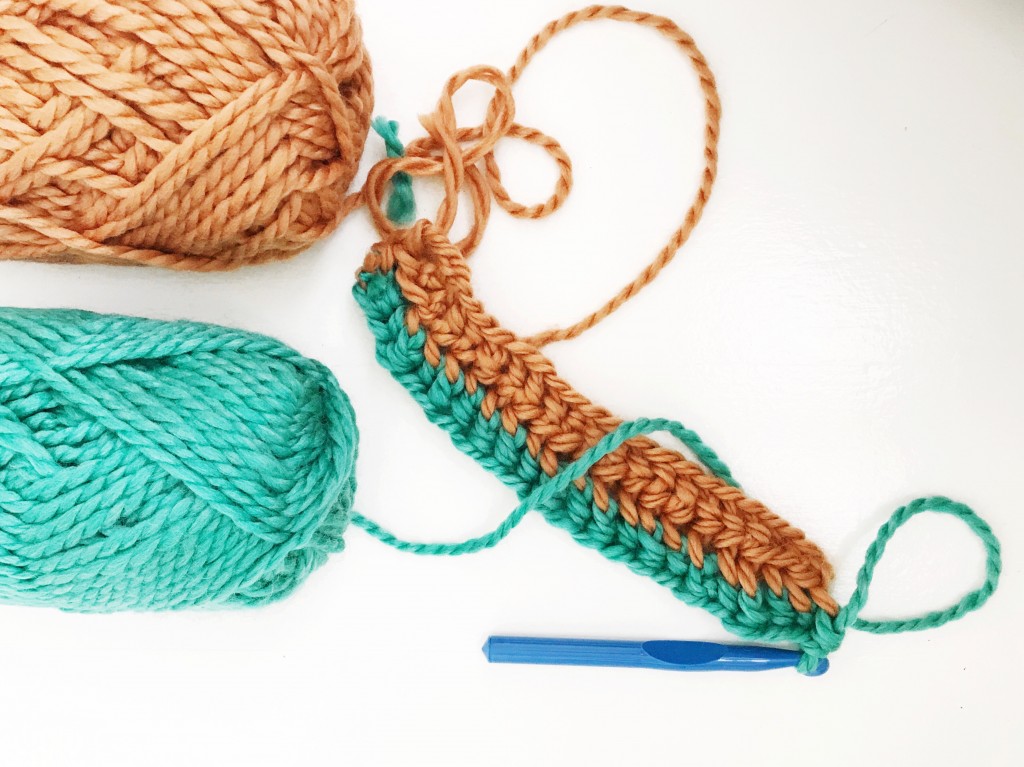
I love to crochet and it’s fun to see one of my girls pick it up. The girls learned from their Grandmama; she taught them while they were in Texas over the summer. True loves to crochet too, but Brave is the one often with a hook and yarn in hand (True is more a sewer). Currently, she’s working on making herself a striped bag. It’s fun to see their personalities come out more in the hobbies they choose to pursue.

Maybe one day one of the girls will pick up knitting and teach me! That’s one skill I don’t quite understand.

paper plate cake stands

November 21, 2017


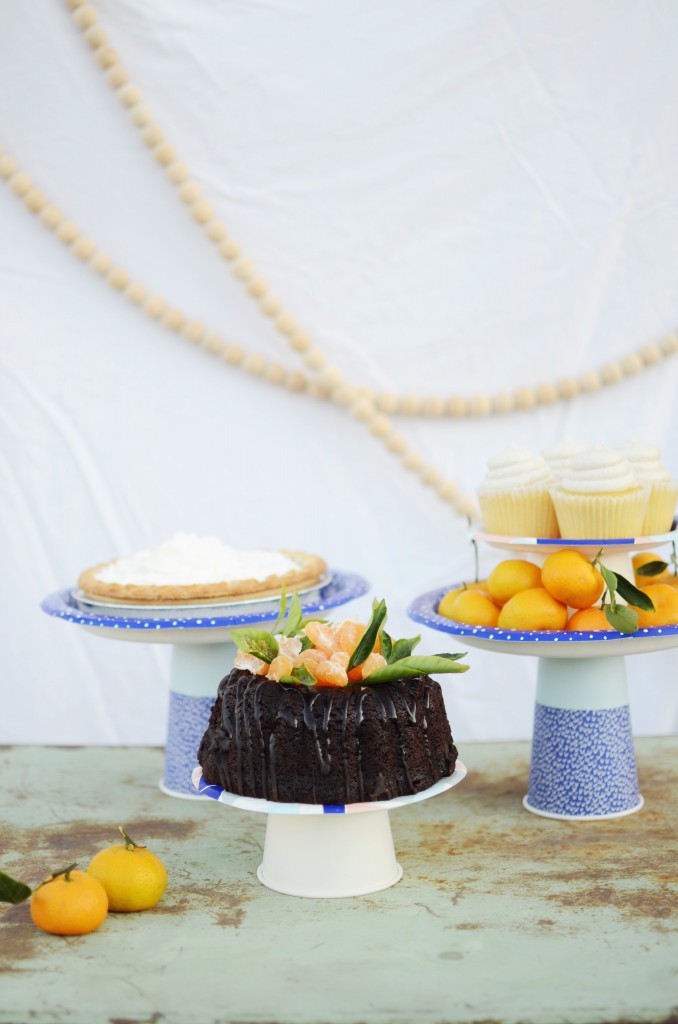
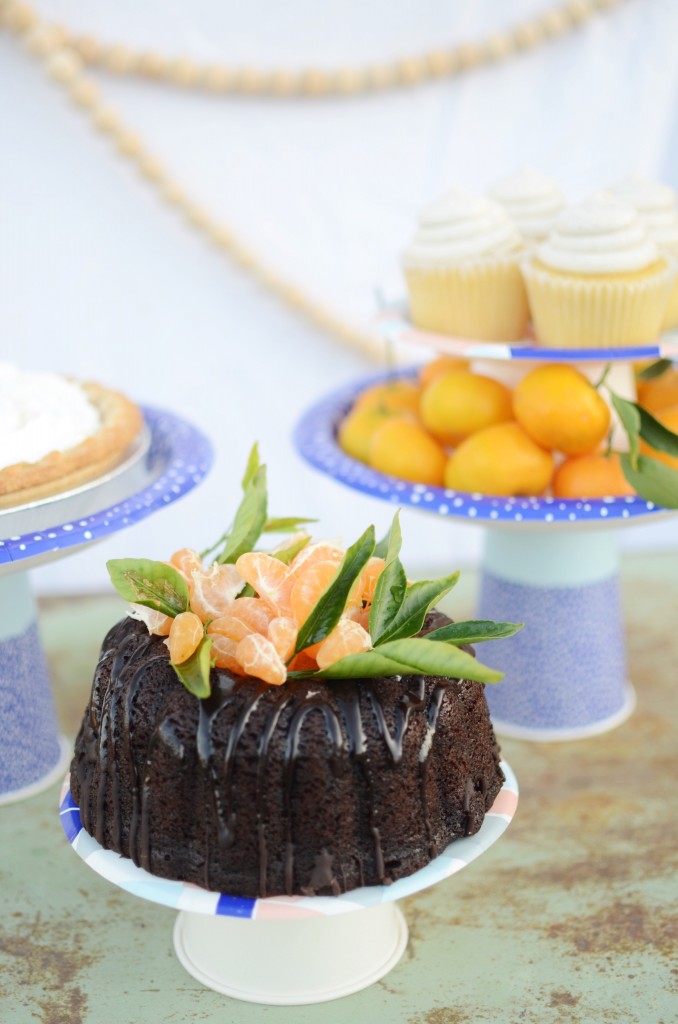
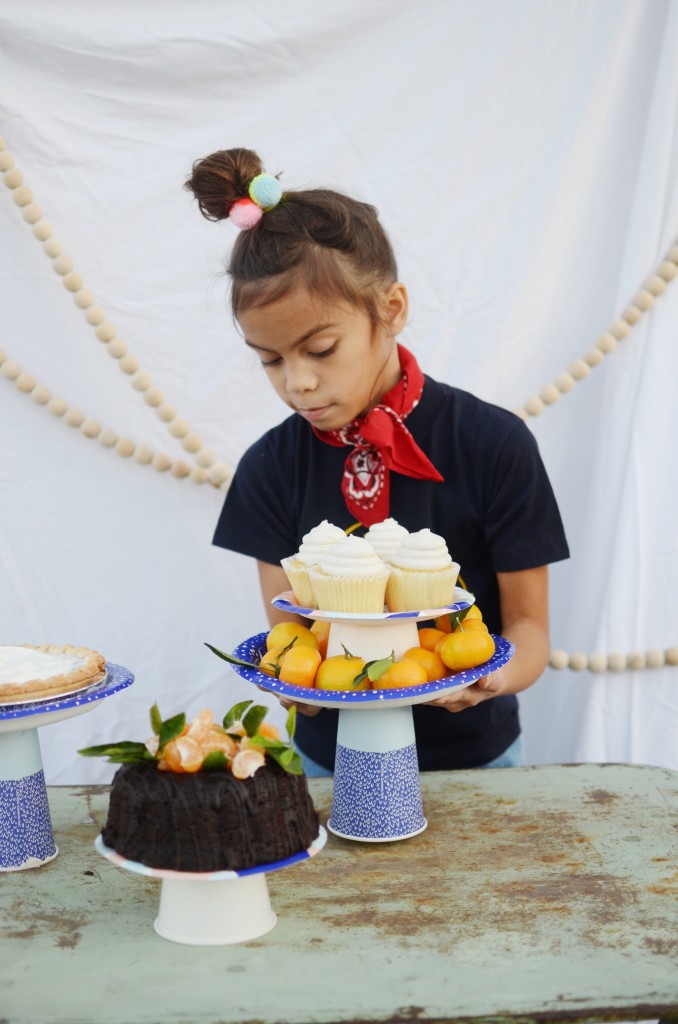
See how easy it is to make these paper plate cake stands here on the Babiekins Blog. You can make all sorts of sizes (and even tiered) with various plate and cup sizes.

vintage top and bandana, kinoko kids. hair pom pom, kinoko kids


making cuties wreaths

November 20, 2017


It’s that time of year again where thankfulness and giving gets an extra spotlight, though we should certainly be doing this every day of the year. The girls have been excited to brainstorm all the things they can make as gifts this season. Making gifts is one of the things they love to do most. Sometimes, we have to reign them in because they make so much stuff (too much stuff!), but it really is sweet to see their hearts overflowing into wanting to make someone’s day a little brighter.

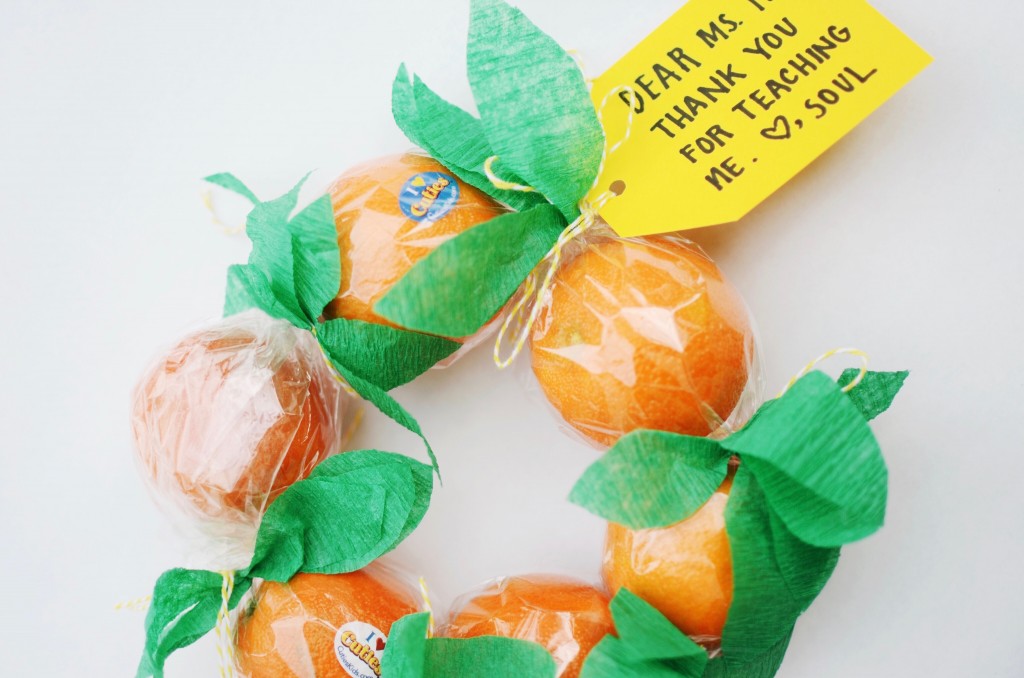
All the holiday baking and making has probably started everywhere. Our first gifts to make this season were for their teachers. Typically, we gift teachers and neighbors with some home baked goods. This year we’re doing something a little more healthful by making Cutie wreaths!

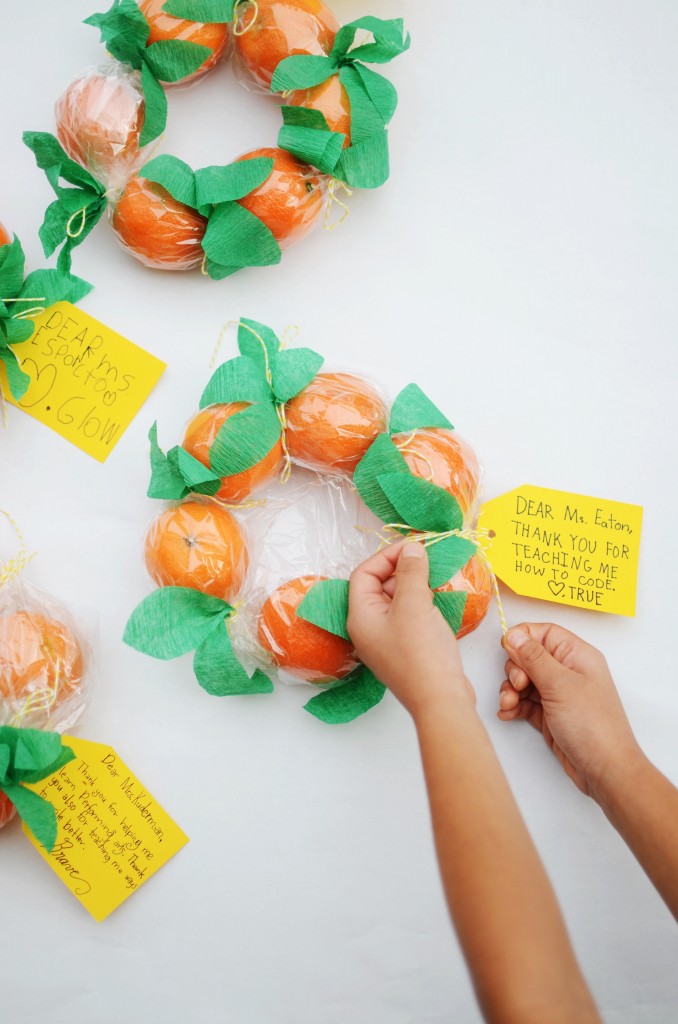
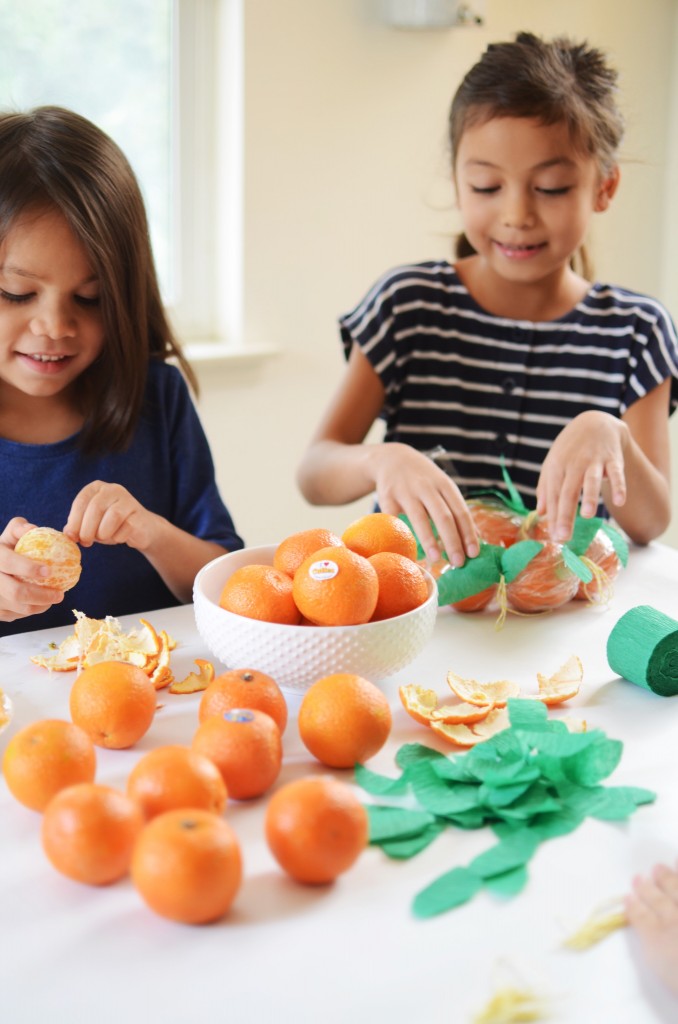
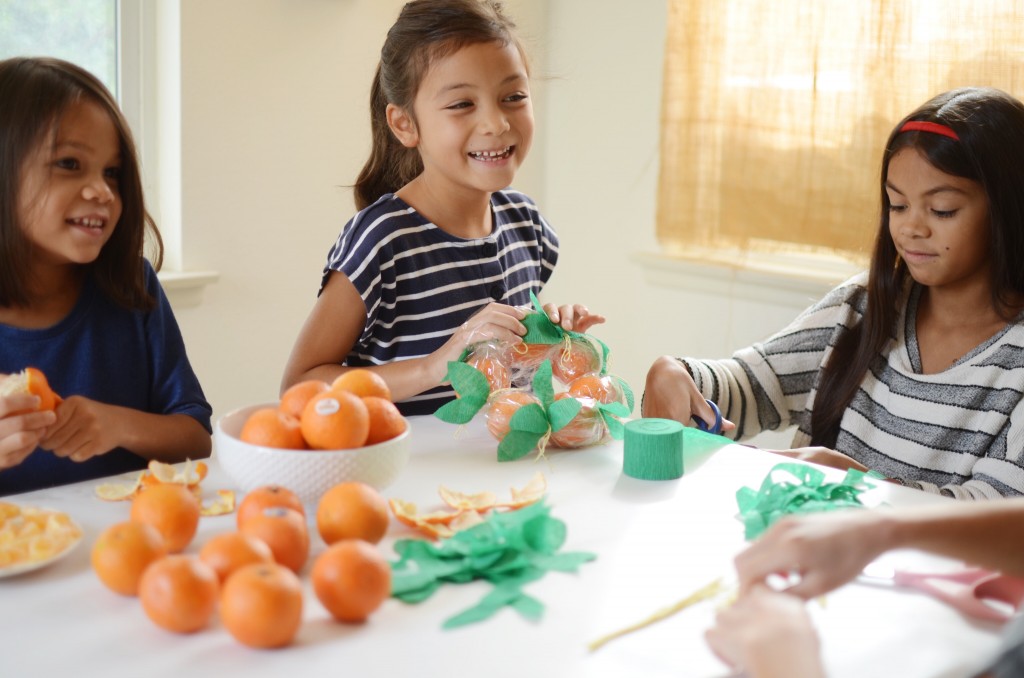
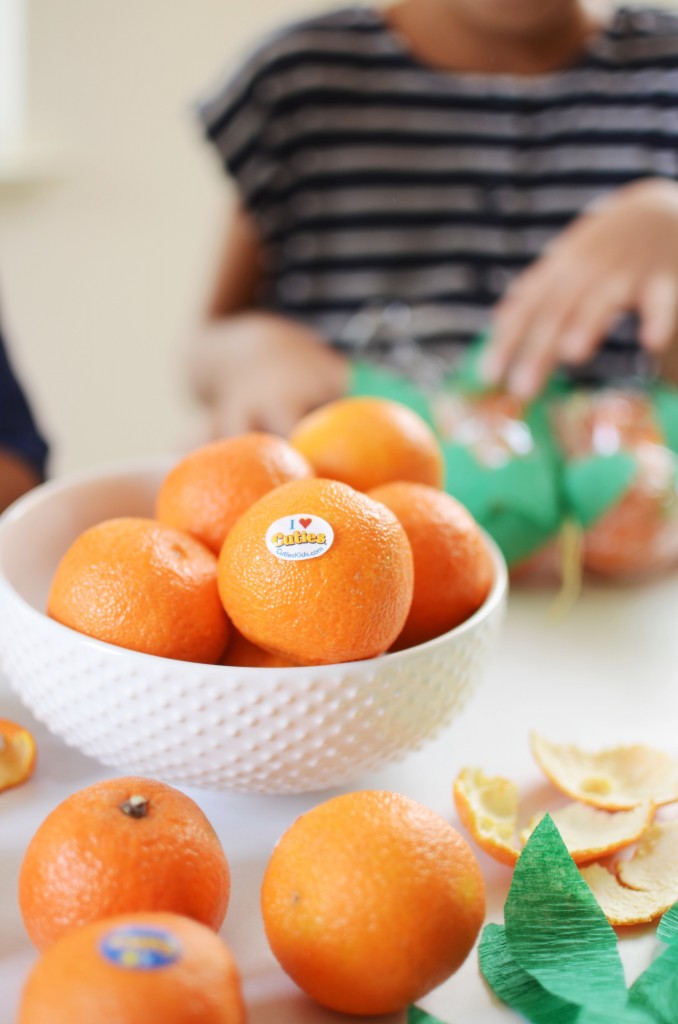
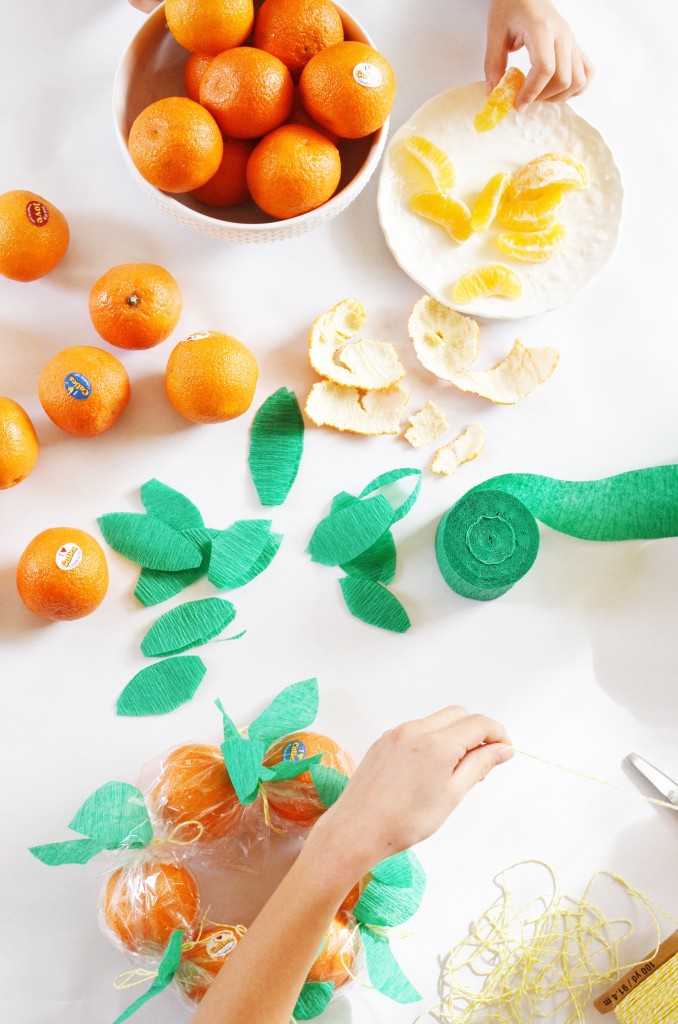
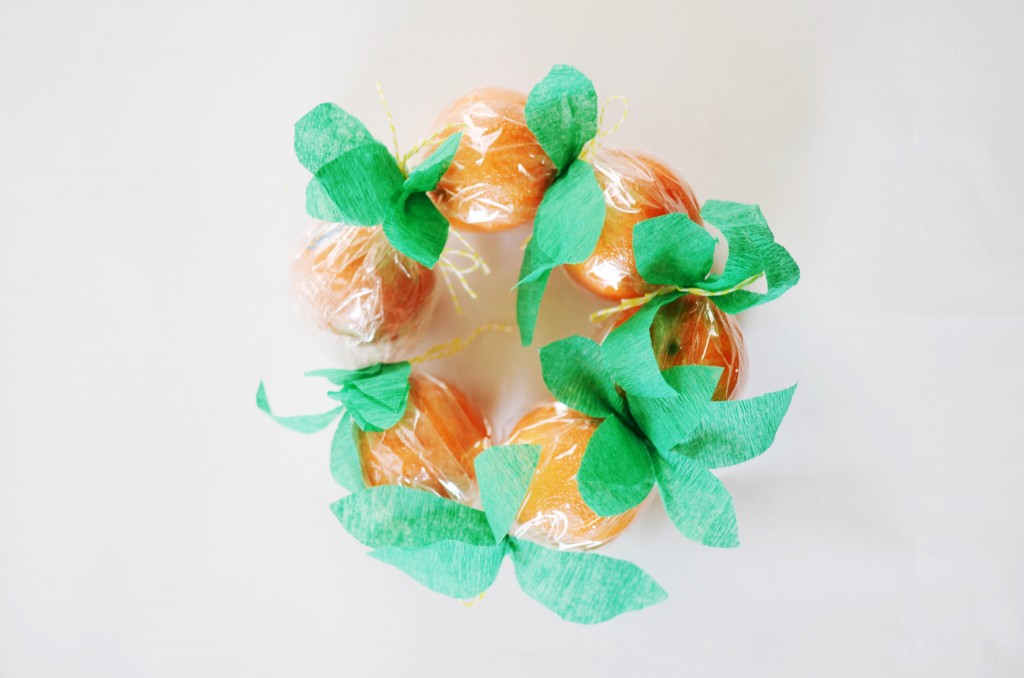
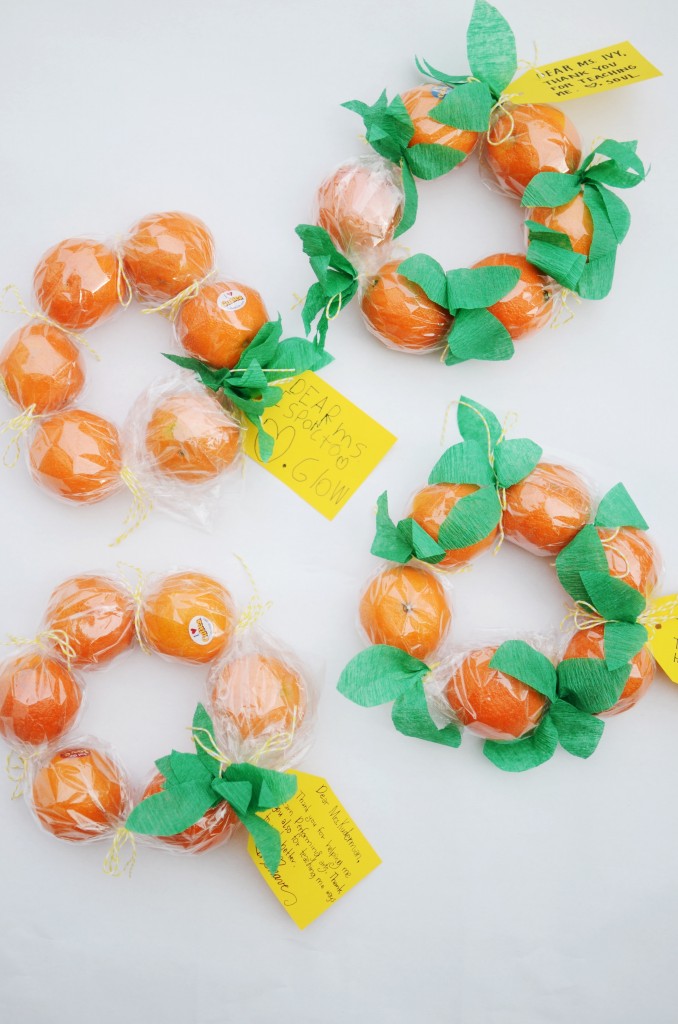
The girls and I laid out all our supplies and we had an afternoon of wreath making (and Cuties eating). Everyone got involved in the process. One gal was cutting string, another cutting out leaves from crepe paper, Soul was fixing the wreaths, and Glow peeled the Cuties for everyone to eat. My little Cuties Correspondents were all having a blast with the task on hand!

Cuties Wreaths

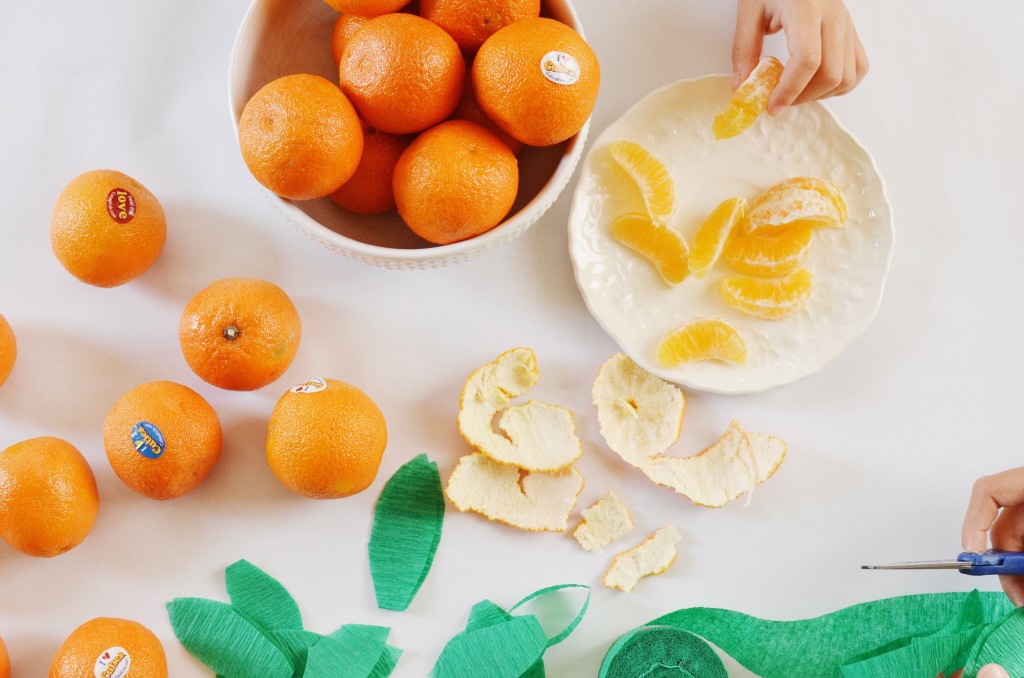
Supplies:
5 lb. bag of Cuties
Scissors
30″ clear cellophane
Cotton string
Green crepe paper
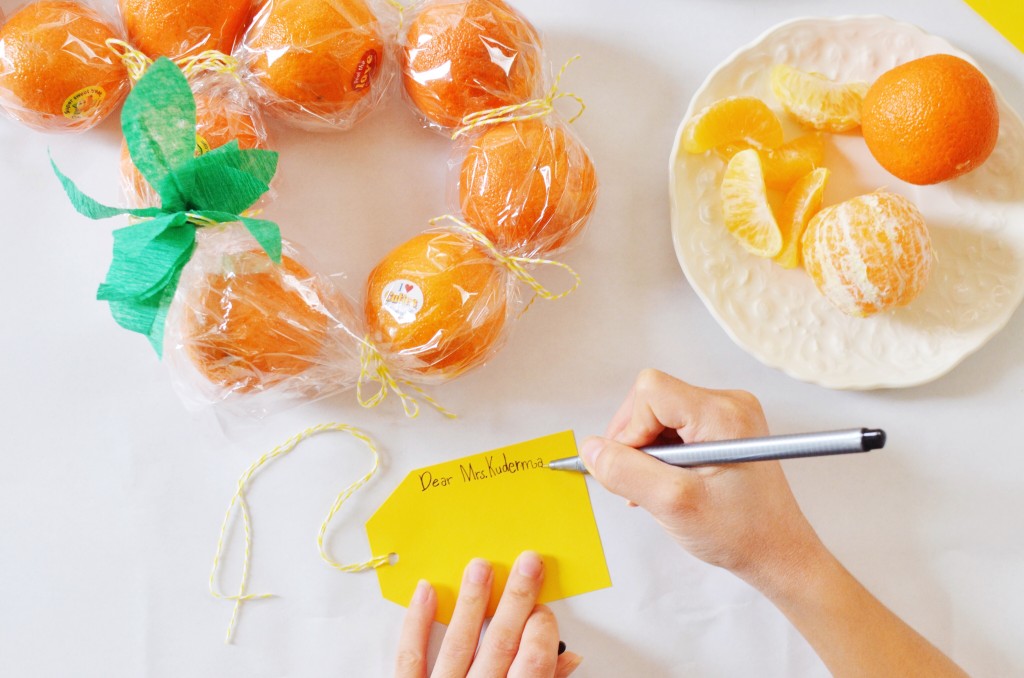
Tags, optional

Directions:
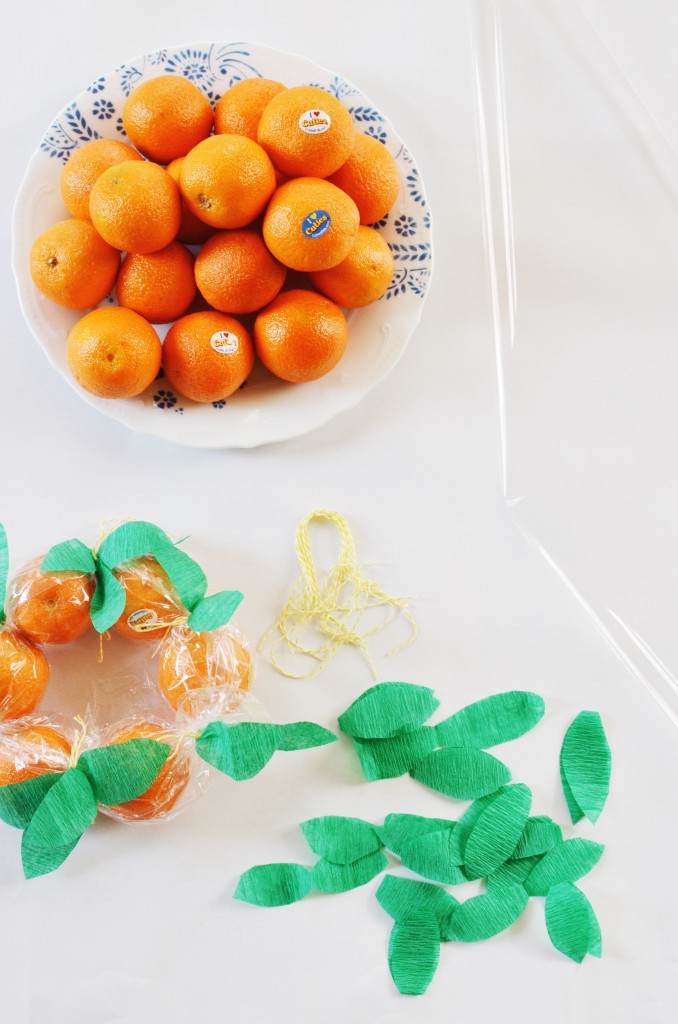
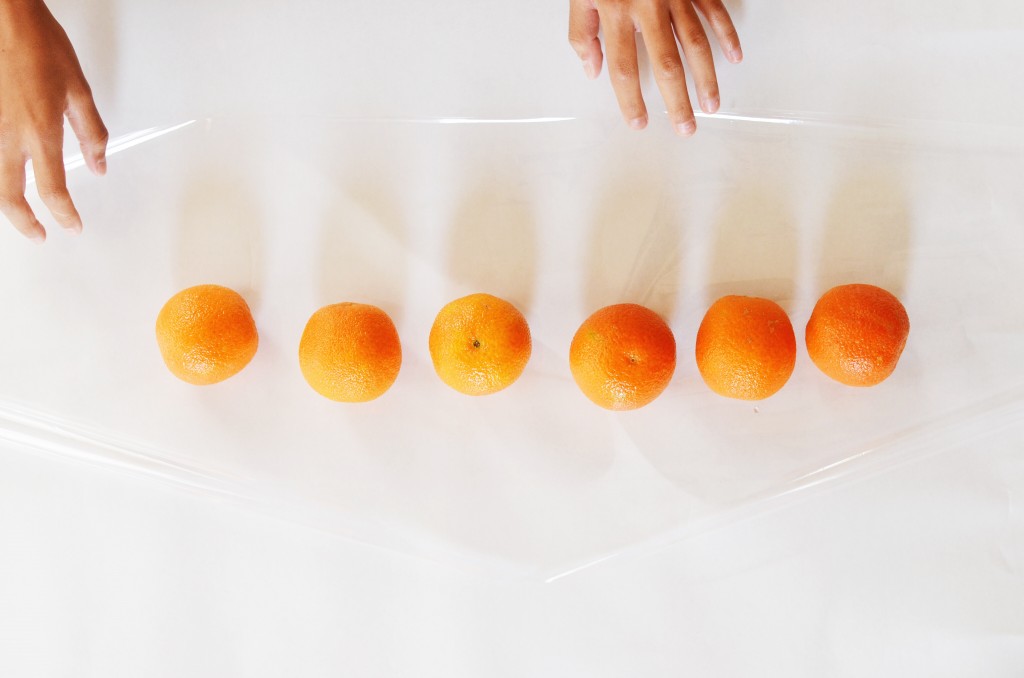
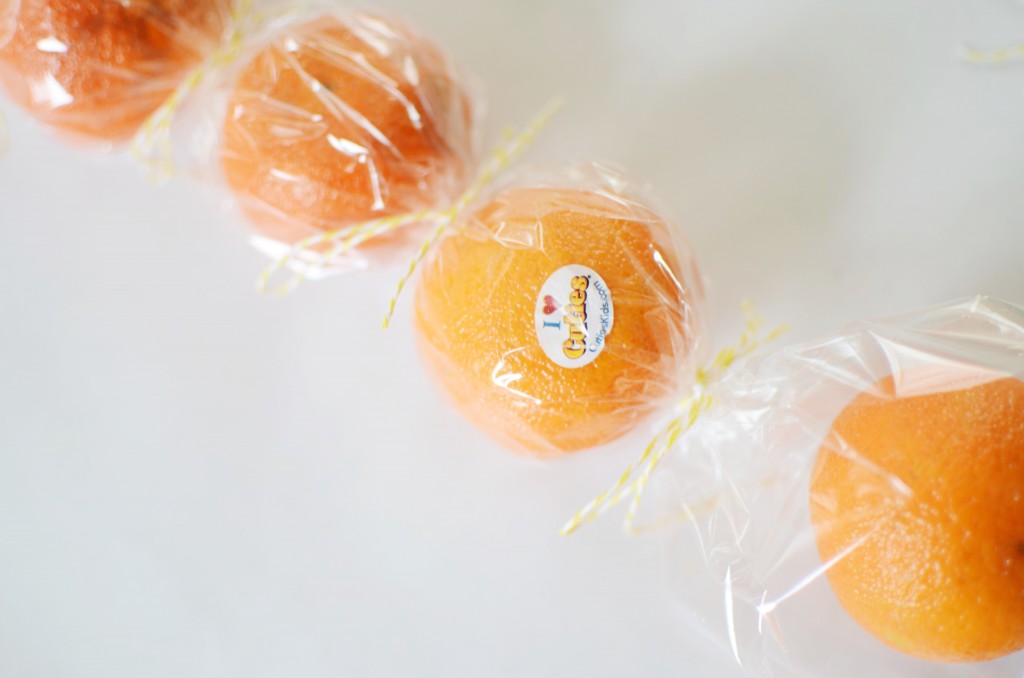
1. Cut out a 10″ wide strip of cellophane. Center 6 Cuties on top and wrap the cellophane around.

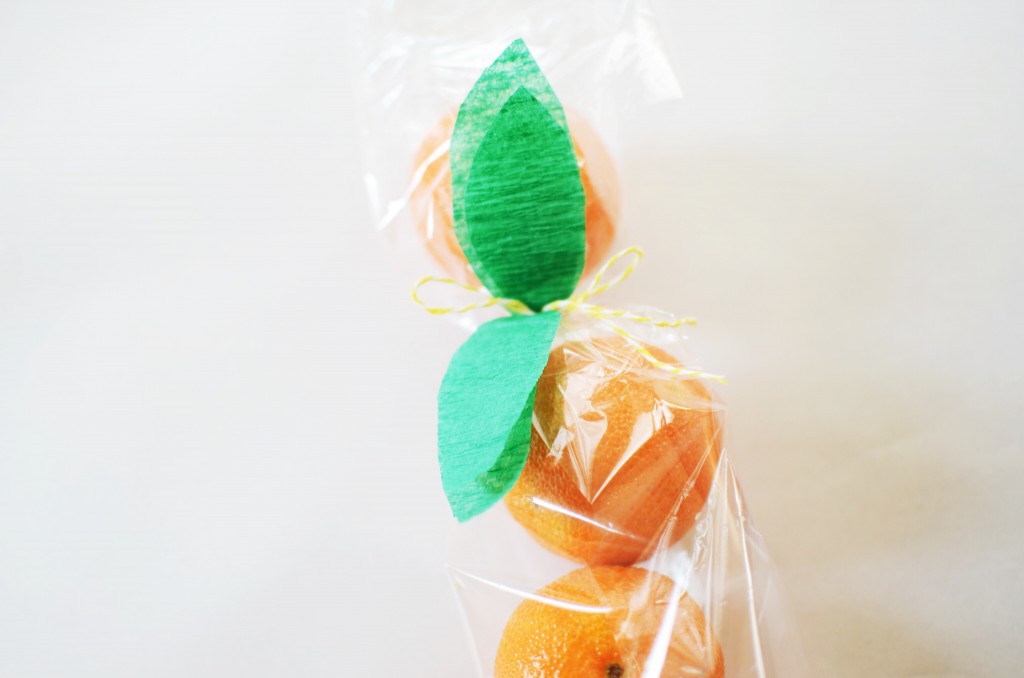
2. Cut 6 – 10″ strands of string (per wreath); cut out about 12 leaves from crepe paper (per wreath). Best way to cut them is to fold and cut, so that there are two leaves on one. Place a piece of string between each Cutie, add some leaves on top of the string, then knot and tie string into a bow. If want the leaves just in one section of the wreath, instead of between each fruit, then just tie bows all the way around with leaves inserted.

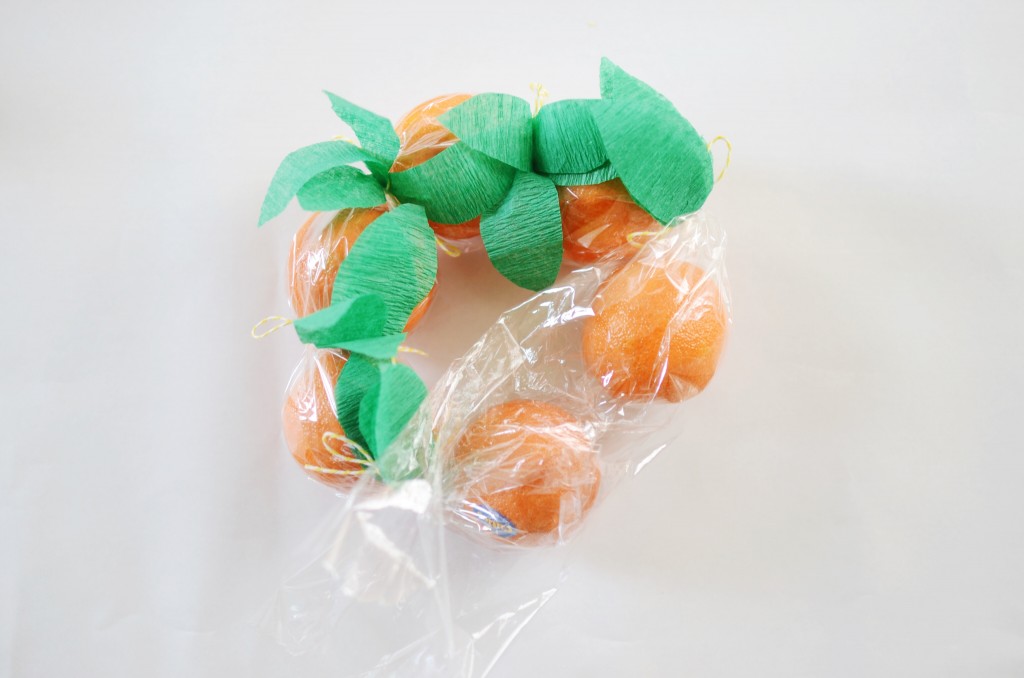
3. To join the two ends, cut any excess cellophane, leaving just enough to cover the next piece, then overlap cellophane over each end to close the circle. Lastly, add string and leaves.

With Ben being a dietitian, he was definitely in approval of this type of sweet treat. It’s a healthful gift to give and putting them into a wreath definitely give off holiday vibes. The kids were so proud of the wreaths they made and were very excited to give it to their teachers. Making a Cuties wreath was easy-to-make and will definitely be easy-to-love. This homemade gift certainly spreads a little bit of sunshine and sweetness to this season of #100DaysofSunshine.

This post is in collaboration with Cuties. All opinions are my own, and I’m thankful for the support you give me, this space, and the brands I partner with.


oven mitt turkey puppet

November 14, 2017


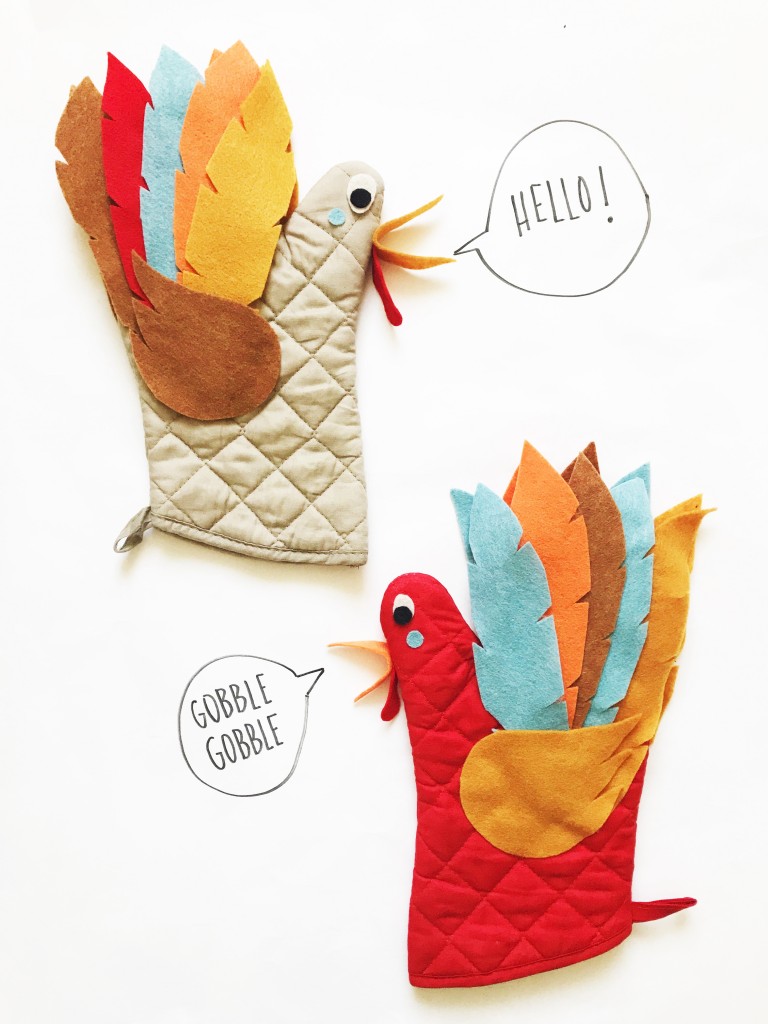
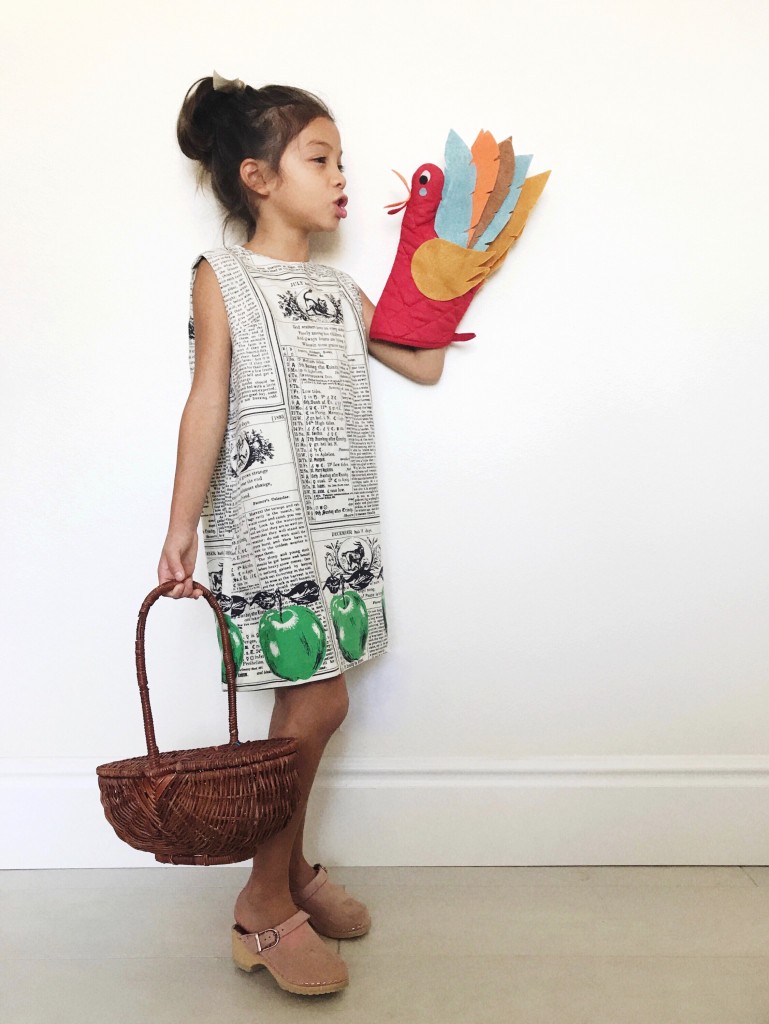
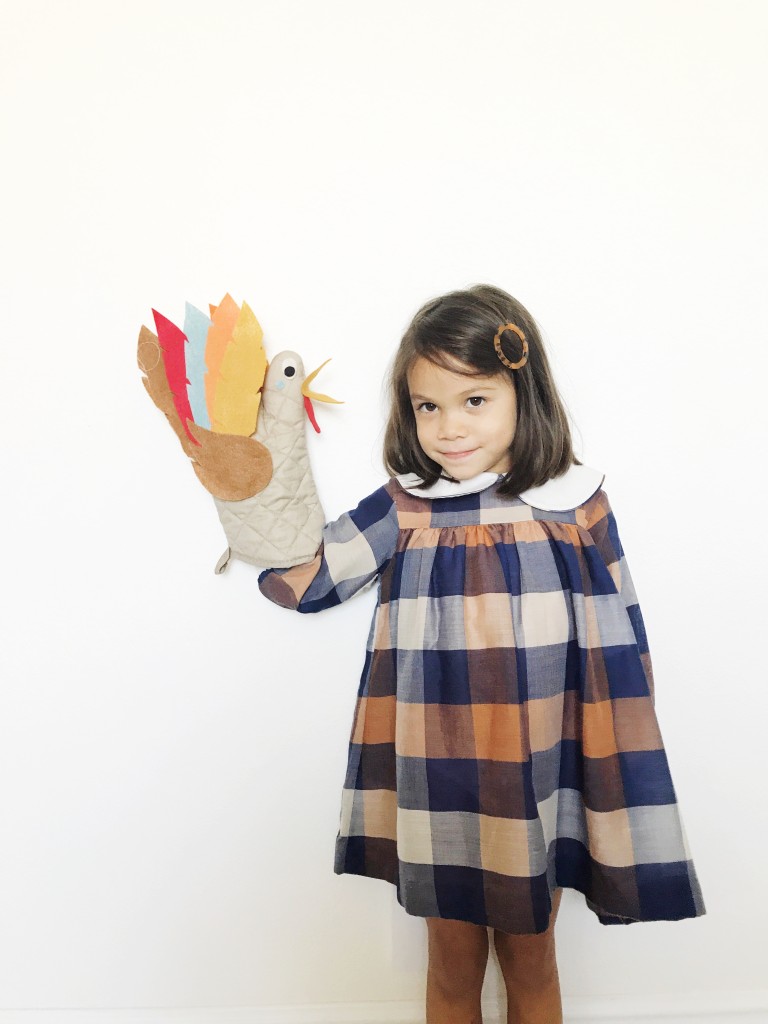
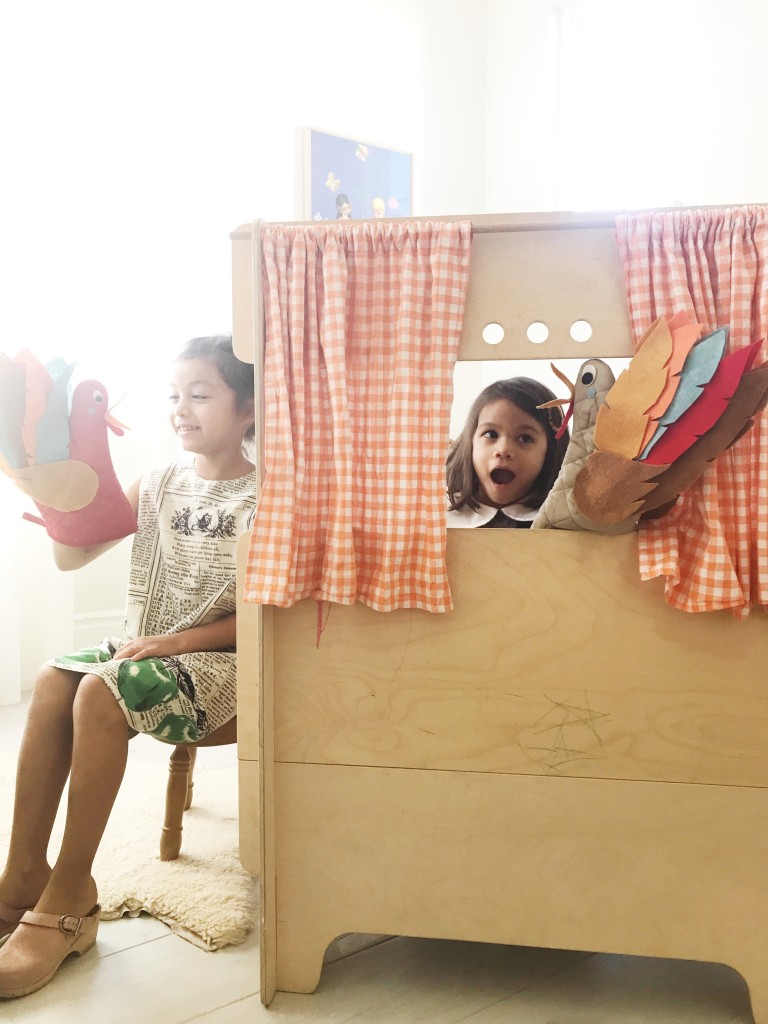
My newest project for Babiekins Mag is up… turn an old oven mitt (or pick up one at the dollar store!) and make some turkey puppets. These have kept my girls entertained for hours; they love creating characters and stories with their new toys. Get the full project here.

vintage dresses, kinoko kids. shoes, hanna anderson. toy kitchen/puppet theatre, momoll


CAKIES
©
Design by Blog Milk