painted bandanas

February 19, 2016


Painted Bandanas
or call it a neck scarf, headband, or bib

Supplies:
21″ x 21″ piece of cotton fabric
Fabric paint
Acrylic paint
Fabric medium (mix with acrylic paint for permanence and washability)
Scissors
Paintbrush
Plate

Directions:
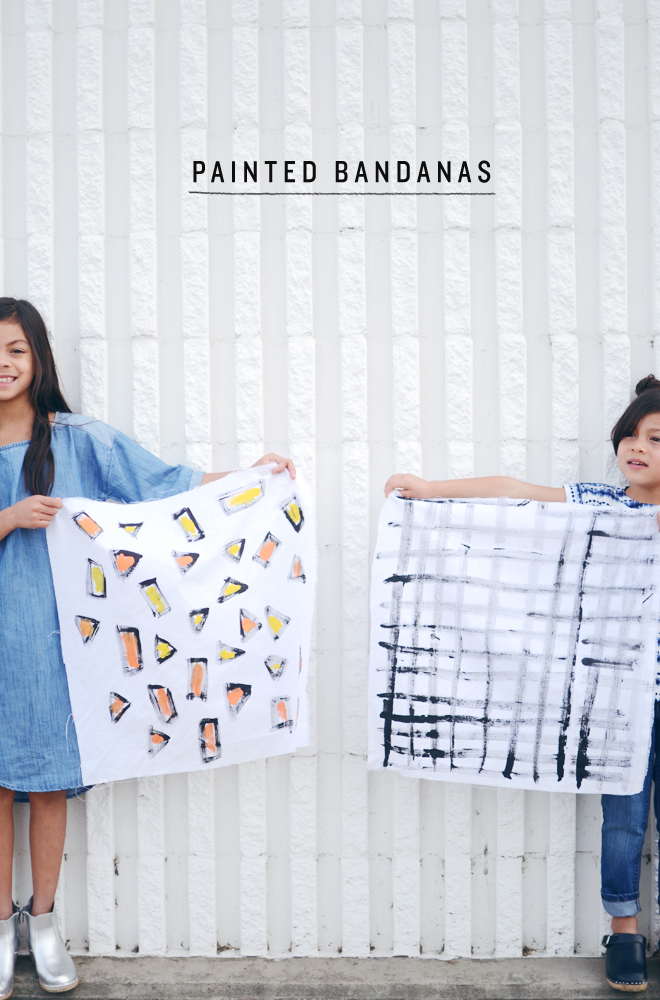
1. Use fabric paint (or mix acrylic paint with fabric medium to create your own fabric paint) and paint your designs on the fabric.
2. Allow to dry completely.
3. Iron to heat set.

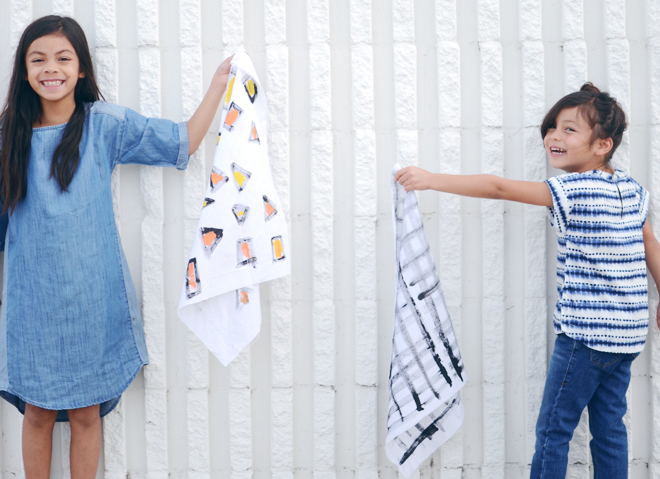
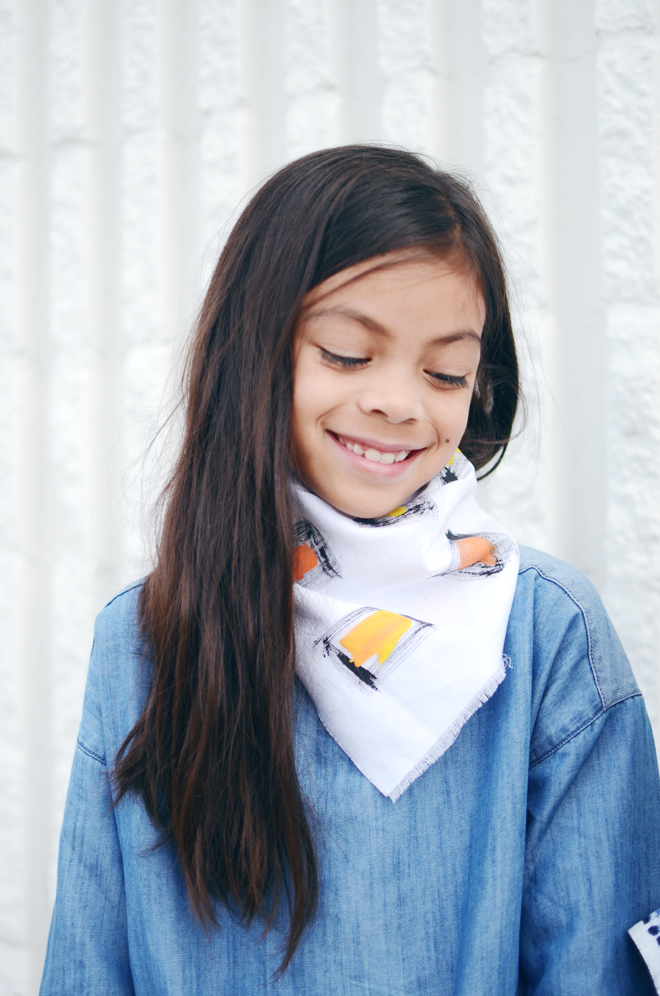
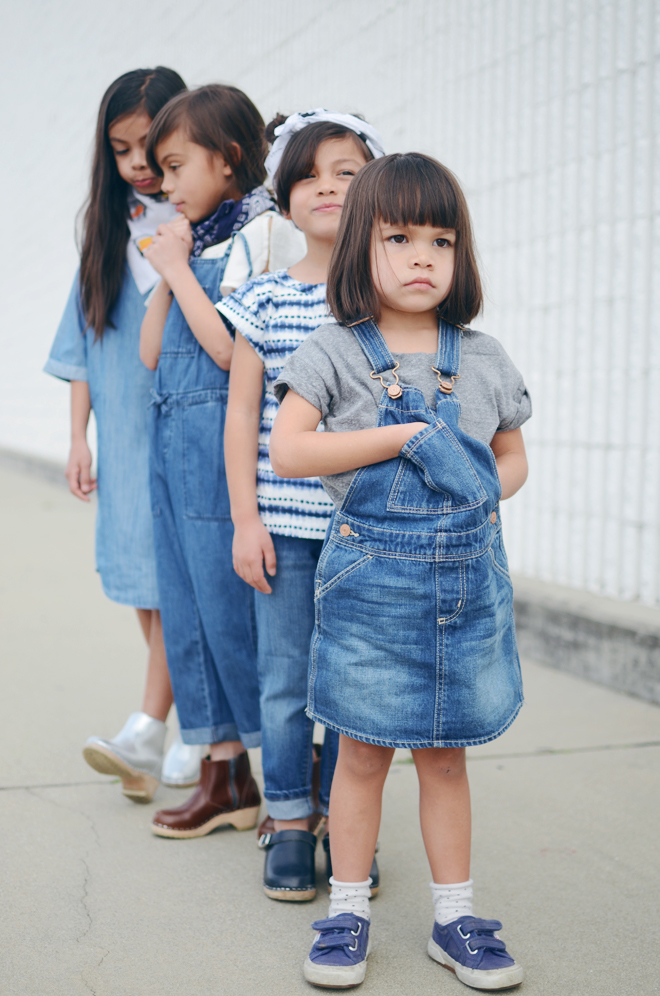
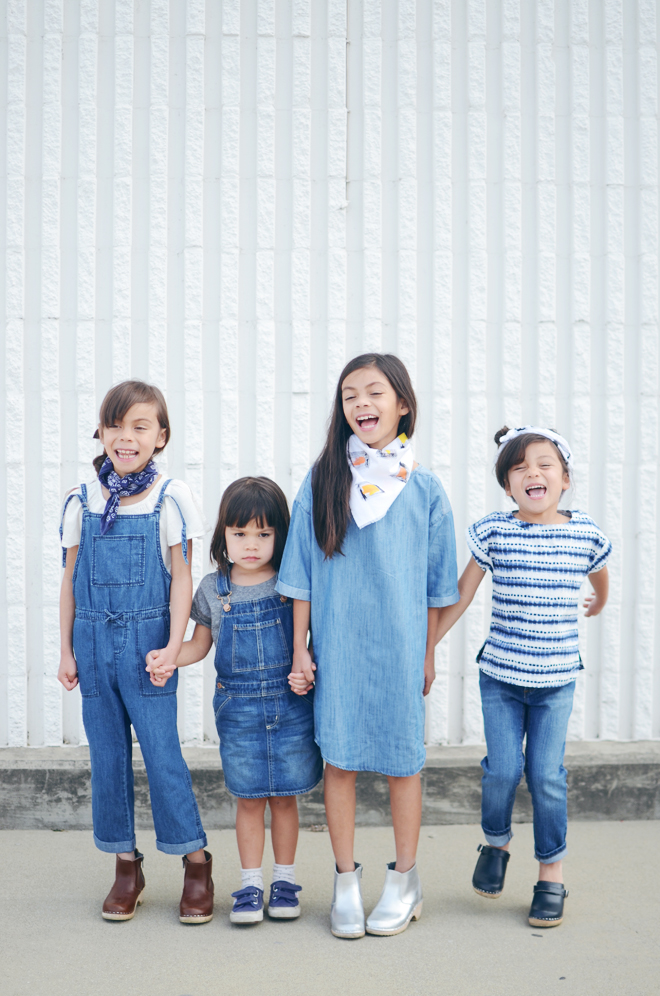
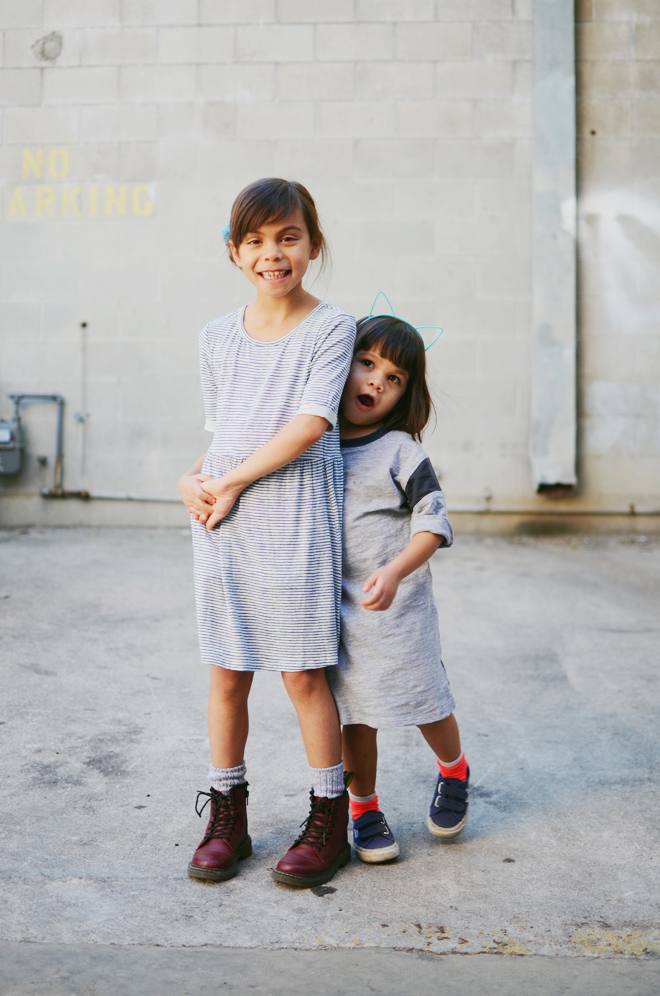
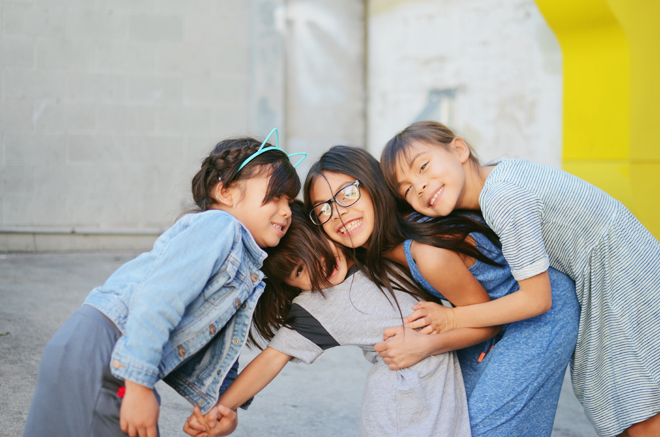
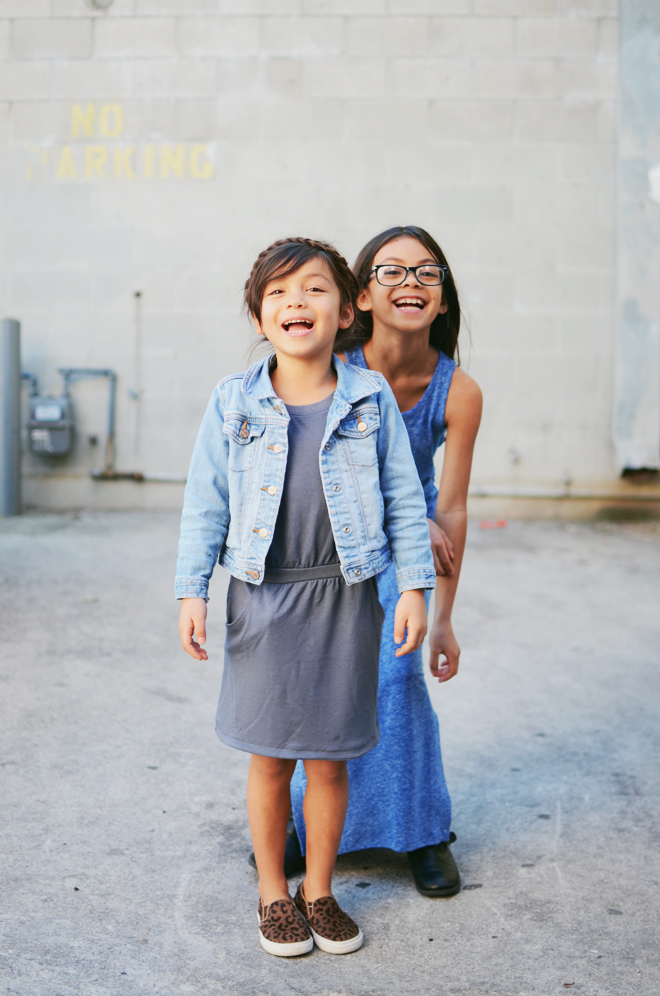
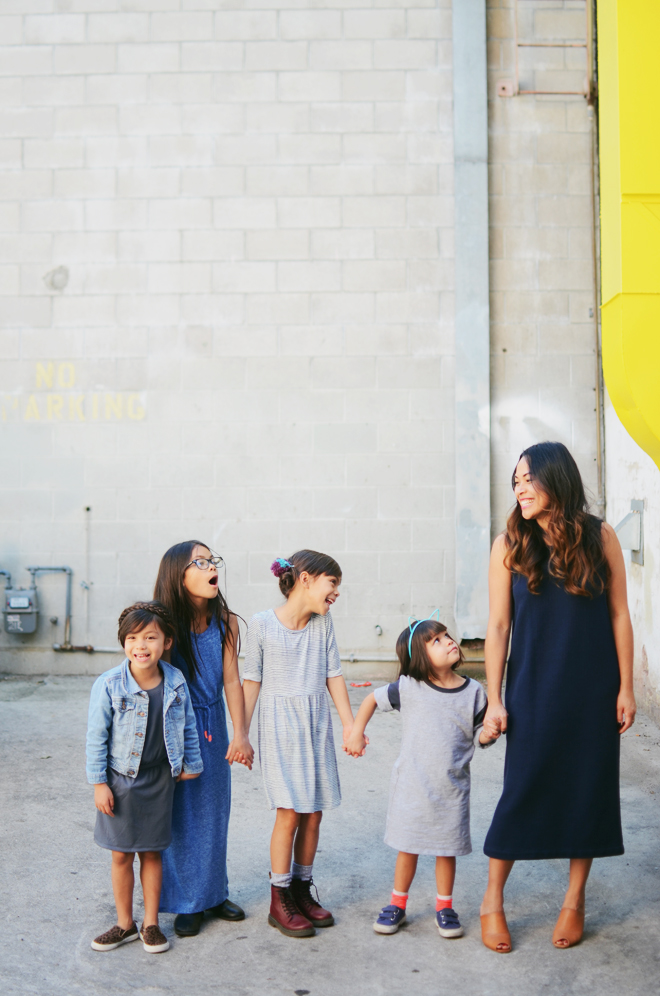
True’s been into wearing bandanas around her neck lately, or a handkerchief as a bracelet (see here), so we thought we would make our own. I like the raw edge, so we just cut up some cotton fabric into 21″ squares and went to painting them together. I’m not sure if it’s really a bandana, headband, or neck bib-type thing, but the great thing is that it can be all of those things. My big girls have loved throwing it on when they want to do a little accessorizing. And on Saturdays, True wears it as a head cover when we go outside to do gardening (that’s how Ben wears his). We left the edges raw because we like it that way, but you can certainly sew it if you want a cleaner finish.

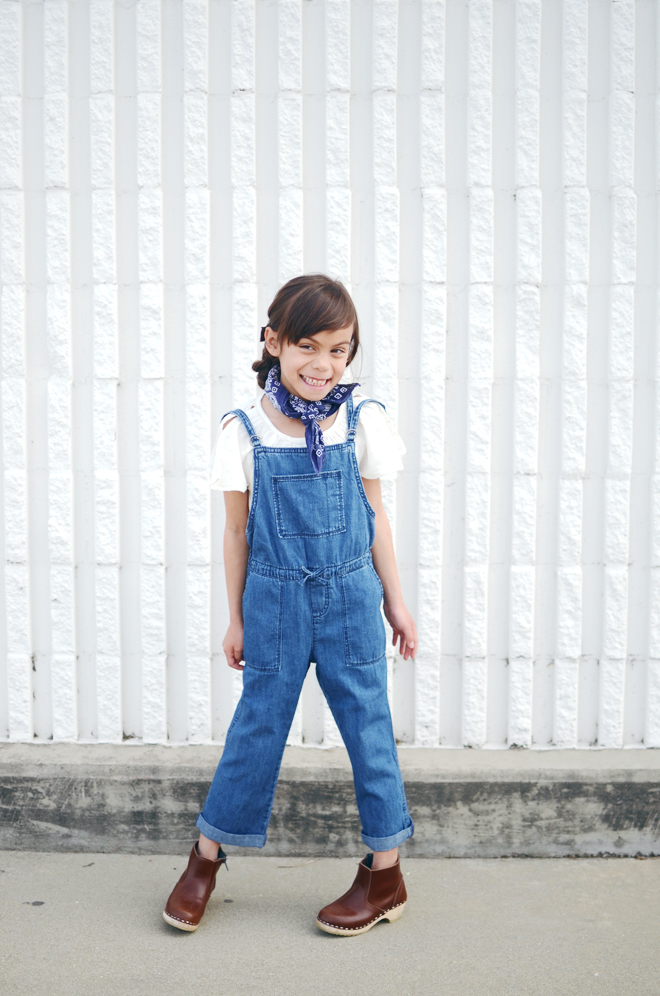
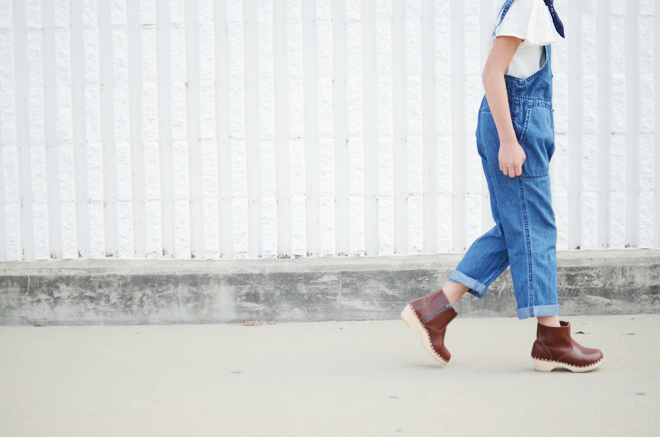
My girls are all really into denim right now, probably because they see me wearing denim a lot these days. We’ve sewn a few denim dresses from large thrift store ones, and I want to sew them some tops and bellbottoms. If you aren’t into sewing, but looking for some cute denim wear, Old Navy carries some really great things right now. There are so many styles in the kids section that I would totally wear (like these overalls).

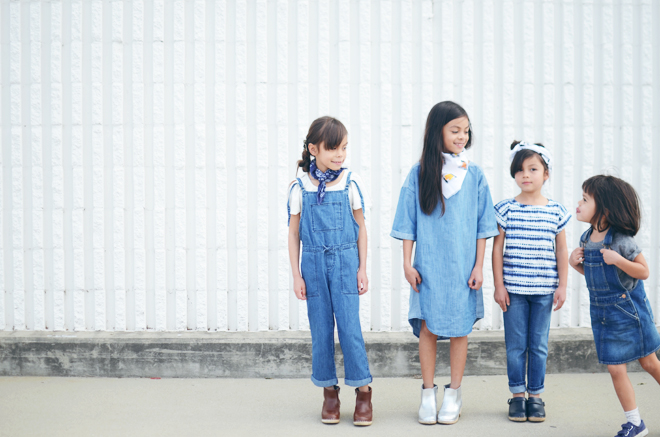
on true: denim dress (sold out, similar here), c/o old navy. neck scarf, handmade. on brave: flutter top & overalls, c/0 old navy. bandana, stolen from Ben (similar here). on soul: pattern shirt & jeans, c/o old navy. bandana, handmade. on glow: tee, c/o old navy. overalls & socks, gap.

To see other videos, follow Cakies on YouTube here.
See other photos and videos by Christian and Reinna here.

This post is in partnership with Old NavyThank you for the support you give this space and the brands I partner with! 


valentine fruit basket

February 18, 2016


I was stuck for the longest time on what to make Ben for Valentine’s Day. Of course, when the idea finally came, it was two hours before he was supposed to come home on Friday night (the day we agreed we’d all celebrate Valentine’s together). We had been out delivering my Galentine’s gifts, and as soon we got home, I set to work. The girls were rushing around finishing up their handmade Valentine’s gifts too!

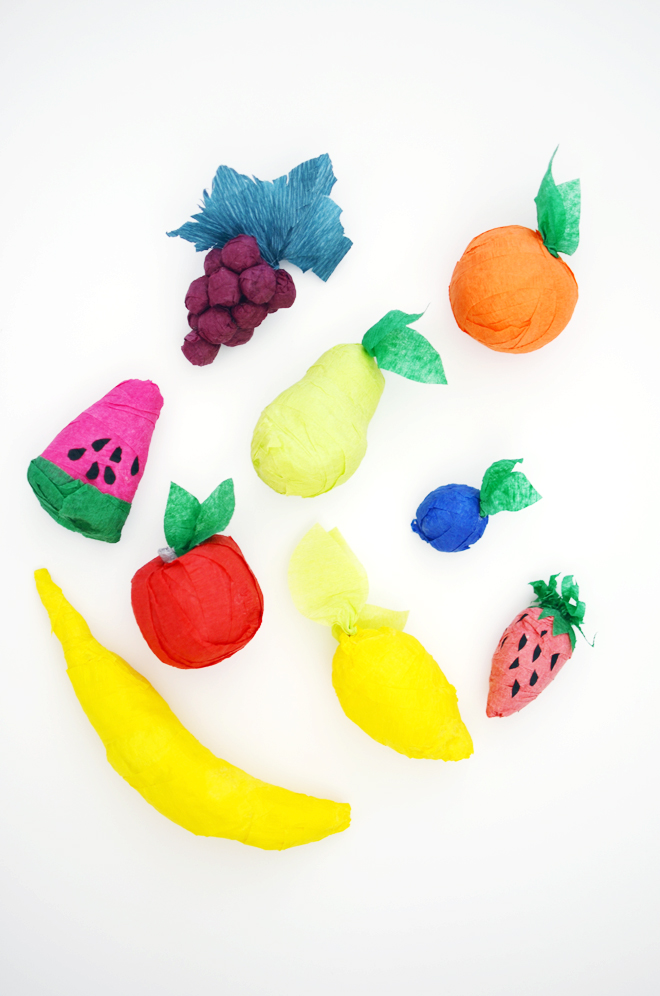
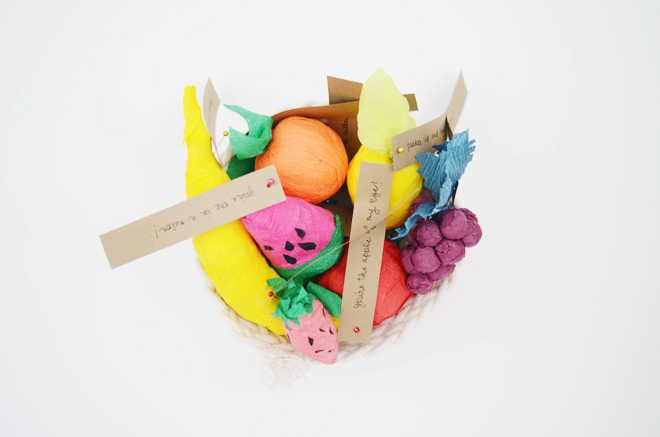
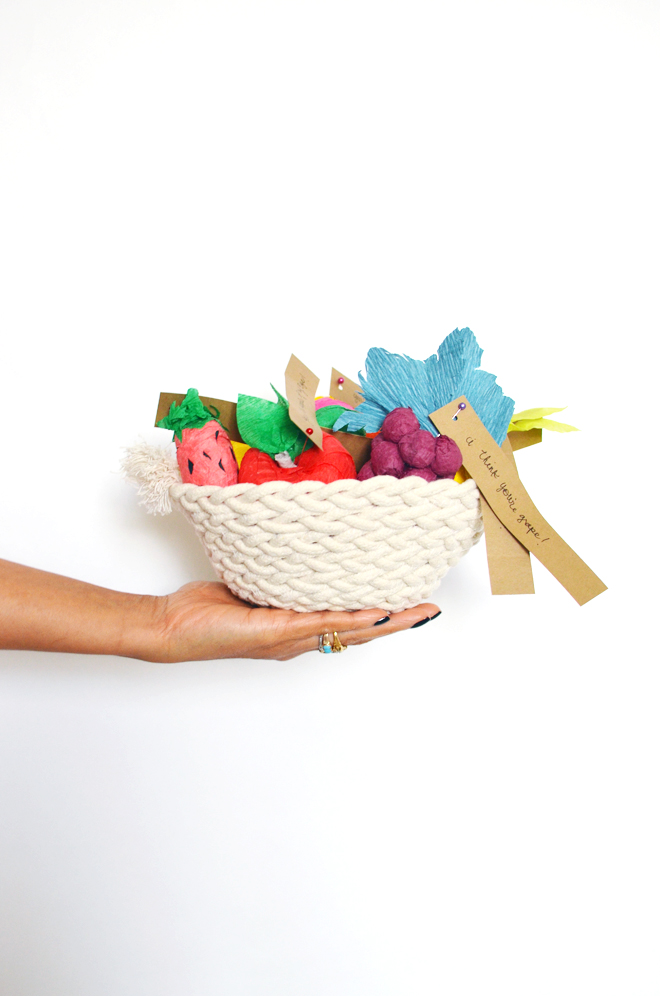
I used tissue paper to create each fruit form, and then wrapped them with crepe paper streamers to create the fruit. Good ol’ glue was used to keep the streamers in place. I was hustling to get all my fruits made when I realized I was out of red and orange streamers. I loaded up the girls into the car and we set off to the nearest party store to pick some up. Thirty minutes later, we were back home and I hurried to finish the rest of my fruits. I cut up some kraft card stock to make the tags and wrote the silly love sayings to go along with each fruit. I had a cotton rope basket I made awhile back and that ended up being the perfect fruit basket.

When Ben surprised us with lots of ice cream, I chuckled inside because here he was giving us low-nutrition, and in return I give him high-nutrition. Totally sounds like us! I am the “low-nu lover” as the kids say, and Ben is so diligent at moderation and making sure to get his five-a-day. Even though we gravitate to different things to satisfy our sweet cravings, I think together we make a perfect pear!


xoxo heart felt bag

February 12, 2016


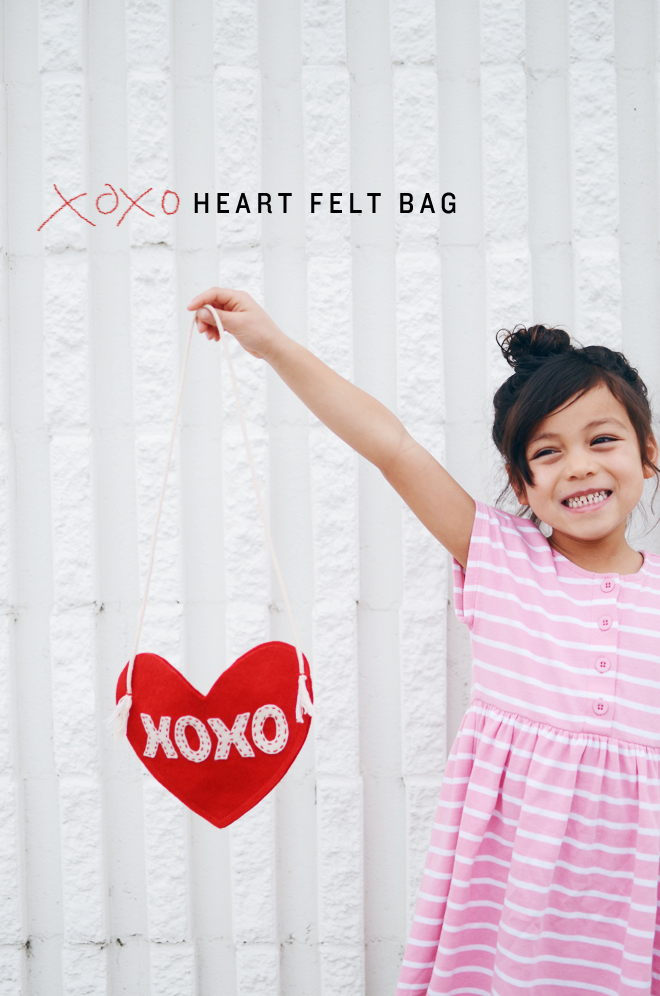
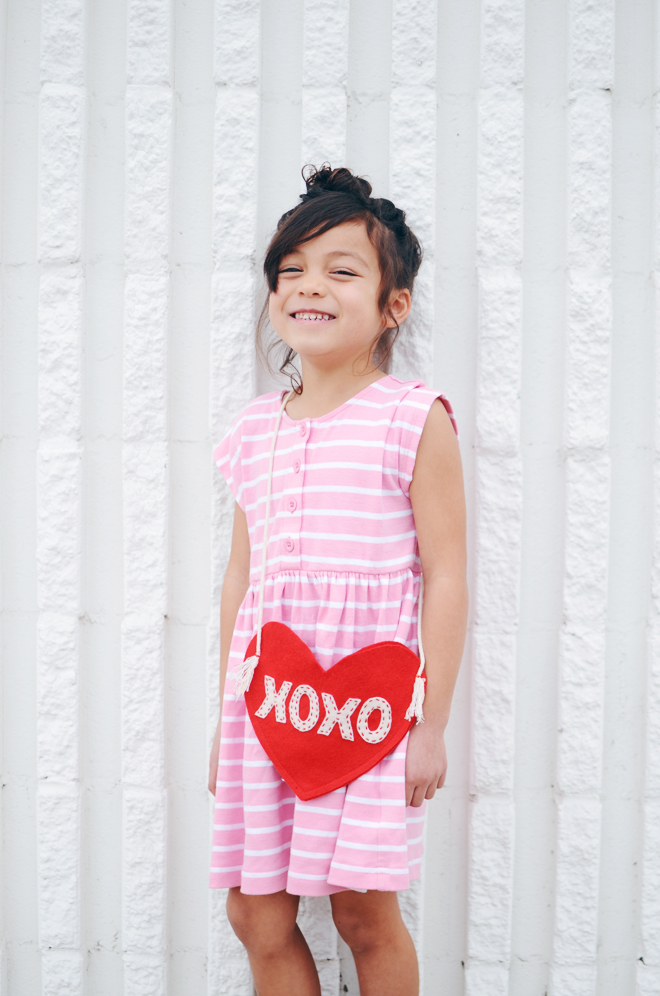
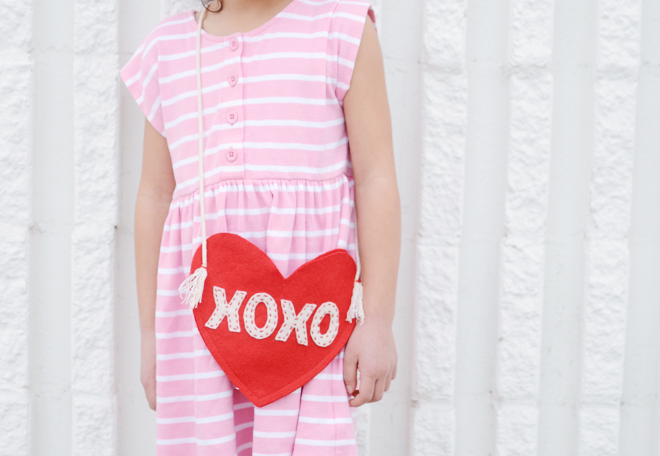
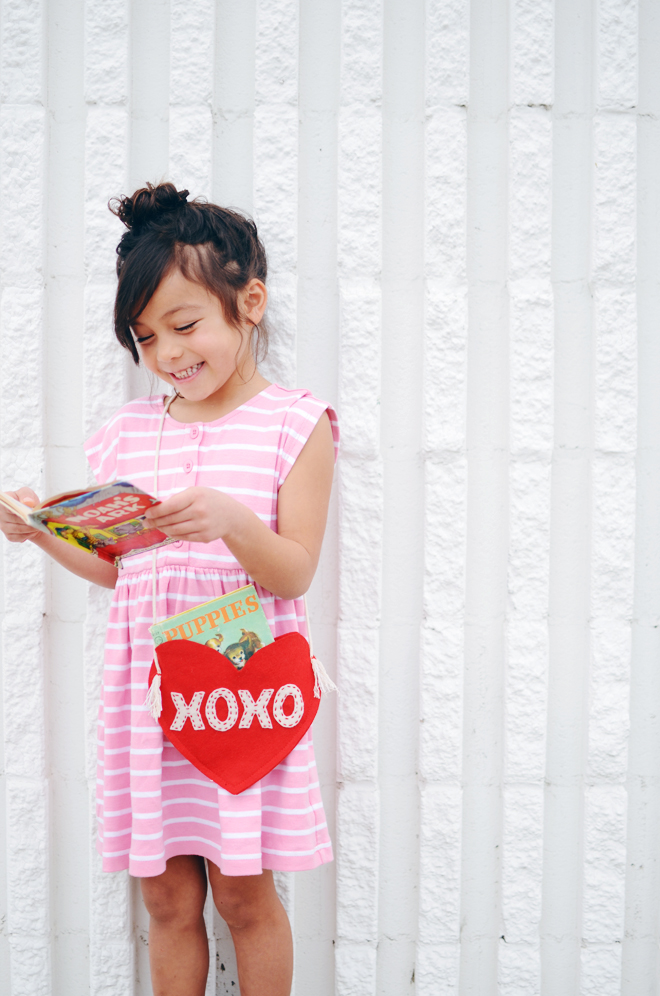
XOXO Heart Felt Bag

Supplies:
Heart Bag Template
Felt (red and white)
36″ 3mm macrame cotton cord (size may vary depending size of child)
Embroidery floss in coordinating colors
Thread in coordinating colors
Hand-sewing needle
Scissors
Thread
Sewing machine

Seam allowance: 1/2″

Directions:
1. Cut out your bag pieces: 2 pieces for bag body, 4 pieces for XOXO. Place your XOXO pieces on the front bag piece and hand-sew on with a running stitch.
2. Place the two bag pieces together (with the XOXO facing out), and sew around bottom two-thirds of the heart (see template for where to start and end), leaving the top third open.
3. Sew on your strap with a little zig-zag stitch, make sure to leave 1.5″ of the ends dangling. With your needle, fray the end of the cotton cord for a little fringe.

Stuff the bag with a heart headband and some chocolates… instant (well, after you make it) love day gifts. Two days left until Valentine’s and I think you still have just enough time to make this bag!

To see other videos, follow Cakies on YouTube here.
See other photos and videos by Christian and Reinna here.


valentine’s day poster

February 11, 2016


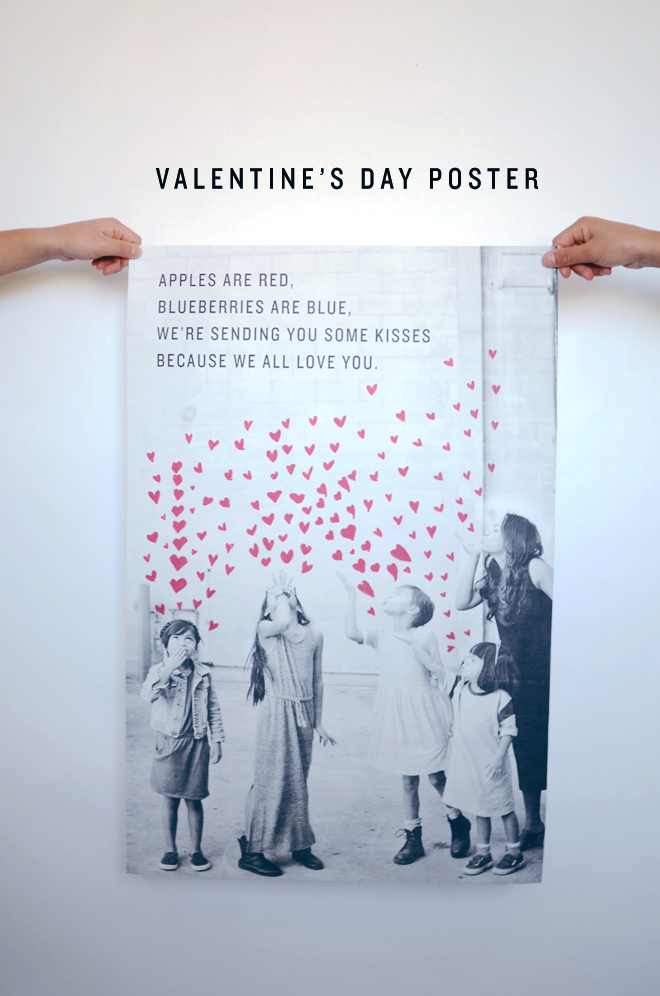
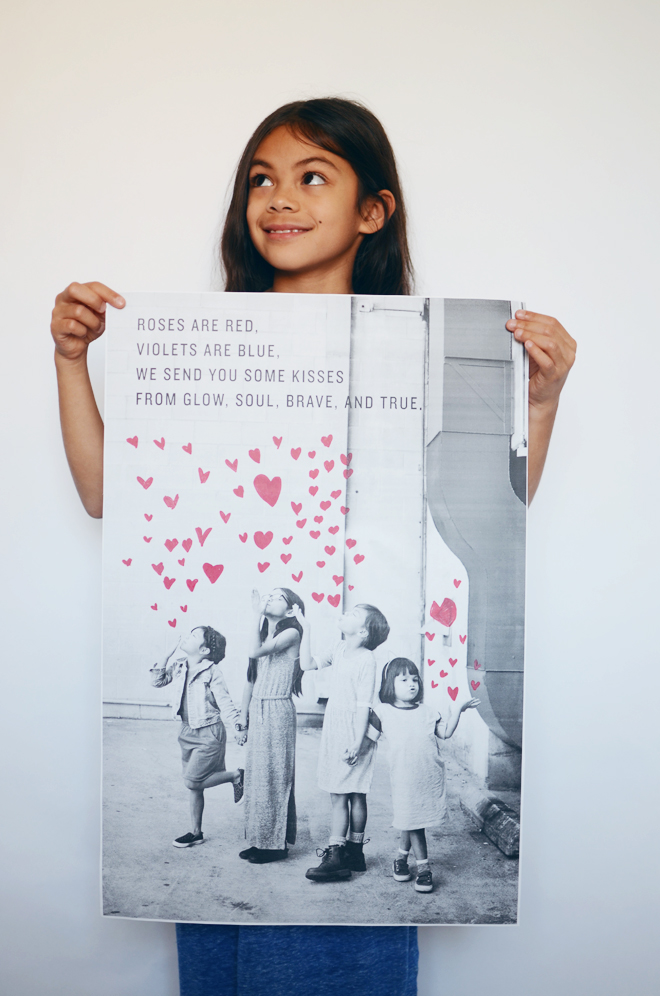
We decided to make Ben a poster for Valentine’s Day. Our mothers loved the Mother’s Day poster we sent, so I thought one for Ben would be a nice surprise for him. We plan to either sneak in his office at work and have it up on Friday or have it covering his car windshield (with lots of balloons too!). He’s a little behind in reading my blog, so I’m pretty sure he won’t see this before then.

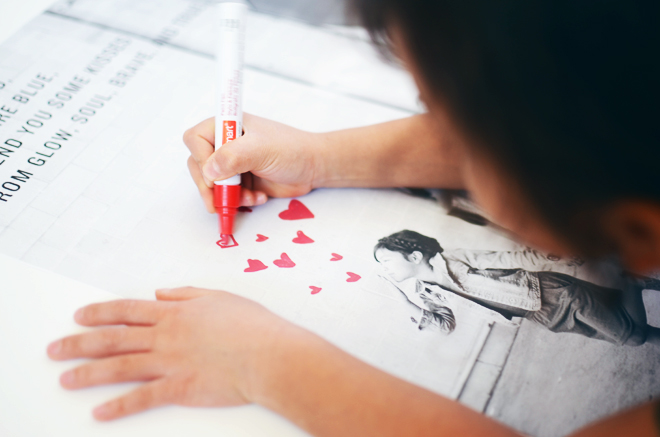
My sister took our pictures (as we pretended to blow kisses into the air), and I turned that into a black and white photo (and added our poem). I took it to a local copy shop to get an engineering print made. We used a paint marker and the girls excitedly drew their own hearts on the poster. If you’re still stuck on a gift for your honey, this one was quick to do, and the heart drawn hearts make it especially sweet.

I like seeing people draw hearts. There are so many different types. Brave’s tends to be rounded, and True’s are more V-shaped. Soul’s ends up with sharper edges, and Glow’s was kind of wacky (we had to help her out a little). I draw mine very similar to True’s.

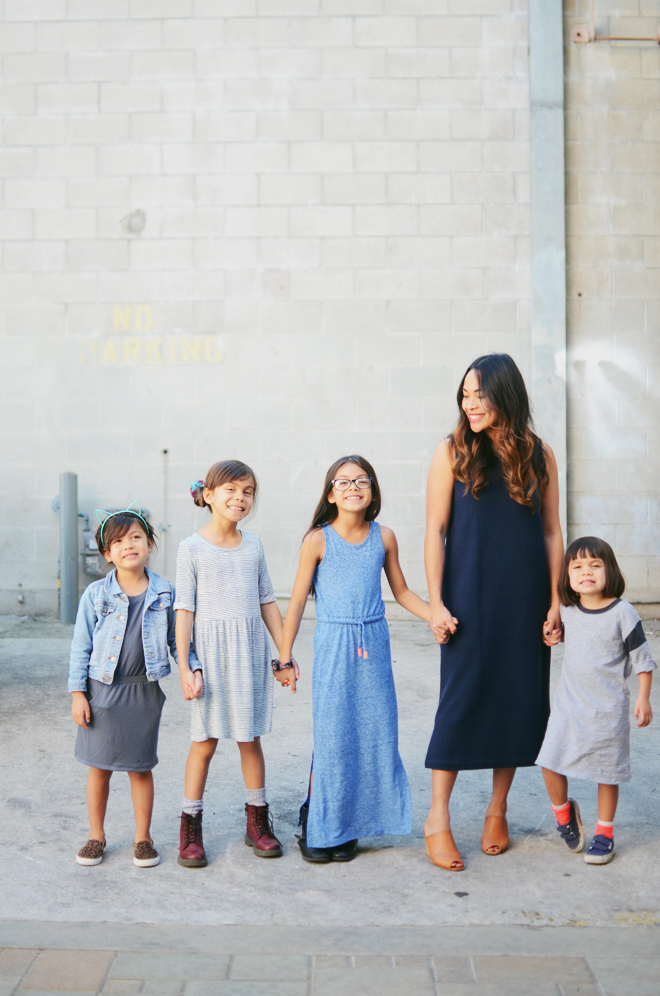
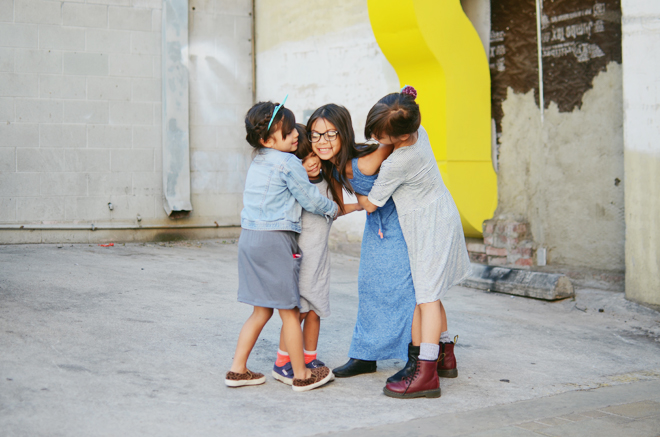
I love these pictures and how loving they are with each other. Sure, they fight too, but they are definitely the best of friends. I hope it always stays that way. Soul is my little fashionista. She’s very specific about how she likes her outfit and hair. Lately, it’s been denim jacket with everything. If you’ve been following here awhile, you know she’s gone through many different phases. True and Brave try to dress similar to me, especially True. If I’m wearing something long, she’ll look for something long to wear too. We’ve been sewing them some outfits that are similar to mine, so we will share those with you soon!

on me: dress, thrifted. shoes, rachel comey. on true: maxi dress, biker boots c/o old navy. on brave: striped dress, c/o old navy. dr. martens, shoes.com. pom pom clip, handmade (see here). on soul: jersey dress & denim jacket, c/o old navy. leopard sneakers, gap kids. on glow: knit dress & socks, c/o old navy. superga kids, zappos.

This post is in partnership with Old Navy. Thank you for the support you give this space and the brands I partner with! 


wooden arrows for my galentines

February 9, 2016


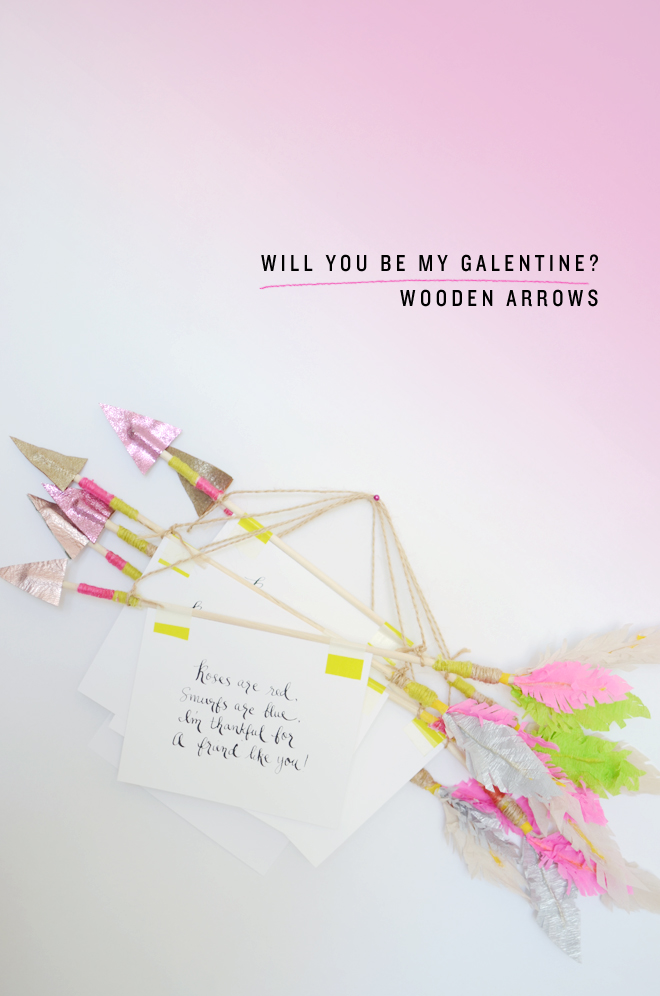
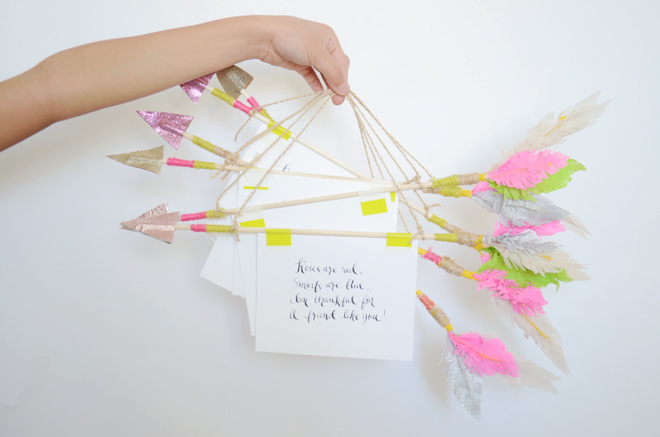
I saw this wooden arrow class by Courtney Cerruti on the Valentine’s Day crafts page of Creativebug and knew these would be the perfect quirky thing to make my friends for Galentine’s Day. I’ve taken a couple of Courtney’s online classes before (and one in person at the Michaels Makers Summit), and I love how her ideas are always fresh and allow for a lot of creativity. She always explains each step well and makes good suggestions for other materials you can use. I also like that her projects always leave plenty of room for you to insert your own little pizazz.

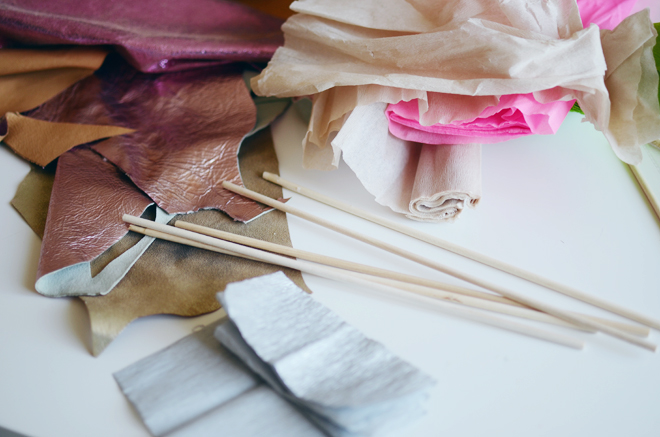
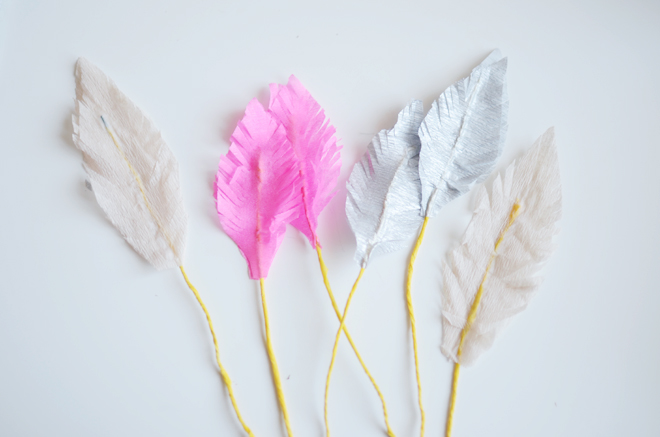
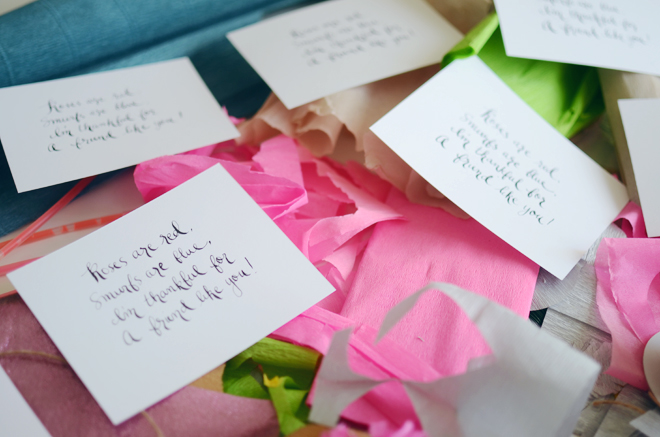
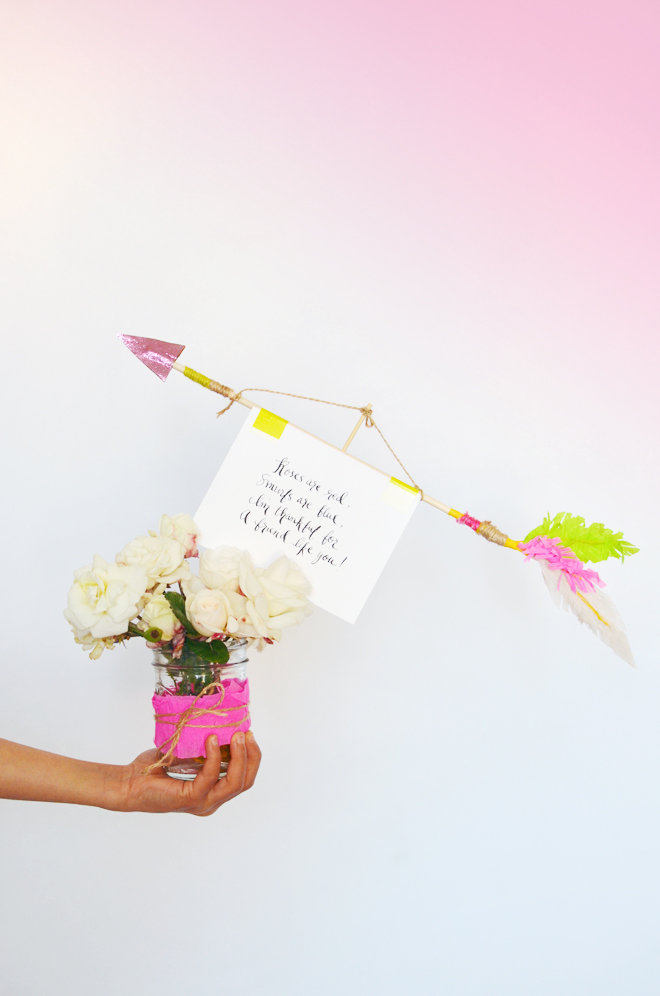
With my wooden arrow, I used a much smaller dowel and used crepe paper for the feathers. I love that I didn’t need to have the exact materials she used, but was still able to get the same cute outcome. I watched it once through first to get a general idea for the project and what materials to gather. Then, I watched it two more times while I was working on it, and about an hour and a half later I was done with all 6 arrows. I didn’t use the Valentine’s messages they had, but made my own little message that says, “Roses are red, Smurfs are blue, I’m thankful for a friend like you!”

I tied the arrow onto another dowel and stuck that in a little vase of flowers. Then, I will make my Galentine’s delivery at the end of this week. My girls are asking if they get to make their own arrows, but I think they’re going to really enjoy making love bugs for their friends.

This post is in partnership with Creativebug. Since we homeschool, we are big fans of Creativebug and have used some of their classes for art.  If you want to try it out, Creativebug is currently offering a one month free trial with the code: LOVE.


beaded heart headband

February 8, 2016


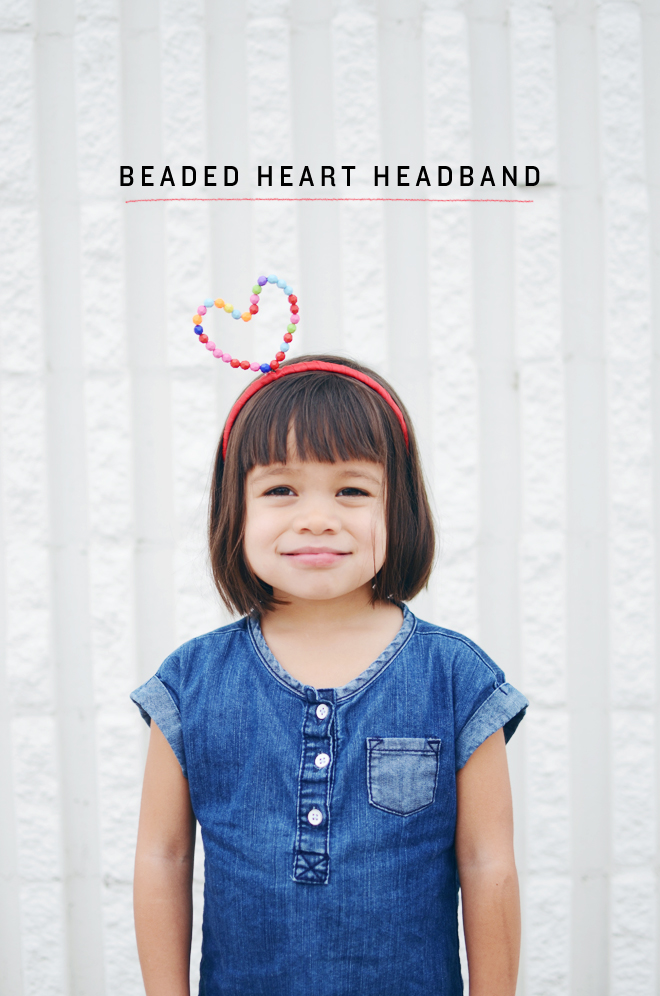
Beaded Heart Headband

Supplies:
Headband
Ribbon
Beads in various colors
12″ strand of wire
Scissors
Glue gun & glue stick

Directions:
1. Cut out 1 foot strand of wire.
2. Add your beads, but leave 2″ of both ends unfilled.
3. Place the end beads together to form the bottom of the heart, shape your heart, and twist wire tightly in place.
4. Place the heart on your desired spot on your headband and wrap wire ends around the headband.
5. Starting at one end of the headband, add a dab of hot glue, and wrap the entire headband. Note: Add a dab of glue every 1.5″ to make sure the ribbon is secure. To finish, add a dab of glue at the end, and cut excess ribbon

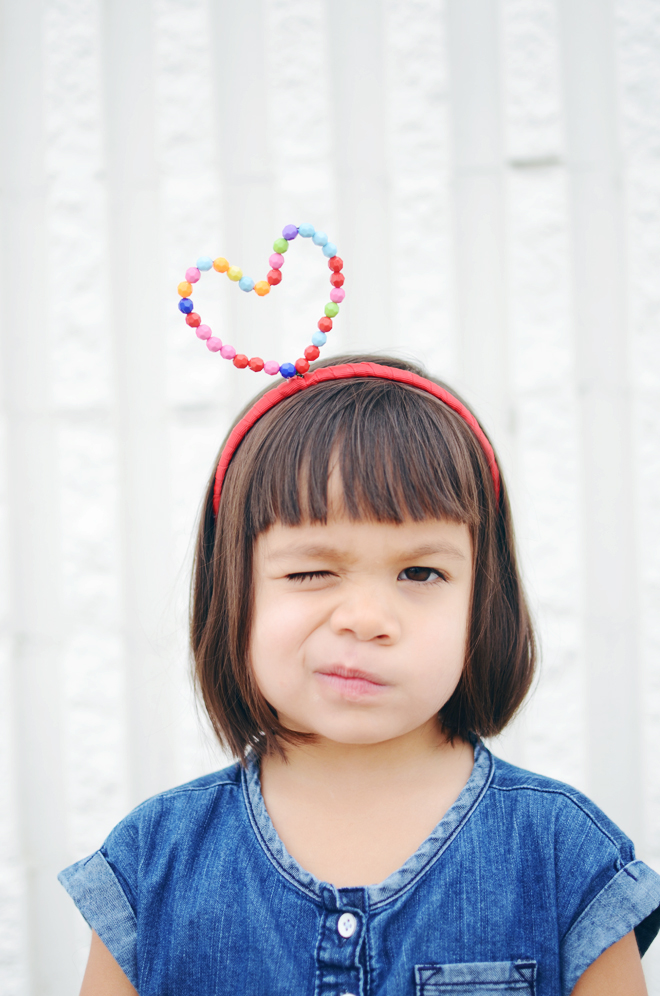
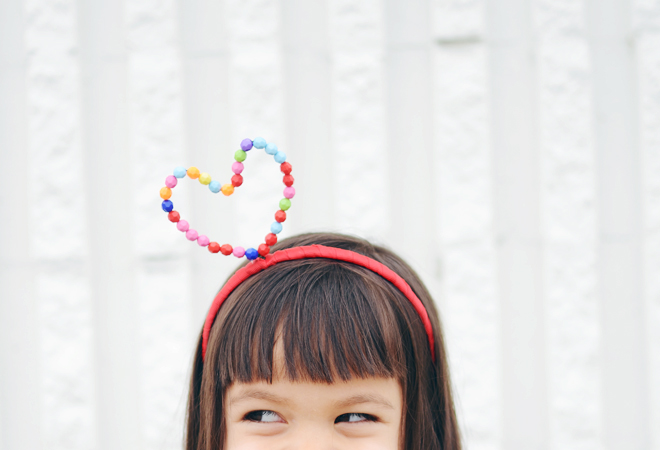
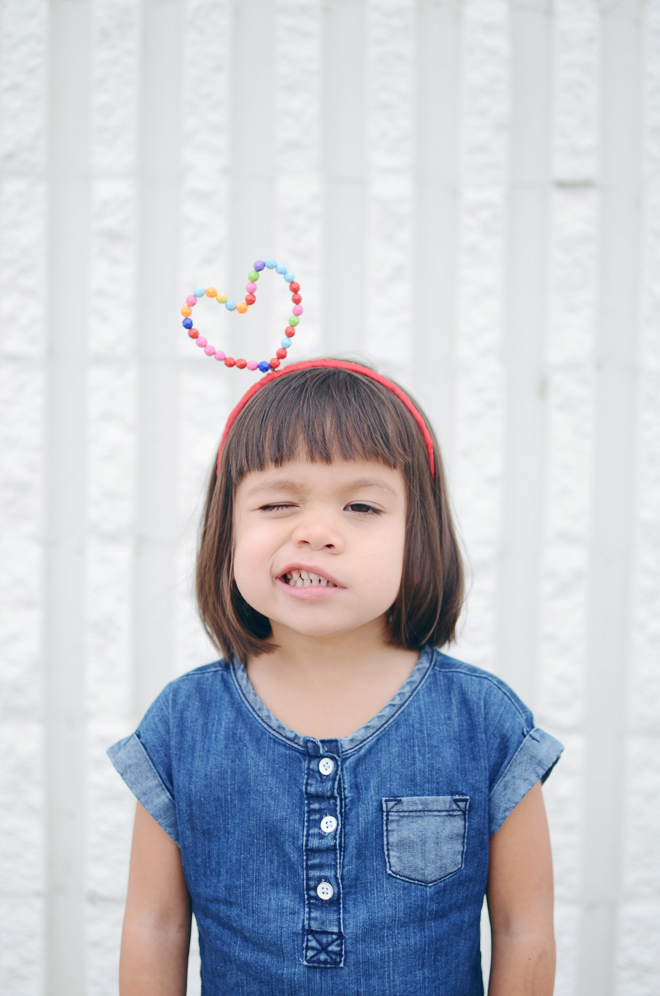
Glow is such a little ham. We like to call her “Hammer Time” because she’s always cracking us up with her cute little antics. Well, you can see she loves the headband. Soul’s already been wearing her headband everywhere, and I just need to make two more for the older girls. The headband is a perfect Valentine’s Day gift!

To see other videos, follow Cakies on YouTube here.
See other photos and videos by Christian and Reinna here.


CAKIES
©
Design by Blog Milk