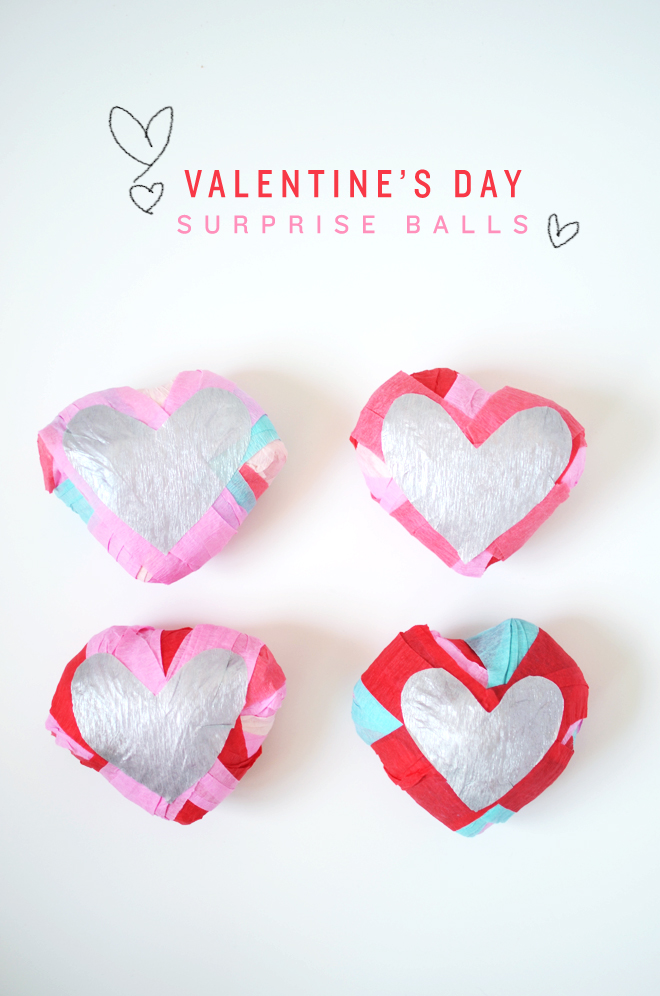
heart surprise balls

February 7, 2017


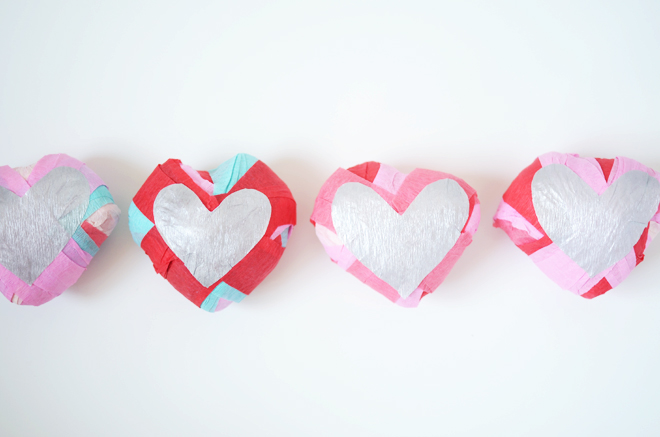
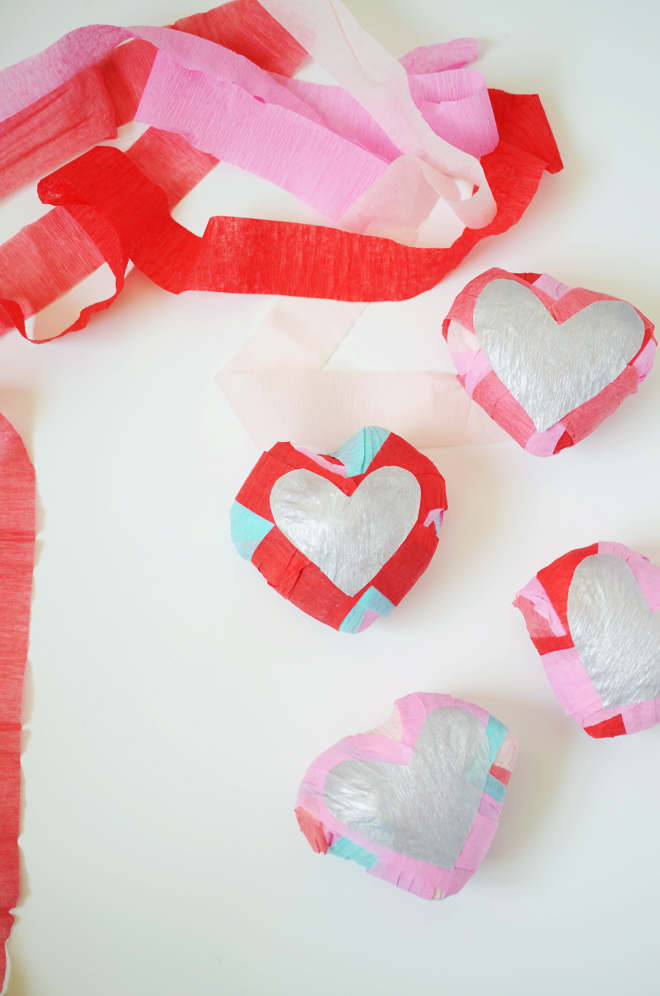
Valentine’s Day Surprise Balls

Supplies:
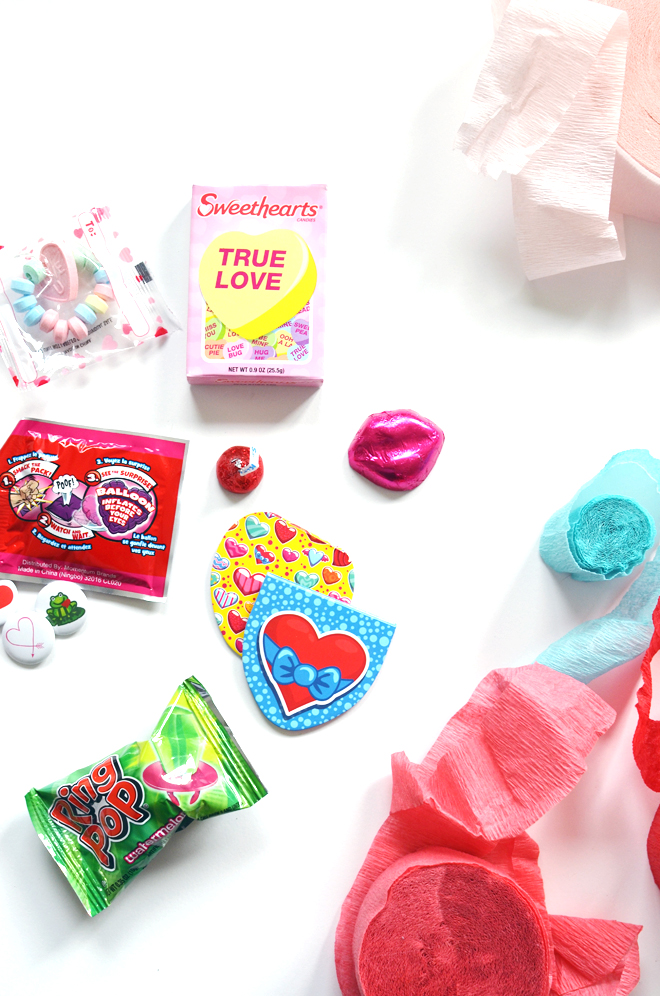
10 trinkets (or notes) to fill the ball
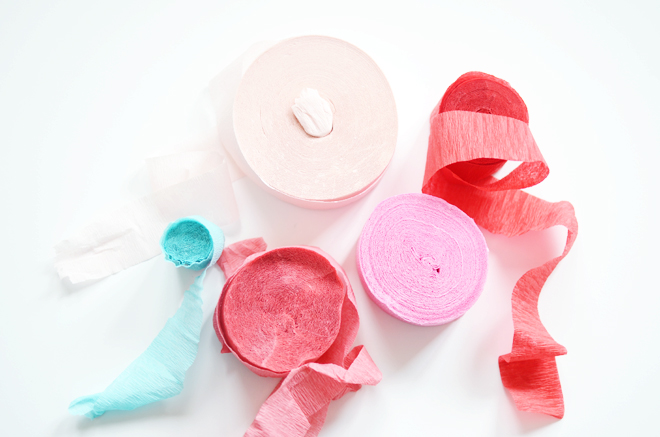
Crepe paper streamers, various colors
Crepe paper
Craft glue
Scissors
Directions:
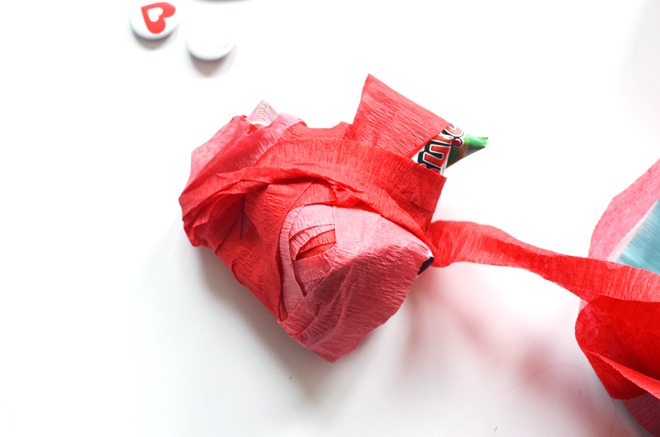
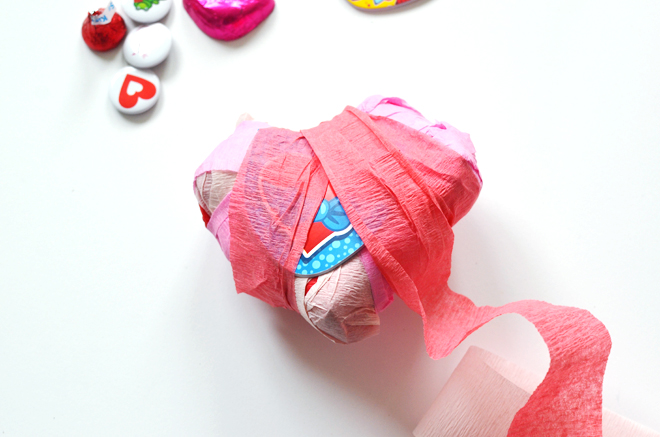
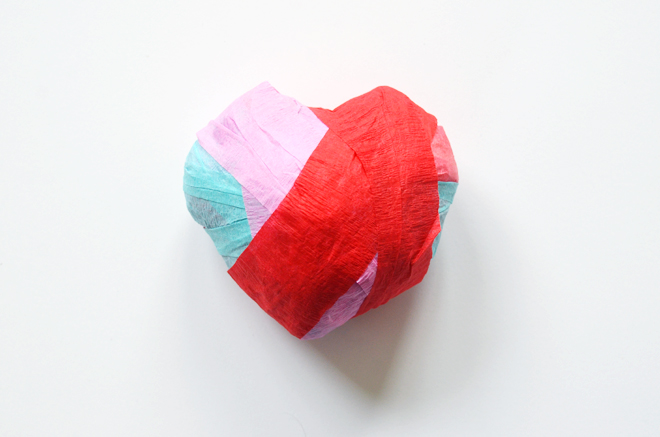
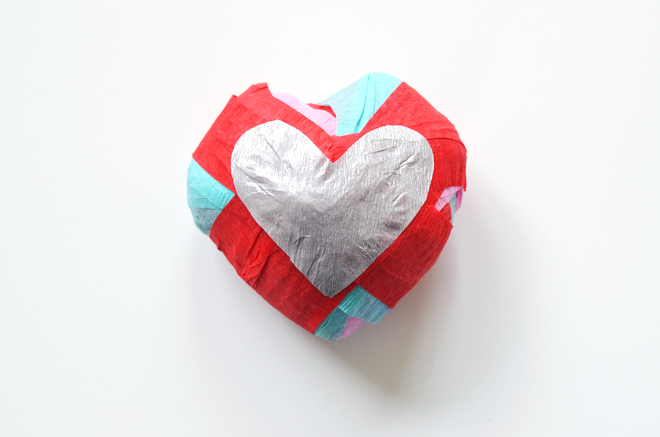
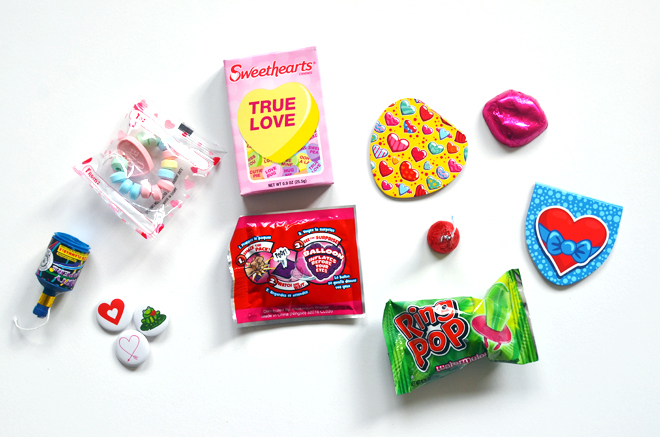
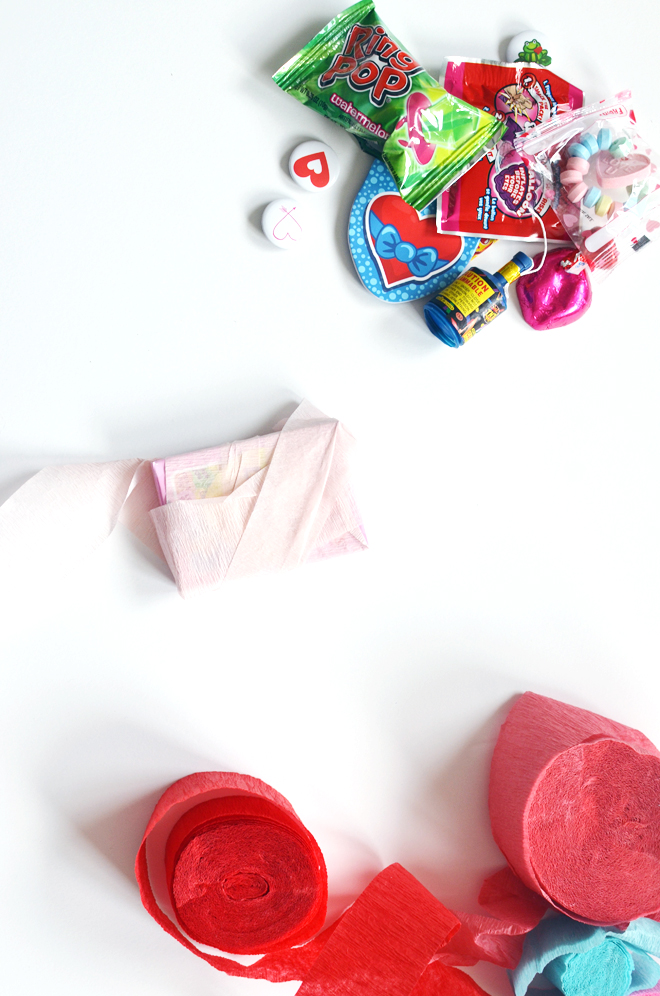
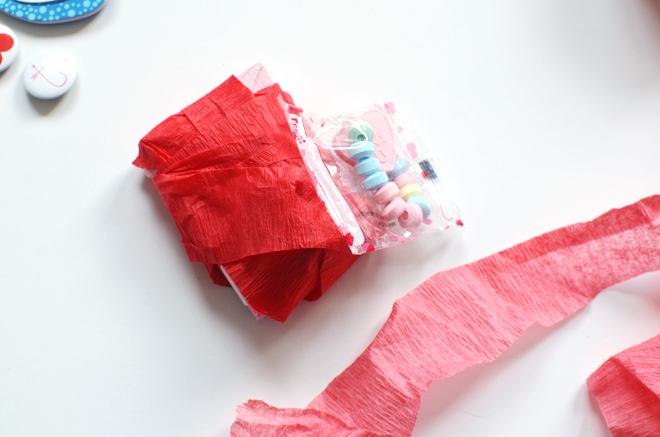
I started with the largest items in the center, it also helped when planning out the form to get the heart shape. Use one colored streamer o wrap your item until is completely wrapped a couple times around. Hold streamer and tear it off, then add another trinket, and continue to wrap with another streamer of a different color. Start the next streamer, where the last one ended, holding it in place until it is securely wrapped. As you wrap each item, shift the angle of the streamer, so that you overlap each layer little by little. Continue to wrap each one, pulling tightly (but gently) at the streamer so that it is is taut and smooth, and the trinket stays in place. I changed streamer colors with each trinket added and made sure each trinket was wrapped a couple times around before adding another.

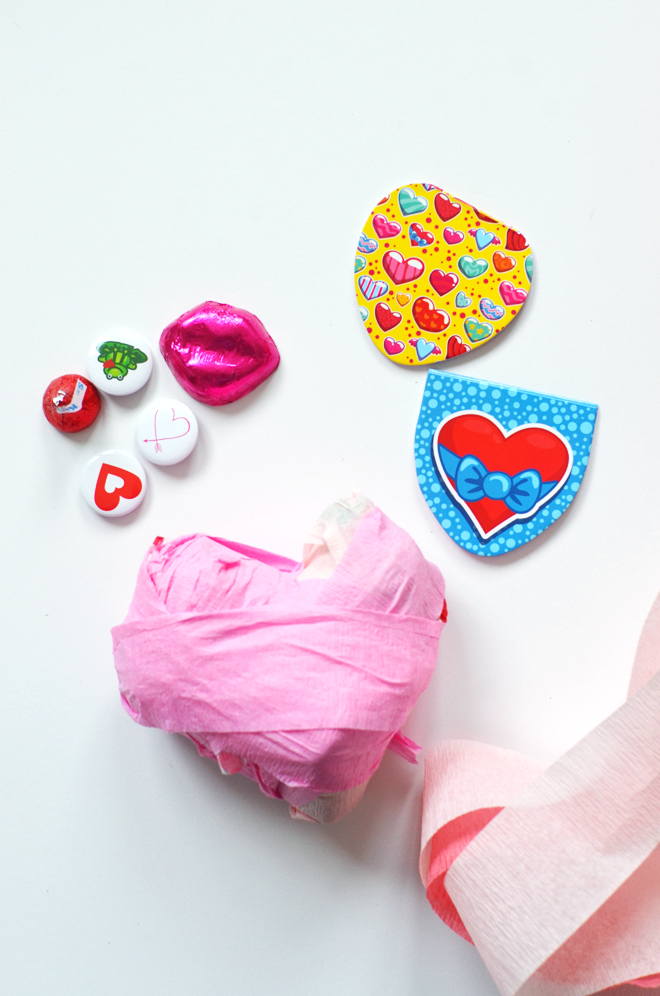
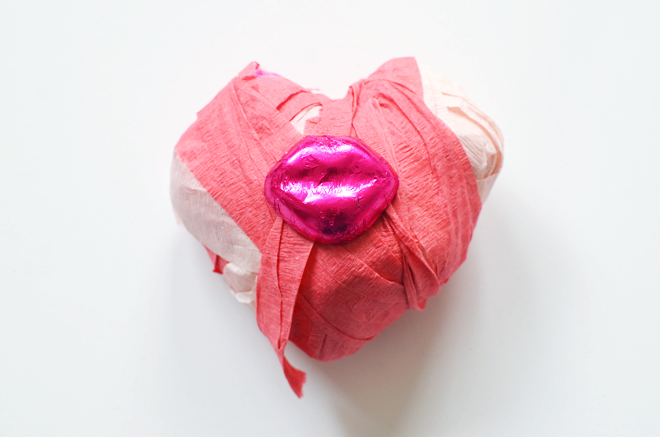
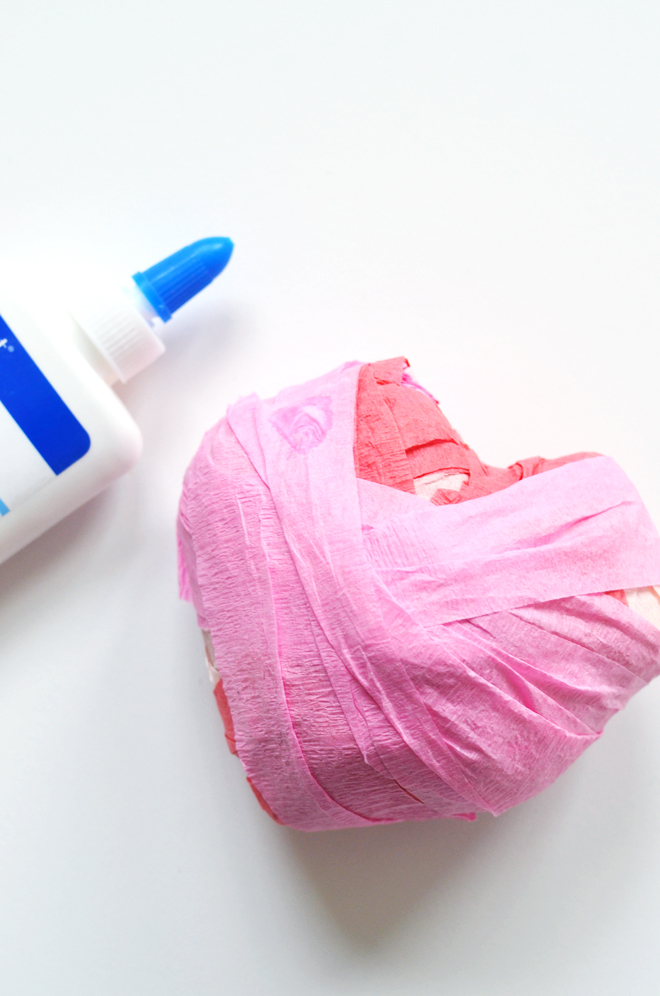
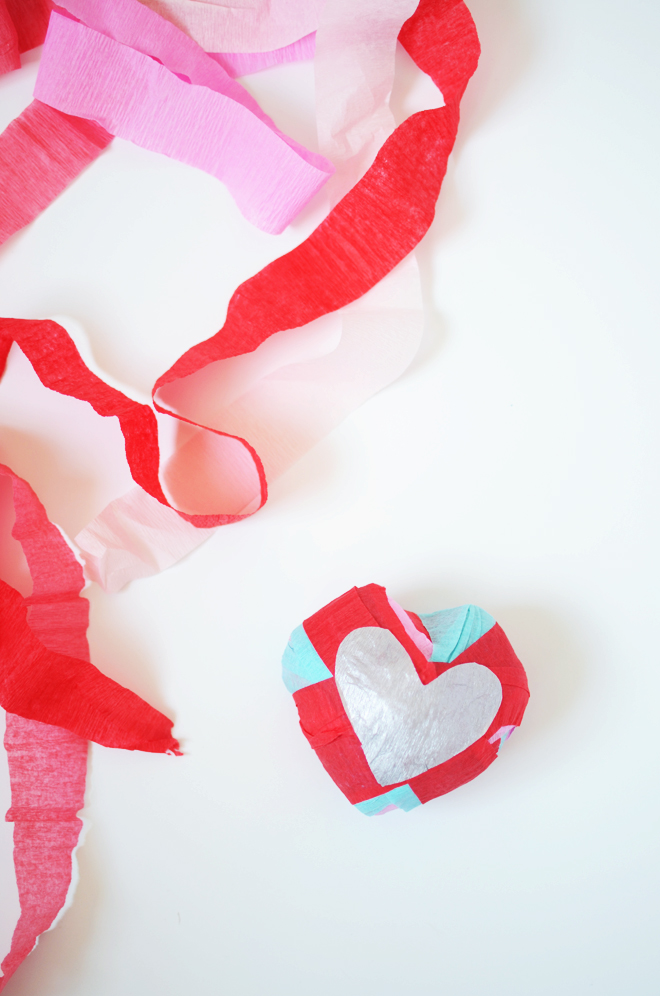
Once you get to the last trinket wrapped, I added a few more wraps using various streamer colors, and made sure that these were wrapped around neatly. You want it to be smooth and taut, since this is what will be seen when the gift is given. At the end, add a dab of glue to secure the ball together. Lastly, cut out a heart from a piece of crepe paper (or streamer) and glue onto the center of the heart.
There you go! All 10 sweet treats perfectly wrapped into a heart ready for Valentine’s Day gifting.

I made one for each girl and I know they will have so much fun unraveling the ball to see their surprises. All the treats were found at the 99 cents store (I spent about $10 for everything), and while I was wrapping theirs up, I might have devoured a chocolate or two.

The treats in their ball:
– conversation hearts
– a Hershey’s kiss
– chocolate lips
– heart-shaped memo pads
– confetti popper
– self-inflating balloon
– ring pop
– heart pins
– candy bracelet
If you want to make one for your Valentine, fill it with love notes! See the one I made for Ben here, and check out the video of him unraveling it.

I have no clue of what to make for Ben this year. Last year, I made a Valentine fruit basket (and from all the girls, we made his this poster). The year before that, we went on a scavenger hunt adventure to Salvation Mountain (and I told him “I love you” in different ways). In 2014, I made him a round the clock book of messages with invisible ink. One year, I even made a teepee. I better get on it because I have one week left to figure out a gift for my love.

Save

Save

Save


kid jokes // 10

February 3, 2017


Hang on friends, the weekend is almost here. Happy Friday!

Get the print out here and see the other kid jokes here.


diy: heart in hand clay dish

February 1, 2017


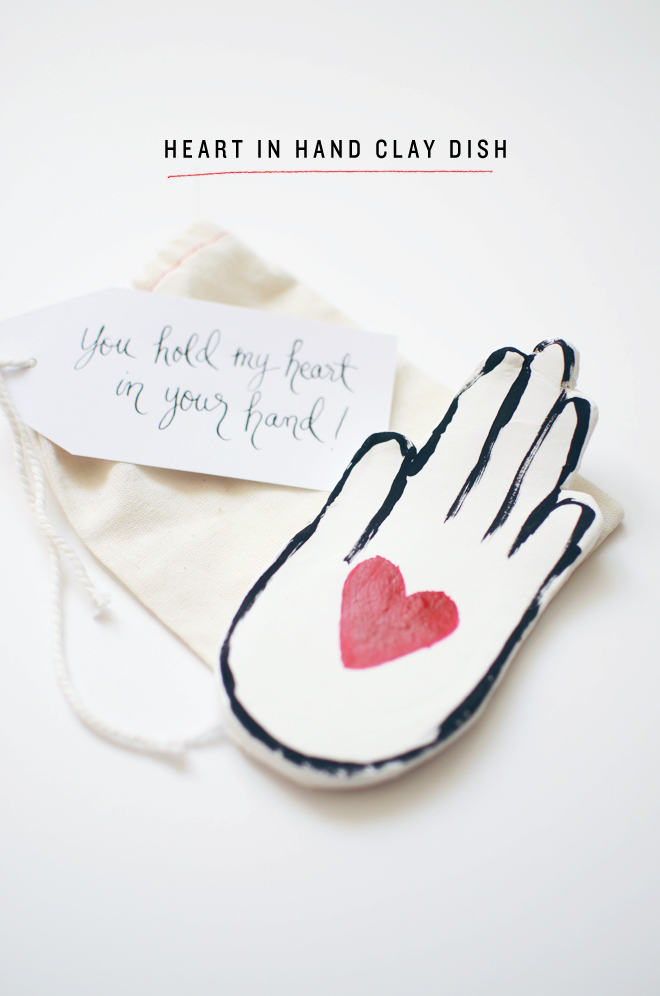
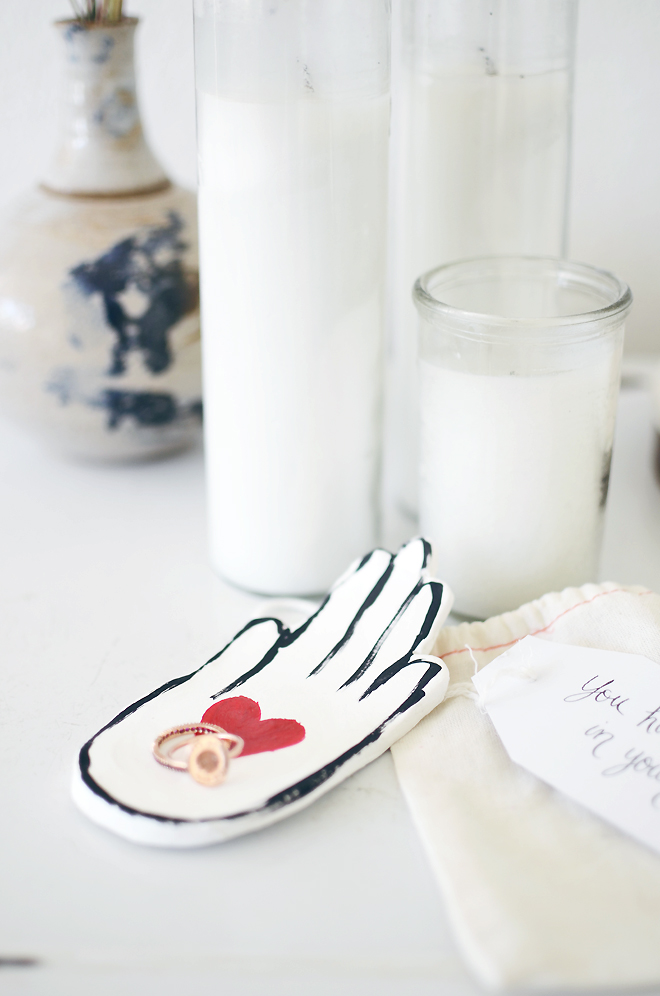
Heart in Hand Clay Dish

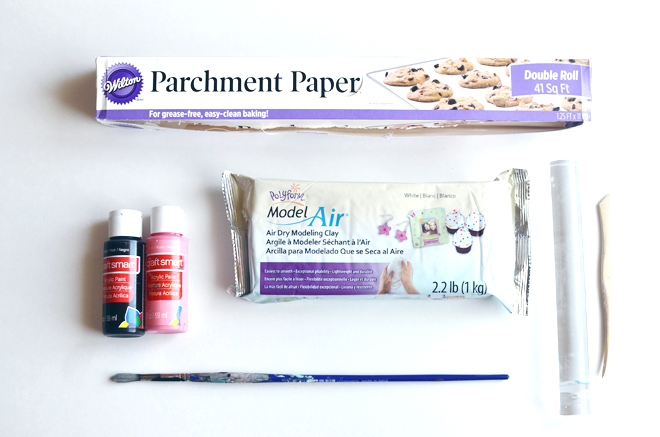
Supplies:
Air-dry modeling clay
Roller
Clay tool set (for cutting, or can use a plastic knife)
Parchment paper
Small bowl
Craft paint
Paintbrush

Directions:
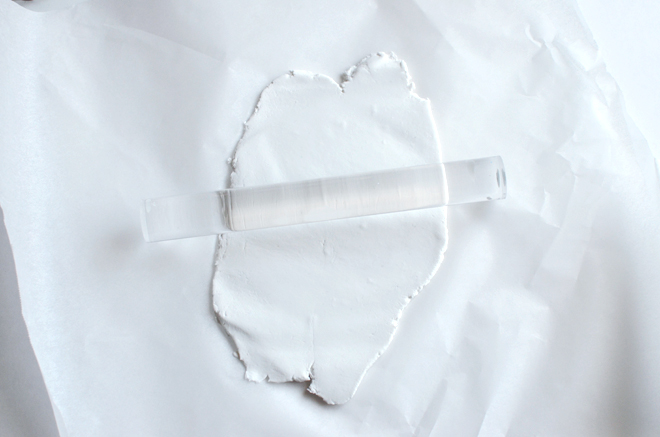
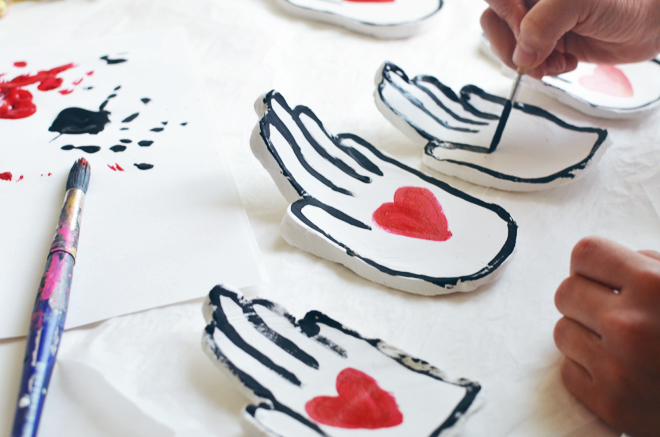
1. On top of a sheet of parchment paper, roll out a ball of clay until 1/4″ thick.

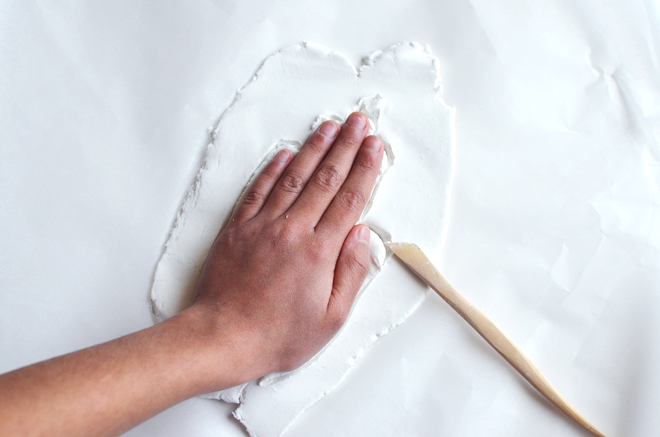
2. Place hand on top and cut out shape with clay tool (or knife). Tip: Lightly touch cracks or rough spots with a little bit of water to help smooth it out.

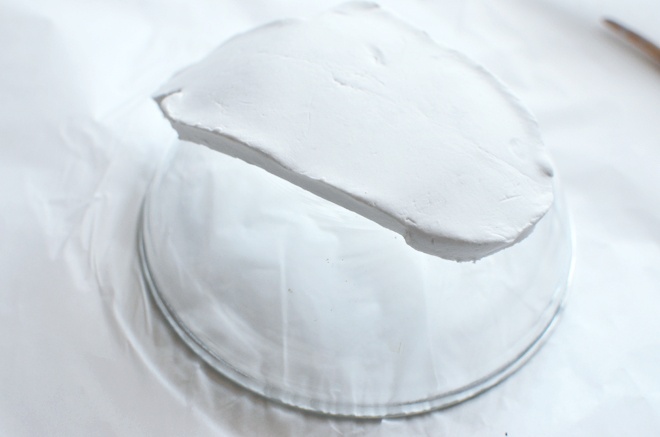
3. Place the hand on top of the bottom of a small bowl so that it will air dry into the shape of a dish. Allow about 48 hours to dry completely (the package says 24, but ours needed longer time).

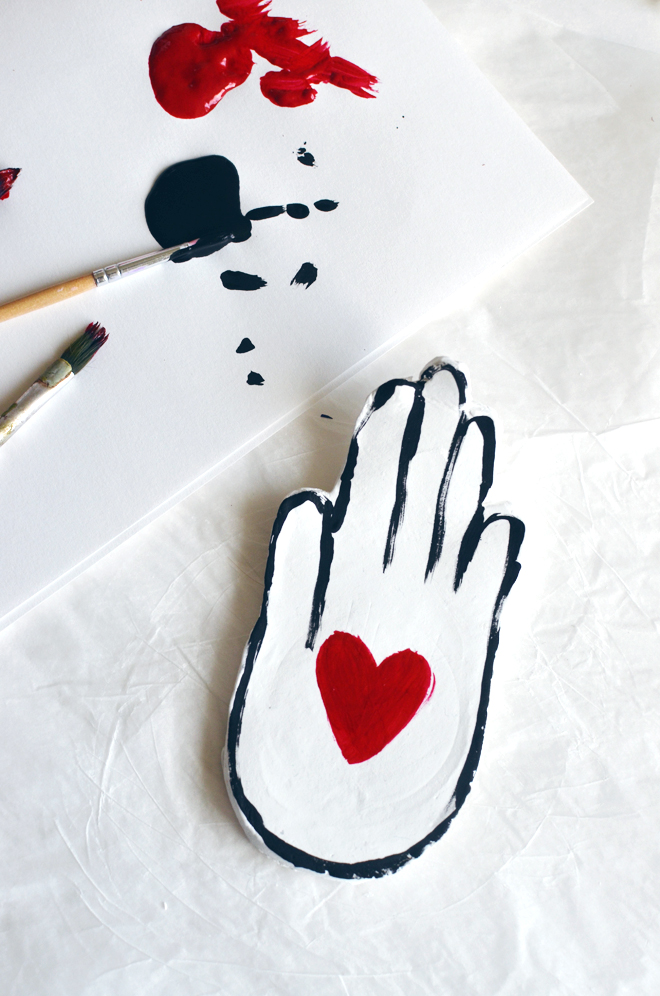
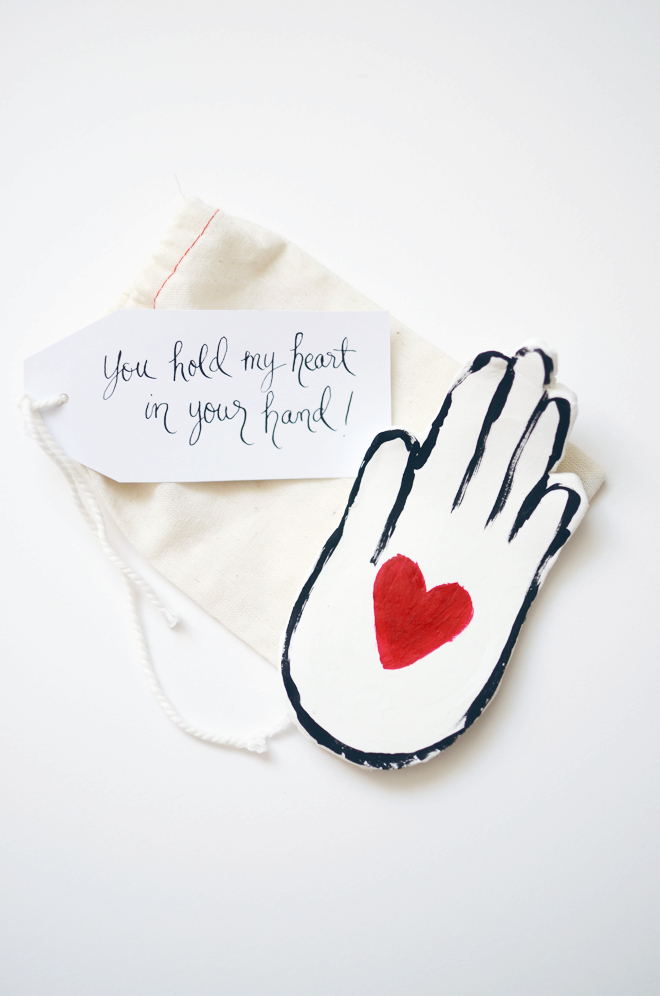
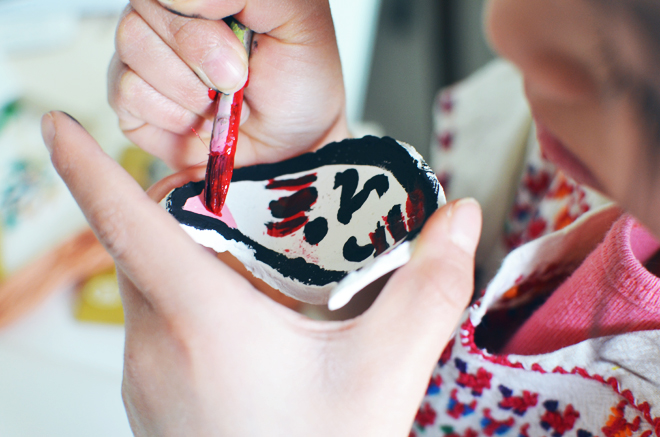
4. Once it is completely dry, paint the outline of a hand and a heart in the middle. Allow paint to dry.

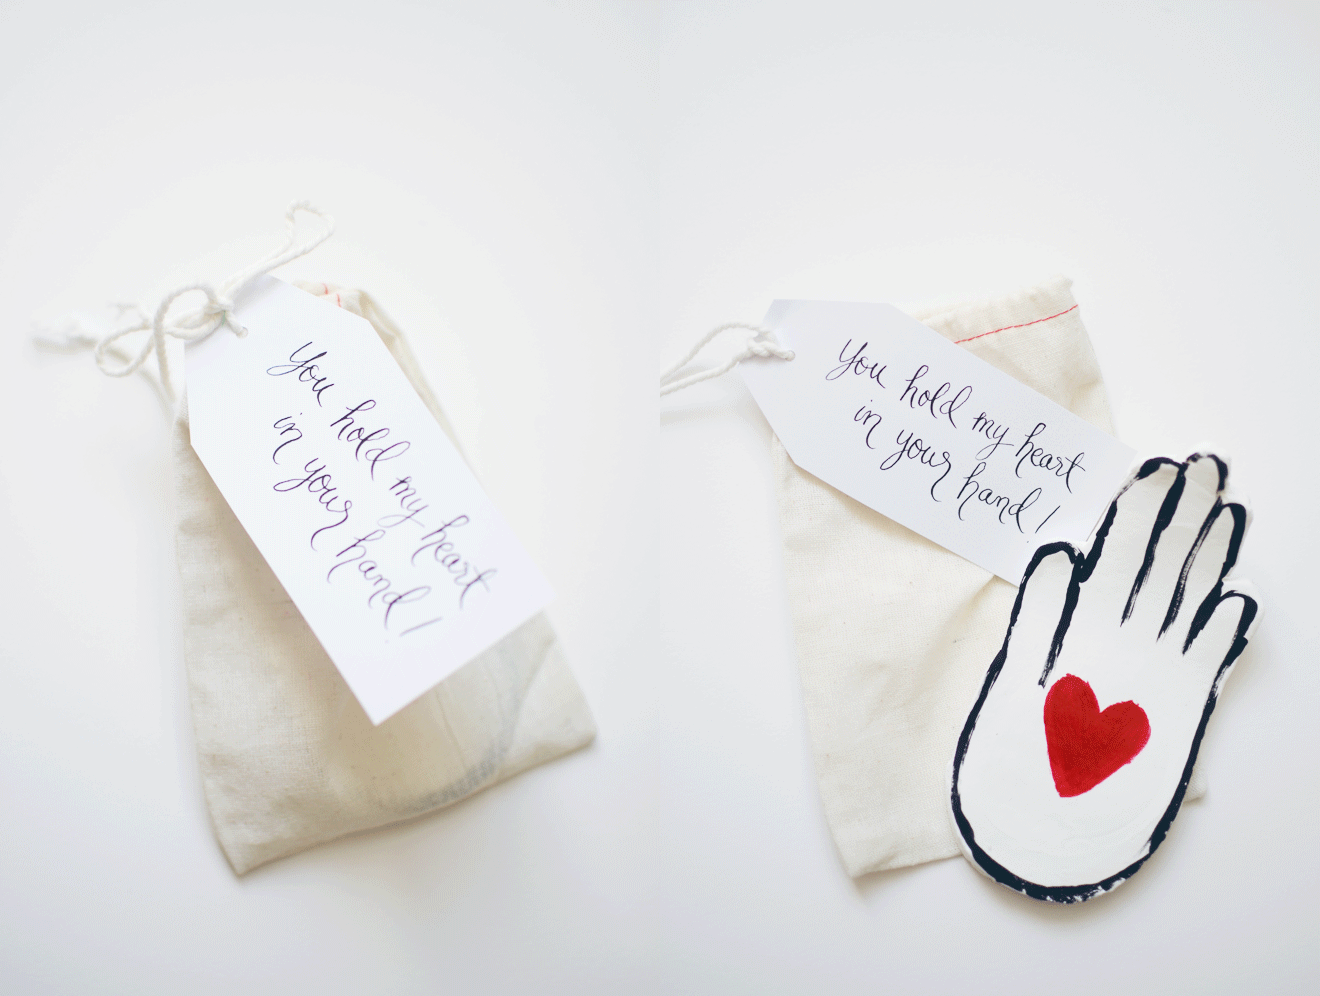
Attach a little note that says, “You hold my heart in your hand!” and you have a perfectly sweet Valentine’s Day gift for someone you love. Or have the kids make them as presents for the grandparents (or mom and dad).

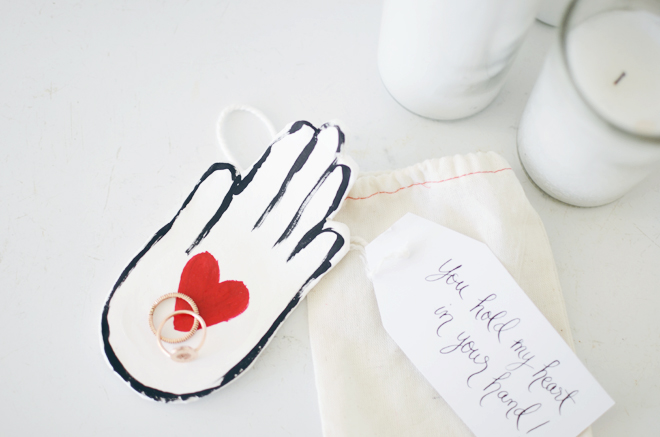
I have True’s hand on my bedside table and it’s just the right place to put my rings for the day. See the other clay creations the girls made here. I love how easy it is to work with air-drying clay.

This post is part of the Michaels Makers Series. Looking for more Valentine’s Day inspiration? Make sure you visit Michaels’ blog, The Glue String, to see the rest of the Michaels Makers’ DIY Valentine’s Day gift ideas.

 Loading InLinkz ...

Save

Save

Save

Save

Save


air dry clay creations

January 30, 2017


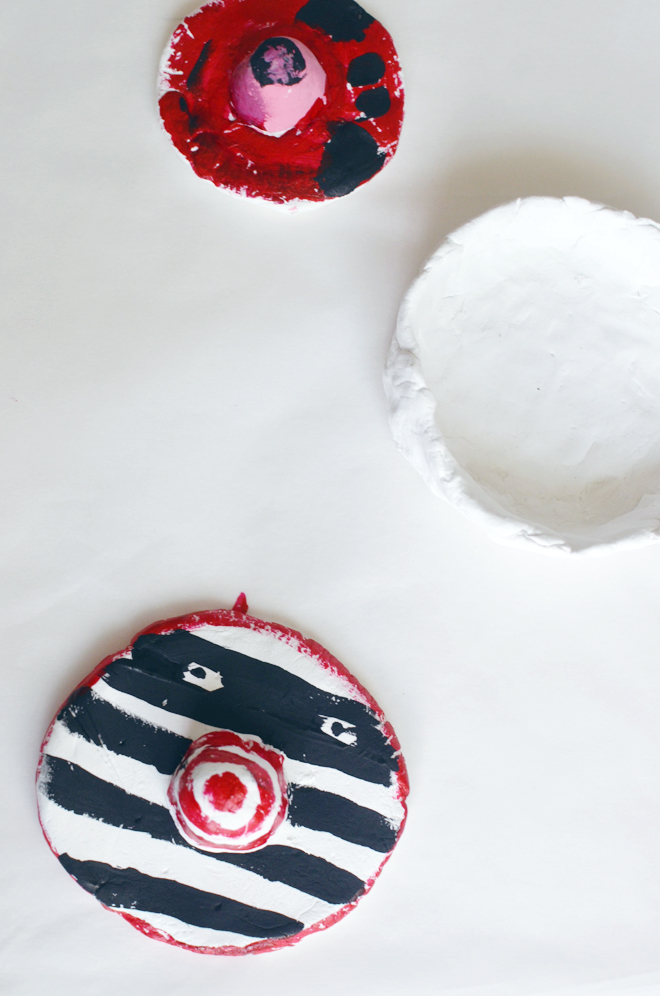
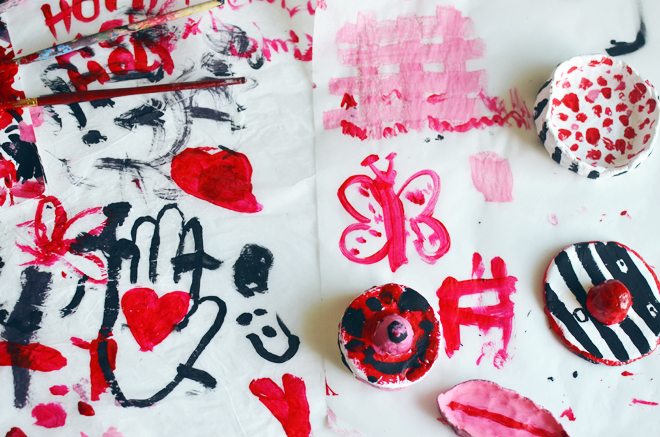
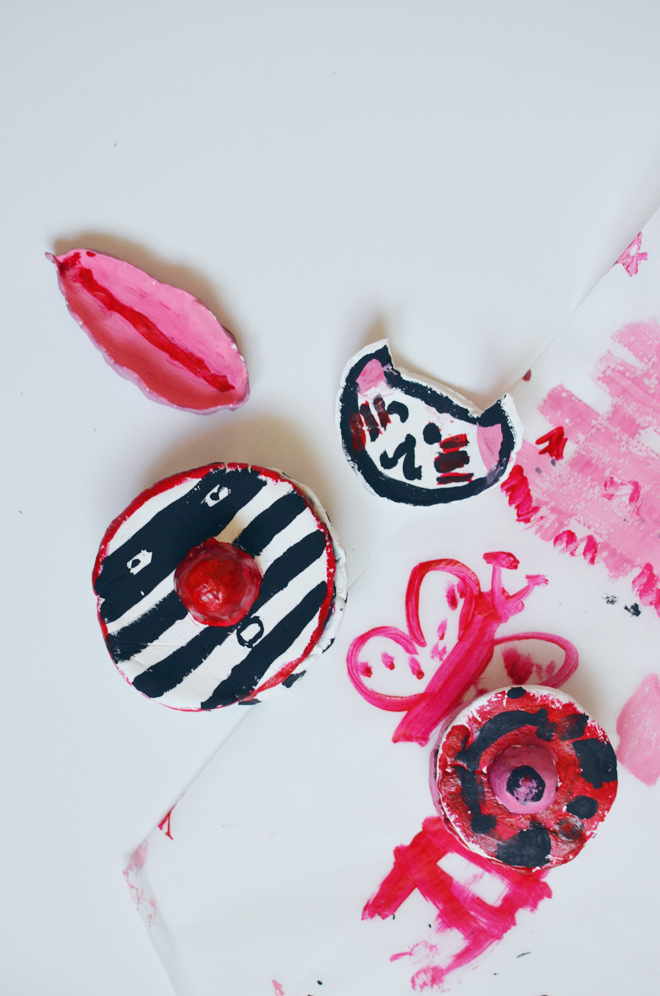
Recently, we’ve been working with air dry clay and the girls love it (we have a Valentine DIY to share with you on Wednesday). My girls are play-dough obsessed, so I knew air dry clay projects would be a hit with them. Glow made a little puppy face pot, Soul’s made a tiny cat face dish, Brave made a pink leaf dish, and True’s is a bandit container. For the pinch pots, Glow and True used this tutorial.

We used this clay, but I think I’m going to order a package of this air drying clay and see how the girls like it. Maybe, I could make earrings like this using air dry clay and some embroidery floss.

Save


kid jokes // 9

January 27, 2017


The girls are back with their kid jokes. Hope they give you a little chuckle!

See more kid jokes here and here’s the print out in case you have a little one that likes to color!


felt macrame wall hanging

January 26, 2017


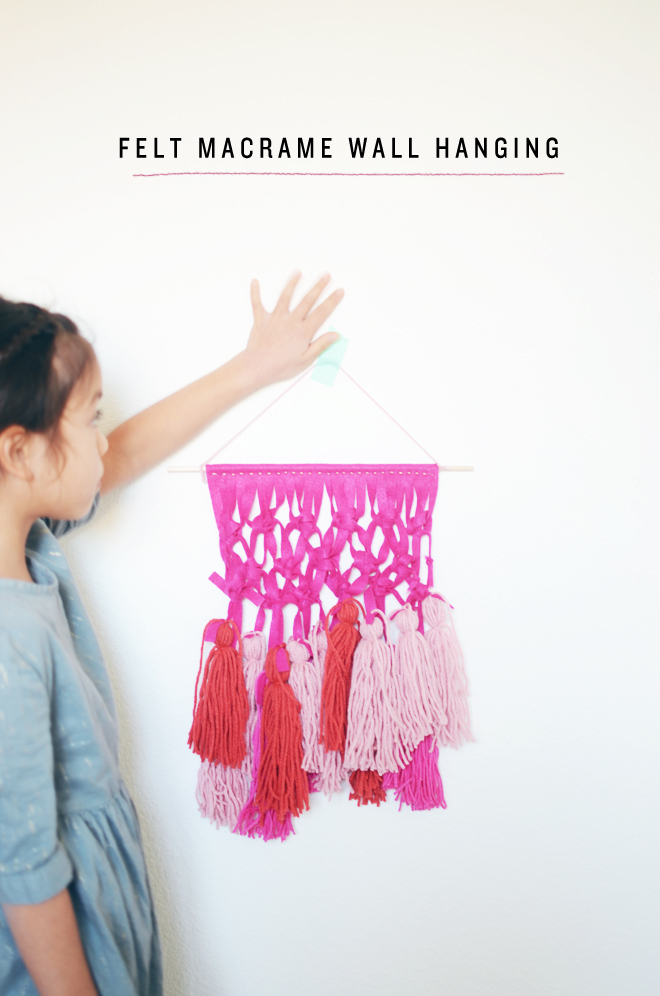
Felt Macrame Wall Hanging
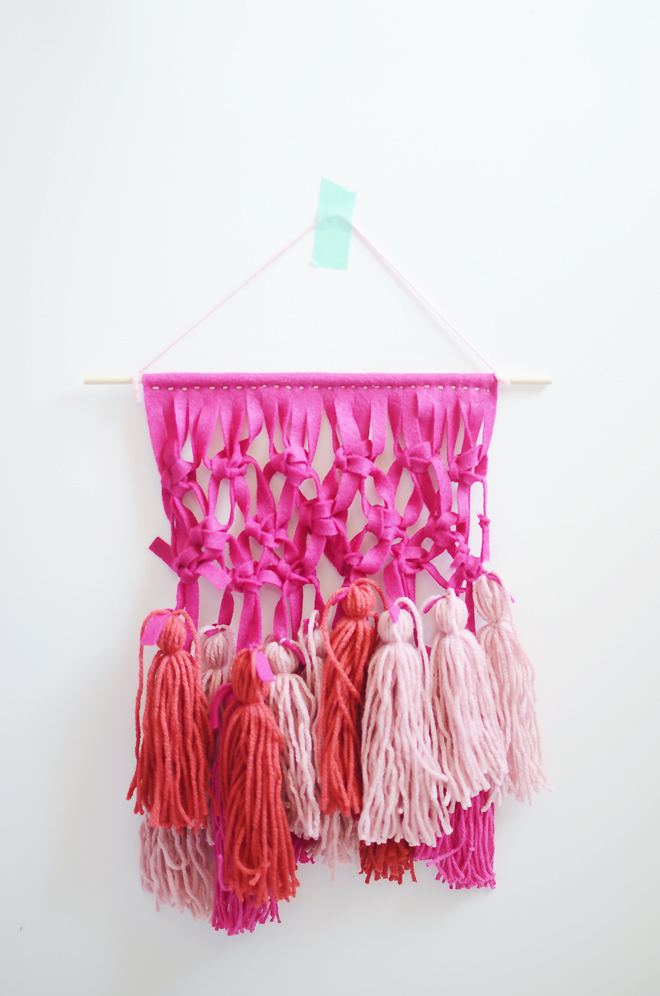
we used valentine’s day colors for a little love day decor 

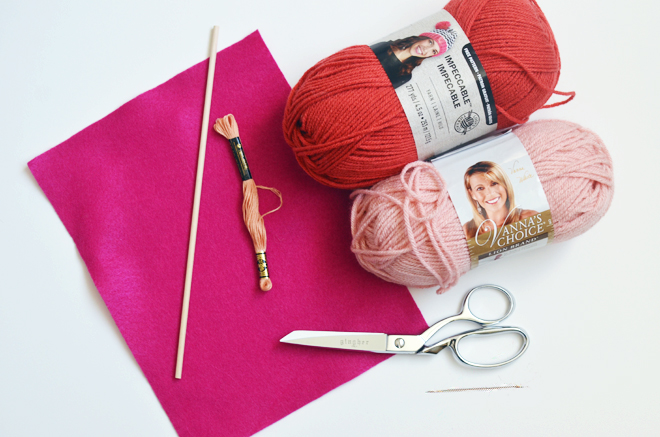
Supplies:
Felt sheet
Embroidery floss
Hand-sewing needle
Scissors
3/16″ x 12″ dowel
Yarn

Directions:
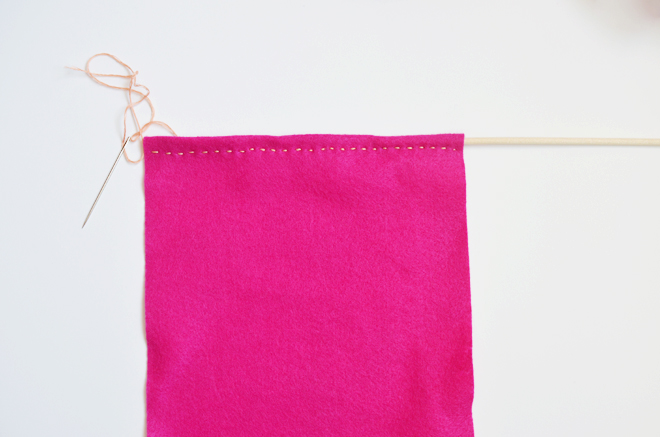
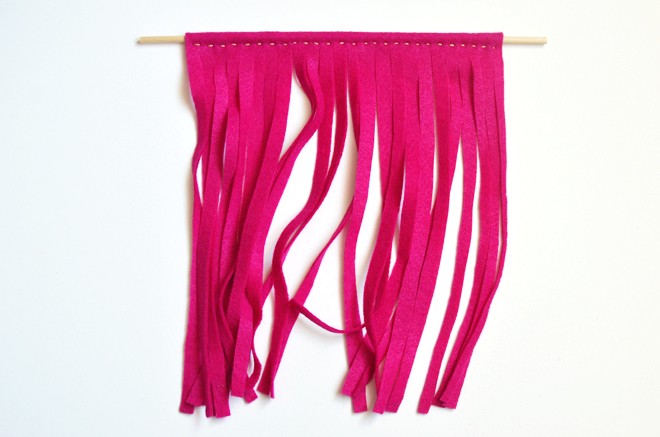
1. Fold the short side of the felt sheet 1/2″ towards the back, and sew in place using a running stitch. Next, insert dowel. Then, cut slits (about 1/4″ wide) all along the sheet from the bottom to the top (stopping about 1/2″ away from the dowel). Be sure to cut strips so they can be grouped in four.

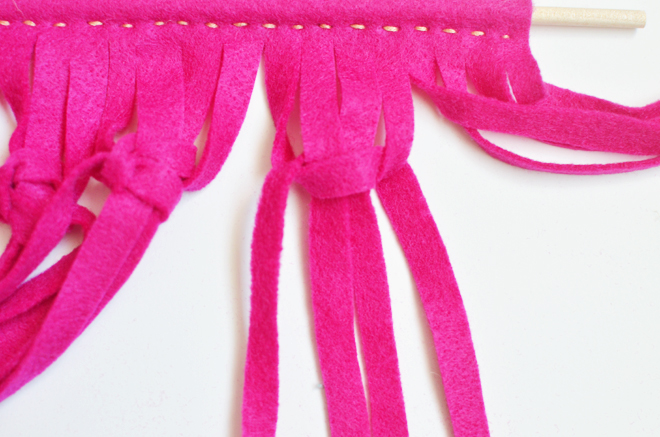
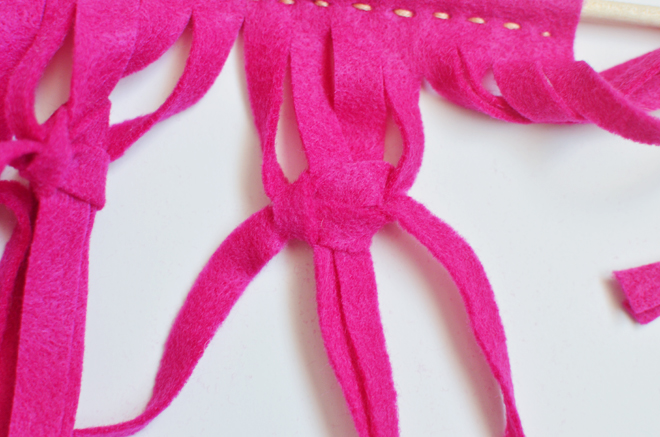
2. Starting with the first four strips on the left, bend the first strip over the next two strips (leaving a space for the loop), and under the fourth strip. Next, pass the fourth strip behind the filler strips and bring out to the front through the left loop of the first cord. Pull the strips gently and you have half of the first the square knot.

For the second half of the square knot, you are reversing the way you cross the strips. Bend the fourth strip over the previous two filler strips (leaving a space for the loop), and under the first strip. Next, pass the first strip behind the filler strips and bring out to the front through the right loop of the fourth strip. Gently pull the strips and you have a finished square knot. This is a good video on how to make a square knot.

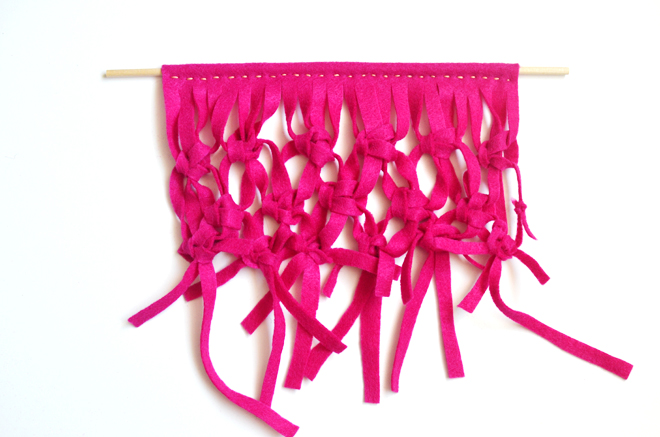
Continue creating square knots with the rest of the felt strips. For the second row, skip the first two strips, and gather the next four strips to start your first square knot in the second row. In total, I did 3 rows of square knots.

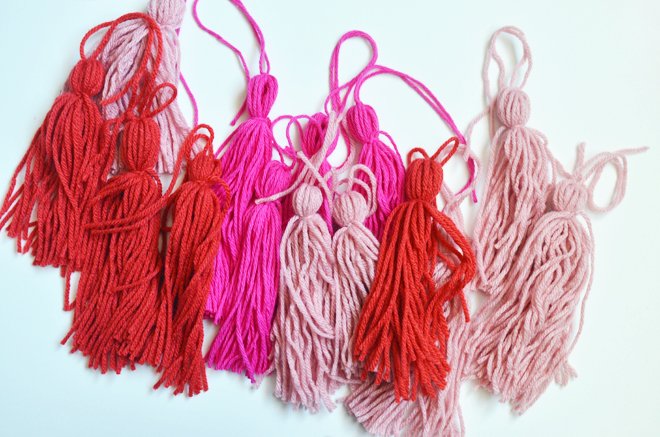
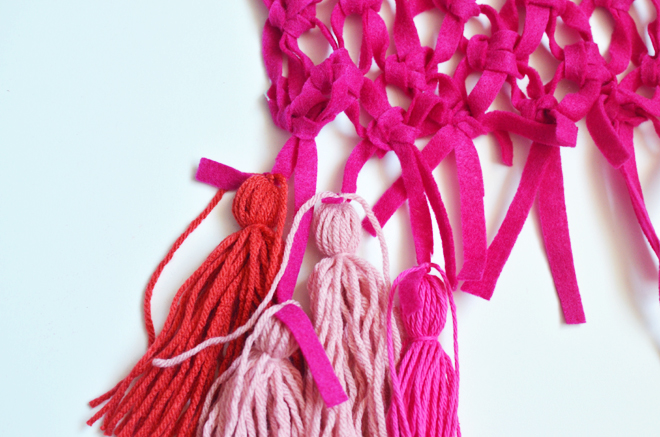
3. I used 10″ strands of yarn gathered together to create tassels for the wall hanging. I share how to make tassels here. Knot each tassel onto the end of felt strip. Cut a 12″ strand of yarn and tie each end onto each of the dowel, and knot to secure.

The wall hanging adds a nice pop of color in preparation for Valentine’s Day. I think a longer version using wool felt would come out great too. The girls want to learn how to macrame, so I might show them how to make tiny ones to make some for their friends for Valentine’s Day. It would be sweet with a cute saying like, “I’m knots about you!”

Save

Save


CAKIES
©
Design by Blog Milk