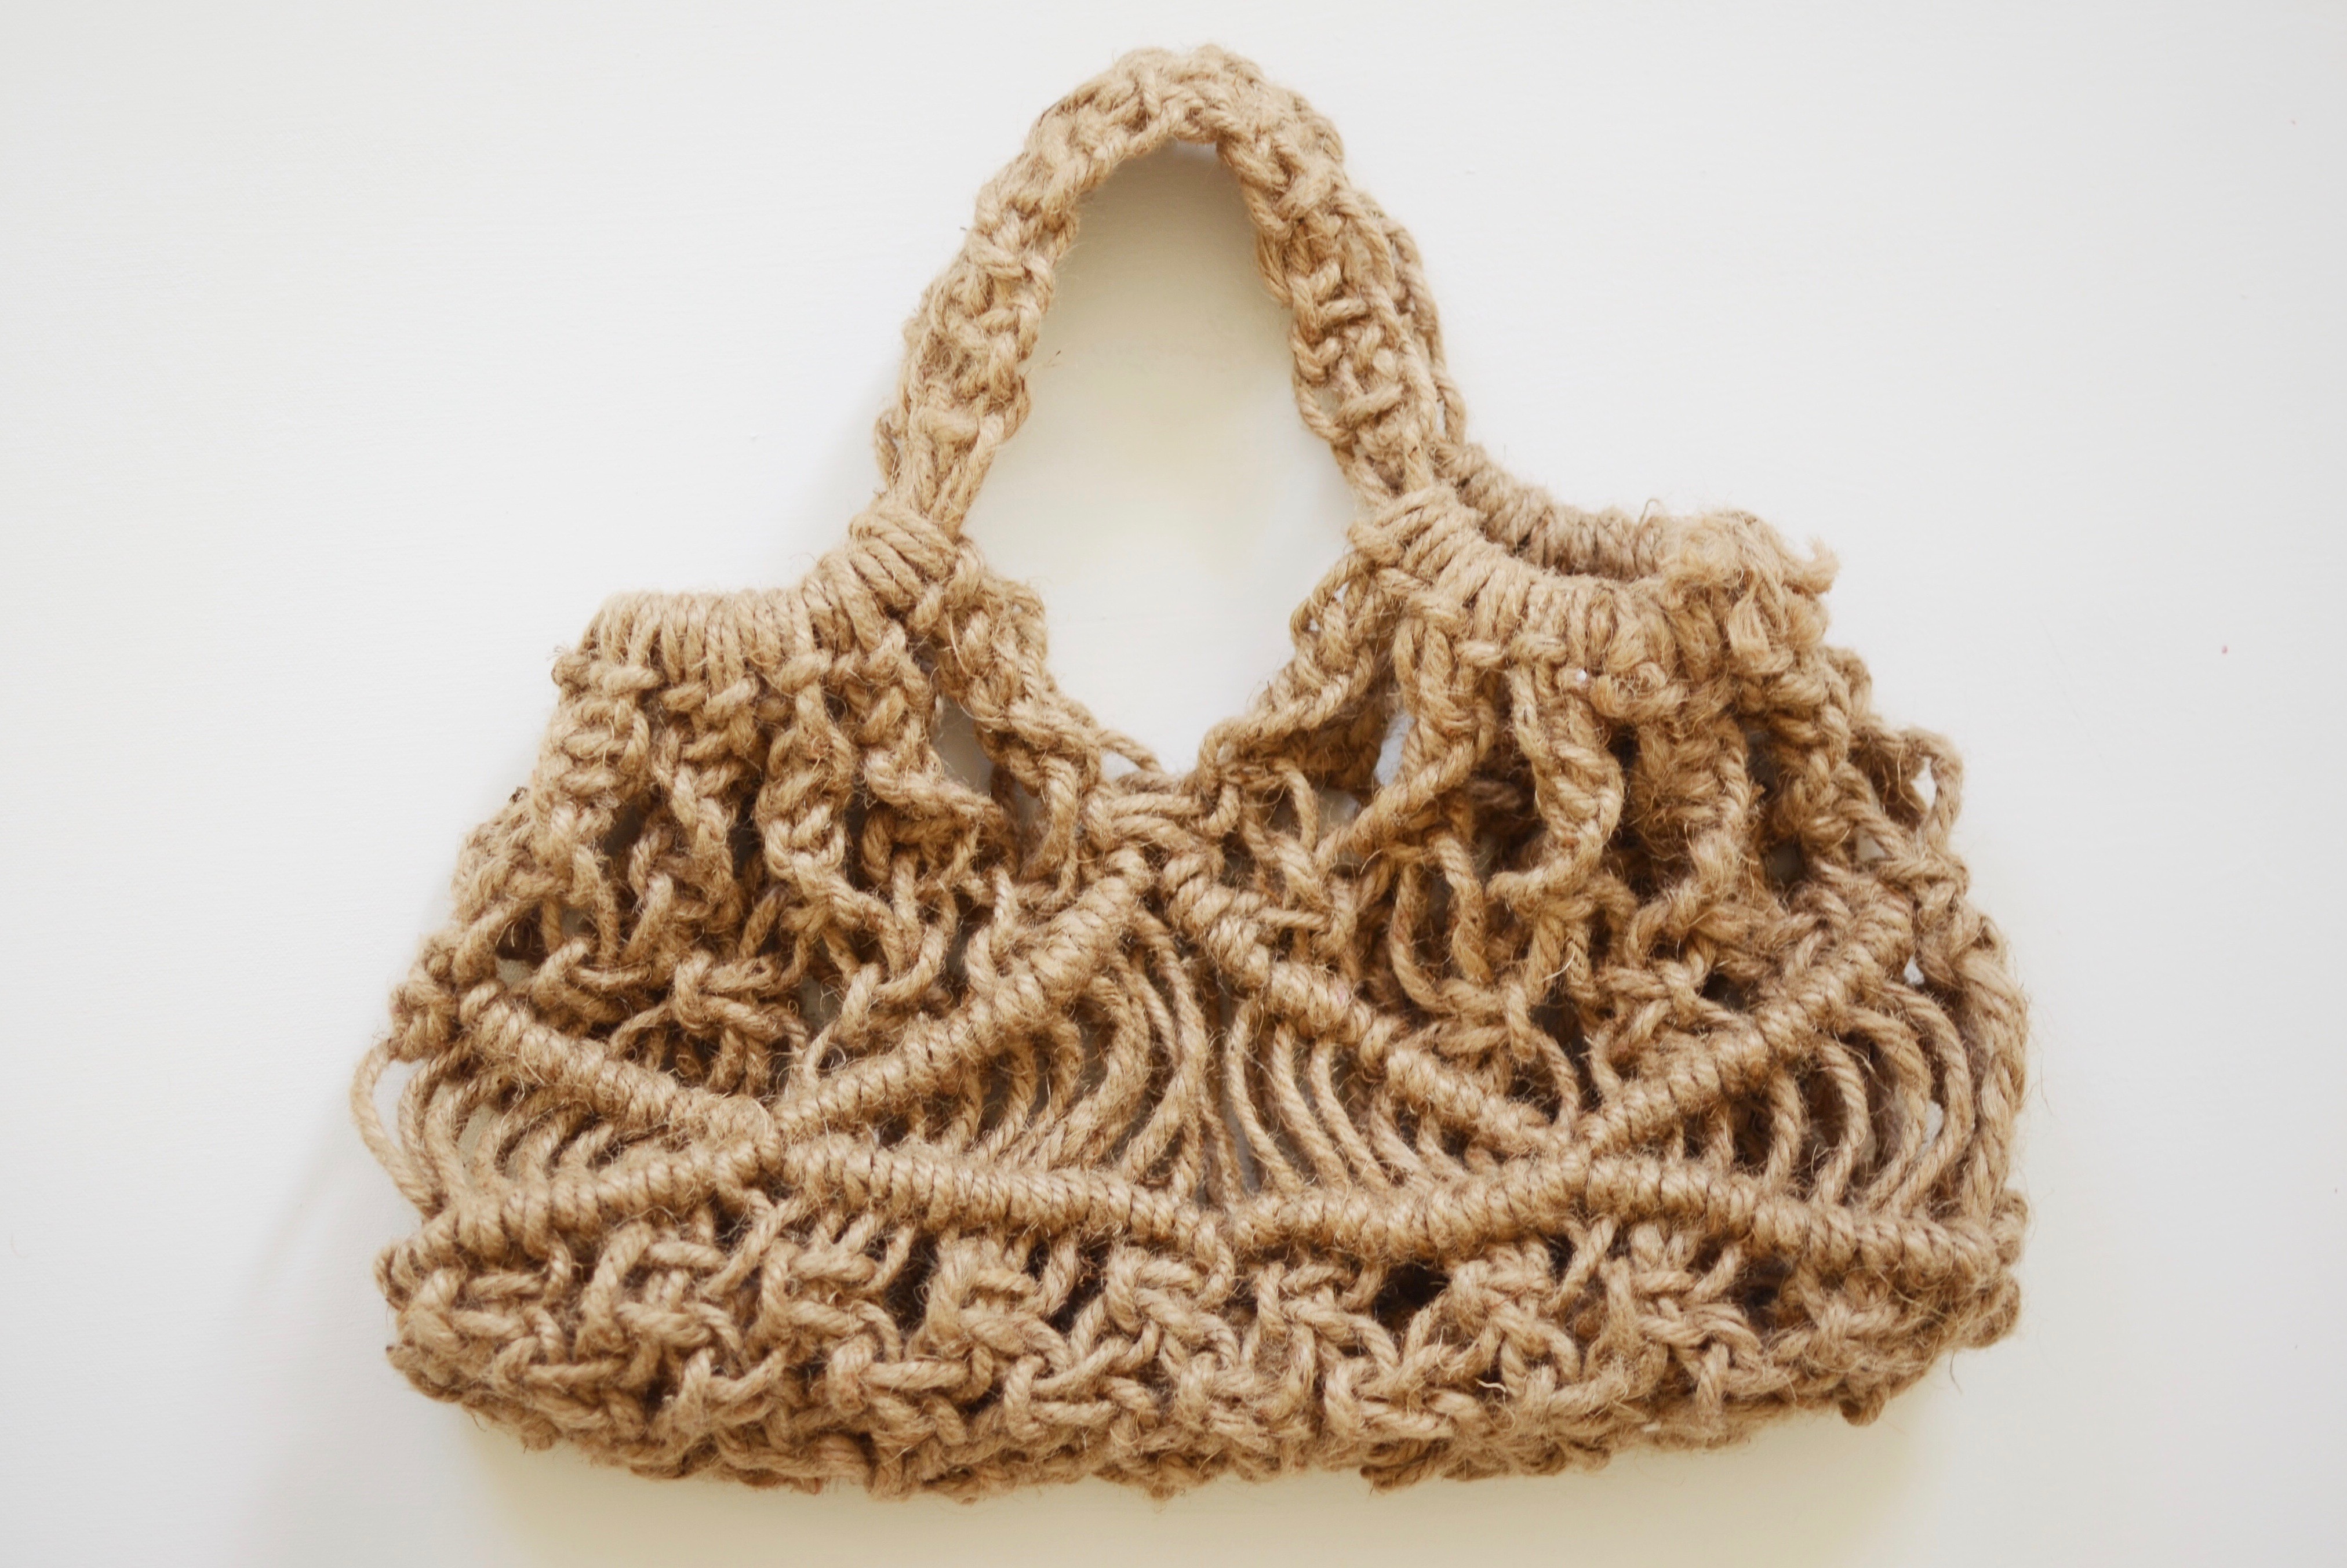
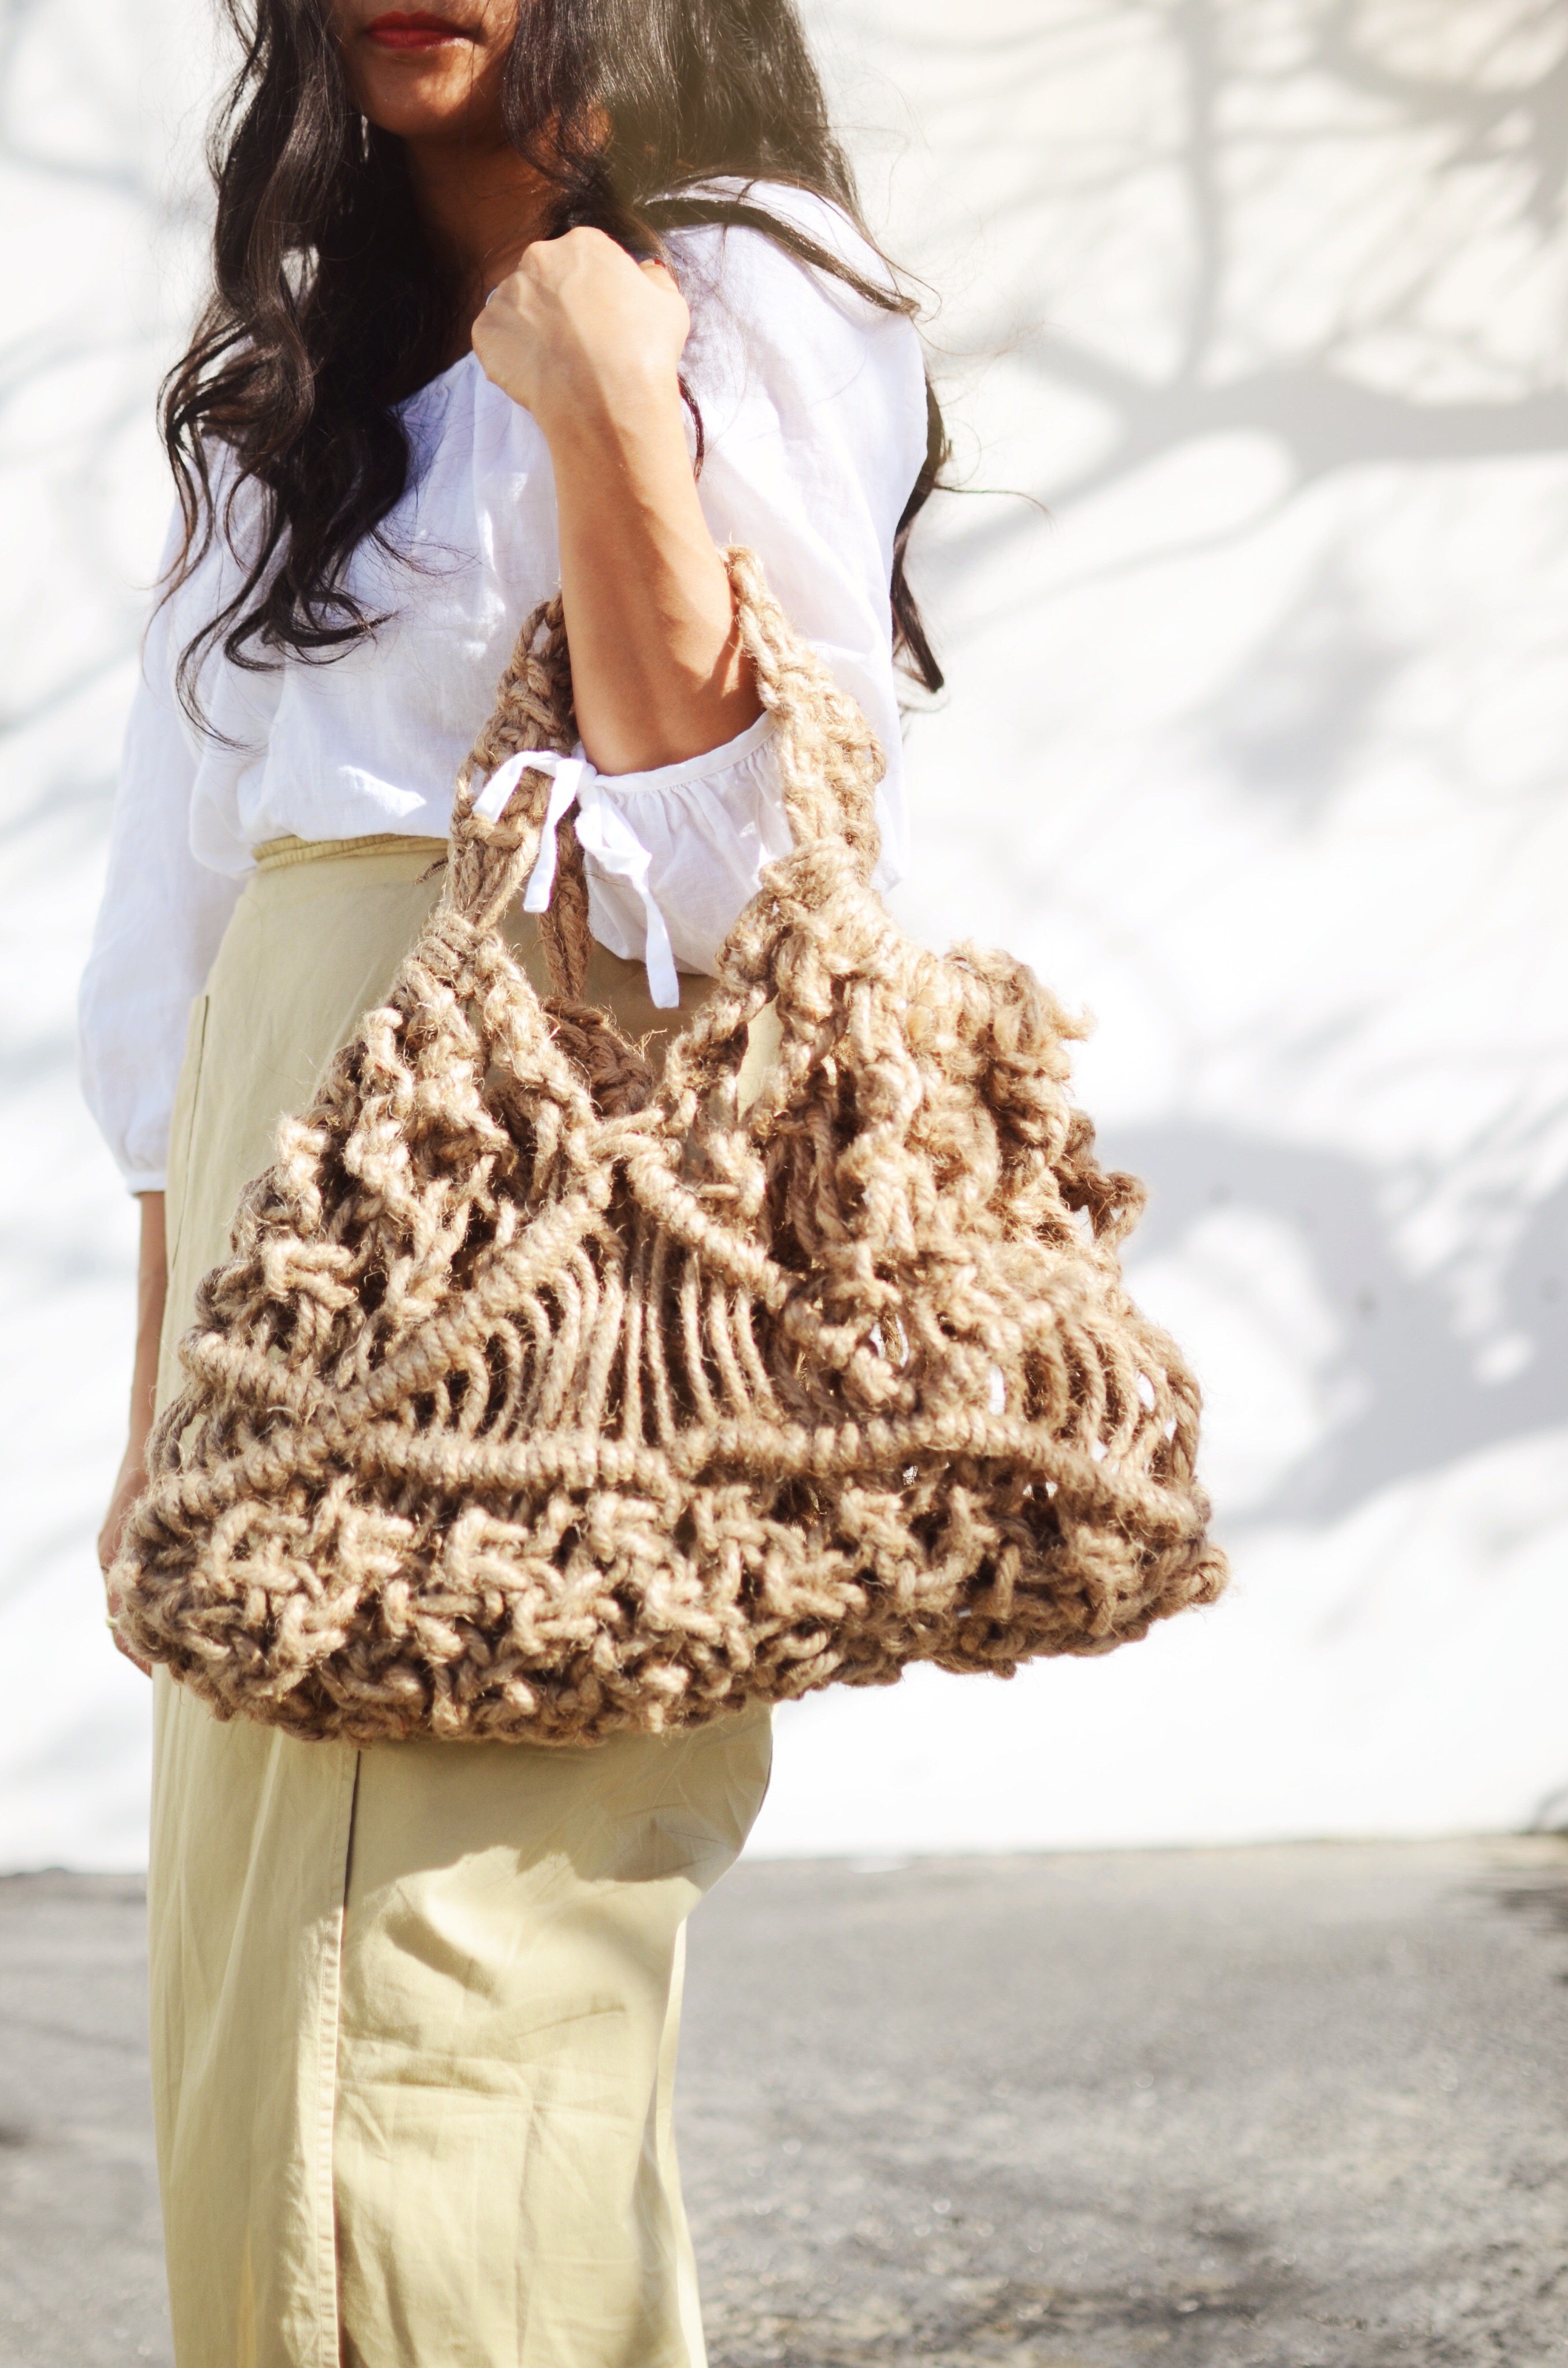
I had so much fun making this macrame bag from jute rope. The various knots and repetition is very therapeutic. I didn’t use a pattern for this (I did mark and draw it out for future re-creation) and I used about 6 knots total. I’m ready for a second, but this time with cotton rope and maybe with a dip in the indigo vat.
If you want to learn macrame, gather your friends and host a workshop! Send me an email at my cakies at gmail dot com, if you’re interested!
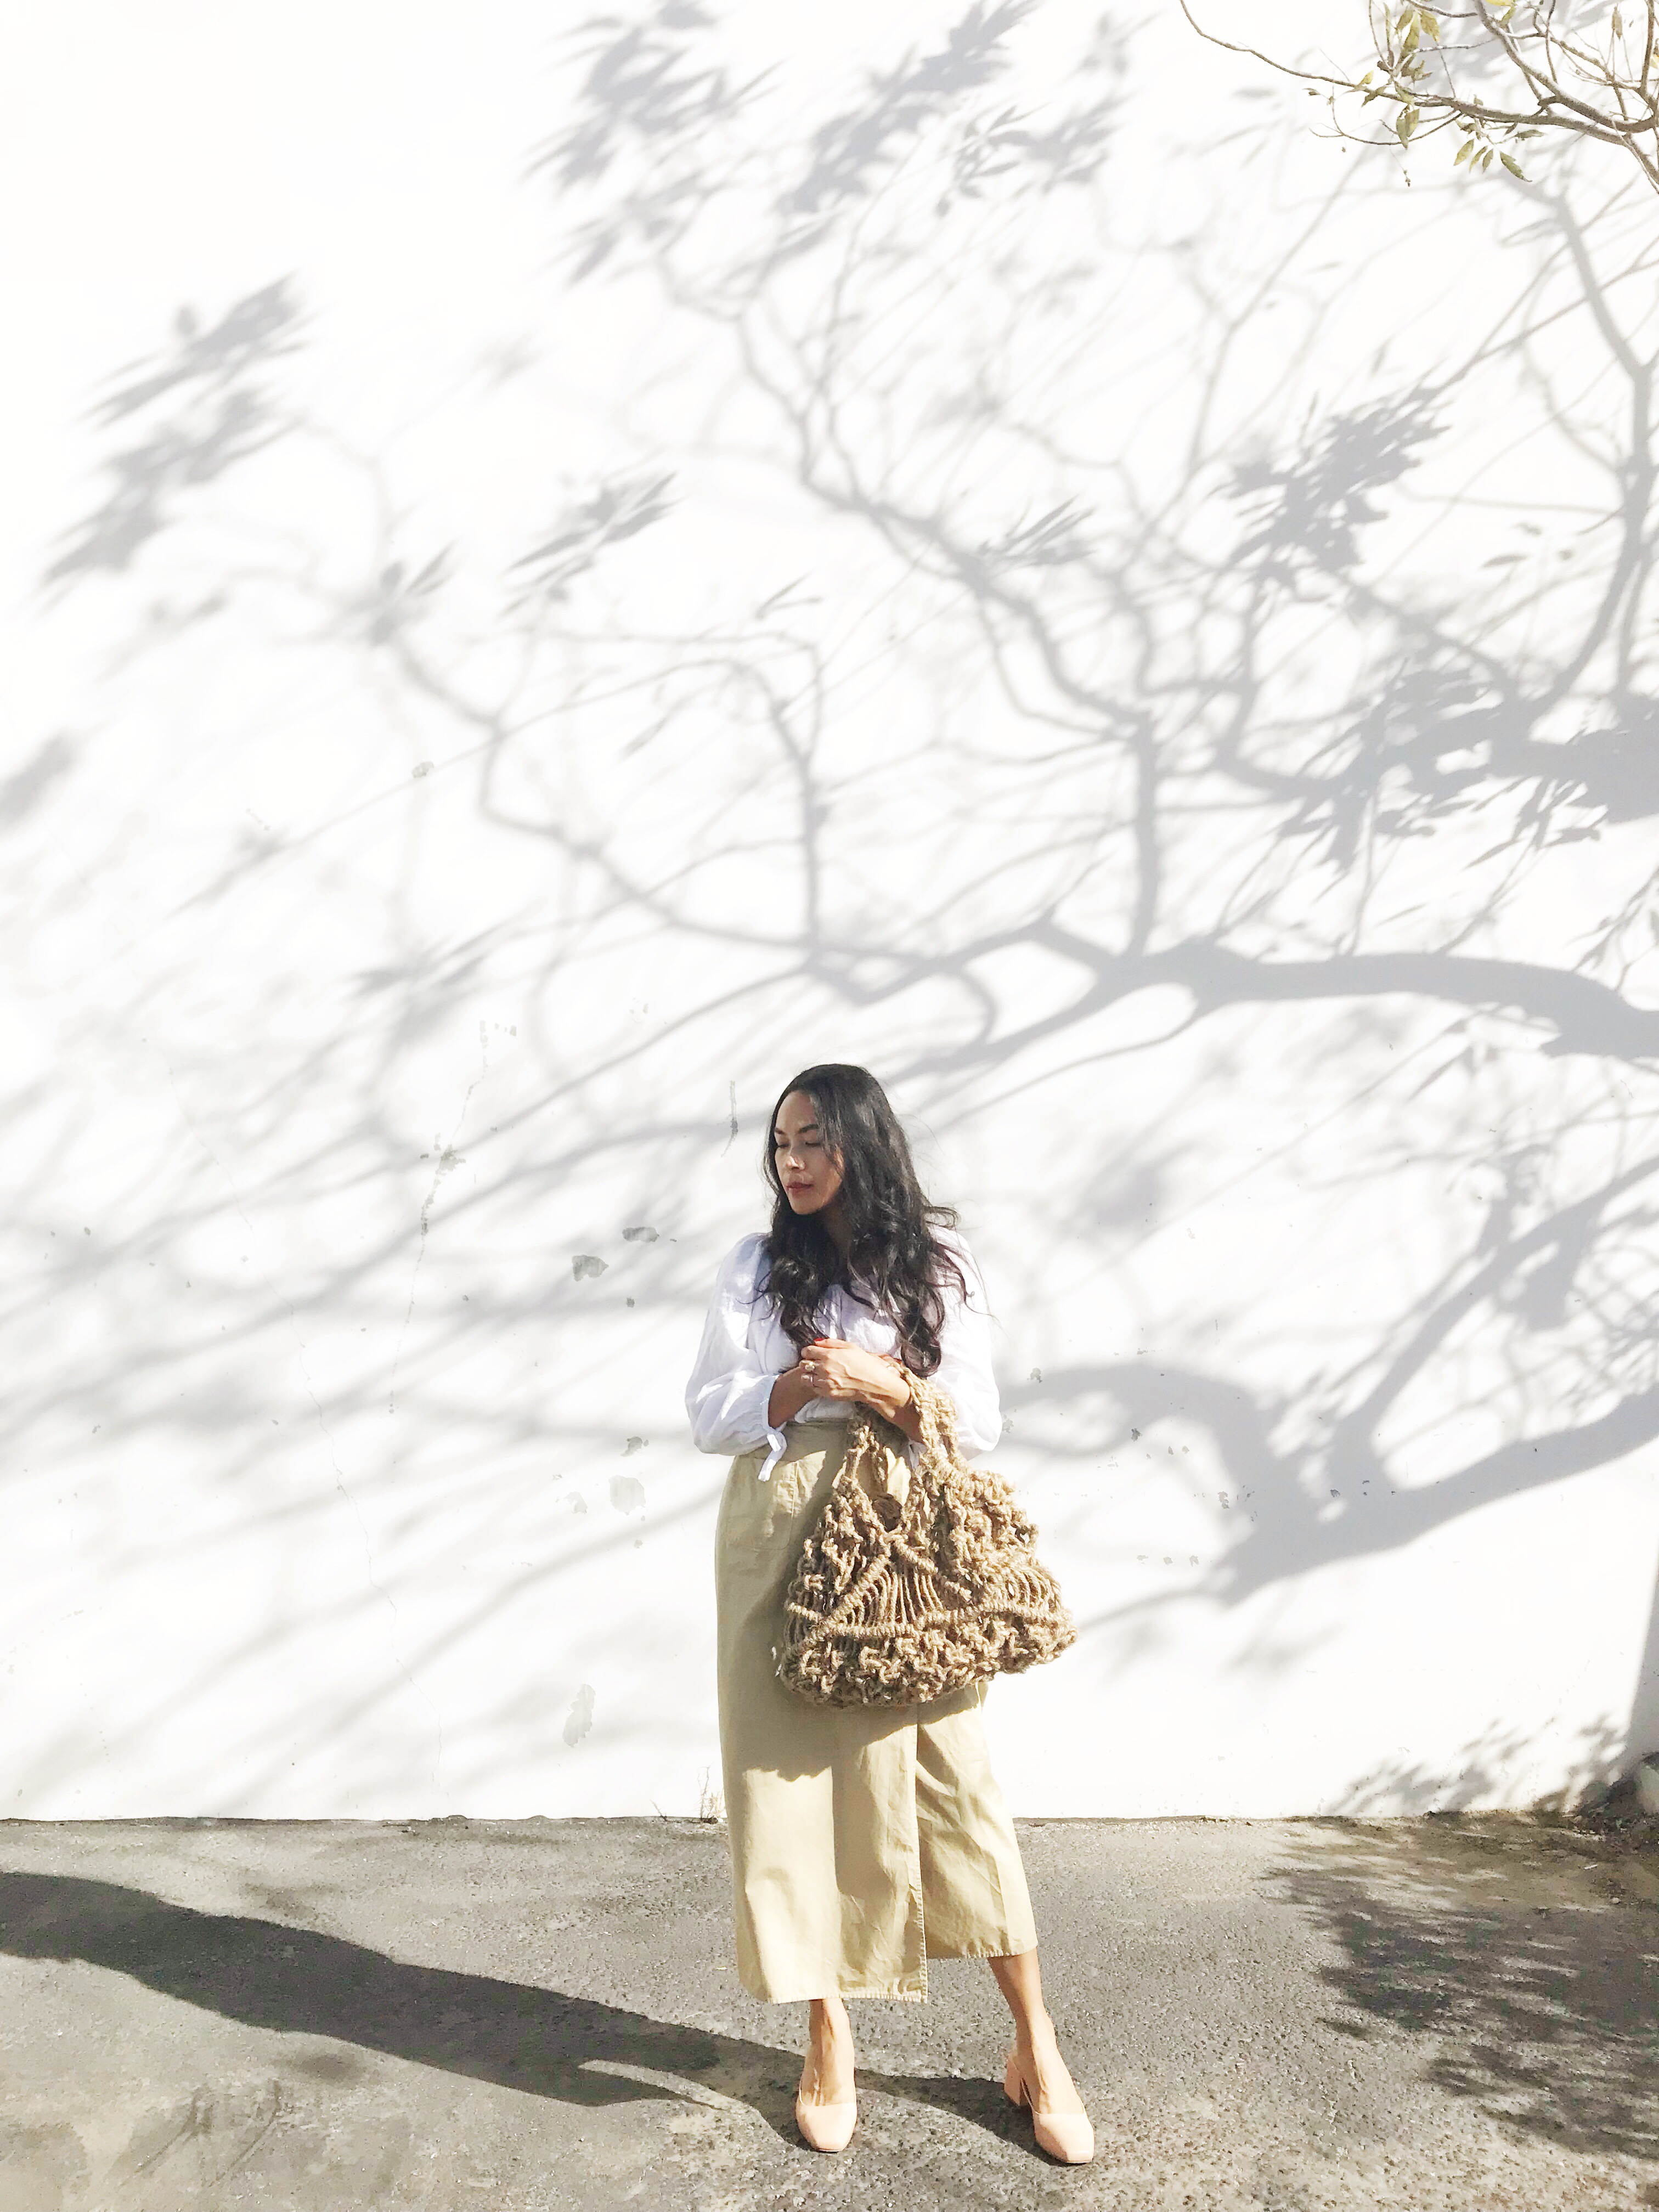
what i’m wearing: top and skirt (similar top, similar skirt), vintage. shoes, loq.
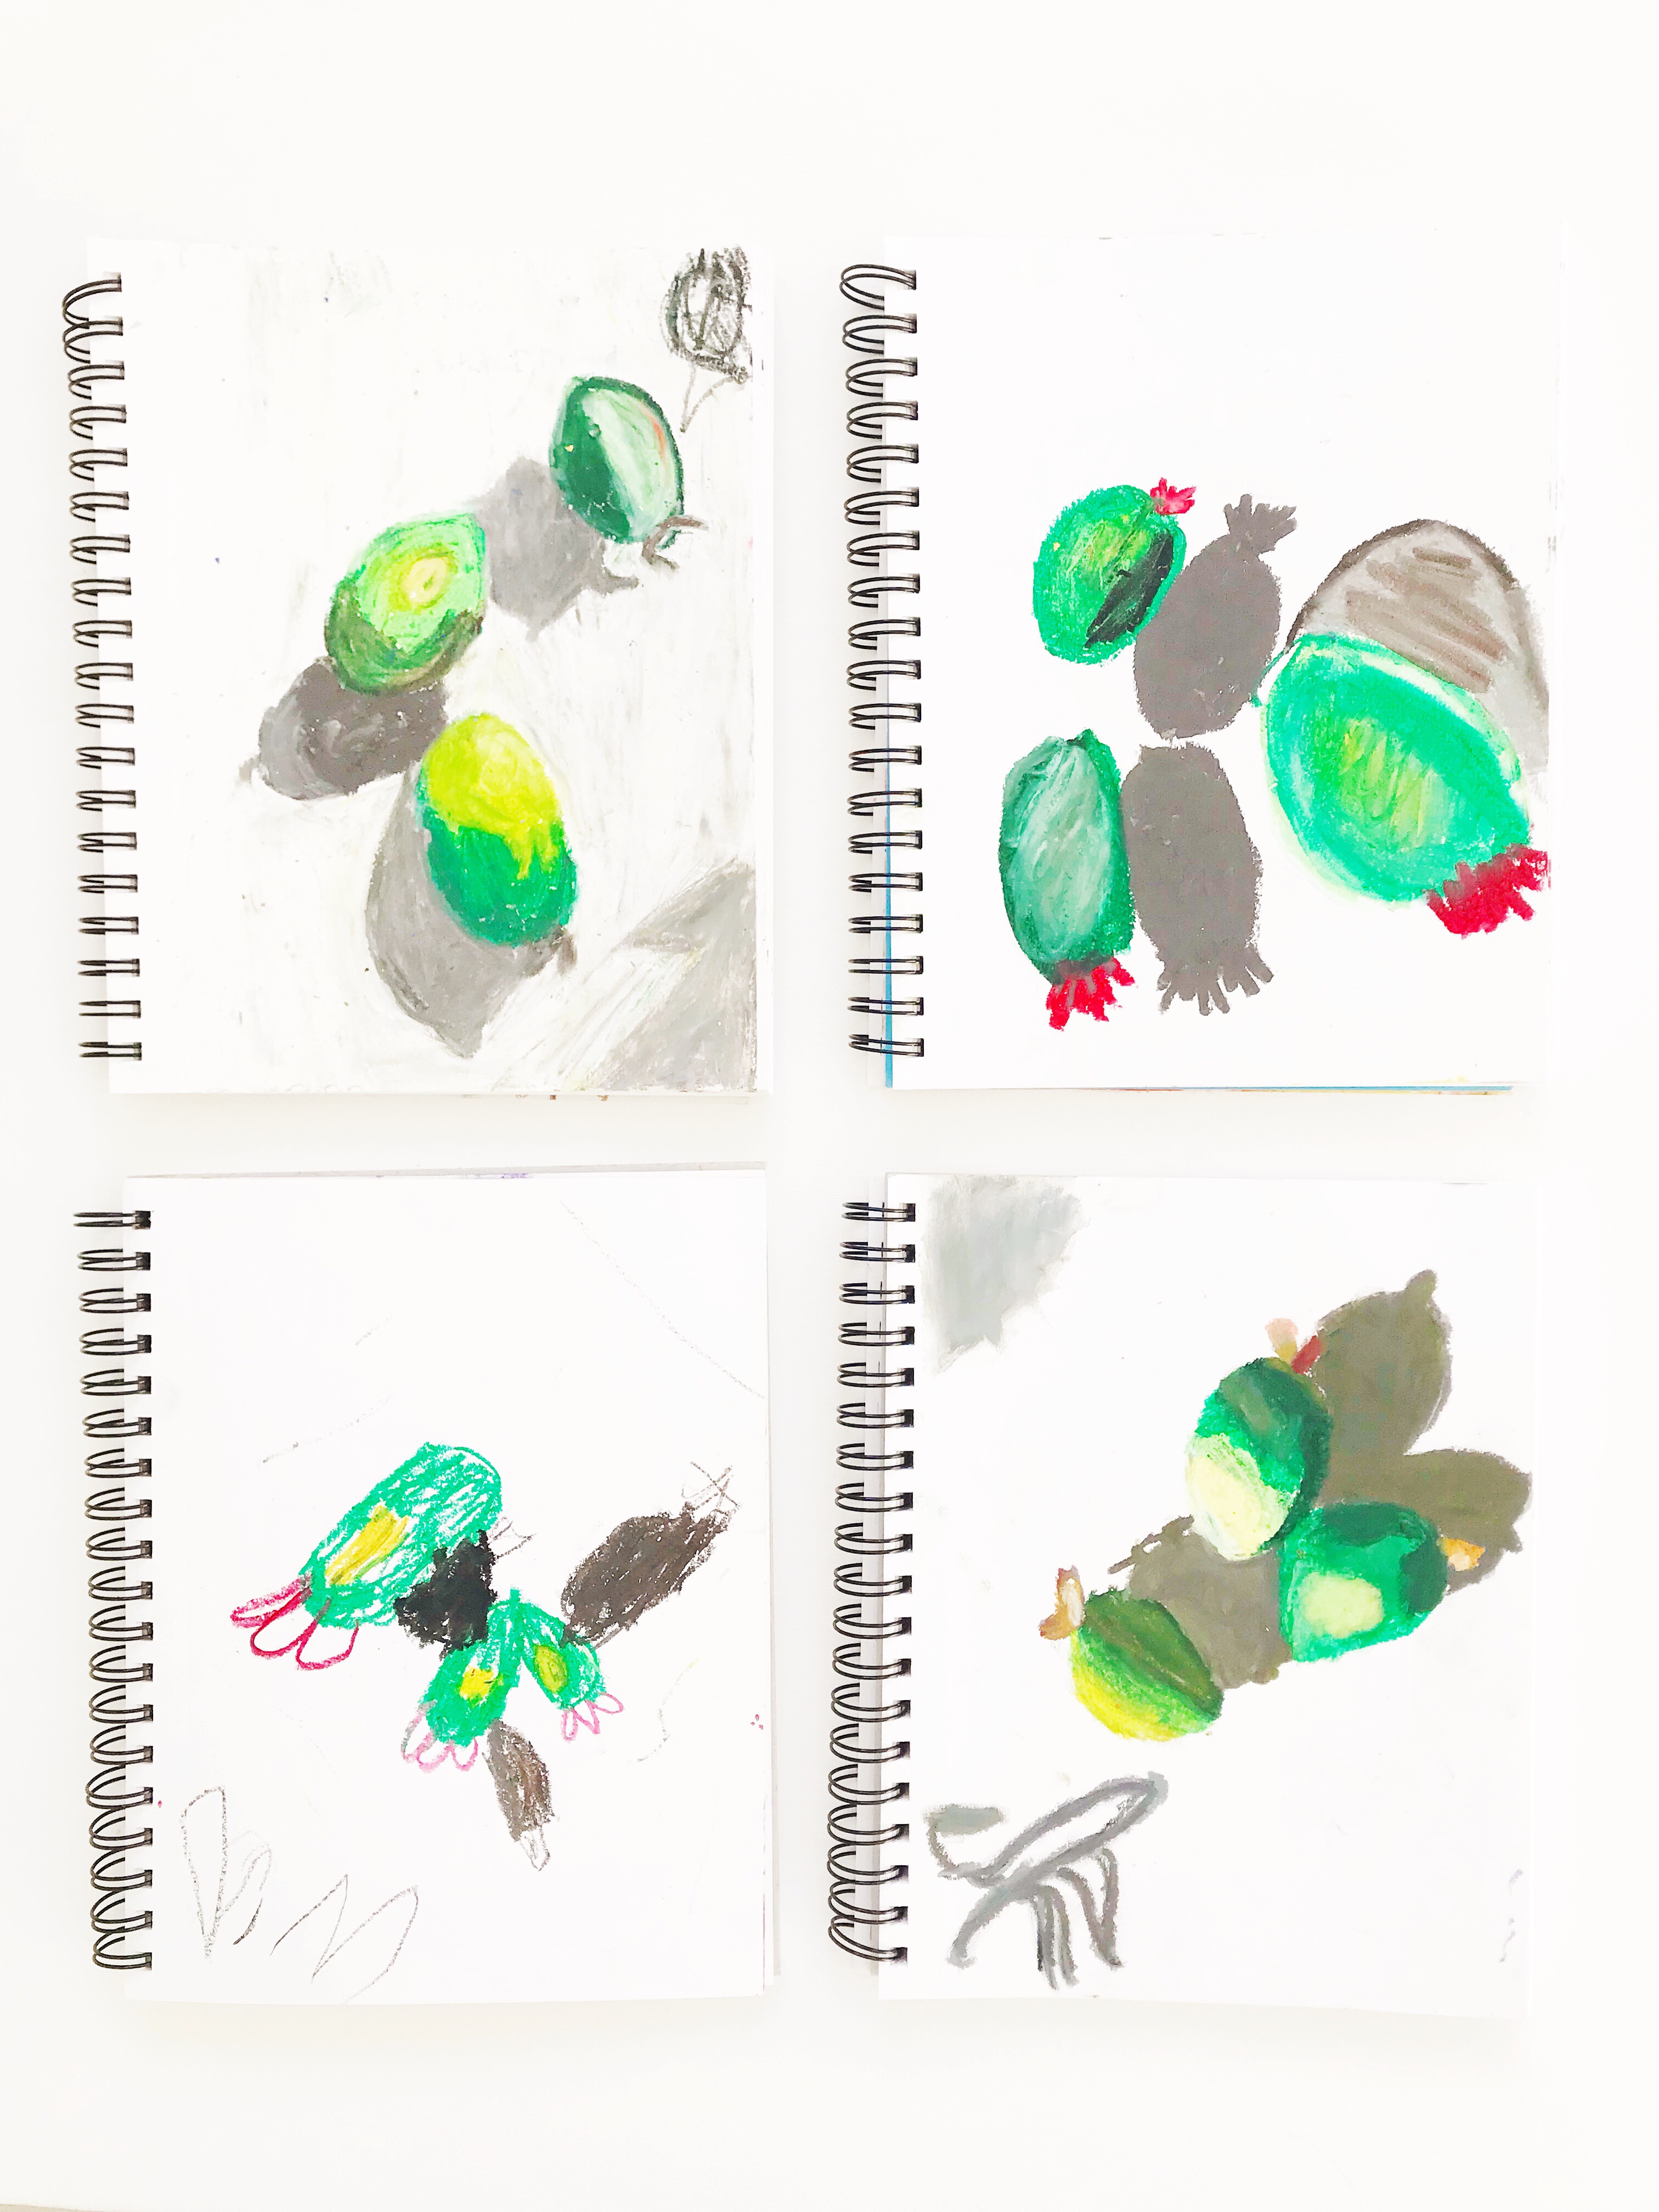
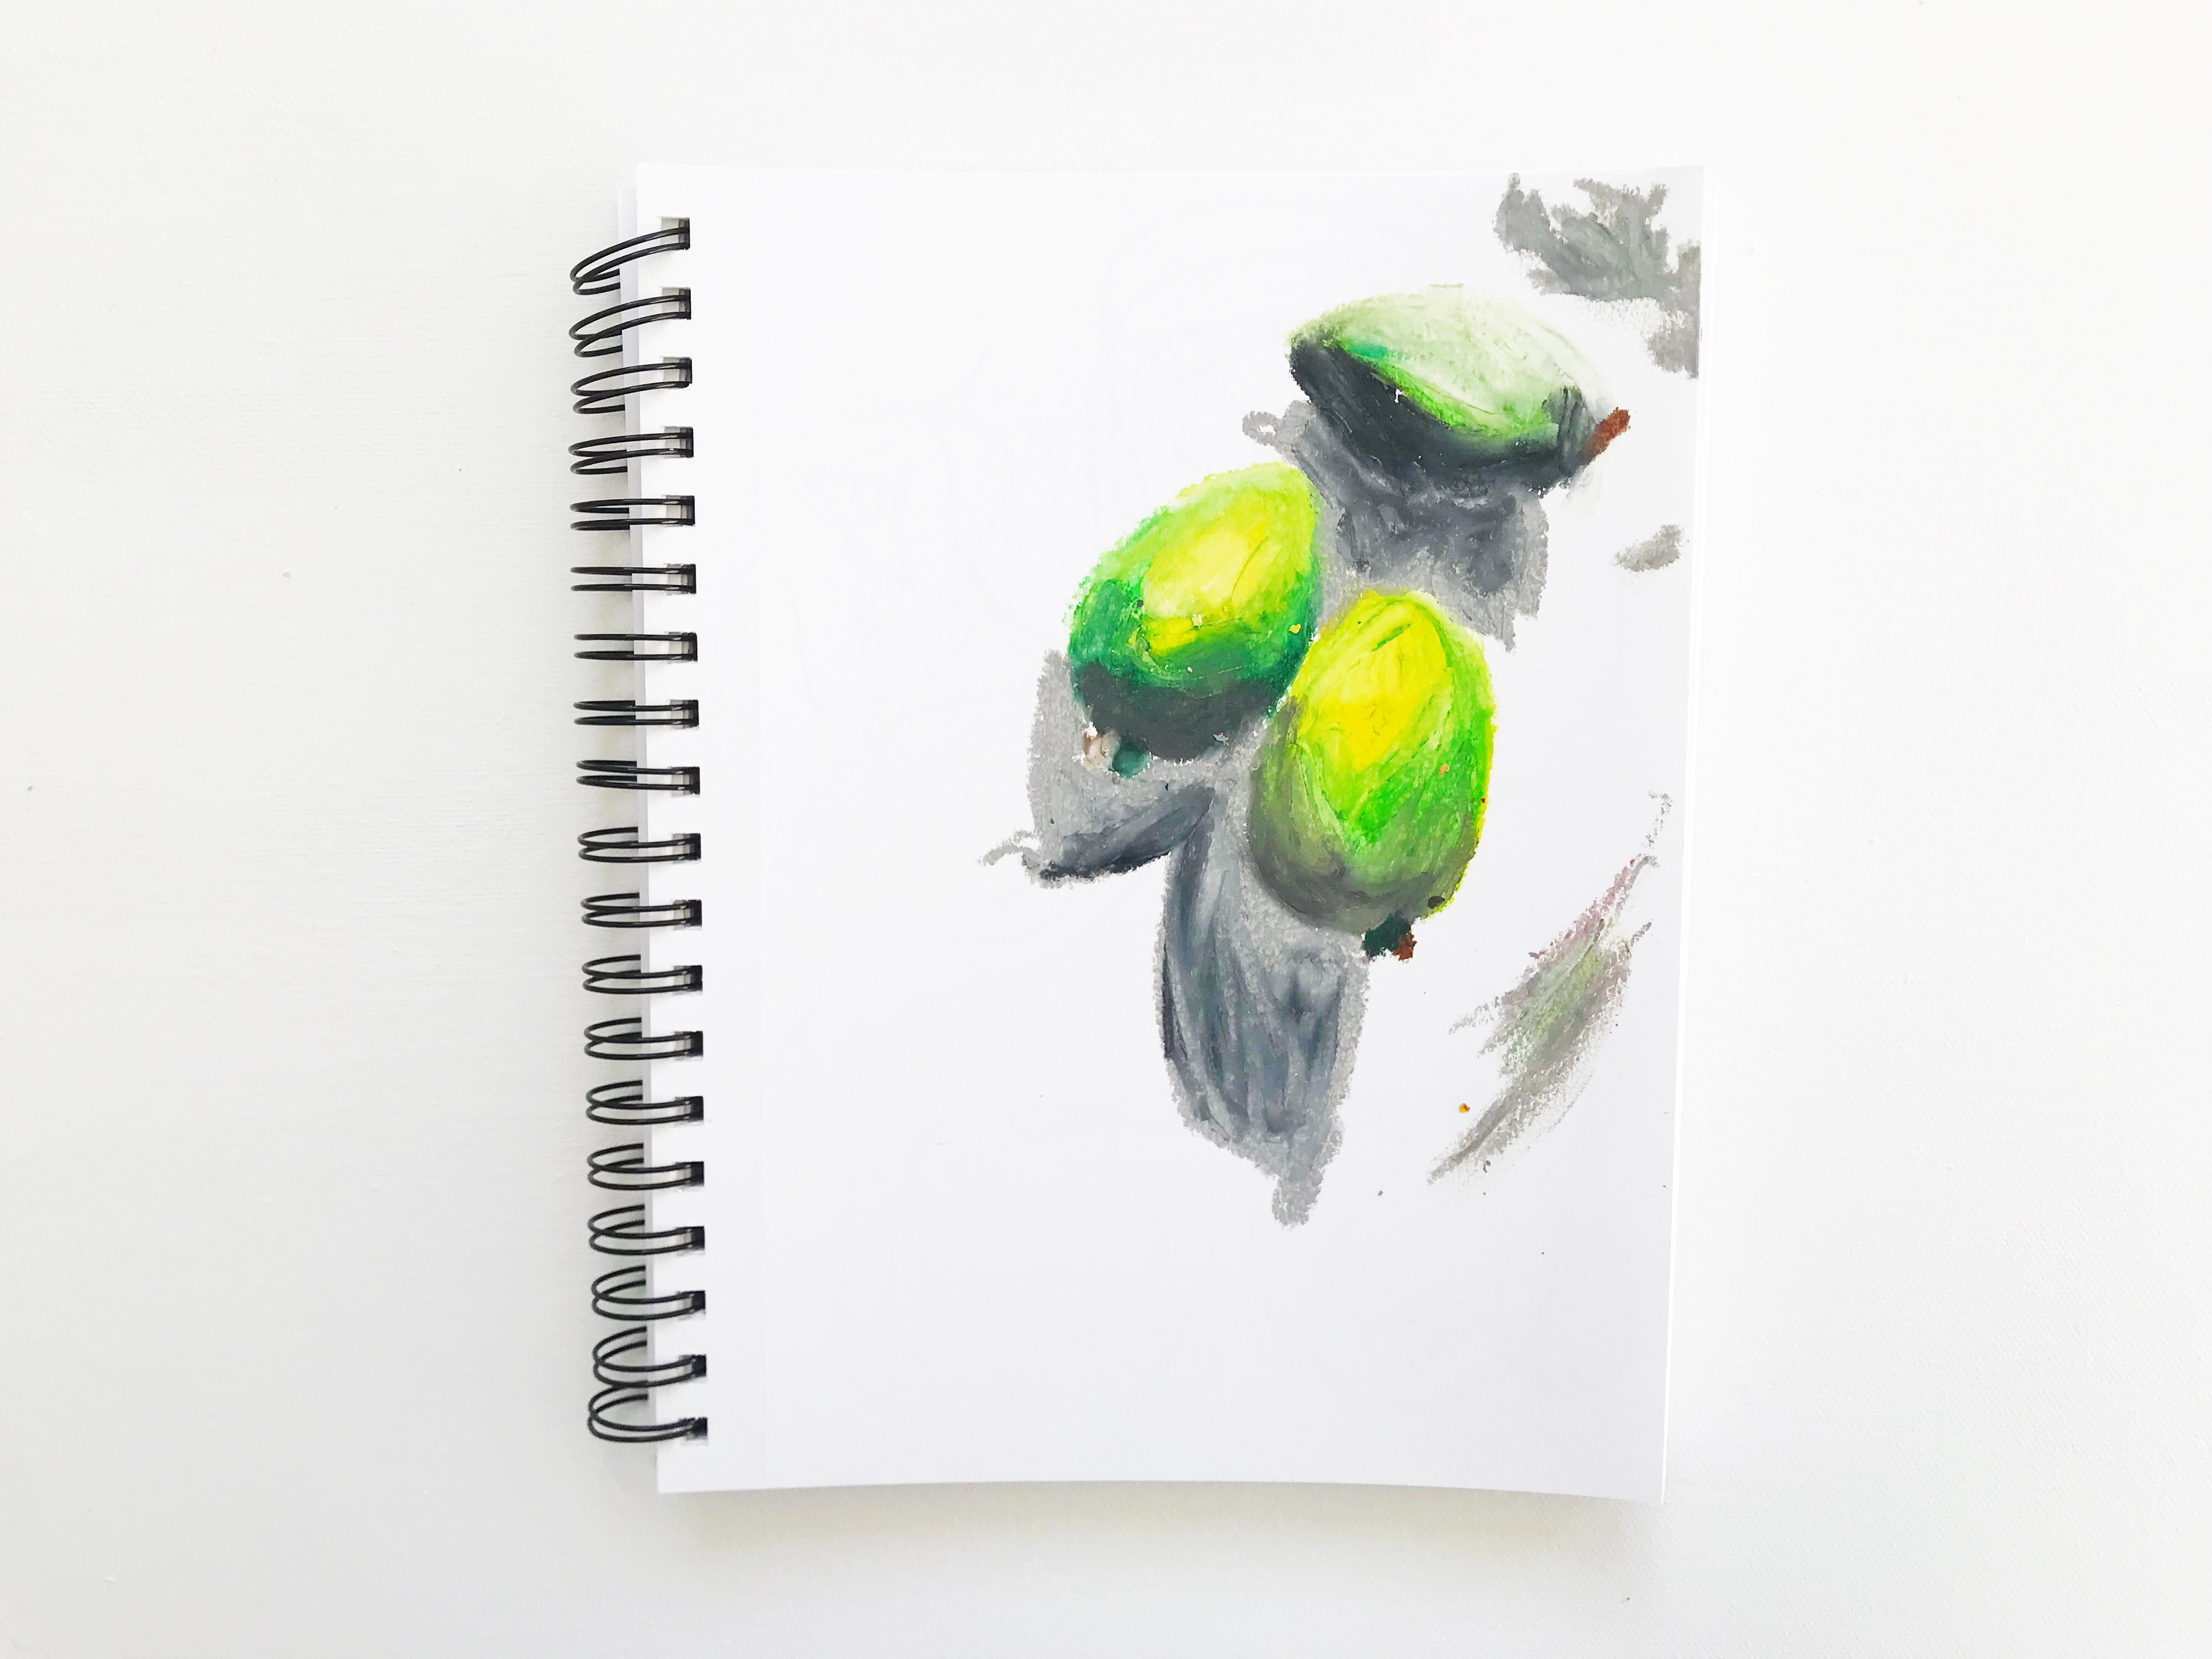
For one of our daily art sessions, the girls took this photo (pictured above) and recreated it with oil pastels. I work alongside them too. I love seeing how they observe things and how they translate it, even Glow really gets into it. Our art sessions are one of the best parts of the day; they always look forward to it. Currently, we are working on creating a watercolor portrait of this photo.
My girls love painting together. They get in the zone and there’s no fighting! It’s fun to see the way they work and make room for each other. I called Ben upstairs when they were working on this piece, and he was awe at how they were cohesively working together. I’m the color monitor and pass out the colors to them, but what they create is all them.
This piece was made for my parents for Christmas and was inspired by a photo one of them took in Sedona during our family vacation. My parents loved it so much and it’s proudly hanging in their family room. We’ve continued with our small daily art pieces, but I might have them work on another big canvas this weekend. (I am still wanting more oversized art work throughout our home.)
Last year, I didn’t do as much sewing as previous years (I never even made myself a dress last year, altered, yes, but nothing from scratch), but I’m rectifying that this year. And this year, I’m focusing on getting the girls to sew more. The two older ones know how to do some basic things, but this is the year for them to get a little fancy, and start making and altering their own clothes. So guess who was up today? Glow! And this is her first time sewing!
She’s not a fan of regular jeans (I think she finds them confining), there’s only one pair she has that she likes, so it was time to make her more pants. I used my shorts pattern in my book as the base, but widened the leg a bit (and made it longer because it’s pants). I had Glow study a pair of pants I made before, and I had her identify the shape, then draw it out. Her drawing totally nailed the shape! Next, I cut out the pieces from a large denim dress we picked up at the thrift store. Then, I showed her how the front and back pant pieces are similar, but slightly different. She had to identify how they were different. When I look at clothes, I see shapes, so I want to train my girls to be able to identify shapes and patterns in clothing too. If you can recognize the shapes, making clothes becomes a simple task of connecting shapes and lines together. Anyway, once all the “shapes” (fabric pieces) were cut out, it was time to “connect” (sew) them together. Breaking sewing down into shapes and connecting lines really helped her understand what it was we were doing.
Now, came the time to connect the pieces together. I had her look at some pants she had and tell me what lines needed to connect. First, she said the top lines, but then I showed her if we closed it, she wouldn’t be able to put it on. I saw the “aha!” light come on and she understood what I was talking about. She knew we had 4 shapes to connect and we started with the middle of the front and back shapes, so we played connect the lines.
I had the machine set at the slowest speed, placed the fabric together, pinned along the edge, showed her the lines and how the edges of the fabric need to follow the lines, hand placement, and how to step on the presser foot. Then, she was off (with me right next to her guiding her). She was really good at guiding the fabric, and keeping her hands away from the needle, but still keeping the fabric in place. She sewed all the side and middle seams. Then, I came in to do the top casing with the elastic (she pulled the elastic through) and hem the length. She probably could have sewn the top and bottom if I had folded and pressed it, but we were running out of time (and she really wanted to wear them to go do errands), so I just did it, but she was the one pressing the presser foot. Lastly, she cut off all the excess thread and I ironed it! She was very excited about her first sewing project and proudly wore her pants the rest of the day. I have a feeling she’ll be wearing it every day for a week.
We still have plenty fabric leftover from the dress, so maybe we will make a top, and she can have a Canadian tuxedo. Though, one of the girls are probably wanting to claim the leftover for themselves.
Here’s a pair of sailor-inspired pants we’ve made in the past, or check out these sailor shorts from a really old posts.
I love rope baskets and made a couple for Christmas presents. I got a little jealous and decided to make myself a small circular pouch/clutch. I was in need of a new make-up bag, so this little circle pouch was exactly what I needed. I think I’m going to make a few more to go with some WOVENFOLK orders.
One of my goals for the new year is to make art everyday with the girls (at least 4 times a week). We’re lumping in as part of our homeschooling and art study and will change up the mediums each day. Art is the language my girls speak well, so I know this is something that will be fun and challenging for them.
To start, we did self portraits with oil pastel. We started by drawing our face shape first, and I gave them a rule… you weren’t allowed to pick up the “pencil” to draw your face. Thus, each face was created by one single line. Then, we color blocked our face with various colors. Each girl was definitely in the zone working away and we all loved our colorful results.
I have a large growing pile of fabric scraps. I refuse to throw them away because I am sure they can be used for something. I have been seeing different types of interesting necklaces made of buttons, beads, and fabric. Then, I figured why not make one out of my scraps...
I think it made my white shirt a little less boring. This was so quick and easy to make.
How to make a recycled scraps necklace (which is very similar to the straps on my braided tablecloth bag):
1. Take your scrap fabric, I cut a .5''-1'' snip and tear the rest of the fabric down for a nice frayed edge. Used 3 different fabrics for each strand.
2. Take 3 of the torn pieces and tie the ends together with a rubber band.
3. Braid the 3 pieces together and tie ends together with rubber band when done.
4. Repeat steps 2 & 3 for more strands. Remember you can make the strands any length you want, if run out of fabric, just weave more into the braid.
5. Once all the strands you want are braided, gather one end of each strand together and straight stitch together with sewing machine. Repeat for the other ends of the strands. Snip off any excess.
6. Gather ends of the necklace and sew together (snip excess) or a ribbon can be sewn at the ends to be able to tie the necklace closed, but I just sewed both ends together.
7. Voila! A nice way to make use of all your lovely scraps.
Sorry if the directions get you a little lost, but it really is easy. I promise. Maybe I should put some in the shop. Please share any other good ideas you may have of things that can be made with scraps. I would love to hear (read) them!